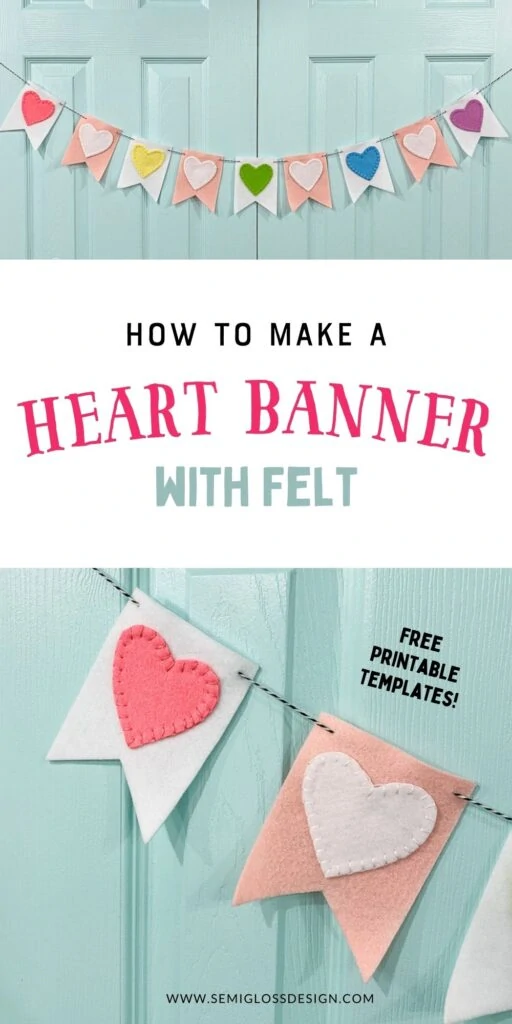
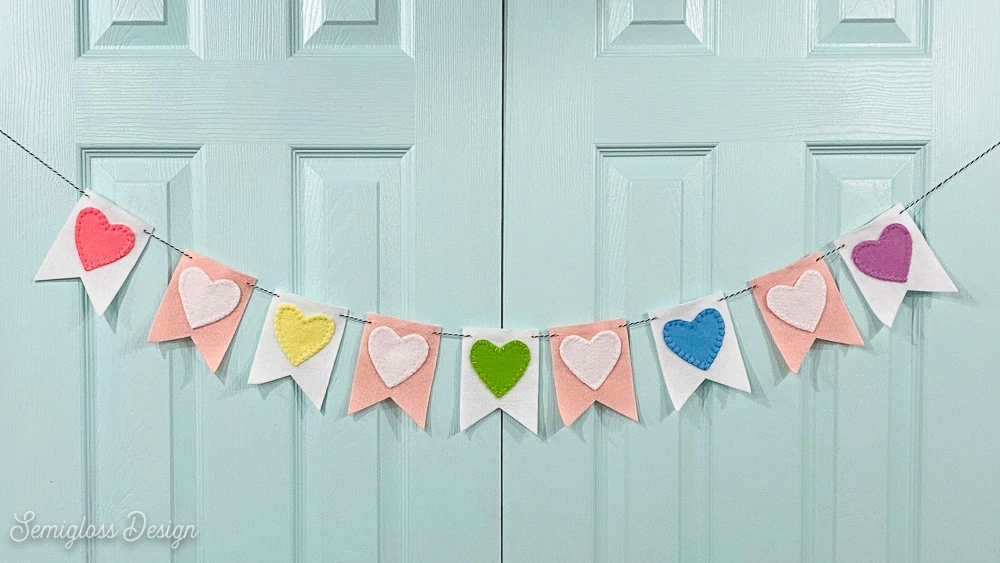
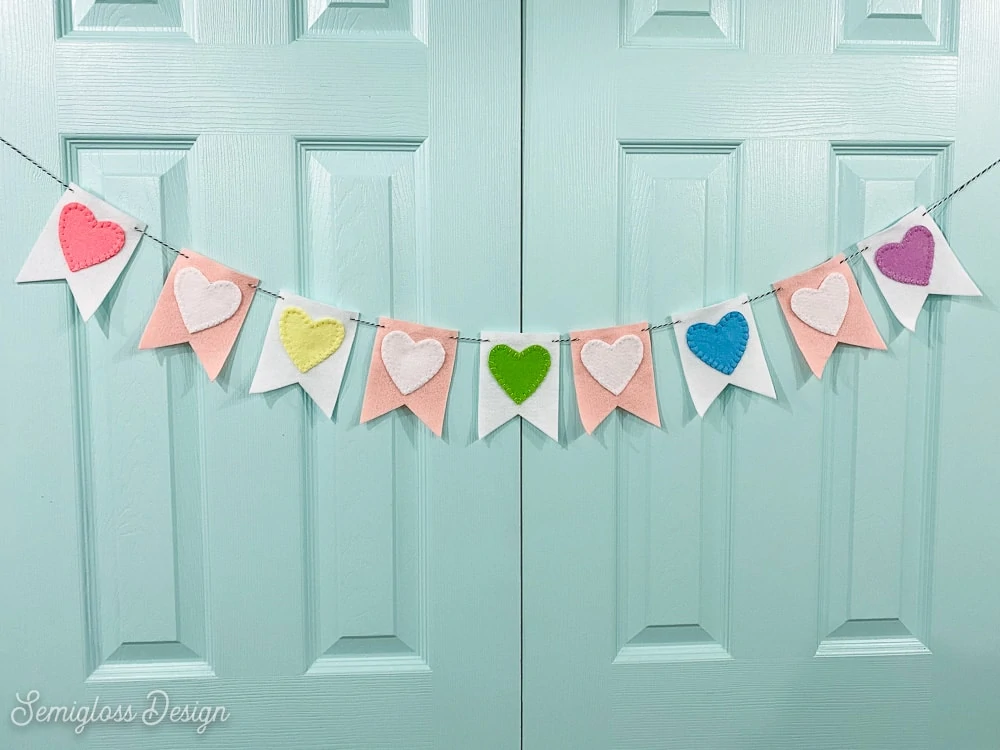
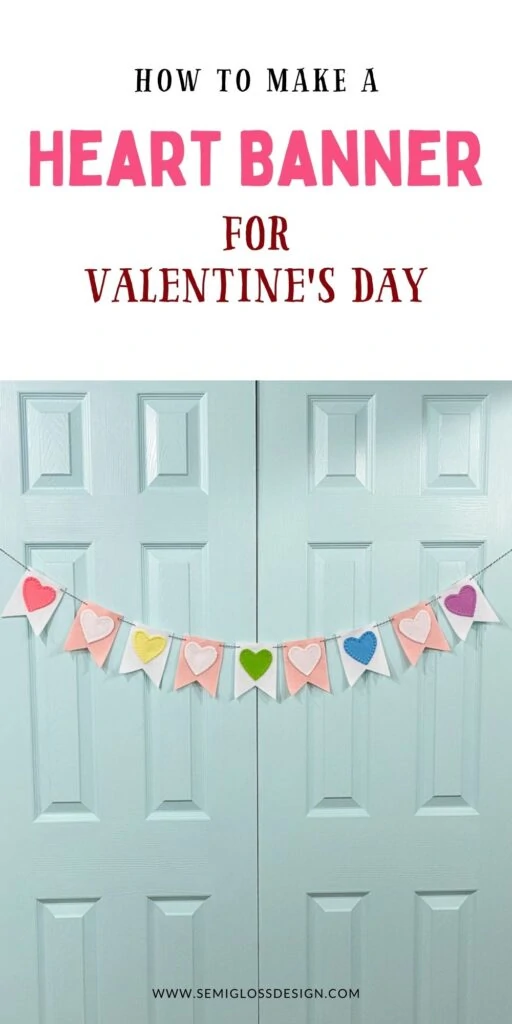
DIY Heart Banner for Valentine’s Day
Use felt to make this fun DIY heart banner for Valentine’s Day! It’s perfect for hanging on a mantle or the wall.
If you’re looking for more easy Valentine crafts, you might like these conversation heart mugs or this reverse canvas sign.
This post contains affiliate links. By purchasing an item through an affiliate link, I earn a small commission at no extra cost to you. As an Amazon Associate I earn from qualifying purchases.
Although I made this banner for Valentine’s Day, it’s cute enough to leave up year-round. It would also be super cute in a baby nursery.
You might also like this tutorial for making a paper birthday banner.
DIY Heart Banner with Felt
Supplies Needed:
- Felt
- Cricut Maker with a Rotary Blade
- Embroidery Thread
- Baker’s Twine
The banner and heart template and SVG files are at the bottom of this post to download.
Notes About Supplies
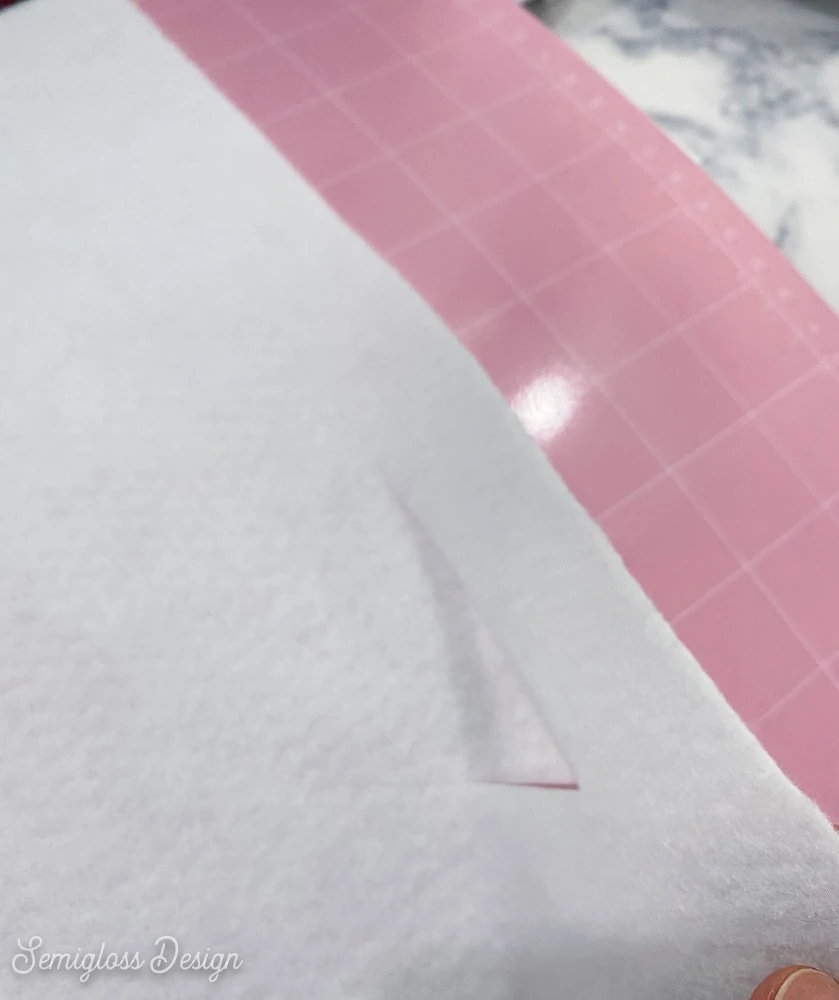
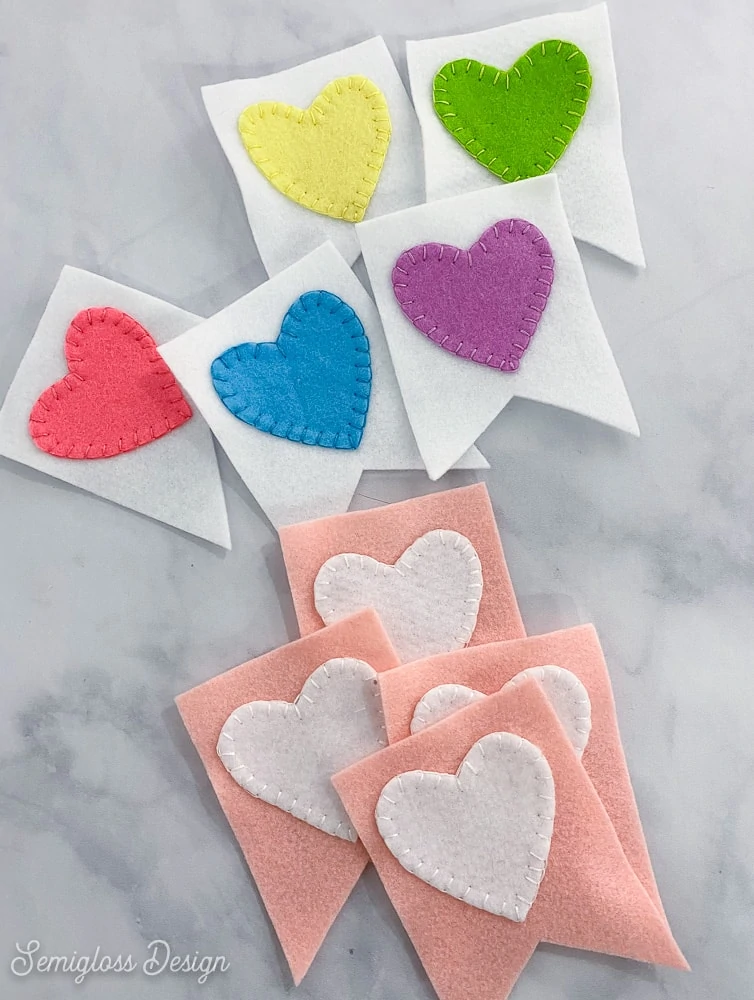
Felt: I used a combination of acrylic craft felt and nicer wool felt. You can use whatever you have on hand.
Cricut Maker: I used my Cricut Maker with a rotary blade, but these designs are simple enough to cut out with scissors. I’ve included a printable PDF template to make it easy to cut out with scissors.
Here’s my beginner’s guide to using a Cricut Maker.
Embroidery Thread: My hearts are attached with embroidery thread because I love how it looks and really enjoy the process. You are welcome to glue the hearts on instead.
Sizing of Template: Each banner flag is about 4 x 5″. You are welcome to make your banner as large as you want. Just resize the files in your design software (or print scaled to a larger size.)
Shop My SVG Designs
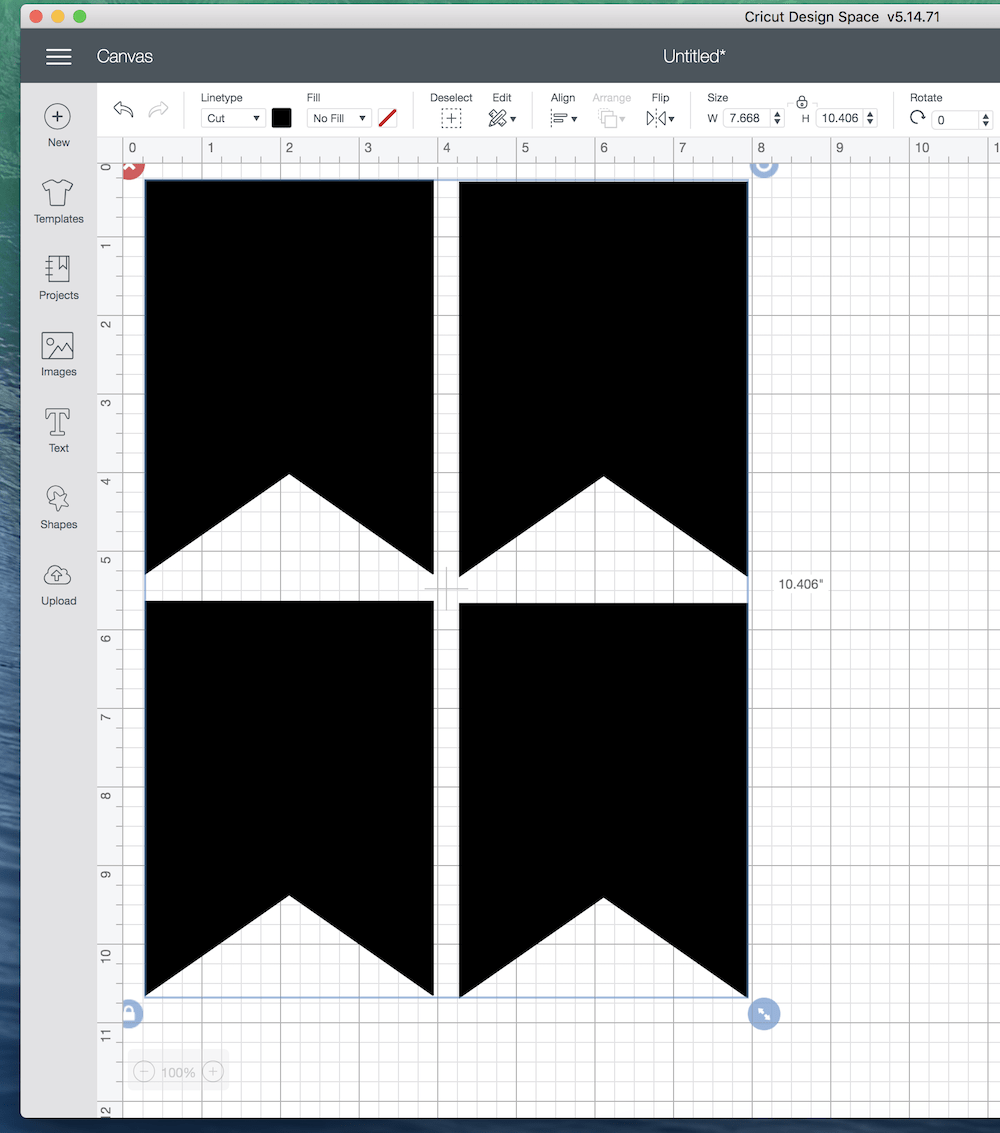
Cutting the Flags for the Banner with a Cricut Maker
- Place the felt onto the pink mat for the Cricut. Be sure to smooth it well. Use a brayer if you need to.

- Set up your design file. I cut the flags first, so I deleted the heart for now. Then, I duplicated the flag 3 times, so that I had 4 flags. Evenly space them, leaving space around the edges, but making sure that it doesn’t go outside the 8.5″ x 11″ space (the size of my felt.)

- Click attach. This ensures that you cut all 4 using one sheet of felt. Otherwise, it tries to break it into 2 sheets, which wastes more material.
- Click Make It.
- On the next screen, you can change the material size to make sure that your design fits.

- For materials, chose Felt. (It’s in its own category under the fabric category.) For acrylic felt, I chose the “Felt, Acrylic Fabric” option and increased the pressure.

- You will be prompted to change the blade to the rotary blade.
- Load the mat and click the C button.
- Let the machine cut the felt.
- Check to make sure that it cut all the way through before unloading the mat. If it hasn’t it needs to be cut again. Just hit the C button again.

- Once the felt is cut, unload the mat and remove the excess felt pieces. Acrylic felt will stretch, so be gentle. (My first cut messed up for some reason so the top flags are a bit short…)
- Remove the flags in the same manner, being gentle not to stretch the material.
- Reload the mat with more felt and repeat this process until you have enough flags.
- If your hearts are going to be one color, make a new file and upload the hearts. Fill your space with as many hearts as you can get. Attach the images as described above and repeat the steps for cutting.
- My hearts were in multiple colors, so I printed the template and cut them by hand.


Alternatively, you can cut all of the shapes with scissors and the templates.
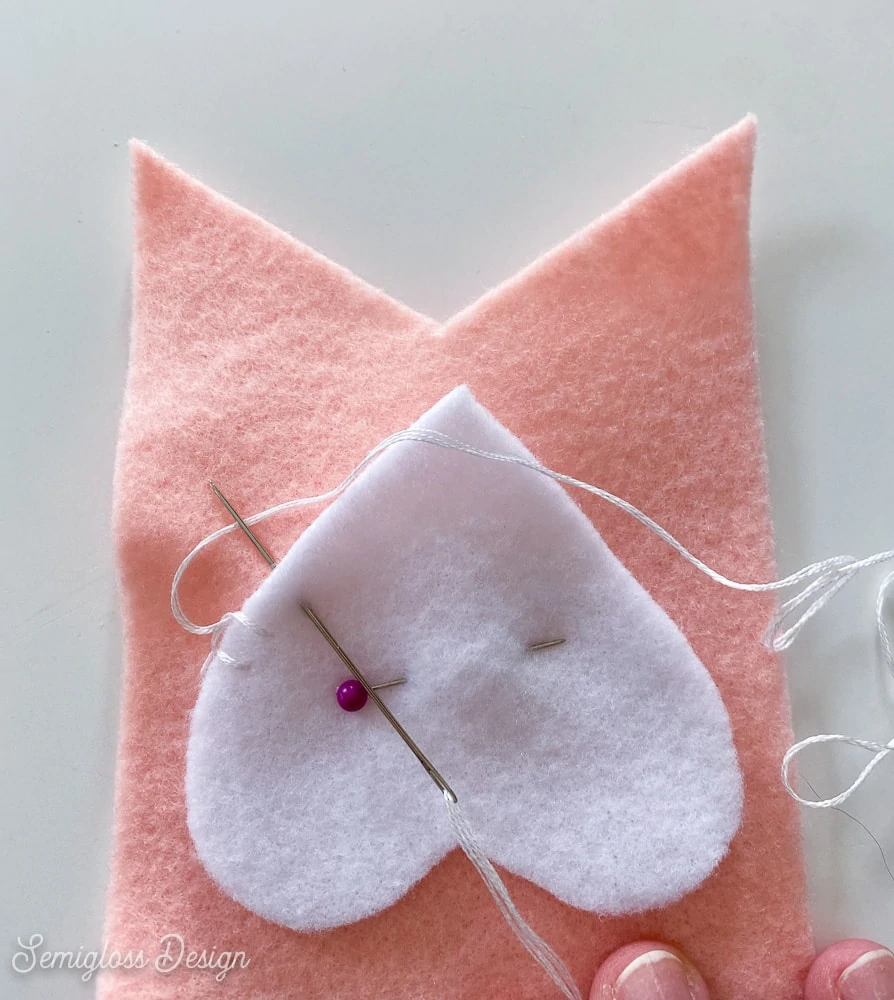
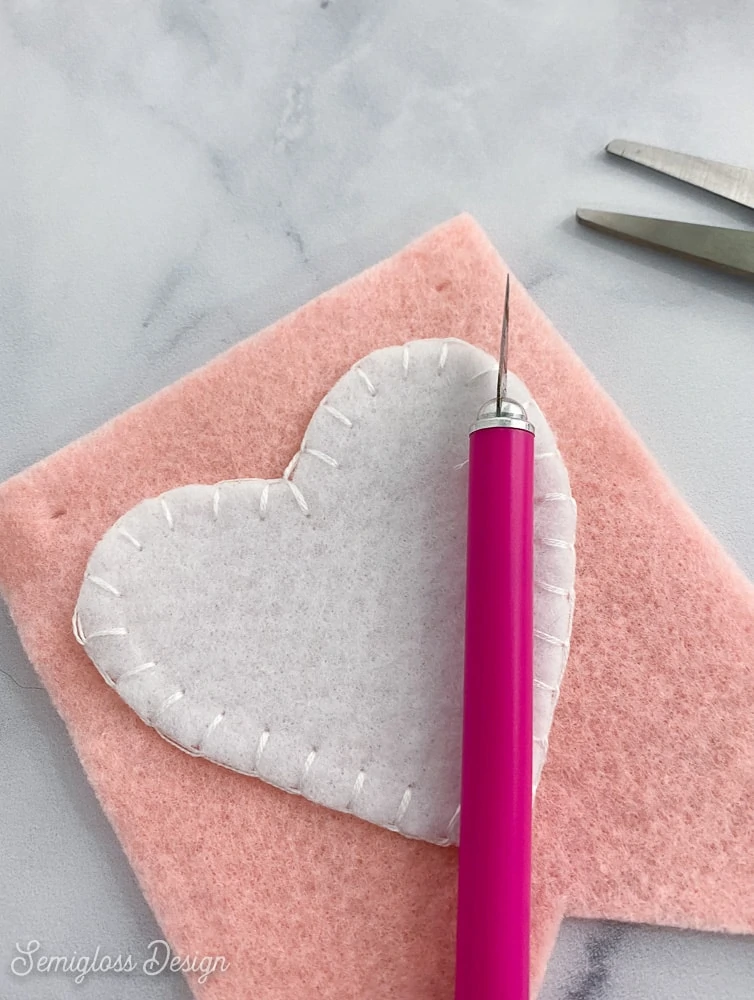
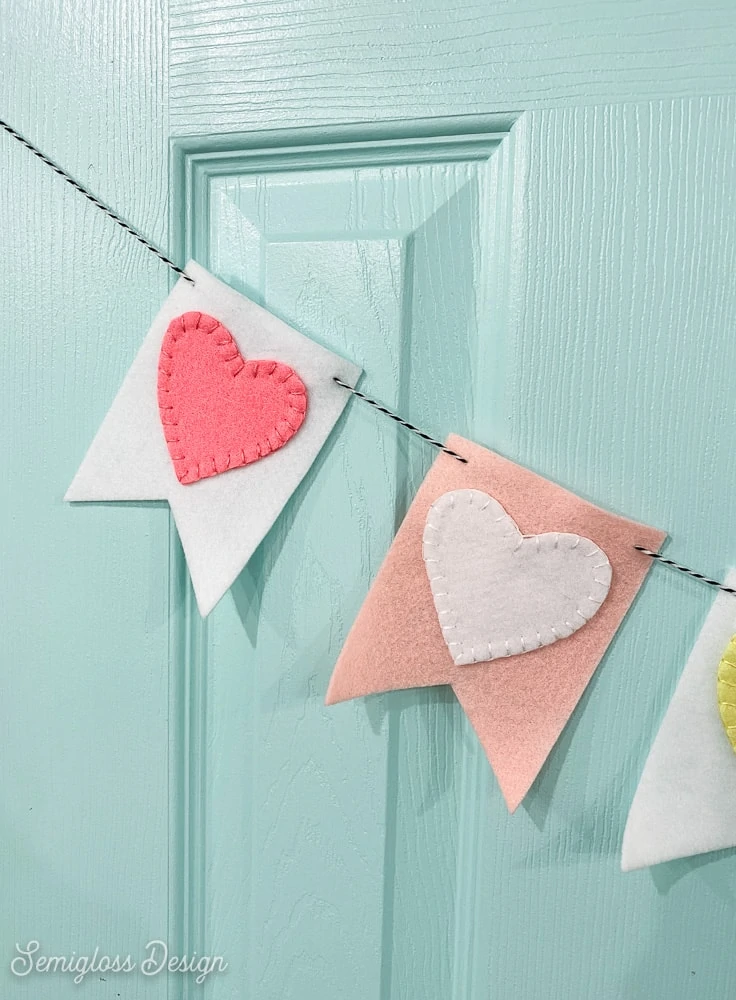
How to Attach the Hearts
(I also have a tutorial for attaching a fabric heart using applique.)
- Pin a heart to the center of each flag.

- Use embroidery floss and a needle to sew a blanket stitch around each heart. Start with the needle on the back of the flag and push it through along the edge of the heart. Place the needle back in the heart about 1/4″ down and over from where you started. Bring the needle back up along the edge 1/4″ from where you started, going through the loop that the prior steps formed.

- Keep going around the edge of the heart. Your stitches will get better as you go.


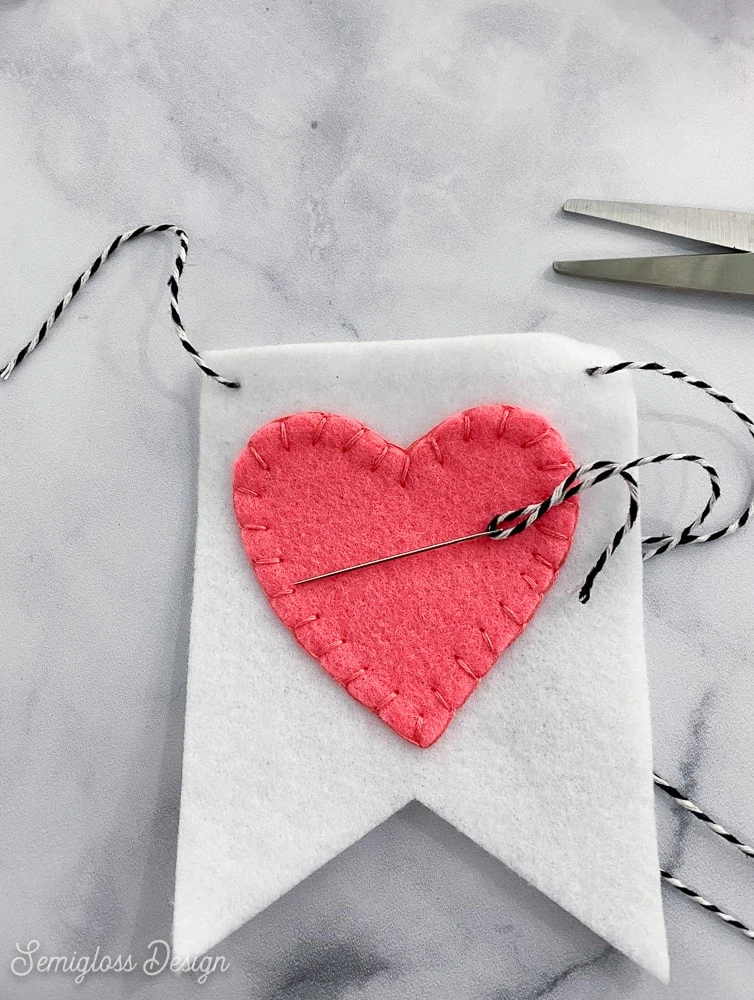
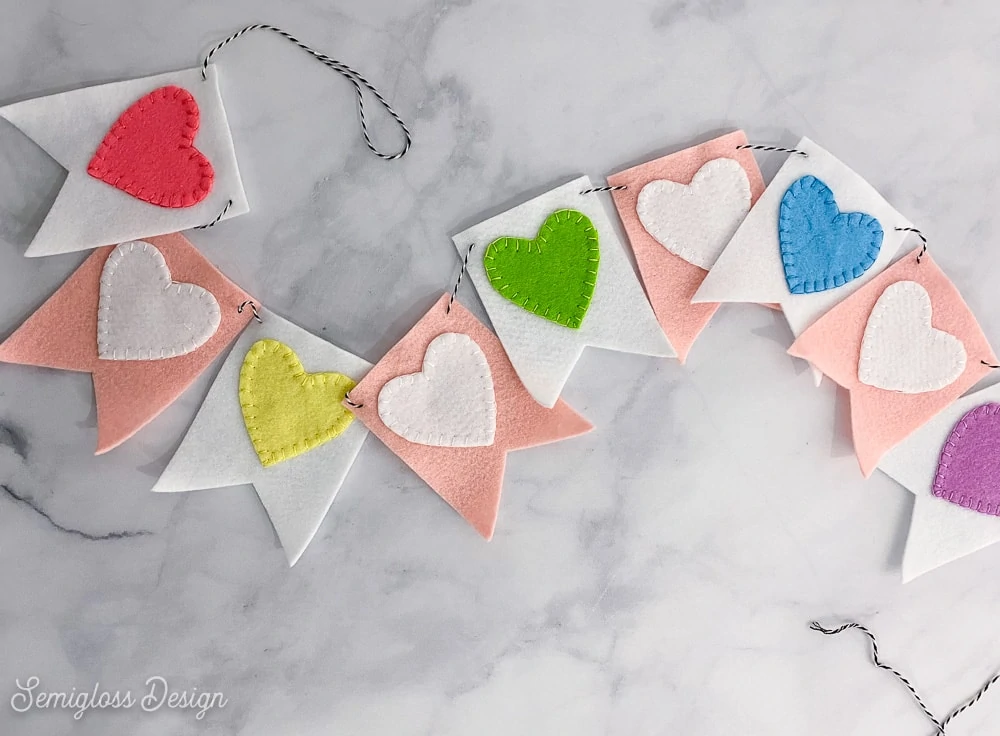
How to Make the Banner
The length will depend on how many flags you make, but I cut mine to about 7′ long.
- Use a utility knife or sharp scissors to cut tiny slits into each flag.
- Run string through each flag. I used a large needle to make the job easier.
- Evenly space each flag along the string.

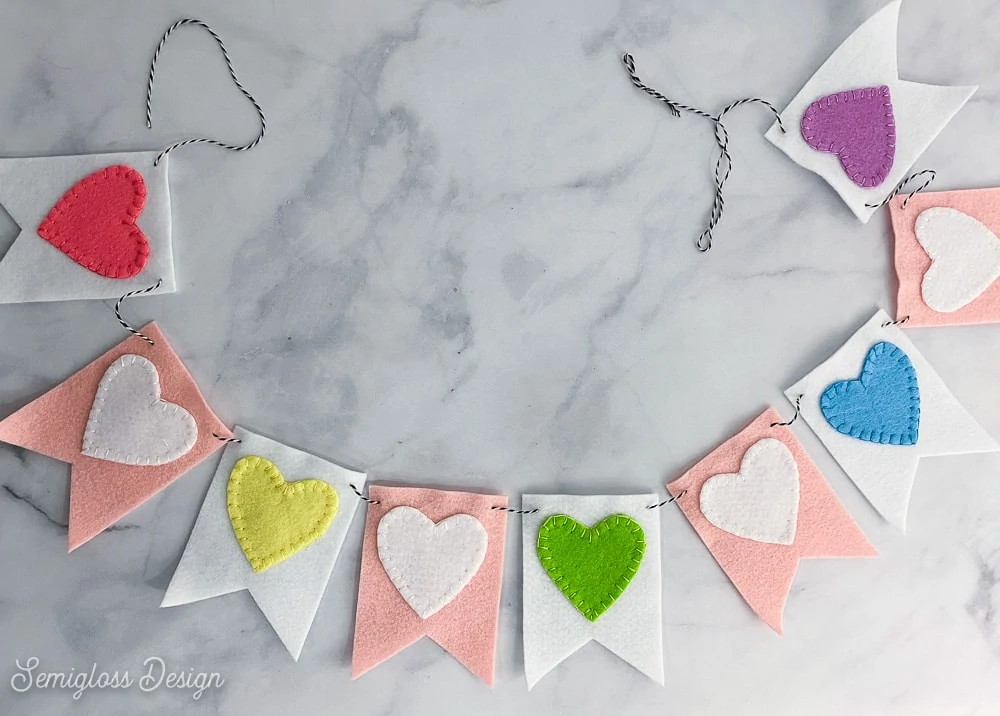
I love working with felt!
More Valentine’s Day Ideas
- Etched Wine Glasses
- Gold Foil Ampersand Art
- Ombre Wood Wreath
- Stamped Fabric Pencil Pouch
- Wooden Heart Wreath
- Faux Leather Valentine Earrings
Download the Banner and Heart Template/SVG
All downloads are for personal use only. Please do not redistribute or sell files.
You will receive a zipped file containing the following files: SVG, PNG, JPG, and DXF files. (DXF can be used with a Silhouette.)
You will also receive a printable PDF to use if you do not have a cutting machine.
Print scaled to 100% for best results.
You might also like:
Pin for Later!

Emy is a vintage obsessed mama of 2 DIYer who loves sharing affordable solutions for common home problems. You don’t need a giant budget to create a lovely home. Read more…


Is the pdf for the banner no longer available?
The link still works. You’ll need to download the zip file and the PDF is in there.