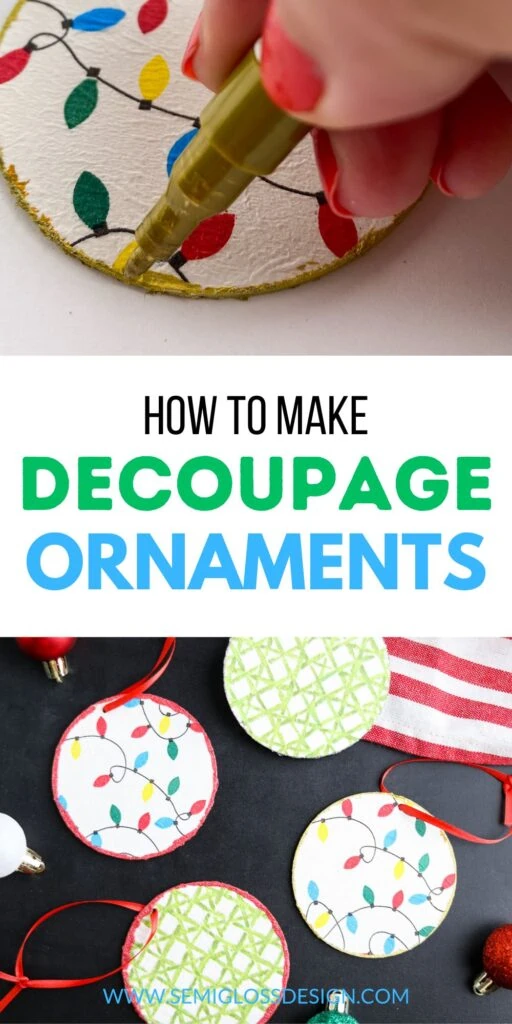
Easy to Make Decoupage Napkin Ornament
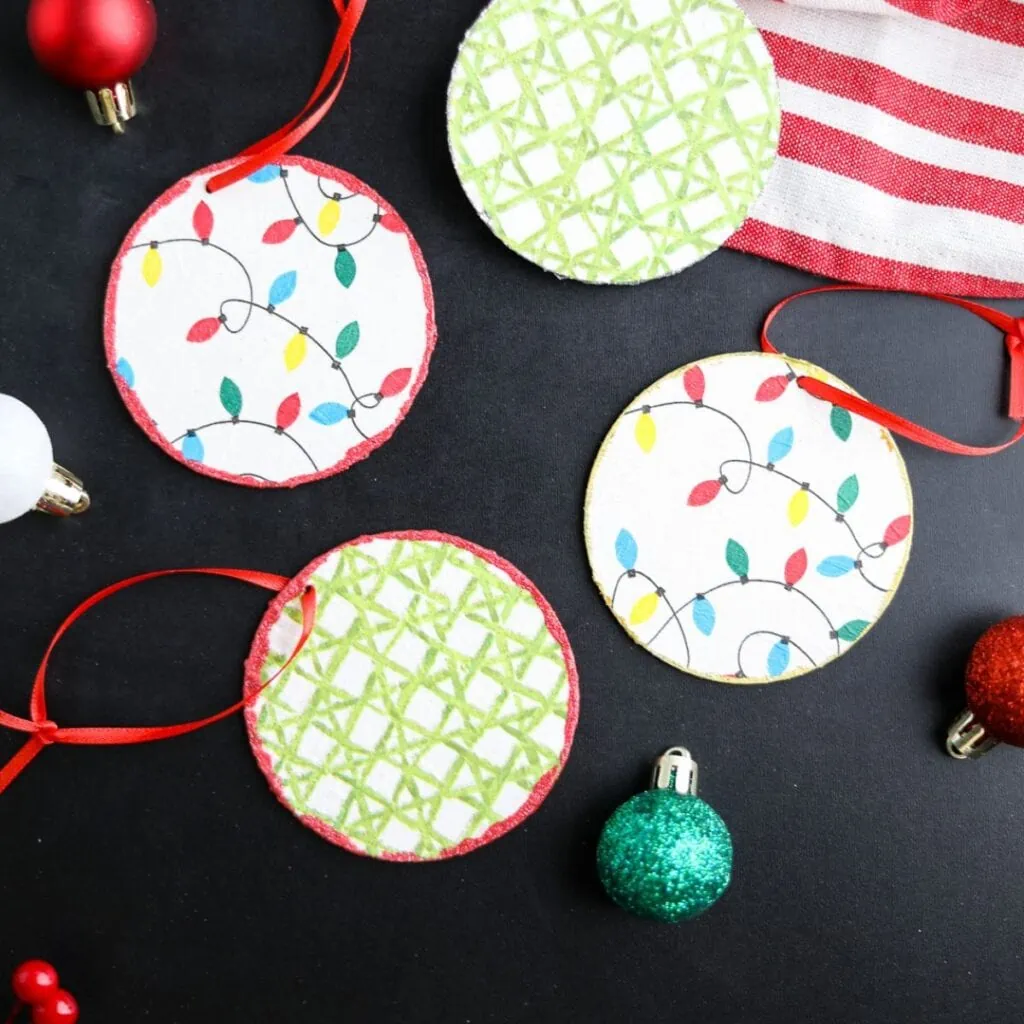
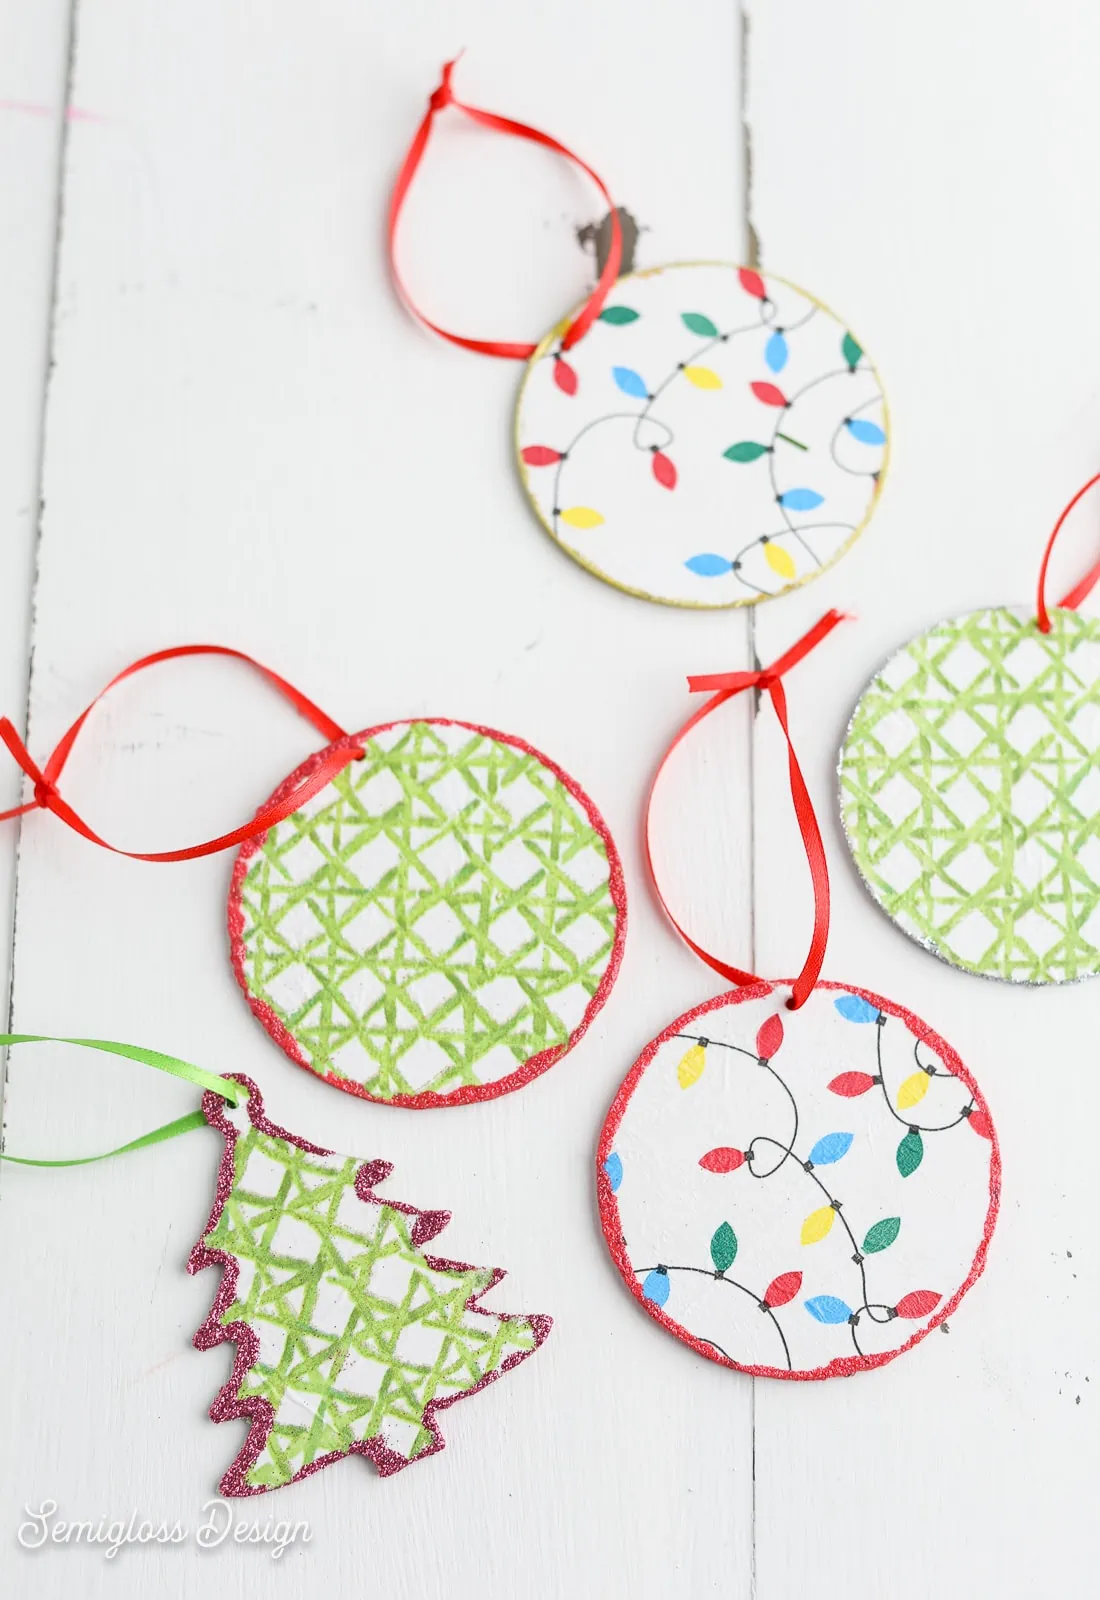
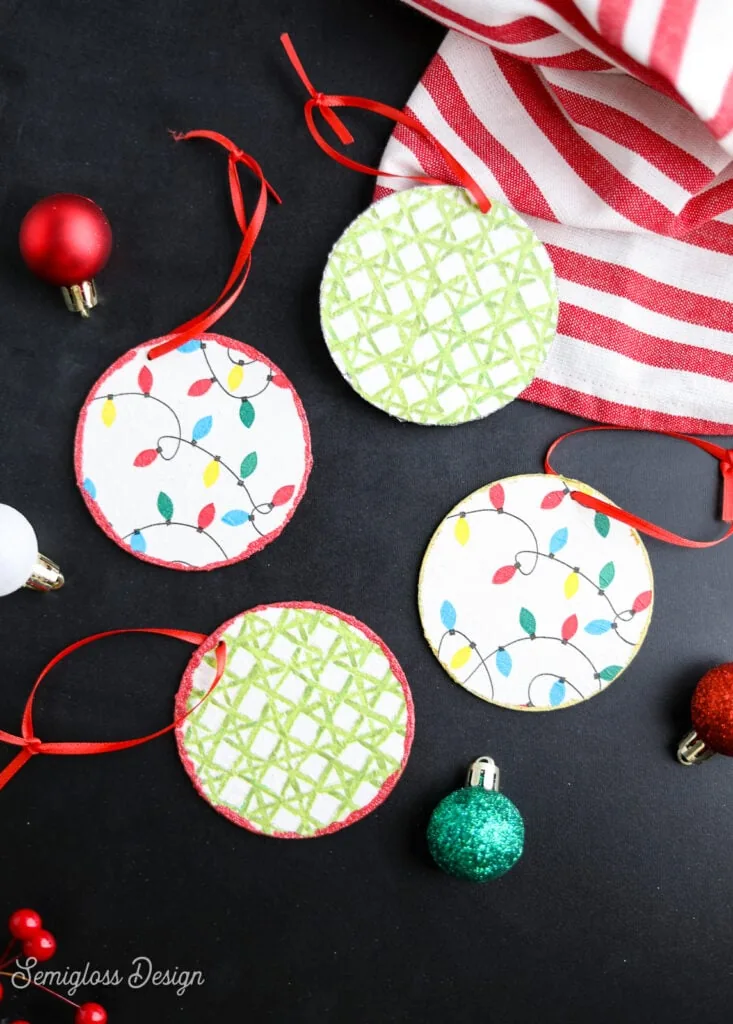
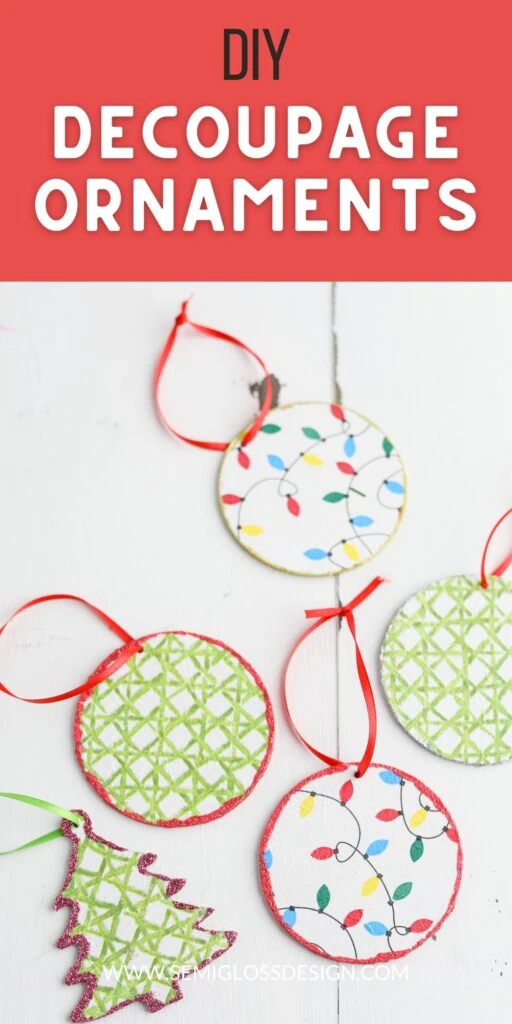
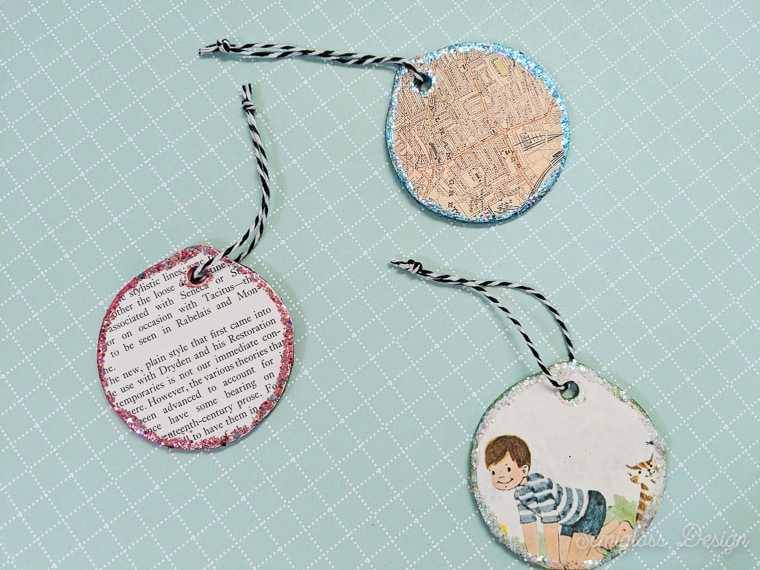
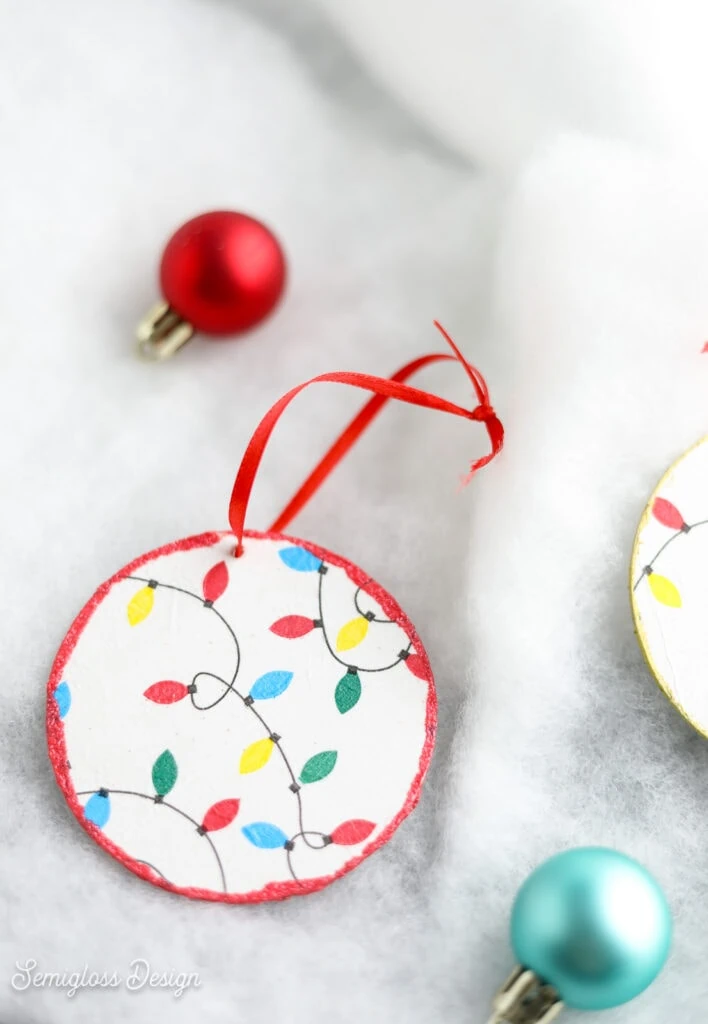
These DIY decoupage napkin ornaments are so easy to make! These patterned ornaments have a glitter edge to add sparkle for the holidays. These fun ornaments make it easy to match your holiday decor to your home style.
You might like these other DIY Christmas ornaments.
This post contains affiliate links. By purchasing an item through an affiliate link, I earn a small commission at no extra cost to you. As an Amazon Associate I earn from qualifying purchases.
After making these fun decoupage coasters, I knew I needed to make ornaments, too!
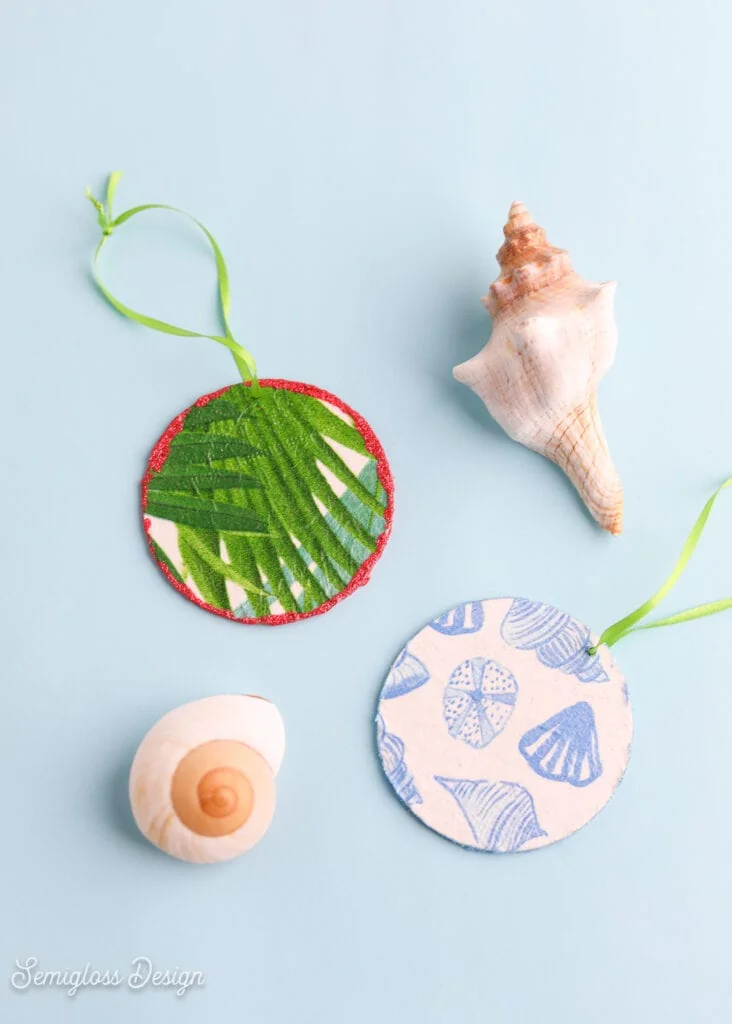
Paper napkins come in the best patterns and make the cutest ornaments. It’s so easy to find patterns that match your Christmas decor. I even made some cute beachy-themed ornaments.
DIY Decoupage Napkin Ornaments
Supplies Needed:
- Flat ornament blanks*
- White craft paint
- Decoupage glue
- Paintbrush
- Paper napkins**
- Exacto knife
- Sandpaper
- Glue
- Glitter
- Gold paint pen (optional)
- Ribbon (to hang)
*Ornament blanks come in a variety of shapes. I used these round ones and tried a Christmas tree shape. For this project, the round ones were much easier to work with.
**Paper napkins come in a variety of patterns and colors. I have a post on some of my favorite paper napkins here, but I love the Christmas light pattern that I used.
- This process is a bit messy, so protect your workspace. I like to use a sheet of freezer paper.
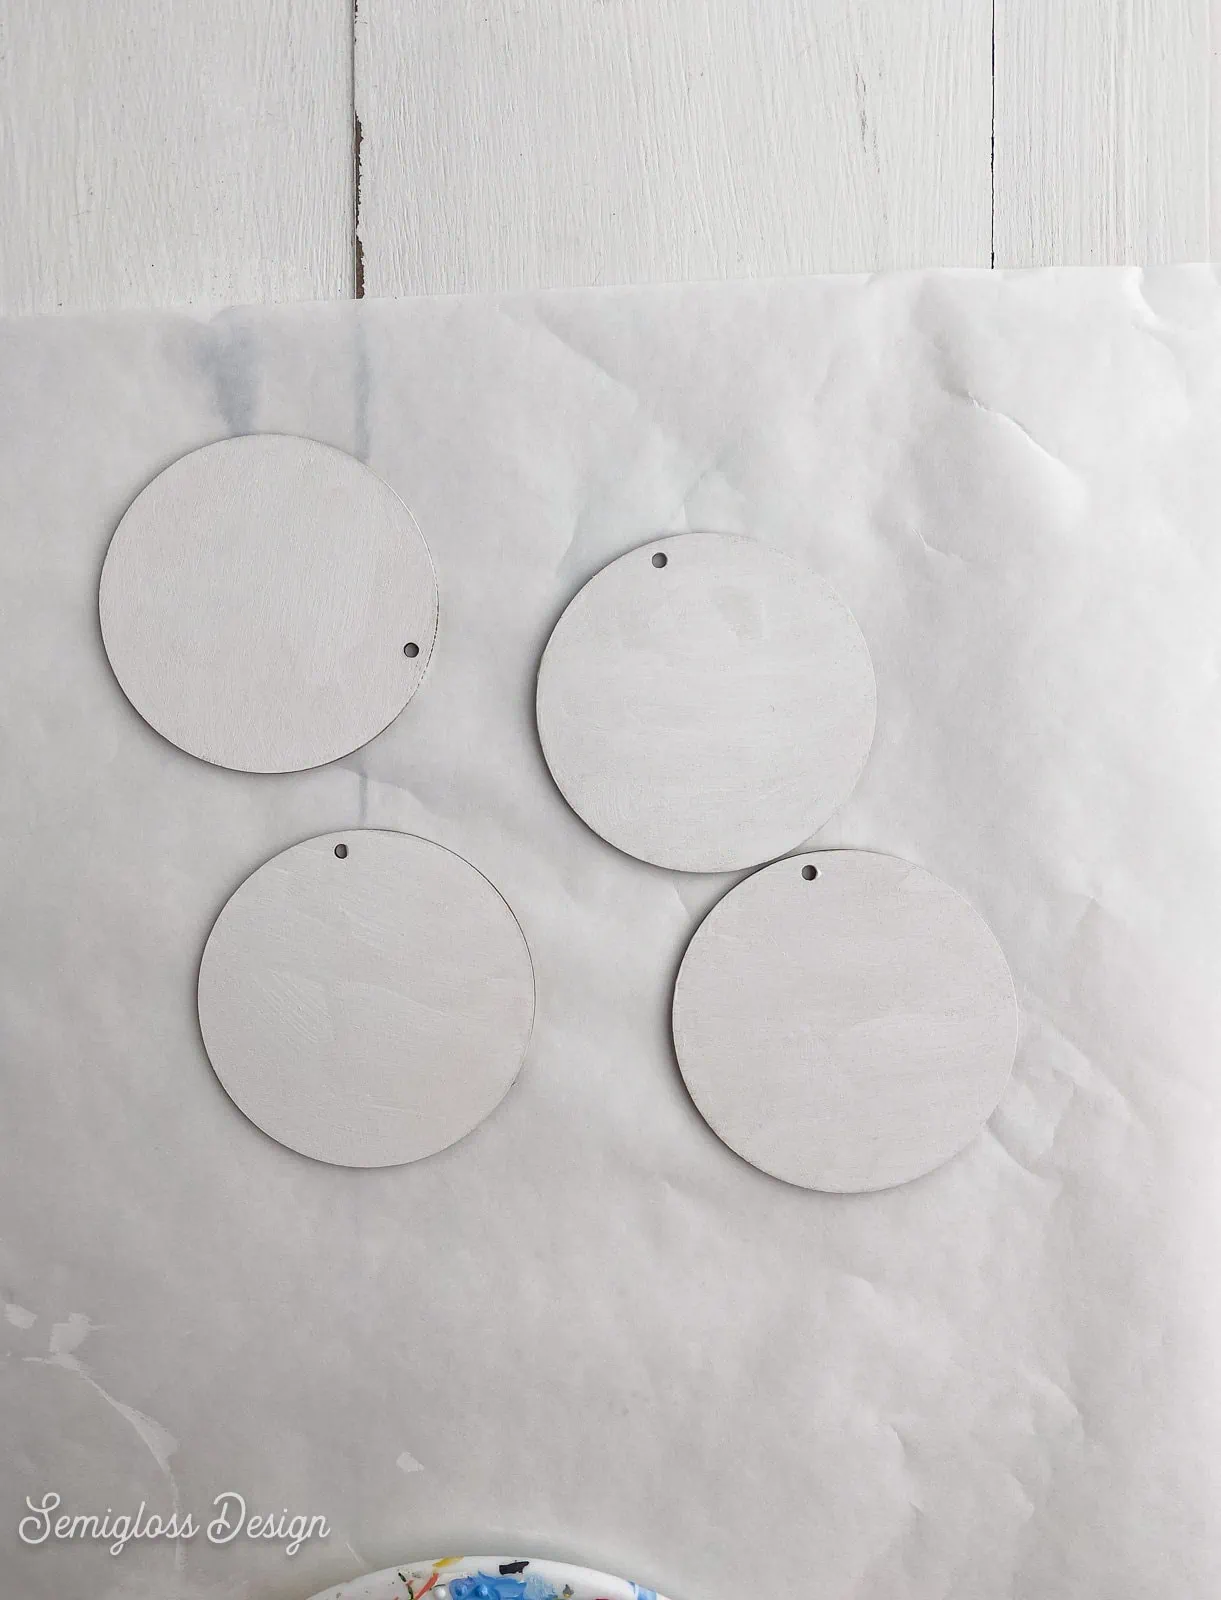
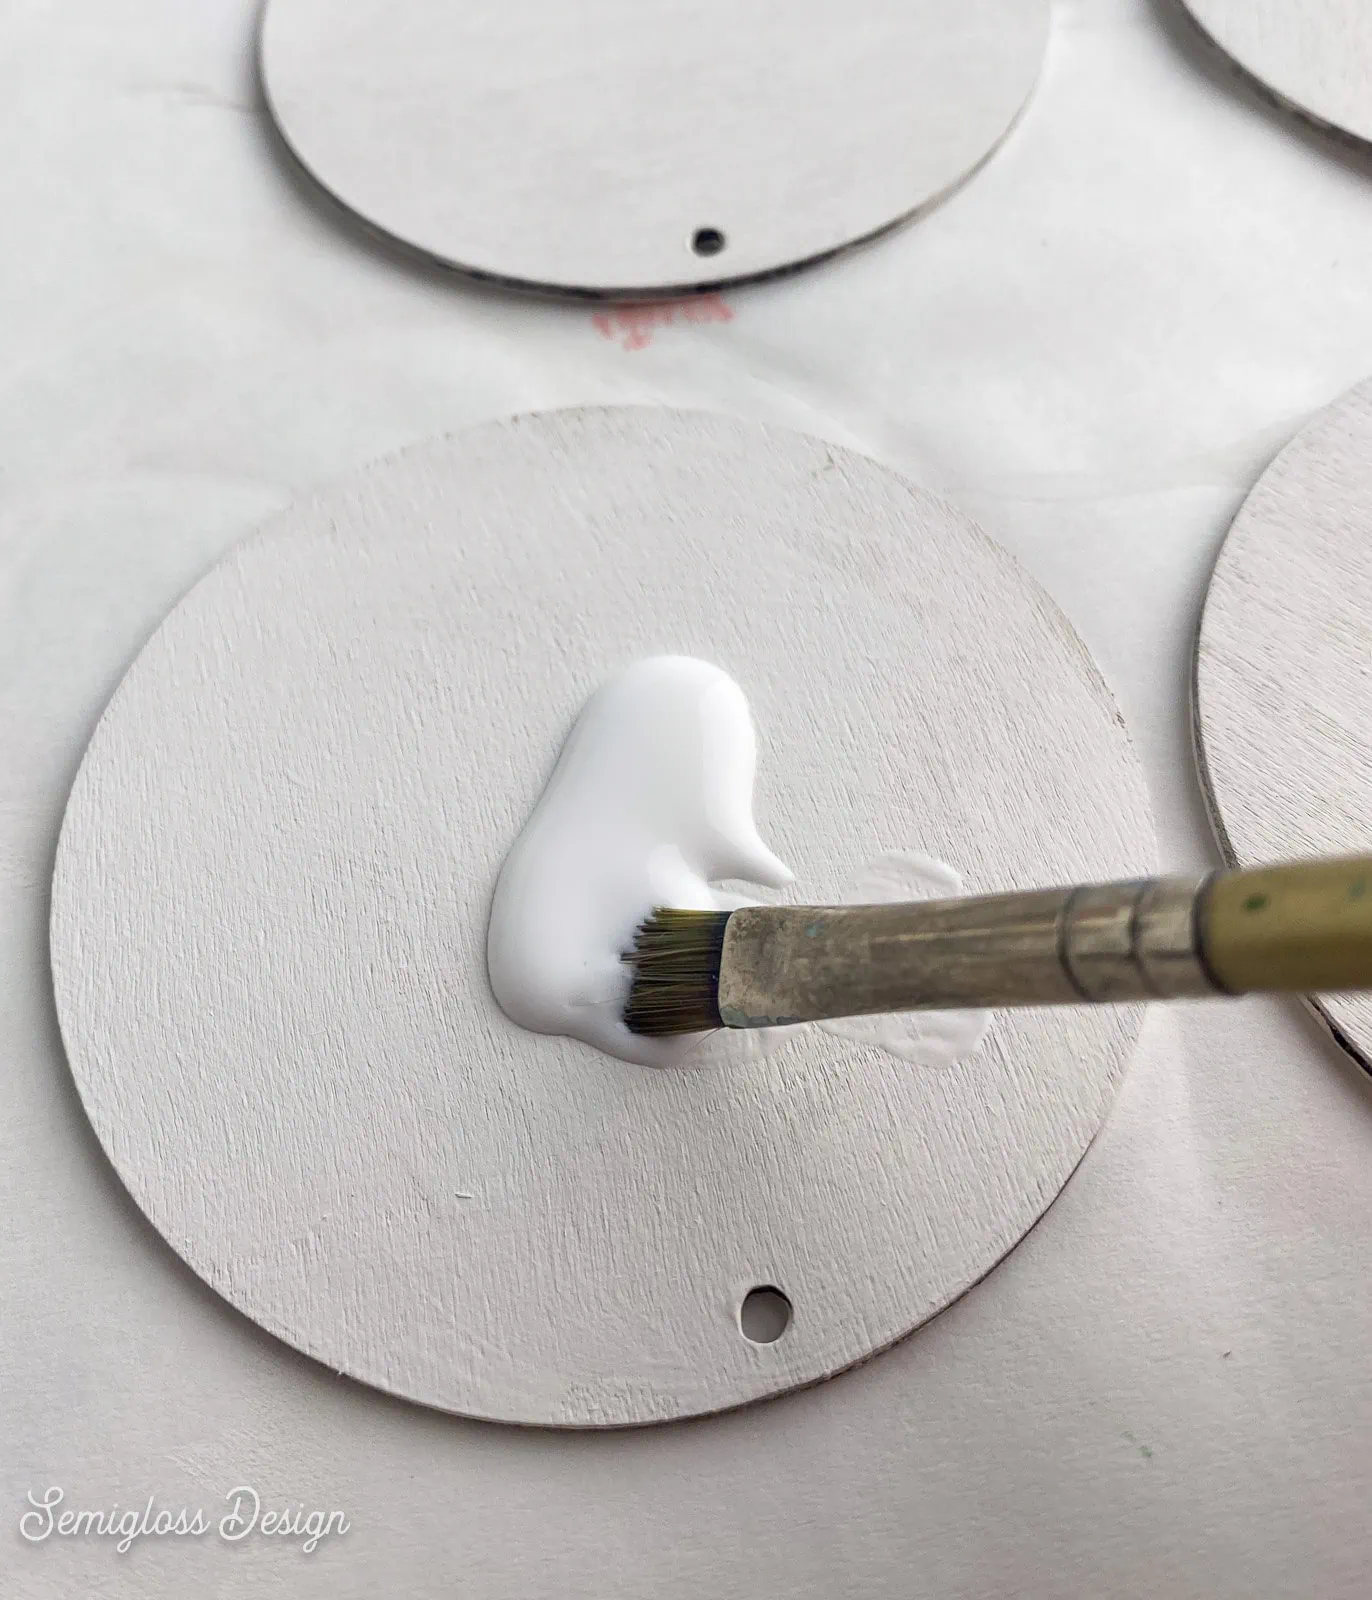
- Paint the ornaments white. You might be tempted to skip this step, but it’s pretty important. When you apply glue to the paper napkins, they become transparent, and you will see the color of the wood behind the napkins. Painting them white provides a white background for the patterns.
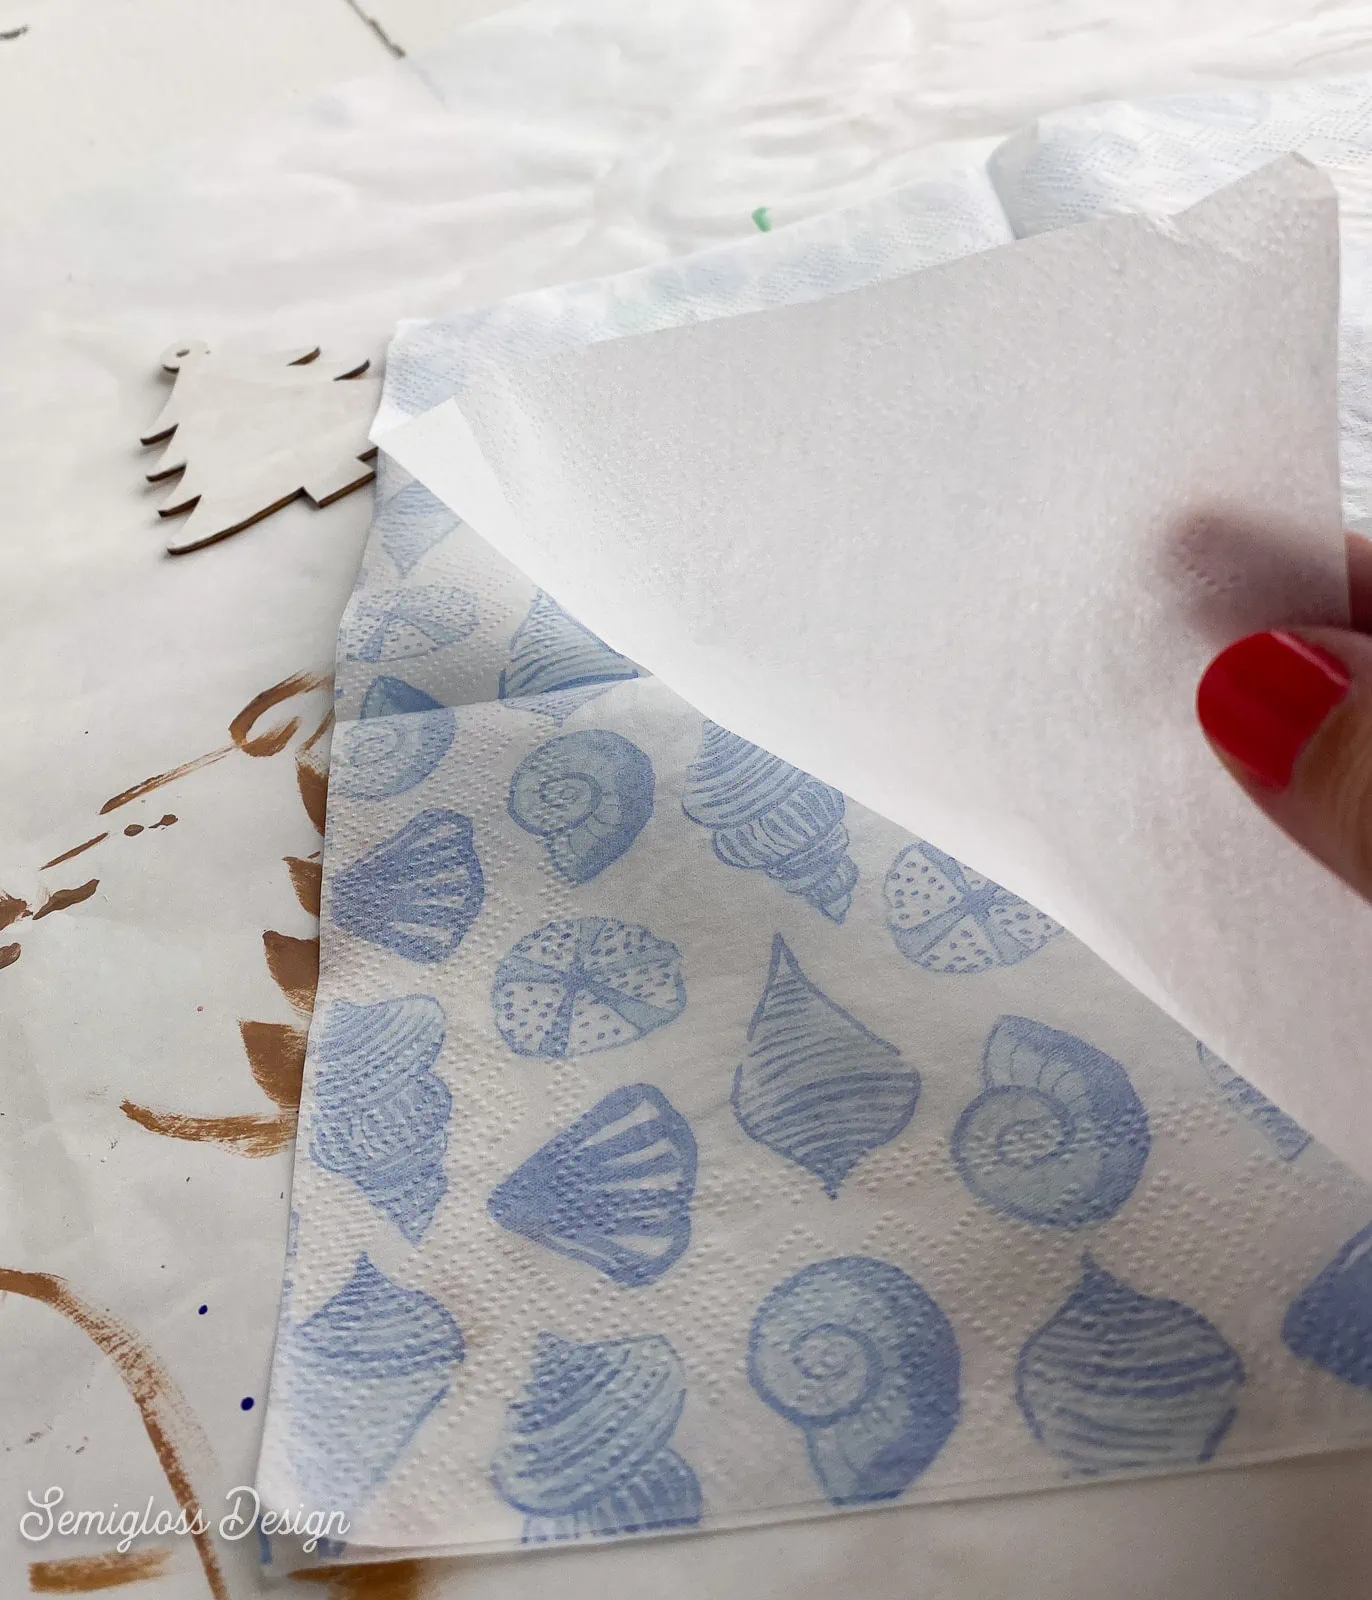
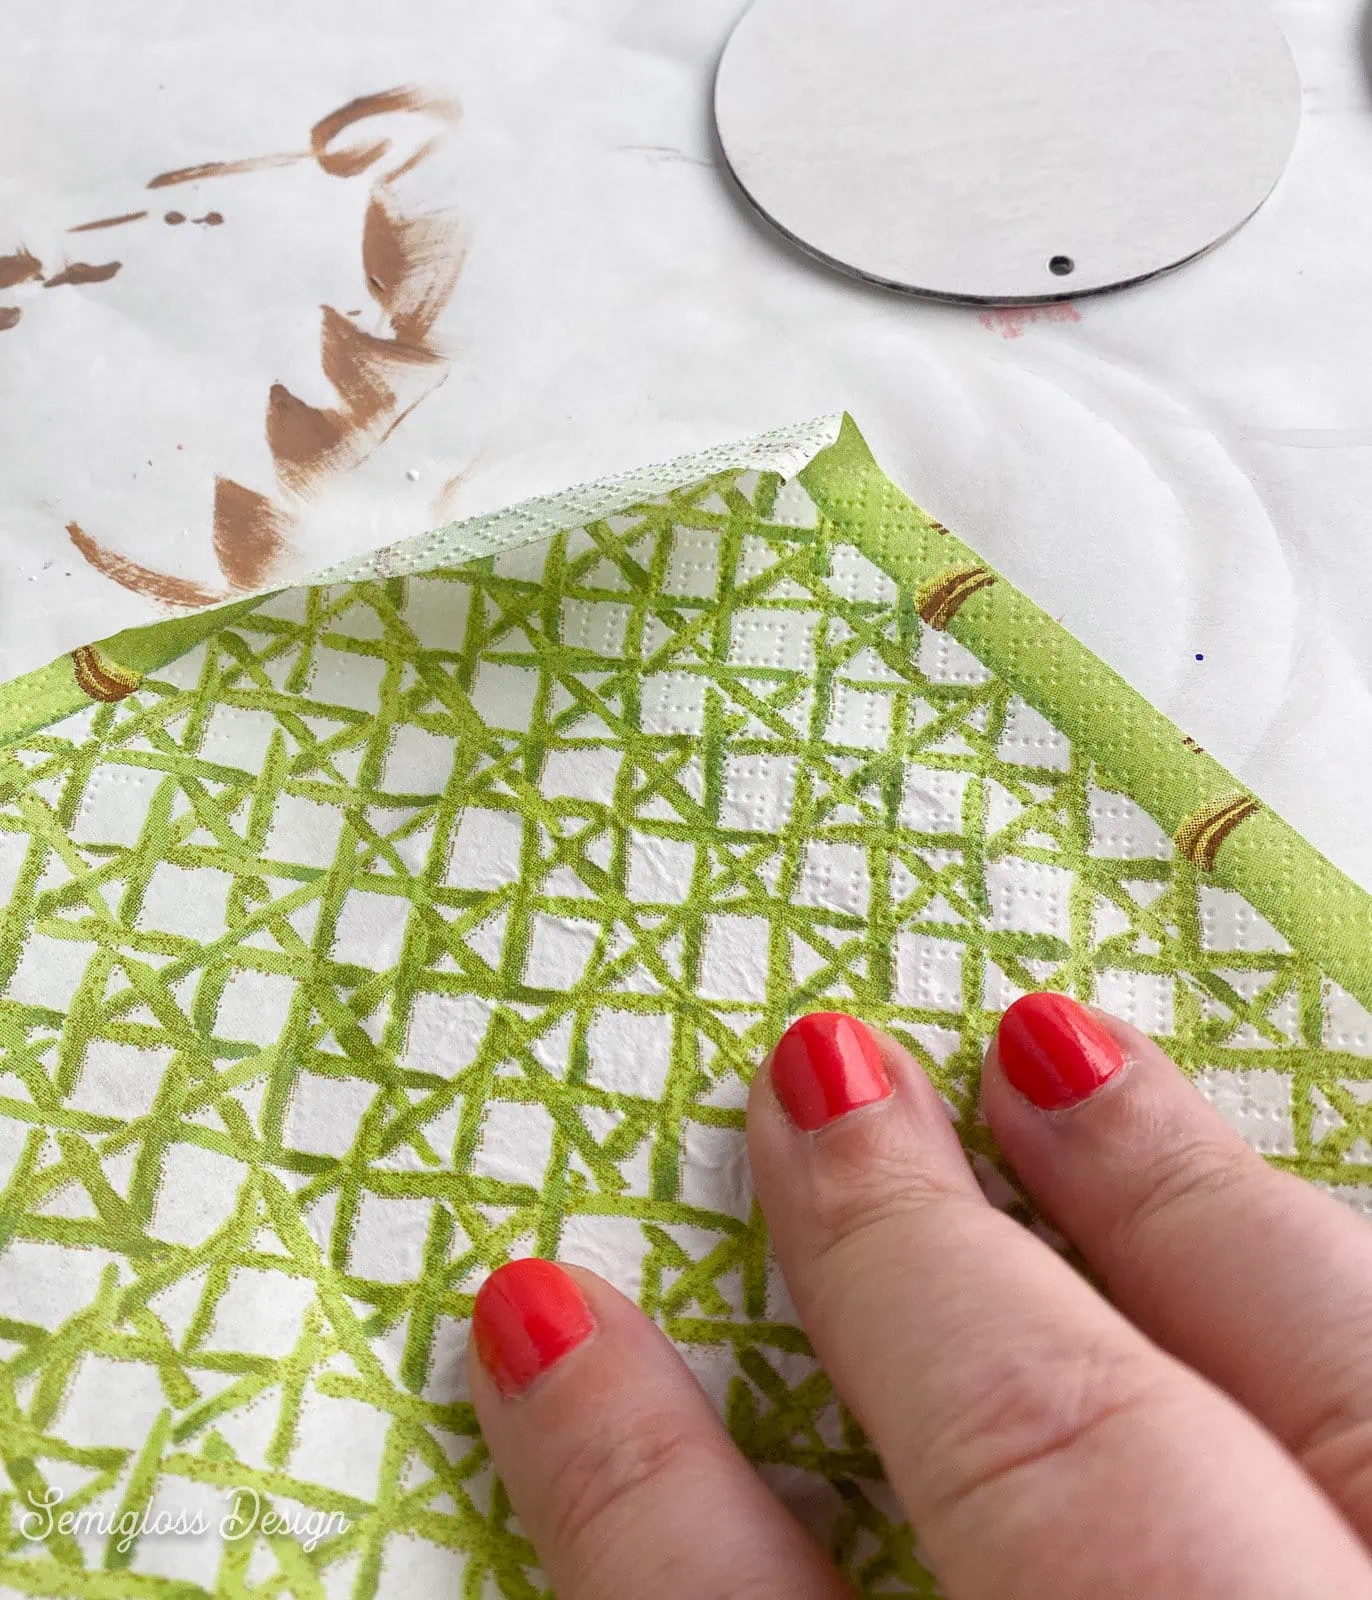
- Separate the napkin layers. For this project, remove as many white layers as possible. Some napkins only have two layers, but some have 3 or 4. Thinner layers are easier to work with.
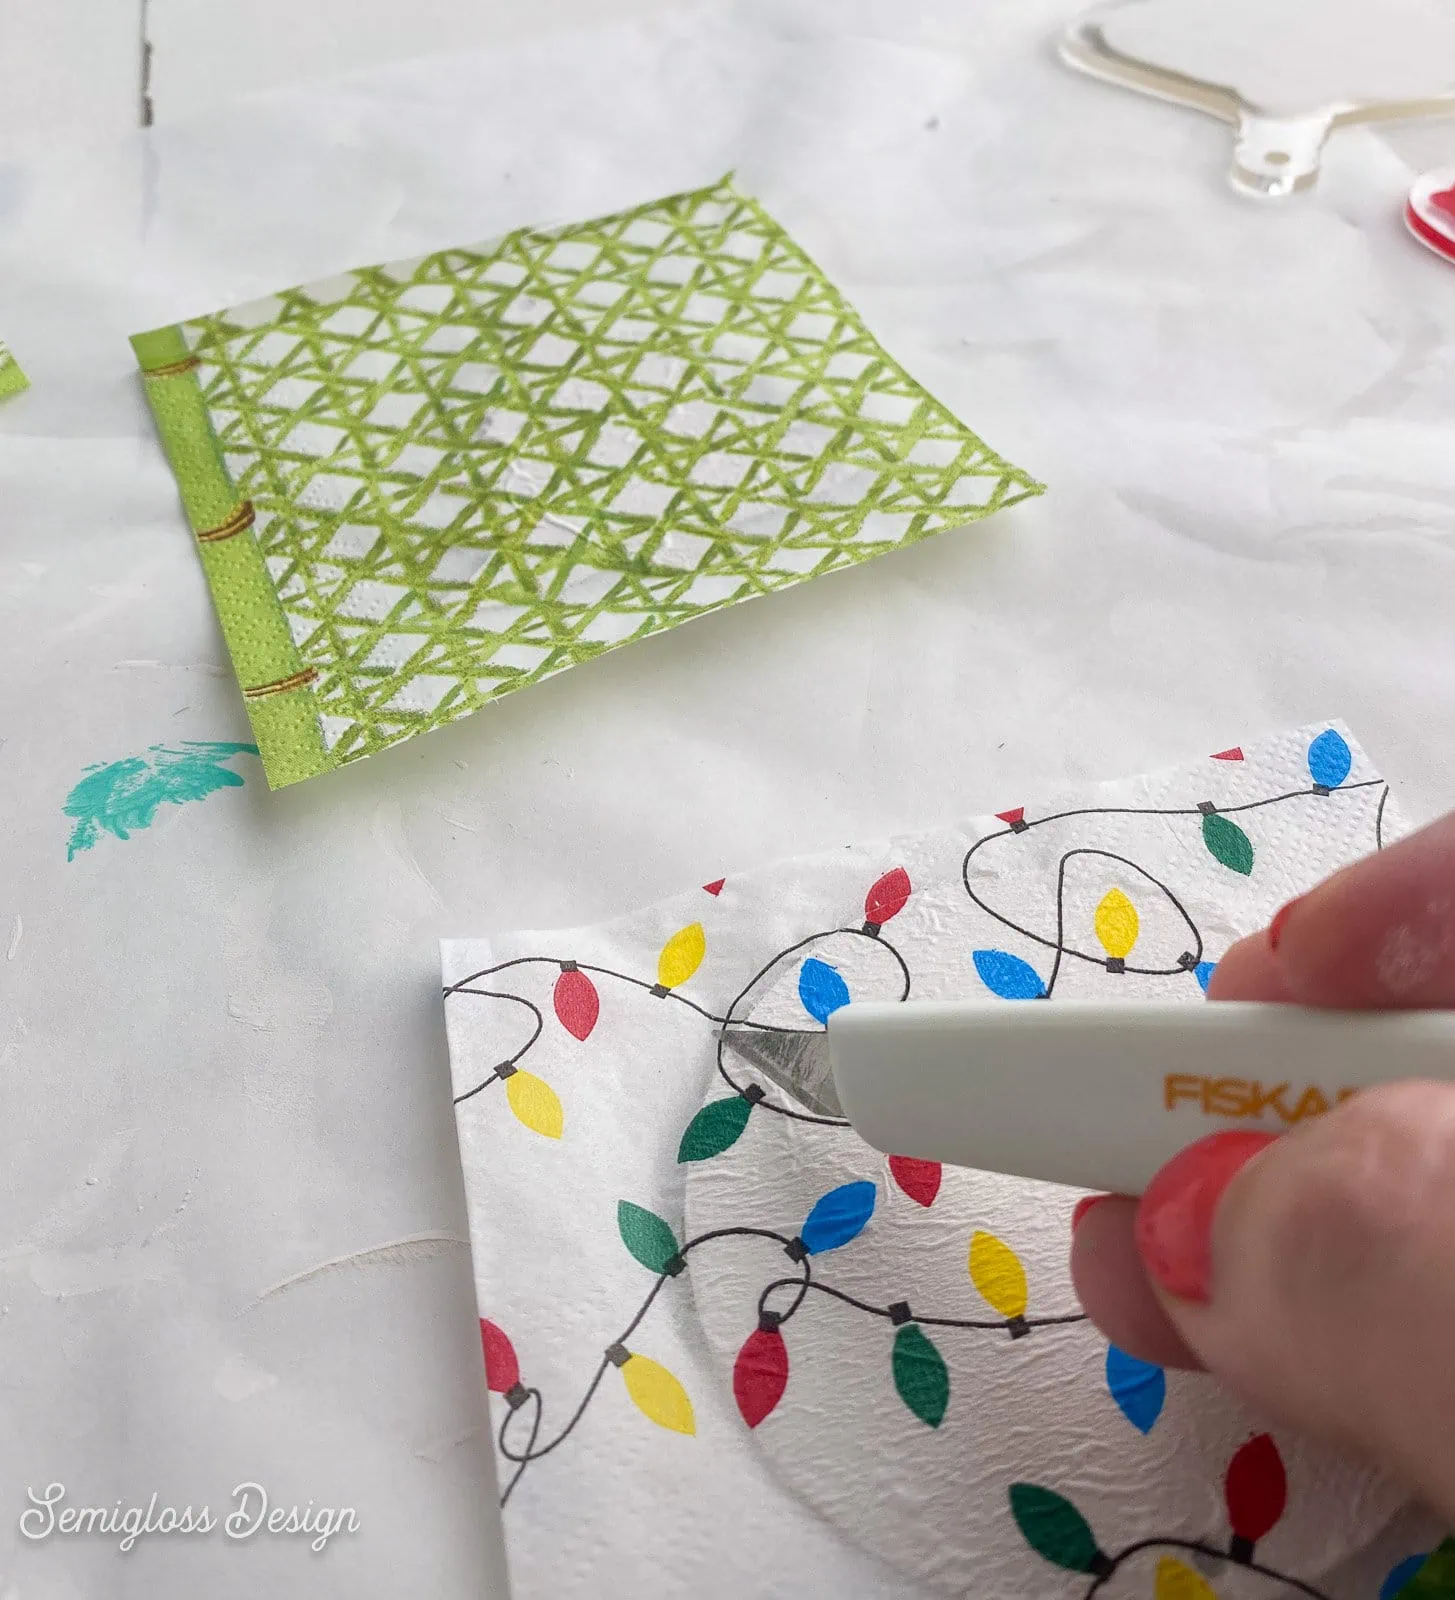
- Cut a piece of napkin a little larger than the ornament.
- Apply decoupage glue to the ornament.
- Place the napkin piece onto the ornament and smooth it out with your finger.
- Let it dry.
- When it’s dry, use a piece of sandpaper or an exacto knife to remove the excess napkin. Scrape the edges to remove the extra paper gently.
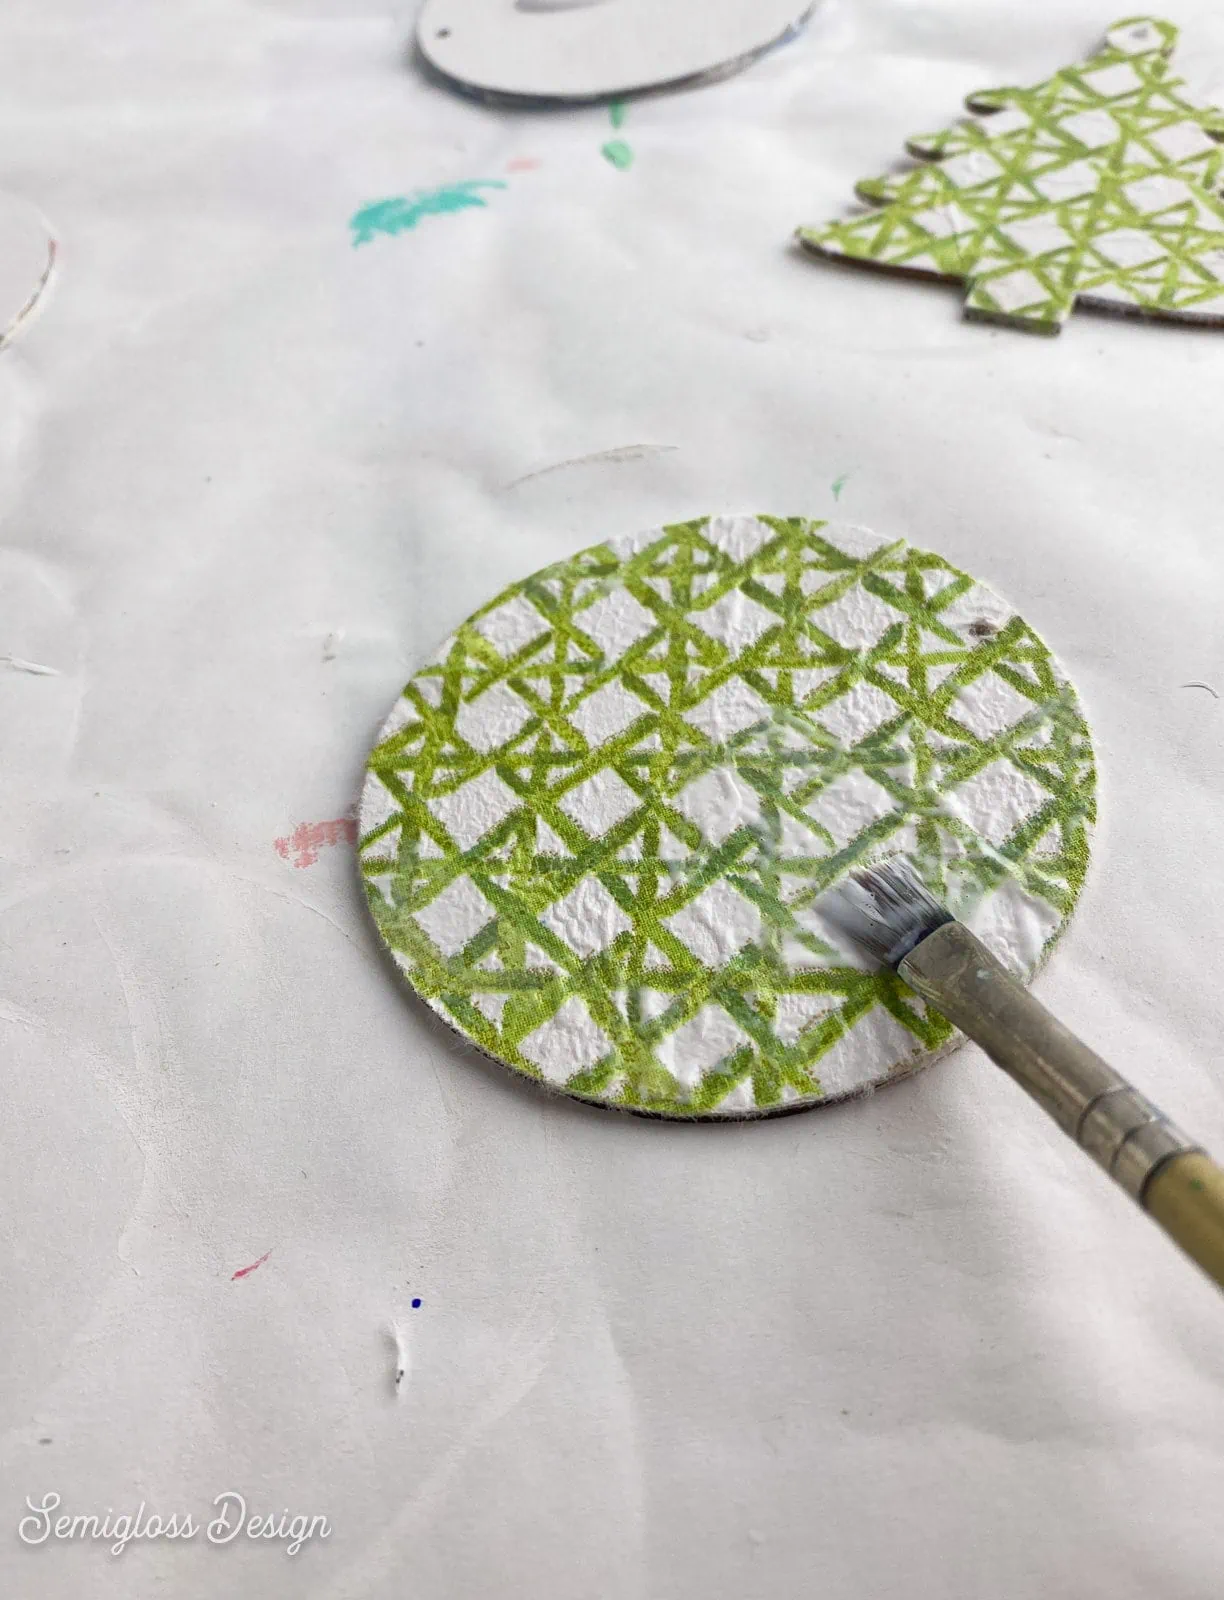
- Apply a layer of decoupage glue to seal the paper.
- Then repeat for the other side.
- Apply a layer of decoupage glue to the top of the paper to seal it.
- Let it dry.
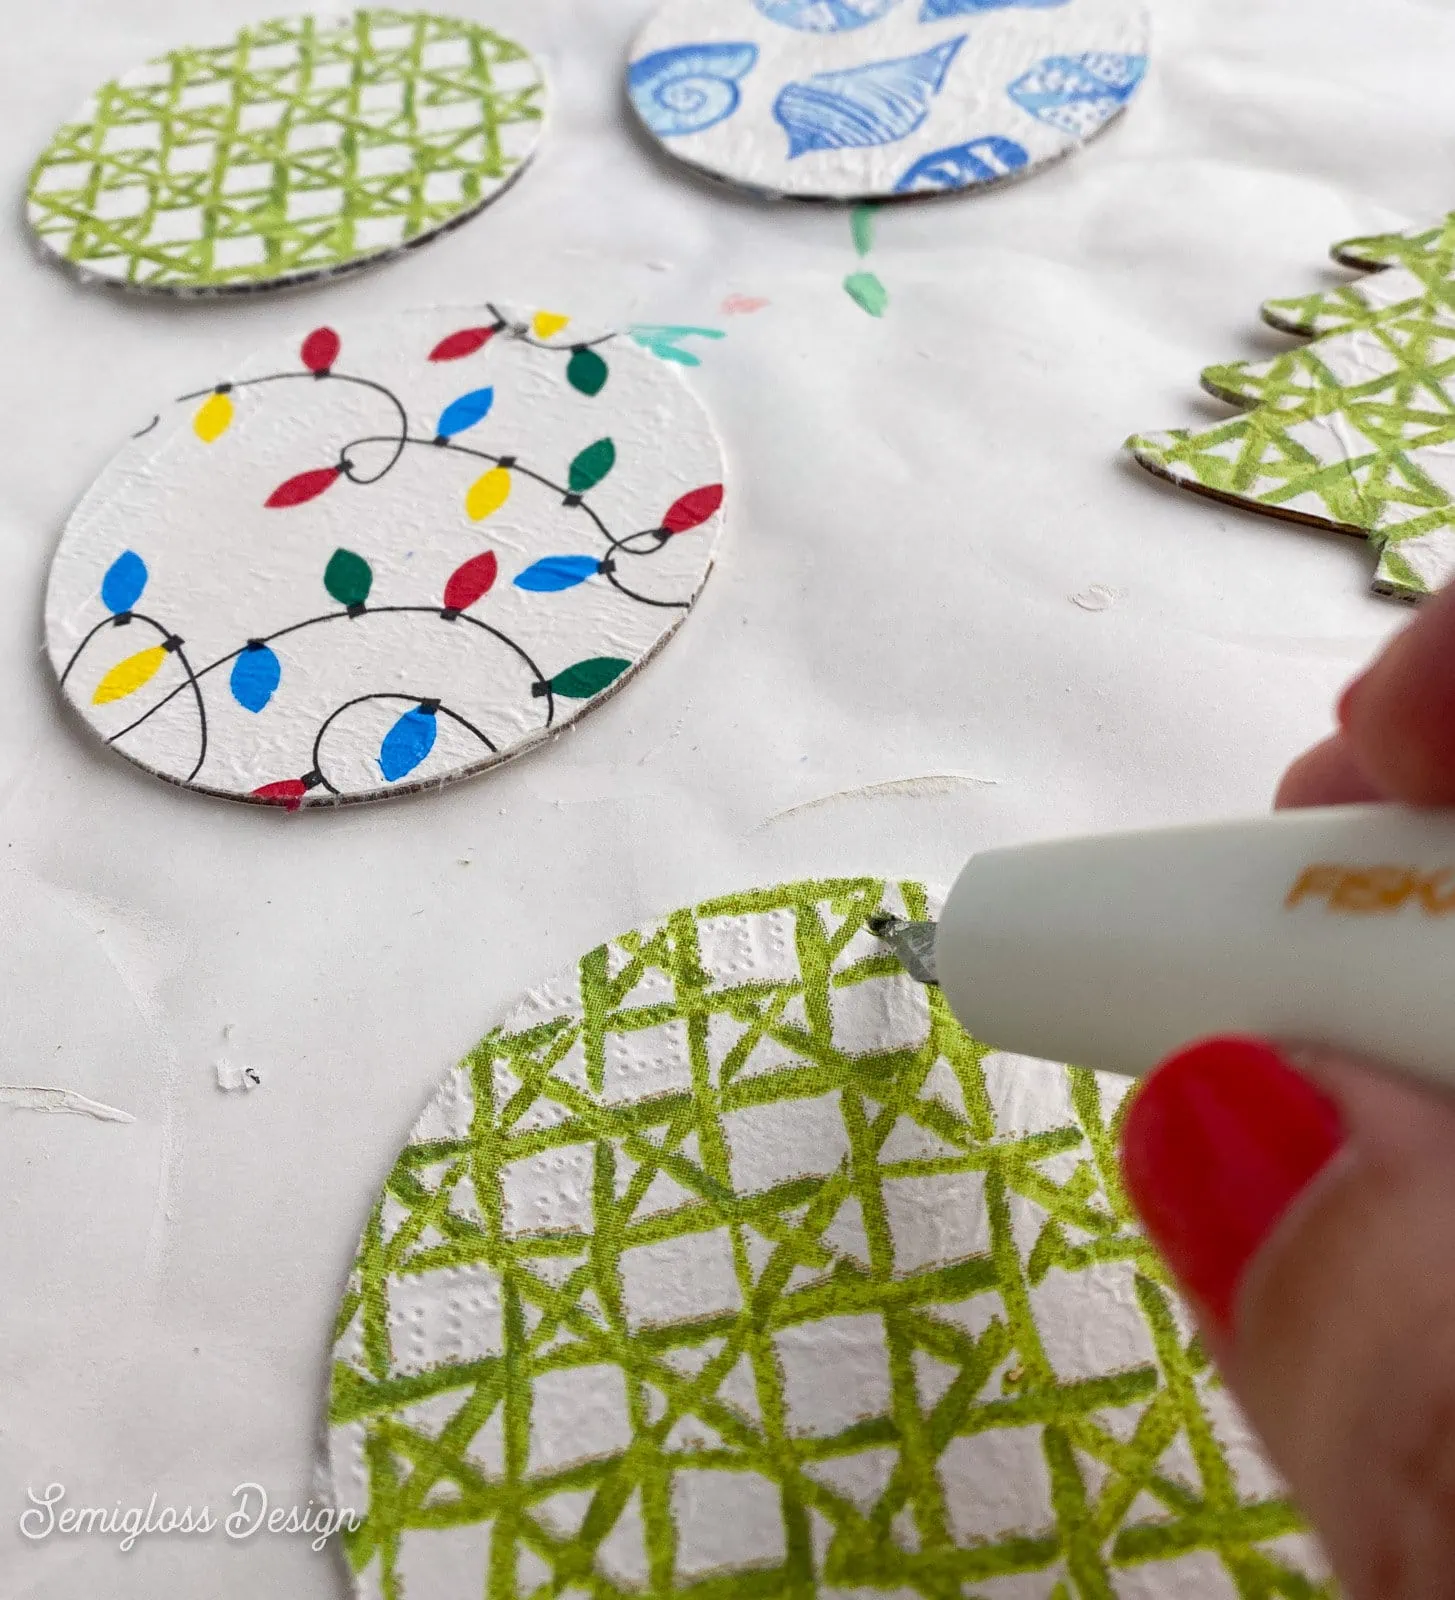
- Use the exacto knife to poke holes through the paper to hang. (Hold it to the light if you can’t see them anymore.)
Finishing the Ornament Edges
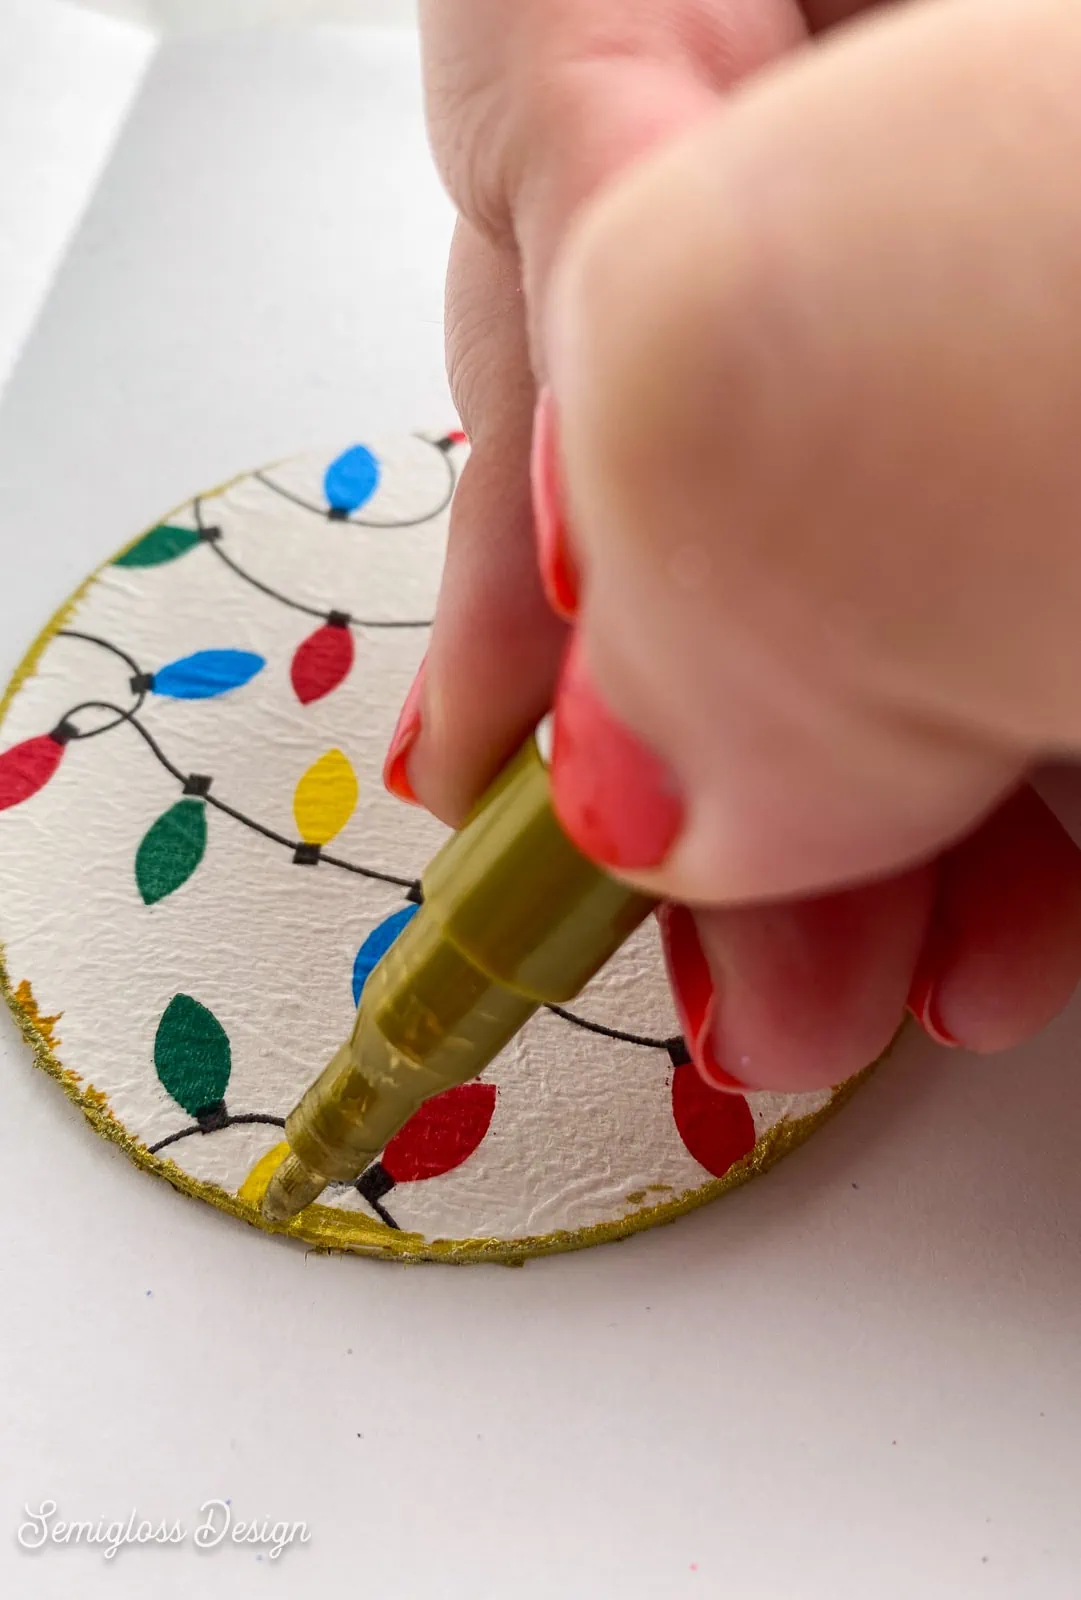
I used glitter for most of the ornaments, but I used a gold paint pen for one. Both ideas are cute. The pen was easier, but it’s a bit stinky since it’s oil-based.
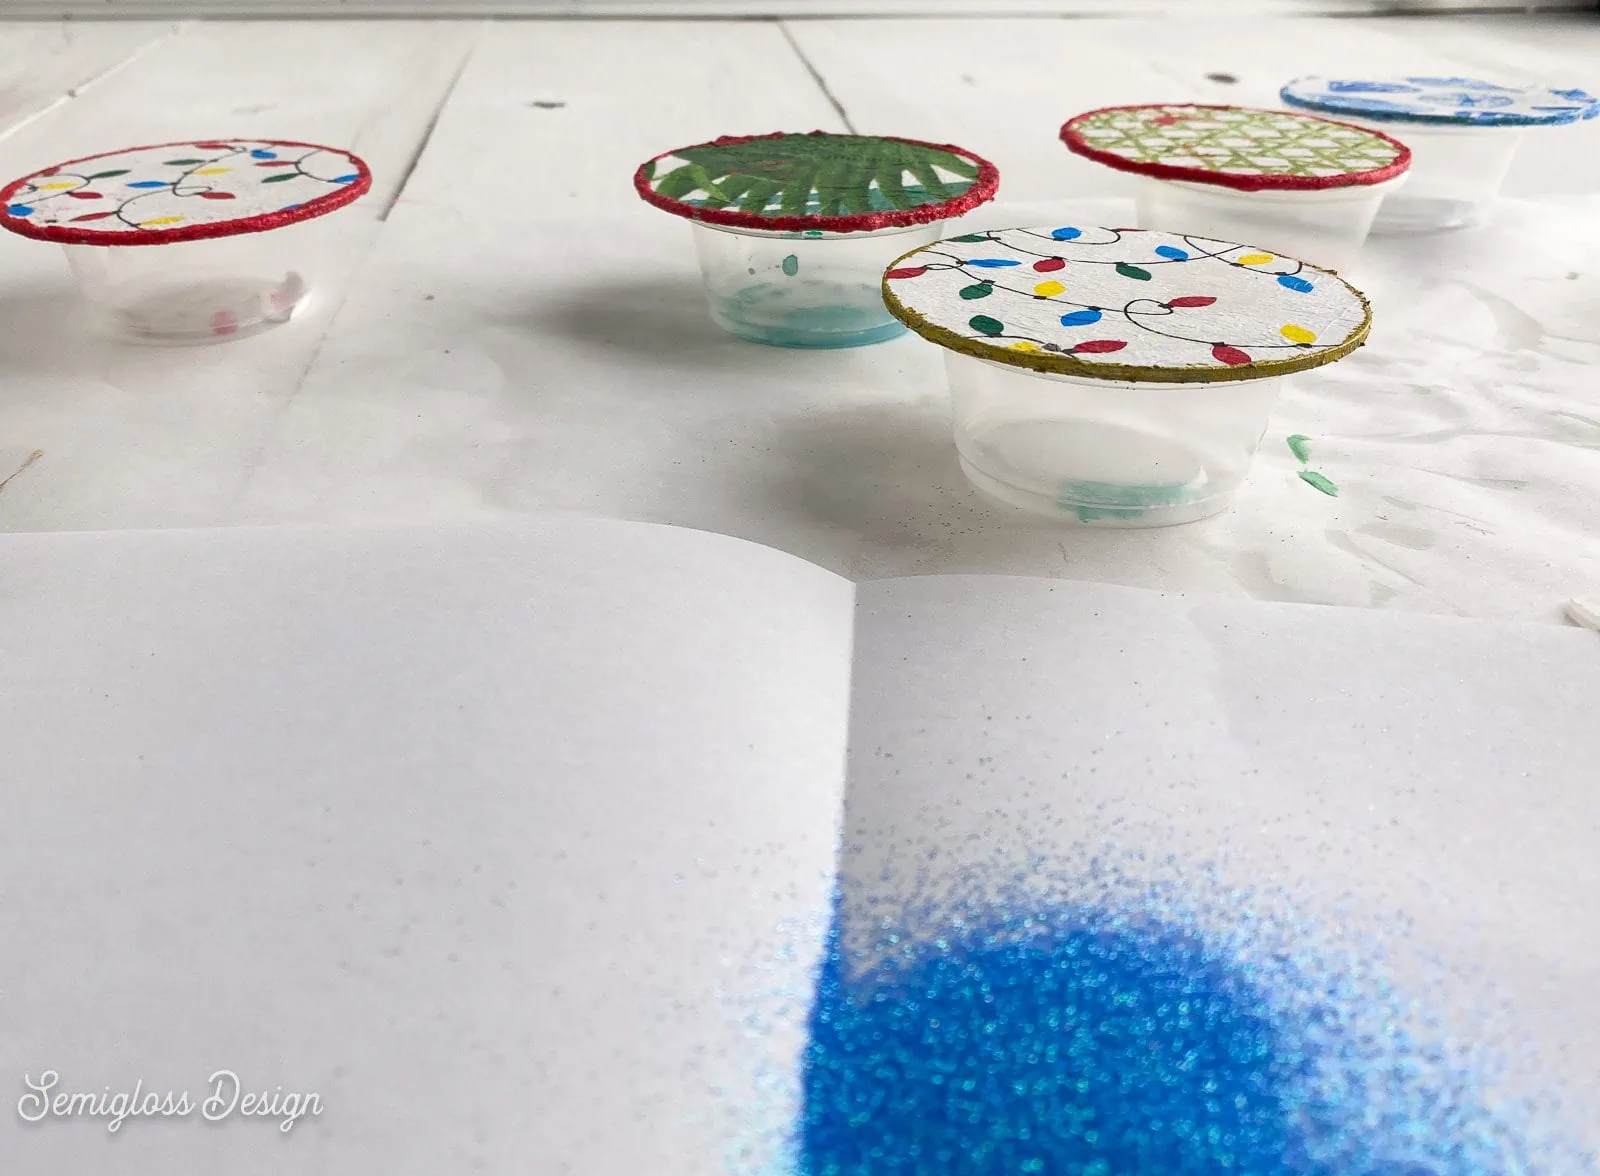
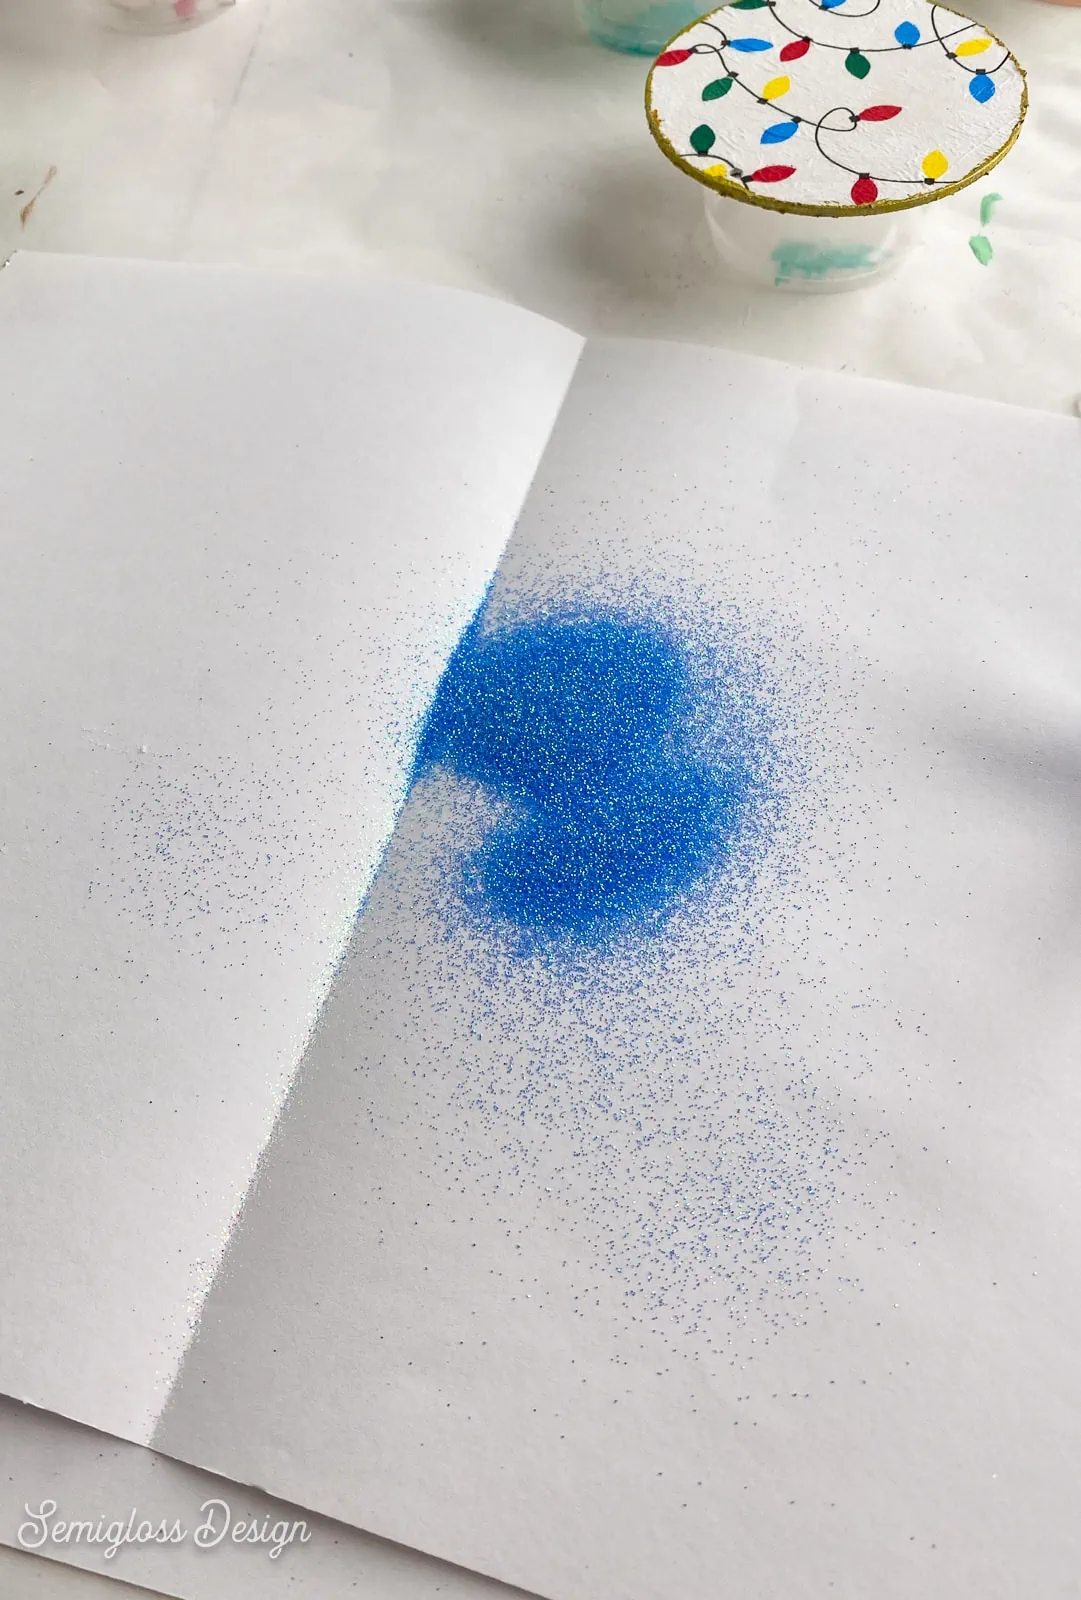
- Fold a sheet of printer paper in half. This will be used to catch the extra glitter to pour back into the containers.
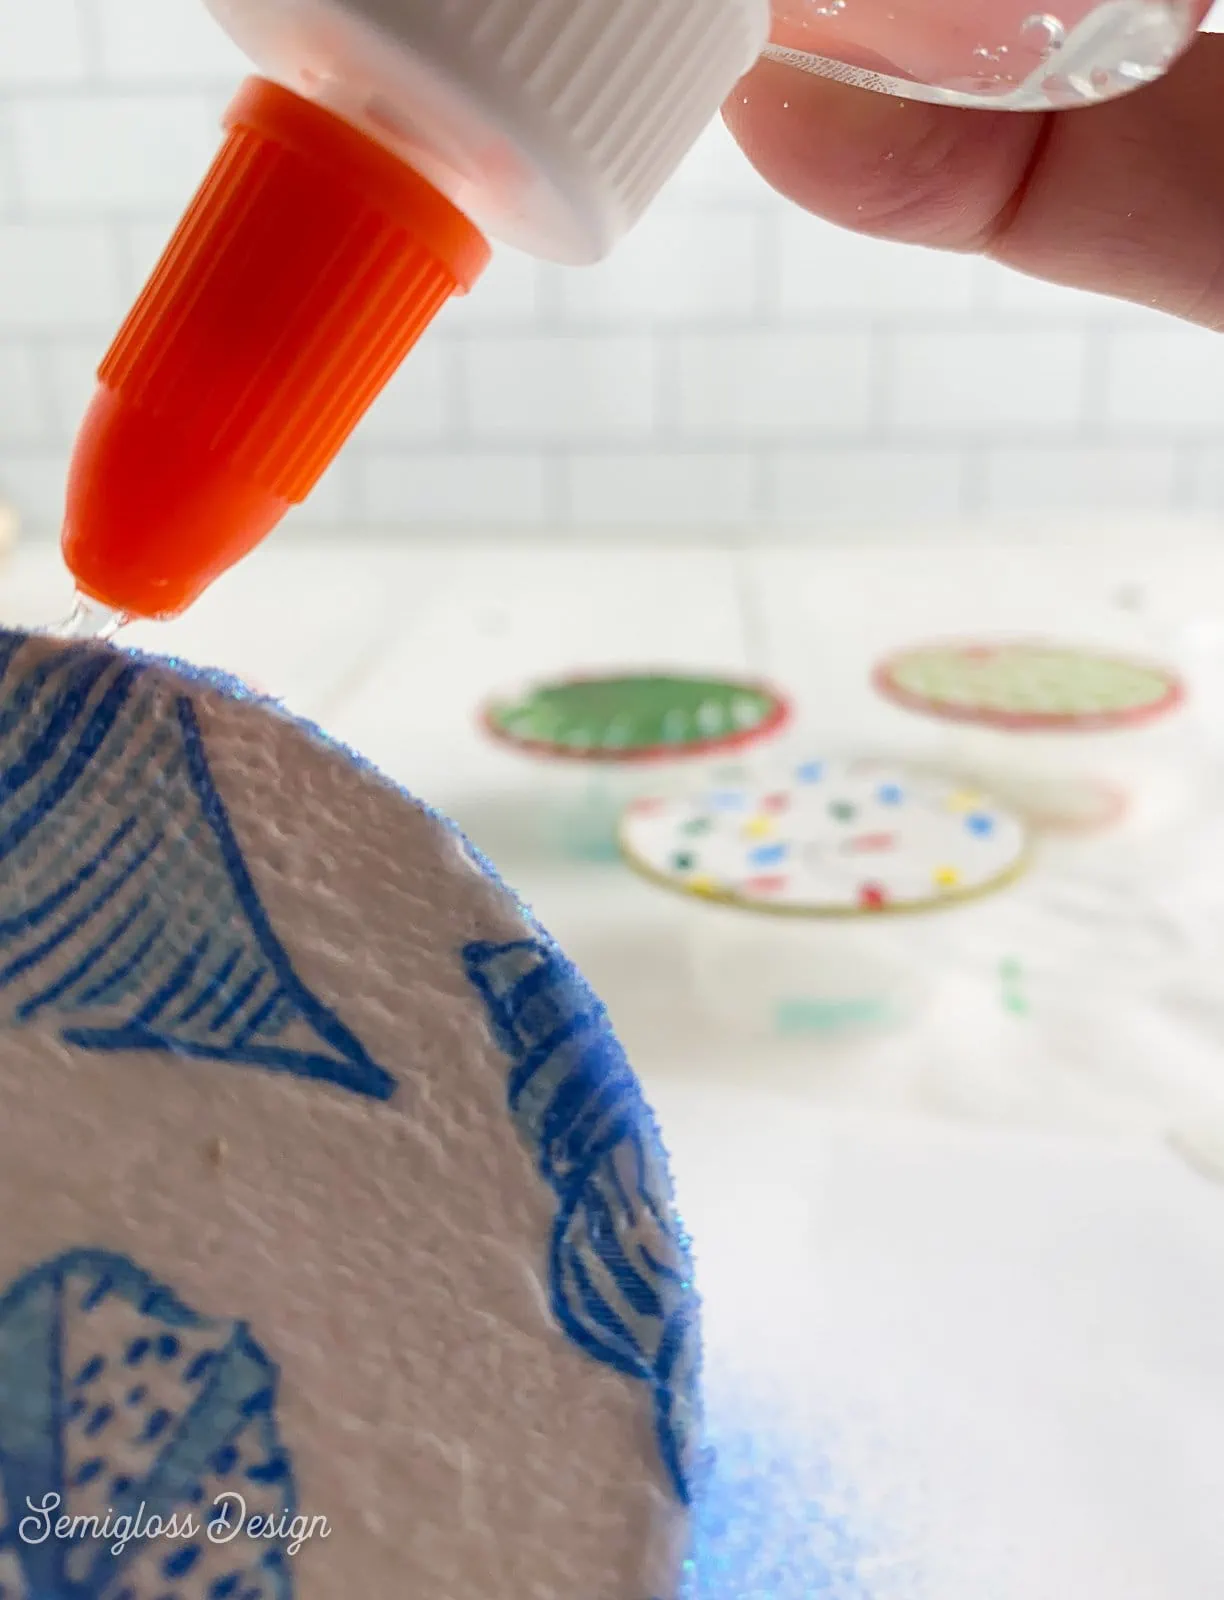
- Apply glue to the edges of the ornament. You can cover just the outer edges or do a smaller layer on the front of each side, too.
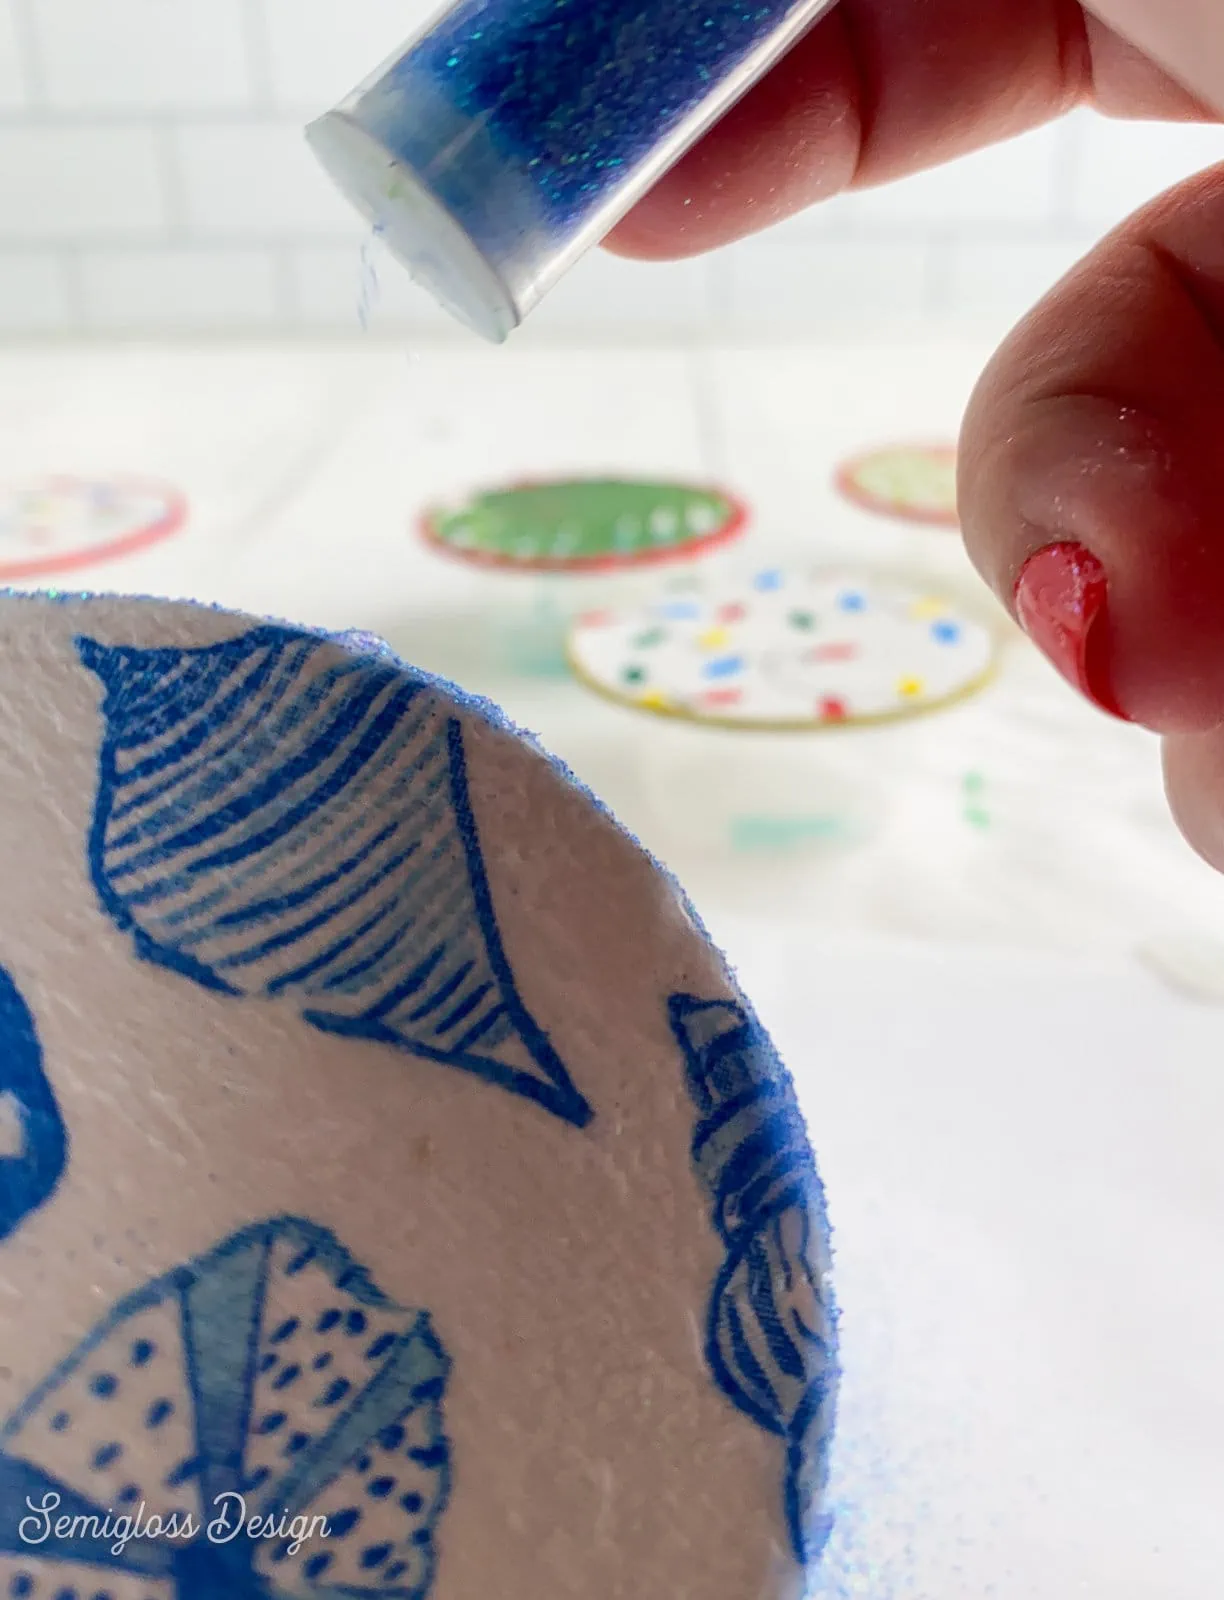
- Sprinkle glitter over the glue.
- When the area is fully covered, place the ornament on a small cup to elevate it from the table. This keeps it from sticking to the surface as it dries.
- Use the folded paper to pour the glitter back into the jar.
- Add a ribbon to the hole for hanging.
Alternatively, you can use a gold paint pen to the edges.
You might also like:
You can use any pattern to match your decor! I love these beachy ornaments!
Pin for Later!

Emy is a vintage obsessed mama of 2 DIYer who loves sharing affordable solutions for common home problems. You don’t need a giant budget to create a lovely home. Read more…


