The Beginner’s Guide to DIY Stained Concrete Floors
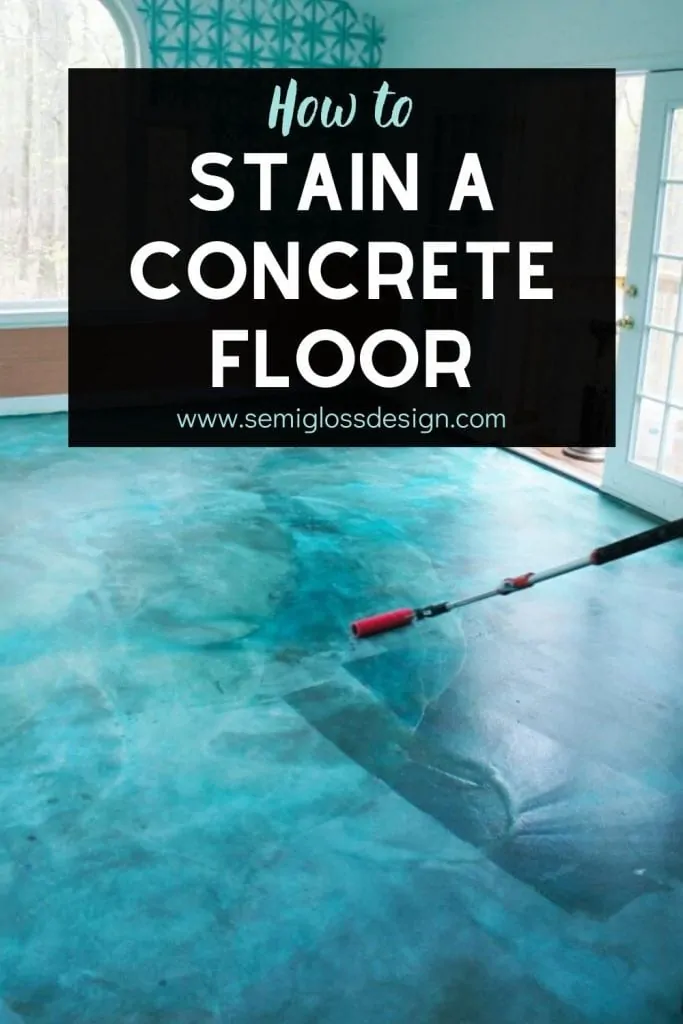
Learn how to stain concrete floors. DIY Stained concrete is an affordable, yet beautiful way to update cement floors.
You might also be interested in learning about how I resurfaced our kitchen countertops with concrete!
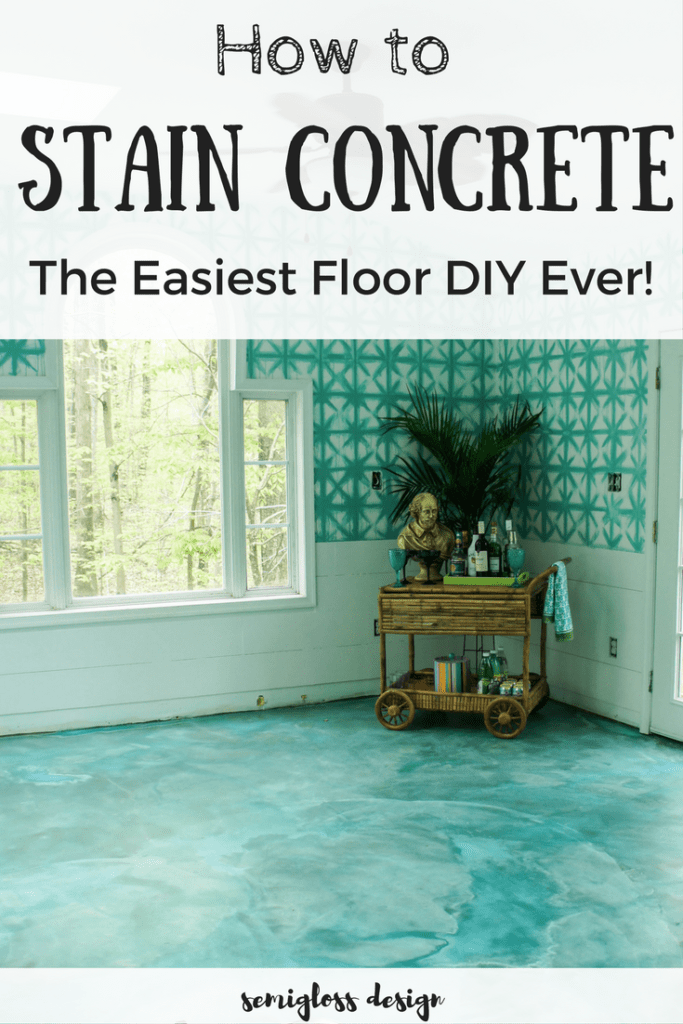
One of the most impressive ways to update your home is by changing the flooring. Unfortunately, it can also be the most expensive update.
And you don’t want to settle for the bargain bin selections if you’re going through the effort to change the flooring.
Today, I’m sharing my DIY stained concrete floors that are both beautiful and budget-friendly!
Even better, this product is extremely DIY-friendly, no matter what your skill level is! If you can spray paint (even badly!), you can do this!
How much does it cost to stain concrete floors yourself?
I love finding alternative ways to make my home look pretty that are affordable.
The normal floor options like wood or tile would have cost a fortune.
Even the cheapest tile would have cost close to $200 for this room. Stained concrete is much less expensive than tile.
If our floor had already been concrete, this project would have cost less than $150 for the whole room (about 20 x 25). We spent about $130 on all of the supplies to stain our concrete.
Even with the cost of the concrete, the cost is the same as the mid-range tile that I didn’t love.
Click here to learn how we installed concrete over a sub-floor.
I want to *LOVE* my home. Every aspect. That means not settling. So the extra cost for the concrete was well worth it for the amazing results that we ended up with.
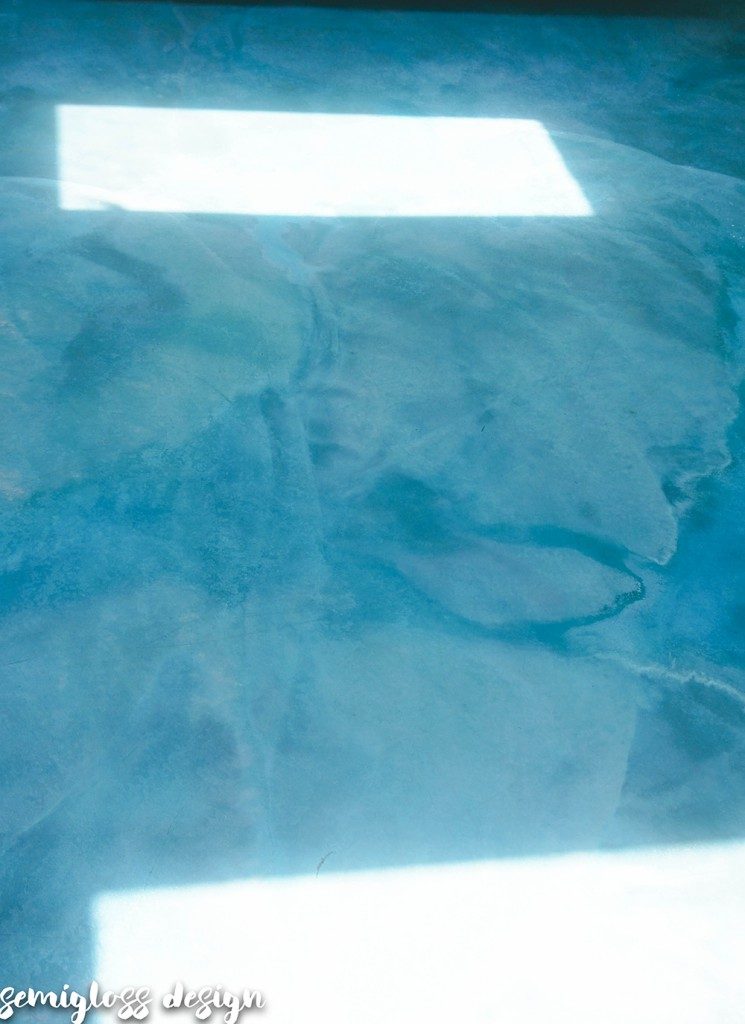
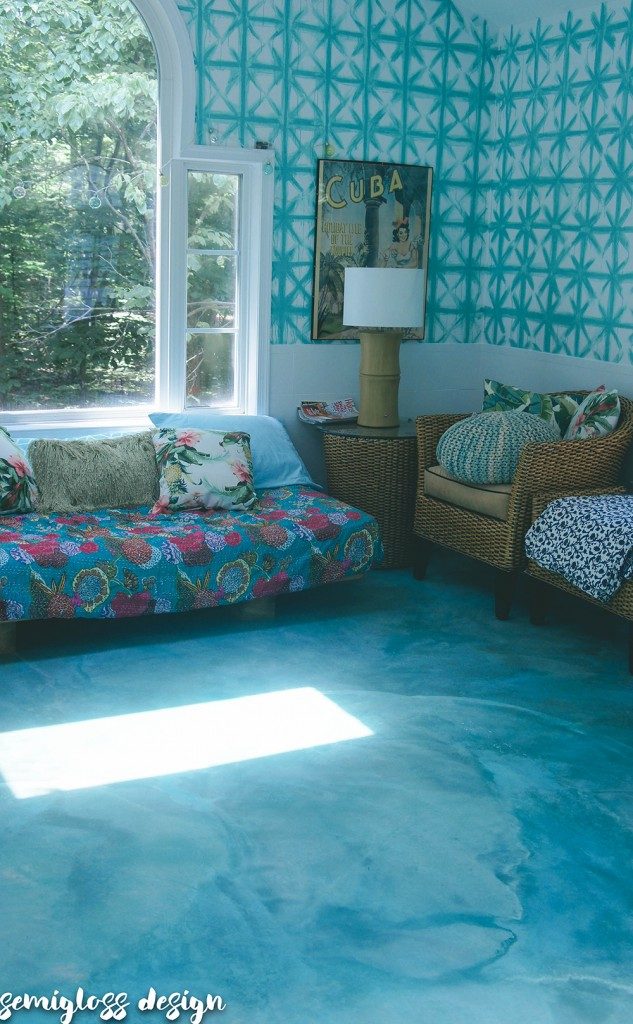
Have you ever seen a floor this dreamy?
About the Concrete Acid Stain We Used
We used a product called Kemiko Stone Tone Stain. I first learned about this product years ago on the Christopher Lowell show. Concrete stain has been on my mind since then.
The stain colors are limited, but they’re all pretty nice colors that make concrete look so warm and inviting.
Kemiko stains are acid stains, but don’t let that scare you away.
This is not a sponsored post. I just wanted to share my love for the product and how amazing it is!
I bought the supplies locally at East Coast Kemiko. It was so refreshing to meet someone so passionate and knowledgeable about flooring.
I’ve dealt with a lot of businesses lately that have had less than stellar customer service, so East Coast Kemiko was a nice surprise.
Although we showed up at his store 15 minutes before he closed on a Friday before a holiday weekend, Andrew took his time telling us all about the product and how to use it.
We will definitely be going through this company again for future purchases.
If you’re in the DC or Baltimore area, I highly recommend East Coast Kemiko!
PS. If you like affordable solutions, come back next week to learn about a cool countertop resurfacing product! You’ve probably never heard of it AND you get to use a blow torch. Plus GLITTER!!!! Surely glitter and a blow torch have you intrigued! Click here to learn more.
See the Final Room Reveal Here!
DIY Stained Concrete Floor
Scroll to the bottom for printable instructions.
Acid Stained Concrete Precautions
All concrete is different. Full concrete slabs take about 6 weeks to fully cure. Since we only used a thin concrete resurfacing product, it cured in 24 hours. The full tutorial for resurfacing a floor is here.
When using Kemiko, you have to follow the directions!
Do NOT use muriatic acid to clean the concrete! If you use muriatic acid, the stain won’t work.
The stain is an acid-based stain, so take precautions for that. Wear gloves and rubber boots when working with it.
See the results of staining an old concrete floor here.
Supplies Needed
This post contains affiliate links. By purchasing an item through an affiliate link, I earn a small commission at no extra cost to you.
- Plastic Sprayer
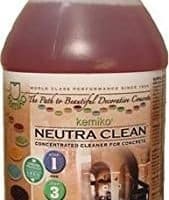
- Neutra-Clean
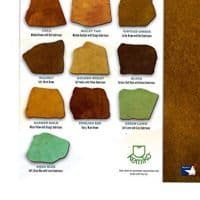
- Kemiko Acid Stain (I used Aqua)
- Sealer (I used Clear-A-Thane)
- Mohair Roller Cover (or 1/4″ nap roller)
- Extension Pole
- Push broom
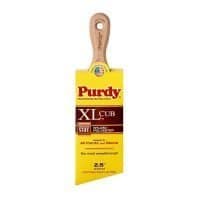
- Paint brush
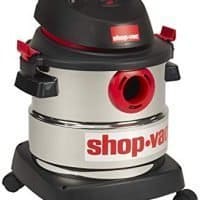
- Shop Vac
- Water hose
Cleaning the Concrete
Even though our concrete was brand new, it had to be cleaned. Concrete is made from dirt, after all.
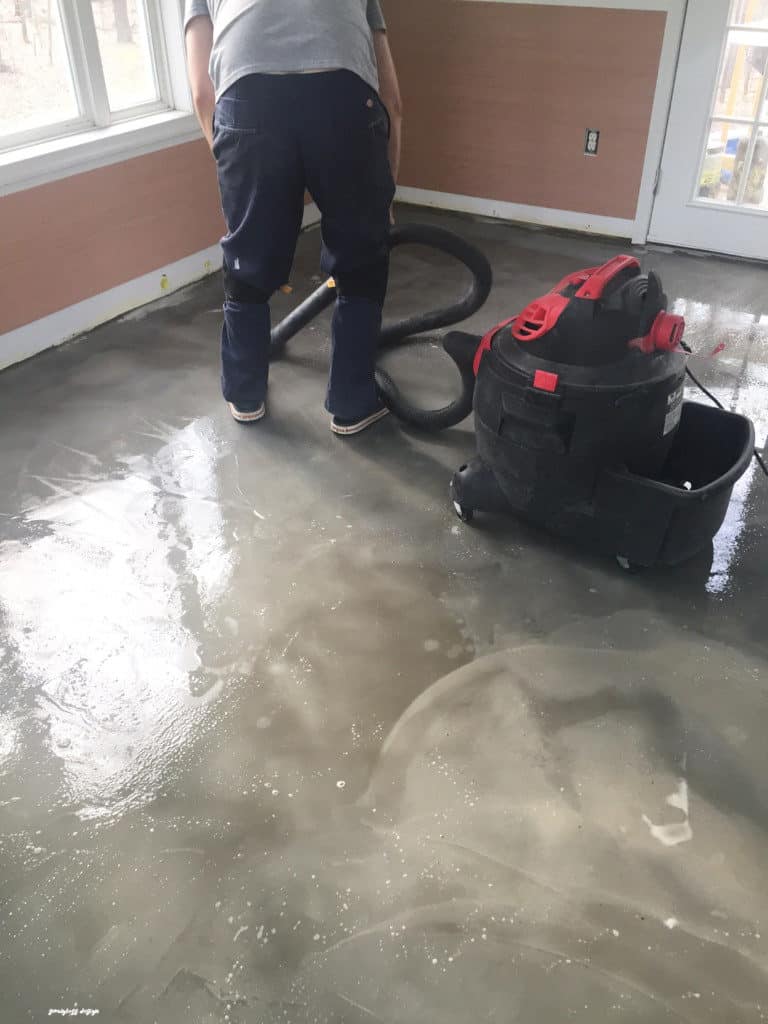
We filled the plastic sprayer with a mixture of half neutra-clean and water. Then we wet the concrete floor with it and then sprayed it with water. We used a push broom and scrubbed the concrete surface clean.
Once, we felt the floor was clean, we used a shop vac to suck up all of the water. We repeated the process, with less soap and more water.
Then I mopped it just to be sure it was super clean. Use a shop-vac to suck up all of the water again. Then we turned on the fans and let the floor dry.
This process goes a LOT faster than you would think.
How to Stain Concrete
***The stain is acid, so please take necessary precautions. I wore gloves and rubber boots to protect my skin.***
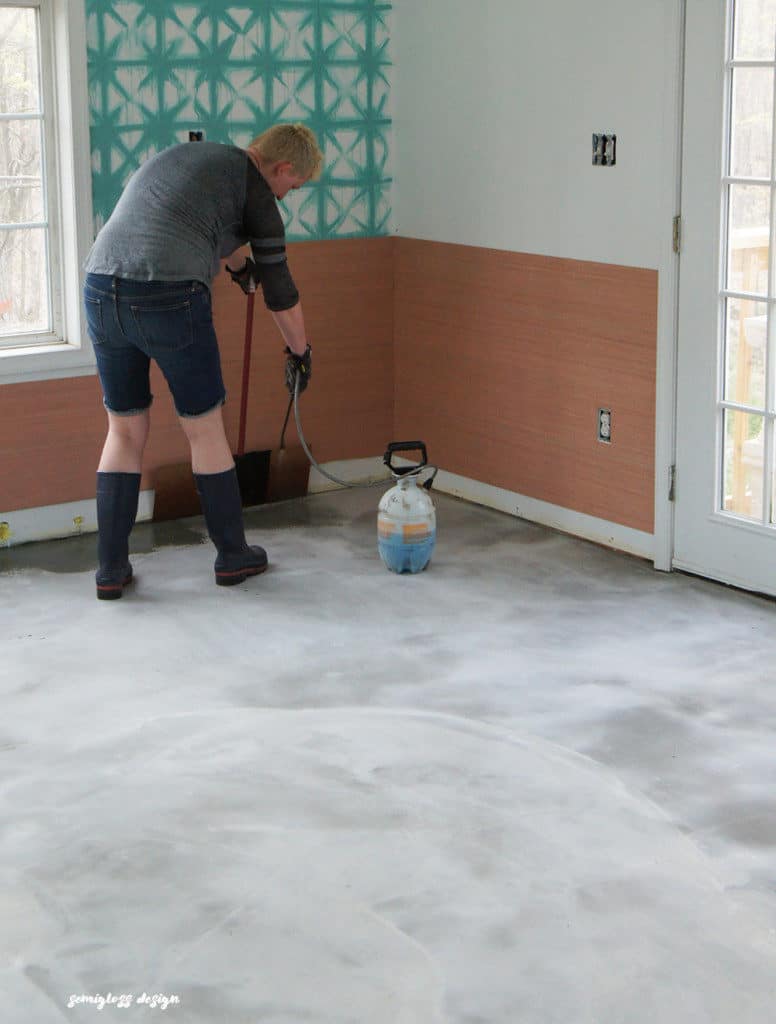
Once the floor was dry, it was time to stain. My husband made me a nifty contraption to protect the walls from the stain using a piece of cardboard and a paint pole.
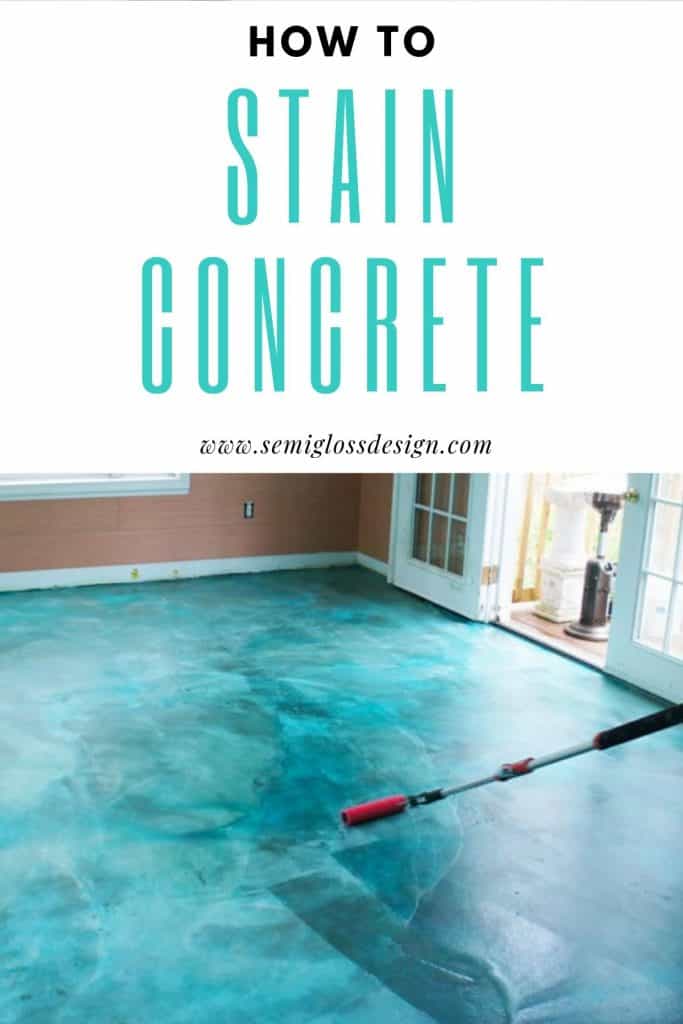
Using a plastic sprayer, we mixed the stain at a 1:1 ratio with water. I sprayed the edges of the room first and then went back and sprayed the rest of the room, one small section at a time.
The reaction is immediate and magical to watch. It bubbles a bit and turns fun colors.
One bottle was just enough to finish this room.
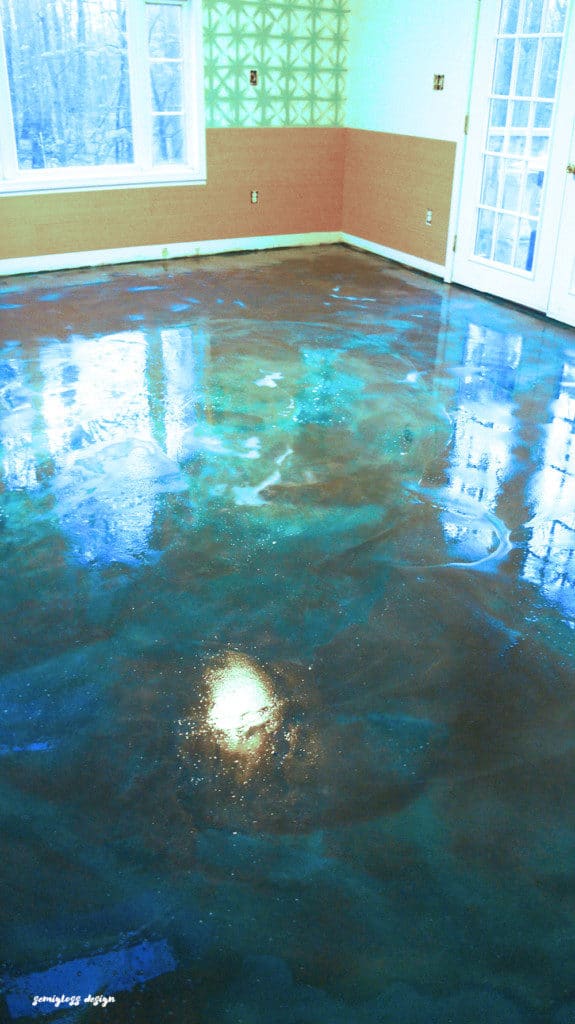
Let the stain dry. This process took a lot longer than we thought it would.
We let it dry overnight and most of the next day. The stain pooled in low spots on the floor, so those spots ended up a lot more vibrant.
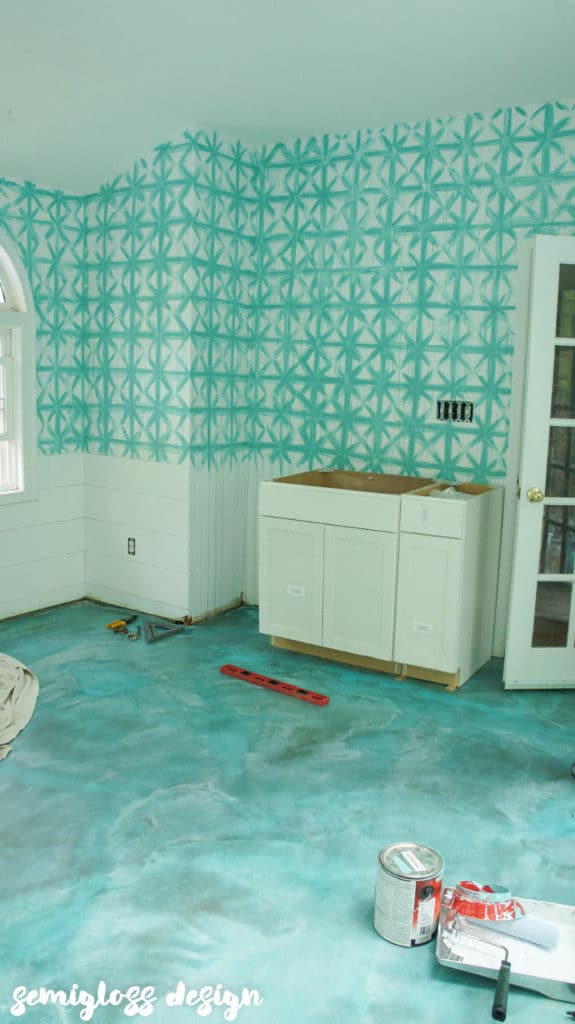
Note: During application, it still got on the walls. Everything still had to be painted at this point, so I was okay with it.
Plus, we had no baseboard on yet. I have since painted over the lower portions of the walls with no weird reactions.
Cleaning the Concrete (Again)
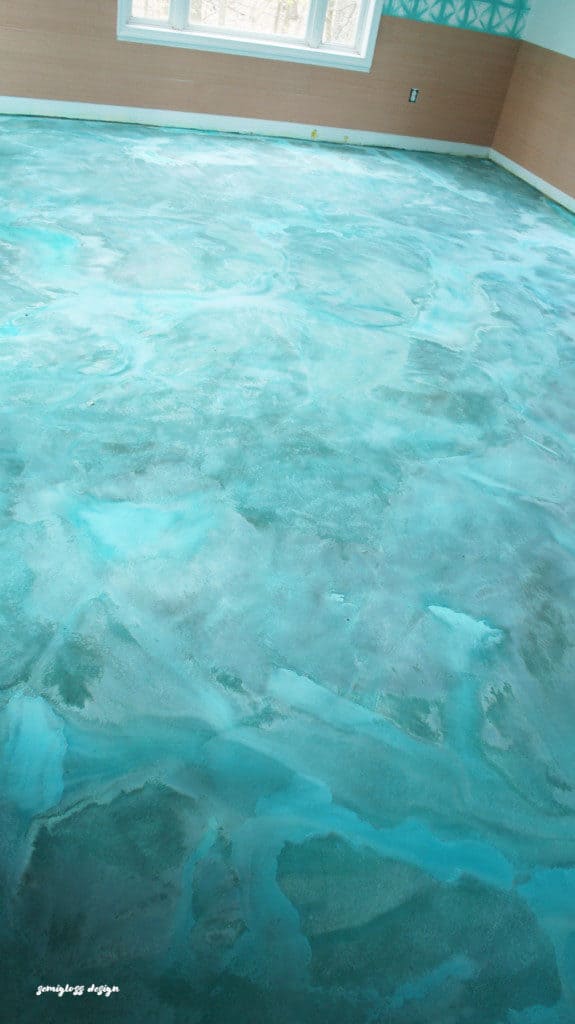
Use the same process for cleaning as before, but this time, your water will turn blue (or whatever color of stain you chose.) Spray the soap, add water, and scrub.
Vacuum up the water with a shop vac. Repeat until the floors are clean.
You should be able to wipe the floor with a white rag without it not turning colors.
Let the floor dry completely.
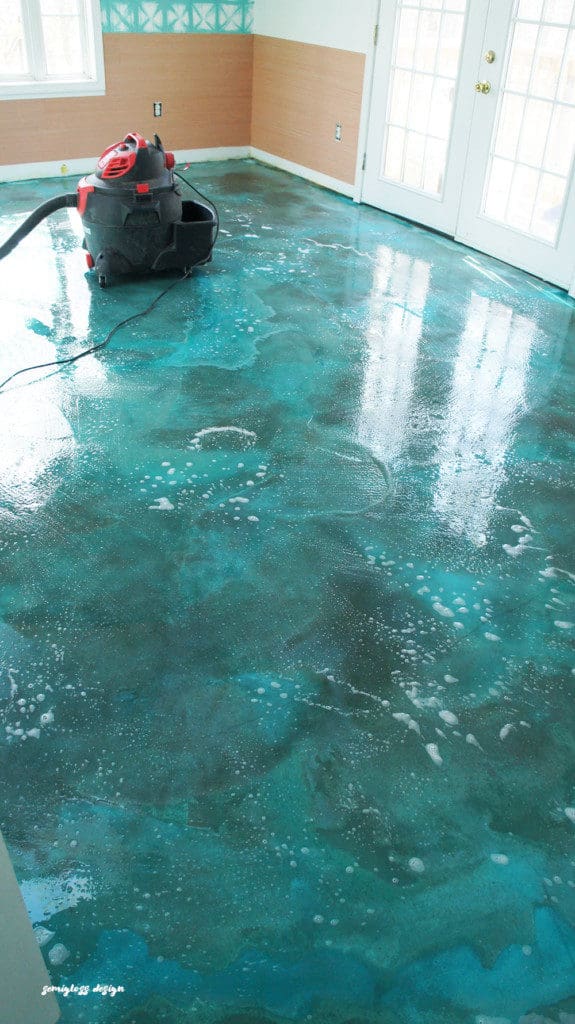
The color of the floor when wet is the color that your floor will be when sealed.
If the color is not dark enough at this point, add another layer of stain and clean it again.
We were in *LOVE* with the color and might have sung love songs to it.
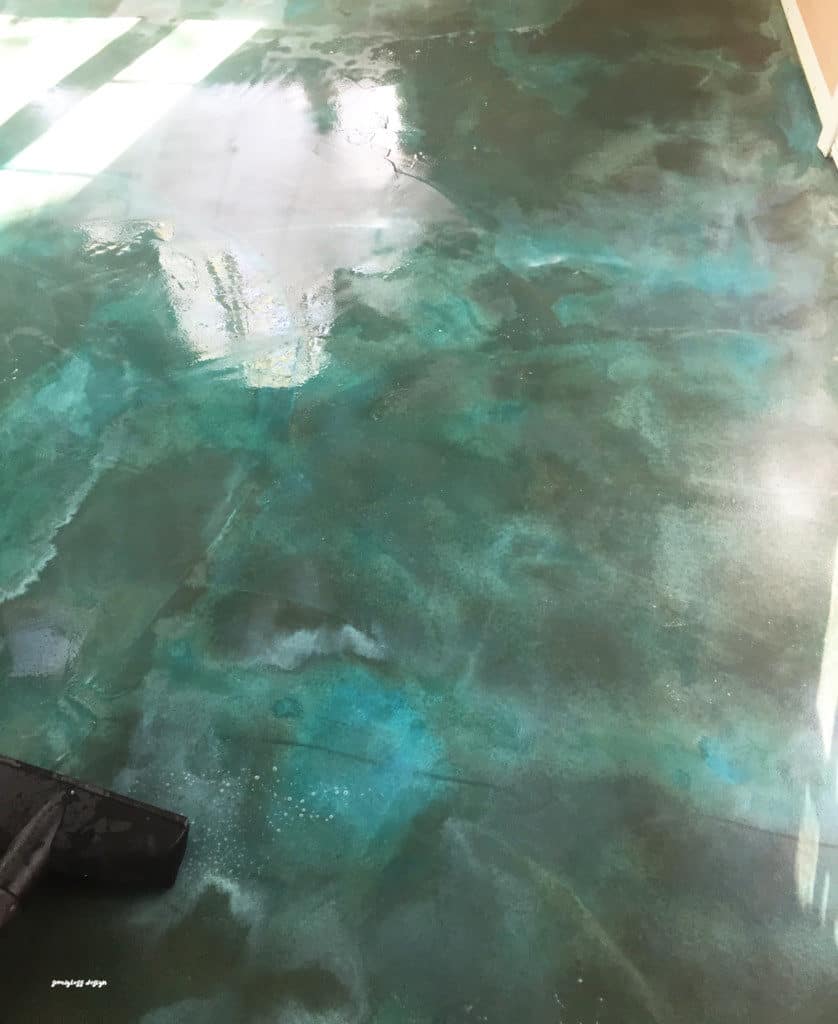
Sealing the Stained Concrete Floors
Although the super shiny floors make my heart sing, this room goes out to our pool so we often have wet feet when entering. Slipping was a concern.
If we use a concrete stain for our basement, we will consider a high gloss finish.
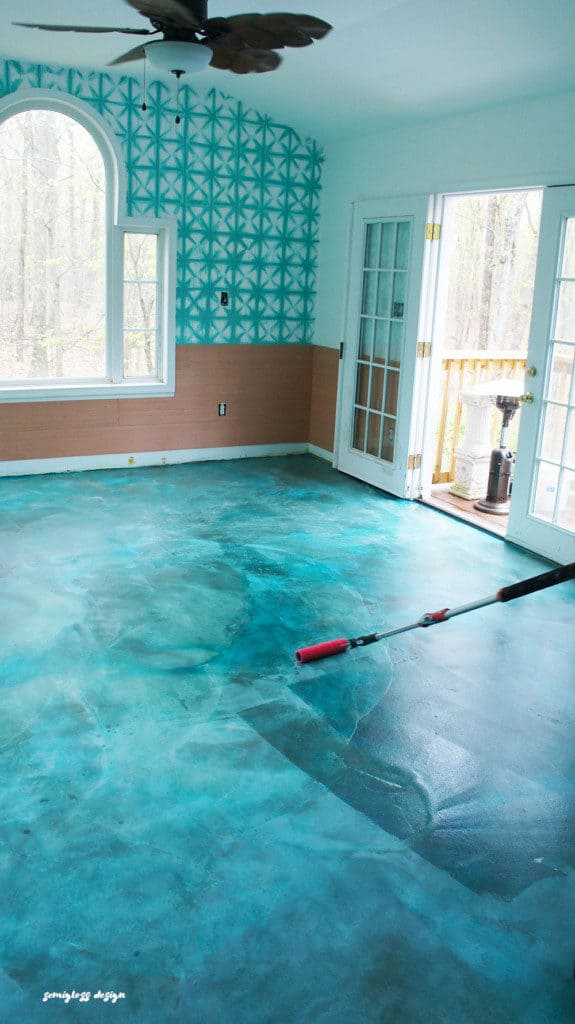
I chose the Clear a Thane in Satin for our floors. There is still a sheen, but it’s subtle.
It’s a little more slippery than I hoped, but man do they look amazing!
Applying the stain was super easy as well. If you have ever painted a floor, you know that it goes fast! And this was no exception.
Using a paint roller and roller handle, my husband painted on the sealer.
He had to use a brush in small areas, but 95% of the floor was done with a roller.
When it was dry, we applied a second coat.
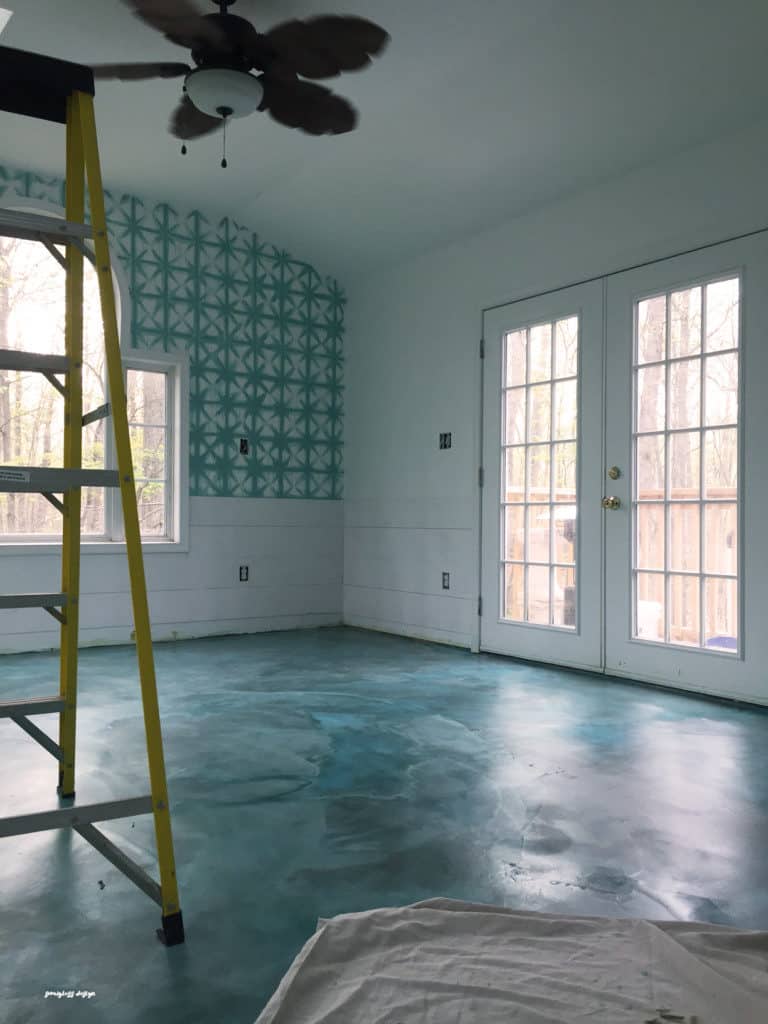
It dried to the touch in 2 hours, and in 4 hours we could walk on it. By the next day, I was able to get back in there and finish the walls.
Overall Thoughts on Staining Concrete
Kemiko Stain was so much fun to use. DIY stained concrete is the easiest DIY that we have ever done, with the most amazing results.
Ease of Use: 5 out of 5
Price: $130 compared to an estimated $500 for tile. (Roughly $ 0.50 sq. ft)
Time: It took longer to dry than we spent working on the floor. Work time was about 4 hours. Definitely doable in a weekend.
Will we use it again? Definitely. The cost and ease of use make us want to use it everywhere. We resurfaced our front porch so that we could use it there as well. We’re also considering it for the patio of our dreams that we want to build.
Edited to add: We also stained our basement floor and LOVE the results.
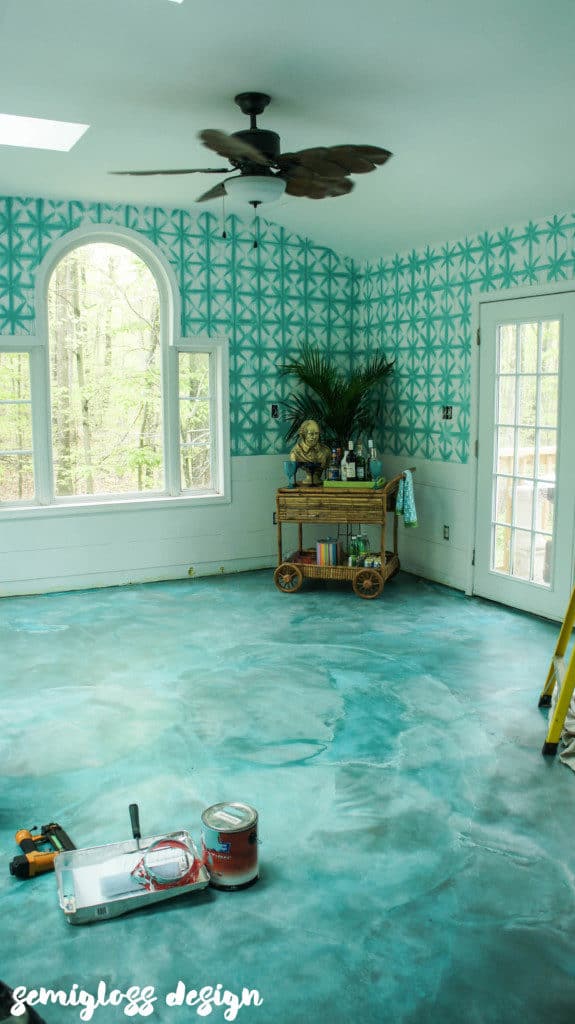
This aqua floor is my dream come true. Mermaid floor dreams, that is. 😉
Edited to add these photos. The color seems to change with the light. Still love these floors!
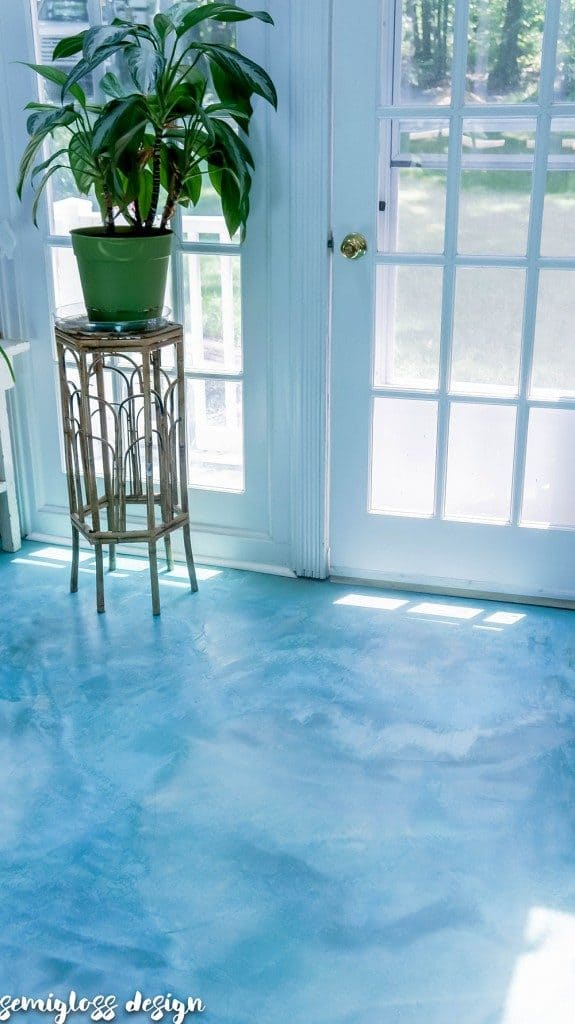
This post was part of the One Room Challenge. I linked as a guest participant.

If you liked this post, next week, I will be sharing a super fun affordable way to update/make kitchen countertops. I cannot wait to share this source because I am so excited to use the product!
Stained Concrete FAQs
Does Stained Concrete Last?
Acid-stained concrete is permanent. It soaks into the floor, unlike paint that sits on top. There is no flaking.
Update: After 2 years, my stained concrete floor looks just as amazing as it did the day we finished. The room gets heavy use in the warmer months. We have seen no damage from our dog’s nails either.
Last update: We sold this house in the summer of 2021 and the floor still looked amazing. The color was still beautiful with no chipping.
Is stained concrete expensive?
DIY stained concrete is very affordable. We spent less than $200 on a large room. Try finding tile that cheap!
Can you stain old concrete?
It depends. If you’ve owned your home since it was built, you probably have a better idea of what kind of cleaners have been used on it.
If you bought your house from someone else, it may have been cleaned with muriatic stain, which prevents the stain from soaking in as well. You can read more about our experience with staining our garage floor.
In our experience, it has been better to stain new concrete.
Is stained concrete slippery?
We specifically chose a less glossy finish to prevent slips. We walk in this room with wet, bare feet all the time and have had no issues!
Glossy finishes will be more slippery.
Does concrete sealer darken concrete?
The sealer we used just deepened the color in our stained concrete. In our garage, it didn’t darken the floor at all.
Be sure to check out how we stained our basement floor!
The Beginner's Guide to DIY Stained Concrete Floors
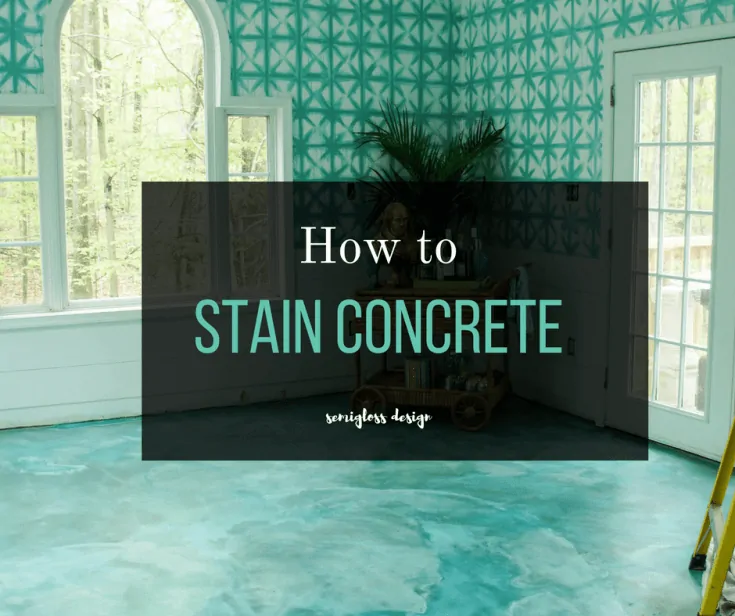
Learn how to stain concrete floors with acid stain. This affordable DIY project is perfect for homeowners who want a unique floor without spending a fortune.
Materials
- Neutra-clean
- Push broom
- Kemiko acid stain in Aqua
- Paint brush
- Mohair roller
- Clear-a-thane sealer
Tools
- Shop Vac
- Water hose
- Extension pole for roller
- Plastic sprayer
Instructions
- Spray the floor with a 1:1 ratio of water and Neutra-clean in a plastic sprayer.
- Spray the floor with water and scrub it with a push broom.
- Use a shop-vac to remove any water.
- Repeat the process until the floor is clean and remove as much water as possible.
- Let the floor dry completely.
- Spray the floor with a 1:1 ratio of water and stain.
- Let the floor dry.
- Clean the floor again using a 1:1 ratio of water and Neutra-clean.
- Spray the floor with water and scrub.
- Use a shop-vac to remove the water.
- Repeat the cleaning steps until you can rub the floor with a white cloth and no color rubs off.
- Let the floor dry completely.
- Seal the floor with Clear-a-thane. Use a paintbrush to paint the edges of the room first.
- Then use a mohair roller to cover the rest of the floor.
- Let it dry and apply a 2nd coat of Clear-a-thane sealer.
Notes
Dry time varies due to humidity and weather.
Recommended Products
As an Amazon Associate and member of other affiliate programs, I earn from qualifying purchases.
-
Kemiko Neutra Clean Concentrated Cleaner For Concrete | 1 Gallon
-
Kemiko Stone Tone Concrete Stain (Aqua Blue)
-
Kemiko Stone Tone Sealer II - Clear Gloss
-
Shop-Vac 5989300 5-Gallon 4.5 Peak HP Stainless Steel Wet Dry Vacuum
-
Purdy XL Series Cub Angular Trim Paint Brush, 2-1/2 inch
-
Linzer RC 112 0700 Mohair Roller Cover, 7" x 3/16"
You might also like:
- How to Paint a Vinyl Floor
- DIY Countertop Resurfacing
- How to Resurface Concrete
- The Best Concrete Countertop Sealer
- Flooring Considerations
Pin for Later!


Emy is a vintage obsessed mama of 2 DIYer who loves sharing affordable solutions for common home problems. You don’t need a giant budget to create a lovely home. Read more…






i’ve thought about this for our porch- might be a good summer project!
It would be a great summer project! My attention is definitely turning to outside. Can’t wait for sunny days!
Love this!! I actually just did a similar floor using a paint effects product line, it was on concrete and looks very similar. I am going to have to look into this process and products for our outdoor patio (which desperately needs something to make it look pretty, yikes). One quick question, is it slippery? Being our outdoor patio I always thought acid staining made it super slippery. It sounded like maybe not? Thank you so much for sharing!
I saw! It’s gorgeous! Great minds think alike!
It turned out a little more slippery than I hoped. There are additives that you can put in paint to make it not slippery. I’m going to add door mats by both doors and yell at my kids to slow down. 😉
Wonderful post! In my area, so many folks are staining the basement floor instead of laying carpet. This post is such a help to me. And it looks great! Appreciate! Susie from The Chelsea Project
I think it’s a great solution for basements. We have vinyl flooring on the finished side and it cost so much money. This stuff is much cheaper.
This was so interesting — I’ve never really read much about staining floors. And it is so pretty and unique! I love it!
Thanks so much Lora!
It looks so amazing. That color is dreamy. Cant wait to see the finished space!
Thanks Jessica! Your floors were definitely an inspiration! 🙂
yay! that’s so nice. I’m glad.
This is AMAZING! I would have never thought to do stained floors. And for only $130?!
Thanks Sarah! I know, that price is too good!
Your floor looks amazing. I love the color you picked. Beautiful! Thanks for the information. I have a basement floor that I am thinking about doing this way.
Thanks BonBon! I want to do the rest of my basement with stain too. It’s such a nice, warm look!
Very nice! Floor looks like a beautiful ocean! Good job!
Thanks Jillian. It reminds me of the way a pool looks when water shines into it. 🙂
That floor is AMAZING!! I’m sitting here thinking about what floors I can add concrete to and use this stain. Gorgeous!
Those floors are CRAZY GOOD! Now I’m thinking of doing stained concrete in our basement… love how they turned out and excited to see the space come together 🙂
Thanks Nicole! You should do it in the basement! They were so easy!
So cool! what a unique idea- I love it!
Thanks Kate!
Emy I can’t get over this! I also can’t get over that photo of your man in jorts 😉 ahaha
This looks like the most interesting patina on copper I’ve ever seen, and it’s even cooler that it’s stained concrete. Way to go girl!
Thanks Ariel! That’s me wearing the jorts. I guess I have boyish good looks. 😉 And I also call them jorts. And even accusing said husband of stealing my work jorts recently. 🙂 Haha. My kids blame him for everything, so I was just following suit, so they would see how dumb it is to blame dad.
I love your floors and the color! They look so good and your room is going to be beautiful!
This is so BEAUTIFUL!!! I have about 550 sq ft I want to do but the concrete is 30 years old, any advice ??
Thanks for stopping by Savannah. If the concrete is in good shape, just follow the directions. You will need more than 1 bottle of the stain (2-3), but it’s still inexpensive compared to that much flooring! Our basement floor has paint spilled all over it, so when we do it, we will probably strip off what we can and resurface the rest with a really thin skimcoat. I have a post on concrete resurfacing as well. It’s fairly easy besides the fact that concrete is super heavy. Send me pictures if you do it! 🙂
Going to do this to my basement this coming spring/summer!! was trying to figure out something that wasn’t to expensive. I have 784 sq feet to cover and this has to be cheaper than carpet or laminate!!! can’t wait to do this. also my front porch
We are moving to a “new to us” home that we purchased. We are pulling up all the carpet, it’s nasty and I hate carpet! 🙂 I have been looking into acid staining but all the instructions say to spray the concrete with water. This is my basement which is actually the bottom floor of a split level home. I have no way to push the water out. What would you recommend? Your floor is absolutely gorgeous!
Hi Teri. Congrats on the new home. We weren’t able to push the water out either. We used a shop vac to vacuum up the water. It was way less water than you would think. Concrete soaks a lot of the water up, plus we just didn’t use that much. I think we emptied the shop vac once while working.
Our basement flooded a few years ago with inches of water and we had to empty it every 20 minutes or so. It was nothing like that. It’s still do-able. I still plan on doing the unfinished part of my basement.
Good luck!
New to your blog – Loved this post. Question. I am doing an add on under my house and the floors are concrete. This is for my elderly parent who has to use a walker sometimes and has balance issues. Is there a way to make sure the floor would not be slippery??
Hi Taylor. The sealer I used has a matte finish because I was worried about slipping too. Our sunroom leads to the pool, so wet feet are an issue for us. I don’t think the concrete floor is slippery at all, even with wet feet. Our laminate flooring in the rest of the house can be really slippery though.
I know that there is an additive for paint that makes it non-slip, but I’m not sure what it does to the color of the paint. I’ve never used it, just heard it suggested. Good luck!
Thank you, that helps ease my mind on that!!
Hello, the floor looks beautiful! I’m thinking of doing this in our garage turned kid’s bedroom. Do you think this method will work? There has never been cars parked in it and it currently has carpet. Thanks!😁
Hi Alena. When we stained our garage, it worked, but the color was lighter than we thought it would be. It’s worth a shot because it’s such an affordable flooring solution. I’m still thinking about staining our basement floor when we refinish it. Good luck!
Thanks! Also, how easy is it to clean and what do you clean it with? Thanks for all the advice!
It’s super easy to clean. We vacuum or sweep it (we have a dog who sheds, so a vacuum works best.) If it needs to be mopped, we just use vinegar and water.
Great post, love your end result. I have heard that you have to etch the concrete first…what are your thoughts on this? tia
Hi Mary. Etching the concrete works with the brands that you buy in the hardware store, like Behr. But it will cause the stain to not work properly. Cleaning is all you need.
absolutely beautiful I am in aquarium business so right up my alley..have a sun room that when I bought found out was the worst anyway wood no good cause in florida tiles maybe expensive but what u did is what Ive alway was amazed Im going to follow you thanks
Are your floors cold in the winter?
Yes, these floors are cold. Similar to a tile floor in the winter.
Love the floors, do you have to reseal them yearly?
No, I never resealed them. They still looked great (we just sold the house and moved.)
‘I’m wanting to try this but with another brand of stain. They said to neutralize the stain after it dried. I’m guessing you didn’t neutralize. It looks beautiful, though I want to go with it I am a little nervous lol. Also I read I needed to wear spike shoes when working and walking on the stain and sealer. I’m guessing you didn’t have issues there either.
The brand I used had a cleaner that probably neutralized it. I didn’t wear spiked shoes, just rubber boots. There were no issues or foot prints in the final results. We didn’t walk over the sealer. The process was pretty easy and stress-free. And I loved the results (we’ve moved since then, but I’m sure the floors still looks great.) You can do this!