How to Sew Curtains: An Easy Step by Step Tutorial
Sewing your own curtains is a great way to save money on home decor and get a custom look for your home. Read more about this easy method on how to sew curtains.
You might also like this post on how to make a DIY pipe curtain rod or how to dip dye curtains.
Every time I shop for curtains, I wonder why curtains are so expensive? They’re just big rectangles of fabric. Luckily, they’re one of the easiest things to sew because of that fact.
This makes them a great project for every skill level! Make your own curtains today and customize your decor, like I did in my basement.
For my basement, I wanted as much plaid as possible, so when I found inexpensive plaid fabric, I jumped at the chance to make plaid curtains.
How to Sew Curtains
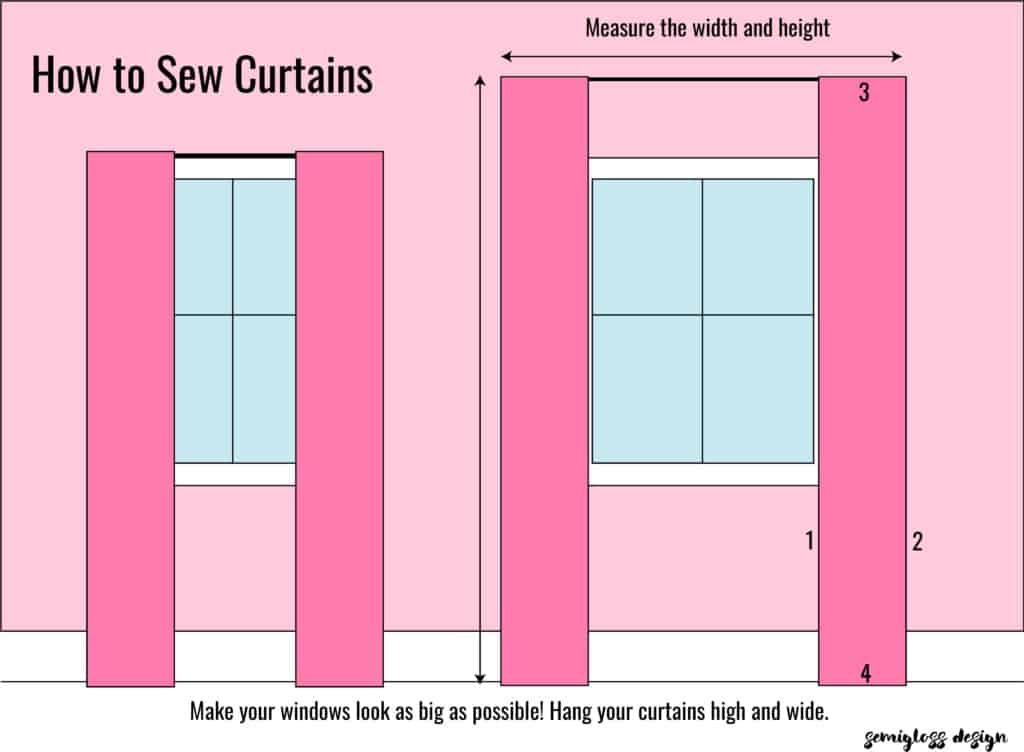
Note: Curtains look best when hung high and wide as demonstrated in the illustration below. Wide curtain rods can be expensive, but IKEA carries curtain rods that are super inexpensive and simple. No excuses for sad windows now!
Supplies for Making Curtains
This post contains affiliate links. By purchasing an item through an affiliate link, I earn a small commission at no extra cost to you.
- Desired fabric (similar)
- Measuring tape
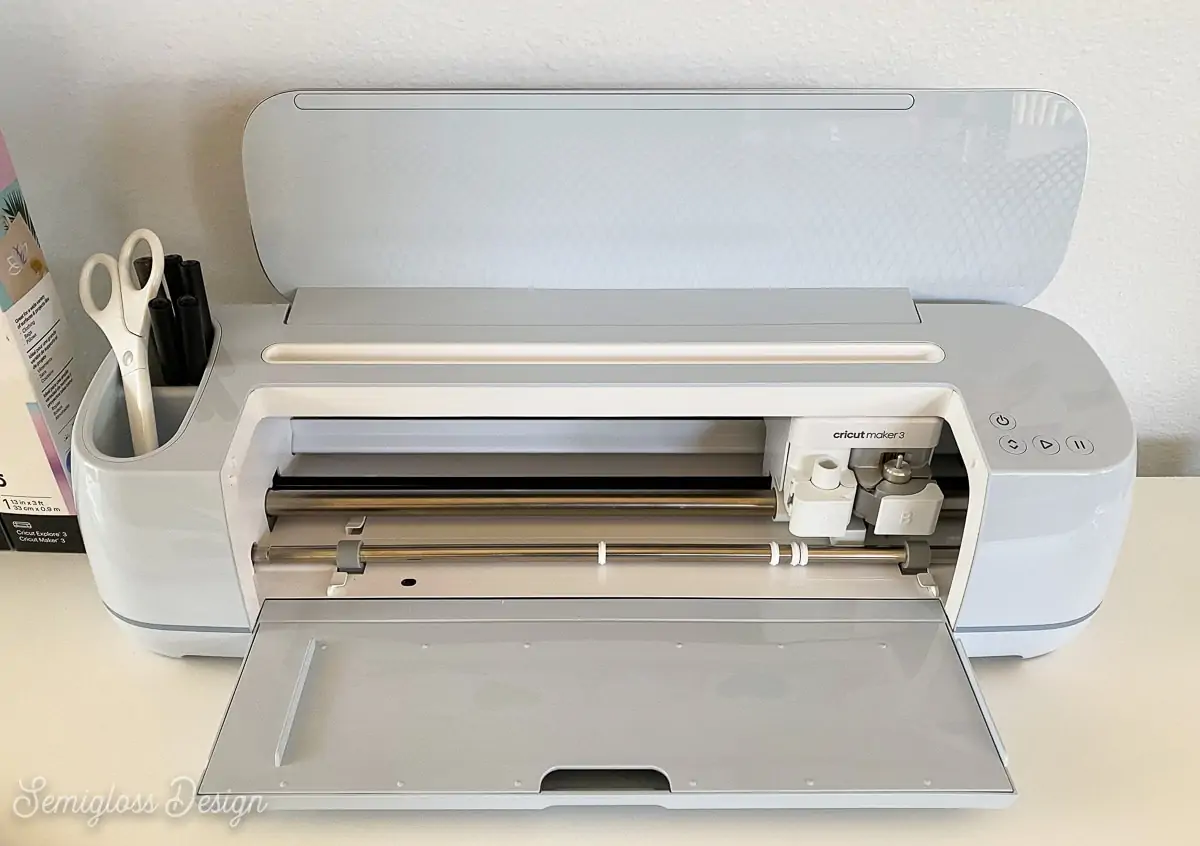
- Sewing machine
- Thread
- Pins
- Scissors
- Ribbon
- Figure out how much fabric you need. Measure the width of your window. Generally, curtains look good with at least twice as much fabric (each panel should be roughly the width of the window.) For my 36″ window, 2 widths of 45″ fabric worked great. If your window is really wide, you may need to join panels together by sewing them up the middle. To calculate the length of your fabric, measure from the floor to the top of your curtain rod then multiply it by how many panels you need. Add about 6 inches to your measurement. This will allow a generous seam allowance. For my window, I needed 80″ panels, so I added 6″ to each panel for a total of 86″ a panel. 86 x 2 = 172. Divide the total by 36 (inches in a yard) = 4.77777778, so I ordered 5 yards of fabric to have a little bit of extra fabric to work with. Err on the side of too much.

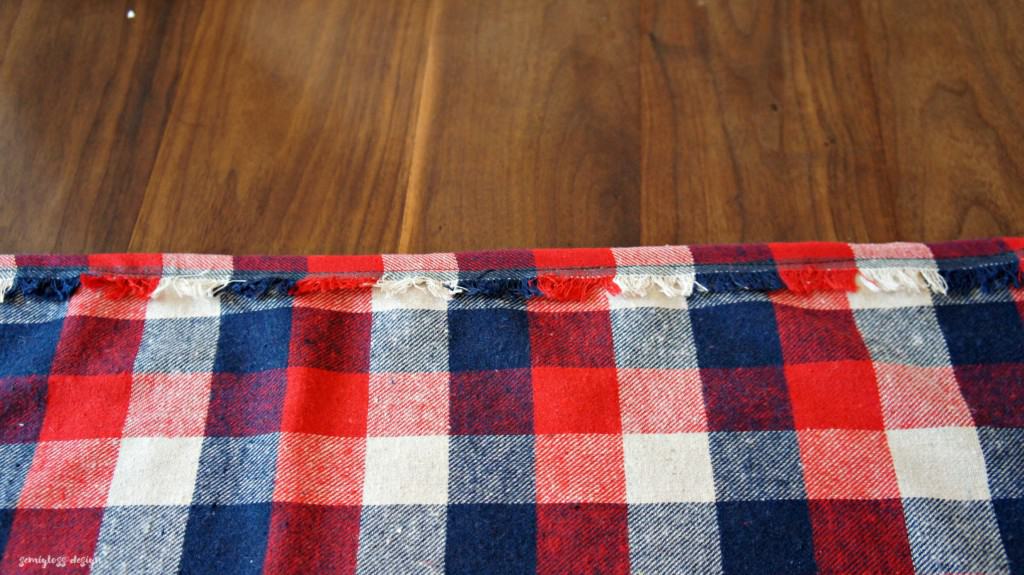
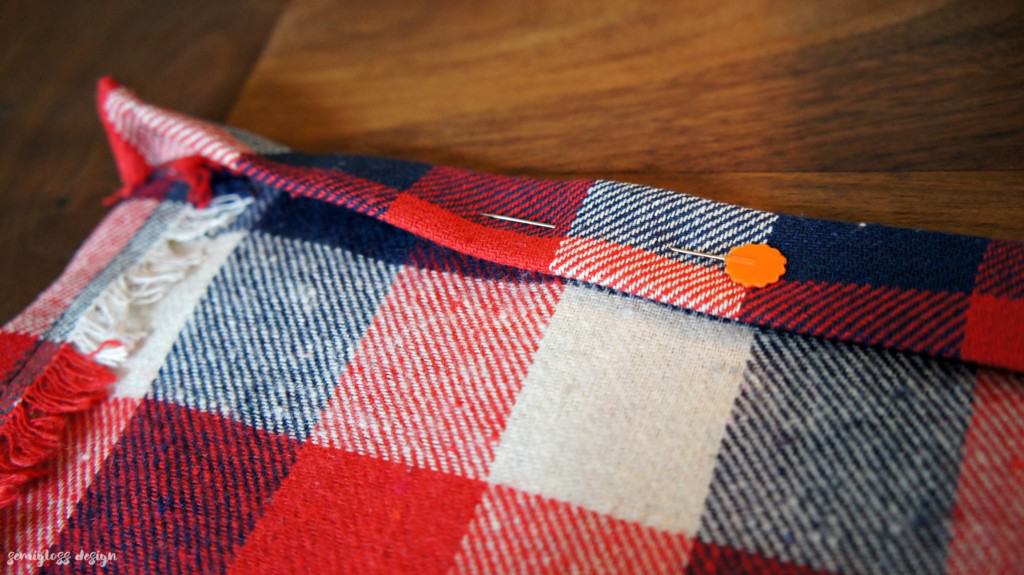
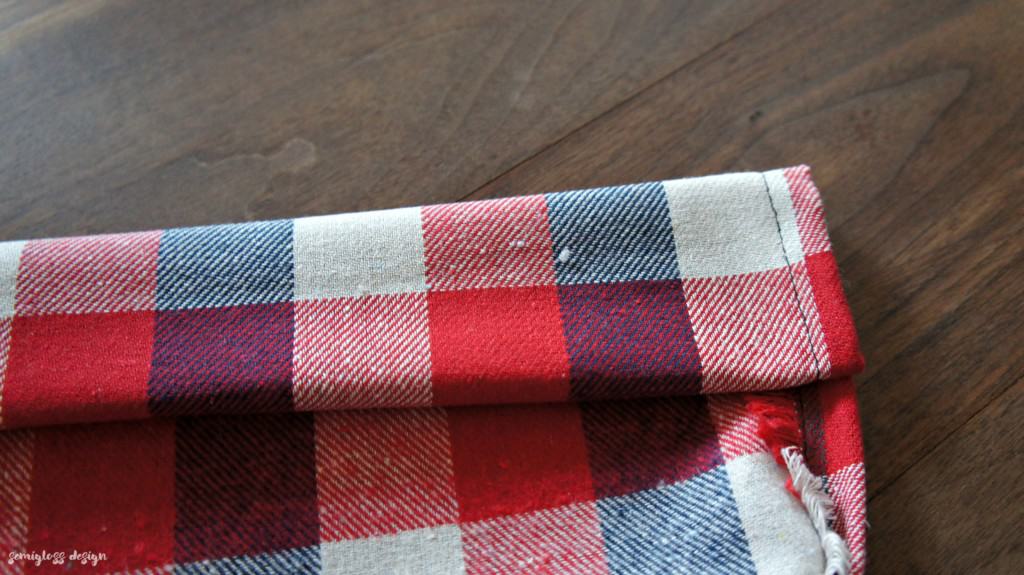
- Sew the side seams. With the wrong side of the fabric facing you, fold the edge over and sew. Your seam should be about 1/2″ from the edge of the fabric. I was able to use the selvedge of the fabric, so folding it under twice wasn’t necessary, since the selvedge won’t fray. If you need to join 2 panels to make it wide enough to cover wide windows, do this now, then go back and sew the side seams (indicated in the illustration by “1” and “2”.) Pinning the fabric in place helps with straight lines. Ironing the fabric also helps if your fabric is thin and hard to work with. Plus, it makes it look better.

- Sew the top seam. With the wrong side of the fabric facing you, fold the top over twice, pin it in place and sew. I like to make this top seam about 1 1/2″ from the edge of the fabric.
- Sew the bottom seam. Use your measurement for the length to figure out how long your finished curtains should be. My curtains needed to be 80″ long, so I marked the fabric at that point and folded it under twice, so that the finished curtain would be 80″ long. Pin in place and sew the seam.
- Iron all your seams flat. Ironing your seams will make your curtain panels look so much nicer. It’s worth the extra work!
- Add weights if necessary. (I didn’t do this to my curtains, but I need to go back and add them.) If your fabric is lightweight, you can add weights to the corner of each panel to make them hang correctly. You don’t have to use special sewing weights. Small coins or even washers will work. Just stitch them in place in the edge of the seam that you just sewed.
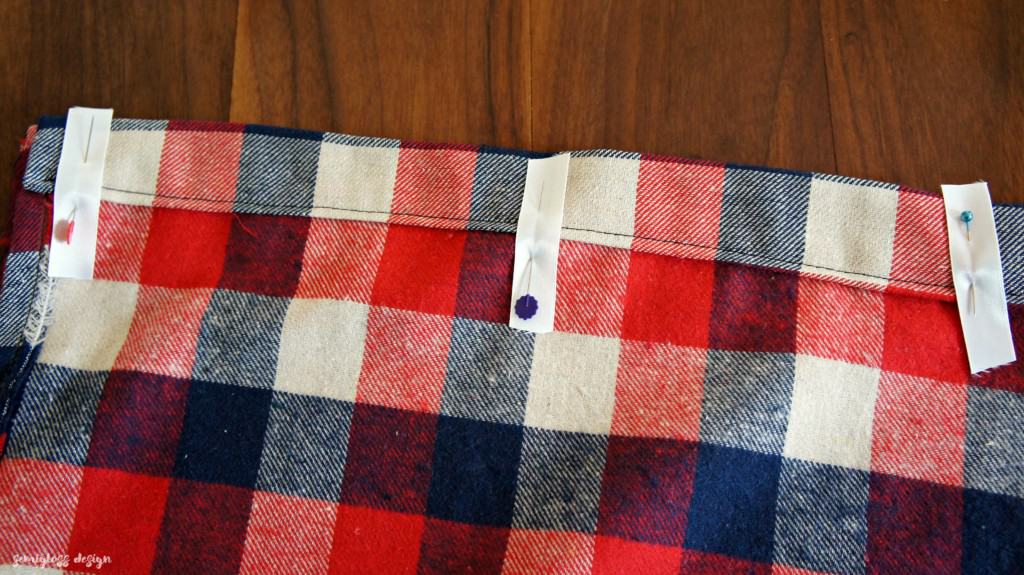
- Add ribbon to make the curtains hang nicely. I got this idea from an inexpensive pair of IKEA curtains. Cut several 3 inch pieces of ribbon and space them along the top edge of the curtain. I used about 9 pieces and spaced them roughly 5″ apart.
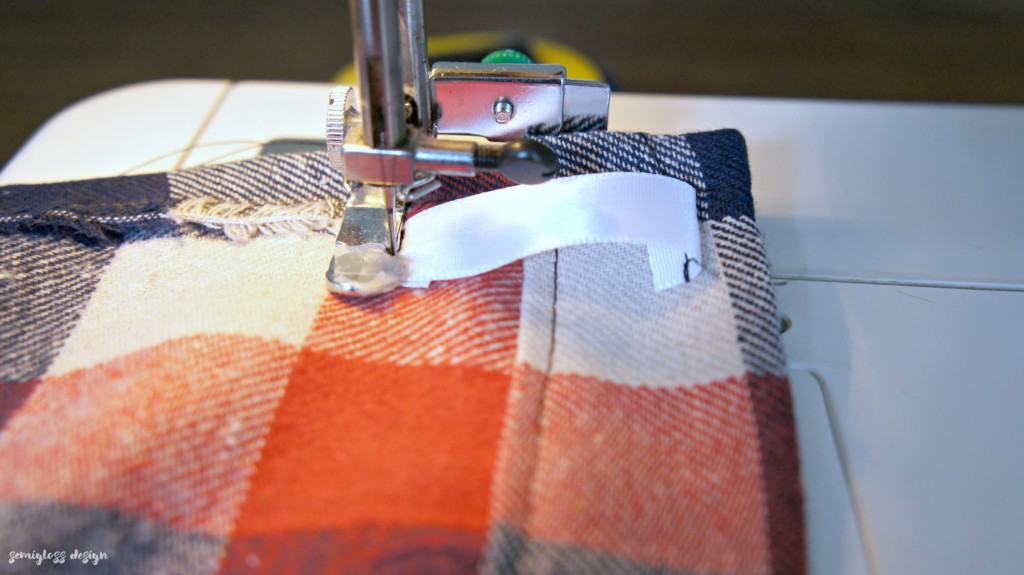
- Sew the first edge of the ribbon on. With the wrong side of the ribbon facing up and to the top of the curtain, sew the ribbon in place.
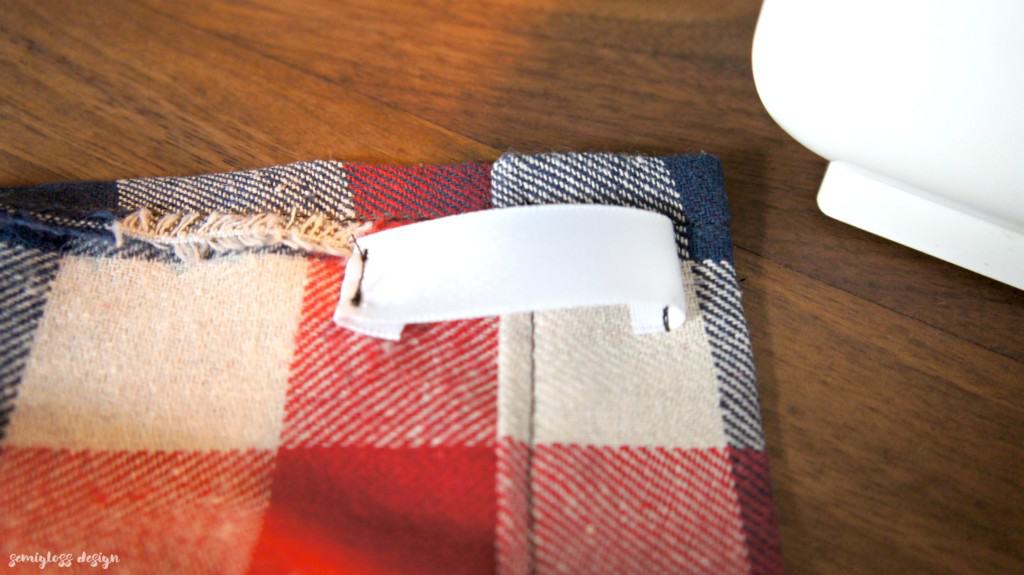
- Sew the bottom of the ribbon. Fold the ribbon over and tuck the loose edge under. Sew in place.
- Repeat these steps for all of the ribbons.
- Repeat steps 2-9 for the other panel.
- Hang the curtains and enjoy your pretty new curtains!


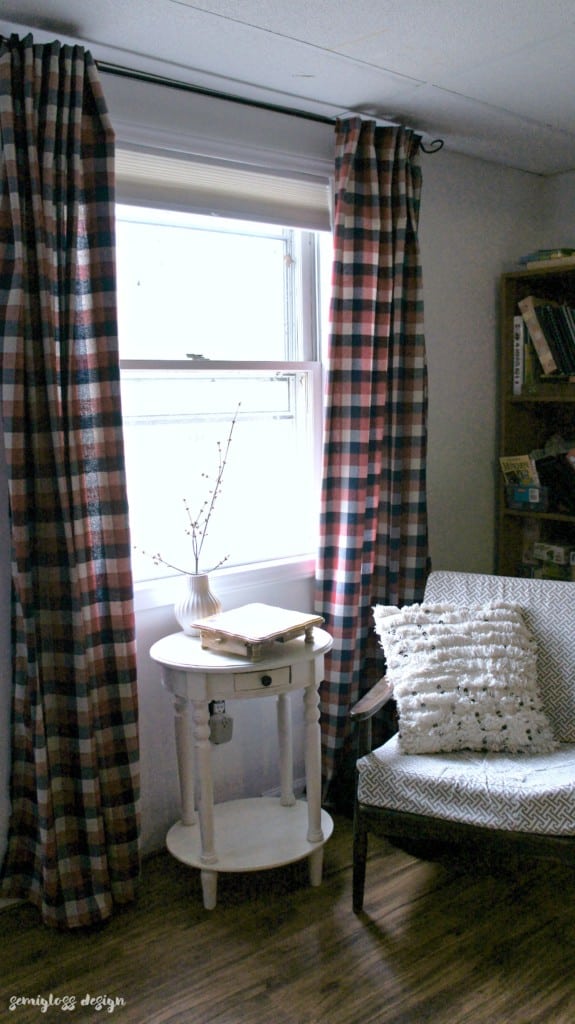
I love the special touch that my custom plaid curtains give to my basement. They add color and interest to a side of the basement that was pretty boring before.
The best part about these curtains is that they cost me about $35 to make and only took a couple of hours to sew. Now that you know how to sew curtains, you can make them for any room in your home!
You might also like:
- How to Sew a Zipper in a Pillow
- How to Sew a Table Runner
- The Easy Way to Hem Curtains
- Camp Blanket Inspired Placemats
- Tips for Making Quilts
Pin for Later!

Emy is a vintage obsessed mama of 2 DIYer who loves sharing affordable solutions for common home problems. You don’t need a giant budget to create a lovely home. Read more…


Want to sew a curtain for a semi-circular window. Instruction please?
Making curtains for bedroom – need lining to make them darker to keep a.m. light minimal. Would the measurements for the lining be the same?
I would make the lining slightly smaller so that it doesn’t show on the front.
Thank you!
Do you put the curtain rod through the ribbons? Is that the purpose of the ribbon?
Yes, you make a channel with pieces of ribbon for the rod.
Can you please explain the purpose of the ribbon? It appears to be on the back of the curtain, so wondering if the curtain rod goes through it?
Yes, the curtain rod goes through the ribbon