How to Resurface a Floor with Concrete
Learn how to resurface a floor with concrete.
Sometimes in DIY, you have to take a chance. The only way that I agreed to remove the old tile in the sunroom, was if I could do my dream floor. That meant aqua stained concrete floors.
So, we had to figure out how to resurface our floor with concrete because out sunroom has crawl space underneath it. I wasn’t even sure if what we wanted to do was possible.
But I agreed to the plans and demo began. Today, I’m discussing how to resurface a floor with concrete. I’ll share the hiccups along the way and the beautiful results.
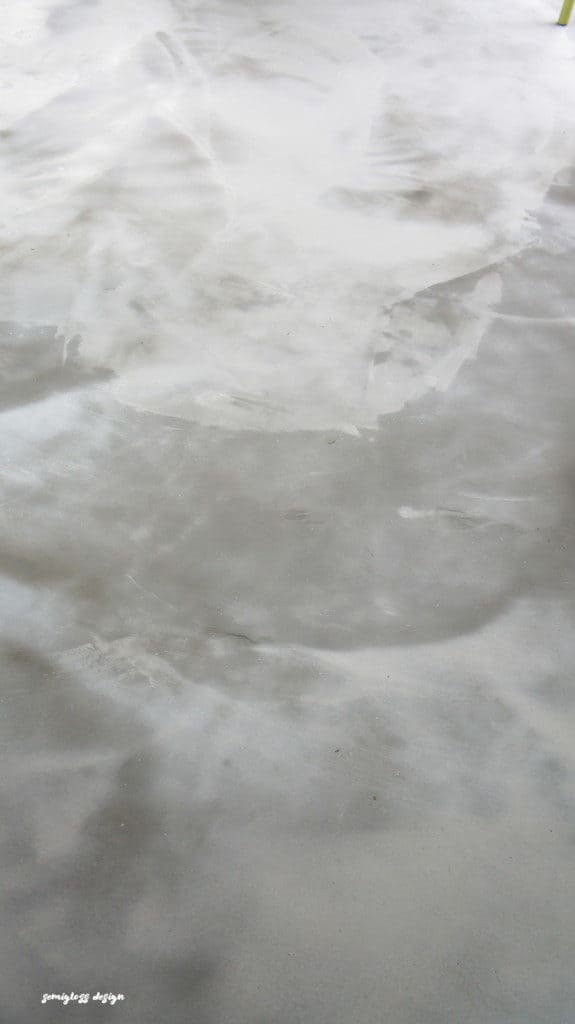
This is not a DIY job for perfectionists. Concrete is known to be very imperfect and you have to be okay with that.
The imperfections are what I love most about concrete. It doesn’t mean that it didn’t turn out great. Just that you can’t guarantee a uniform color or appearance. Our floor ended up cracking a bit, which we’re fine with.
Thoughts about the Process of Resurfacing a Floor
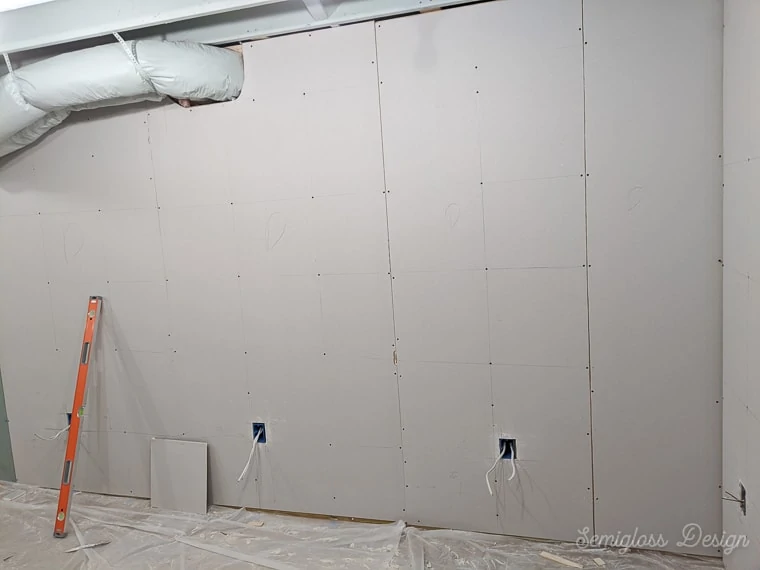
In retrospect, we didn’t need to remove the tile to pour a thin coat of concrete. But we did. We used a rotary hammer and about 40 garbage bags to remove the tile. Once it was up and thoroughly cleaned several times, it was time to pour the concrete.
We poured a concrete skim coat on top of cement backer board that is on top on a plywood subfloor. We used a very similar process to skim coating countertops with cement.
I figured that if it can hold up to countertop use, it should work for a floor. Also, the concrete is probably around the same weight as the previous tile, so I felt like the floor could handle the weight. Time will tell.
Self leveling concrete was the most expensive part of this project. Each bag was about $25 and we used about 20 bags. This made the project cost closer to the price of higher end tile.
You have to *really* want concrete for this to be worth it. I wanted to cry when I was standing in the hardware store adding up the price for how much we would need.
In total, it cost around $700 for concrete and tools for mixing and spreading (for a 20 x 25 room.)
But wait, isn’t concrete cheap?
That’s what I thought too. Then I realized that we needed self leveling concrete which costs 5 times the price of normal concrete. I tried to find solutions to make the cheaper stuff work, but in the end, we didn’t want to chance it.
The cheaper concrete is for thicker slabs. We just wanted a concrete skim coat. So we paid a small fortune and loaded up my mini van with over 1000 pounds of concrete.
Working with concrete was so much fun. It’s like a giant zen garden. I definitely want to work with concrete again in the future.
Mixing it was not so fun. It felt like a serious workout, even though the drill and mixing paddle did most of the work. Also, concrete is HEAVY!
(We used a much more affordable product to refinish the concrete in our basement.)
How to Resurface a Floor With Concrete
This post contains affiliate links. By purchasing an item through an affiliate link, I earn a small commission at no extra cost to you.
Supplies Needed:
- Flo-coat Concrete Resurfacer
- Trowel
- Mixing paddle
- Drill (either corded or with extra batteries)*
- (2) gallon buckets
- Kneepads
- Water hose
*You can use battery powered drills. Just be sure that you have several extra and make sure they are fully charged before you begin. We went through 3 batteries while mixing concrete for our floor. Also, set your drill to Low or you will kill your drill.
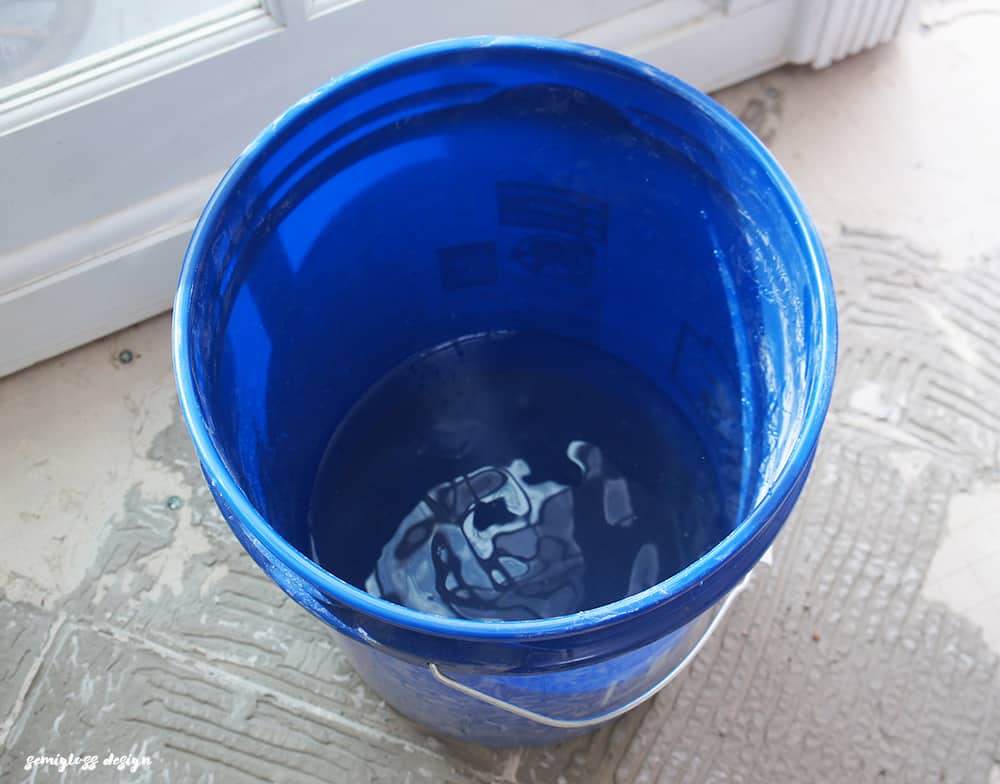
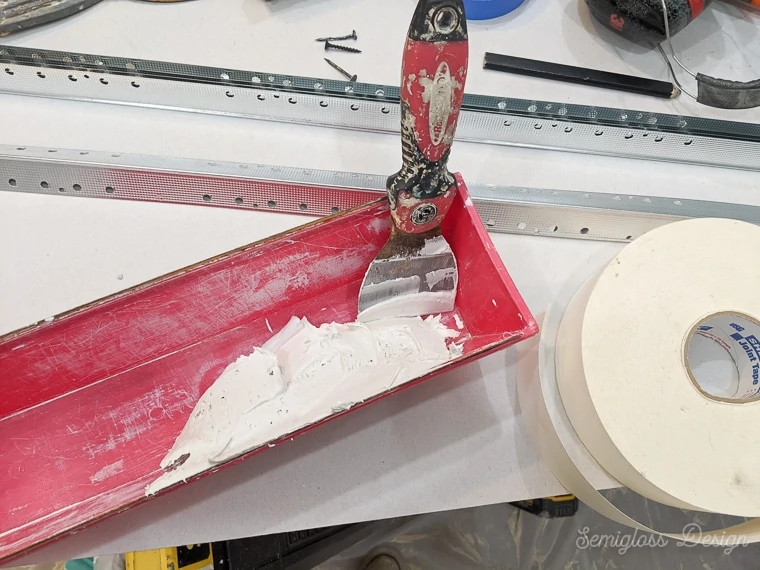
Mixing the Concrete
- Pour the water into the bucket. We measured the first one and memorized the spot. On our bucket it was about 1/2″ below the Lowes symbol.

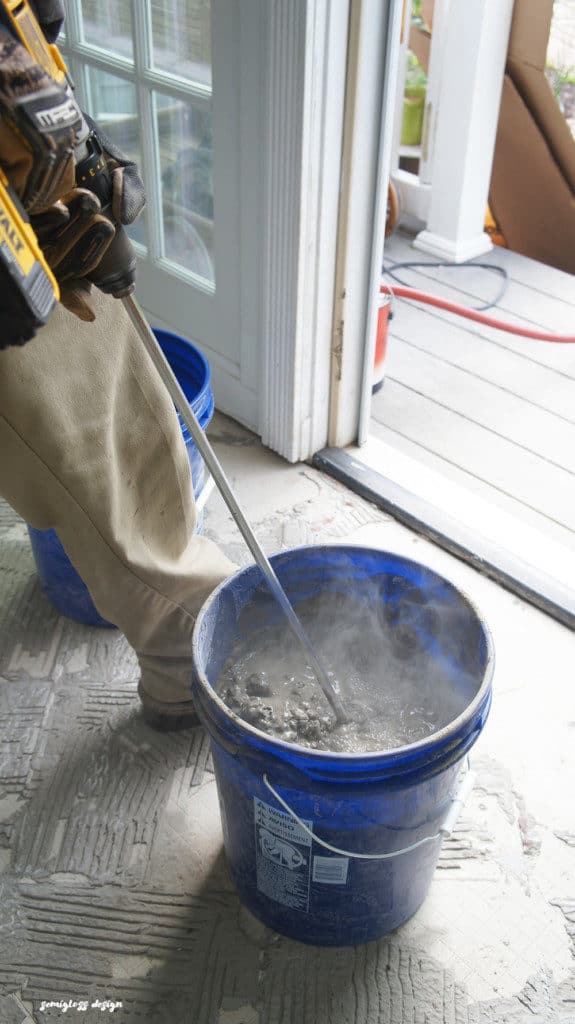
- Then pour in about half the bag of concrete and start mixing.

- Mix until it’s smooth and pour the rest of the bag into the bucket. Be sure you get the edges when mixing. I preferred my mixture on the watery side. It was the consistency of cake batter and flowed smoothly.


Skim Coating the Floor with Concrete
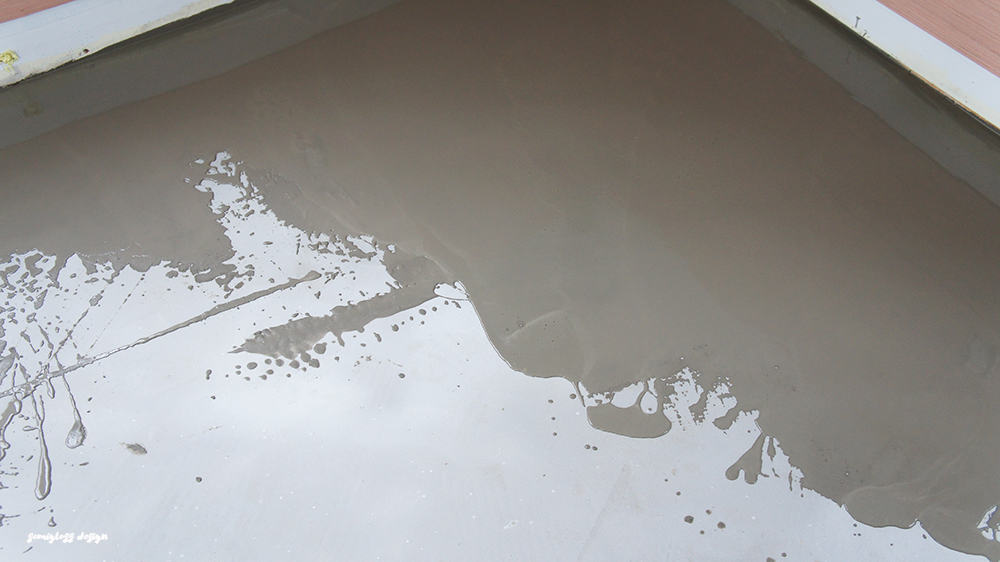
- Pour a bit out and use a trowel to spread it. Spread the mixture in a wide arc. It’s self leveling, but you still have to spread it out.

- While one person was spreading the mixture onto the floor, the other person was mixing the next batch in the 2nd bucket. This made the process go much faster and smoother.
- I worked my way around the edge of the room, pouring and spreading the mixture, as my son and husband mixed the concrete for me. Spreading the concrete was probably the easier job. It’s fun to smooth the concrete.
- When we got to where the first part was already starting to dry, if left marks where the wet concrete met the drier spots. Try to get it as smooth as possible.
- Our first coat didn’t completely cover the leftover mortar that we didn’t remove.

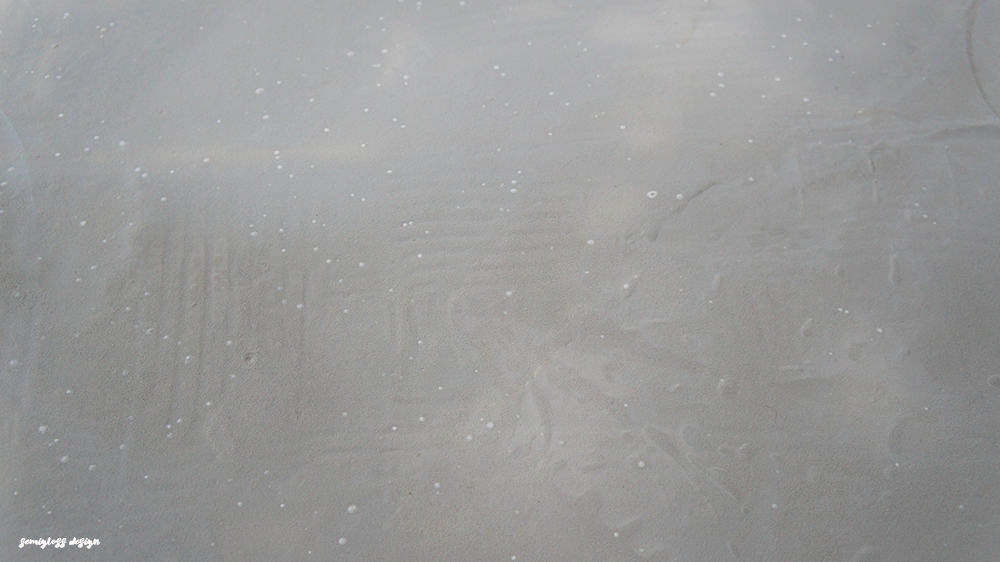
We let it dry overnight and came back the next day to do a 2nd coat that was even thinner.
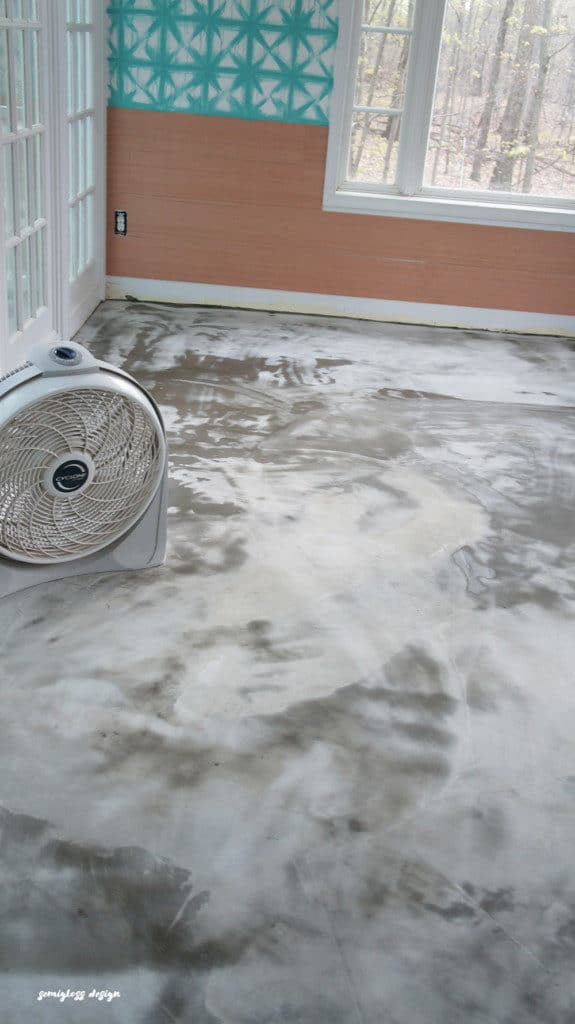
The entire process for resurfacing a floor went much faster then we anticipated. Each skim coat took about half a day. It had a 24 hour cure time, so we were able to stain the floors much sooner than normal concrete.
Since then, it has started to crack a bit. Cracks in concrete are normal and expected. I plan on updating this post in the future on how the concrete is holding up.
Update 7/2018
There are cracks in the concrete, but this also a room that gets exposed to the elements because it’s a sunroom. The cracks don’t seem to effect the structure of the floor though. They add to the natural beauty of the floor, in my opinion.
No regrets so far. This DIY for concrete floors continues to make us happy.
Click to read how we refinished our concrete floors in our basement using a different product and technique!
You might also like:
- Staining Concrete Floors
- Concrete Overlay Countertops
- The Best Concrete Countertop Sealer
- Painted Vinyl Floors
- Painting Plywood Subfloors
Pin for Later!

Emy is a vintage obsessed mama of 2 DIYer who loves sharing affordable solutions for common home problems. You don’t need a giant budget to create a lovely home. Read more…

you guys seriously amaze me with your fearlessness!
I am doing this process to the sunroom floor at my moms. She had indoor/outdoor capet on existing concrete floor slab. The glue is kicking my butt. You mentioned that you could’ve just done this over the existing tile. Does that mean I don’t have to get all the glue up? That would be amazing!