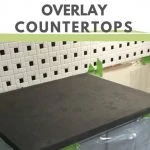
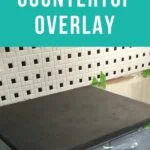
How to Install Concrete Overlay Countertops for Less than $100
Learn how to install concrete overlay countertops. This easy-to-install method transforms ugly countertops for way cheaper than it is to replace them!
You might also like this DIY wood countertop.

This post contains affiliate links. By purchasing an item through an affiliate link, I earn a small commission at no extra cost to you.
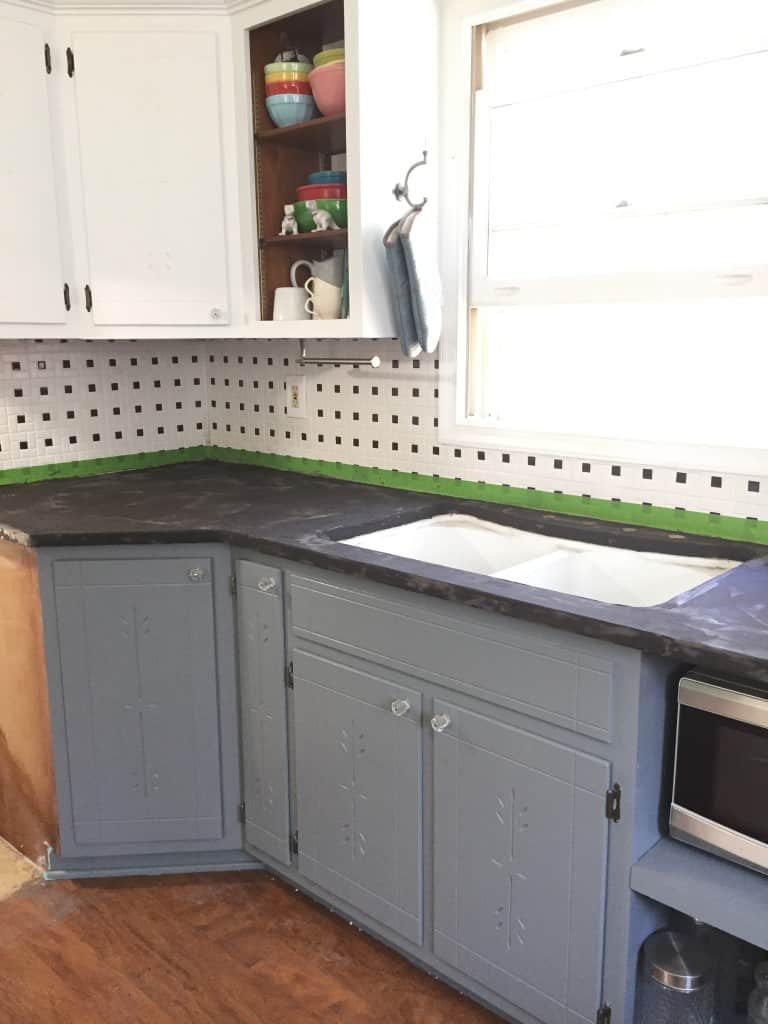
My countertop in my home was probably very expensive when it was installed in the 1980s. I suspect that they’re quartz, so very pricey.
But they were so ugly. Like no paint color on the planet can make them look good ugly.
And they were bringing down the whole vibe of my kitchen. No matter what I did, they just weren’t looking great.
So we decided to find a budget-friendly solution until we can do a full kitchen remodel, because who knows when that will be.
Learn how to install concrete overlay countertops!
*By the way, this portion of the countertop makeover was closer to $25 because we already had a lot of the supplies. The epoxy sealer we used made the final price closer to $100.

Get my DIY freebies
All of My DIY Printables in One Place
Sign up for my newsletter and get access to my library of free printable resources and building plans.
Things to Know Before Installing the Concrete Overlay Countertops
- Feather finish sands very easy, so don’t worry about imperfections while working. This stuff sands like joint compound, not concrete.
- It’s probably best to alternate between a medium-thick coat, a thin coat, a medium-thick coat, a thin coat.
- If you’re using concrete dye, don’t worry too much about the batches perfectly matching. The slight variations in color will give it a really cool effect. Even a batch of undyed concrete will vary from batch to batch, so expect it.
- One box of feather finish was plenty for our countertops. I bought 3 because I didn’t think 1 sounded like enough. Now I have to return the extra.
My countertops before
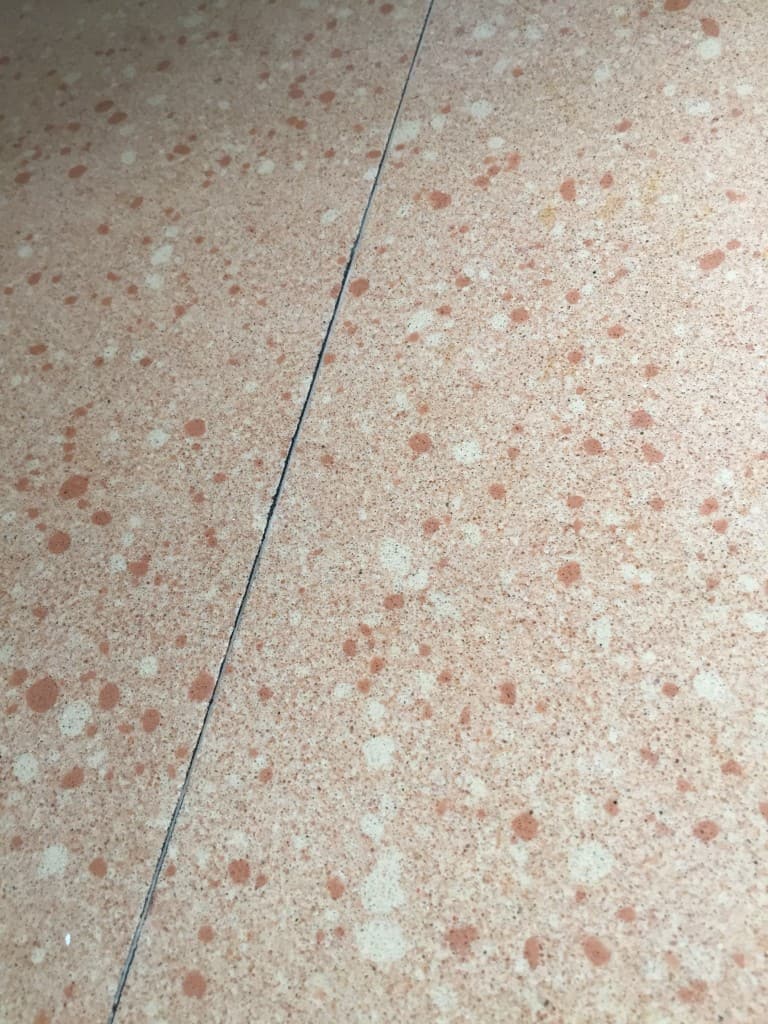
Can you even handle all of this beauty? 😉
Concrete Countertop Overlay FAQ’s
What is concrete overlay?
A concrete overlay is a thin coat of concrete over an existing countertop.
You can use it over any existing countertop, as long as it’s stable without cracks.
Concrete overlay versus concrete countertops
Concrete overlay allows you to use your existing countertop.
In our case, the Corian would be extremely difficult to remove and possibly destroy the cabinets in the process. Plus, they are incredibly heavy.
Full concrete countertops are also very heavy. Most cabinets need to be reinforced to be able to handle the weight.
What is the cost for concrete countertop overlay?
We bought 3 boxes of Henry feather finish and ended up using one. The feather finish concrete cost us $15 a box. The concrete dye was about $7.
The sealer we ended up using cost about $70. For under $100, we were able to give our countertop a new look!
What kind of concrete do you use for concrete overlay countertops?
We used feather finish concrete. There are 2 brands that I know about, Henry and Ardex.
They come in a box and are found in the flooring aisle because they are used to level sub-floors for tile installation.
Feather finish concrete is applied in thin coats, as the name suggests. This allows you to keep the weight light and control the amount of coverage.
It’s a lot like paint: lighter coats are better because you can always add more.
How to Install A Concrete Overlay Countertop
Supplies Needed
- Henry Feather Finish
- Black Concrete Dye
- Sander and sandpaper in different grits
- Trowel and putty knife
- Plastic drop cloth
- Frog tape
- Mixing bucket
- Concrete mixer for drill
- Drill
Prep Work for Concrete Overlay Countertop
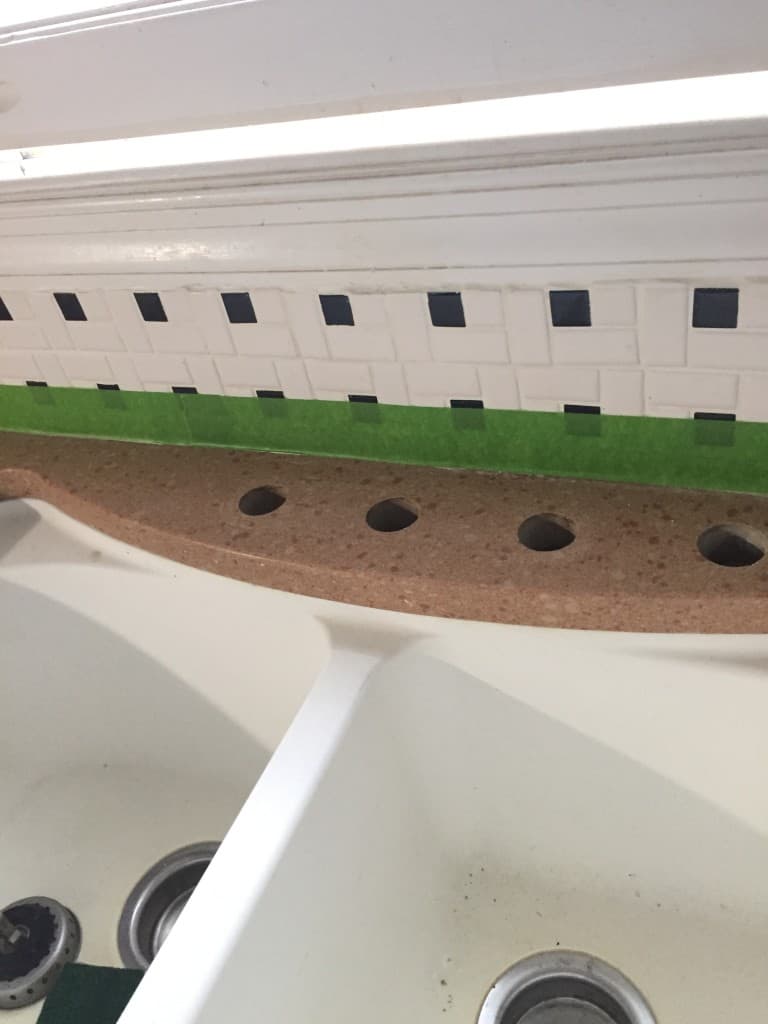
- Remove your faucet and any appliances that are in the way. We have a slide-in range, so it had to be moved. Thank goodness for furniture sliders! We also taped off the tile backsplash.

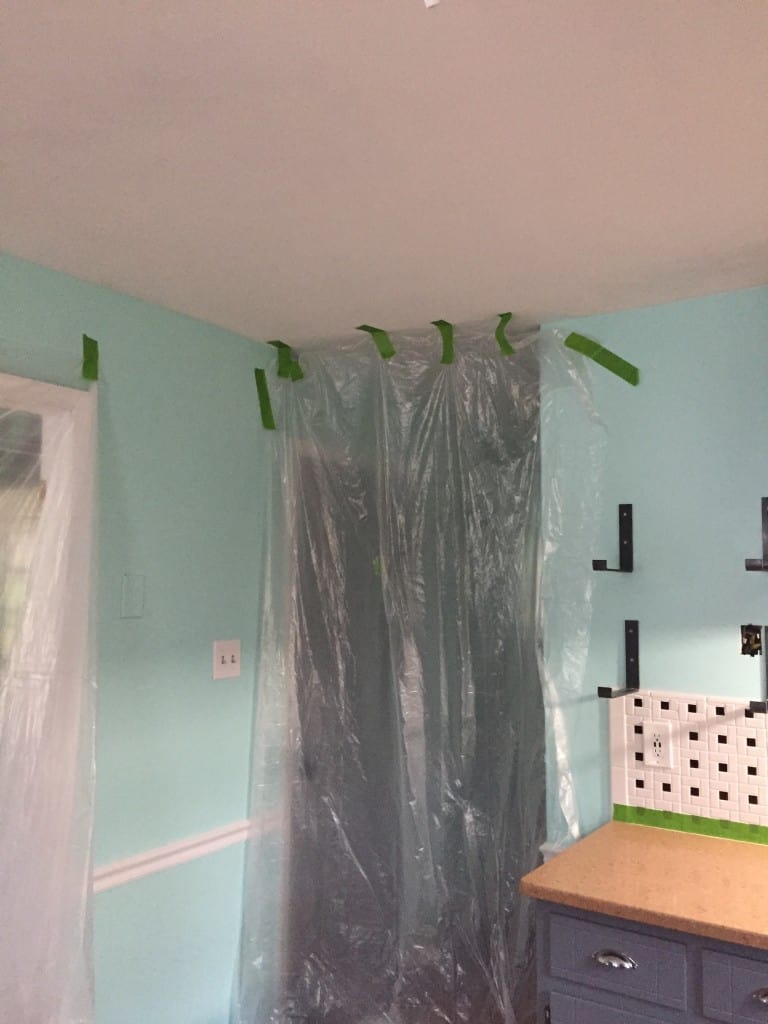
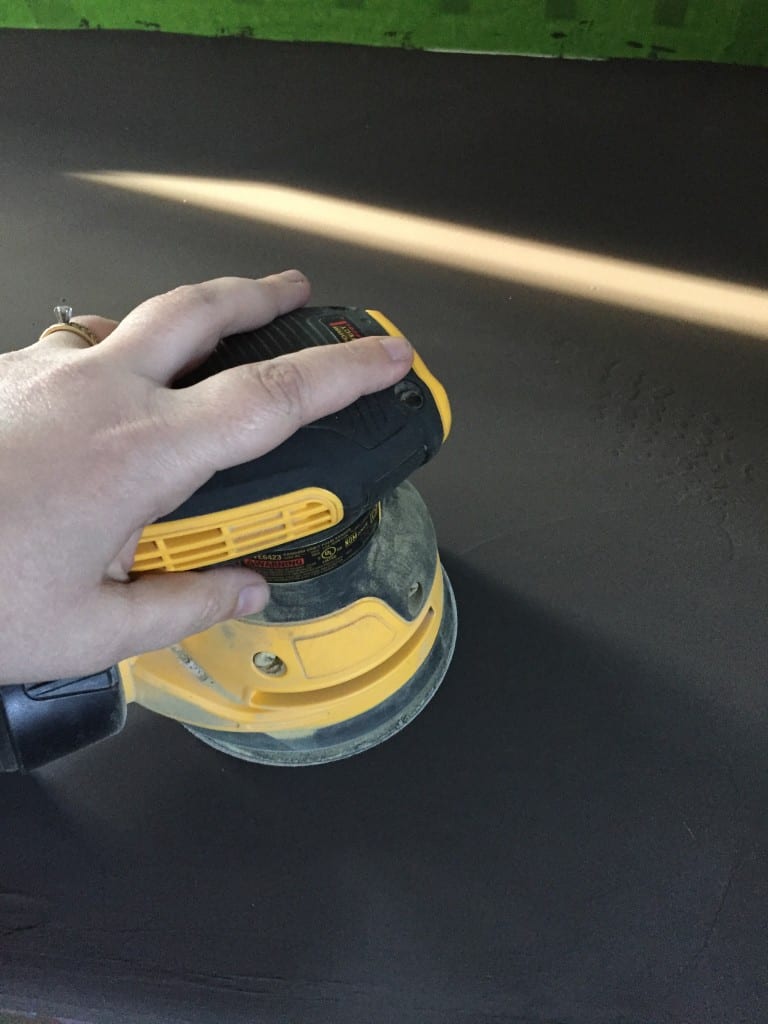
- Protect your home from dust. This means taping up doorways with plastic drop cloths. You may be tempted to skip this step, but I’m really glad I didn’t. Our sander has an amazing dust collection system, but there was still dust everywhere.
- Thoroughly clean your countertop to remove any grease. Wipe down your tile backsplash as well. Any invisible grease spots will show concrete dust.
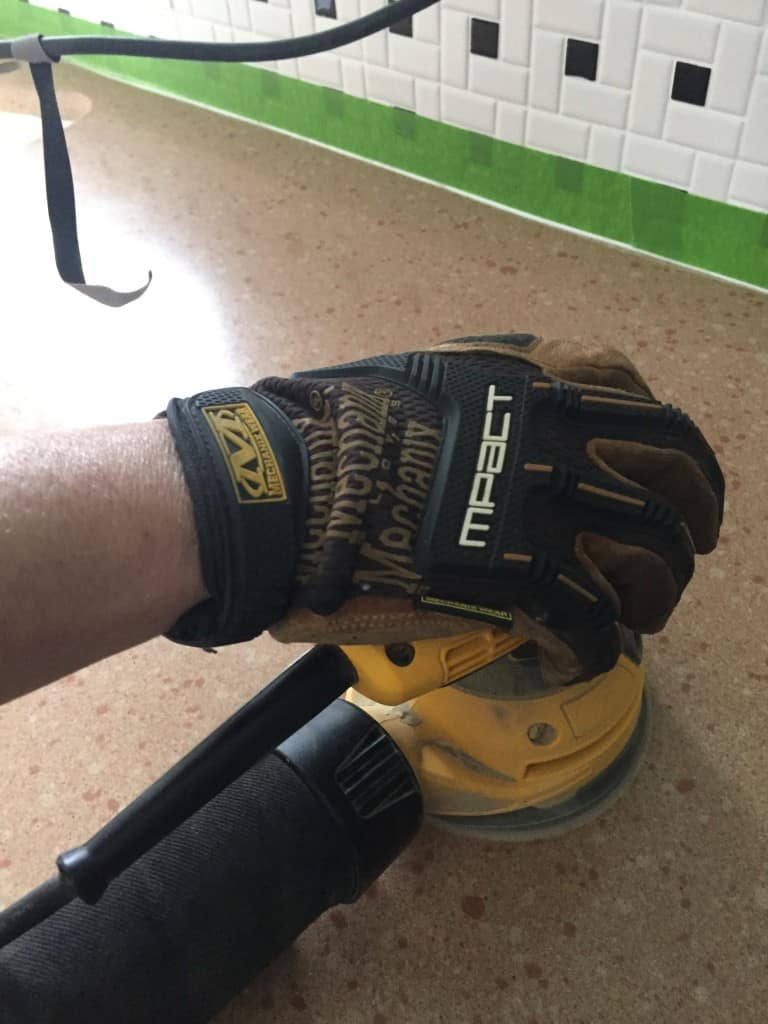
- Sand your countertops. Our countertops are indestructible, so they didn’t even show a mark. (Laminate sands much easier.) Be sure to wipe away all the dust.
How to Resurface Countertops with Concrete
- Mix your first batch of concrete. Put water (and dye) in your bucket first and then add the concrete. This makes your concrete mix much smoother. Your first batch will be the biggest, but you still need *much* less than you think.
You might need 2 cups of mixed concrete. Your mix should be the consistency of pancake batter.
When using the drill attachment, set your drill to low. Mixing concrete is hard on tools and even though we have powerful tools, it’s still best to not overdo it. - When the concrete is mixed, let it sit for 5 minutes. This allows all of the bubbles to rise to the top.
- You will need to mix it again for 1 minute. This keeps the mixture workable for a longer period.
- Trowel a very thin layer onto your countertop. Because our countertop was so glossy, we did a slightly thicker 1st coat for our concrete overlay countertops.
My husband did the majority of the countertops with a large trowel, while I worked on the edges using a putty knife and my fingers.
(It didn’t stain my hands or irritate my skin, but my nails are pretty gross looking.) You want to build up the edges pretty thick. It sands very easily, so don’t skimp. - Let it dry. The first coat took longer than any other coat, probably about 1 1/2 hours. Don’t worry too much if you didn’t get 100% coverage on the first coat.
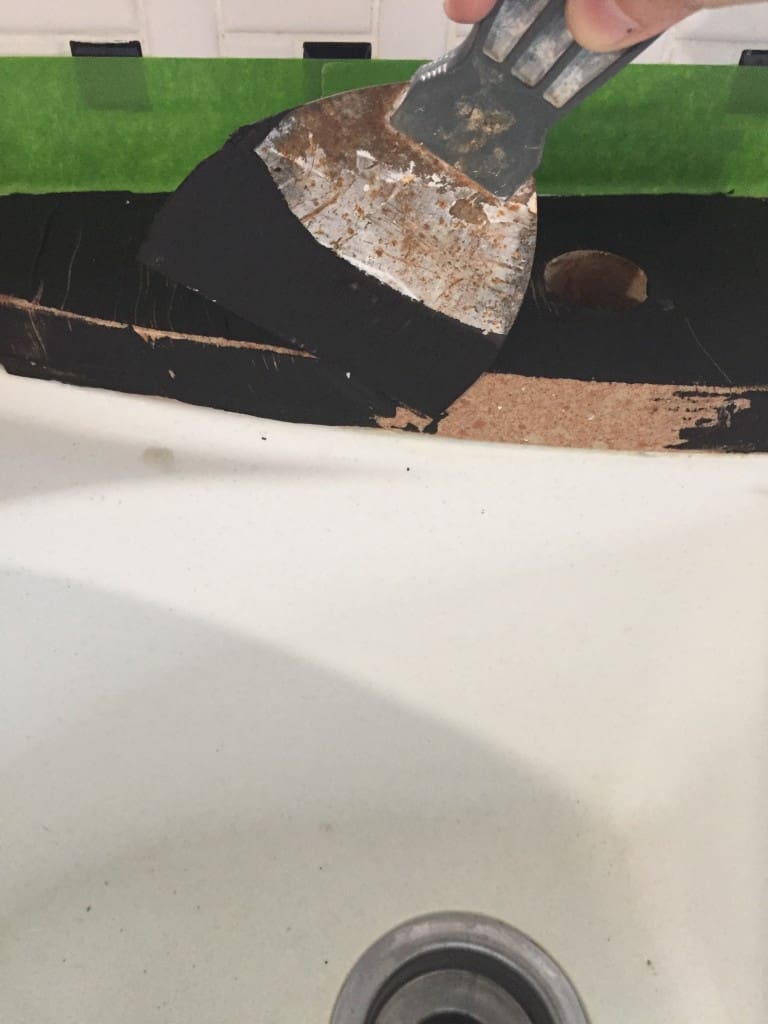
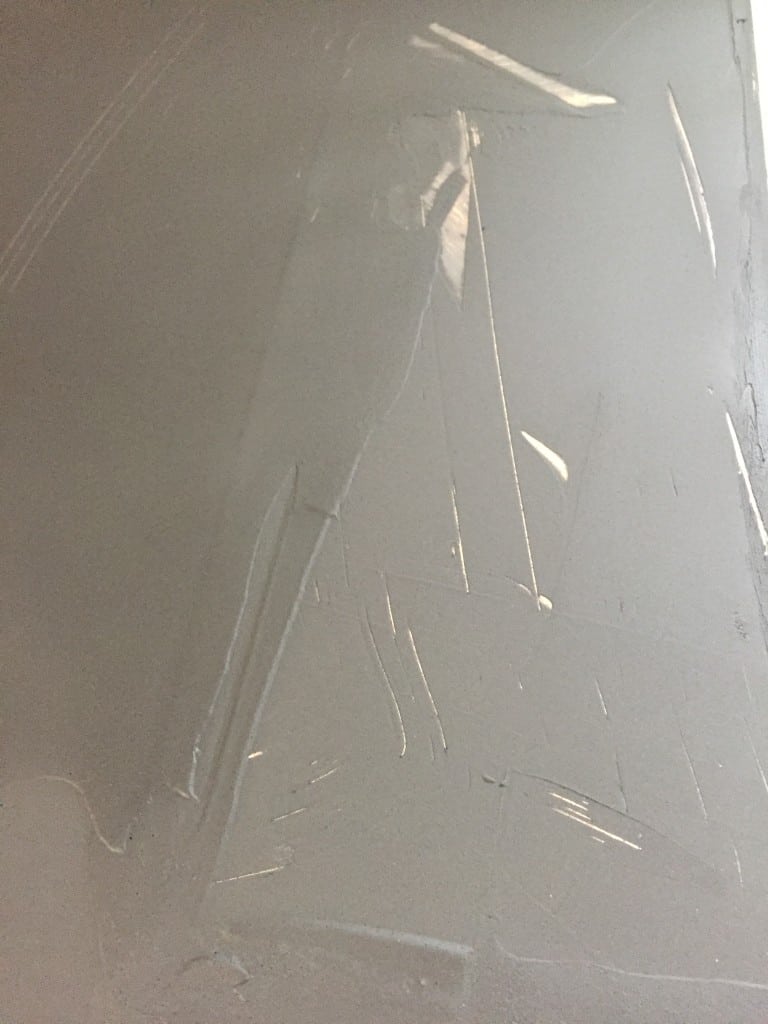
- When it’s dry, lightly sand it. Be very careful on the edges. You don’t want to remove too much.
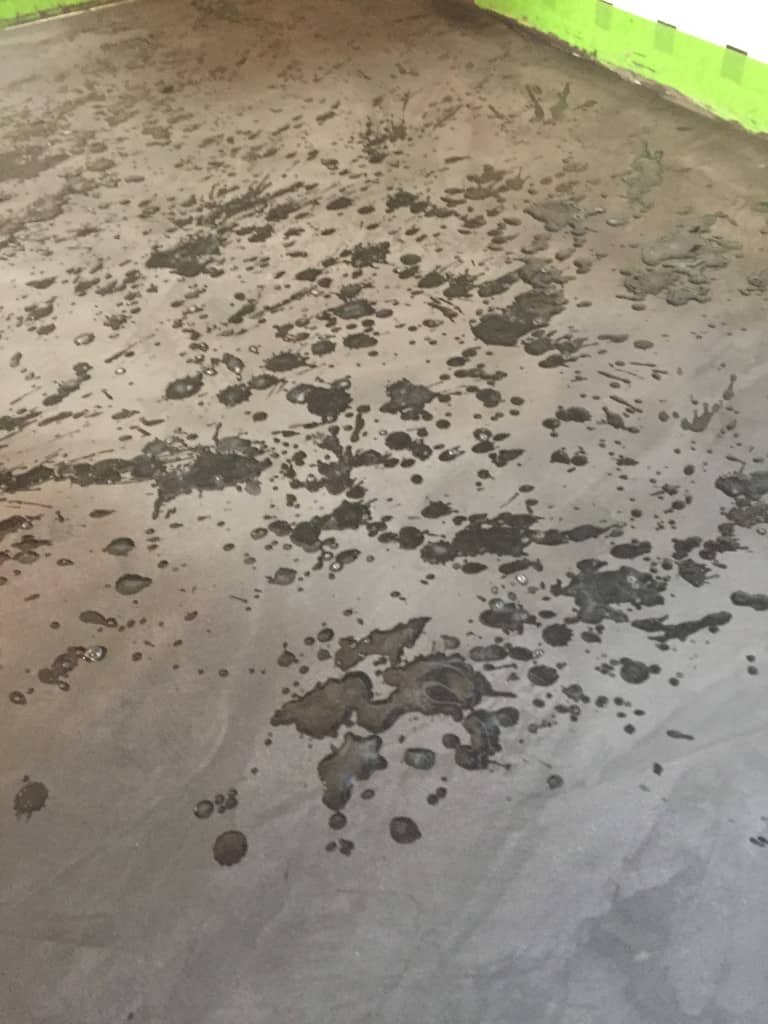
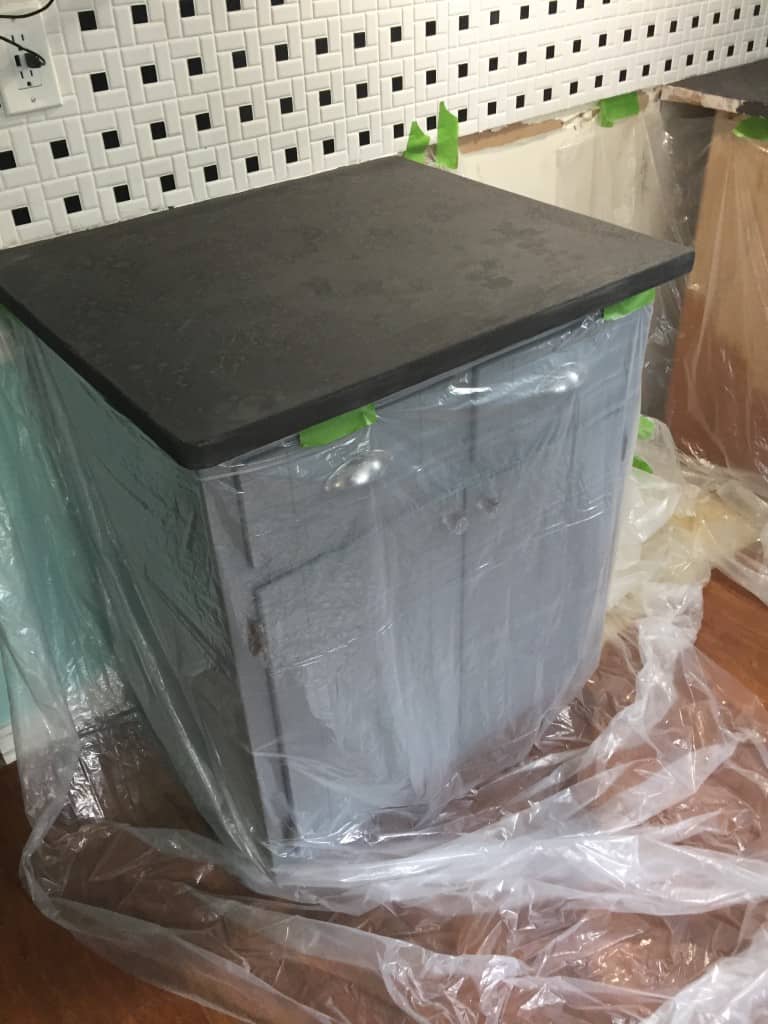
- Repeat steps 4-7 until you’re satisfied. For our last coat, we used the trowel to make swirl marks, then we watered the remaining concrete mix down to make splatter marks on the surface.
This was my husband’s idea, and I was nervous. So this step is optional if you want a smoother look.
Sand until smooth. - Once it was dry, it’s time to seal it. I’m breaking that part into a tutorial of it’s own because we wanted to use an extremely durable sealer.
They look beautiful like this and I wish we could have just added a thin layer of wax, but we wanted to make them really durable.
Update:
We sold this house in the summer of 2021 and the countertops still looked great.
There were a few small chips around the sink, which received heavy use, but for the most part, they still looked as good as the day we finished.
I highly recommend this technique and would love to do it again.
Want to learn how I sealed my concrete?
Sealer for Concrete Overlay Countertops
Curious how the whole kitchen turned out? Click here for the final reveal!
You might also like:
Pin for Later!

Emy is a vintage obsessed mama of 2 DIYer who loves sharing affordable solutions for common home problems. You don’t need a giant budget to create a lovely home. Read more…


i love this look and would love to use it somewhere! angelique has done it several times and i always love it!
Emy you have totally inspired me to take the plunge with my matching lovely baloney looking countertops! I love how yours came out and can’t wait to do mine!!!!! Thanks for sharing this tutorial!!
Yay! No regrets here! I don’t miss my baloney counters at all!!
Im curious about how well the overlay has held up. I’ve got concrete countertops that I’m not happy with and I’m thinking about doing an overlay. My fear is that it will just crack and crumble away with use, bc its just a thin layer. Most of the time when you see repaired concrete driveways, the repairs don’t last. Have you found this to be the case in overlays?
Hi Tiffany. Our overlay is holding up great, but we also put a pretty intense sealer on it. We used epoxy which hardens and it very durable.
When we did our concrete, I went in knowing that it might not work. It was over slick corian countertops. I’ve been very happy with the results.
The box we bought was $15 and it took about 1/2 a day to apply it, so to me it was worth the cost and effort to try something new. Driveways use a different product and are subject to much harsher conditions than a kitchen. I would try it out but start saving up for your dream kitchen countertops in the meantime (just in case.)
Good luck!
What type of concrete did you use! Trying it this weekend!!!
Hi Sarah, I used featherweight concrete. There are 2 brands: Ardex and Henry’s. It can be found in the flooring aisle (it’s used to level subfloors) and it’s in a box.
Thanks!
Do you think this would work to cover ugly granite?
Yes, I covered a solid surface countertop, which is similar to granite. Make sure that you sand the surface well to ensure that the concrete sticks.
How well have your counters held up since you’ve done them?
The counters have held up pretty well. I have a few chips along the edges (that we got right away from the aggressive scraping of the drips) and a few newer chips around the sink where it gets a lot of wear. I would do this method again, but I don’t expect it to last forever, just long enough until I can save up for our dream kitchen. 😉
Thanks for the reply! Did you have to wait long before adding the epoxy?
We let the dust settle from the last bit of sanding, then cleaned it. Then we applied the epoxy right away.
can you do this over a laminate counter that has epoxy over it. Is it also possible to make it look like white and gray marble? I know I should just by quartz but can’t afford it. I also have a raised back splash that is part of the laminate countertop, I would need to cut off.
You can do this technique over laminate. If there are any cracks in the surface, they may show up over time though. There are dyes for concrete, so it’s possible to make it gray and white like marble. Mix a batch of each color and swirl them together as you work. Keep in mind that if you use an epoxy topcoat as I did, that it will yellow over time.
can you put food directly on it and can you cut on it?
No, but you shouldn’t cut any countertops. But it’s safe to place food in it.
Is it possible to use feather concrete on a cabinet top that has the glued on laminate top?
It works great on laminate. Just make sure that the top is nice and secure before applying. If it’s loose, it can crack over time.
Can you use this on cement board or on thick plywood for an outdoor kitchen countertop?
It should work as long as the base is stable. If you join more than one piece, it may crack over time at the seam.
How about mixing colored epoxy into the seal coat instead of mixing cement pigment. ? Adding just a few veins or such with epoxy pigments? Would something like that look good on the black concrete overlay? Thoughts? 🙂
I’ve done a similar technique before. I love using epoxy for countertops.