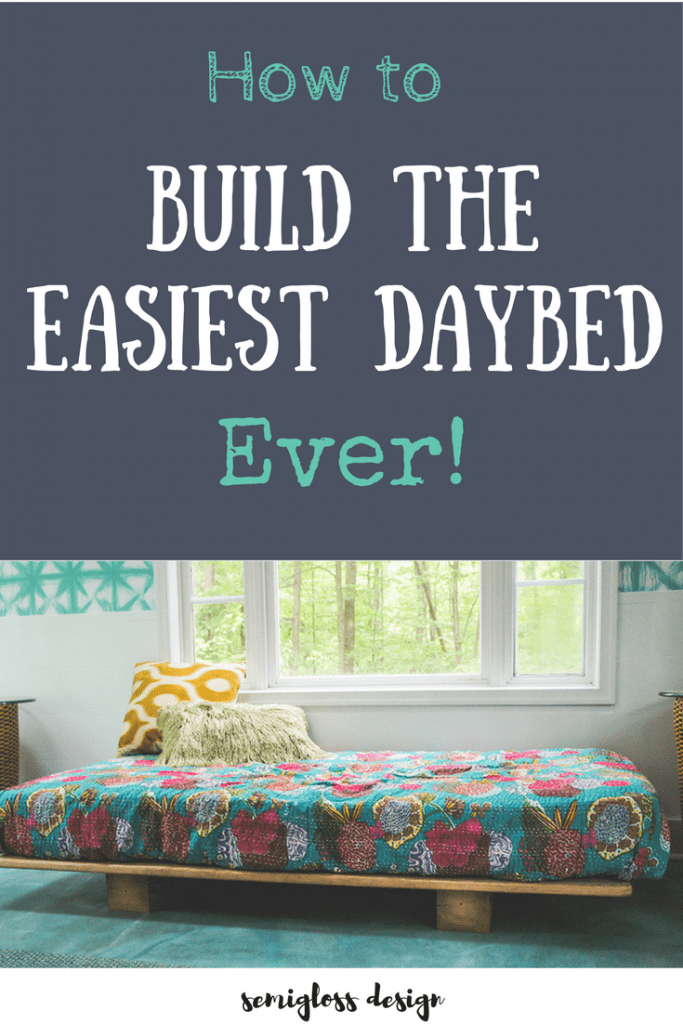
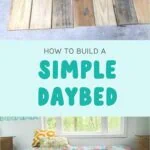
How to Build the Easiest DIY Daybed Ever
Learn how to build an easy DIY daybed. This daybed features a minimalist platform design.
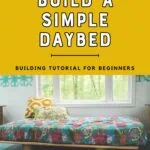
A perfect day for me involves curling up with a book in a sun-filled room on a lazy summer day. To make my dreams come true, I knew that I needed to add a daybed to my sunroom.
However, I didn’t want to buy new materials for it. So a plan was made using existing extra deck wood that we already had lying around.
Sometimes the best ideas come from using what you already have.
We were able to make our daybed without spending any money, by using what we already had around the house (besides the bedding.)
If you don’t happen to have leftover deck wood lying around, you can use 1x6s instead.
The daybed design is very modern, yet rustic. What I loved most about it was how easy it was! This daybed is perfect for beginners, even if you’ve never built anything before! If you get the wood cut at the hardware store, all you need is a drill to assemble it.
This is the kind of project that really boosts your building confidence!
Note: Deck wood is pressure-treated and generally not advised to be used indoors. The wood that I used has been outside for about 2 years, so all of the chemicals have since worn away. I feel safe using this wood.
Want to see the rest of this room? Check it out here!
What is a Daybed?
A daybed is a cross between a sofa and a bed. It can be used in a living room or a bedroom. They are great for rooms where you want to relax and lounge around.
My version is a simplified platform daybed. For a more complicated bed tutorial, be sure to check out my DIY canopy bed.
Get my DIY freebies
All of My DIY Printables in One Place
Sign up for my newsletter and get access to my library of free printable resources and building plans.
Easy DIY Daybed
Supplies Needed
This post contains affiliate links. By purchasing an item through an affiliate link, I earn a small commission at no extra cost to you.
- 6×6 | 2 pieces cut to 33″ each
- Deck boards (or 1×6’s) | 7 cut to 72″ (or a bit shorter than your mattress length*)
- 1×2 | 4 pieces cut to 33″
- Screws – (these are my favorite screws to use because they really pull the wood together.)
- Drill
- Twin Mattress*
- Printable Instructions available here
*Check your mattress dimensions. Every time I Google “twin mattress dimensions,” it tells me that twin beds are 80″ long. However, the twin mattresses in our home are closer to 72“.
How to Make a Daybed
- Cut your wood to length. Sand all edges. If desired, stain or paint them.
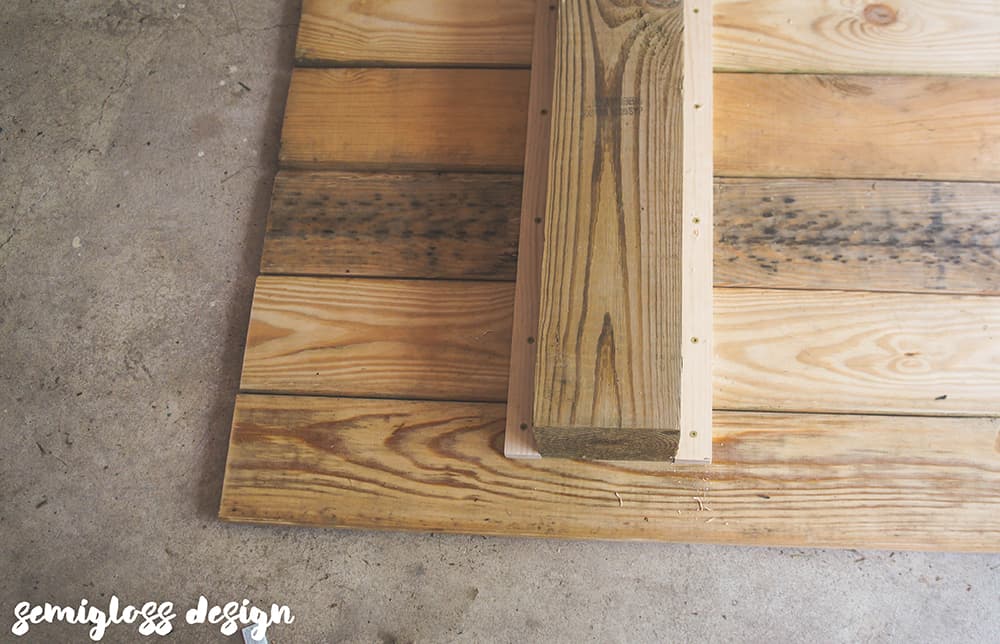
- Lay deck boards face down. This forms the platform, which is about 39″ wide.
- Position the 6×6 12 inches from the edge.


Finishing the Daybed
You can paint or stain the wood if desired. I left mine natural to contrast with the other colors in the room.
This easy DIY daybed was so simple to make! We finished it in a few hours, and best of all, we didn’t have to go to the store for supplies!
I love it when a project is this easy yet has such a big impact.
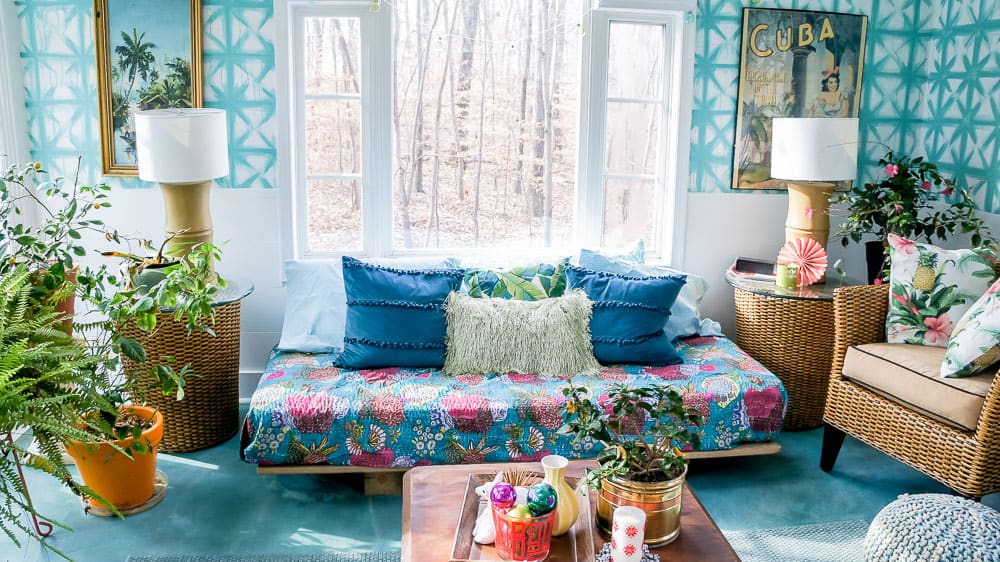
This is the best place to nap in the whole house!
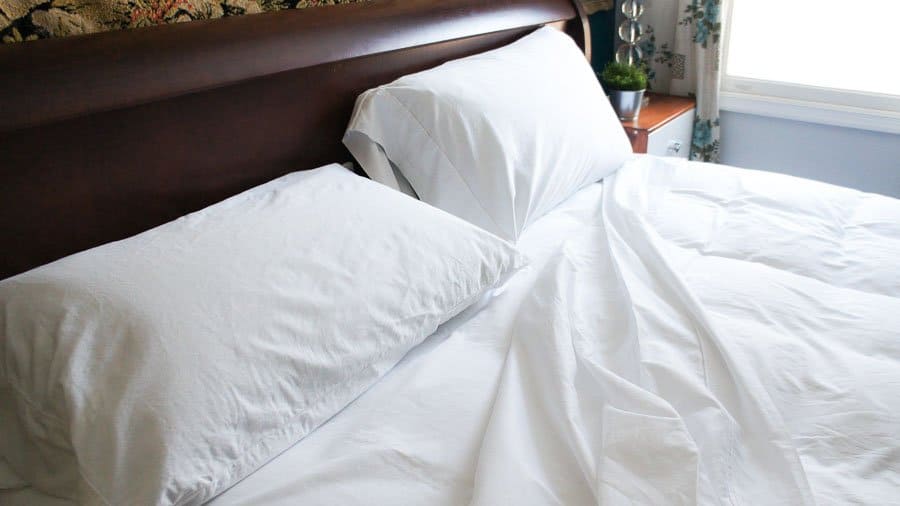
Lots of pillows make it way more comfy. We use two regular bed pillows, one long body pillow, and plenty of throw pillows.
Body pillow | Pompom pillow (similar) | Fringe | Tropical Leaf pillow (similar)
Get Plans to Make this Bed
Looking for more easy-to-build furniture projects?
Be sure to pin this for later!
You might also like:

Emy is a vintage obsessed mama of 2 DIYer who loves sharing affordable solutions for common home problems. You don’t need a giant budget to create a lovely home. Read more…


oooh i love this! may have to nab this idea for our playroom!
Great idea! Love how low it is, especially as it can double as a couch/sitting zone. Visiting from Remodelaholic.
Thanks Victoria! We love it so much. It’s the comfiest spot in the house now!
I’ve used pressure treated posts for an indoor bench – it’s totally fine if you wait a while!
Hi Amber, thanks for stopping by. We’ve used pressure treated wood for other projects inside as well. 🙂
HI, JUst stumbled upon this. I love it, but would like it to make it just a bit taller. ANy suggestions? Megan
You could make the platform more secure by adding a few more braces, then cut lengths of 6x6s to use at each corner as legs. Secure them with several screws through the top of the platform into the legs.
Totally new to DIY, how do you secure the boards together side by side?? Wood glue or what method of screws?
Thanks in advance!!
The brace beneath the wood is screwed into each piece. That’s all that is needed to secure the wood.
What would the dimensions be if I wanted to make a this for a full or queen size mattress?
A full bed is 55″ x 75″, so the length would be the same, but the width would need to be around 55″. Your board width determines how many boards you would need.
A queen bed is 60″ x 80″, so the length would need to be 80″.