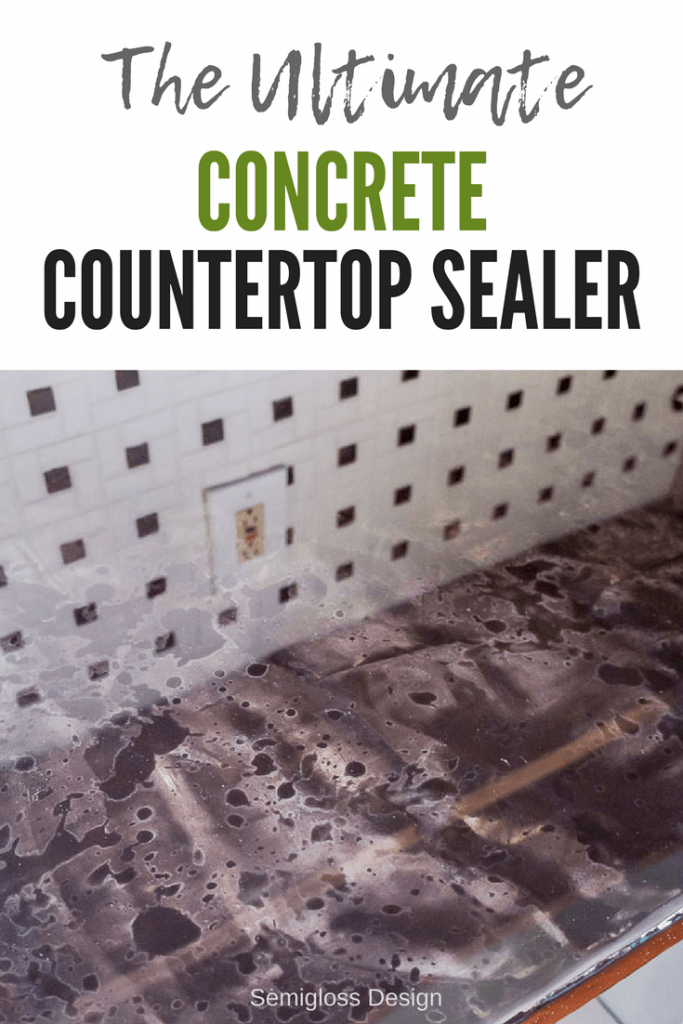
The best concrete countertop sealer for your countertops is incredibly durable and beautiful. After going to the trouble of coating your countertops with concrete overlay, protect your hard work!
The main complaint about concrete countertops is the sealer not being durable. A lightbulb went off in my head as I realized that I already know how to apply an amazing sealer!
The epoxy countertop method is very durable, so why not combine the 2 methods for an extremely, inexpensive countertop solution that holds up? Learn more about the best sealer for concrete countertops
Note: This method drastically changes the way the concrete looks and feels, so it might not be for everyone. Epoxy make concrete countertops look shiny. I happen to like a shiny countertop, but it’s something to know going in.
We’re a low maintenance family and it’s either do something drastic to protect our hard work or have to re-seal it all the time. I know that’s not going to happen. Our attention span is always focused on the next big project. 😉
So I wanted a no maintenance concrete countertop sealer. And this method requires no maintenance at all! Plus, it prevents the concrete from getting stains from oil, lemons and standing water!
*I do NOT recommend using this concrete countertop sealer over white concrete. It will yellow! But it works great on black or dark colors!
Concrete Countertop Sealer FAQs
Are Concrete Countertops Easy to Maintain?
Most sealers need to be reapplied periodically. But this method doesn’t need any maintenance. We just wash ours with water and dish soap.
We have hard water, so sometimes, I take the extra time to shine them with cleaning spray to get rid of the water drops.
Are Concrete Countertops Heat Resistant?
This sealer is heat resistant. We sit hot pans on our countertops all the time. No need to be delicate with these countertops. They’re incredibly durable.
The Ultimate Concrete Countertop Sealer for Durability
This post contains affiliate links. By purchasing an item through an affiliate link, I earn a small commission at no extra cost to you.
Tutorial for the Best Concrete Countertop Epoxy Sealer
Note: This job requires 2 people!
Prep Work
Thoroughly clean your concrete countertops to remove any dust. We vacuumed our countertops after wiping them down. Banish the family animals to other rooms or you will be embedding pet hair in your counters.
Protect your sink and cabinets. We taped plastic drop cloths to the cabinets, letting them pool on the floor under the countertops. For the sink, we carefully taped around the edge and used a smaller piece of drop cloth to protect the sink. (This is because the sealer will drip everywhere.) We should have protected the sink holes as well. Use tape to keep the epoxy mixture out of the holes.
Protect your skin. Wear disposable gloves to protect your skin from stickiness.
Applying the Epoxy Sealer for Concrete Countertops
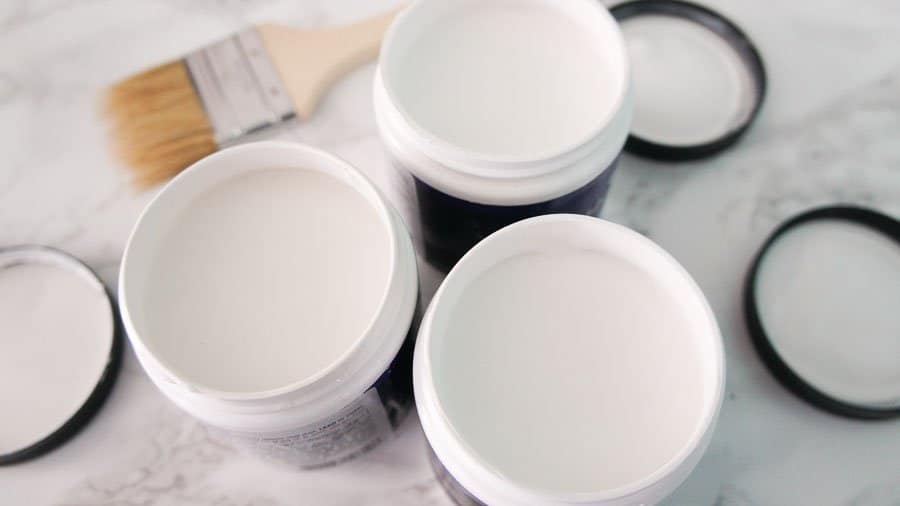
Mix your first batch. Pour equal parts of resin and hardener into a mixing bucket and mix for 2 minutes (set a time – 2 minutes is longer than you think!) As you’re mixing, scrape the sides of the bucket as well as the stir stick. (Don’t use a drill mixer for this. It creates too many bubbles.)
When 2 minutes is up, pour it into a clean bucket and mix again for 2 minutes. Scrape the sides again.
When the timer goes off, start pouring the mixture. Get the corners and backs first, so that you’re not leaning into wet sticky mixture!!
While one person is spreading the 1st batch of mixture, the 2nd person should start mixing the 2nd batch (repeat steps 4-6.)
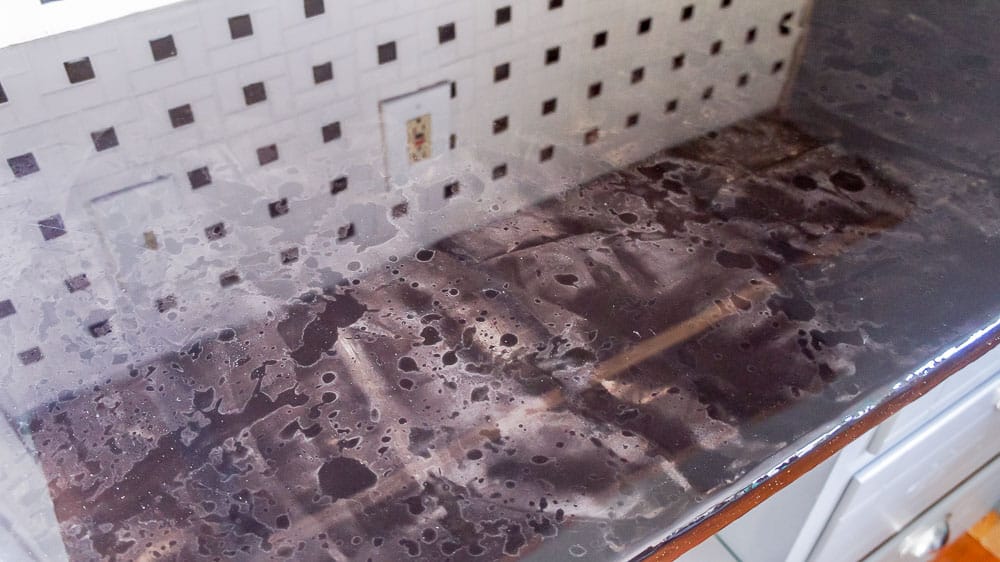
We used a brush to spread the mixture. You’ll have to look at it from every angle to find low spots and fill them. Try to fill all the low spots or you will need to do a 2nd coat.
For the edges, do your best to coat them with thick mixture. It will drip off and create ridges that can be sanded or scraped off.
Repeat the batches until your countertops are covered.
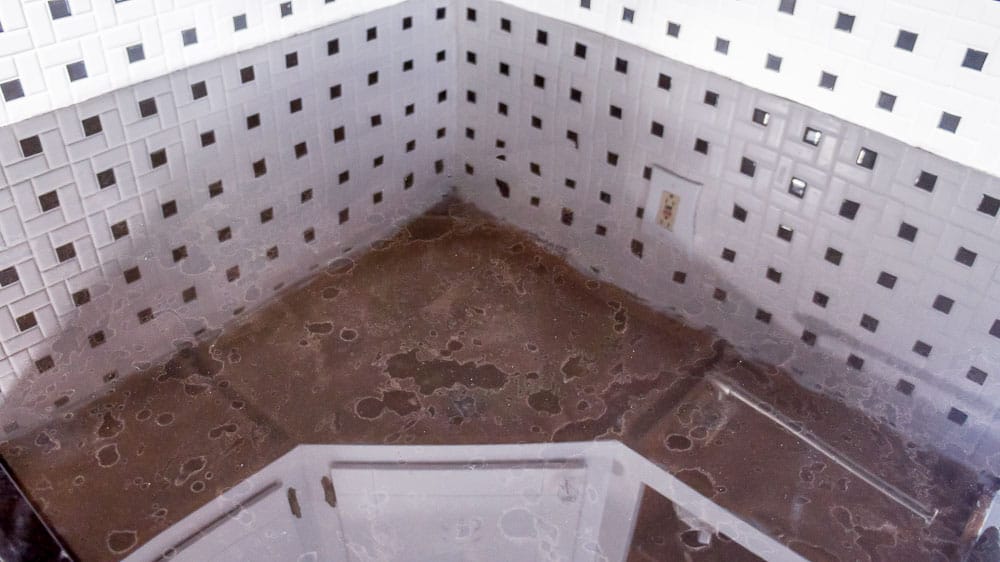
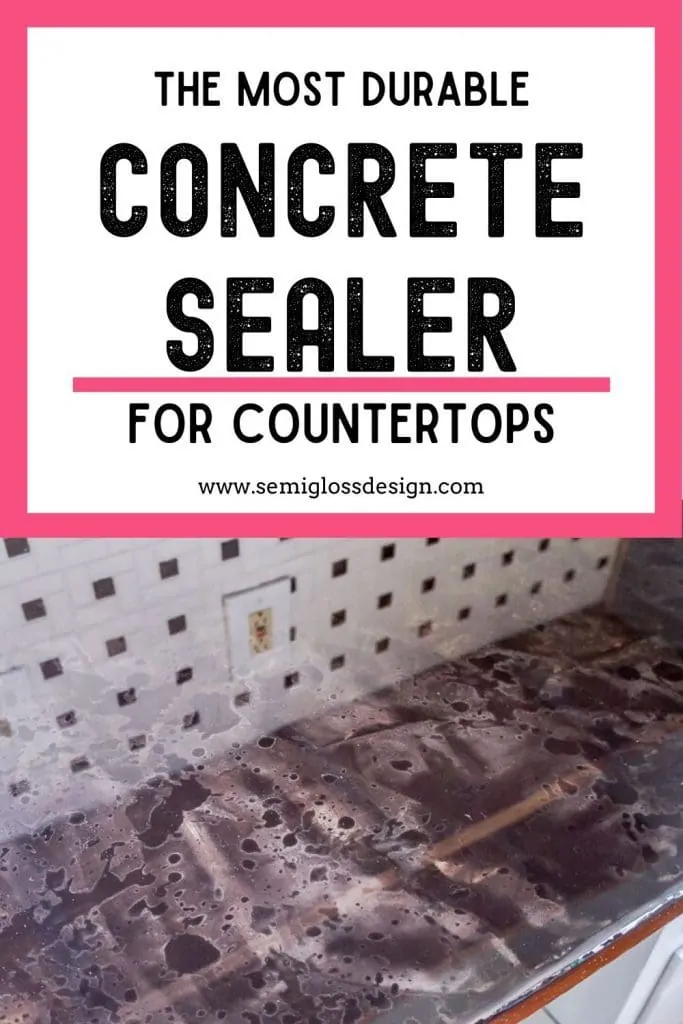
Once your concrete countertops are thoroughly covered in the epoxy mixture, it’s time to get rid of the bubbles. Use a blowtorch (or a handheld lighter) several inches above the surface to pop the bubbles. It’s not the heat that pops them, so don’t burn the epoxy. This also spreads the epoxy so that it levels out better. I’ve used a lighter for smaller projects and it works fine, but a blowtorch feels pretty cool to use and is much faster. You can use a creme brûlée’ torch if you’re nervous about a full sized torch.
In normal humidity, the epoxy concrete countertop sealer will dry in about 6 hours. We waited until the next day to touch them. So shiny!!
We missed a few spots, so we repeated the process, paying special attention to those areas we missed (mainly around the back of the countertops.)
After it dried, we removed all of the plastic drop cloths. When you’re removing the drop cloth in the sink, it’s best to use a utility knife to cut around the edge. This is the only part that I’m concerned will be messed up. So take extra care here.
The edges still need to be sanded to remove the drips from the bottom. It goes pretty quickly.
Leave the countertops alone for 3 days to fully cure. It’s dry to the touch after 3 hours, but it needs to *fully* cure. This part is agonizing after not having a working kitchen, but it needs this extra time to fully harden so that you don’t get marks from where you blender sat. After that, it’s nice and durable.
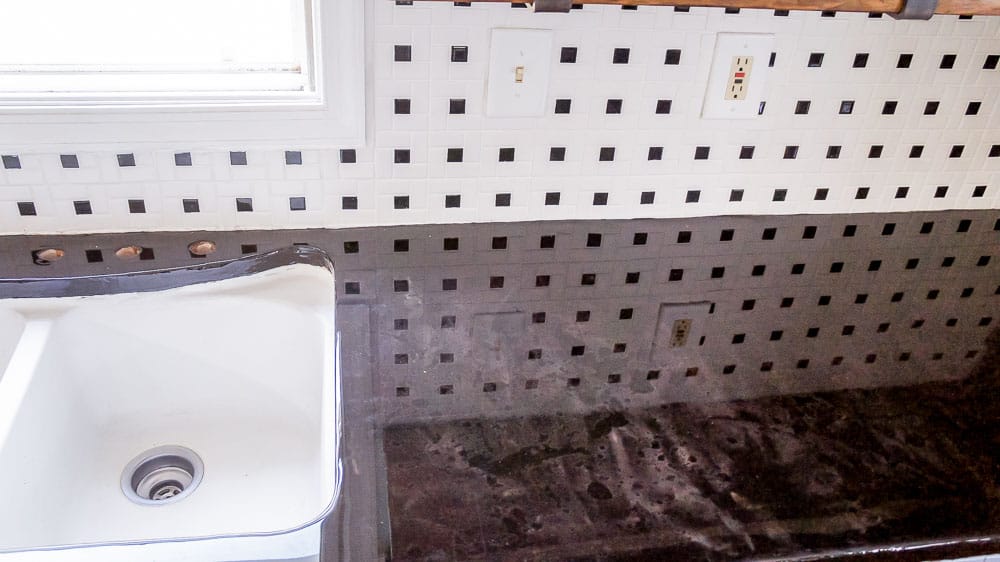
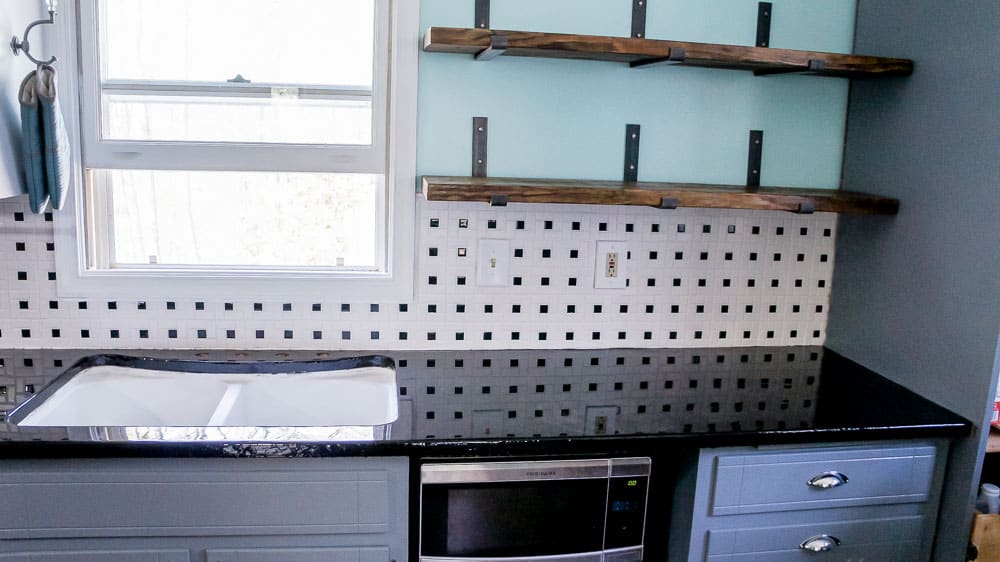
The results are glossy, mirror-like surfaces that look amazing. Spring finally showed up and I have windows open, so ignore the pollen.
So shiny!! What do you think about this concrete countertop sealer?
One Room Challenge Updates
This is part of my kitchen makeover for the One Room Challenge. I’m a guest participant, along with over 200 other amazing bloggers who are also redoing rooms in their homes in just 6 weeks. We have one week left and I’m super excited to see everyone’s rooms (and be done in here.)
I’ve had some health issues that I finally got a diagnosis for this week. Even if it’s a “maybe this is it”, it’s more of an answer than I’ve had in a month, so I’m excited and hopeful that I will feel better soon. Probably TMI, but I have endometriosis. So I’m trying some hormones to see if it helps.
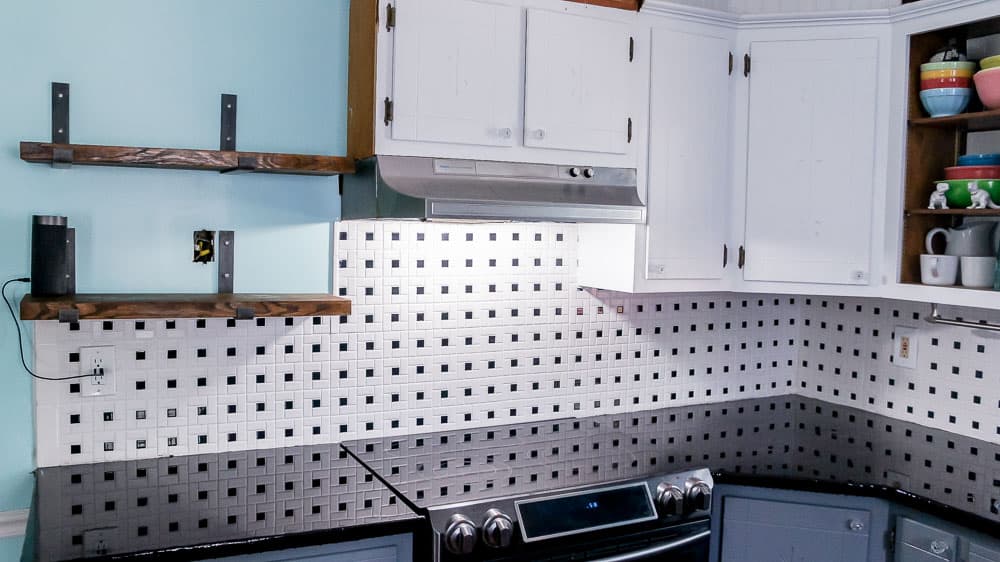
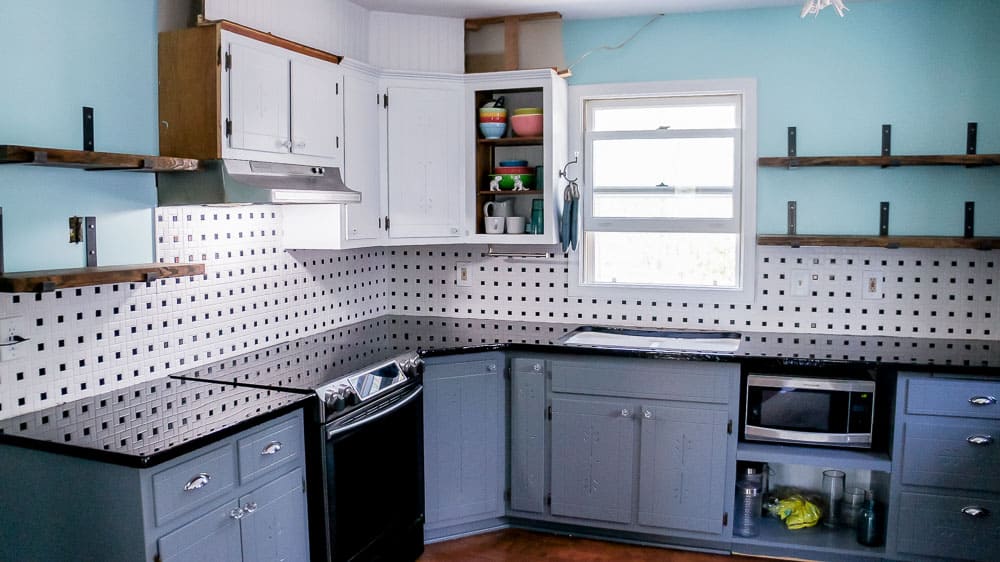
The stove is back in place and looks fantastic. We’re really ready to be able to use our kitchen again! That outlet still needs to be replaced and the hood cover needs to be built. Yep, we’re using our existing vent and making a cover for it. Putting lipstick on a pig!
The soffit needs to be partially rebuilt where I couldn’t remove the whole thing and the light still needs to be fixed, but it’s looking pretty good so far!
Still so much to do. Thankfully, hubby is taking Friday off of work. (Did I mention that I need to have 2 vintage booths set up this weekend as well?) Eek!!
Still to do
Fix tile. We cracked some off when we removed the cabinets. I’m also adding trim tile to the edges for a nice finish.
Touch up ceiling paint. The ceilings look bad where we removed cabinets.
Stain wood for shelves. It probably needs to be sanded too.
Hang shelves.
Finish pantry and doors. The remaining shelf is 95% built and needs to be installed.
Make stove hood cover. I’ve simplified the design, so I’m hoping it’s quick.
Fix trim.
Replace light above sink. We have the fixture, just have to make some modifications.
Emy is a vintage obsessed mama of 2 DIYer who loves sharing affordable solutions for common home problems. You don’t need a giant budget to create a lovely home. Read more…
Holy Cow! That’s concrete! No way babe!!! :). Looks fab!
Thanks Jewel!
Those countertops look gorgeous! I never would have guessed they were concrete-I love that shine on them. Great tutorial! Best of luck with this last week of ORC!
Thanks Kristin! We love the shine too!
Wow – you’ve been busy! Your counters look fab
This is amazing on so many levels. The countertops are fantastic –as is the entire makeover. Congrats Emy! Looking so forward to next week. ~~Susie from The Chelsea Project
It is so shiny!! I love epoxy resin, it is so much fun
Gorgeous finished result!! Way to get after the DIY’ing this week! Looking good 🙂
Emy, that countertop looks fab! It does not look like concrete at all.
Wow! What a project!!! You have real talent. It is looking great, too.
Great job with the countertops! Can’t wait to see it all next week!
Also, so glad you’re getting some answers on your health. Hope you are feeling better soon!
Wowzers! Gorgeous finish. You would never know this is concrete!
Whoa! We would swear that the countertop was black granite! Looks amazing! Glad you got a diagnosis – take care!
The shine is INCREDIBLE!!! I have to bookmark this!!
I would have never thought of using epoxy to seal a concrete countertop! Such a creative solution! It’s all looking great and I’m excited to see your reveal! I don’t think my first attempt at a comment went through. If it did, sorry for the duplicate.
Oh cool!! I really like the shine!! Nice job!
I love the shine too! I could put lipstick on in those babies. 😉
Will this protect from oil stains? I have to redo my concrete counters because of oil stains and reseal them. Thanks!
Yes, it seals the countertops completely.
And what sealer do you suggest if I want off white/light gray counter tops?
Since I wrote this post, I used a different epoxy over white paint and it still looks good – no yellowing. I highly recommend the epoxy I used in this post over white surfaces: https://www.semiglossdesign.com/paint-countertop-marble