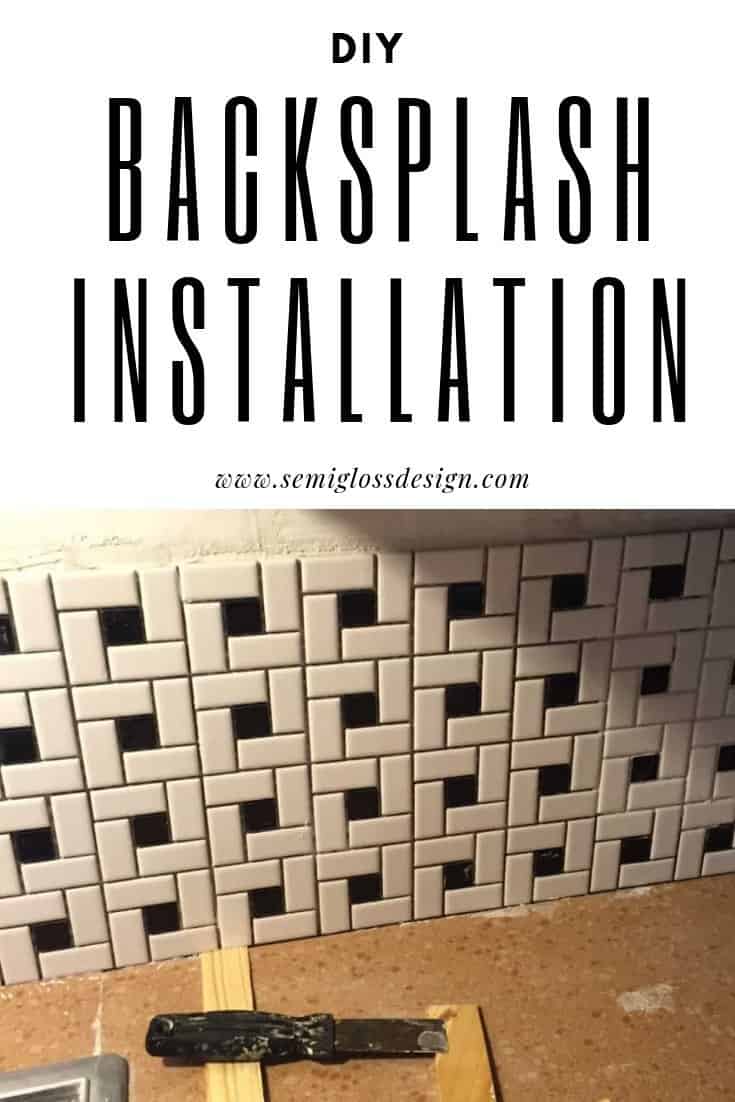
Learn How to Tile: Backsplash Installation
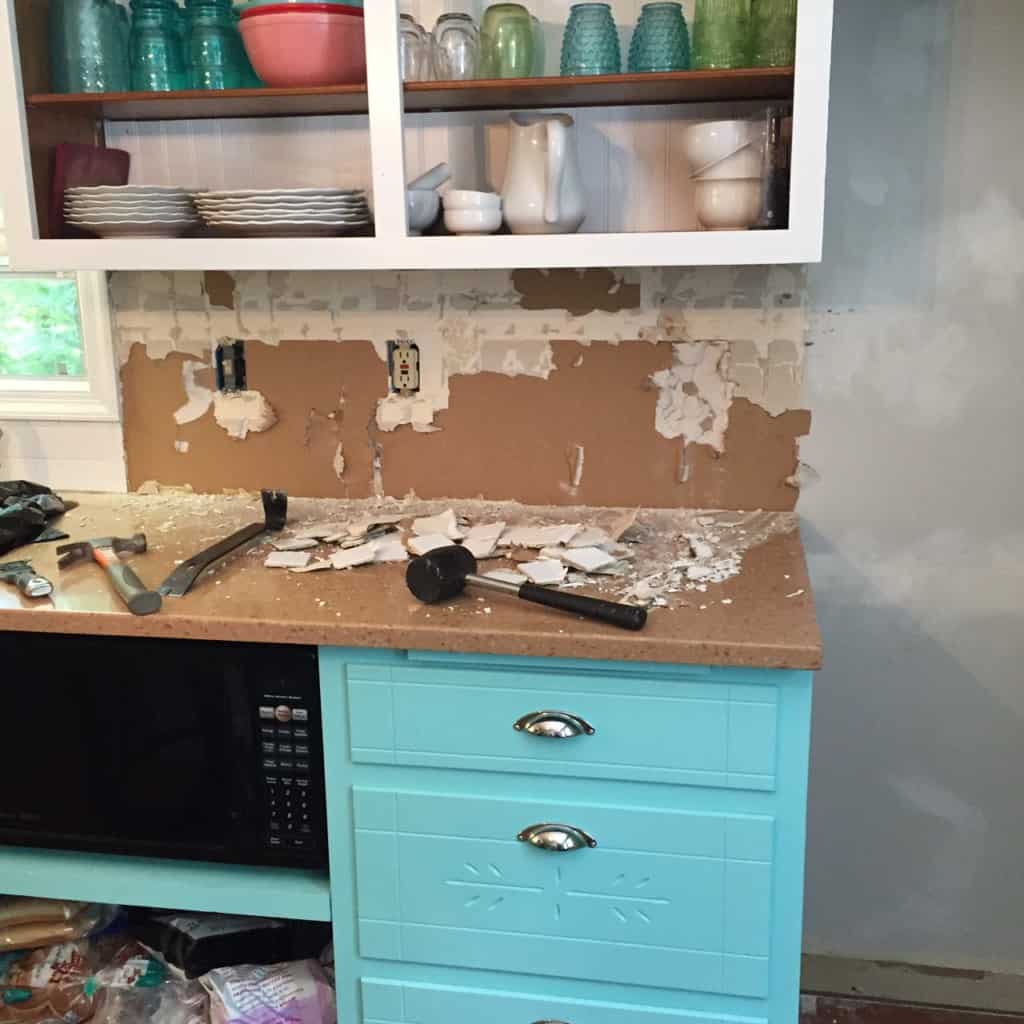
Last week, we learned how to prep the walls to get ready for the backsplash installation. Now that our walls are ready, it’s time to think about getting tile on the walls.
This post contains affiliate links. By purchasing an item through an affiliate link, I earn a small commission at no extra cost to you.
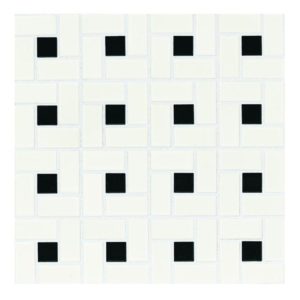
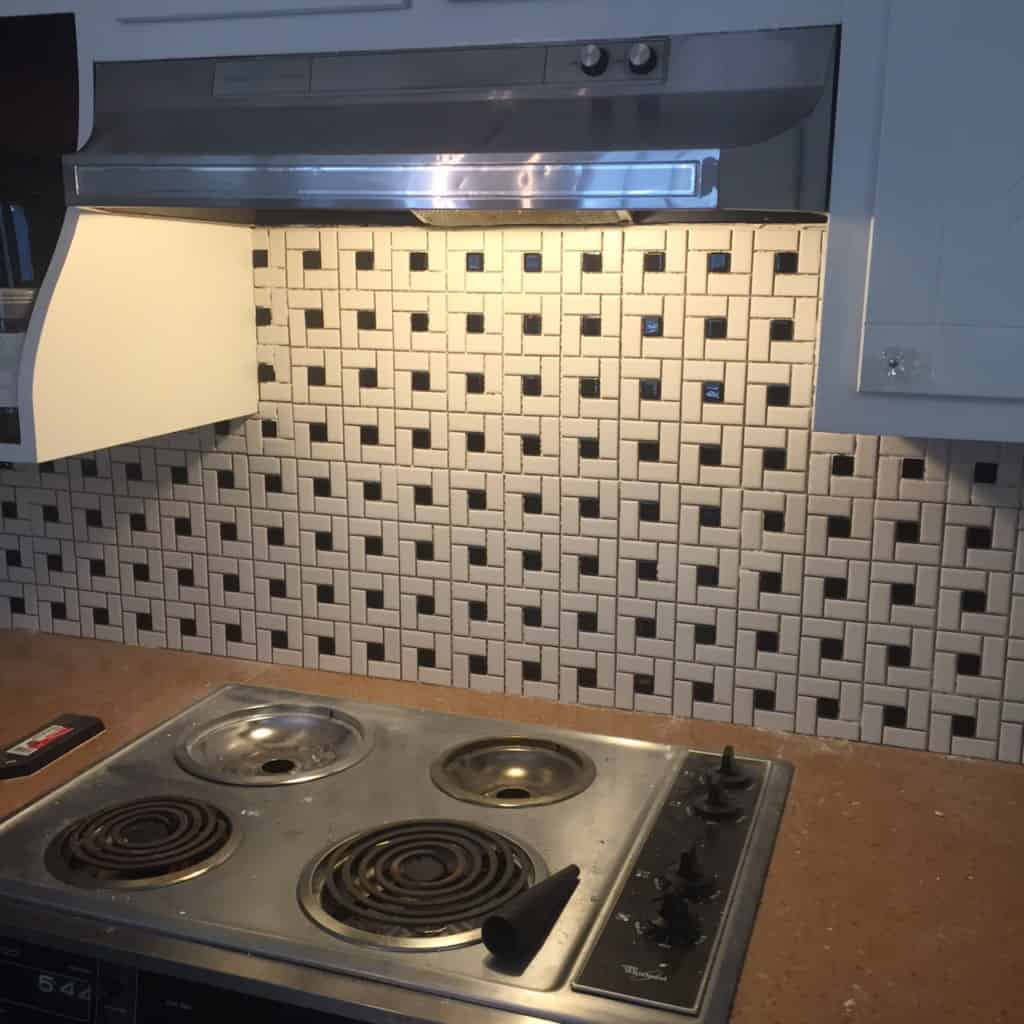
I chose a lovely pinwheel pattern that reminded me of a quilt. I had planned on still doing the gingham pattern with black, white and gray tiles, but unfortunately, my store did not have gray in stock, so I chose this pattern instead. It came husband approved. It comes on a 12″x 12″ sheet, which makes installation easy. It can also be broken up into smaller pieces, making it easier to fit in the difficult spots.
Backsplash Installation: Thinset and Tile
Supplies Needed
- Tile (enough for backsplash, plus extra just in case.)
- Thinset or mastic
- Tile spacers
- Wooden Shims
- Trowel
- Grout scrubber
- Scissors (if using tile in sheets)
- Plastic sheeting and tape
- Protect your countertop with plastic sheeting. I skipped this part because I have solid surface countertops that aren’t precious. Plus they seem impervious to damage. If this is the case in your house, just be sure to wipe off any thinset before it can dry.
- If you mixed your own thinset, it should be the consistency of peanut butter. In other words, it should not run when you make the grooves on the wall with the trowel. The grooves help the tile stick better, so don’t skip this part!
- Use the trowel to apply thinset to the wall. Smear it on the wall in the area where tile is going to go and use the notches to make grooves. ***Using a smaller v-notched trowel would have been better with the tile that I used. It’s better for smaller tile.
- Use scissors to cut the tile into smaller pieces where necessary.

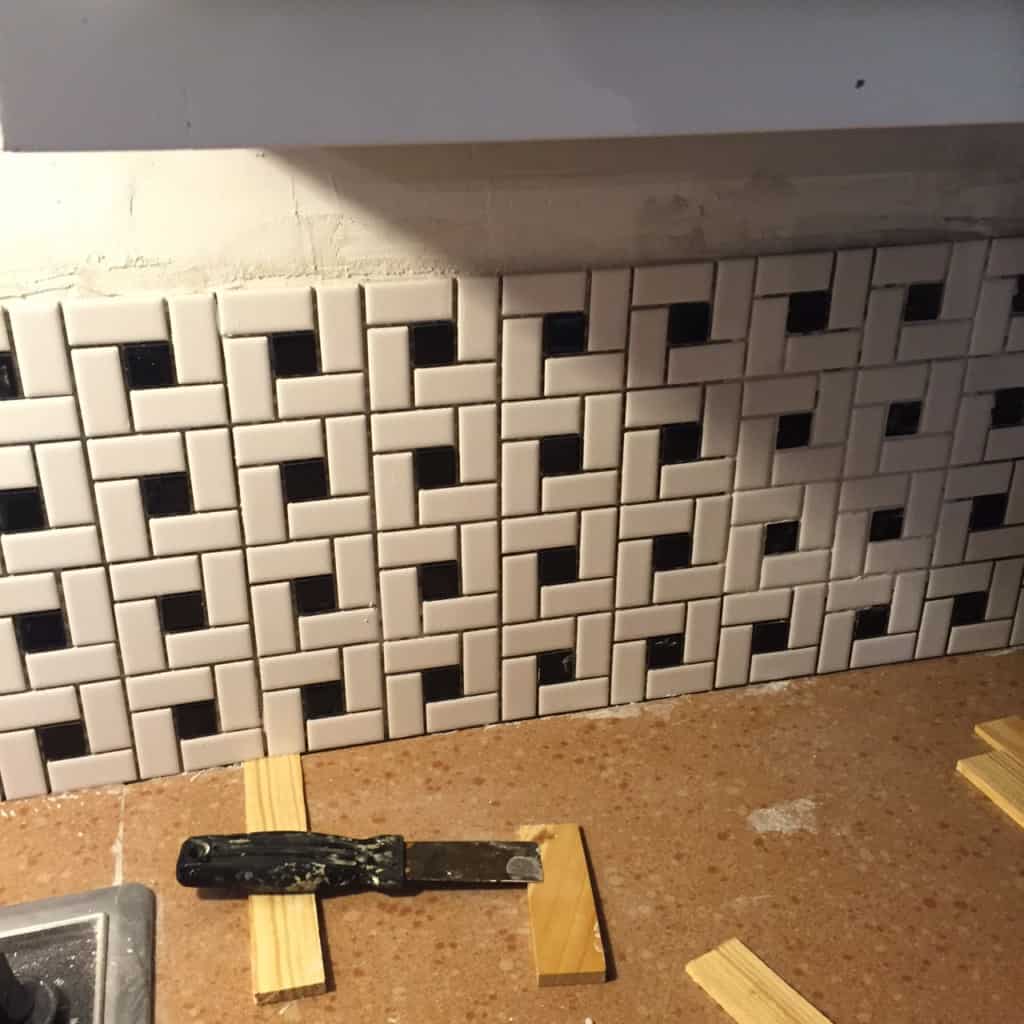
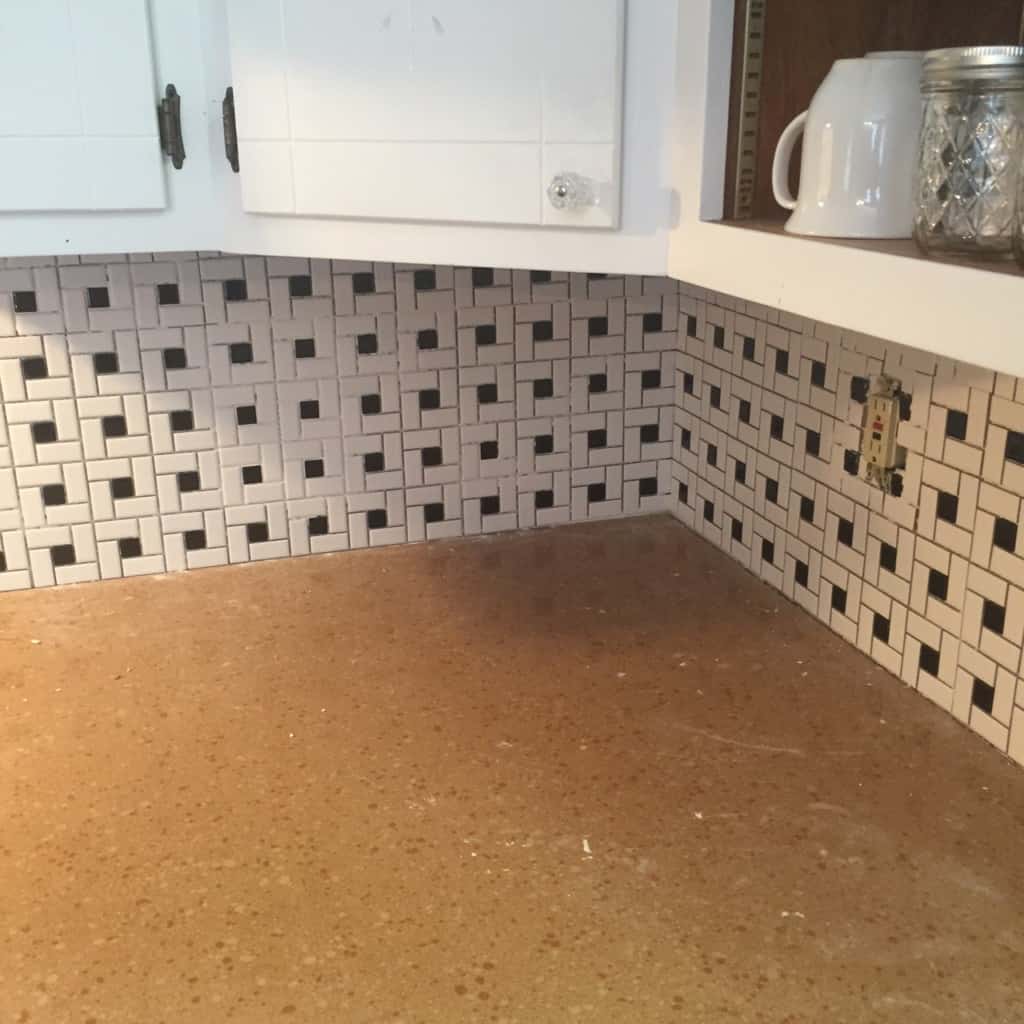
- Apply the tile using shims along the countertop to keep all of the tile pieces level. I eyeballed it, trying to keep the gaps uniform.
- Fill in as much space as possible using whole sheets of tile. Cut pieces where needed. (We’ll add the pieces in a minute that need to cut with a tile saw. Only put thinset where tile is going right now.
- When applying the tile, try not to let too much thinset squish through. Wipe it out where necessary. I used a grout scrubber to wipe it off where needed. It’s a small handheld sponge type device that worked great on removing dried thinset (but not so great on grout!)


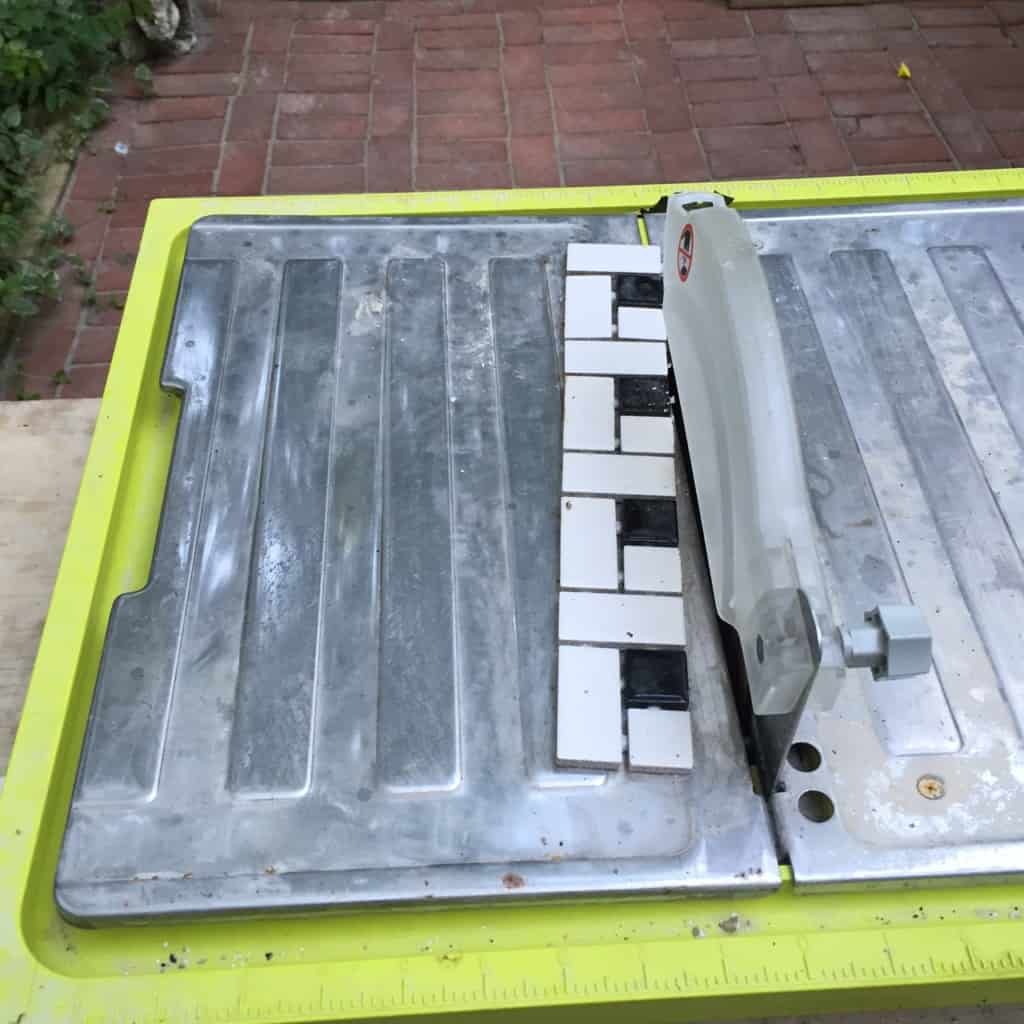
Backsplash Installation: How to Cut Tile Sheets
Tools:
- Tile saw with NEW blade
- Painter’s tape
- Permanent market
- Small putty knife
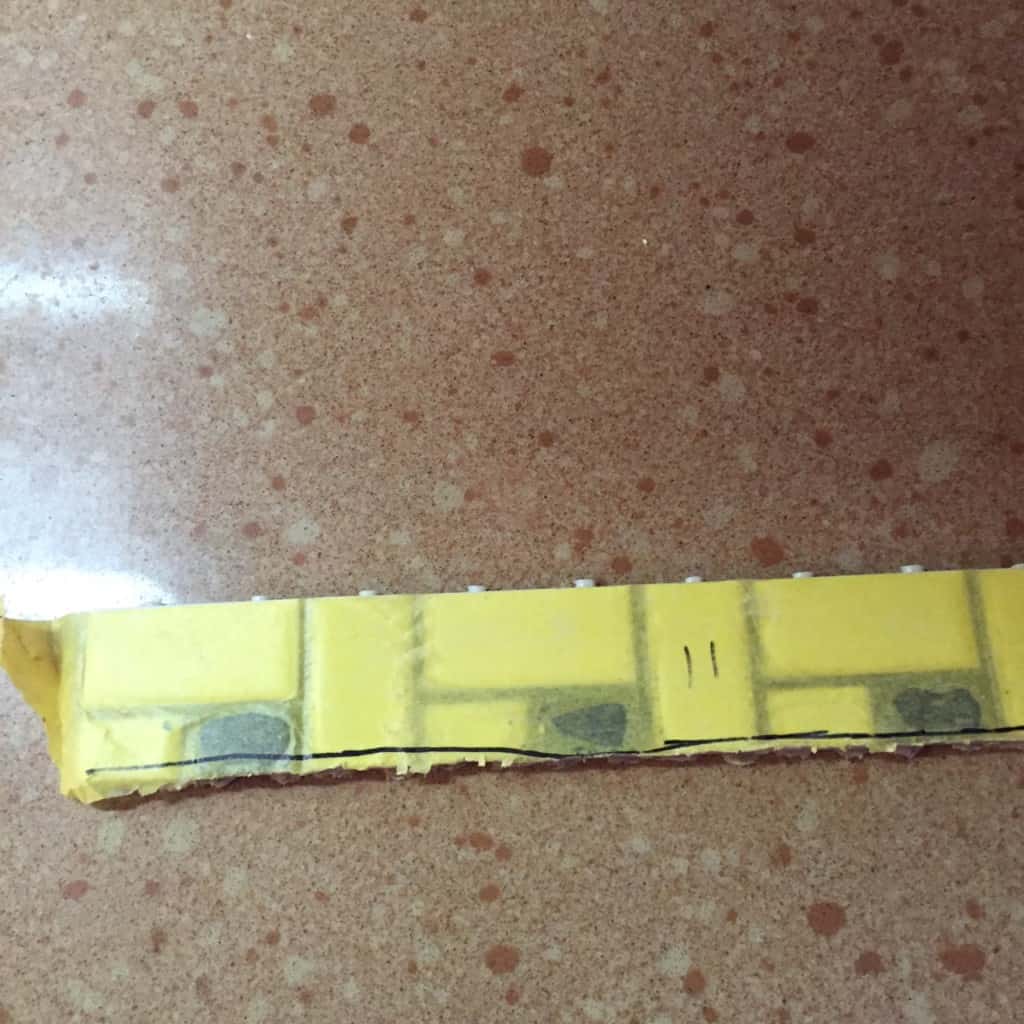
- Place tape on tile sheets and mark where it needs to be cut. Err on the large side. If the tile is too big, it won’t fit and will need to be re-cut. The tape seemed to help a bit with the chipping.
- The tile saw uses water and makes a mess. Be sure to use it outside. Also, whoever is cutting the tile will end up soaked and grumpy. Beware of grumpy, wet husbands.
- Use a putty knife to apply thinset to the back of the tile. This is called back-buttering. You can use the trowel to make notches on the larger pieces, but the pieces aren’t always big enough to do this.
- It’s okay if it’s not perfect. Grout will fix a multitude of sins.
- Some places are just going to suck. Be prepared to buy either special tile for edges or wood trim to cover mistakes. Tile nippers work great for tiny pieces.
- Remove shims and tile spacers before the thinset dries completely.
- Let dry. This takes much longer than you think. I let it dry for 2 full days before grouting (in the summer).
In part 3, we will finish up the process and you can learn all about the stupid mistakes that I made while grouting! And how to fix them.
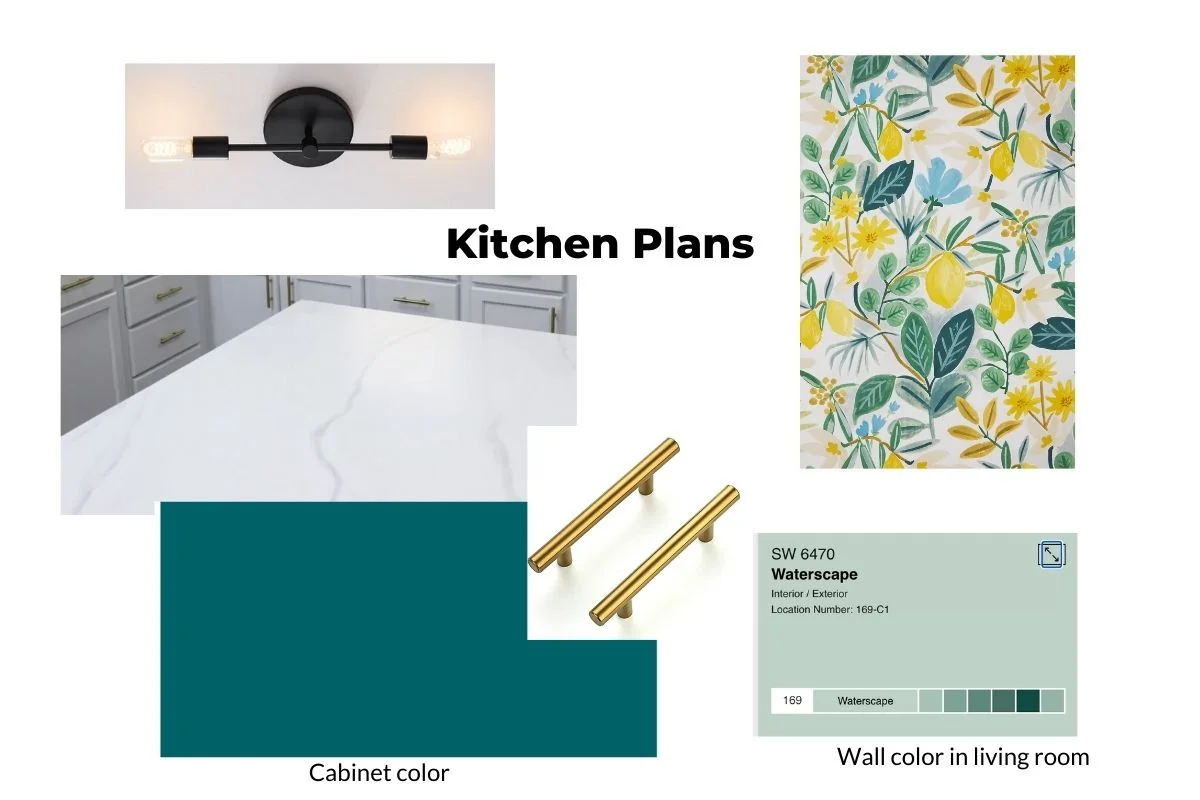
Want to see how the entire kitchen turned out? Check out the kitchen reveal here.
You Might Also Like:
Pin for Later!

Emy is a vintage obsessed mama of 2 DIYer who loves sharing affordable solutions for common home problems. You don’t need a giant budget to create a lovely home. Read more…


It looks great! Ugh, isn’t the water spray from the tile saw the worst?! It’s my least favorite part of tiling.
My husband did that part and he was absolutely soaked. And so grumpy. Like a bear. Haha.