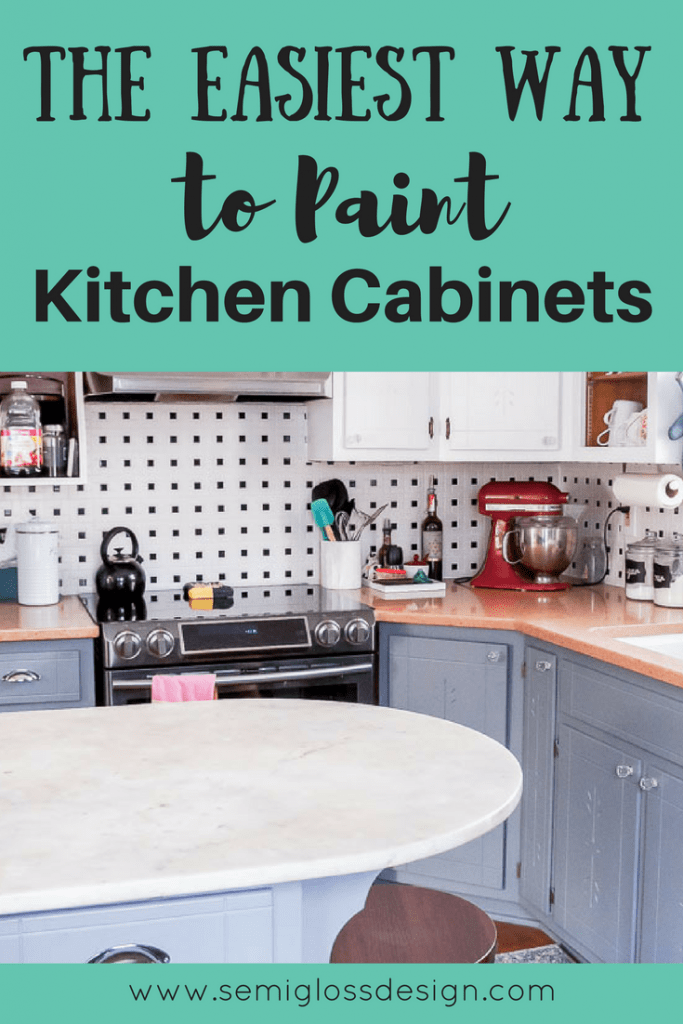
The Easiest Way to Paint Kitchen Cabinets
Learn the easiest way to paint kitchen cabinets. Painting my kitchen cabinets was the first step in giving my kitchen a makeover.
This affordable DIY is an easy way to update a kitchen on a budget. For less than $100, you can completely transform how your kitchen looks.
Two years ago, I celebrated the end of wallpaper removal by painting my kitchen cabinets. Do I know how to party or what? I went for a bold aqua and although it was a very happy color and a 100% improvement from the dark wood,
I knew that I would eventually change them. The aqua was just a bit too bold and made my weird countertops look too pink.
Fast forward two years and I’ve grown a bit tired of the aqua that was always a bit too aqua. So I painted them in 2 days and I’m loving the results.
Want to learn this easy way to paint kitchen cabinets?
Now that the cabinets are painted, I have big plans for this space (hint: One Room Challenge in April). I had bigger plans but many of those fell apart when I realized that what I wanted to do isn’t DIY friendly.
BUT! I can still make it better until we save up for a full kitchen reno in about a million years. So stay tuned for lots of exciting projects in April.
Want to see the finished reveal of this space?
This post is sponsored by DecoArt. DecoArt provided me with paint for this project, but all thoughts and opinions are my own. I would never recommend products that I wouldn’t buy or use on my own.
DecoArt Satin Enamels comes in 21 colors to provide a durable finish with a satin sheen. DecoArt Satin Enamels is great for kitchen cabinets or furniture since it dries to a durable finish that can withstand high use and being cleaned.
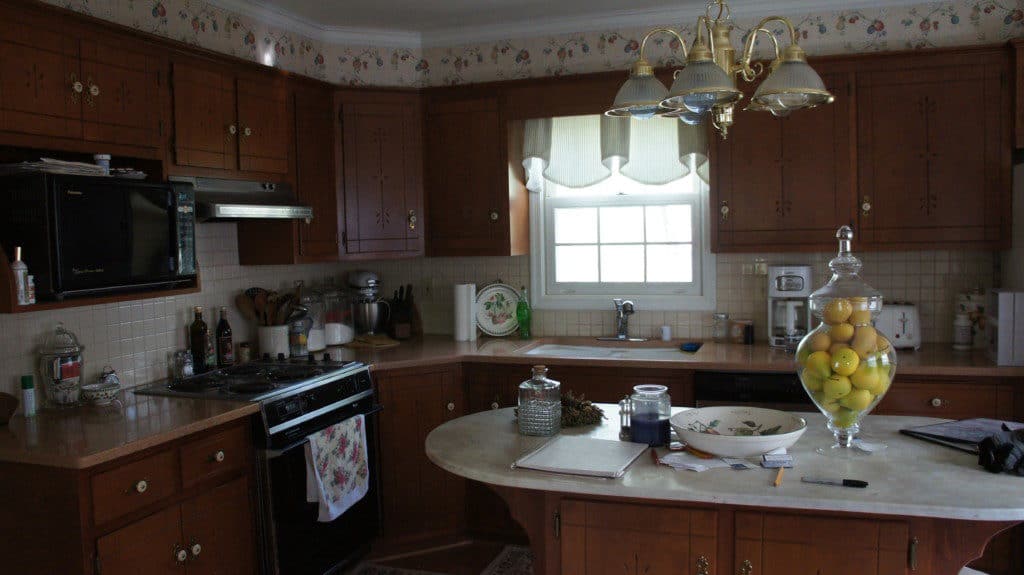
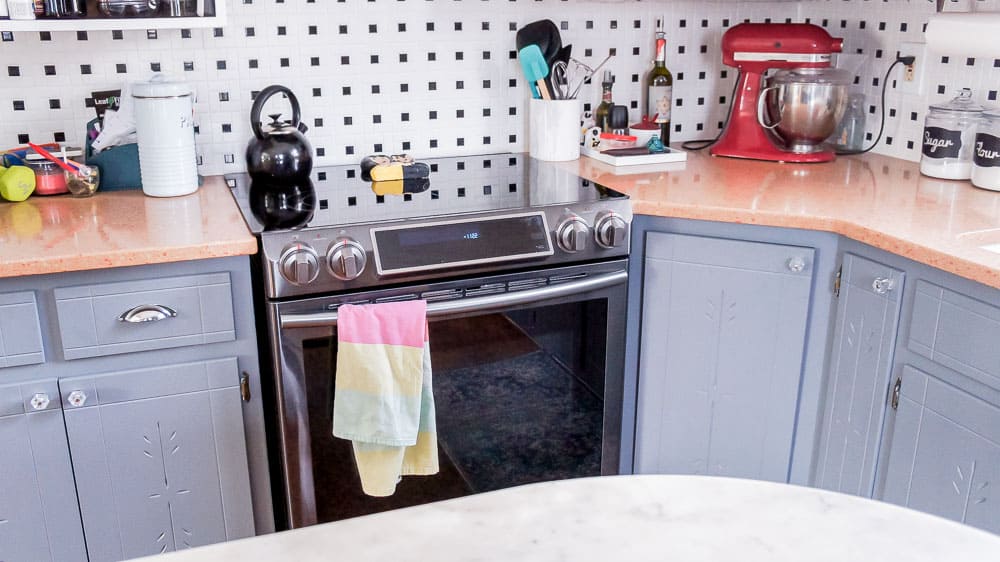
My Kitchen BEFORE
When we bought the house, it was very early 1990’s with a brown on brown look and fruit wallpaper. I have no doubt that in it’s day, it was incredibly chic. Wow. It’s hard to remember that it looked like this.
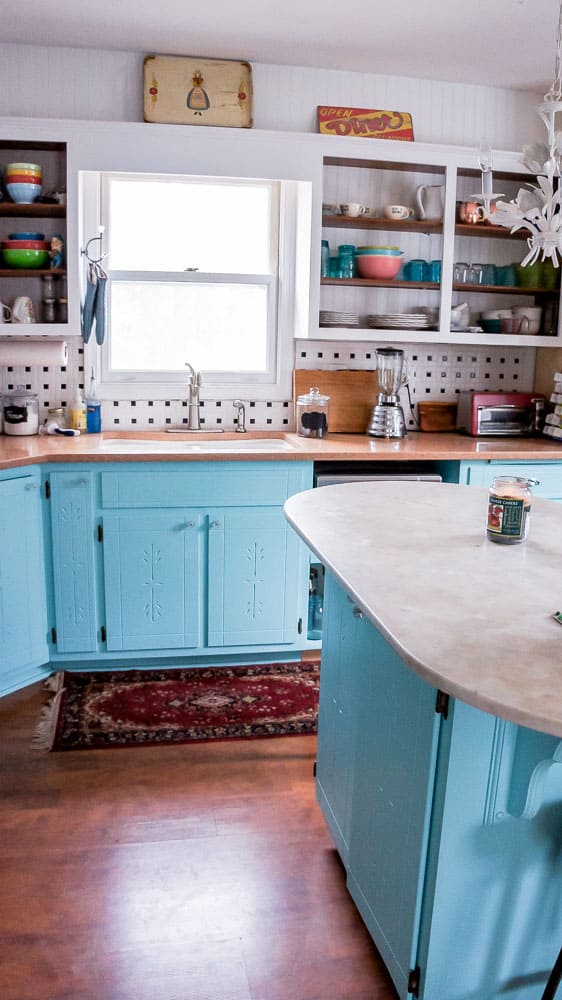
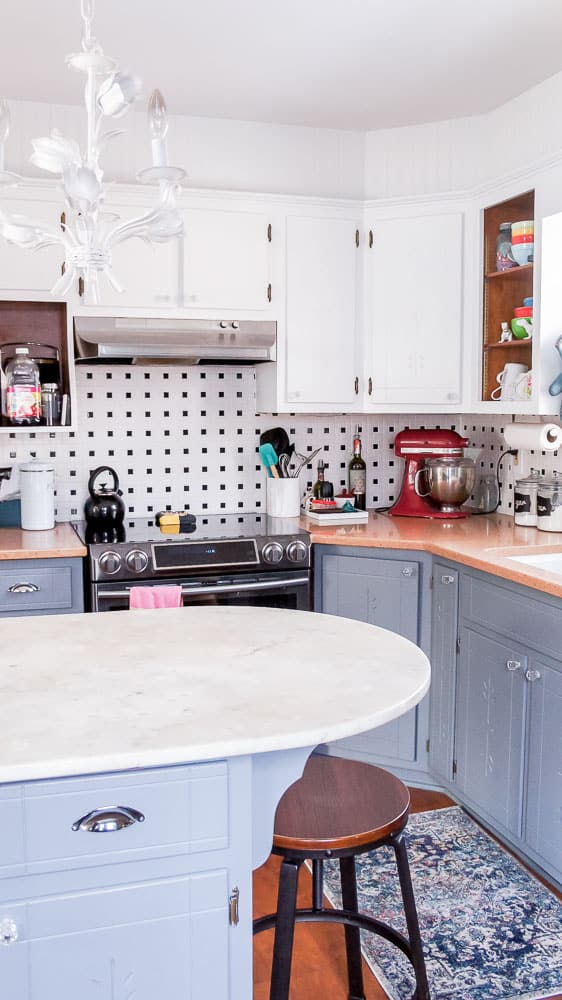
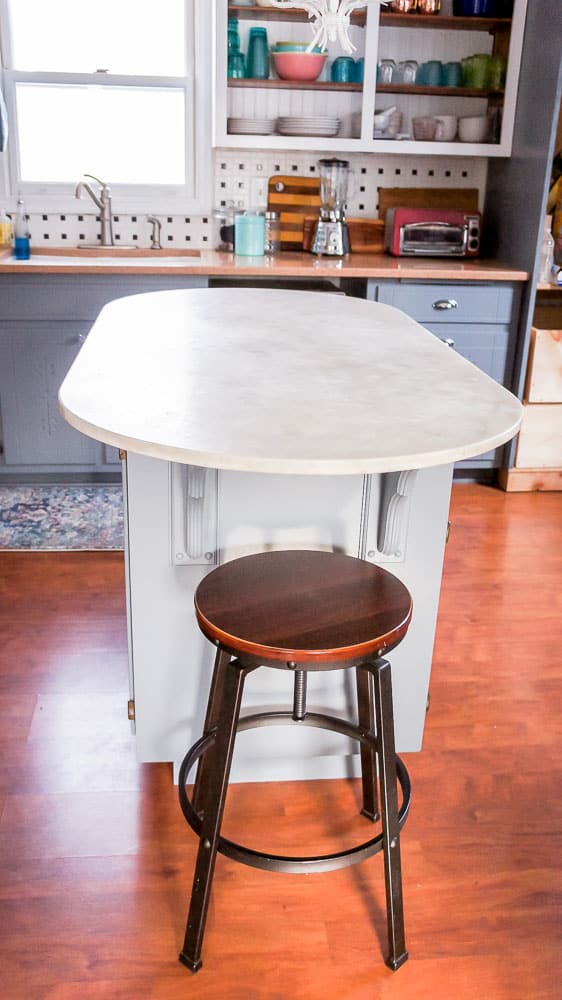
Then I painted the lower cabinets aqua with white uppers and removed some doors to see how I felt about open shelving. Leaving the doors off added so much space! We also move the kitchen island.
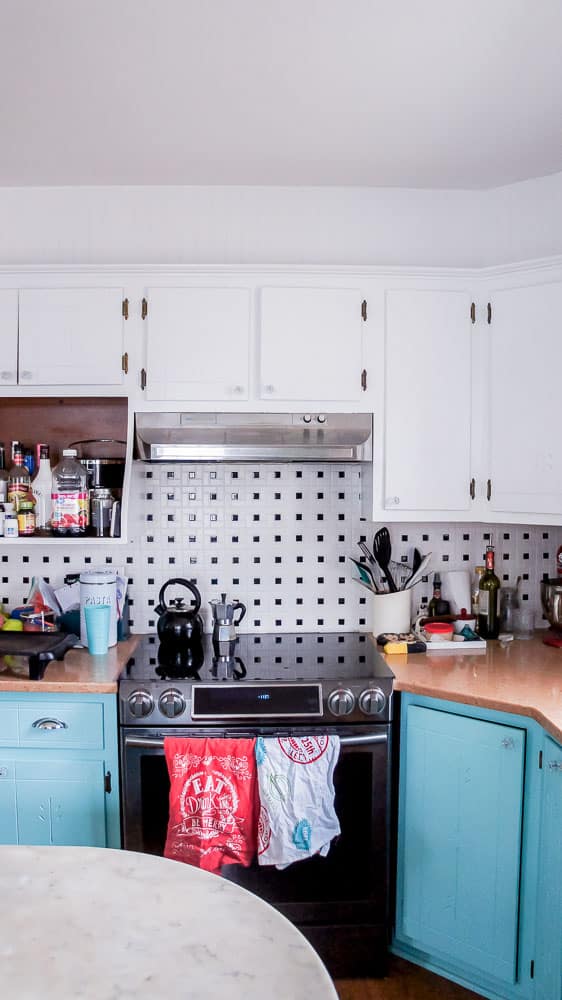
And after:
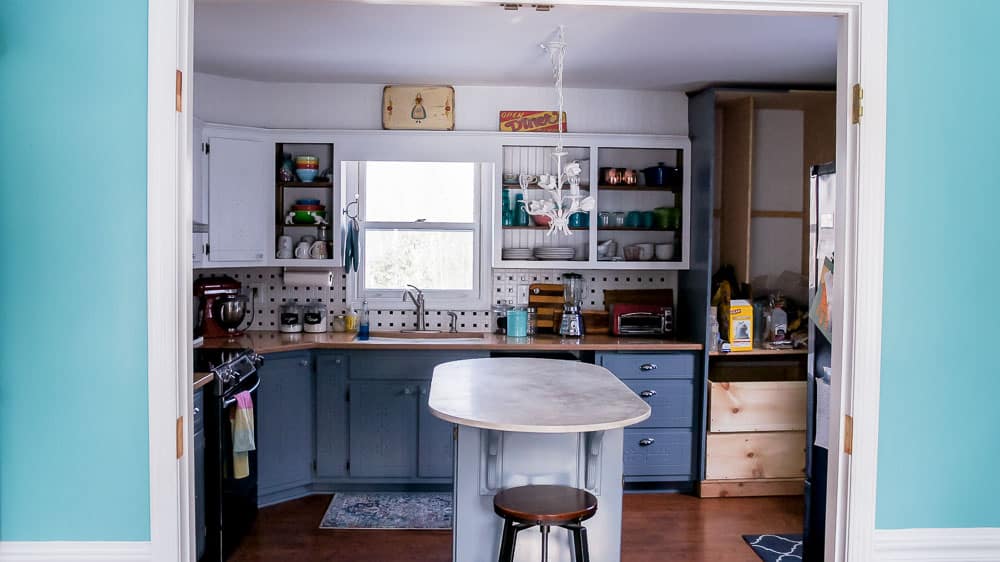
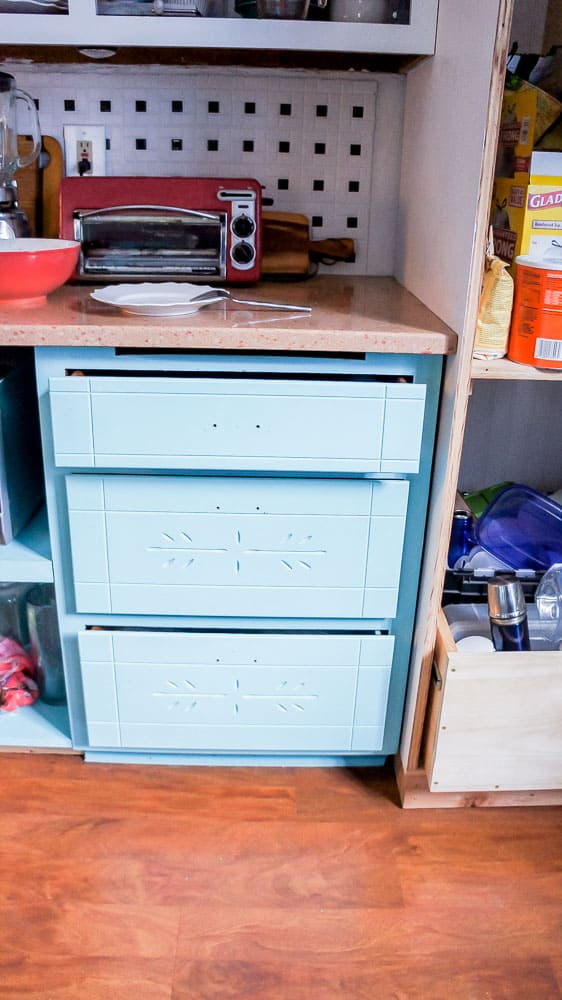
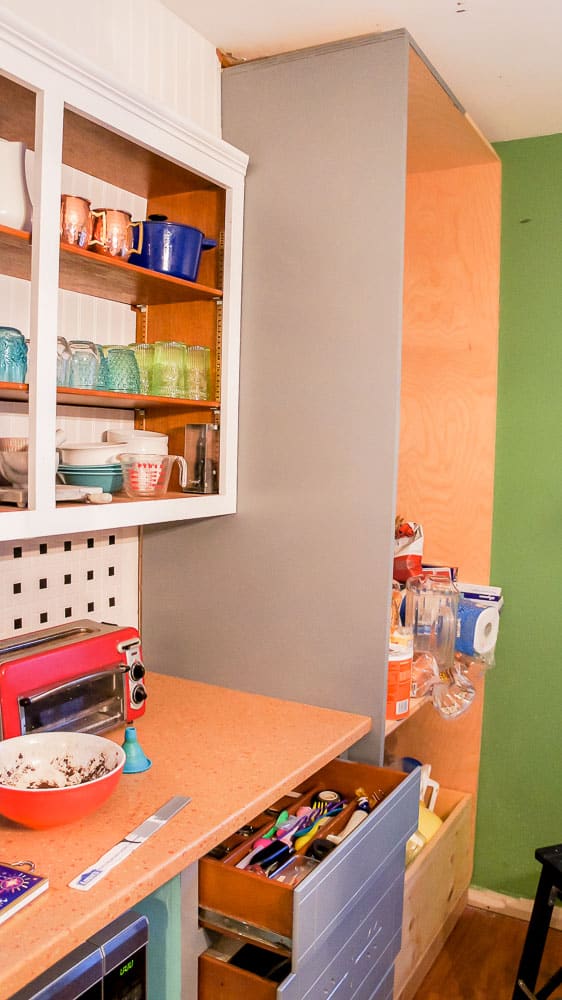
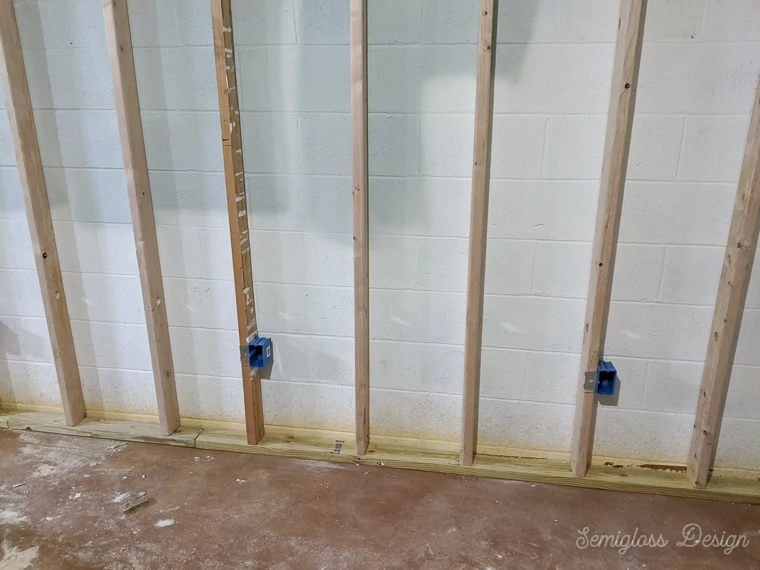
Note: We’re in the process of building a giant pantry cabinet on the right side of the kitchen. Most of the drawers have been built, but aren’t installed yet. Eventually it will have pretty doors as well.
The Best Way to Paint Kitchen Cabinets
This post contains affiliate links. By purchasing an item through an affiliate link, I earn a small commission at no extra cost to you.
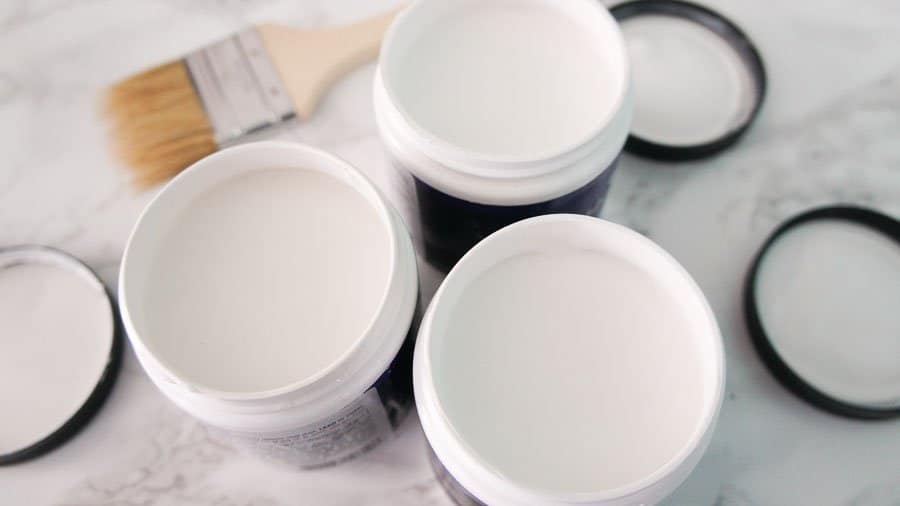
Supplies to Paint Kitchen Cabinets
- DecoArt Satin Enamels in Smoke Grey
- Paint brush and small foam roller if desired*
- Vinegar for cleaning cabinets
- Screwdriver for removing hardware
*I painted mine with a brush because I wanted them to be as smooth as possible. It doesn’t matter because the paint self-levels so nicely.
If your cabinets are wood, you will also need:
- Sander and sandpaper
- Wood filler if you need to fill holes from hardware
- Primer
How Do I Prepare My Kitchen Cabinets for Painting?
As with any other DIY, prep is key. When painting cabinets, you want your paint to stick well so that your hard work isn’t for nothing. So spend extra time on prep work. I spent almost as much time on prep work as I did on painting.
Can you paint over varnished wood without sanding?
I wouldn’t recommend it. Paint has a hard time sticking to a shiny surface. Do yourself a favor and do it right the first time.
Prep Work
To make painting go faster, I left my doors on the hinges. This sped up the process a lot. Just be comfortable painting around or taping off the hinges. It also saves on space.
When I last painted the cabinets, my basement was unfinished so I had plenty of space to work. After doing both, I think it’s much easy to paint cabinets without removing them.
- Remove all of your hardware. I planned to reuse mine, so I put mine in a ziploc baggie to keep it all together.

- Start by cleaning your cabinets well. I washed mine with diluted vinegar. For any sticky spots, I used straight vinegar. It works well to cut through the grease. Then, I washed them again with plain water to remove any vinegar. If you use soap of any kind, make sure you rinse it well. Clean, clean and clean some more. I also vacuumed around the edges several times (dog hair travels.)
- Are your cabinets already painted and in decent shape? Awesome! Your prep work is done!
- If your cabinets are wood or have chipping paint spots, you will need to do a bit more work. Sand your cabinets. They just need to be scuffed up so the paint will stick. (The paint I recommended sticks well, but in a kitchen, you need to take precautions.)
- I would also seal them with stain blocker/sealer OR a good primer. This also helps the paint stick, but more importantly, it keeps the wood from bleeding through. Certain wood types (like cherry) can bleed through light colored paint, so your lovely white cabinets turn pink.
- I had a raw wood cabinet that we are still in the process of building, so I primed it. Raw wood needs to be sealed or it will absorb the first coat of paint and look funny.

How to Paint Cabinets
Be sure to shake each bottle of paint to mix it thoroughly! Stir if necessary.
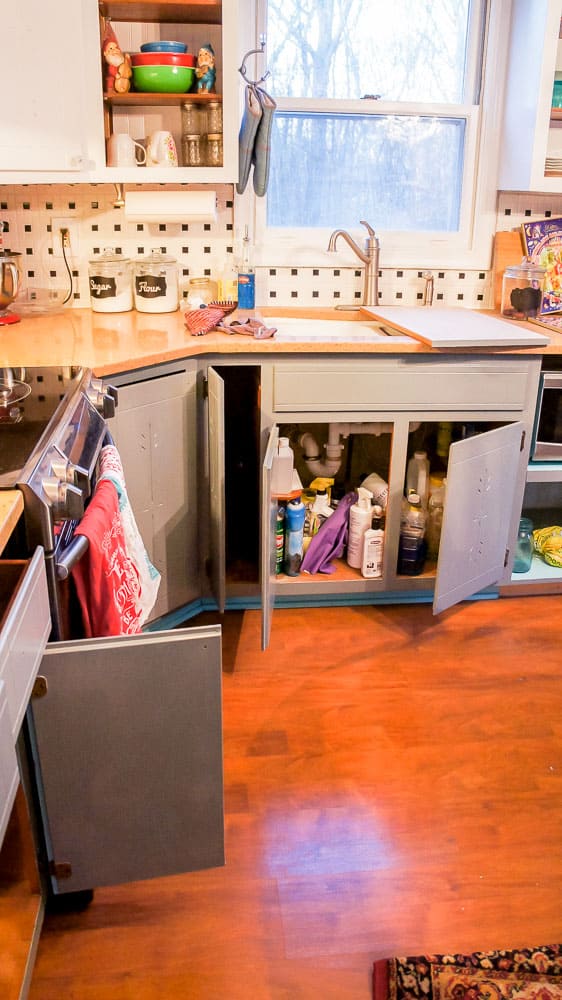
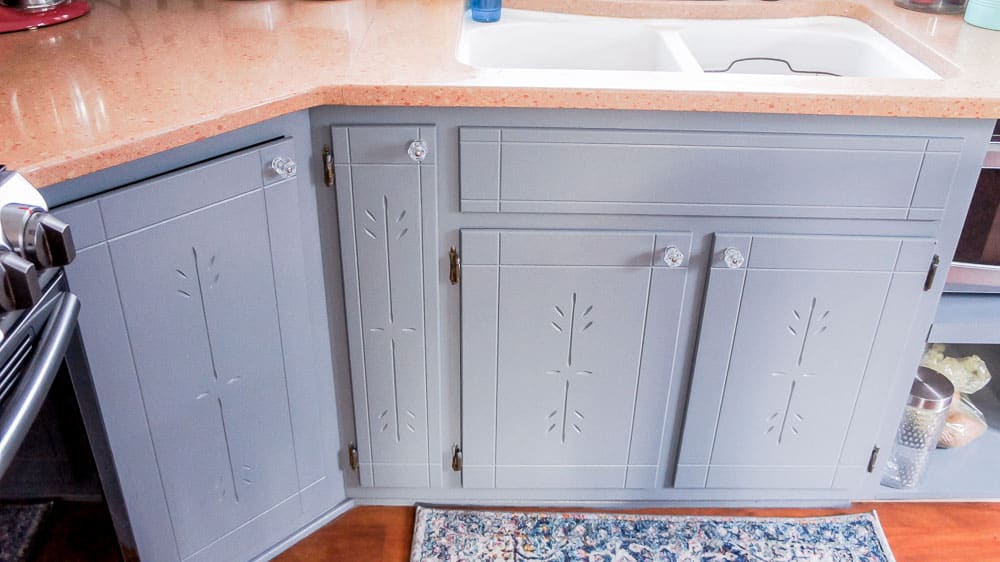
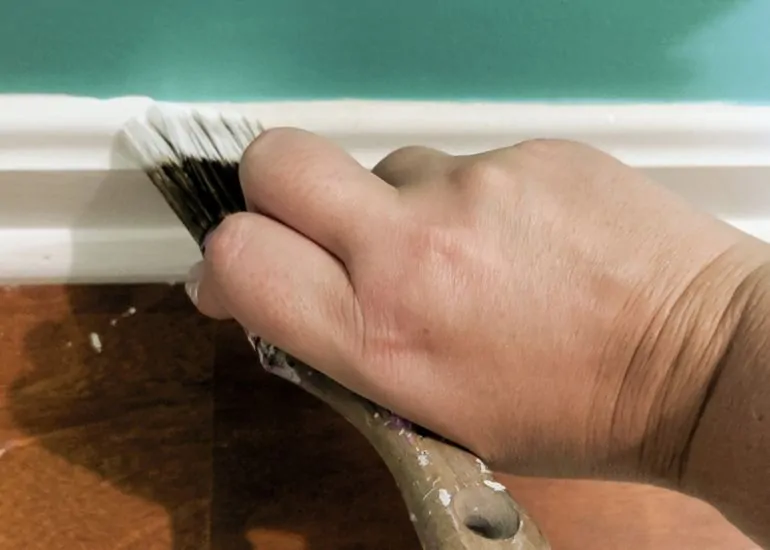
- Like I said, I left my cabinets on the hinges. I started in the morning after my kids had gone to school so that there would be no one needing the kitchen besides me. Painting cabinets is a lot like painting doors. If you have recessed parts, paint those first. My cabinets have these lovely wheat? details so I painted those first.
- Then I painted the outer frame before continuing onto the middle. Leave the doors open so that they don’t stick. Be sure to get those edges.
- For drawers, I did the frames of the cabinets first by pulling the drawers open. My drawer fronts do not come off, so I painted them like this last time as well.
- I also painted the cabinet bases and trim. Sometimes they’re left black, but I prefer mine to match the color of the cabinets. You will probably have to lay on the floor in weird positions. It’s pretty much the same as yoga!
- When the 1st coat of paint dried, I painted another to the door fronts. Remember to leave the doors open over night. This is harder than you think!
- The next day, I came back and painted the insides of the doors. This part is optional, but the aqua made the gray look very purple next to it. It also gives the cabinets a more finished appearance.
- Paint another coat when dry.
- Carefully look over your cabinets and and touch up any spots you might have missed.
- Let dry with the doors open over night.
- Wait about a day before replacing the hardware. You want your paint to cure.

More Tips for Painting Kitchen Cabinet
- Store your paint brush in a sandwich baggie or cling wrap between uses. (I still wash my paintbrush out over night, though.)
- Each 8oz jar of paint covers about 20 square feet. If you’re anything like me, that’s not very clear. I used almost 3 whole jars on my kitchen (I only painted the bottom cabinets.) It ends up being about the same price as a quart of quality paint, but the finish is much nicer and tougher.
- My cabinets needed 2 coats of Smoke Grey, but lighter colors might need more, especially if painting over dark colors. Using a primer will help coverage.
- This paint is pretty hard to get off of skin. Personally, I believe this is a great indicator of how durable it is. If it sticks to your skin, it will stick to those cabinets! A nice sugar scrub will take it off and make your skin nice and soft!
- If you have ugly countertops, try to work with them rather than against them. The right color of paint can really make a difference in how they appear. The pictures make them seem a little more orange that they appear in real life. Trust me.
- Although this paint is called “Enamel”, it’s not. It cleans up with water, just like normal latex paint. The name refers to the durability.
My Thoughts on DecoArt Satin Enamels
I paint a lot, so I have definite opinions on paint. There are brands that I will never use again and brands that I prefer. So far, DecoArt paints are among my favorites. I’m not just saying that because they send me free paint either.
DecoArt Satin Enamel goes on so smoothly without leaving brush strokes (my personal pet peeve).
However, I’m more impressed with the durability. Paint takes up to 1 month to fully cure, but it’s normally fairly delicate for about a week afterwards. I keep accidentally scraping against the paint when putting pots away.
Every time I scrape it, I cringe so hard, fully expecting to see scratches. So far, so good though!
It has even survived being wiped down a million times because my family is messy and they were home for a week. I’m really impressed so far!
Note: After 8 months of use, the cabinets still look as good as the day I finished painting them. I’m considering using DecoArt Satin Enamels on my doors and trim as well because it’s holding up so well!
I’ll update this after a few months of use. Like I said, we aren’t delicate people. 😉
So are the gray cabinets everything I hoped that they would be? Absolutely! Have you ever painted something and it just looks like that’s the way it should have always been? That’s this cabinet color.
I love how they look with my ugly countertops. They *almost* make those babies look good!
By the way, the hardware is from D.Lawless. If you need hardware, they are affordable and have a great selection. Plus, they ship really fast. Not sponsored by D.Lawless, just a huge fan of this company.
I can’t wait to finish up this space. I’ve been working on it forever now. But I’m going to put it off for a few more months, so I can work on my office space for now. Hope to see you again in April when I finally finish this room!

So are you ready to paint your kitchen cabinets?
Check out the entire kitchen reveal!
You might also like:
Want your own set of canister label cut files? Check out this post!
Pin for Later!

Emy is a vintage obsessed mama of 2 DIYer who loves sharing affordable solutions for common home problems. You don’t need a giant budget to create a lovely home. Read more…

ooooh i love this color!!! so pretty! your kitchen seems lighter and more open! i am anxiously awaiting hardware for mine so i can get them back together! 🙂
So glad to hear about this paint! I need to repaint my kitchen cabinets and I just might try this! Love the new color!
Excellent recommendation, thanks! BenMoore carries a cabinet paint that is supposed to self level but it’s $75 a gallon! Eep!
I’m looking forward to getting to mine sometime this year… or next. 😉
I love the colour. I used Melamine paint on my cupboards..very durable and you can customize the colour!!
Thanks Jackie. The color makes me so happy. 🙂
Super pretty! Wow a lot of work, but seriously pays off! SO nice now.
My bet will be on that you will put the doors back onto the open shelf. I opted for some open shelfs in my kitchen and OMG the dirt. Holy cow I want doors on them now. Those open shelves make so much more work for me. They get dirty so so so much faster than the closed cabinets!!!!!!!!!!
I agree with you. You are the first person to comment on open cabinets. My first thought was dust. If my glass top coffee table needs to be dusted daily, then the dishes in those cabinets will have to be washed before you can use them. I’m not into doing things twice. I’m opting for glass fronts.
Thank you for your very useful information.
We use most of those dishes on a regular basis, so dust isn’t an issue. I like them because they keep me from buying more than they can hold. And putting away clean dishes is very easy. But I understand that people see it as a concern. 🙂 Have a great day.
Thanks! I’ve had the open shelves for a while and it keeps me from buying too much stuff. Everything gets used and washed on a regular basis, so it stays pretty clean besides the stray dog hair. 😉
great update; but what aqua color did you set to begin with?
Hi Kim. I wish I knew. We had used up all the paint, so I wasn’t sure what color it was anymore to do touch ups. I’m sorry I can’t be more help.
Can i use any brand enamel paint?.I used Valspar enamel before.Do I need to put a sealer or polyurethane on them?I’m painting white on white.I just painted them the 1st time with enamel paint and no stain or sealer.
With enamel, you shouldn’t need a sealer. If you do use one, make sure it’s water based. Polyurethane will yellow over the white. Polycrylic will stay clear.