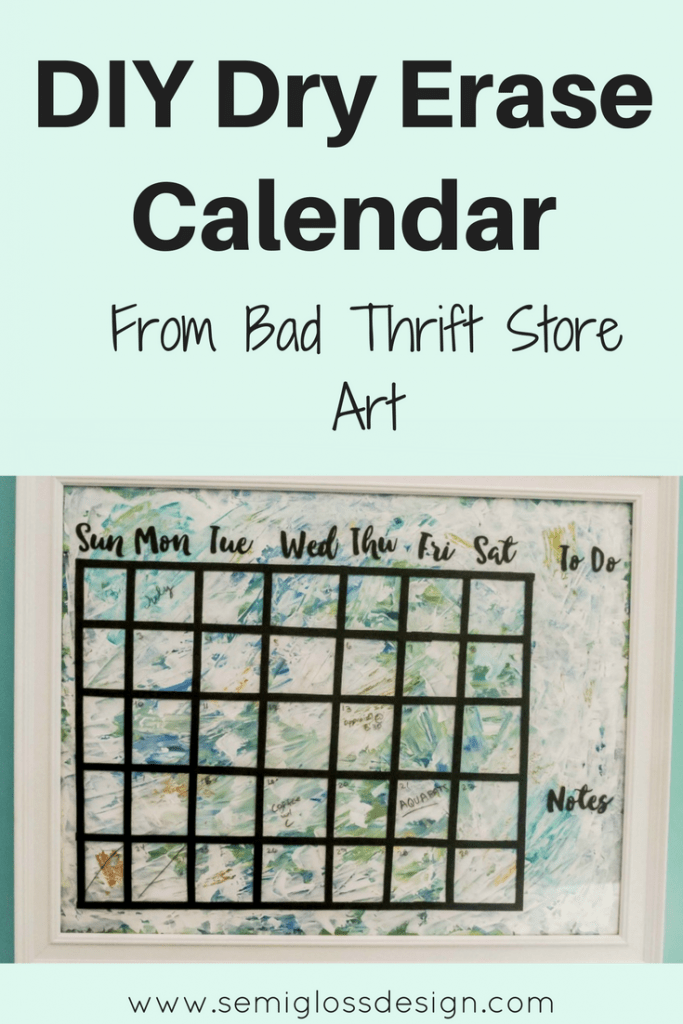
DIY Dry Erase Calendar from Bad Thrift Store Art
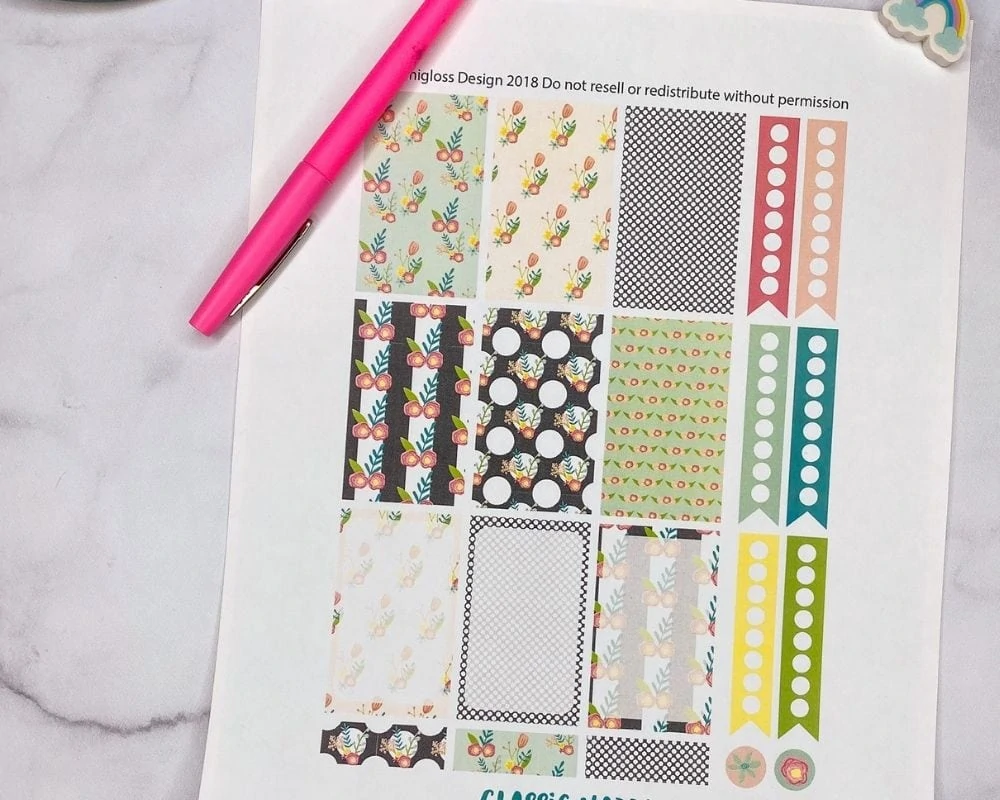
Learn how to make a DIY dry erase calendar from thrift store art! (If you prefer paper calendars, I have a printable calendar for 2019.)
I’ve been a habitual furniture re-arranger since I was a kid. While other teens spent time hanging out with friends, I was envisioning new living room arrangements. I swapped rooms with my siblings on the reg. Nothing made me happier than taking apart furniture and schlepping it across the house to another room. Changing the furniture around and swapping rooms still makes me happy.
In fact, I’m currently in the middle of swapping my office space and my living room. The best part of this new arrangement means that I’ll have a little more wall space, so a DIY dry erase calendar over my desk was a must have.
To see the new updated version, scroll to the bottom!
Since this space is still a very public space, my calendar needs to be pretty. Luckily, I teamed up with some other bloggers for a DIY link party challenge called Inspire My Creativity.
Big thanks to Shani at Sunshine and Munchkins for organizing it. Every month, we will have a new challenge. The link up party is on the 2nd Wednesday of each month.
This month’s challenge is a thrift store makeover. I headed out to the thrift store and bought a few items to transform (I bought one for next month too – Chalk Paint, FYI.)
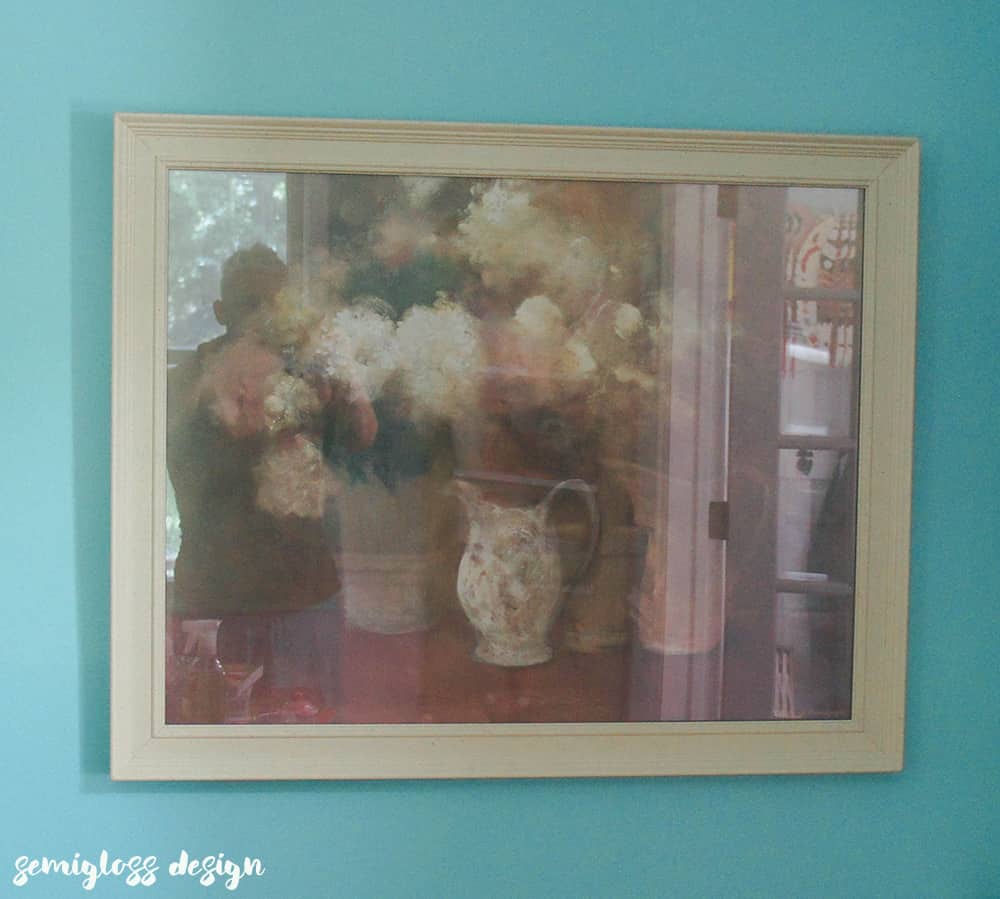
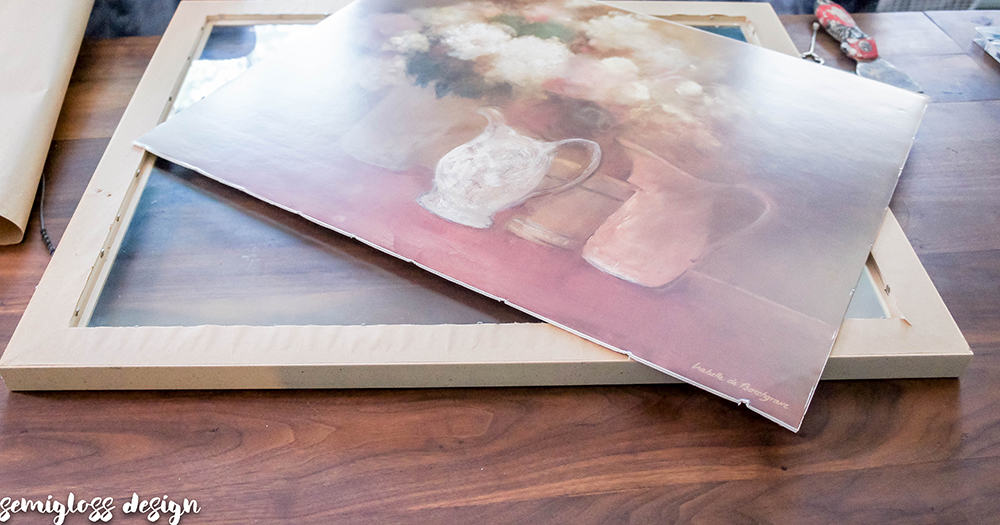
My Goodwill isn’t always great, but I found a giant framed art print for less than $10. It’s super dated, but the frame is nice and sturdy, plus it’s huge! The art measures 22×28″.
It was the perfect base for my DIY dry erase calendar. Did you know that glass works just as well as whiteboard for dry erase markers?
How to Make a DIY Dry Erase Calendar
Supplies Needed
This post contains affiliate links. By purchasing an item through an affiliate link, I earn a small commission at no extra cost to you.
- Bad art with glass and frame
- Spray paint
- Acrylic paint
- 1″ flat paintbrush
- Spatula
- Gold leaf adhesive pen
- Gold leaf sheets
- Black adhesive vinyl
- Silhouette
- Scissors
- Transfer paper
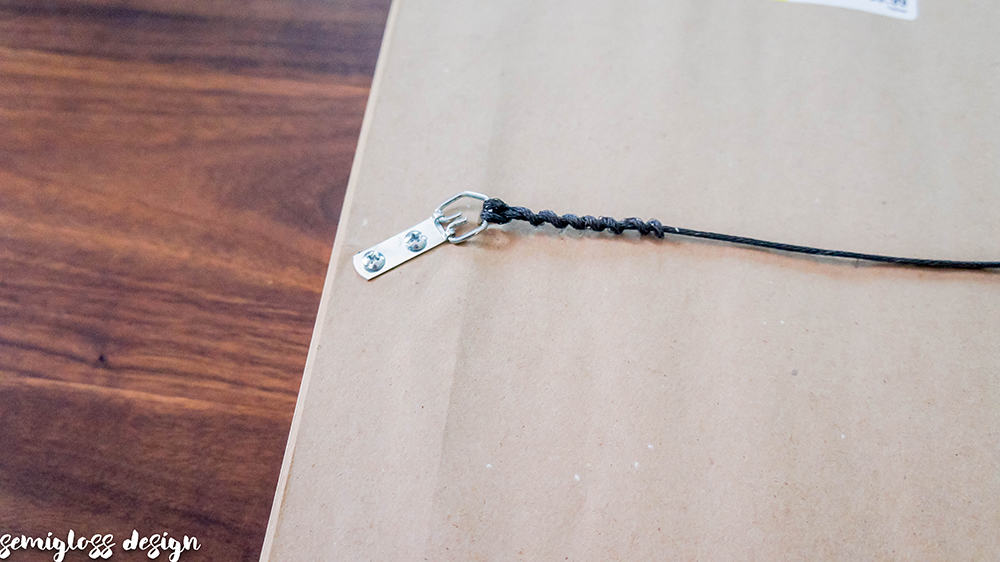
- Remove backing and hanging attachments if in the way. I used a drill and unscrewed the hangers.

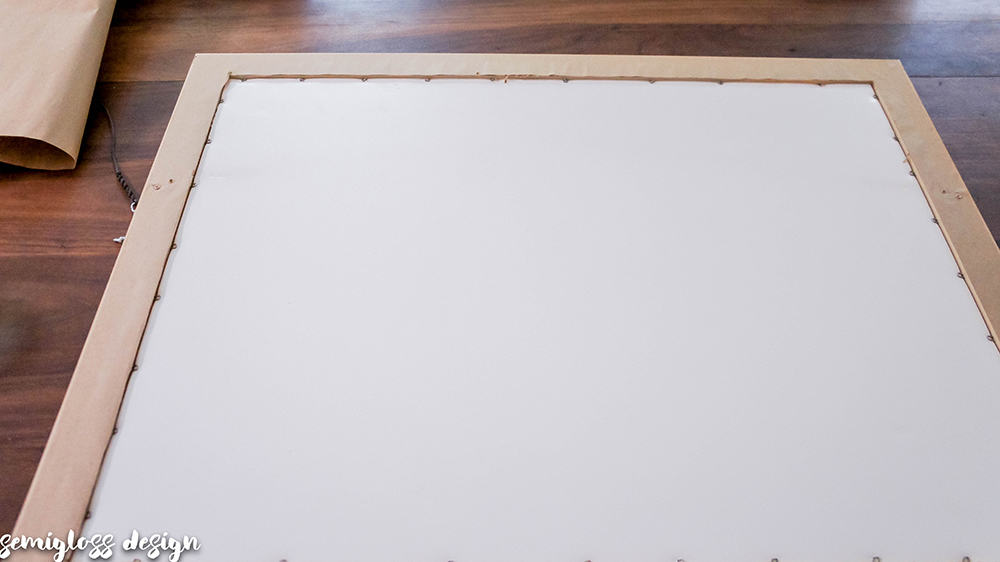
- Pry back the staples holding the art in place and remove the art. I used a putty knife for this because these staples were the hardest to bend back that I’ve ever encountered. Normally, I can use my fingers to bend them back.
- Carefully remove the glass from the frame.

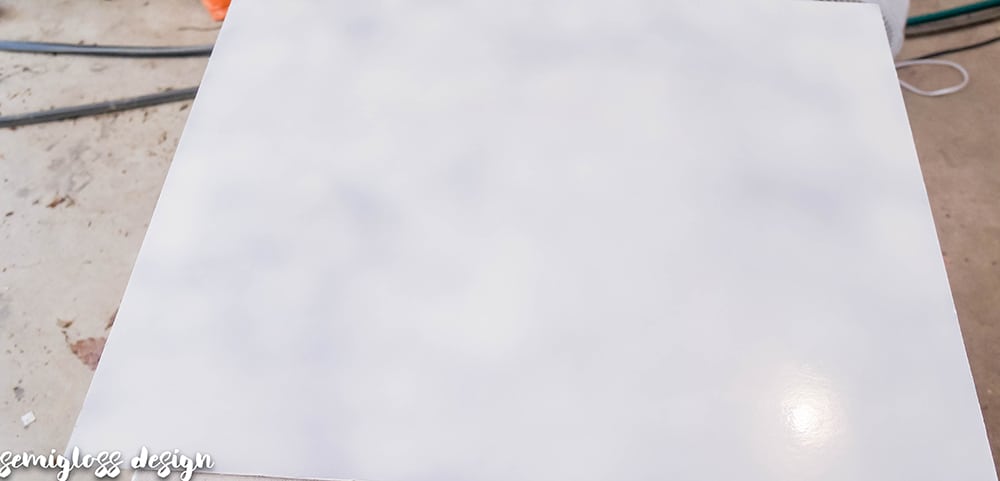
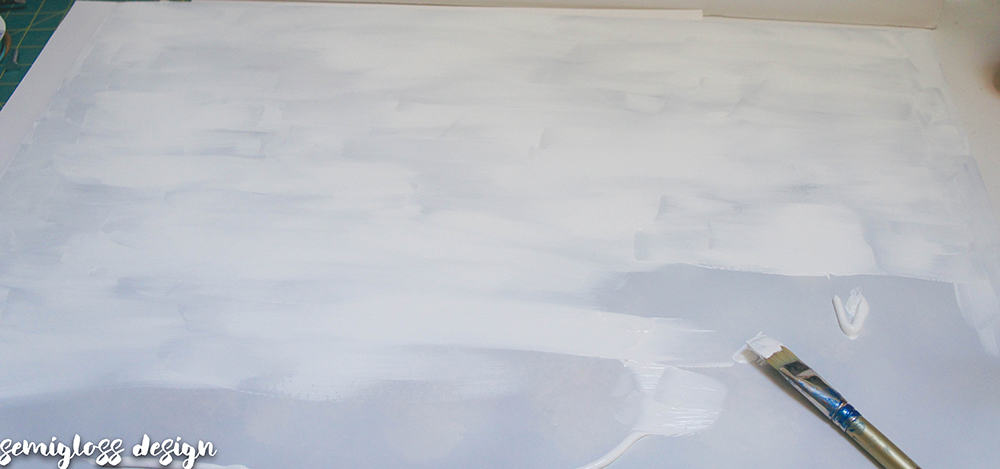
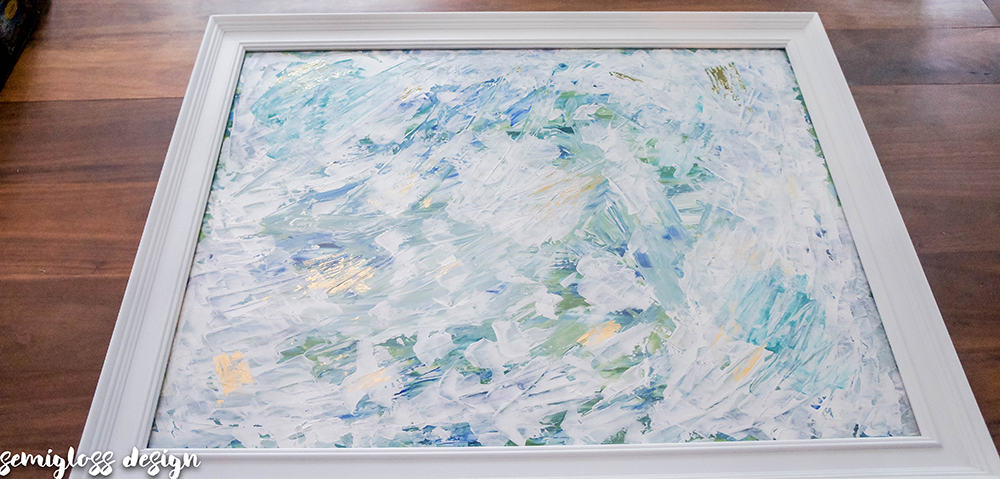
- My art was really glossy, so I spray painted it with flat white paint to give my acrylics something to grip to.

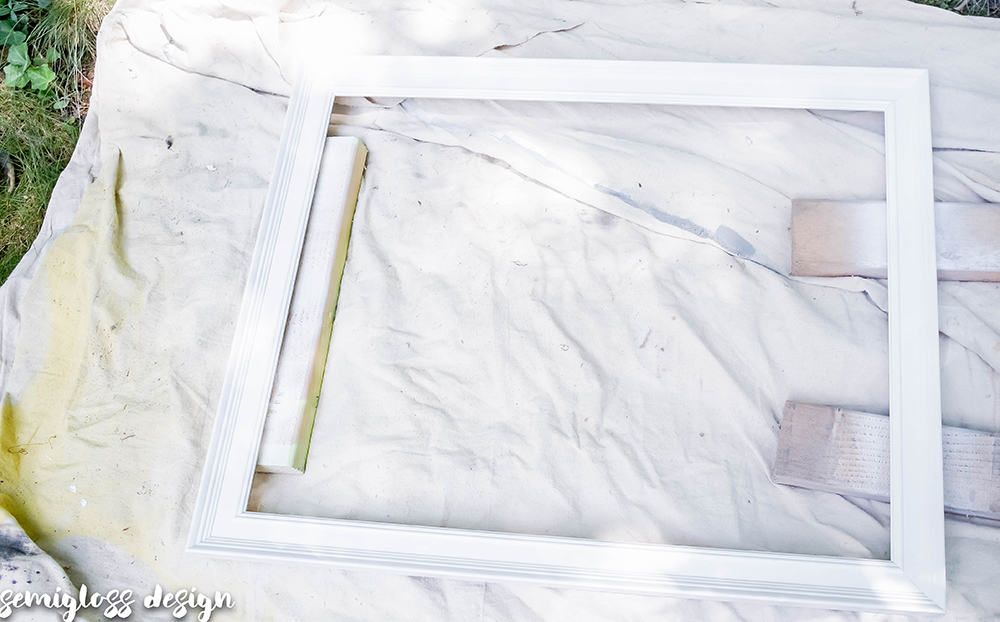
- Spray paint the frame. I opted for a simple white since the calendar would be going on a turquoise wall.

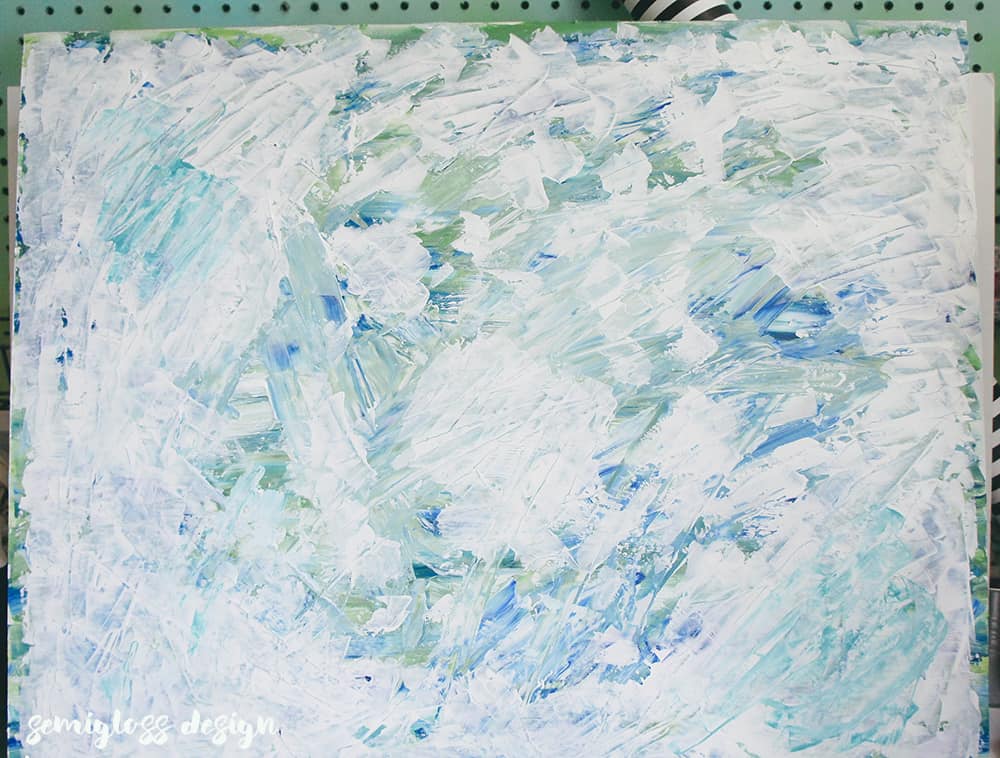
- When the spray paint is dry on the art, start adding acrylic paint. I added white first, to give it a nice base.
- Paint with long stokes to fill the space.

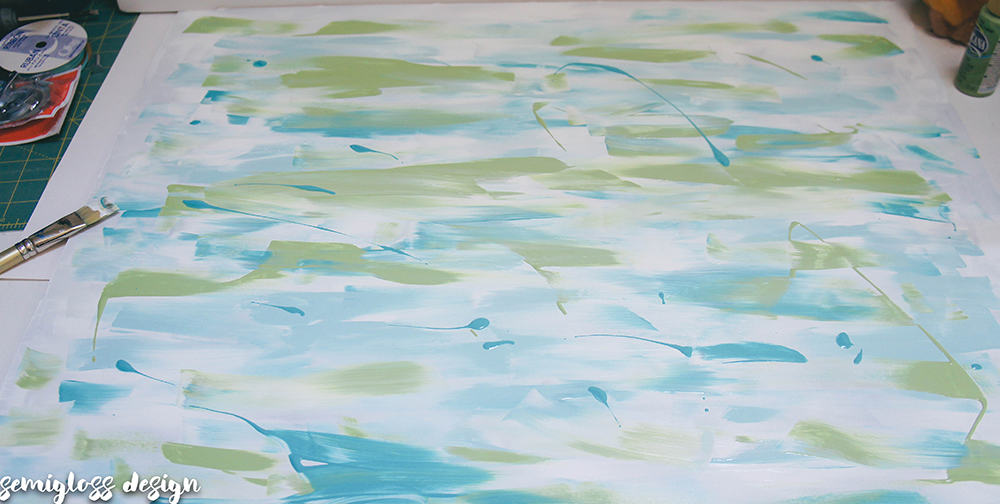
- With the white paint still wet, I added paint in shades of blue and green and mixed them in.

- I kept adding paint, layering the colors and mixing them as I worked.

- When it felt like I had added too much color, I added more white.

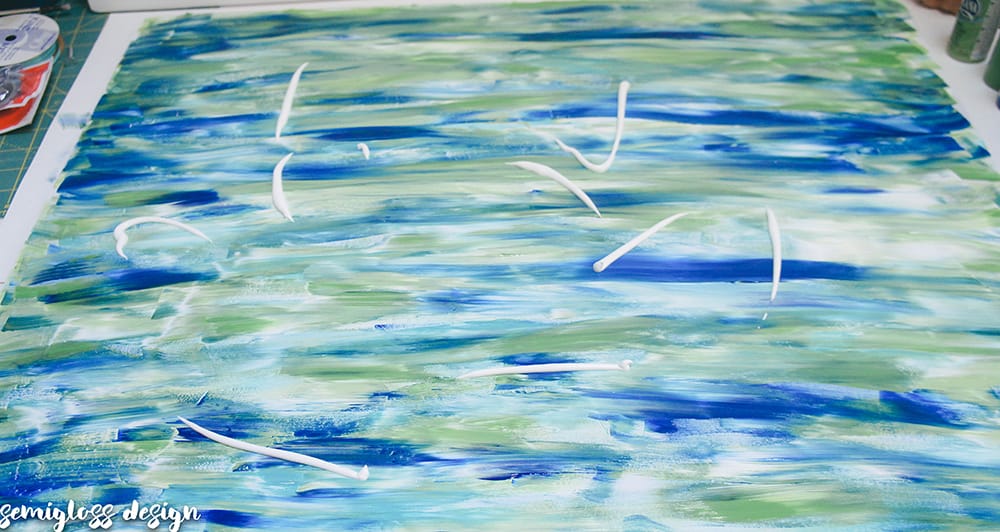
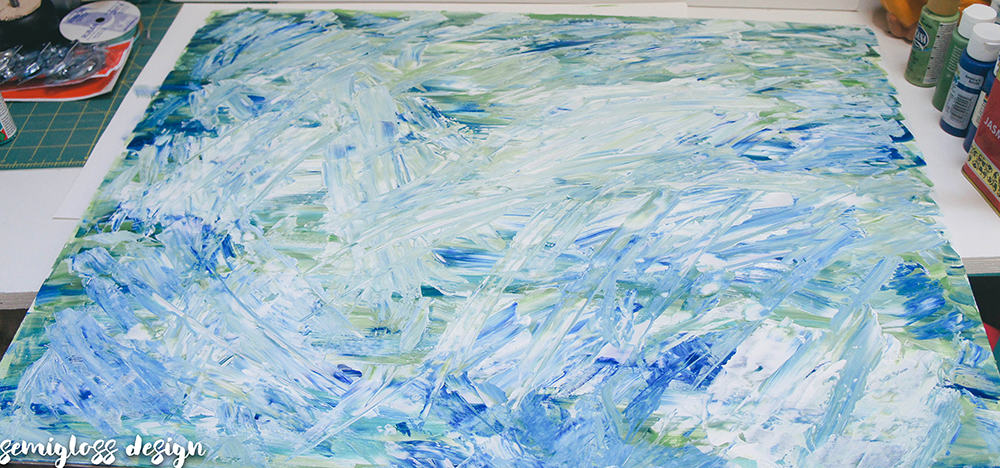
- Then I took a paint spatula and scraped the paint to mix the colors more and add texture.

- Once it was dry, I added more white on top because it didn’t feel done. You can keep going like this forever. If it’s too loud feeling, add more white. If it’s too boring, add more color.

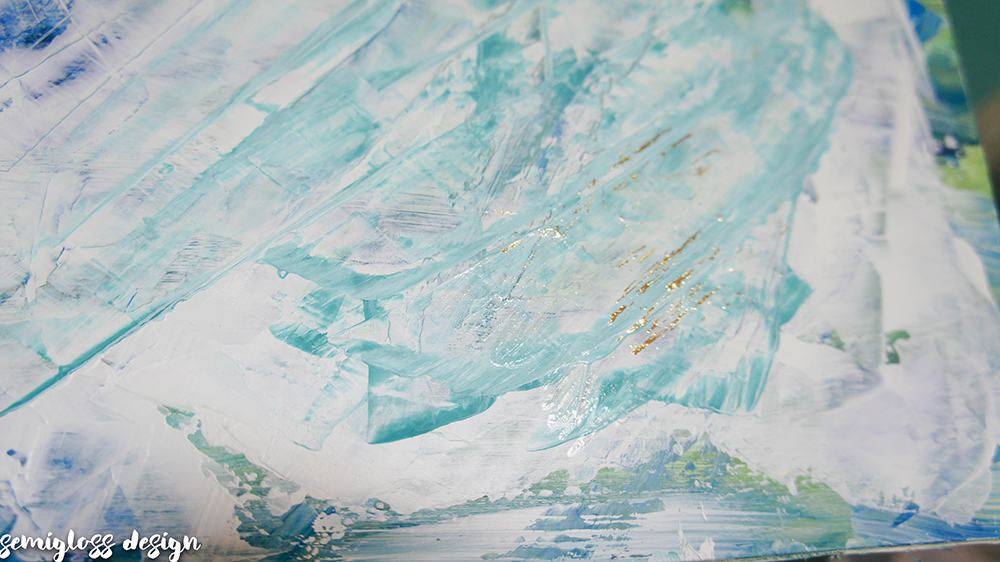
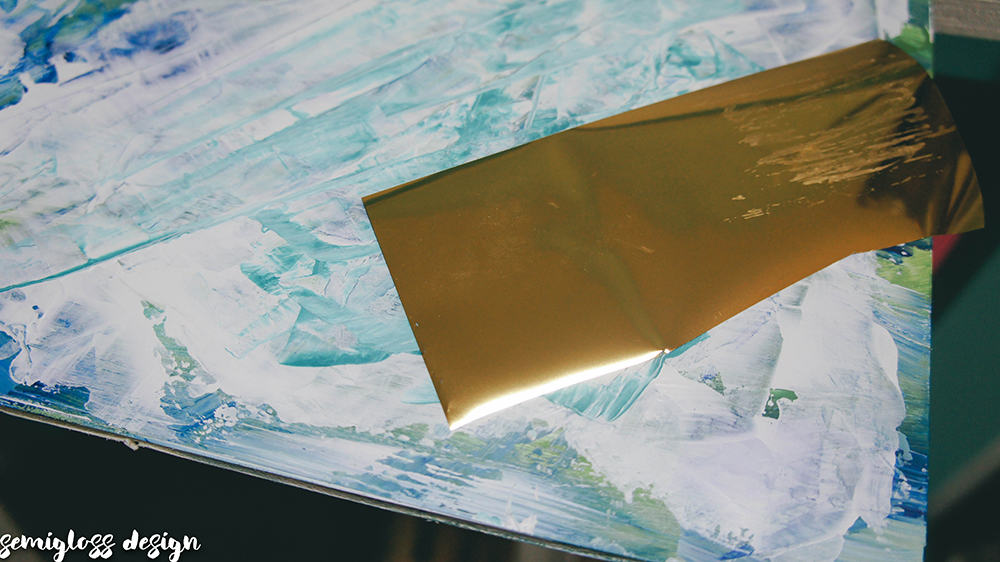
- I let it dry and added some gold leaf that I had on hand. Scribble with the glue pen and let it dry for about 30 seconds.
- Then rub the gold leaf sheet over the glue, gold side up.
- Add as much as you like. I added it anywhere that I thought it needed more interest. My daughter asked me why I put gold in the water.

- Replace the glass back in the frame. I broke mine, but luckily, I had sheets of plexiglass in my garage, so I cut one to size and used it instead.

- Place the art into the frame and fold the staples back down to hold the art in place.
- Next, screw the hangers back in.
- Flip the frame over. You can leave it like this and have a unique piece of art or you can add the calendar part.
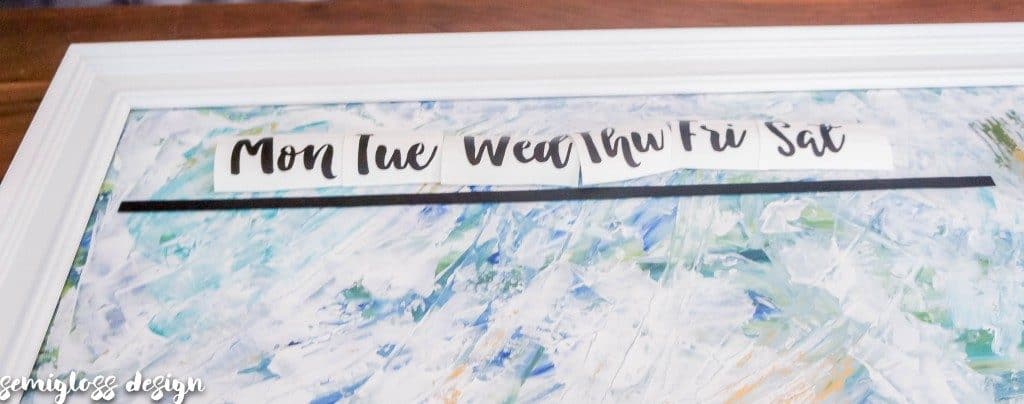
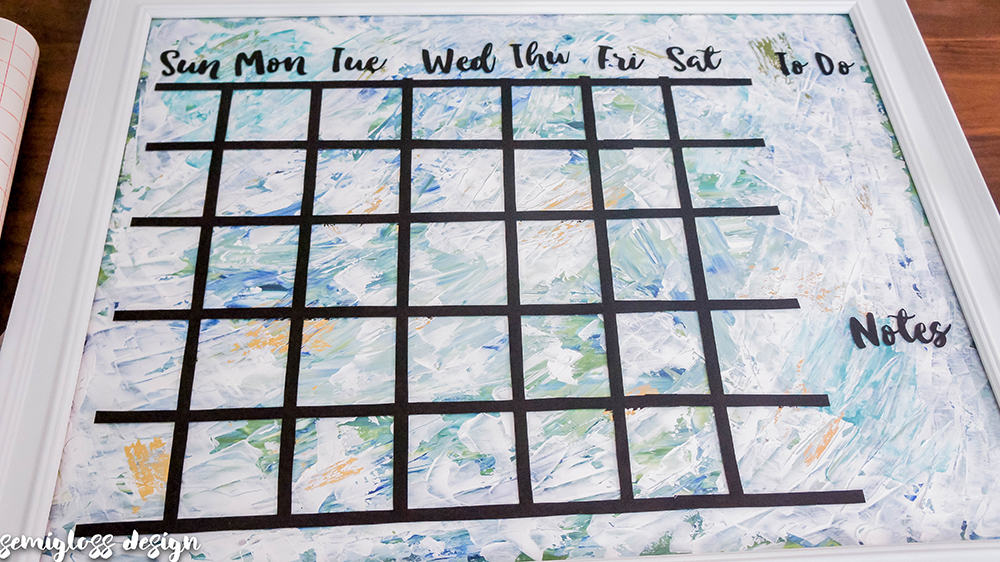
- In the silhouette program, I typed out the abbreviated days of the week, plus “To Do” and Notes”. I used the font Ink Bandits Script. Then I had my silhouette cut my design out. I wrote in detail how to use the program and use vinyl in this post about canisters. Alternatively, you can use stickers and washi tape for this part.

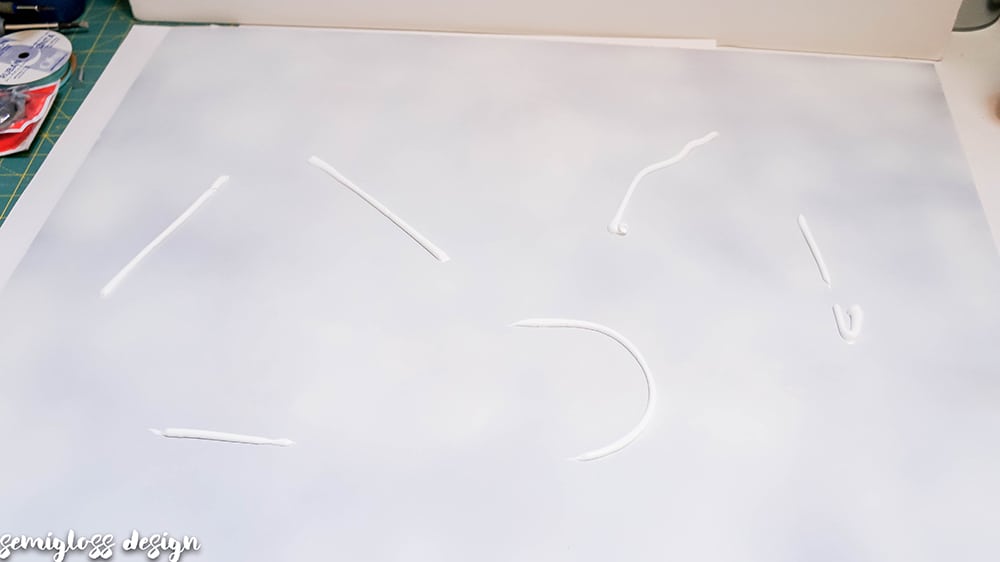
- Then I cut narrow strips of vinyl using the grid on the back.
- Apply your vinyl, using transfer paper for the lettering. You can be super precise during this process and measure everything, or you can eyeball it like I did. (During this process, I received an urgent, distressing phone call, so I had to hurry along the process. Luckily, my vinyl is re-positional.)
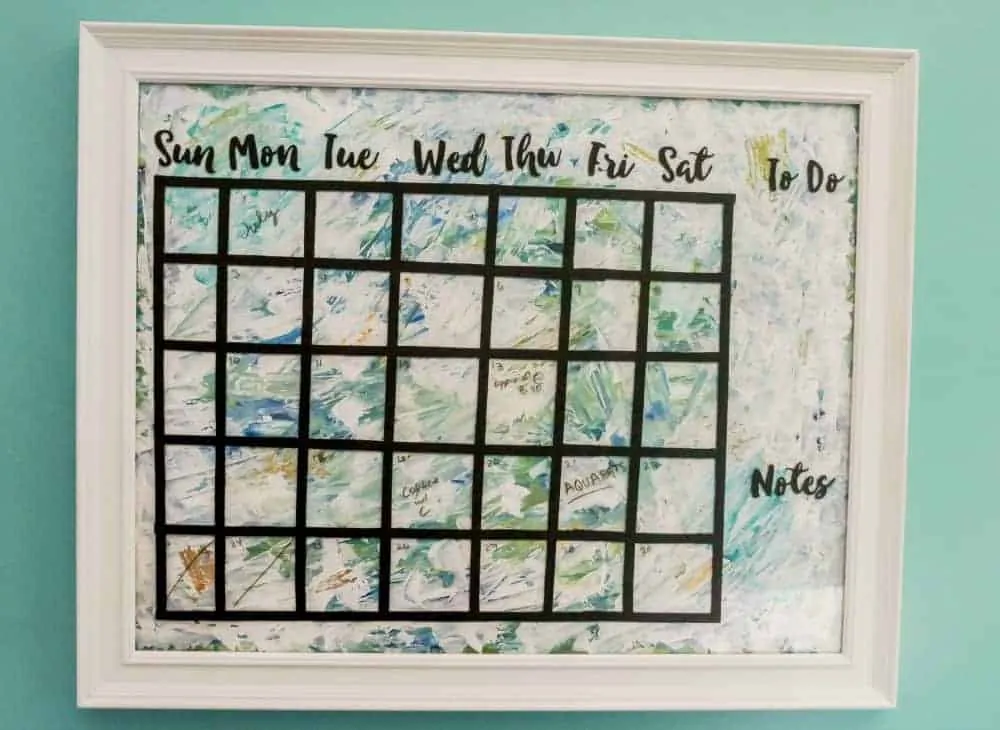
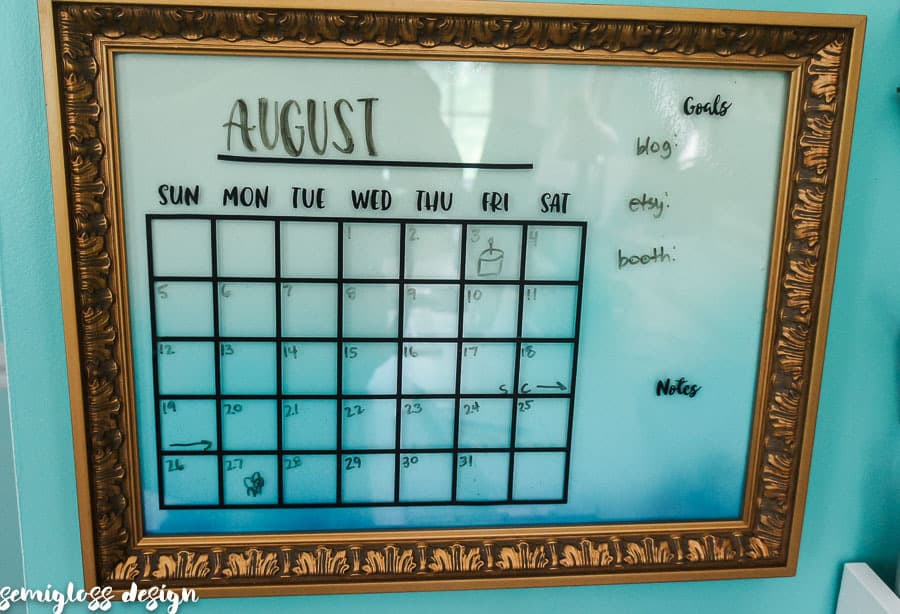
- When you’re satisfied with your design, hang it and admire your work. Now, I have a giant dry erase calendar where I can see my schedule at a glance. Back to the furniture moving and reorganizing!


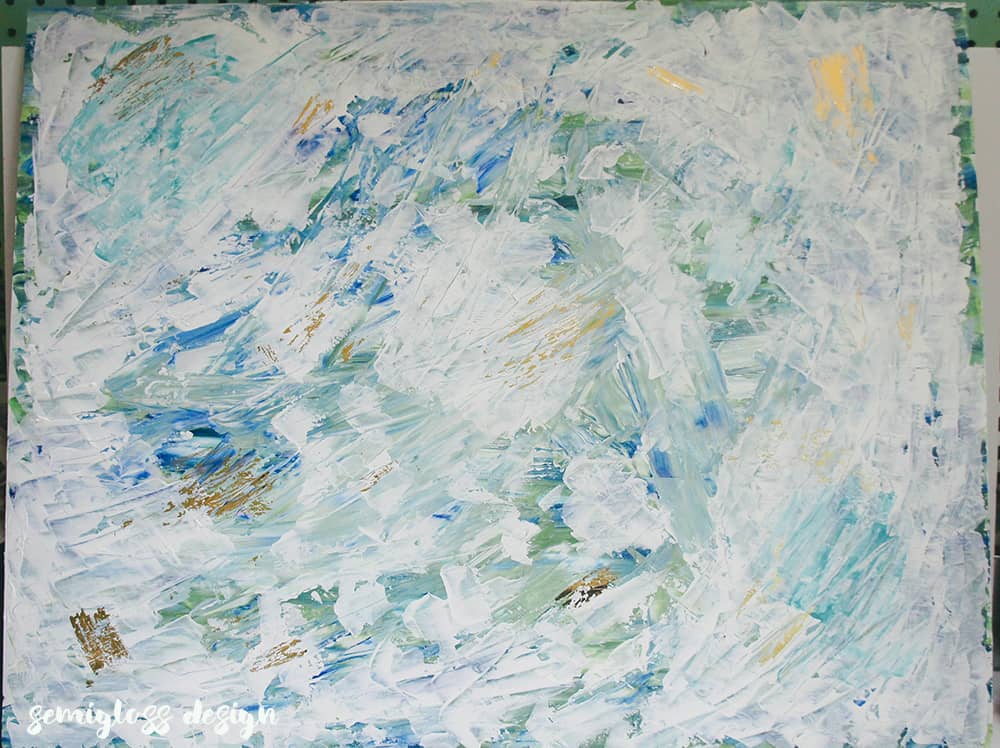

Who needs a boring calendar when you can make a pretty one?
Update:
For my office update, I made a smaller version. Calendar SVG available in my Etsy shop.
It’s made in the same way, but the art is spray painted with 3 shade of blue and aqua to create an ombre effect. The simple background is much easier to read.
You might also like these upcycling posts:
- Magnetic memo board
- Jars to faux terrariums
- DIY Pinboard
- Cutting board to key holder
- Frames to chalkboards
Be sure to check out the other participants in Inspire My Creativity! And join the fun and add a link to a project featuring your thrift store makeover!

[inlinkz_linkup id=725722 mode=1]
Be sure to join us next month, August 9th! The theme for August is: Chalk Paint. Come back and share your lovely chalk painted creations with us!
Pin this for later!

Emy is a vintage obsessed mama of 2 DIYer who loves sharing affordable solutions for common home problems. You don’t need a giant budget to create a lovely home. Read more…

Such a creative project! I love the pops of gold. I need one of these to keep me organized!
Thanks Sarah! The gold is my favorite part too!
Such a pretty erase calender. I love the the way you have painted the background. It is pretty enough to stand on its own as a piece of art.
Thanks Mary! I love how it turned out. 🙂
Ooh! Organizing is my jam! Nice piece and I bet it looks awesome in your new office!!
Thanks Rane! Gold leaf is super fun by the way!
I love how your abstract art turned out. Your calendar turned out great!
Thanks Ali! 🙂
I love the gold leafing. Fun touch!
Super cute! I love the gold and the painting before you even turned it into a calendar. Great project!!
This is such a great way to get something framed for super cheap! You wouldn’t even know you paid so little for it. Thanks for co-hosting!
Thanks Shani!