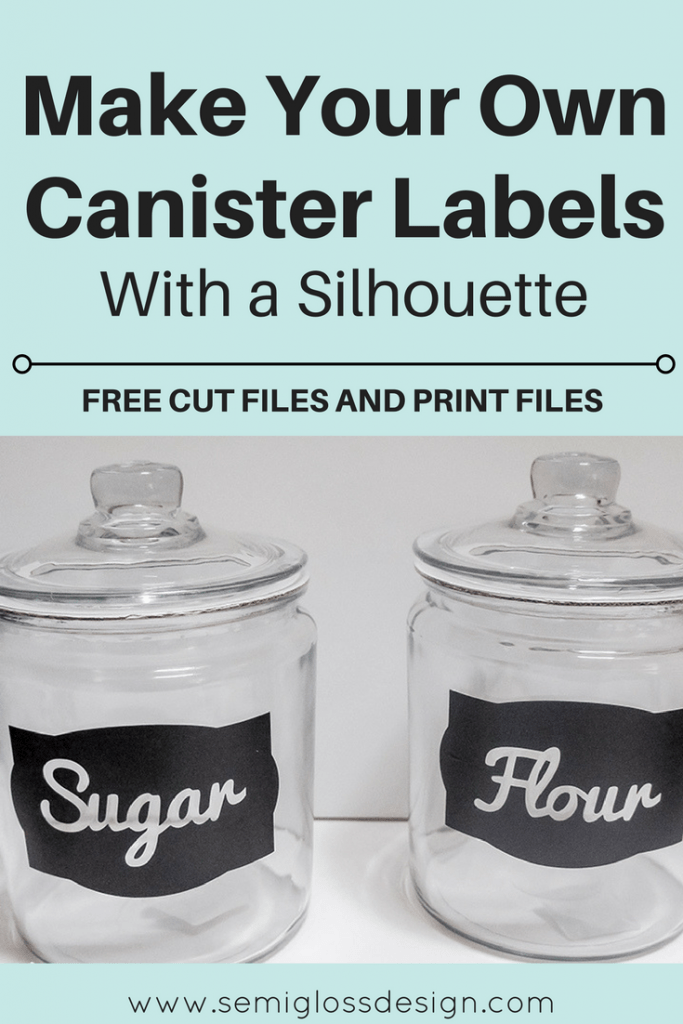
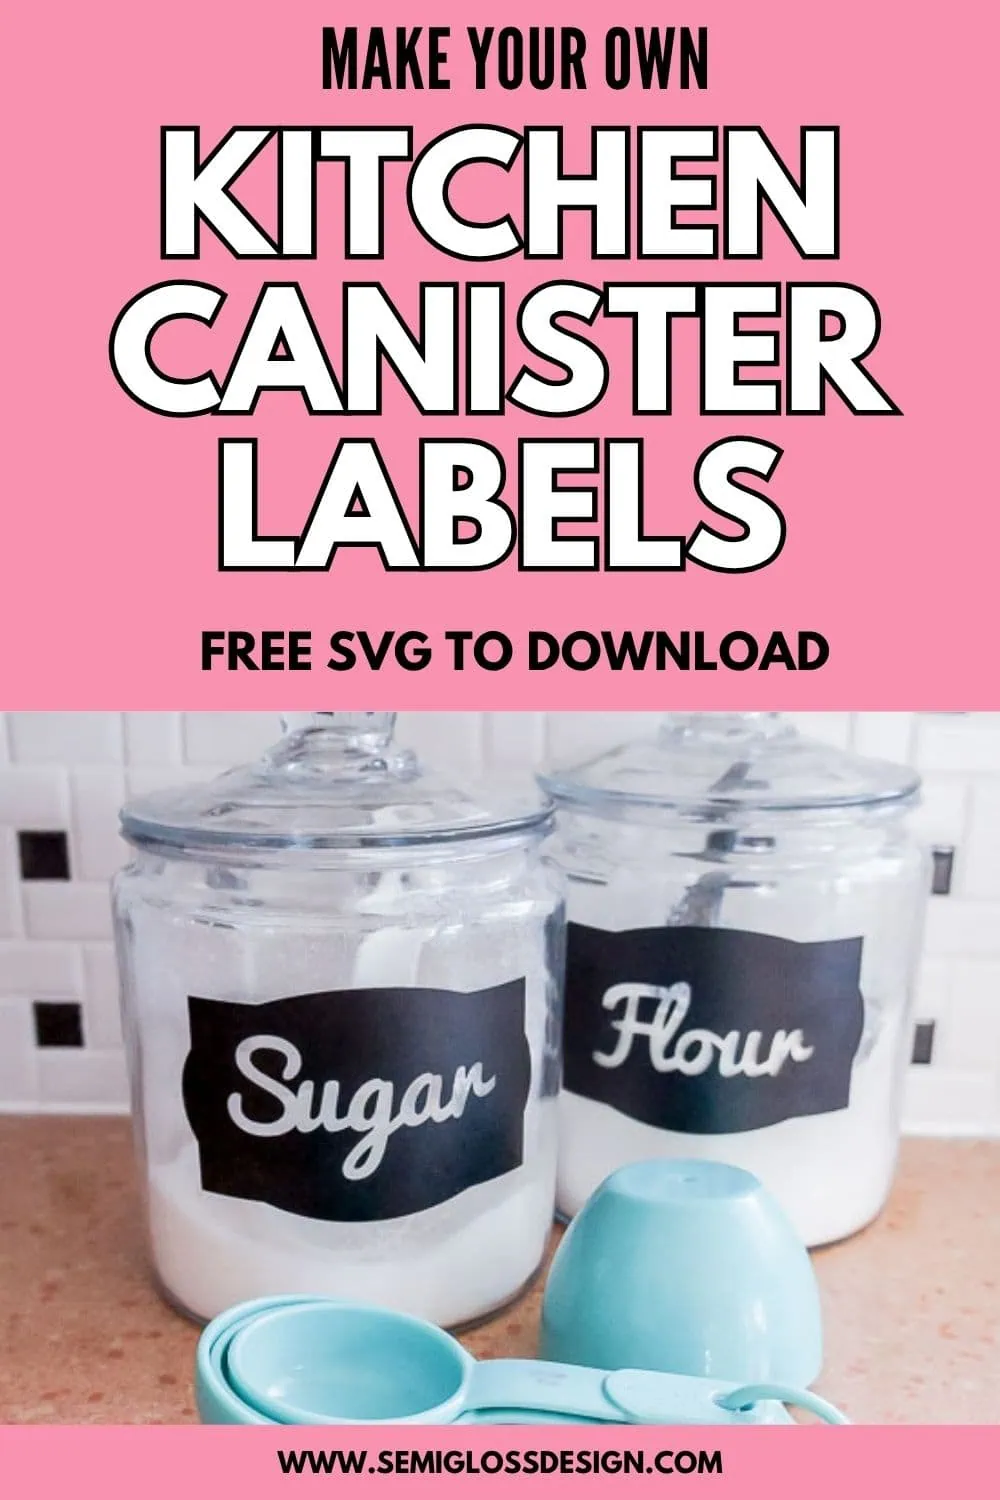
DIY Kitchen Canister Labels for Your Kitchen
Make your own kitchen canister labels for glass canisters. These cute labels feature a fun, retro font.
I wrote this post years ago and used my Silhouette to make these labels. These canisters are still going strong, even after 2 moves!
I’m updating this post to include SVG files to use with Cricut and clarify any instructions that might not make sense for Cricut users.
Make Your Own Kitchen Canister Labels with a Silhouette
Supplies Needed
This post contains affiliate links. By purchasing an item through an affiliate link, I earn a small commission at no extra cost to you.
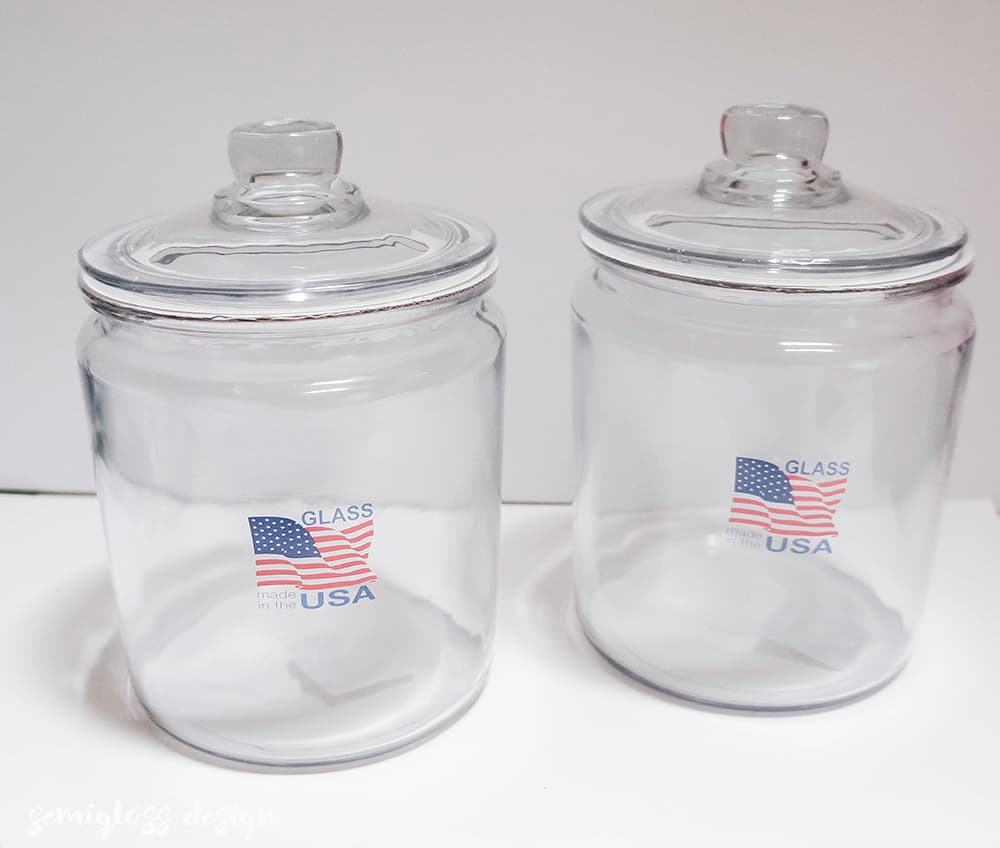
- Canisters
- Silhouette or Cricut
- Loading mat
- Vinyl (black matte)
- Transfer paper
- Weeding tools
- Scissors
OR (see alternative way at the bottom of the post)
I’ve broken this tutorial down into several steps. If you don’t want to design your own labels, skip the first step for cutting the labels. Same for Cricut users.
There’s a link to both cut files and printable label files at the bottom of the post.
Designing the Canister Labels in the Silhouette Software
This was written in 2017, so the interface may have changed. I’m leaving it in case it’s helpful for someone.
- Set up your page. I set mine to 12×12 and turned on a grid so I could clearly see how large to make my labels. My labels are about 3″ high x 5″ long.

- Draw an oval. Draw out an oval that roughly covers that space.
- Draw out a rectangle that overlaps the oval, slightly smaller than the oval.
- Align shapes. Select both shapes and align then both horizontally and vertically.

- Combine the shapes. Select both shapes with the arrow tool and choose the WELD option in the modify panel. This makes a cool label shape.
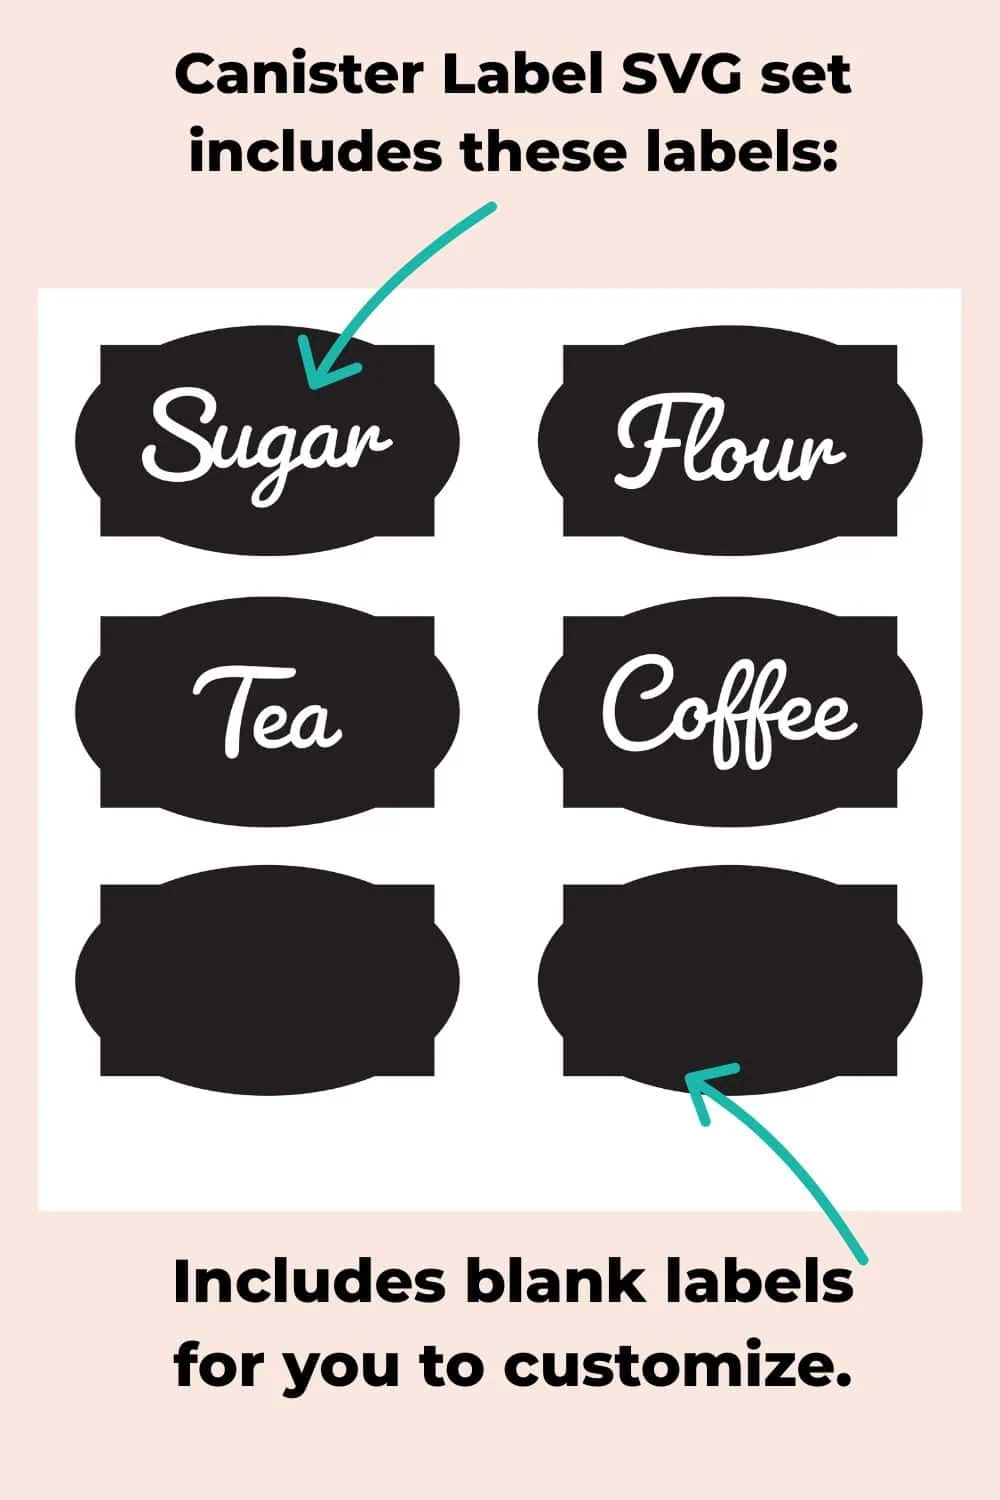
- Type the first label. Click on the text tool and type out “Sugar.”
- Choose your font. I wanted to share these cut files with you, so I had to be careful about which fonts I chose. For personal use, the sky is the limit. I really like Creative Market.
- Change the size of the text. Use a dot at the corner to drag the size out until it fills the space better.
- Duplicate the label and text. Select the shape and text and click duplicate until you have 4 (or however many labels you want.)
- Change the text for each label to read what you want. I’m using “Sugar, flour, coffee, and tea” for my canisters.
- Make the text into shapes. For each word, click on WELD in the modify panel. This makes the text into an image and is no longer editable as text. If you skip this part, each letter will be cut separately.
- Fix the kerning (letter spacing) for words that look weird. The “T” in “Tea” was too far away, so I moved it over. Same with the S in sugar. For Sugar, I moved the s over and welded the letters again to make one shape. Play with it until you like how it looks.
- Align the text to each shape using the align vertical and horizontal button. If your letters are separated, like in Tea, you will need to group them first (CNTL+G or CMND+G)
- Group the text and shape for each label. Then, position the labels better on the page. It was my first time using vinyl, so I wanted to give enough space between the edge of the mat and the label, but I didn’t want to waste an excessive amount of vinyl either.


Want to learn more about how to use your Silhouette? This affordable ebook taught me everything I know! Plus, it comes with a handy settings cheat sheet that gives you perfect cuts every time!
Cutting the Vinyl with the Silhouette
If you’re using a Cricut, upload and cut as usual.
- Click Send in the top left corner.
- Select the material. I chose vinyl, matte. Then I changed the settings to 2, 8, 9 in the bottom panel. (I bought this book and I use her settings cheat sheet for all Silhouette projects. So far, so good.)
- In the action panel, make sure it is set to “Simple cut.“
- Place the vinyl on the mat. Cut a piece of vinyl slightly larger than needed and press it firmly onto a sticky mat. (Now, I only use as much vinyl as I need. Use the grid view to see the size of your design and cut that amount to conserve vinyl.)

- Turn on the machine and load the mat.

- Click on Send in the Silhouette software and hit start. The machine will start cutting. It makes a lot of clicking noises and then a lot of grinding noises. This is pretty normal. My dog is always *very concerned* during this process.
- When it’s finished, click unload mat. Your labels should be perfectly cut!


Applying the Label to the Canister
- Remove the lettering from the center. It can be used for a 2nd set of canisters if desired.

- Cut around each label.
- Remove the excess vinyl around the edges.
- Cut pieces of transfer paper the same size as your labels. You can use the same piece for all 4 labels.
- Remove the white paper backing from the transfer paper.
- Apply the transfer paper to the top of the vinyl label. Rub well to ensure that it sticks. My vinyl came with a popsicle stick, but you can use an old gift card.
- Remove the white paper backing from the vinyl. Go slowly to avoid removing too much. I found that pulling it off straight helped. Pulling at an angle removed all of the tiny pieces.
- Now you have transfer paper with the vinyl stuck to it. The image should be backwards.
- Determine your placement on the canister and adhere the vinyl and transfer paper to it. You can measure it out and use painter’s tape for absolute perfection. I eyeballed it, because that’s how I roll.
- Rub the vinyl against the glass to get it to stick.
- Slowly start removing the transfer paper, leaving the label in place. As before, pull it straight and be careful of the tiny cut our pieces.
- If it needs to be adjusted as you go, you can unpeel from the glass and fix it.
- Smooth all of the air bubbles to the closest edge. It’s kind of fun pushing them to the edges.

- Ta-da, you now have lovely kitchen canister decals!


Alternative Way to Make DIY Kitchen Canister Labels
Since not everyone has a cutting machine or even wants one (gasp!), there’s an alternative way to make canister decals as well.
- Download the files and print them on clear sticker paper, then cut around the shapes and apply them to the canisters.
- Print them out and decoupage them on or use clear contact paper to affix them.
- Create labels for other jars, such as your spices. No more mistaking curry for cumin!!
- You’re not just limited to the kitchen. You can label the bottles in your bathroom or your bar cart. You can label anything with decals!
Get access to my SVG Library.
Get access to over 50 SVG sets and Cricut cheat sheets. Join my SVG library.
Get your cut files or printable labels today!
All downloads are for personal use only. Please do not redistribute or sell files.
The cut files contain .studio files to use with Silhouette. Download the PDF to print and cut by hand.
Canister Cut Files – Silhouette Users
Canister Labels PDF – for Printing
Canister SVG Files – Cricut Users
You might also like:
- How to cut planner stickers with a silhouette (Print and Cut tutorial)
- DIY Decal Plates
- DIY Art from Nature (Sun prints)
Pin for Later!

Emy is a vintage obsessed mama of 2 DIYer who loves sharing affordable solutions for common home problems. You don’t need a giant budget to create a lovely home. Read more…

What is this machine? I want to buy a machine but not sure which one is suitable for canister stickers.
I used a Silhouette electronic cutting machine. Cricut is another brand. Both are suitable for cutting vinyl. If you only want to cut canister labels, I would get a smaller machine, like the Silhouette Portrait. It’s less expensive than the full size machines.
nice thank you