The Easiest DIY Canvas Frame
Learn how to make the easiest DIY canvas frame ever. No weird cuts required! This frame can be built in minutes and finished however you want.
You might also like this post on DIY abstract art.

This post contains affiliate links. By purchasing an item through an affiliate link, I earn a small commission at no extra cost to you. As an Amazon Associate I earn from qualifying purchases.
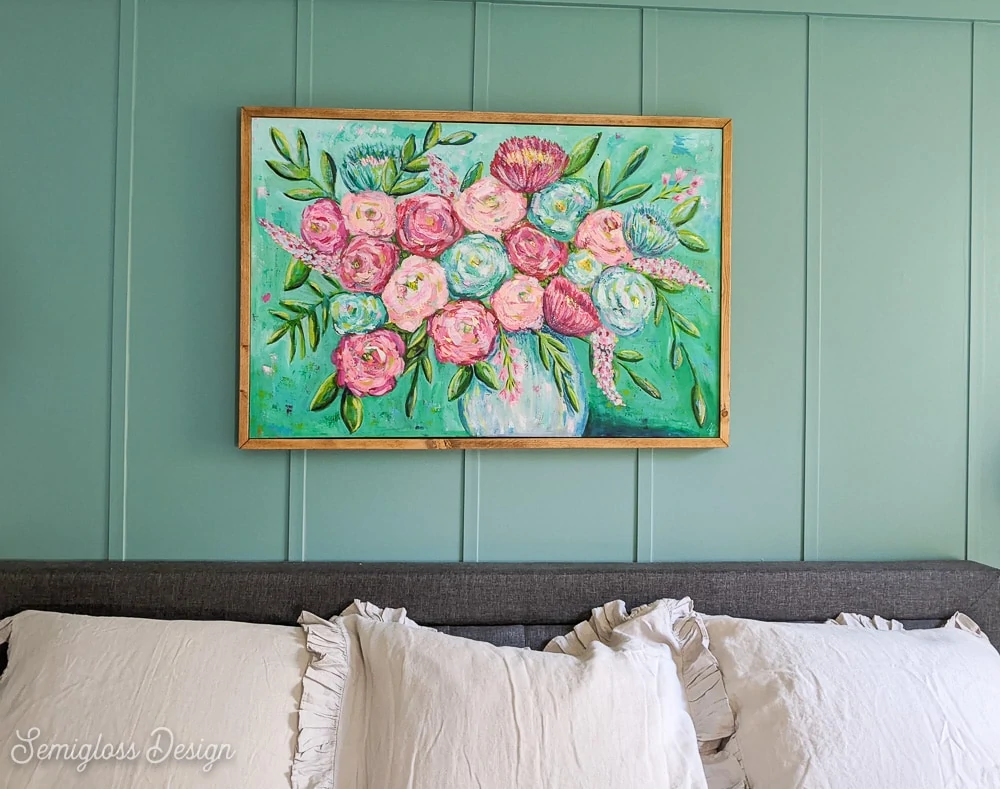
This painting was the main starting point for my bedroom makeover plans. I painted this piece specifically for my bedroom and worked from there. Painting has been my therapy this year and I still have a lot to learn, but I’m really enjoying it.
Anyways, I wanted my art to feel more special, so I asked my husband to build a frame for the canvas. His canvas frame is super simple and quick to make. This floating frame for a canvas is perfect for beginners!
See the bedroom reveal here!
How to Make a DIY Canvas Frame
Supplies Needed:
- 1×2 lumber (enough to go around the edges)
- Miter saw
- Wood glue
- Hammer
- Nails
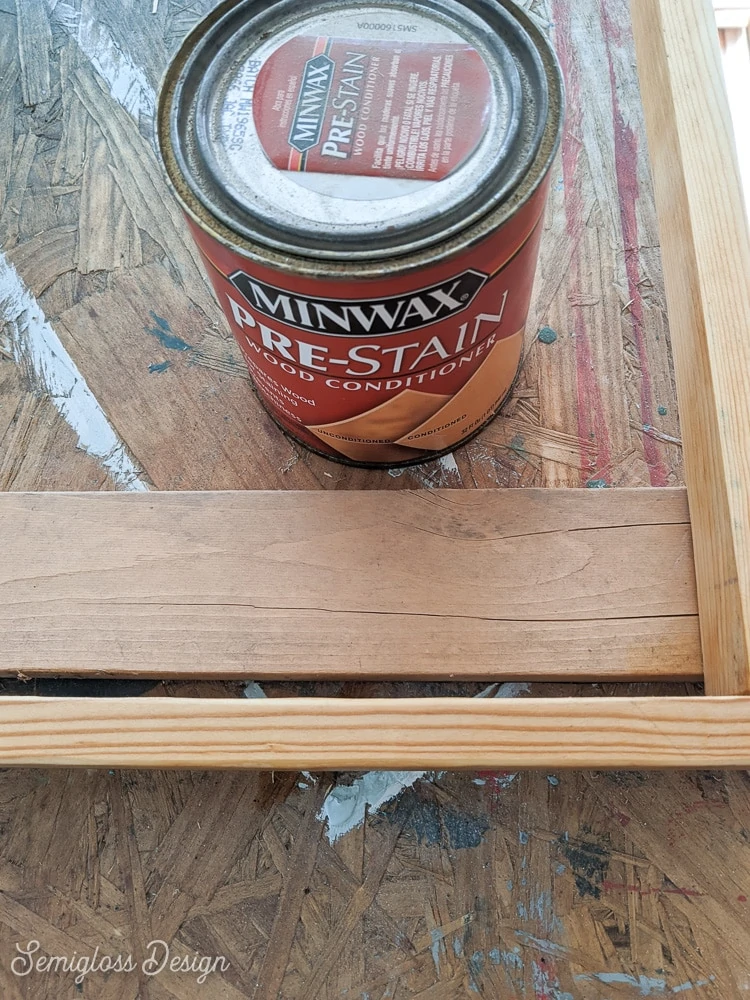
- Wood Conditioner
- Wood Stain (I used Special Walnut)
- Picture hangers
- Polycrylic
A note about canvases
If you’re interested in creating your own art, I cannot recommend Blick enough! Their canvases are so affordable. If you’ve ever nearly fainted at the price of canvases, you will be in love.
I paint A LOT, so I need a lot of canvases. Luckily, you can even buy them in bulk. They have so many sizes and thicknesses. And they carefully wrap the canvases for safe shipping.
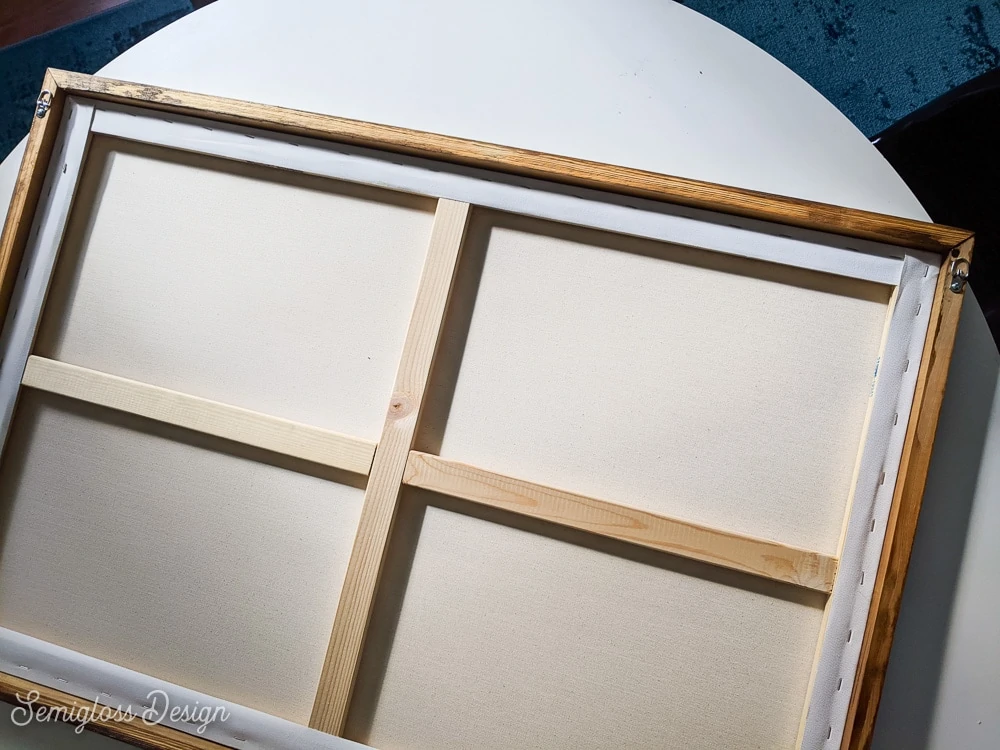
I used one of the cheapest options for canvases and I’m so impressed with the bracing in the center. This helps keep the canvas from warping over time.
Enough with my love letter to Blick. Let’s get to the tutorial.
How to Make a DIY Canvas Frame

Make an easy DIY canvas frame to finish off a piece of art. This frame can be made in minutes for just a few dollars!
Materials
- 1 x 4 lumber
- Nails
- Wood glue
- Picture hanger hardware
- Wood conditioner
- Wood stain
- Polycrylic
Tools
- Hammer
- Miter Saw
- Foam brush (for stain)
Instructions
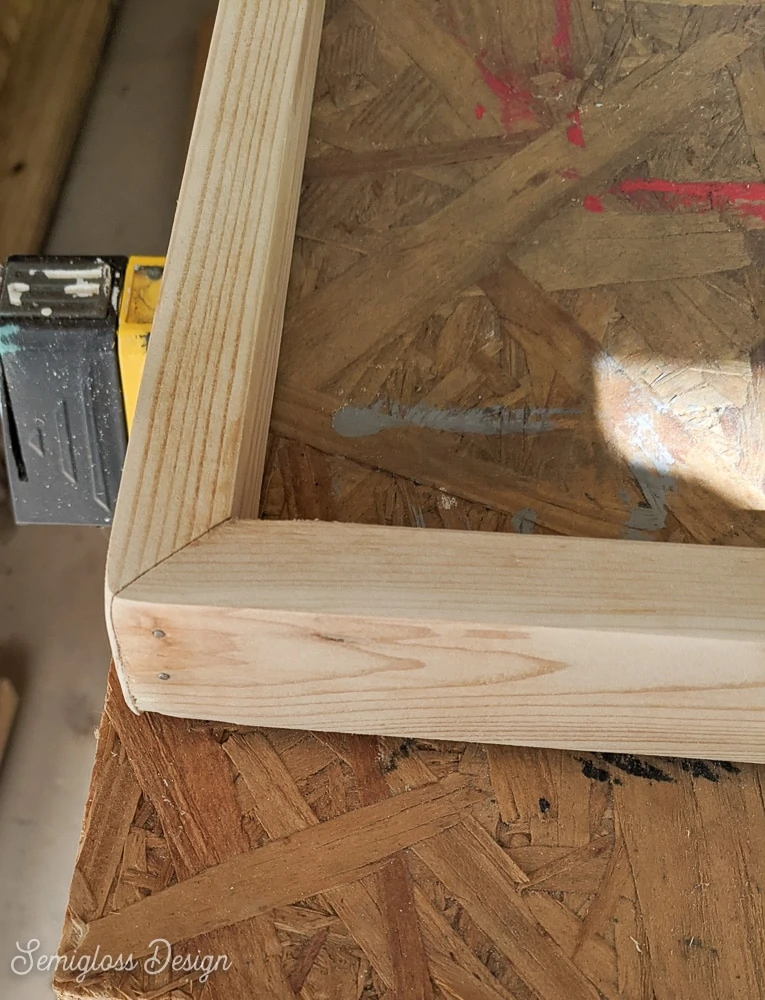
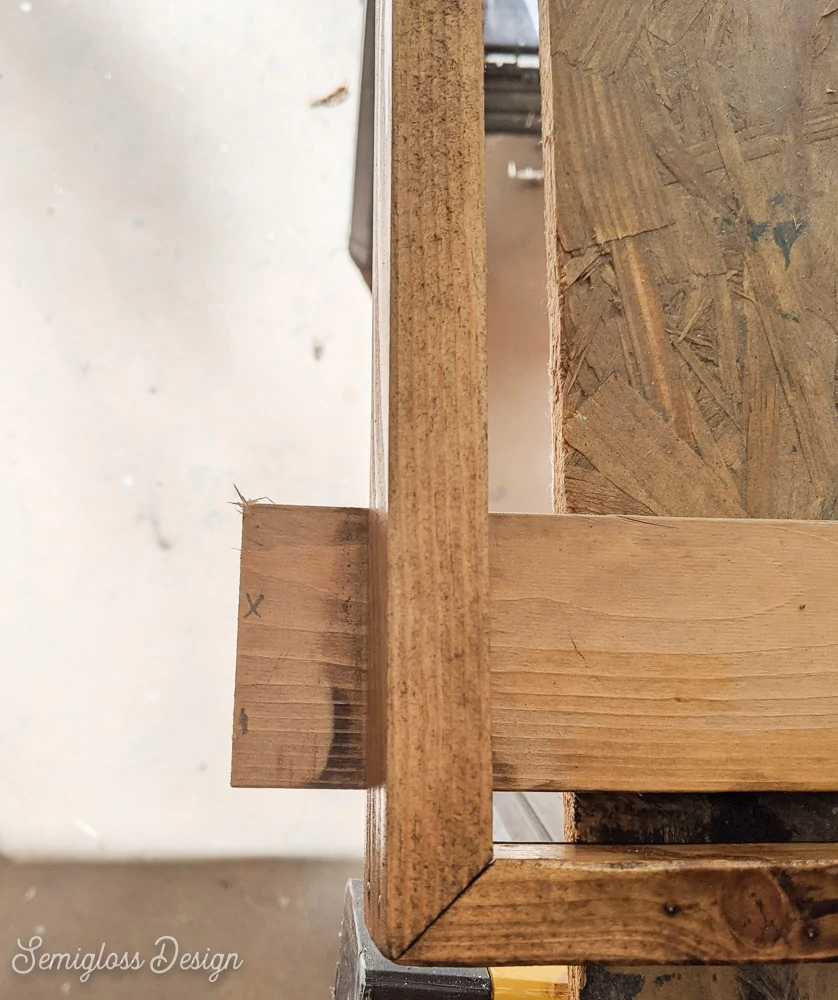
- Cut wood to size with mitered edges.
- Dry fit around the canvas to make sure that it fits properly.
- Sand the wood smooth.
- Apply wood glue to each mitered corner.
- Use nails to attach the wood together at each corner. We used 2 nails per corner.

- Let the wood glue dry completely.
- Finish the wood as desired. I wanted stained wood, so I applied wood conditioner, let it sit for about 5 minutes, then wiped away the excess.

- Then I applied a coat of stain with a foam brush. Let it dry for about 10 minutes and wipe away the excess.

- Apply another coat of stain if desired.
- Let the stain completely dry.
- Apply 2-3 coats of polycrylic to seal the wood. Let dry.
- Flip the frame over and attach picture hangers to the wood.

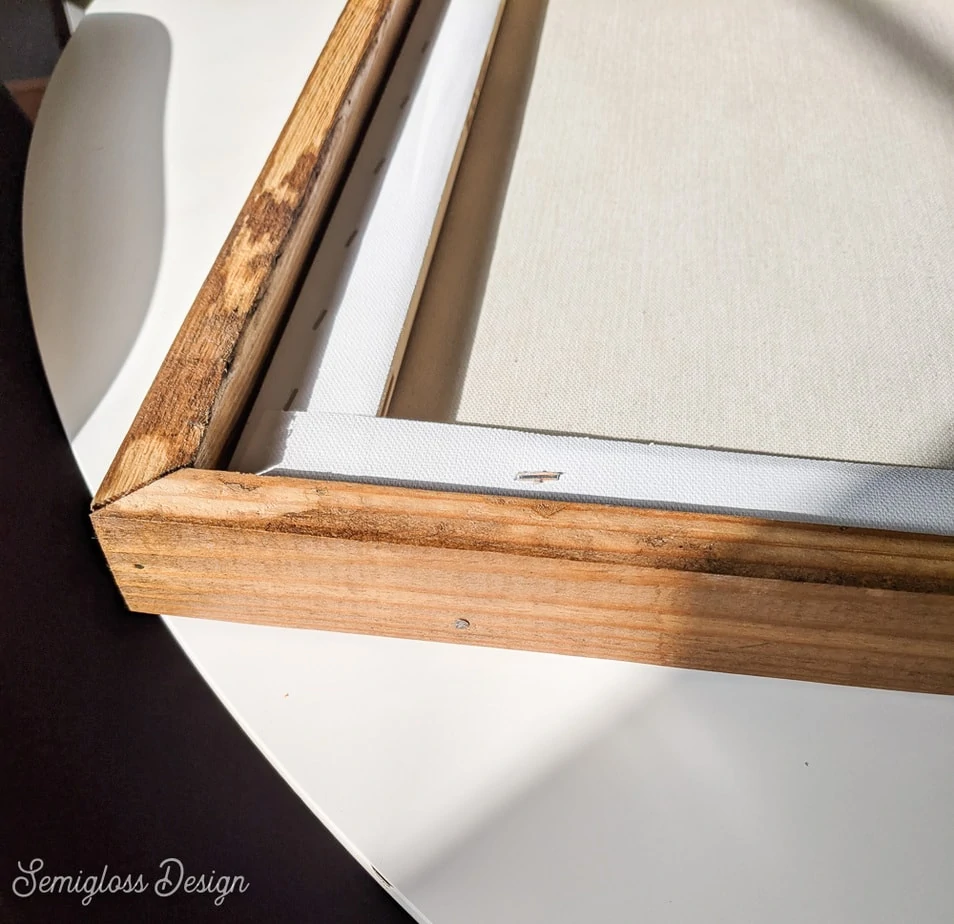
- Insert the frame into the canvas and nail from the sides through the wood frame into the frame of the canvas. The art is almost flush with the front of the frame.

- Hang and enjoy!

Notes
- Try to find the straightest 1x2's you can.
- A nail gun will also work!
Recommended Products
As an Amazon Associate and member of other affiliate programs, I earn from qualifying purchases.


You might also like:
Pin for Later!


Emy is a vintage obsessed mama of 2 DIYer who loves sharing affordable solutions for common home problems. You don’t need a giant budget to create a lovely home. Read more…