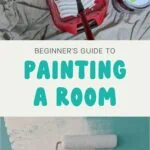
The Beginners Guide to Painting a Room Like a Pro
Learn how to paint a room for beginners. Painting a room is one of the easiest ways to change the look of your home. It’s an affordable DIY technique that is perfect for beginners.
You might also be interested in learning how I picked the perfect white paint for my room.
I recently met someone who had never painted a room. It had never occurred to me that someone might not know how to paint walls!
See, I’m one of those rare weirdos who love painting rooms. Paint never fails to amaze me. In just a few hours, you can transform the way a room feels.
Over the years, I’ve painted a lot of rooms and have learned so many tips and tricks along the way. Today, I’m sharing everything I know about painting a room.
Never forget a paint color again with a printable paint color tracker.
Get a 2-page printable PDF for only $3.00!
Print as many copies as you need!
Act now for only $3.00.
Get Paint Samples Without the Hassle
Did you know that you can order paint swatches? Samplize offers large paint samples that you can try out without the mess! No more going to the store and buying tons of sample pots. No more wasted paint!
Just peel and stick the paint sample to the wall. Observe the colors at different times of the day and pick your favorite.
They offer paint samples for Sherwin-Williams, Benjamin Moore, PPG, and Farrow and Ball. (By the way, most Sherwin-Williams colors can be bought at Lowe’s, and Ace Hardware stores carry Benjamin Moore paints – in case you also live in a small town without specialty paint stores.)
Painting Walls FAQs
The Order for Painting a Room
My preferred order for painting an entire room is:
- Prep work
- Repairs (Here’s a post on how I repair walls for a flawless finish.)
- Paint Ceiling
- Paint Trim
- Paint Walls (edges and then larger flat spots with the roller)
My reasoning is that I like the get the harder jobs done first.
The ceiling is the hardest. It is also the messiest, so I like to paint the ceiling first to avoid splattering paint all over my freshly painted walls.
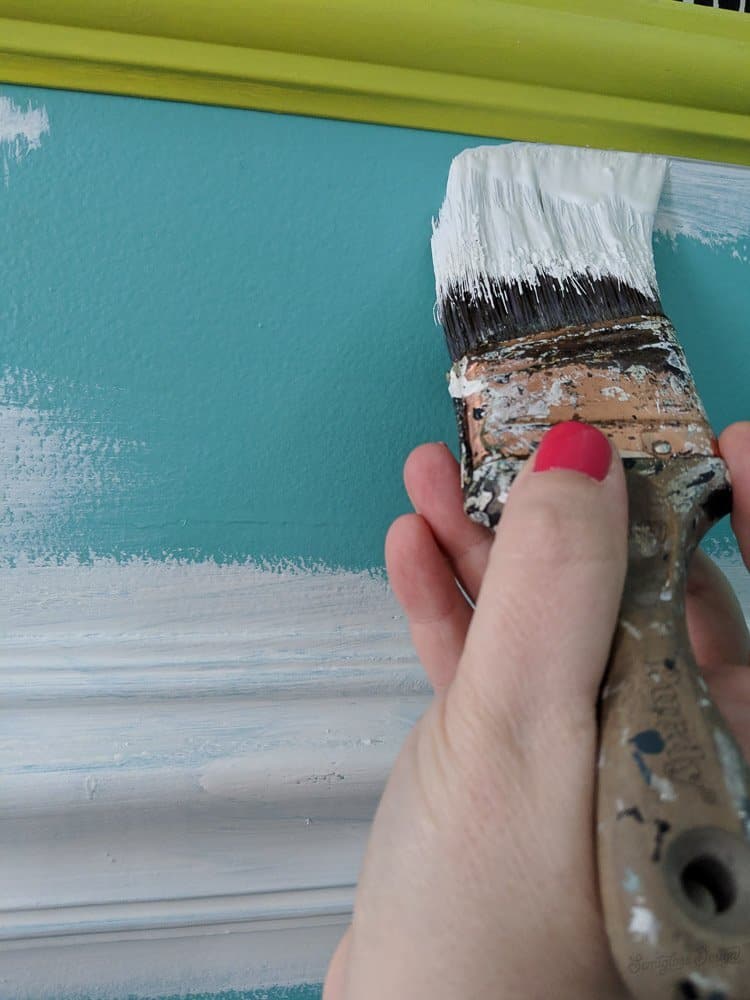
Then I like to paint the trim. If there are any cracks between the trim and moldings, those spots need to be caulked first with paintable caulk. When the caulk dries, paint over the caulk and trim.
Don’t worry about perfectly cutting in at this step. It’s better to cover the caulk thoroughly with paint. Unpainted caulk will be a dust magnet and become impossible to clean.
For the walls, I like to cut in first because the edges always need an additional coat of paint.
Usually, by the time I’ve finished cutting in, I can use a paint roller to start rolling because the paint where I started is dry. This may vary in humid environments or small rooms.
What paint sheen should I use when painting walls?
For public rooms, like living rooms, dining rooms, hallways, kitchens, and bathrooms, I prefer an eggshell finish. It has a matte finish, which looks great and hides imperfections, but it’s still easy to clean. It’s also perfect for kids’ rooms.
Satin is also great for kitchens, bathrooms, kids’ rooms, and hallways. The shinier finish is easy to clean without being too shiny.
I like matte paint for bedrooms. The paint colors look deeper and have a gorgeous velvety look. Matte paint is harder to clean, so it needs to be used in rooms that don’t get a lot of use. Matte is also great on ceilings.
Semi-gloss or gloss sheens should only be used for trim or doors. It will show every single imperfection in a wall.
Can you paint two coats in one day?
Yes, it’s possible to paint two coats of paint in one day. Allow the paint to dry for 2-4 hours between coats.
Drying time can be dependent on temperature and humidity levels.
Start early in the morning for best results.
How do I know if I need another coat of paint?
You need another coat of paint if the surface appears streaky or patchy. Another sign that you need another coat is if you can see the base color of the wall through the paint.
Some colors are harder to cover than others.
How much paint do I need?
There are a few factors that determine the amount of paint you will need. Better-quality paint requires fewer coats. It also takes less paint if you are not drastically changing the paint color.
For a rough estimate, it’s a good idea to calculate the square footage of the room and use a paint calculator to determine how much paint you need.
The Most Important Rule for Painting Walls
Paint during daylight hours only. No amount of artificial light is bright enough to represent the paint coverage accurately.
Every single time I’ve painted at night, I wake up to find tons of places that I missed because the light was too dim.
How to Paint a Room for Beginners
Using the right tools can make your job significantly easier. The supplies that I’ve listed are my favorites.
Supplies Needed
This post contains affiliate links. By purchasing an item through an affiliate link, I earn a small commission at no extra cost to you.
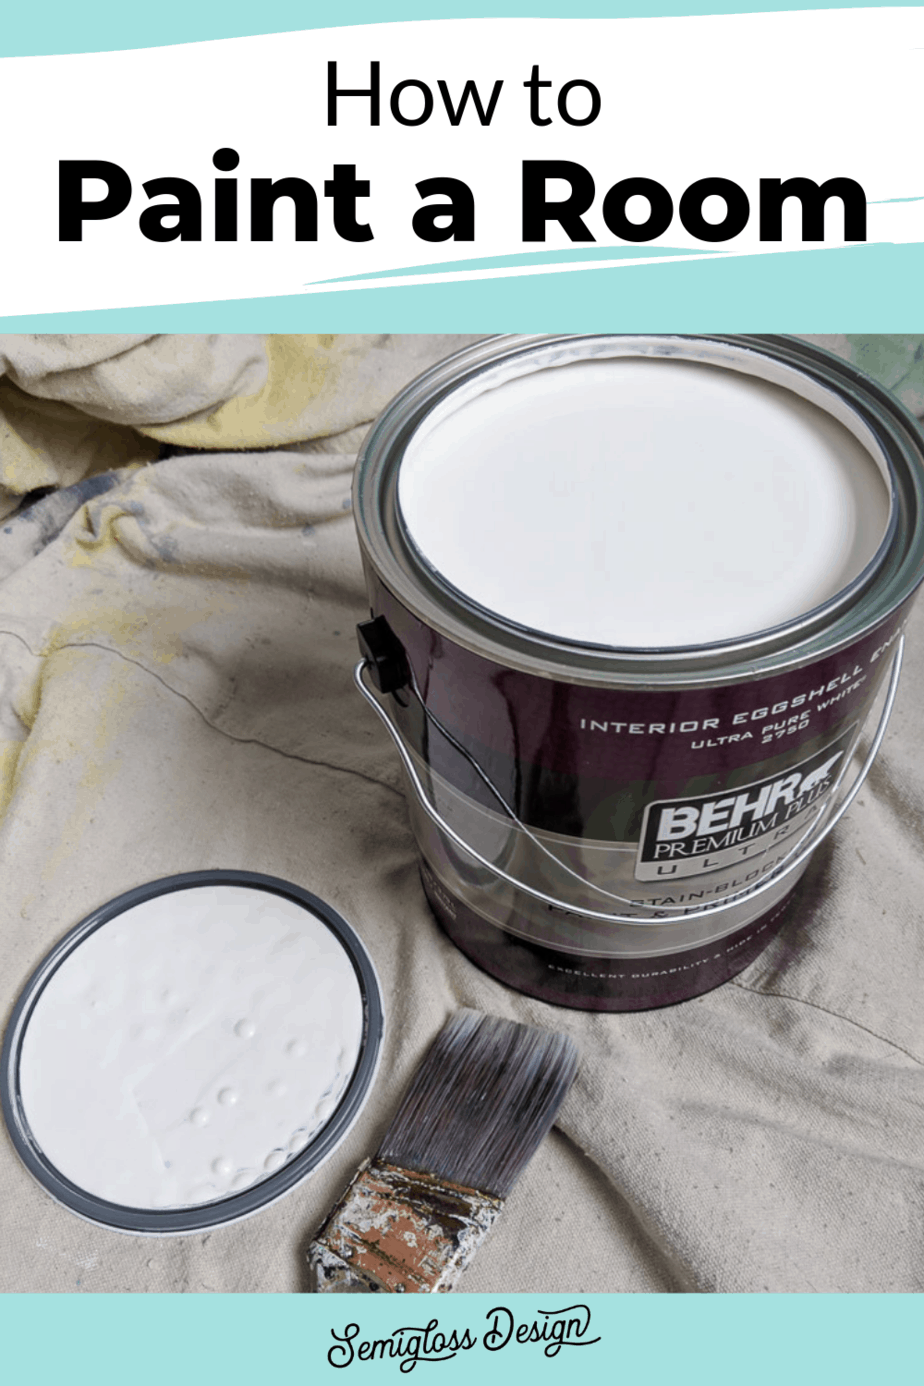
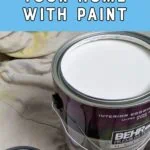
- Paint (I used Behr Premium Plus Ultra in Swiss Coffee)
- Paintbrush ( I love this paintbrush because it makes cutting in very easy!)
- Painter’s tape (optional)
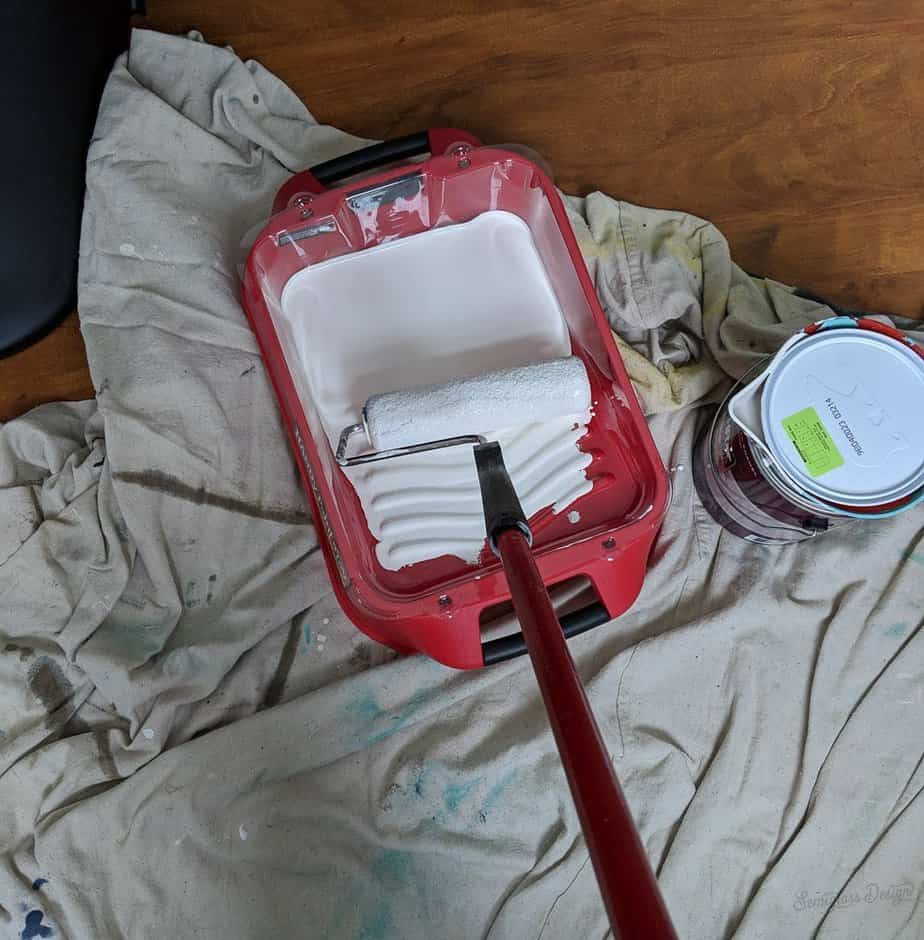
- Roller frame
- Roller Cover(Buy nice ones to avoid putting lint on the wall)
- Roller pan
- HANDy Cup
- Drop cloth
- Stepladder
- Extension pole
- Microfiber cloth
- Spackle
- Sandpaper
- Primer
Learn more about my favorite painting tools here.
The Handy paint tray is one of most favorite supplies to use. It holds an entire gallon of paint, which saves so much time. It’s also much sturdier than the cheap metal pans.
One more note: skip the plastic drop cloths and buy a nice canvas one instead. It absorbs the paint, so in the case of drips, you’re less likely to track paint all over the house. (The paint doesn’t soak through, though.)
Plus, plastic drop cloths are really slippery and bad for the environment.
Looking for places to order paint online?
Save time going to the store for paint samples and get them mailed to you instead.
Samplize sends large-scale paint samples in the colors you have chosen. So convenient!
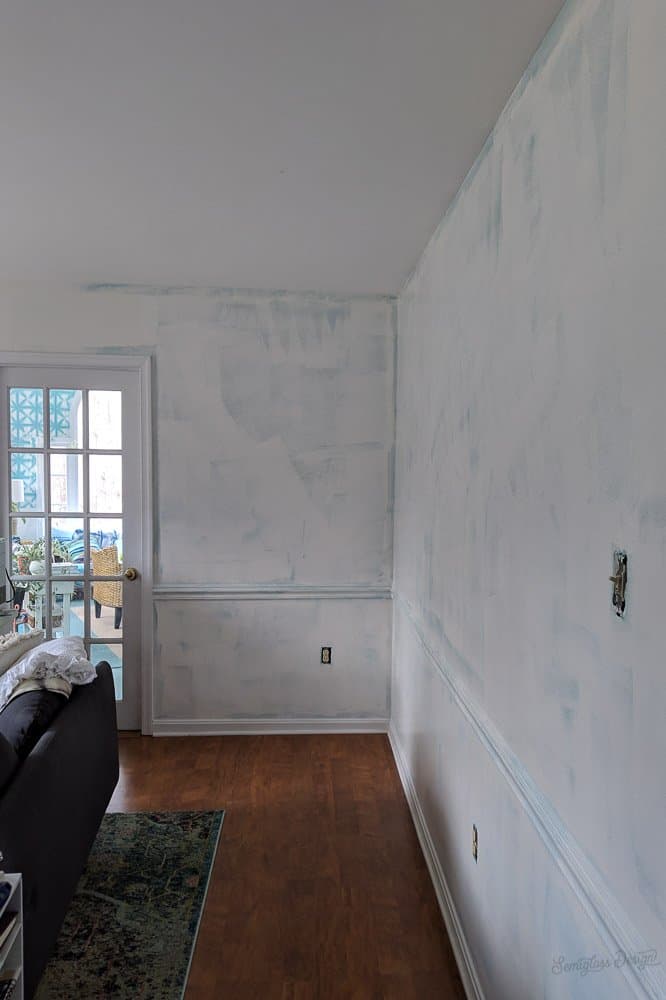
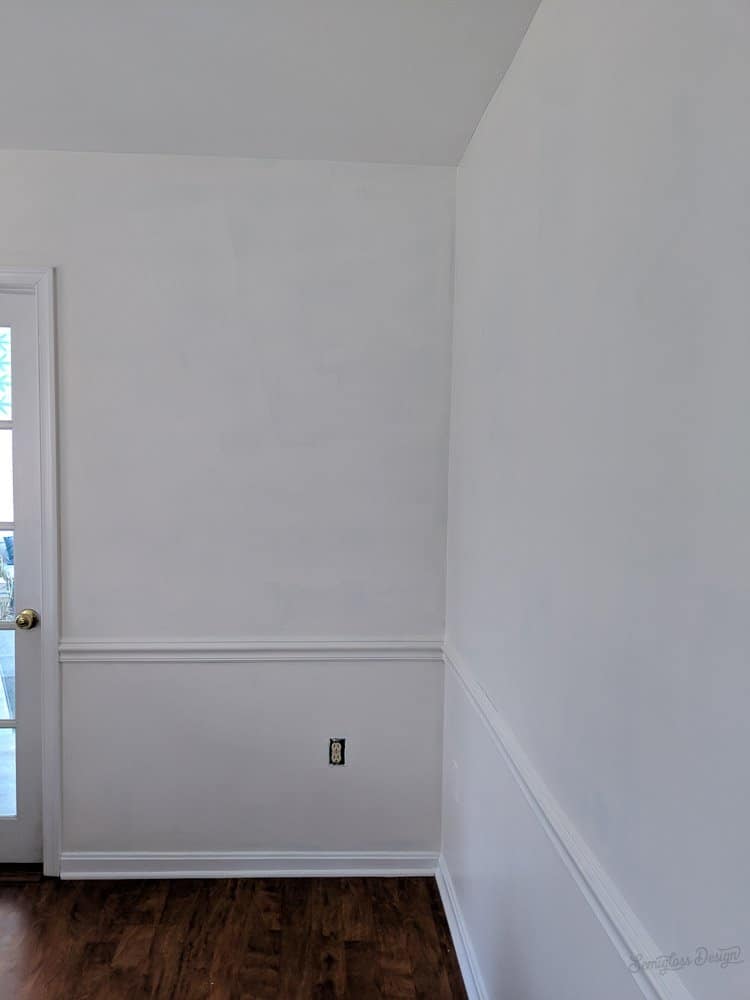
How to Prep Walls for Painting
- Remove all outlet covers.
- Remove all art and curtains. (I left my curtain rod hangers installed, but you can remove them if you want.)
- If you can’t move any furniture to another room, move it to the center of the room. You might need to divide a room into two parts if you have a lot of furniture and not enough space.

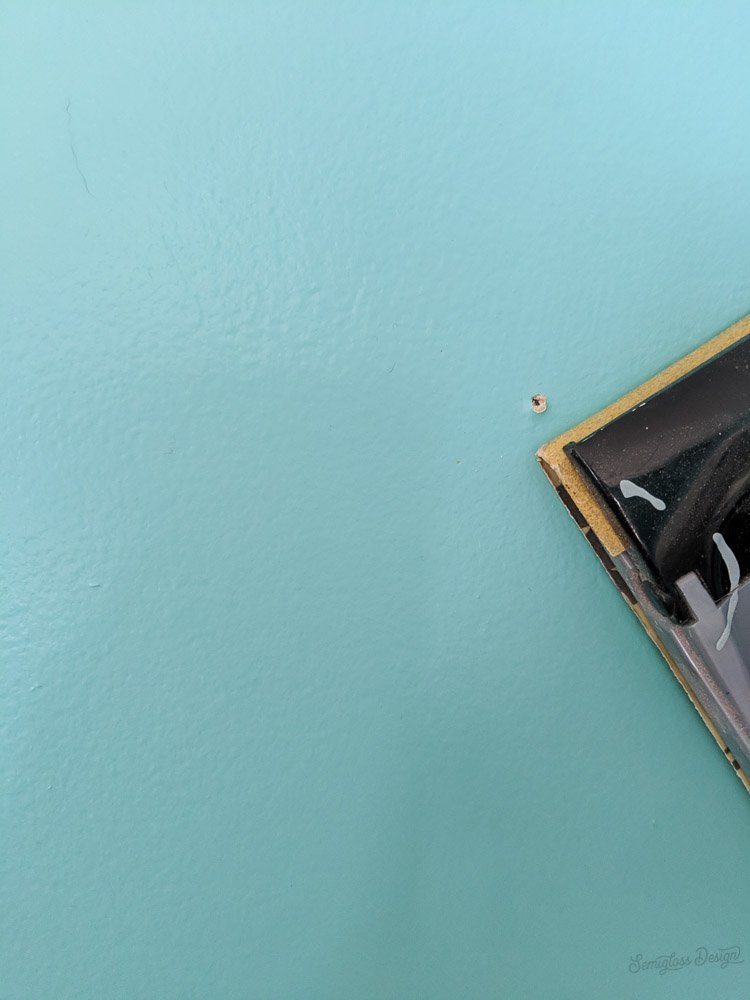
- Remove all nails and screws.
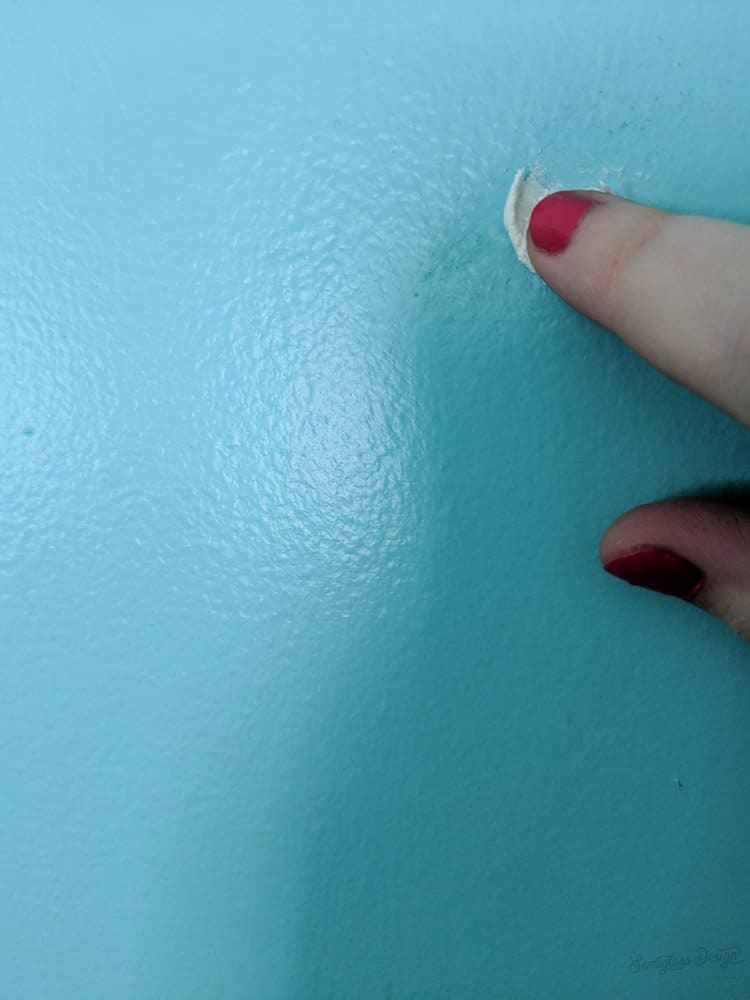
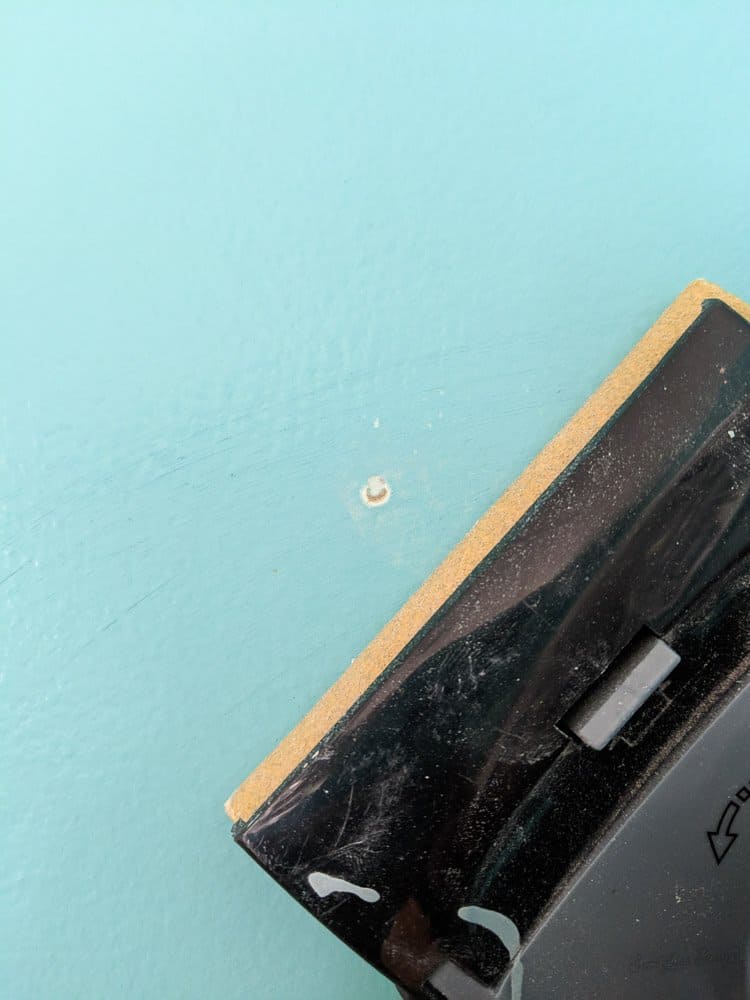
- Sand the holes lightly.
- Use spackle to fill the holes. You can use your finger or a putty knife.
- After the spackle dries, sand the spot smooth.
- Prime all spots before painting. Spackle will absorb the paint differently, so they need a coat of primer before painting. This will help you to achieve a smooth finish.
- Unless it’s a kitchen or particularly dirty, there’s no need to wash your walls before painting. To remove any dust or dog hair, I wipe mine down with a microfiber cloth instead.
- Lay down a drop cloth to protect your floor. Canvas drop cloths do a better job of protecting your floors and make less of a mess than plastic.
- Use painter’s tape to protect any surfaces you want to keep clean. I skip this part and rely on a good brush for cutting in. (If you make a mistake, you can touch up the paint.)
How to Paint a Room
Painting the Edges
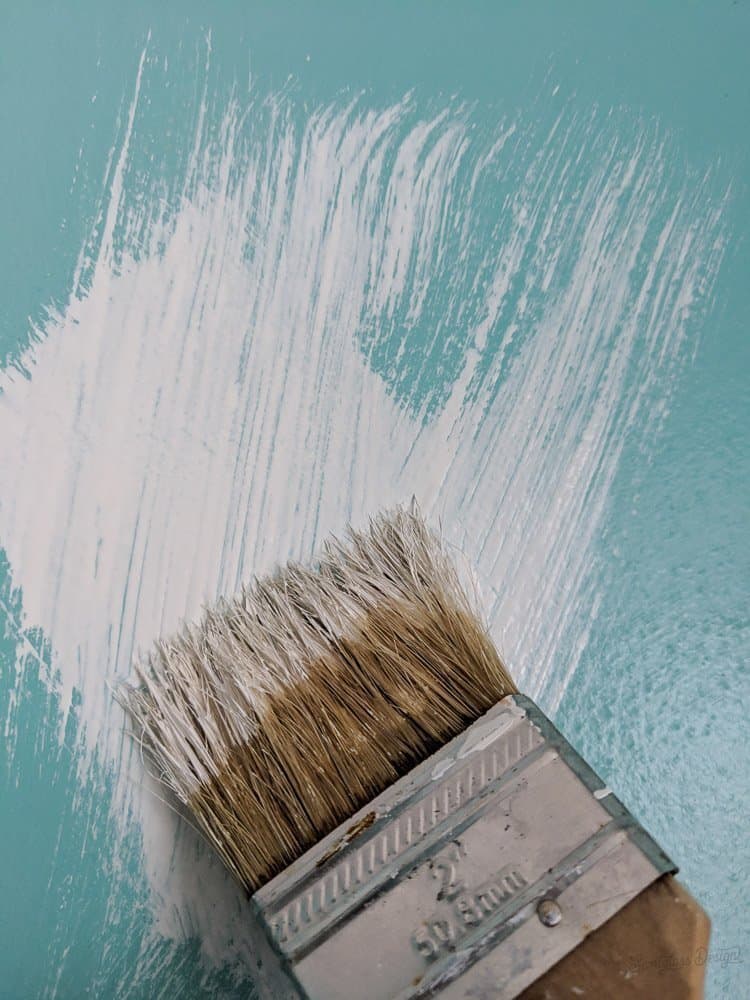
- Start with the edges and corners. I prefer starting with the cutting in because it typically needs an extra coat.
- Use a good paint brush and use the angle of the brush to help cut in. I usually paint my edges about 2-3″ wide around trim, window frames, and doorways.
- For the edges near the ceiling, I like to use a stepladder and a HANDy Cup. The HANDy cup holds a nice amount of paint, has a handle that makes holding it easy, and has a magnet for your brush.
- Be sure to dust your window and door trim before painting. Dust gathers on these small ledges and can get into your paint. I keep a microfiber cloth in my pocket to clean these spots before painting.

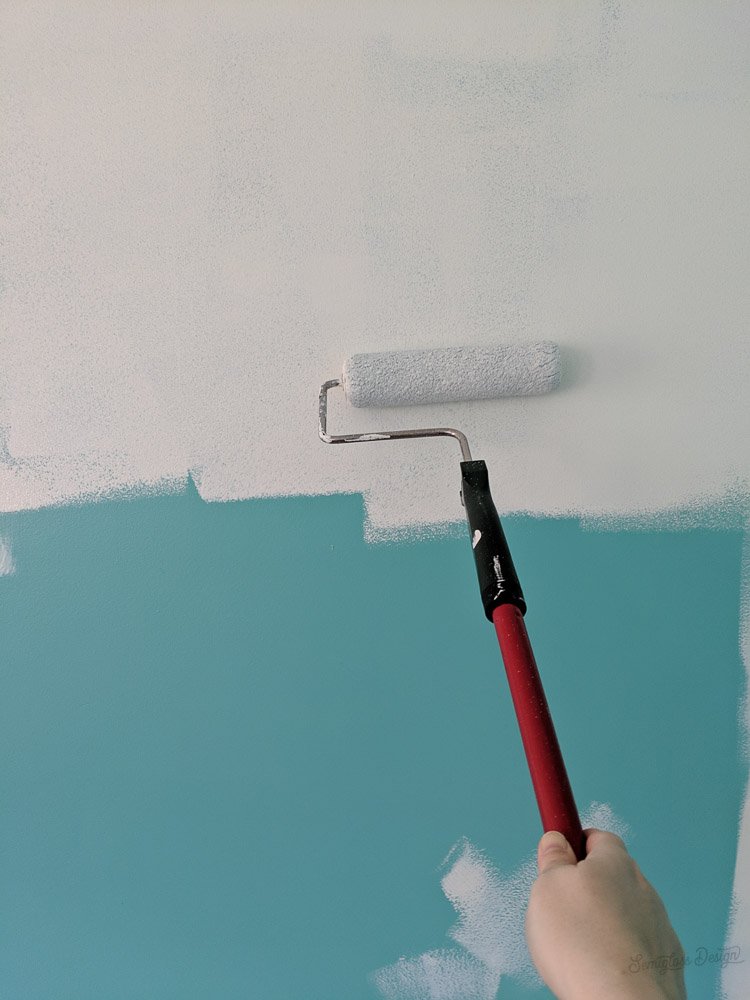
Painting the Walls with a Paint Roller
- Once the paint on the edges is dry, it’s time to use the roller on the rest of the wall An extension pole helps you get the high parts of the wall.
- For the lower parts of the wall, I remove the extension and paint.
- Try to get even coats and pay attention to the edges of the roller. The paint tends to go on thicker in those spots, so be mindful of drips.
Repeat Edging and Rolling
- Let the paint dry and start all over again with edging for the second coat.

- You will need 2-3 coats of paint, even if the paint says 1 coat coverage. Two coats of paint make the color seem richer than 1 coat would. My walls needed 3 coats because I changed the color so drastically.
- If you used painter’s tape, be sure to remove it while the last coat is still wet. The tape is easier to remove while wet, and it’s less likely to peel.
- Let the paint cure before you replace art on the walls. Most paint takes about 30 days to fully cure, but 2-3 days should be sufficient for walls.

Painting Tips
- Between uses, store your brush and roller in plastic bags or plastic wrap. Your brush will stay usable for about 2-3 days.
- Rollers should be disposable. You waste a lot of water washing them out, and they never seem to get completely clean.
- For brushes, I rinse them as much as possible until the water runs clear. I use a brush comb to remove any dried-on paint.
- Latex paint is hard on brushes, so after painting with it, I like to soak my brushes in Murphy’s Oil for 2-3 days. It removes any dried-on paint and restores the bristles to their softness.
- Painting a room is so much easier with high-quality tools. Every time I upgrade a tool, it’s always worth it. The one exception is an extension pole. We have a fancy one, but I prefer the cheap one because it stays screwed into the roller better.

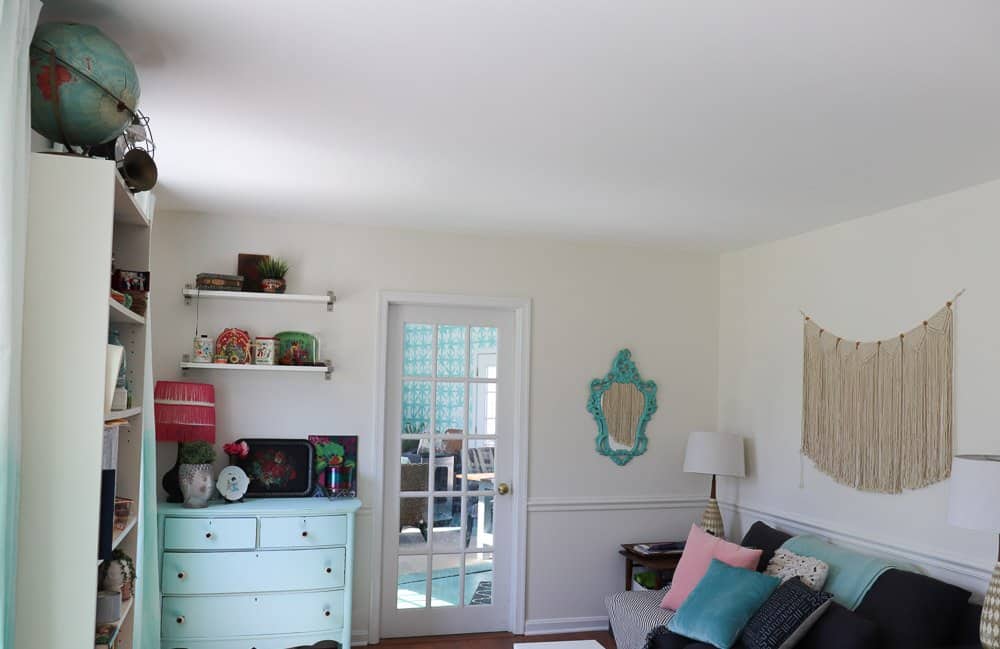
Painting a room is a lot of work, but it’s always worth it!
You might also like:
- How to Quickly Paint a Small Room
- How to Paint Kitchen Cabinets
- How to Paint a Vinyl Floor
- DIY Stained Concrete
- How to Pick the Perfect White Paint
- Tips for Painting a Scalloped Wall
Pin for Later!

Emy is a vintage obsessed mama of 2 DIYer who loves sharing affordable solutions for common home problems. You don’t need a giant budget to create a lovely home. Read more…
You are too good .. I love reading all your articles.. loads of love ❤️