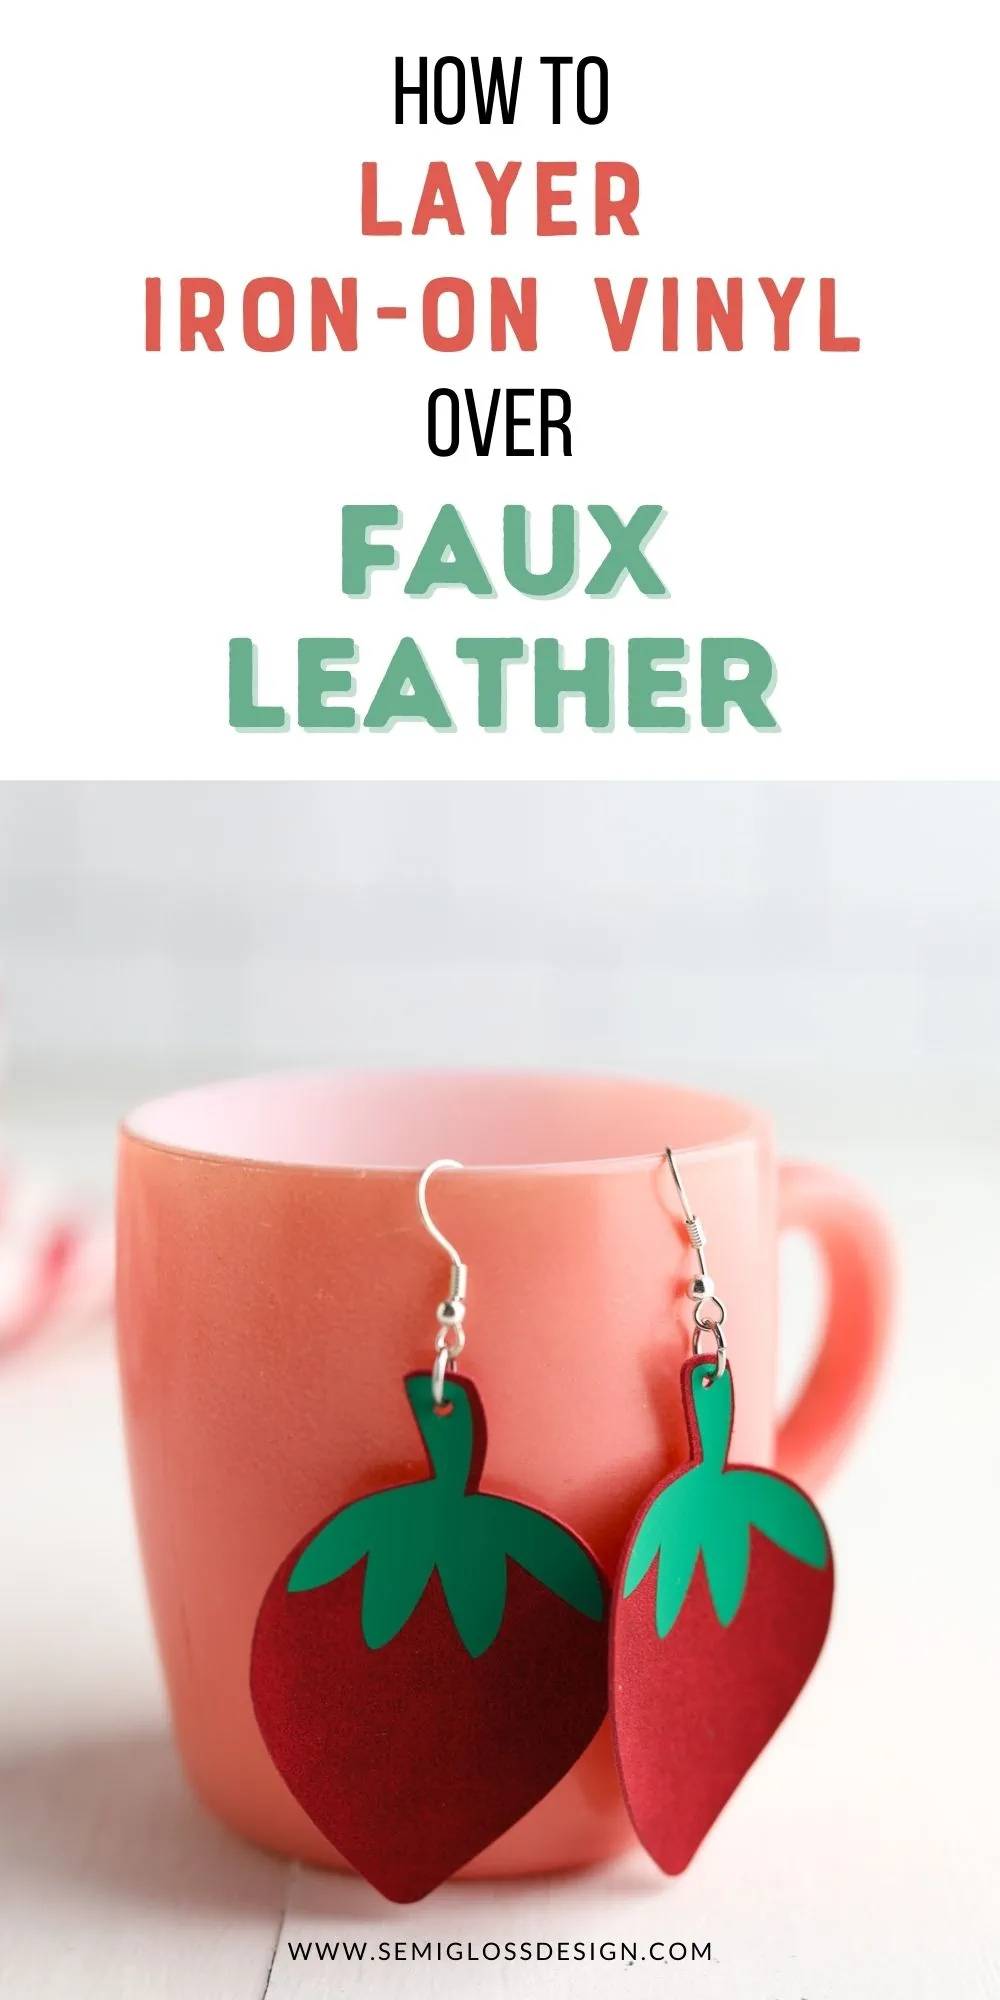
How to Layer Iron-on Vinyl over Faux Leather to Make Earrings
Learn how to layer iron-on vinyl over faux leather to make cute earrings. Get the correct settings for your Cricut and your EasyPress Mini.
This post contains affiliate links. By purchasing an item through an affiliate link, I earn a small commission at no extra cost to you. As an Amazon Associate I earn from qualifying purchases.
I’m obsessed with earrings right now. I made a pair of leather earrings a few years ago, and I love how lightweight they are, but styles have changed. I recently decided to make something a little more modern but still lightweight.
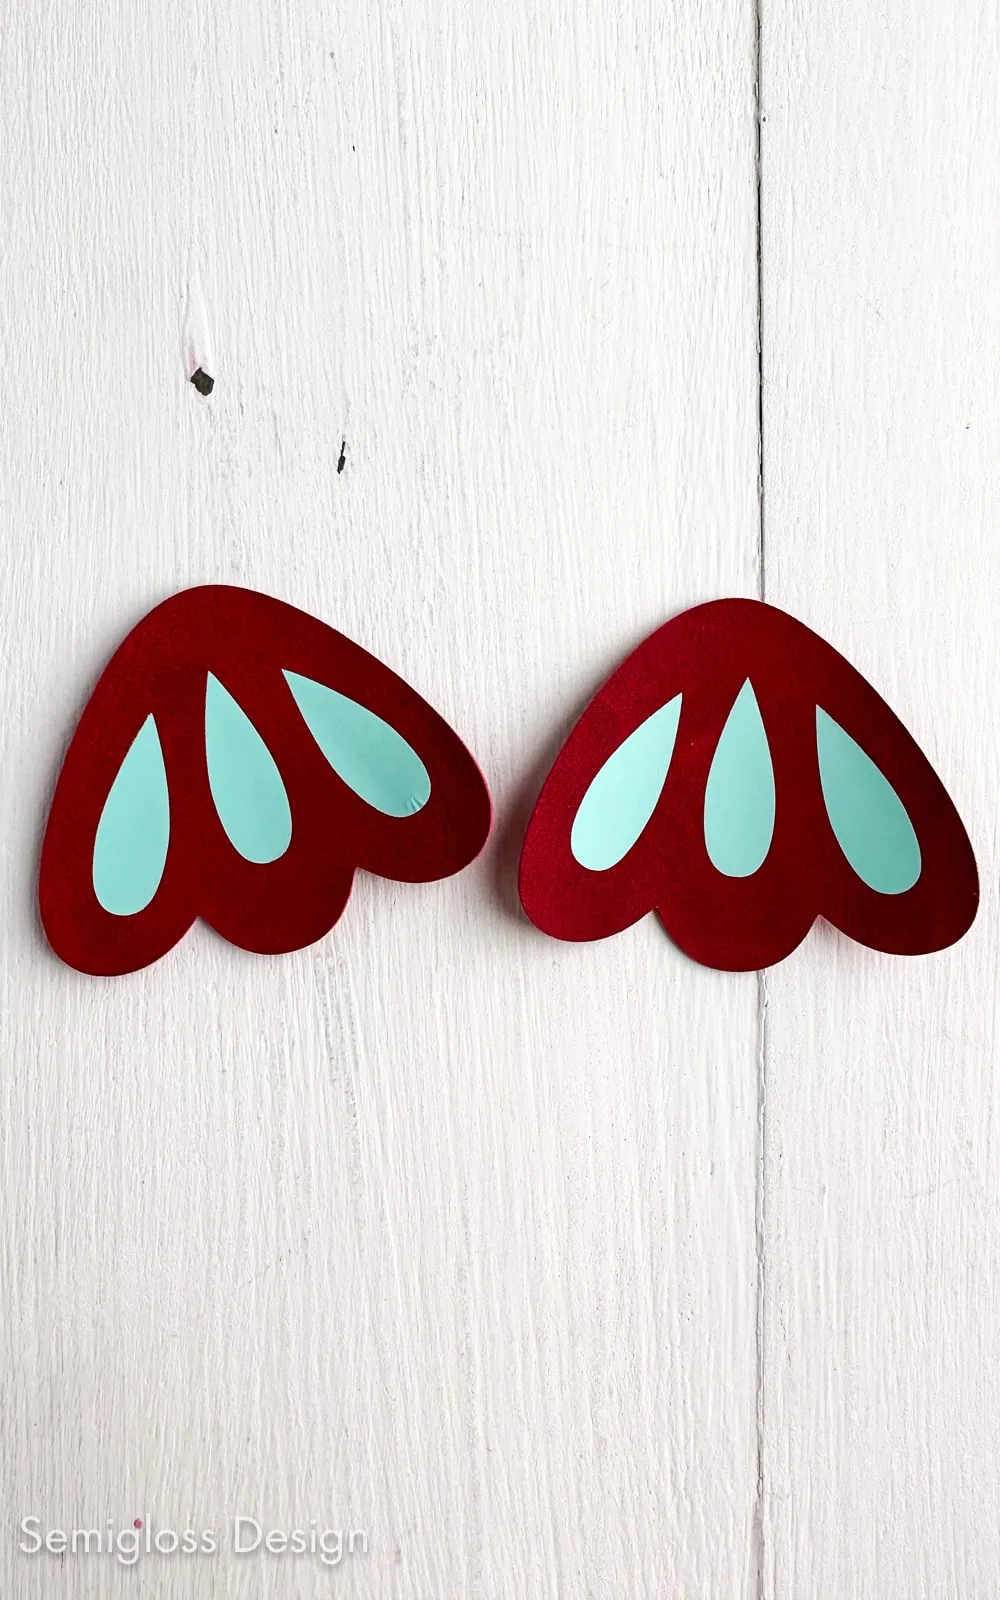
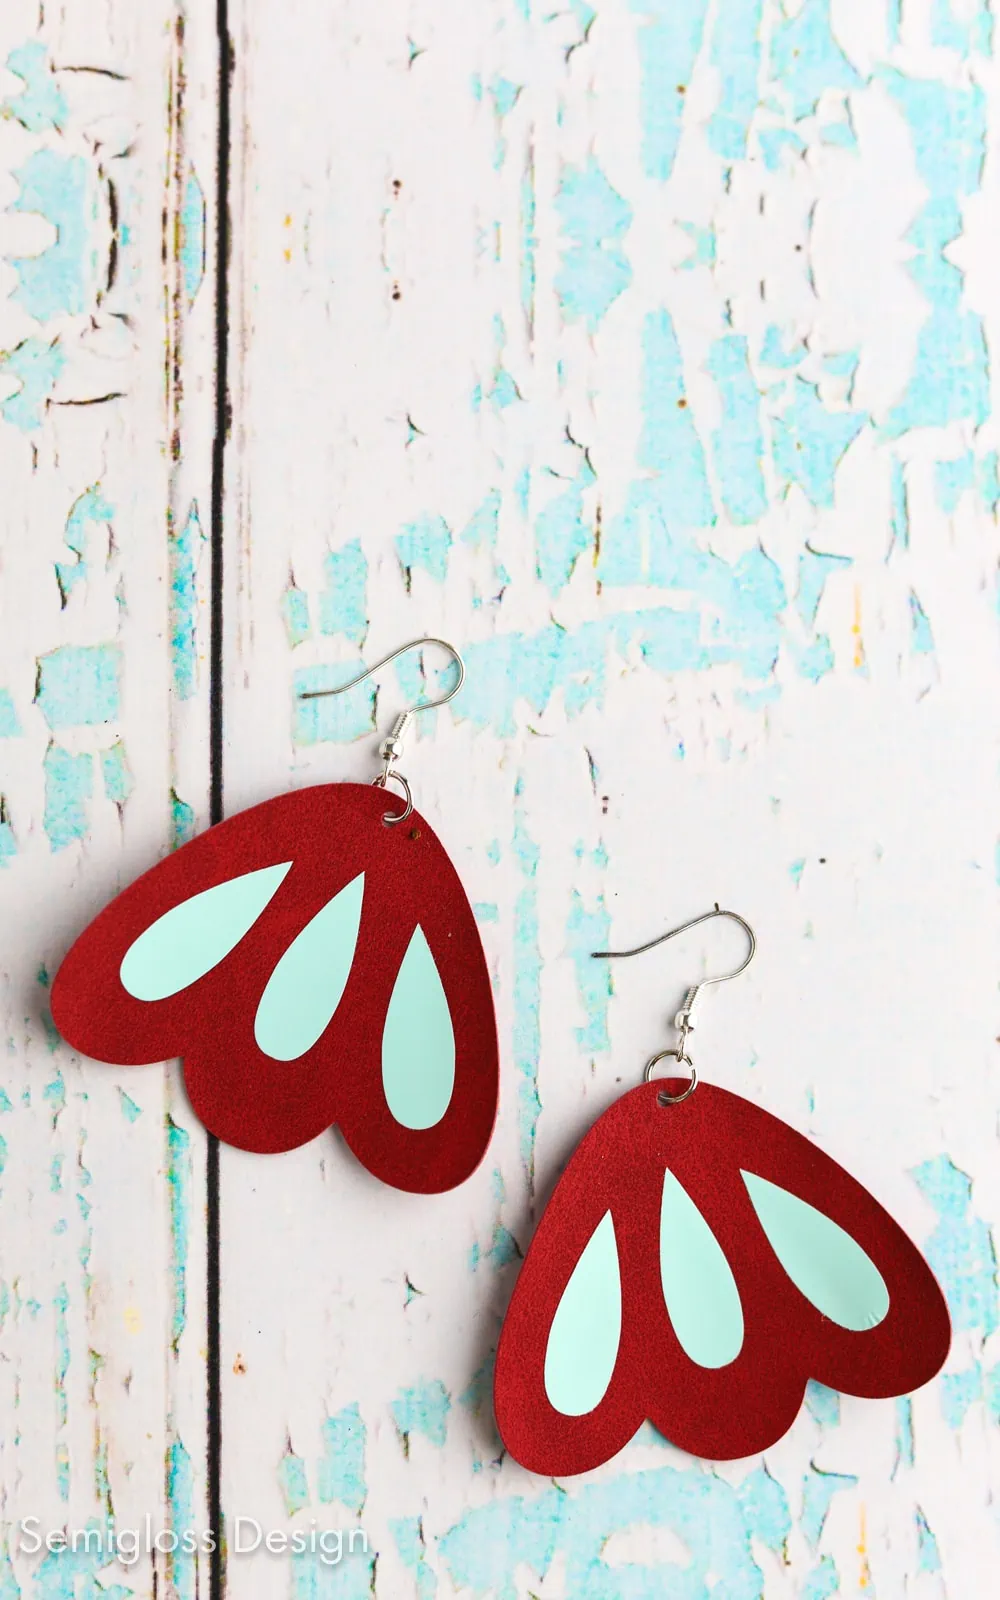
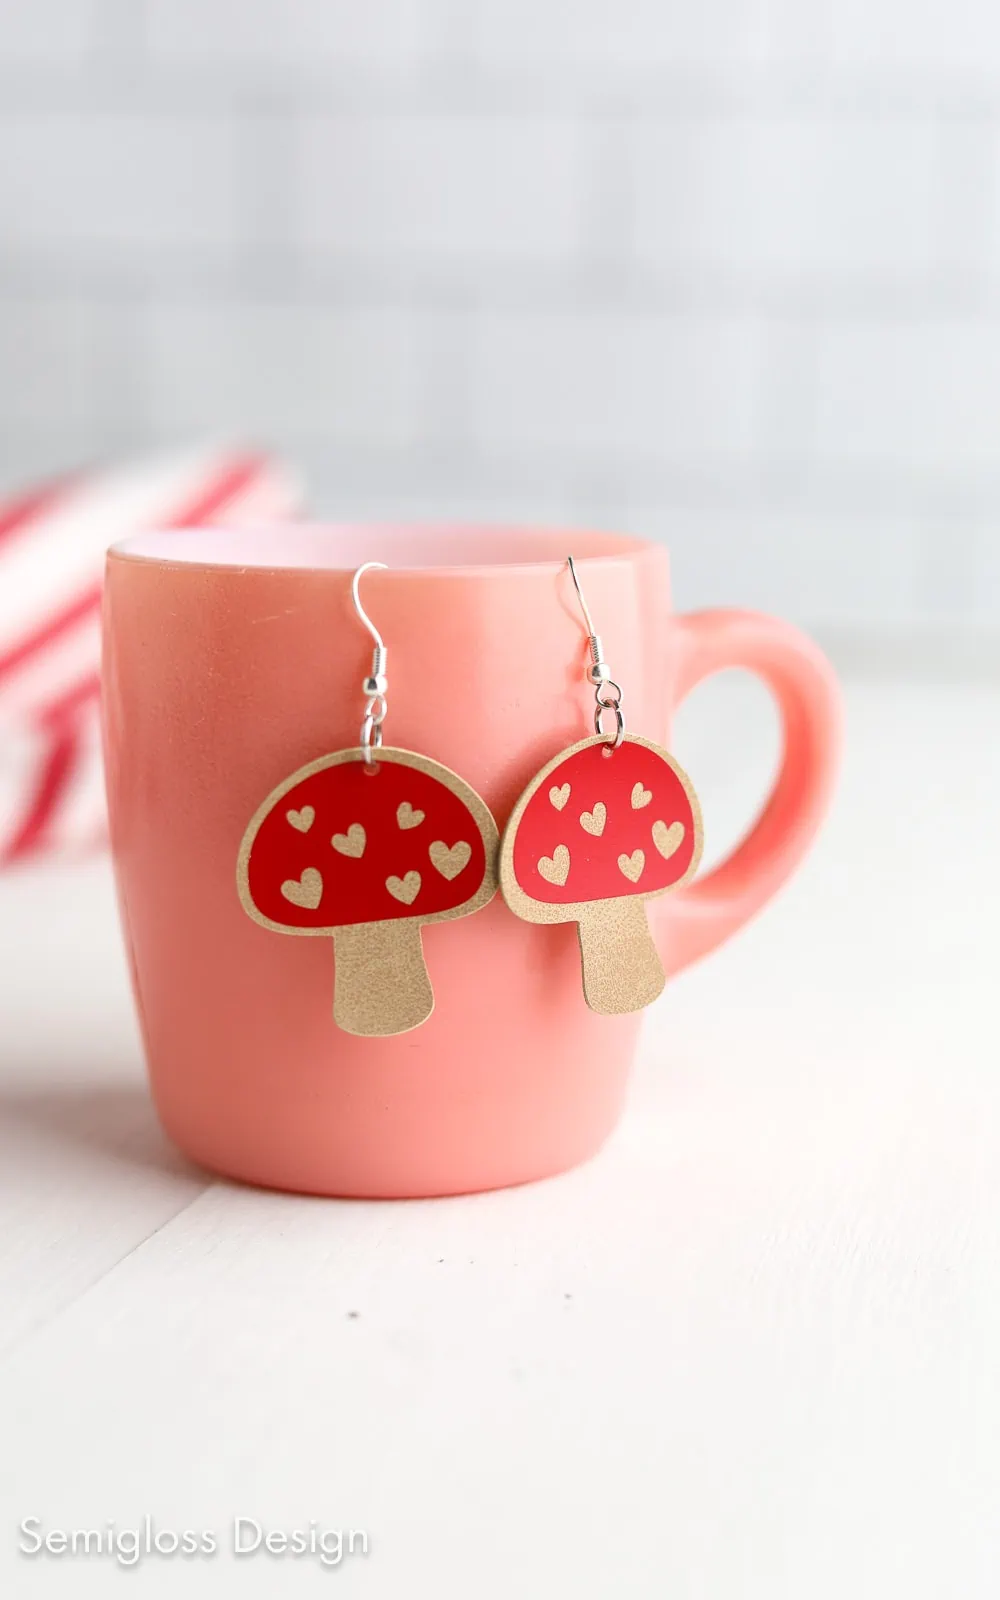
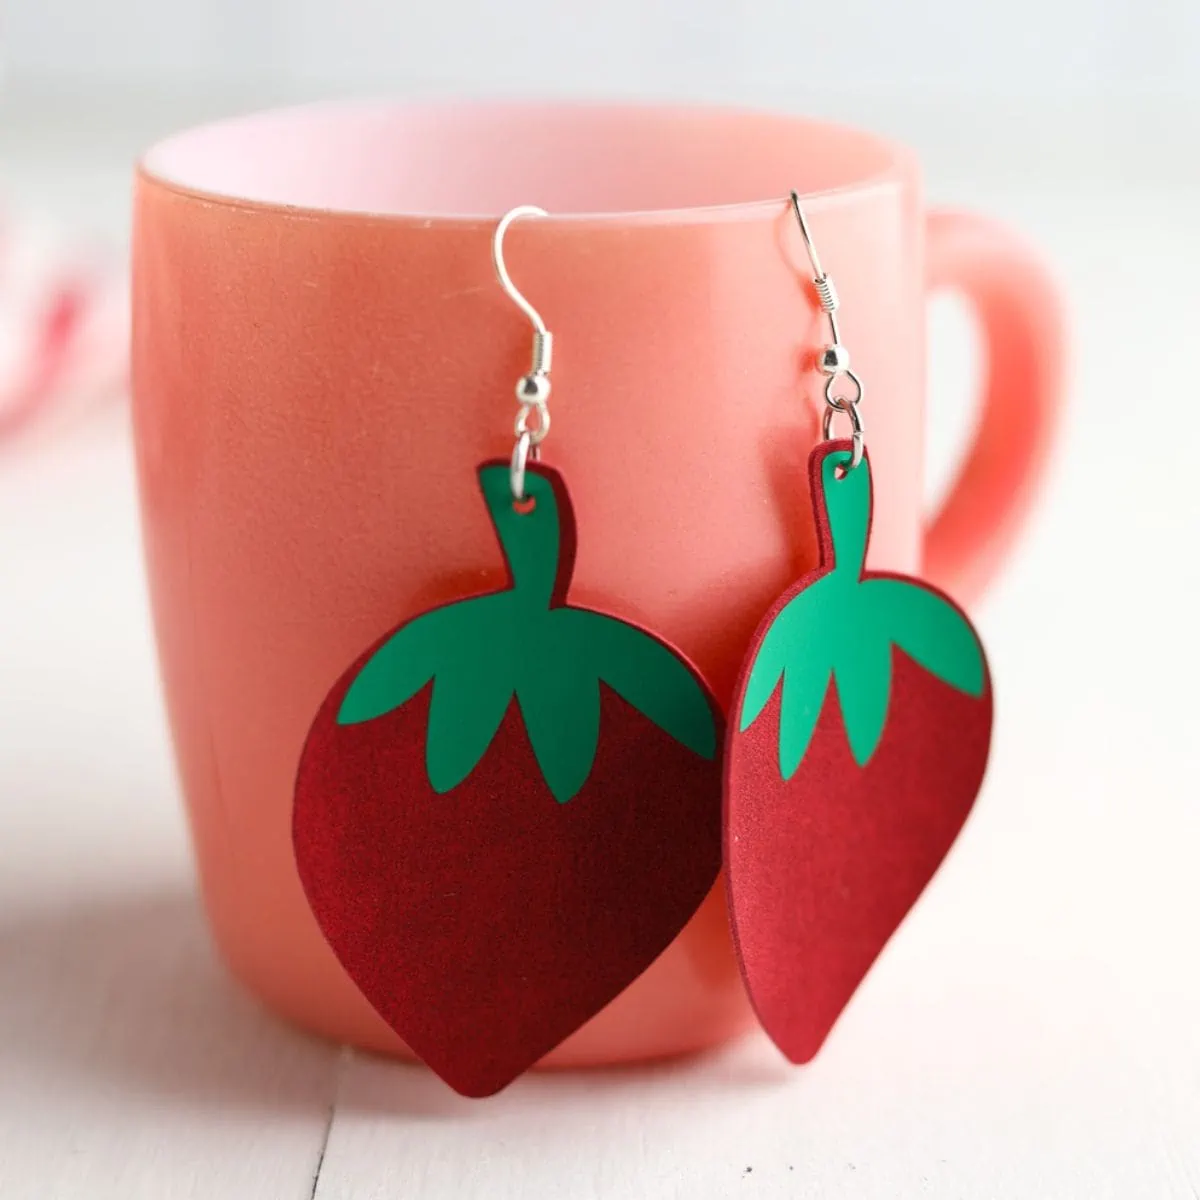
So, I made some new faux leather earring designs and layered iron-on vinyl to create cute details on the earrings.
By the way, this is a great way to use smaller scraps of iron-on vinyl. Just make sure that the scrap is larger than the cut. I like to have about 1/2″ extra on the edges.
How to Layer Iron-on Vinyl over Faux Leather
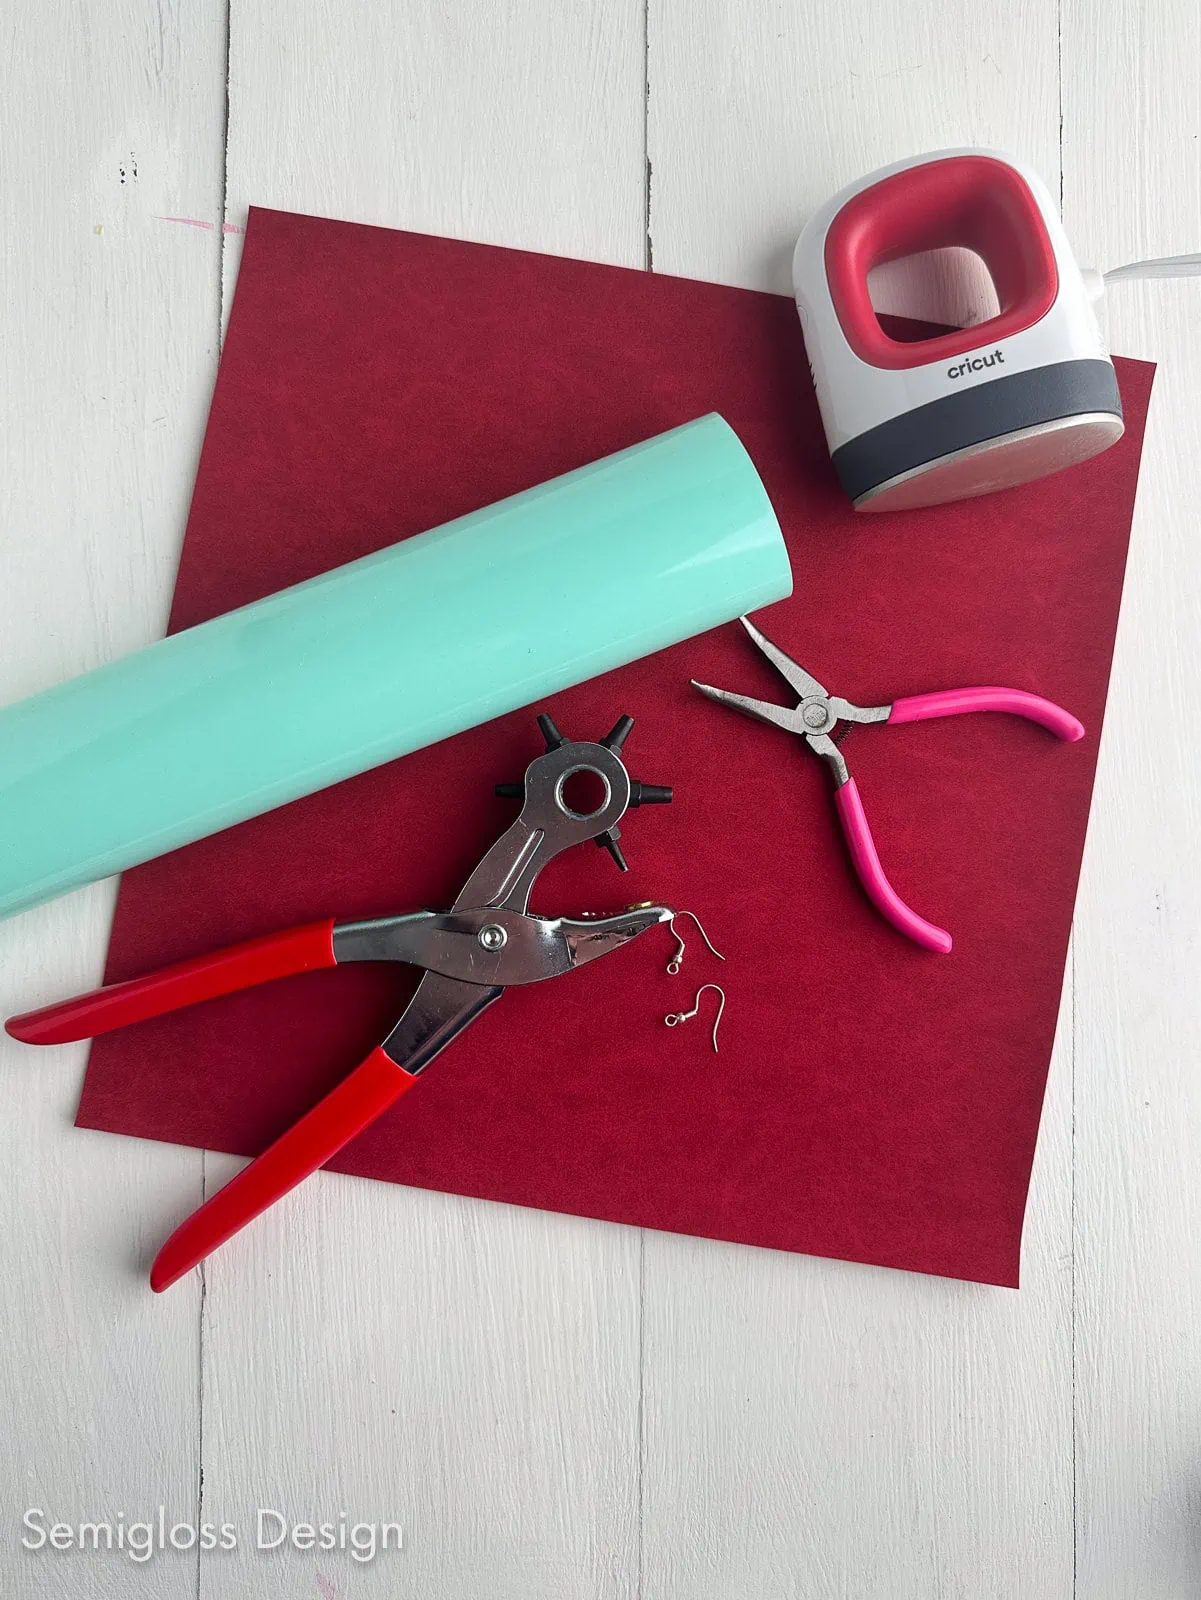
Supplies Needed:
- Cricut (I use the Cricut Maker 3)
- Faux Leather
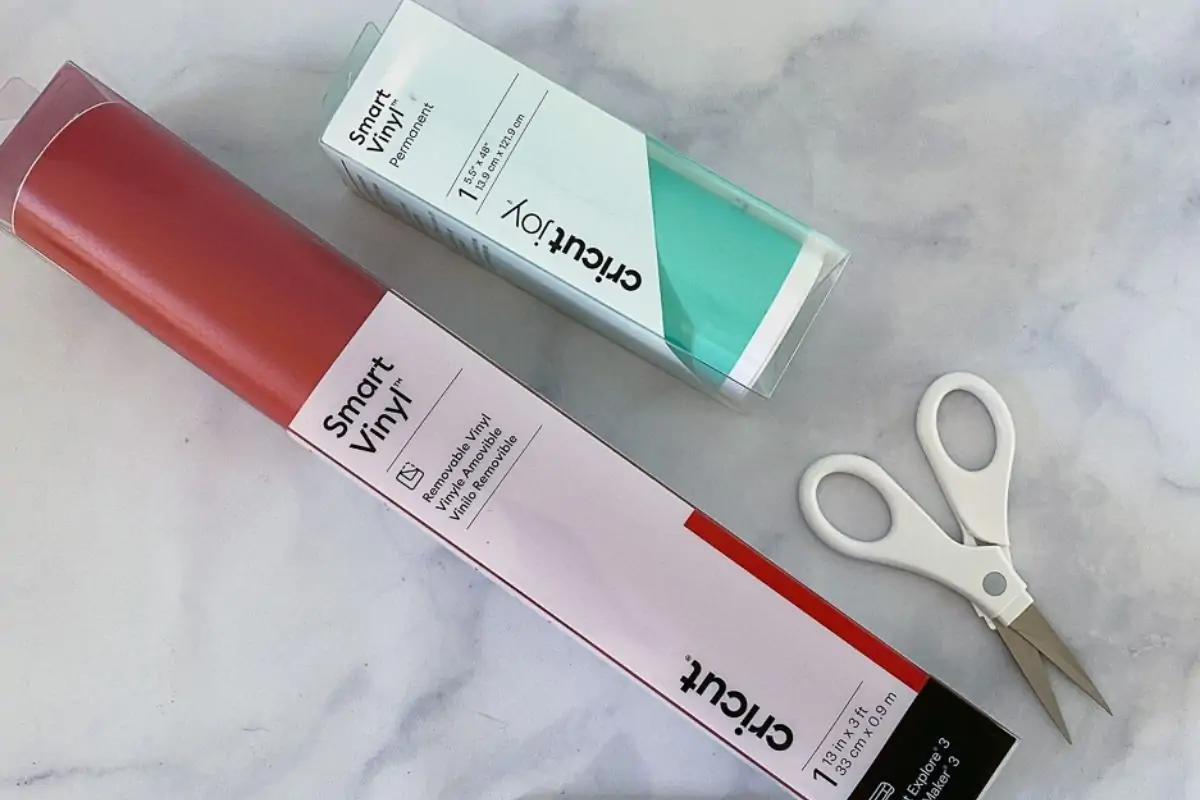
- Iron-on Vinyl
- Weeding Tools
- Standard Mat
- Cricut EasyPress Mini
- EasyPress Mat
- Heat-resistant Tape
- Earring Blanks
- Jump Rings
- Parchment Paper
- Jewelry Pliers
- Leather Punch Tool
Notes about Supplies
Faux Leather
I used this exact set of faux leather, and I loved it. It’s so easy to cut and uses your standard fine-point blade, which works with any Cricut machine. It’s soft and weighs nothing, which is so nice for earrings.
I’m considering buying this faux leather set with more colors, patterns, and textures.
Leather Punch Tool
You can create earring holes with a Cricut, but I didn’t want to risk such a tiny cut in the faux leather. I’m sure it would be fine, but I was scared. There’s nothing worse than ruining a project.
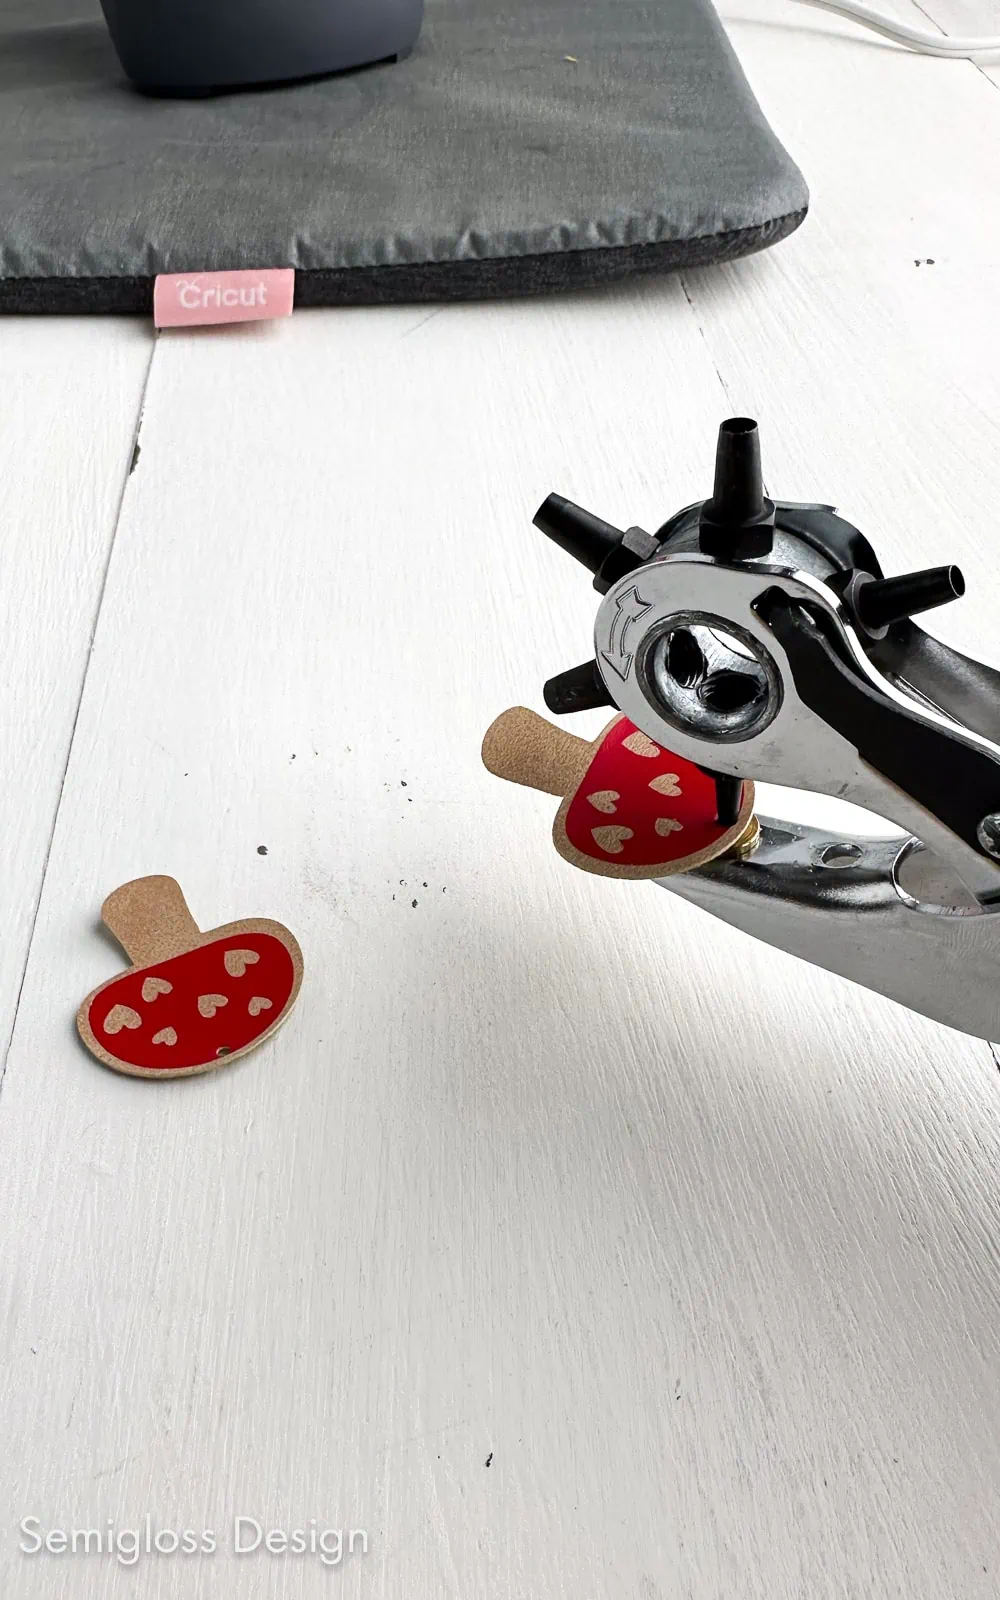
Instead, I used my leather hole punch. This tool is so easy to use and gets a lot of use in my jewelry making. Use the smallest setting.
The Design Process
I’m including this section if you want to create earring designs. Here are a few things I thought about when making my leather earrings.
- Each design needed space to put a hole at the top. If you make stud earrings, the design must be big enough to cover the stud backing.
- The iron-on portion of the design should be slightly smaller than the faux leather portion.
- If you want the iron-on vinyl to cover the entire piece (with glitter iron-on, for instance), apply the iron-on to the faux leather before cutting. Use the same setting for cutting as indicated below. It takes the same settings on the EasyPress mini as well.
- Keep size in mind. I made most of these around 2.5″ long at max. I didn’t want gigantic earrings. Pull out a ruler to check sizes so that you can adequately envision how long they will be.
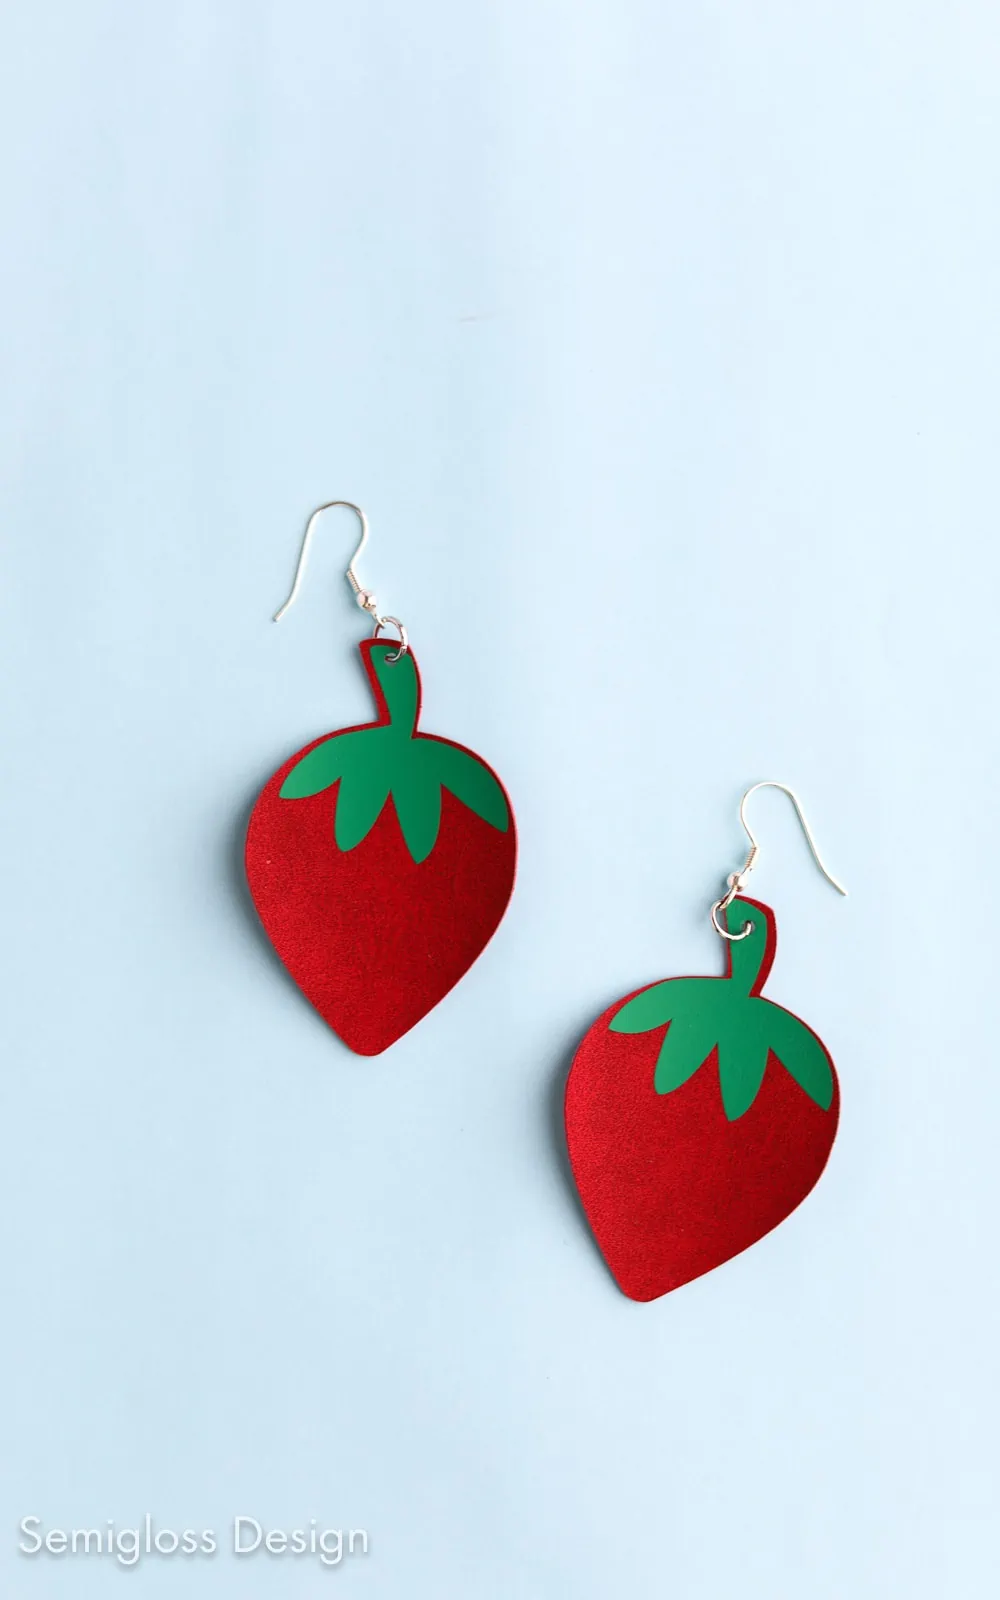
- Make each layer a different color to keep it from getting confusing.
- Consider contrast when choosing colors unless you’re going for tone-on-tone.
- The texture will show through the iron-on vinyl if you’re using textured faux leather.
By the way, if you have Cricut Access, there are a lot of cute earring designs to use.
Cutting the Iron-on Vinyl and Faux Leather
- Upload the design as usual.
- Cricut Design Space will decide which material gets cut first, but you can change it by clicking on the layer you want.
- If your design contains text or an asymmetrical design, mirror the design. If it doesn’t, you don’t have to. Just keep consistent with the iron-on vinyl and the faux leather.
- Iron-on and faux leather should be placed on the standard mat, right side down.
- Select “Faux leather (paper thin)” for the faux leather and “everyday iron-on” for the iron-on vinyl.
- Before unloading the mat, make sure that the machine cuts all the way through the faux leather. If it didn’t, cut it again.
How to Layer Iron-on Vinyl over Faux Leather
Learn more about the Cricut EasyPress mini here.
- Weed the iron-on vinyl as usual.

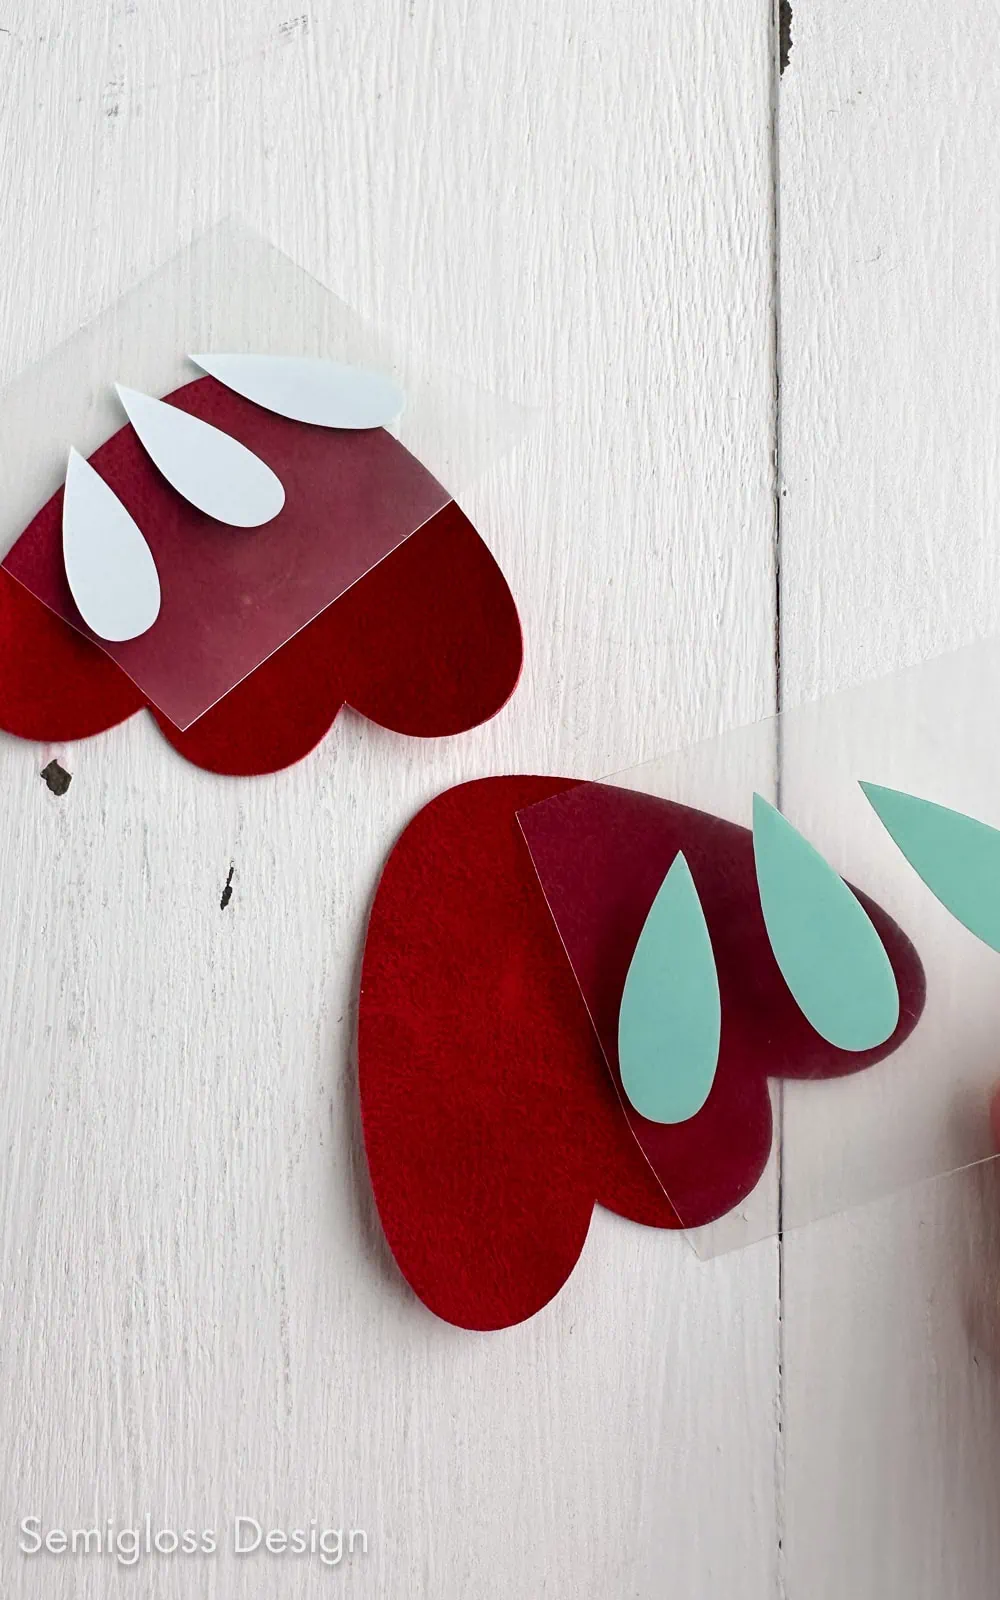
- Place the weeded design over the faux leather. Use heat-resistant tape to keep the design in place.
- Place everything on the EasyPress mat.
- Cover the design with parchment paper, shiny side down.
- Use the EasyPress to adhere the iron-on to the faux leather. On the EasyPress mini, I set it to low (1 bar), let it warm up until the light turned green, and then pressed the design for 10 seconds.
- Remove the plastic backing from the iron-on vinyl.
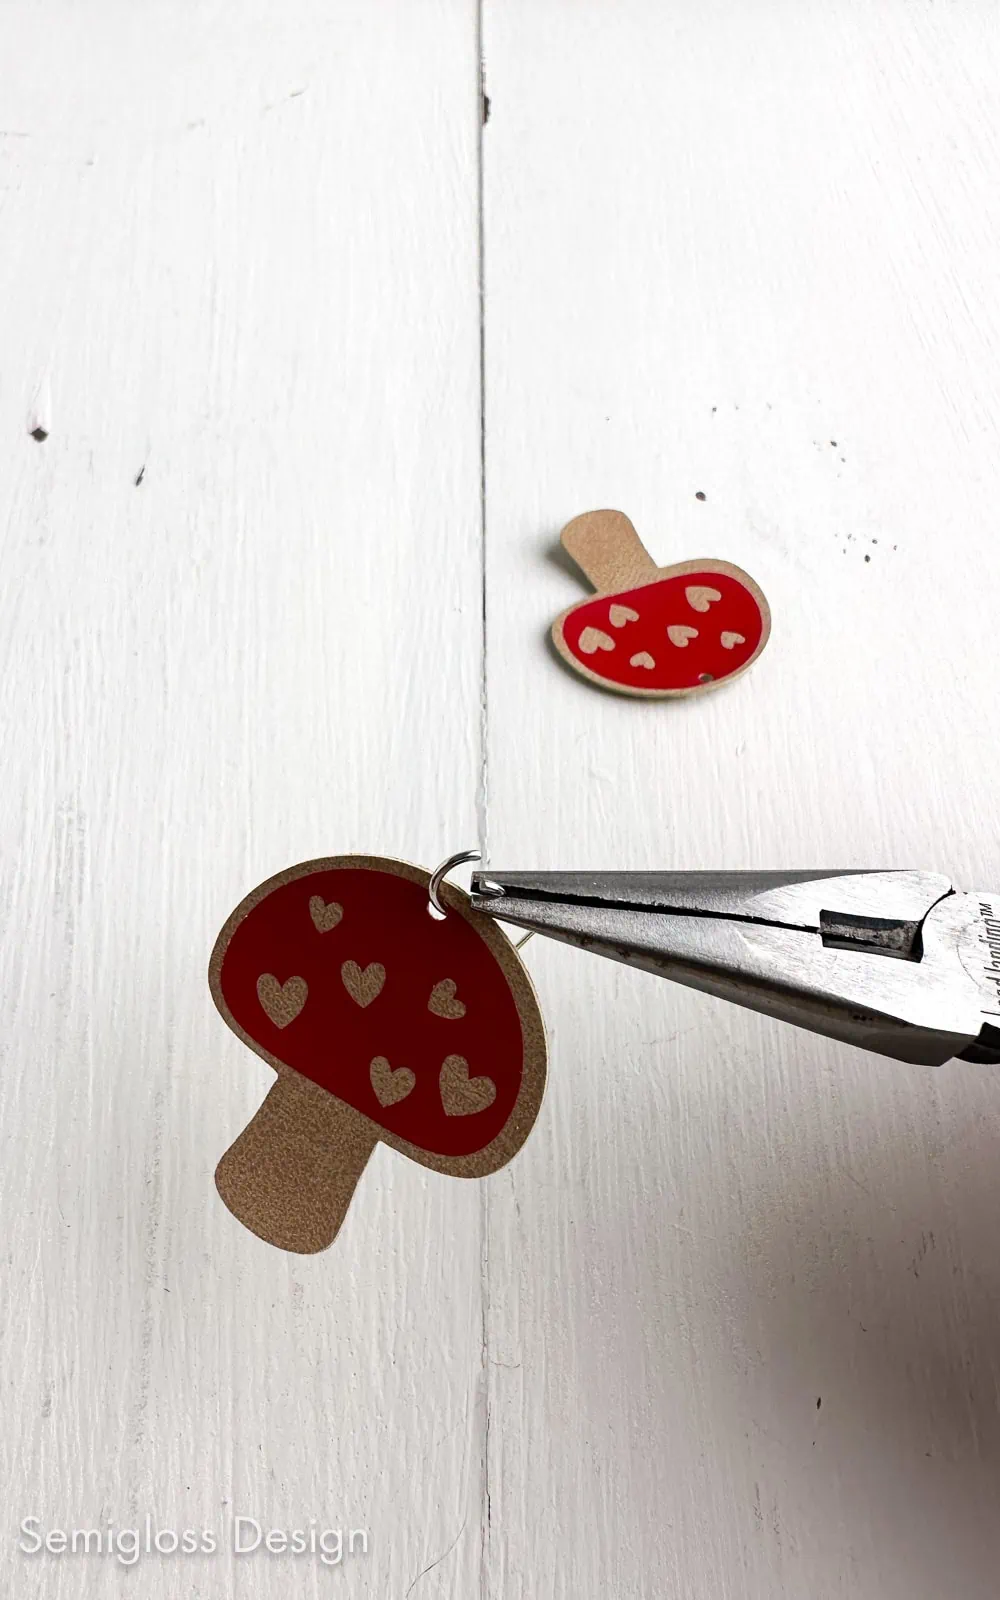
How to Make Faux Leather Earrings
- Use the leather punch to make holes in the top of the earrings. Don’t get too close to the edges.
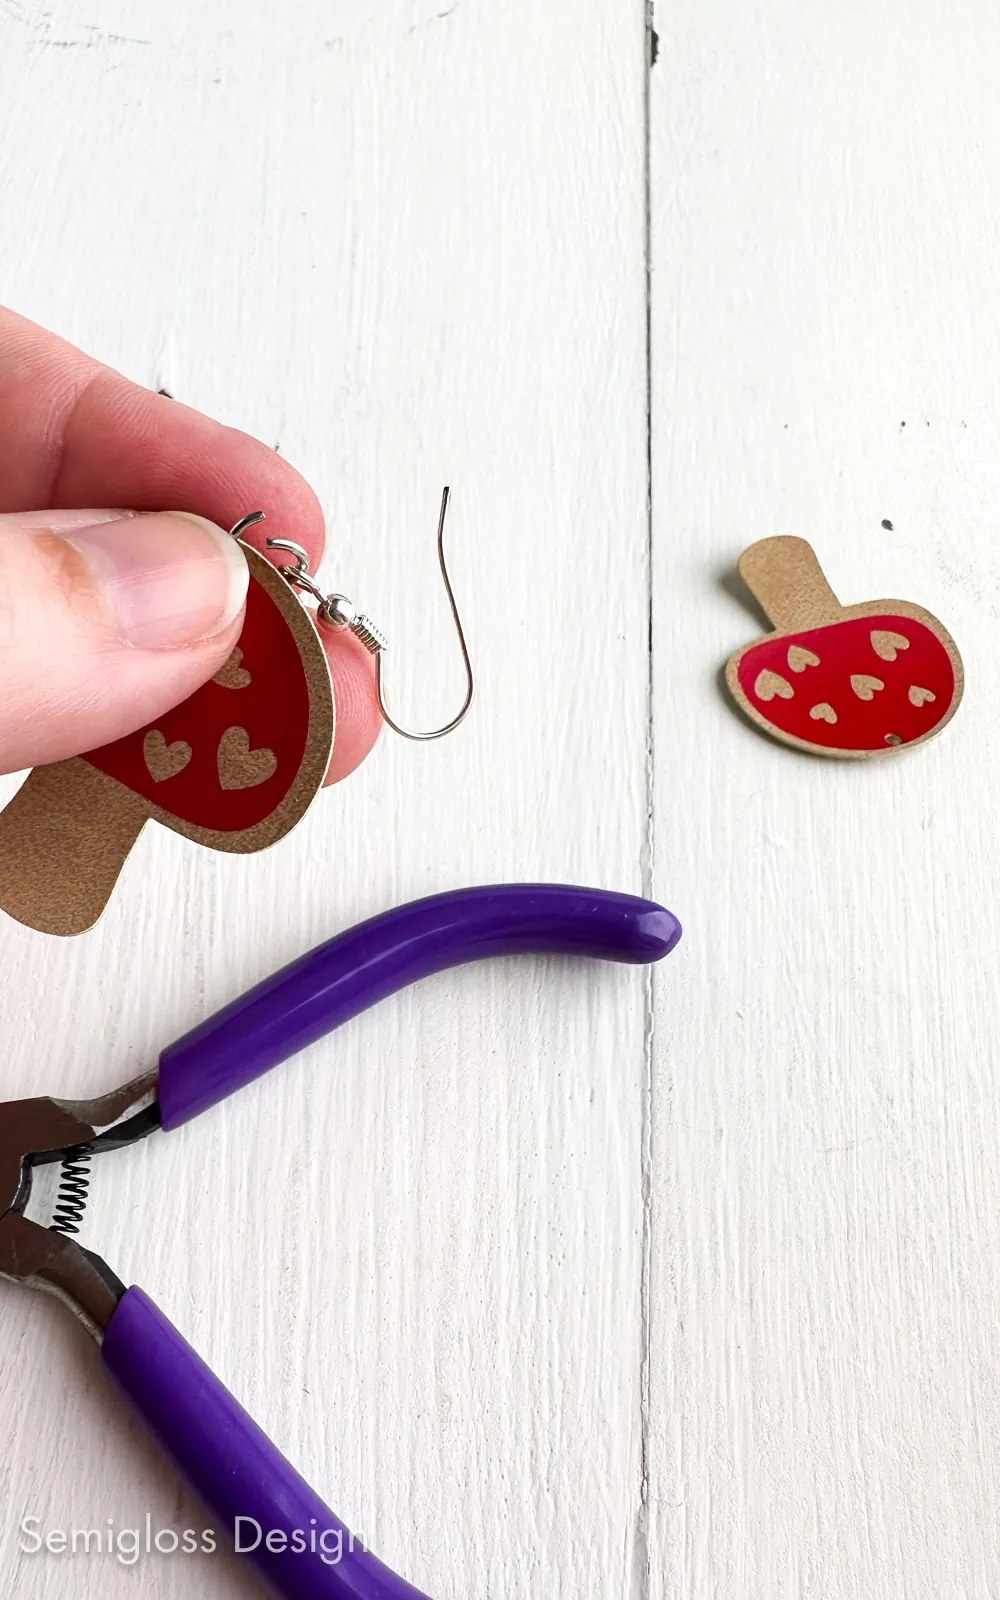
- You may need to use your jewelry pliers to twist the loop on your earrings to make the faux leather part hang straight. Be gentle so that you don’t break the earring.
- Use jewelry pliers and a jump ring to attach the earrings to the faux leather design. Close the jump ring with a second pair of pliers.
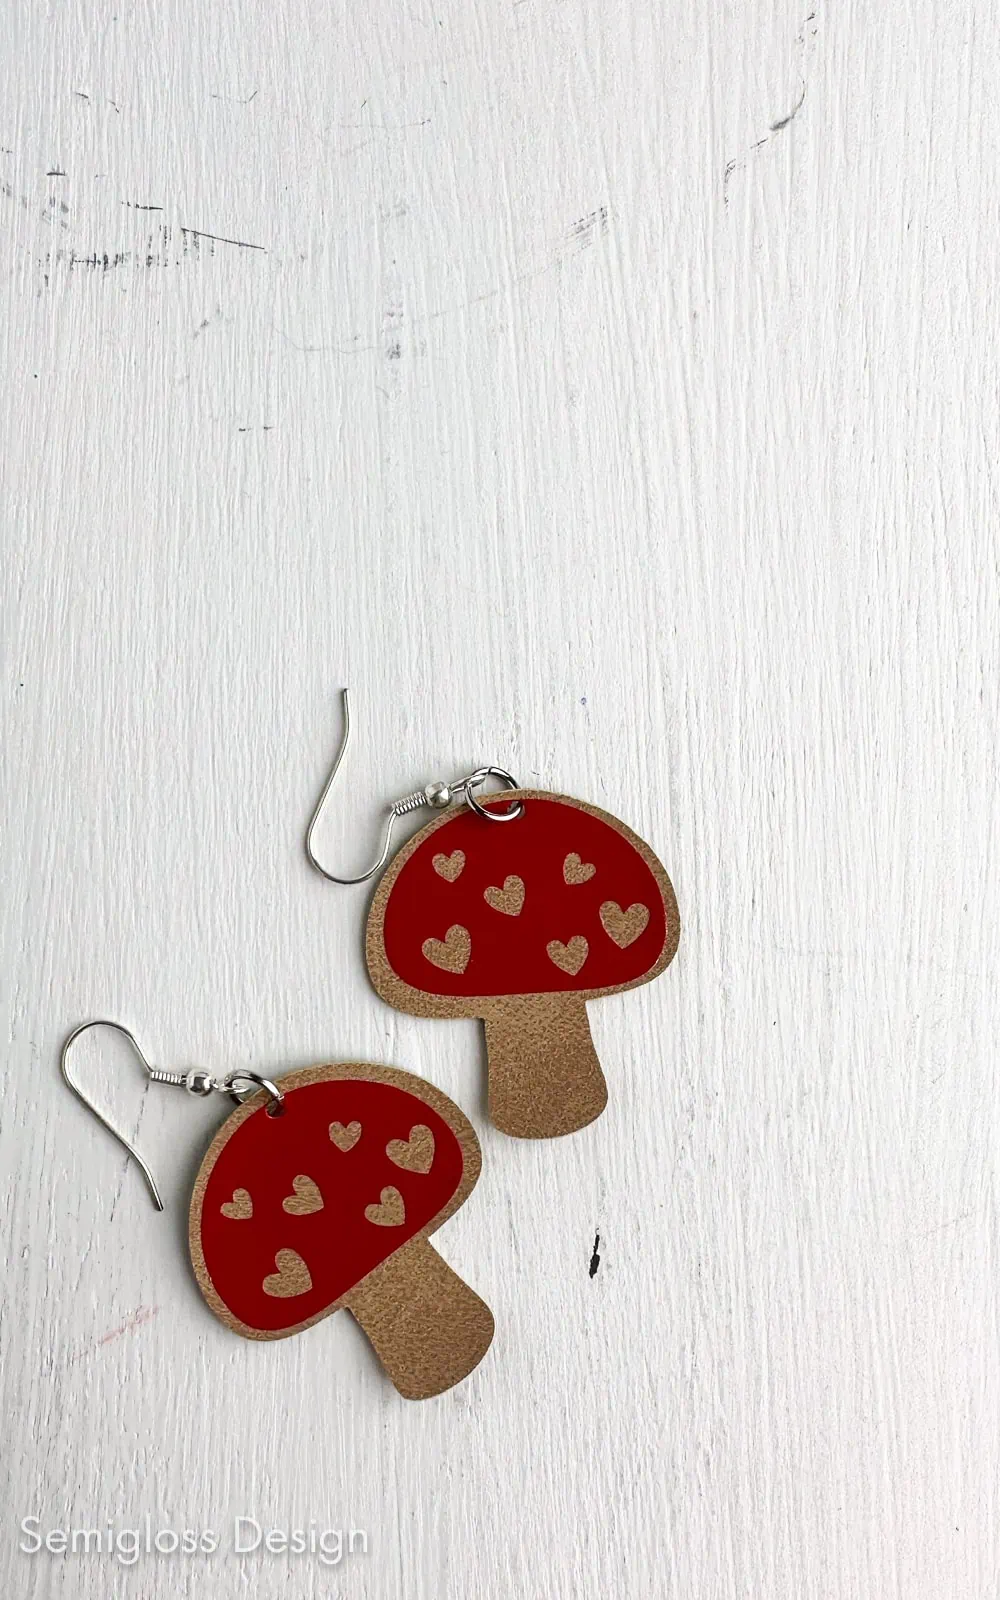
- Repeat for the second earring.
- Enjoy your earrings.

You might also like:
Get access to my SVG Library.
Get access to over 50 SVG sets and Cricut cheat sheets. Join my SVG library.
Download Earring SVGs
All downloads are for personal use only. Please do not redistribute or sell files.
Pin for Later!

Emy is a vintage obsessed mama of 2 DIYer who loves sharing affordable solutions for common home problems. You don’t need a giant budget to create a lovely home. Read more…