• Skip to primary navigation
  • Skip to main content
  • Skip to primary sidebar
  • Skip to footer
  • Blog
  • Cricut
  • DIY
    • Basement
    • Building
    • Countertops
    • Floors
    • Organizing
    • Furniture
      • IKEA Hacks
    • Outdoor
    • Paint
    • Stairs
    • Other Home Improvement
  • Home Decor
    • Decorating Ideas
    • My Home
      • House tour
      • Room Reveals
  • Crafts
    • Accessories
    • Fabric and Sewing DIY
    • Holidays
      • Spring and Summer
      • Fall
      • Christmas
      • Winter
    • Silhouette and Cricut Crafts
    • Wall Art
  • Shop

Semigloss Design logo

menu icon
go to homepage
search icon
Homepage link
  • Blog
  • Cricut
  • DIY
  • Crafts
  • Furniture
  • Shop
×
Home » DIY » Furniture Makeovers » IKEA Helmer Hack: DIY Copper Patina Finish

January 17, 2018

IKEA Helmer Hack: DIY Copper Patina Finish

Sharing is caring!

  • Share
  • Tweet

Make designing your dream room a breeze with my Printable Room Planner.

Learn more about an IKEA helmer hack to make it look old. You might also like this IKEA Besta cabinet hack. 

Painted helmer

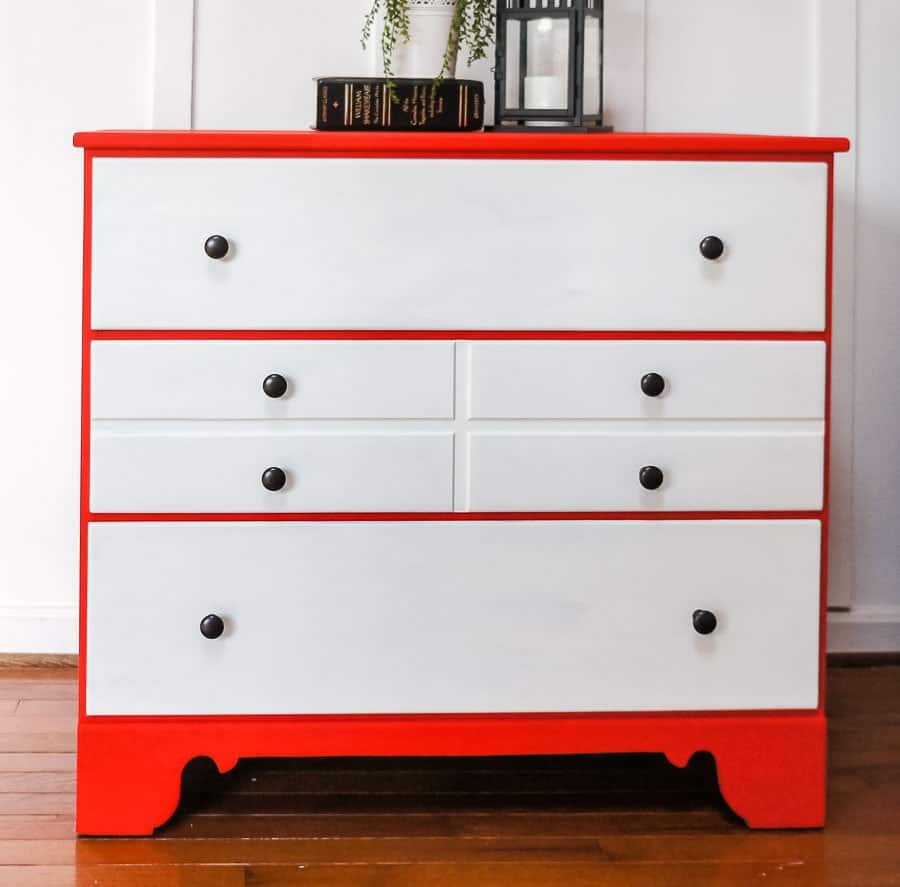
The IKEA cabinet was also painted. Full tutorial at bottom of post.

IKEA Helmer Hack: Copper Patina Finish

This post contains affiliate links. By purchasing an item through an affiliate link, I earn a small commission at no extra cost to you. 

Supplies Needed

  • Modern Masters Primer
  • Modern Masters Bronze Paint
  • Modern Masters Blue Patina
  • Paint brush
  • IKEA Helmer
  • Screwdriver
  • Sandpaper
  • Gold spray paint

Prep Work

  1. Start by removing your hardware.Helmer before
  2. Spray paint the hardware if desired. I spray-painted mine gold.Spray painted handles
  3. Lightly sand your metal cabinet. The goal is not to remove paint; just to scuff the surface a bit.Scuff up surface with sand paper

Apply the Metal Primer

  1. Paint on the primer. I poured my paint into a disposable bowl to make life easier. (Ps. The primer smells like mint.)Paint on the primer
  2. Apply a 2nd coat of primer after 30 minutes. It takes 12 hours to dry completely.Painting the helmer

Paint the Bronze Paint

  1. After 12 hours, paint the 1st coat of bronze paint.bronze paint coat
  2. Apply the 2nd coat after 30 minutes.

Apply the Patina

  1. While this coat is wet, apply the patina. You can spray it on or paint it on.Paint on patina while wet
  2. The patina turns blue after a while.Brush on patina
  3. If you add too much patina, you can go back in and add more bronze paint.
  4. In some spots, I used a paper towel to remove spots where the drips were too uniform.
  5. Let dry and reinstall the hardware.Helmer hack
Close up of patina on helmer

I think my IKEA helmer hack turned out really cool. It has a nice, aged look which I love.

It blends in pretty nicely, without being too in your face.

IKEA helmer hack with paint

New Look for Helmer: Decoupage

A few years later, I ended up decoupaging over this paint job for a new look. Here’s how I did it.

  1. Cut the paper to size and use decoupage glue to attach the floral paper.
  2. Cut at the corners and fold the paper over the edge. 
  3. Apply a coat of glue over the paper to seal it. 
  4. When it dries, replace the hardware. 

The outside was painted in Country Chic paint in Happy Hour. 

IKEA helmer cabinet decoupaged with Rifle paper

You might also like:

  • IKEA Forhoja Hack
  • IKEA Besta Hack
  • Dyed IKEA Henriksdal Slipcover
  • Dip-dyed IKEA Curtains

Pin for Later!

IKEA helmer hack, give it a vintage look
Emy Flint

Emy is a vintage obsessed mama of 2 DIYer who loves sharing affordable solutions for common home problems. You don’t need a giant budget to create a lovely home. Read more…

« Office Makeover Week 2 Progress
How to Build a Top for a Dresser »

Filed Under: Furniture Makeovers, IKEA Hacks Tagged With: $100 room challenge, creative space, furniture, ikea hack, office

Reader Interactions

Comments

  1. Melissa says

    January 17, 2018 at 9:12 am

    This is so awesome! I’ve never seen that paint technique before but what a difference! I can’t wait to see your whole space come together!

    Reply
  2. Patti says

    January 17, 2018 at 9:34 am

    Wow. What a cool look. I haven’t seen this technique before either. A real show piece for the room.

    Reply
  3. cassie bustamante says

    January 17, 2018 at 1:08 pm

    i love the new look! heading to ikea in a couple weeks and i am looking forward to it!

    Reply
  4. Linda says

    January 17, 2018 at 2:50 pm

    Love the painted pieces. I also have not seen that paint technique before, very cool. I plan on working on my office at some point this year, and I can’t wait to see the end results for yours.

    Reply
  5. Gabby says

    January 17, 2018 at 8:41 pm

    What a fun way to make something look so different! We have two of those filing cabinets in my kids’ rooms.

    Reply
  6. Beth says

    January 17, 2018 at 10:54 pm

    This is seriously cool! I’ve never seen anything like it before and I really like it! Wonder if my employers would let me do this to my file cabinet at work….

    Reply
  7. Meg Green With Decor says

    January 18, 2018 at 10:36 am

    Wow what a cool technique – it looks great!

    Reply
  8. Wendy says

    January 18, 2018 at 12:43 pm

    Wow! The transformation of that cabinet is amazing. I cannot wait to see the space done.

    Reply
  9. Tracy says

    January 18, 2018 at 7:40 pm

    Wow!!! I am so impressed with the makeover!! I can’t wait go see the full reveal!

    Reply
  10. Kim says

    January 20, 2018 at 11:20 am

    I’ve never seen that treatment before – Great before and after! I love the direction your room is going in!

    Reply
  11. Meredith @ The Palette Muse says

    January 20, 2018 at 1:11 pm

    Wow I would never have recognized this piece from the before pics. It turned out great! I love a good Ikea hack!

    Reply
  12. Erin- Lemons, Lavender, & Laundry says

    January 22, 2018 at 7:59 am

    Love all the newly painted items, and yay for curtains that are the right length!!! I hear ya on cleaning up one mess only to find another… life. You are making wonderful progress!

    Reply
  13. Maria - House by the Preserve says

    January 23, 2018 at 12:20 pm

    Wow that cabinet looks SO good! Excited to see the room come together!

    Reply
  14. Lisa says

    January 31, 2018 at 3:20 am

    Wow, what a transformation! It looks awesome.

    Reply

Leave a Reply Cancel reply

Your email address will not be published. Required fields are marked *

This site uses Akismet to reduce spam. Learn how your comment data is processed.

Primary Sidebar

Let’s be friends!

  • Facebook
  • Instagram
  • Pinterest
  • Twitter
  • YouTube

Looking for Something?

Hi, I’m Emy!

Hi, I’m Emy!

I'm a color loving DIYer who believes that a beautiful home is possible, even on a budget.

Reader Favorites

unfinished basement ceiling painted sherwin williams sea salt

How to Paint an Unfinished Basement Ceiling

can of polycrylic and paint brush

How to Apply Polycrylic Without Streaks

removing chair rail with pry bar

How to Remove a Chair Rail and Repair the Walls for Paint

green shiplap walls

The Ultimate Guide to Installing Shiplap in a Bathroom

Footer

  • Facebook
  • Instagram
  • Pinterest

Contact

About Me

Disclosure and Privacy Policy

Click here for the Semigloss Design disclosures and  privacy policy.

Looking for a post?

Amazon Affiliate Disclosure

Emy Flint of Semigloss Design is a participant in the Amazon Services LLC Associates Program, an affiliate advertising program designed to provide a means for sites to earn advertising fees by advertising and linking to Amazon.com

Copyright © 2022 Semigloss Design