Rustic Green Dresser Makeover with Country Chic Paint
I’ve got green on my mind lately. Maybe it’s the lack of green on the trees currently. I’m not sure.
Recently, I brought home a dresser to makeover and I knew right away that it would look amazing painted green. I’ve used Country Chic Paint on several other pieces and I couldn’t wait to use it again for a dresser makeover.
Besides having adorable packaging, their color palette is the best. All of the colors are so pretty and are the perfect shades for vintage furniture.

This post is sponsored by Country Chic Paint. Country Chic Paint provided me with paint for this project, but all thoughts and opinions are my own. I would never recommend products that I wouldn’t buy or use on my own.
Dresser Makeover with Country Chic Paint
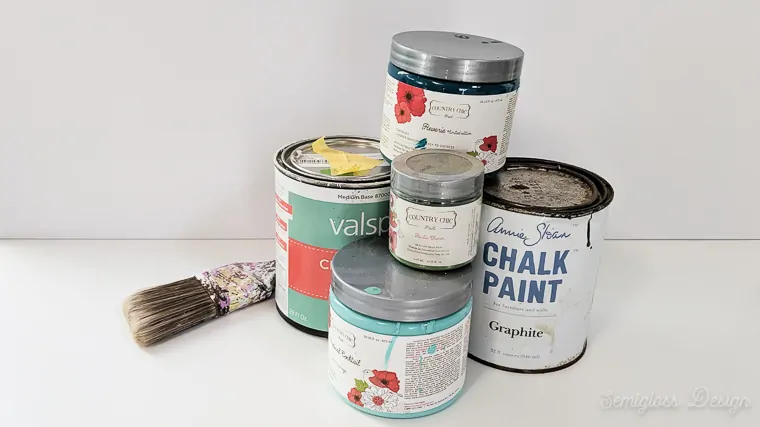
Supplies
I’m always looking for interesting furniture to makeover and one day I scored big. This dresser had great bones, but it needed a makeover.
The top was a bit warped, but the drawers worked perfectly and needed no repairs! A dresser top is much easier to rebuild than drawers are to repair.
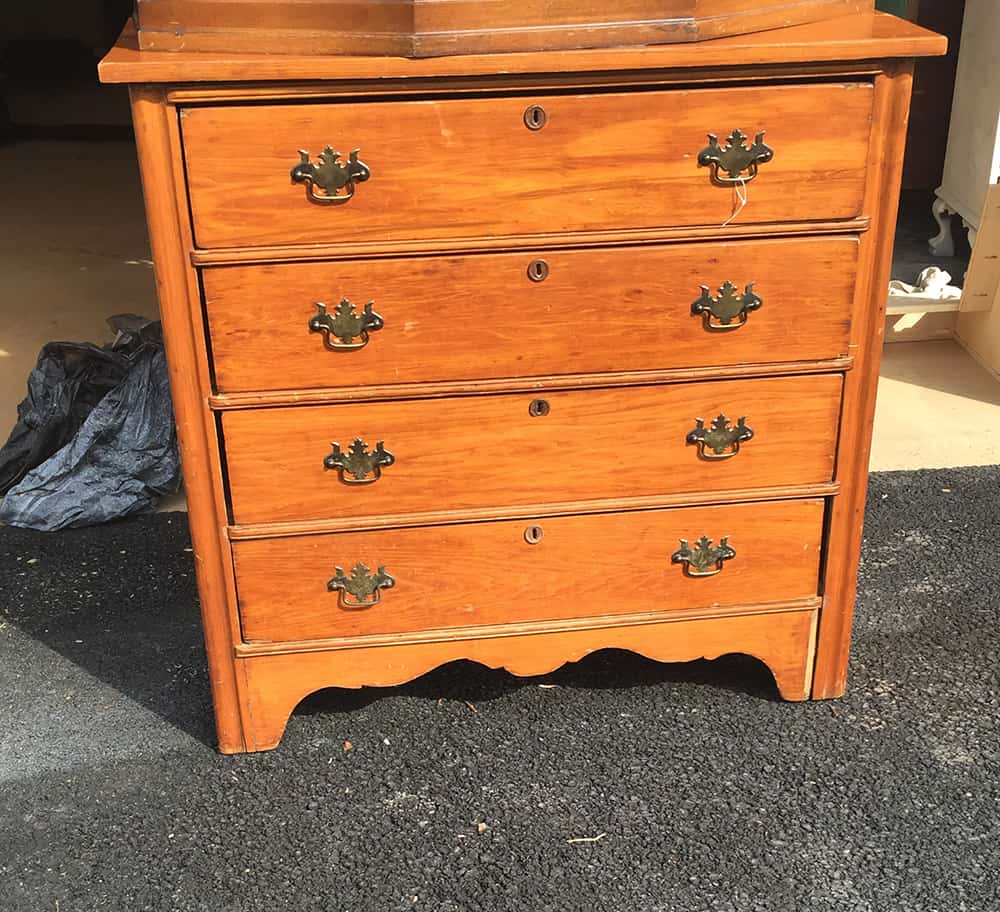
Those handles had to go. This type of handle is my least favorite.
Once the handles and top were removed, I cleaned it thoroughly before giving it a light coat of shellac. I almost always seal old furniture with shellac to seal in anything gross that will ruin my paint job.
Painting the Dresser
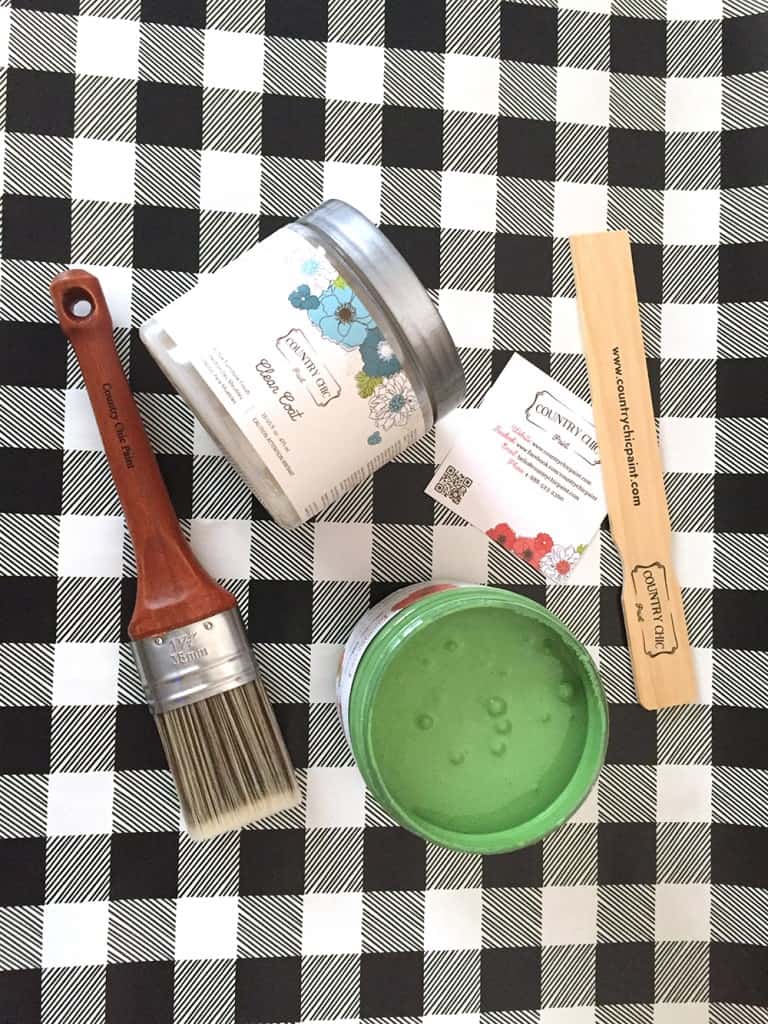
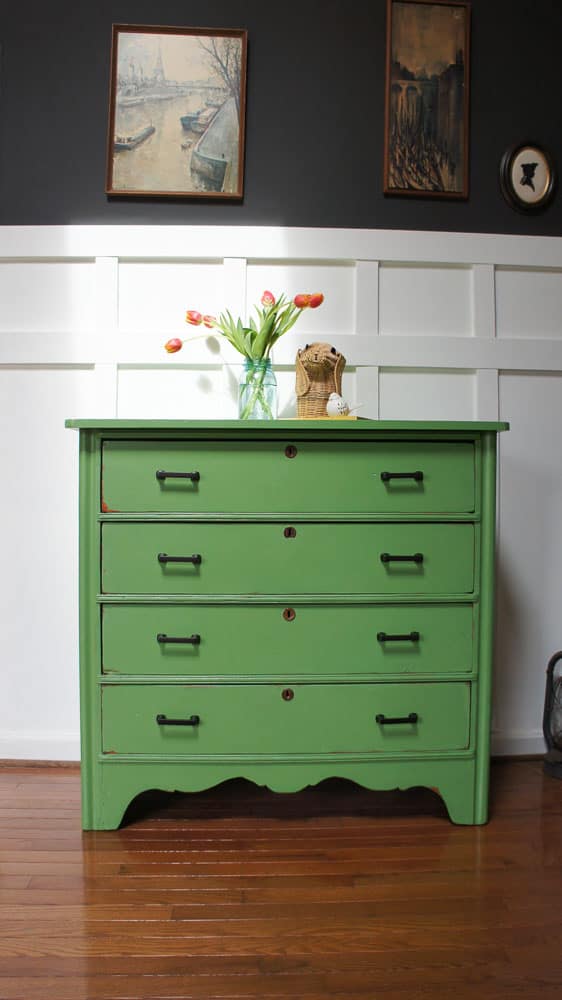
I chose to paint the dresser in Rustic Green by Country Chic paint. This is the 4th piece that I’ve painted in Country Chic Paint because I’m in love with their color palette, especially the greens.
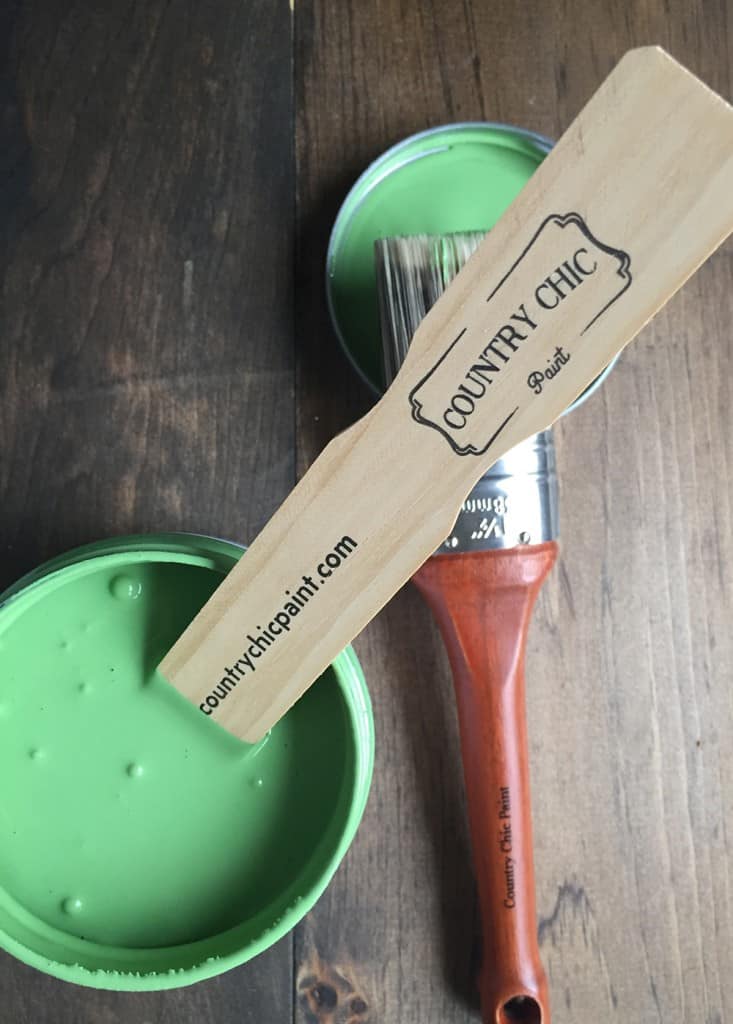
Before painting, make sure that you stir the paint well! I usually shake it and stir it just to be safe. You can feel a thicker part at the bottom of the jar if it needs to be stirred.
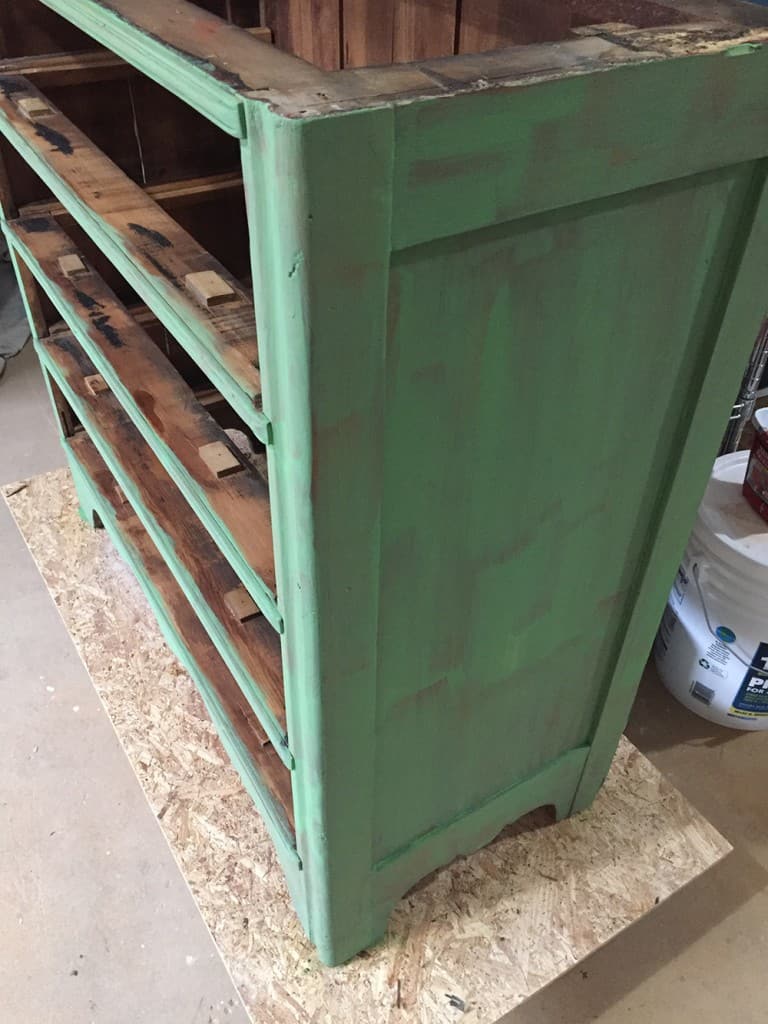
I love the way Country Chic Paint covers furniture. It goes on so smoothly! Some colors cover better than others, but it also depends on the color that you are covering.
My dresser had an orange tone that was drastically different than the green. I’ve had other colors cover in almost one coat. This dresser took 2 with some touch-up in spots.
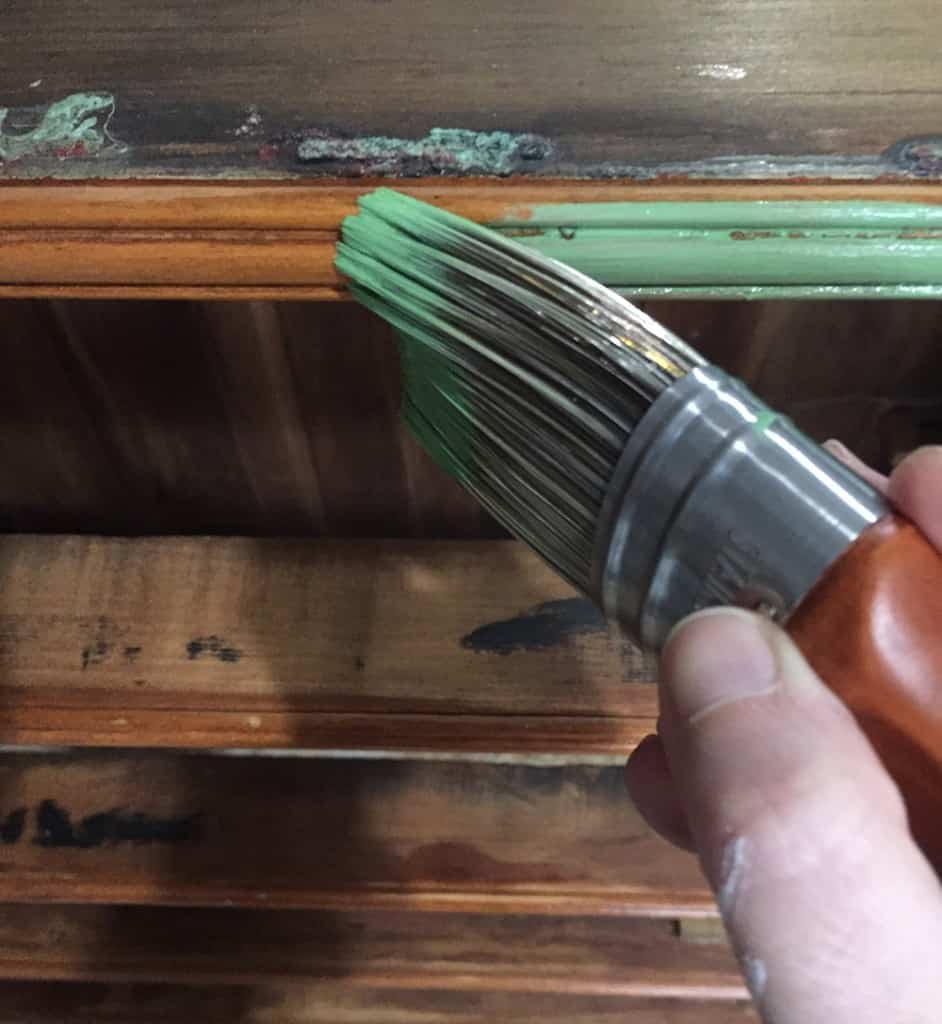
The oval brush is perfect for getting into tiny nooks and crannies on furniture. Plus, it fits in the sample pots!
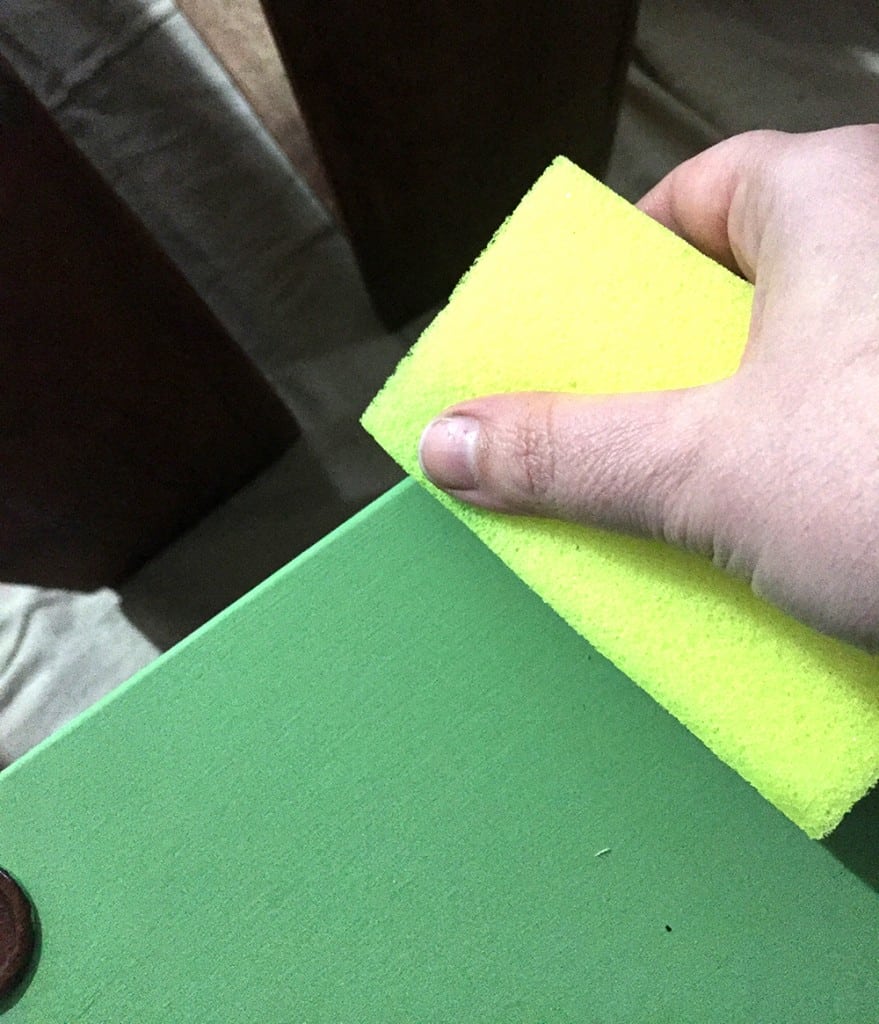
Wet distressing is my new favorite method to distress furniture. Once the paint is dry, just rub it with a wet rag or sponge and the results look more natural and varied than sanding. Plus less mess!
The Top Coat
After letting the paint dry for 24 hours, it was time for the top coat. I’ve been struggling to find a good top coat and I’m pretty impressed with Country Chic Clear Coat.
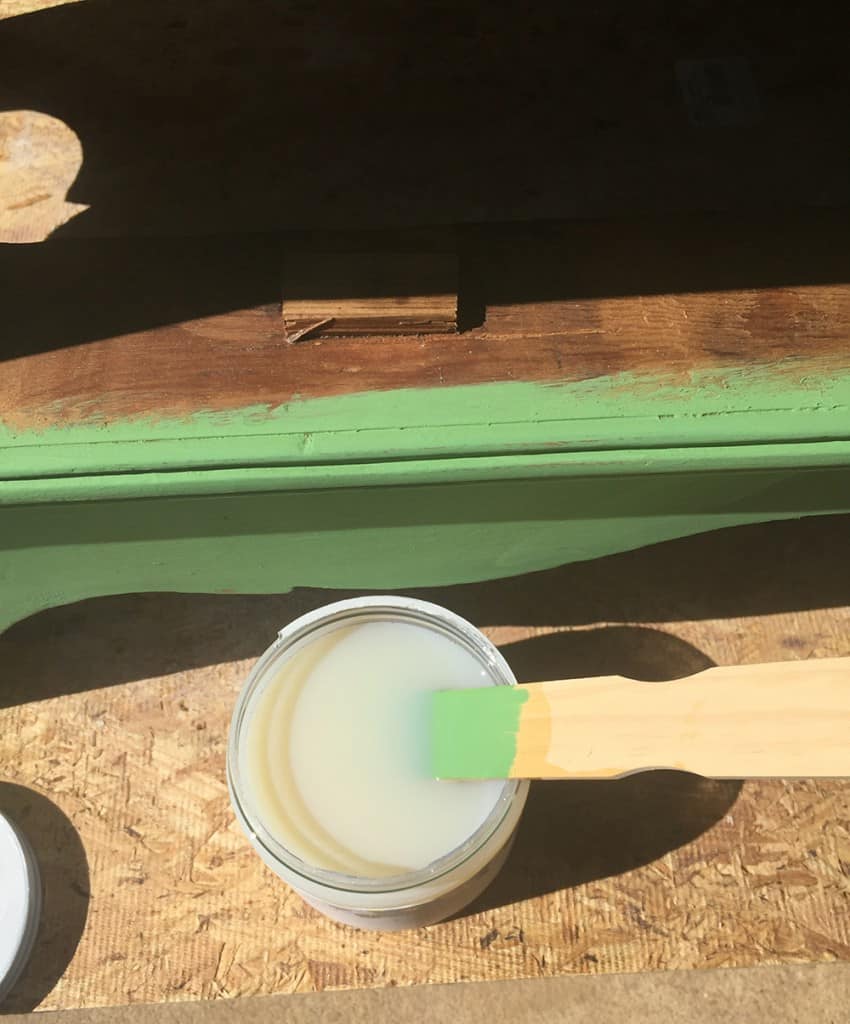
Be sure to stir the Clear Coat, but don’t shake it! Clear Coat is applied with a regular synthetic bristle brush.
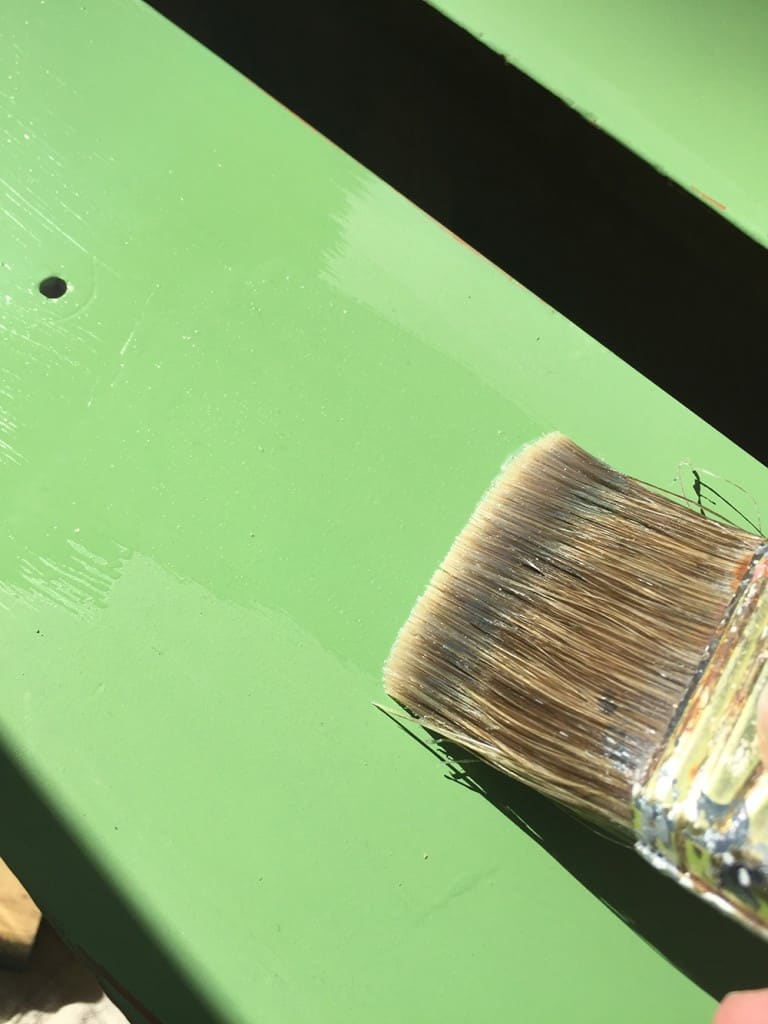
Country Chic Clear Coat doesn’t change the color at all. It just adds a slight sheen to the piece. It’s thin, so I applied 3 coats.
Luckily, they dry very fast. I got the best coverage when I applied long, continuous strokes. This means loading the brush more than you think. Just be careful of drips.
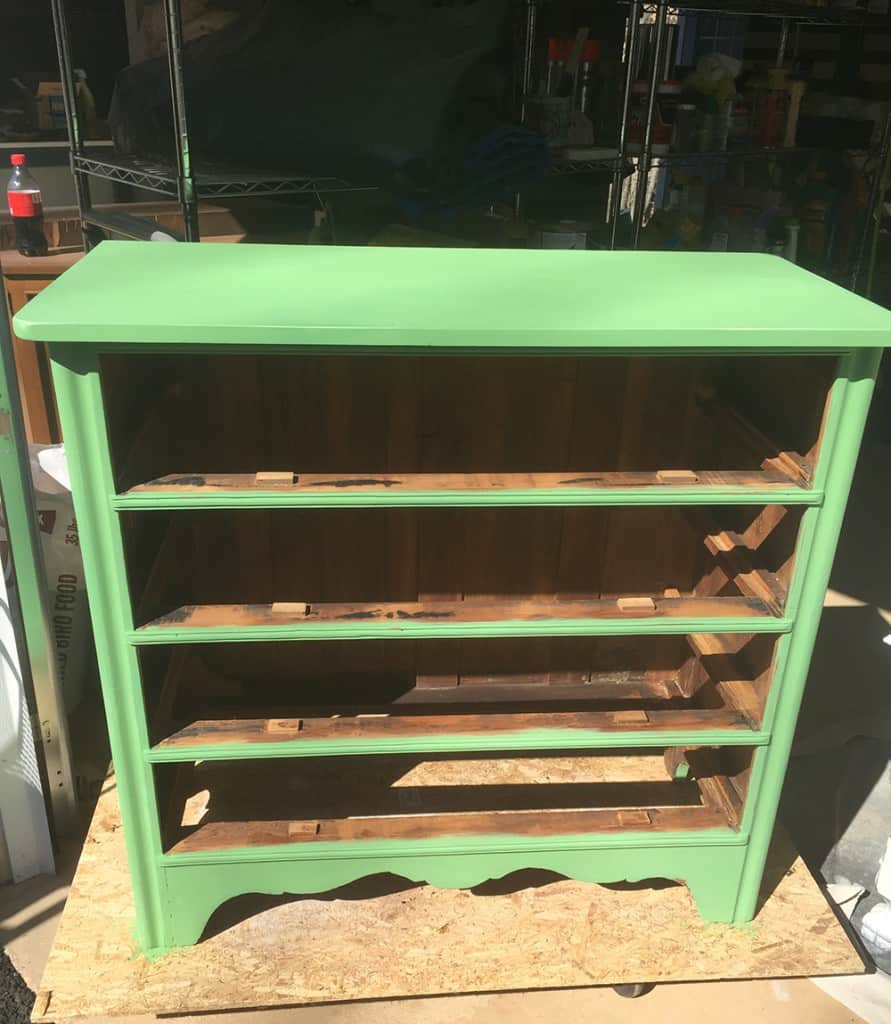
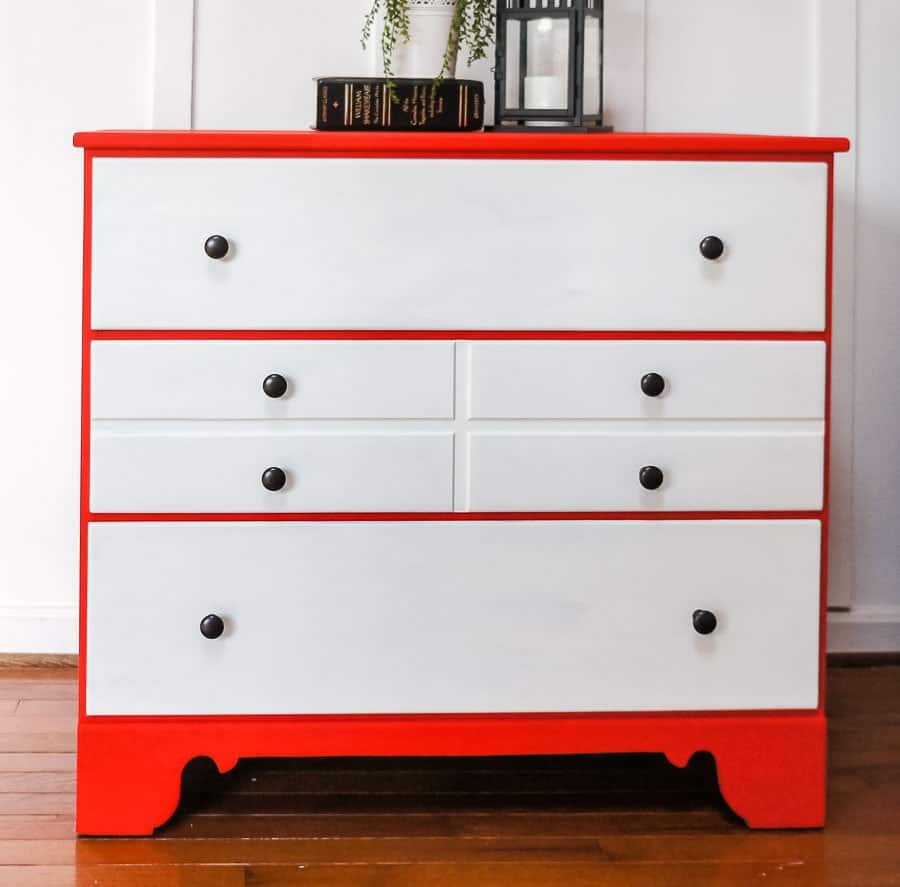
The Finished Dresser Makeover
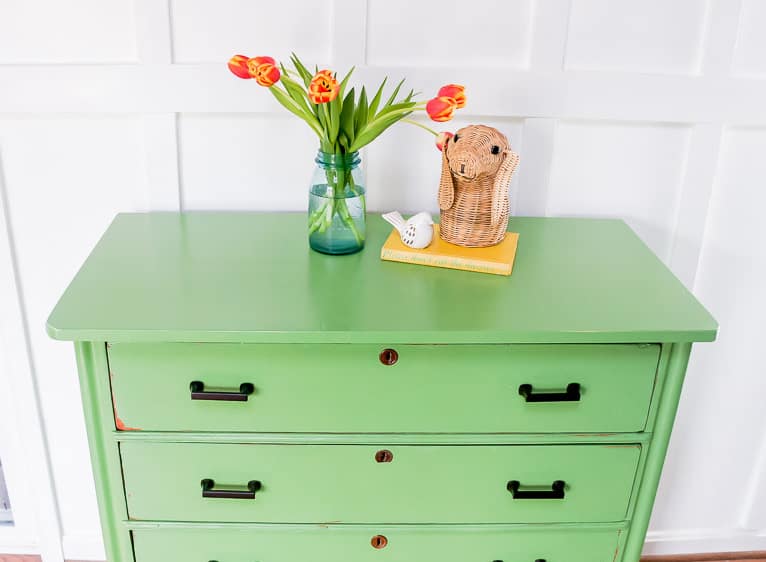
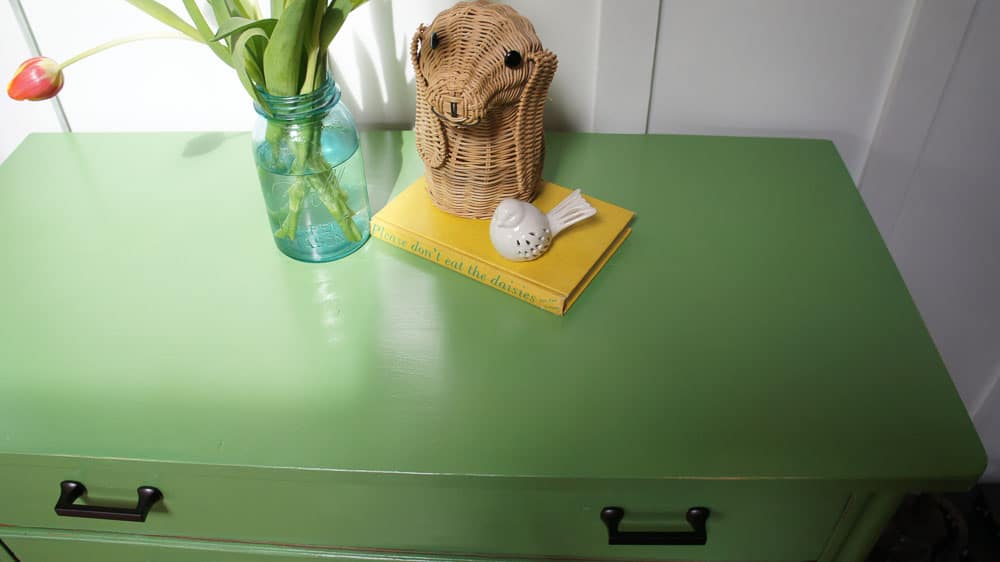
I added oil-rubbed bronze knobs to give this dresser a modern feel.
It’s so cool how changing the color of furniture and adding new handles can completely change the feel of it!
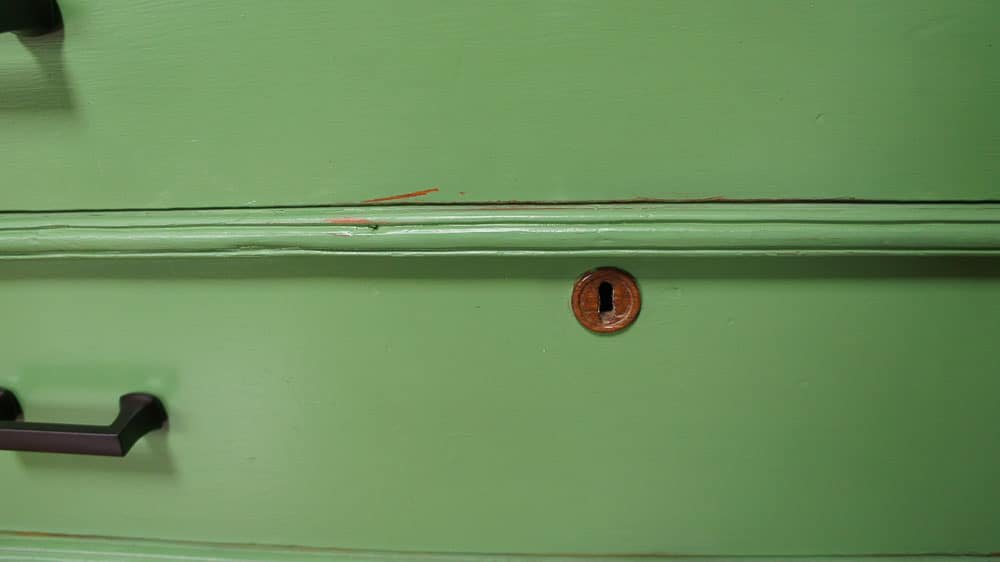
The dresser had pretty wooden keyholes, so I left them wood for a nice contrast.
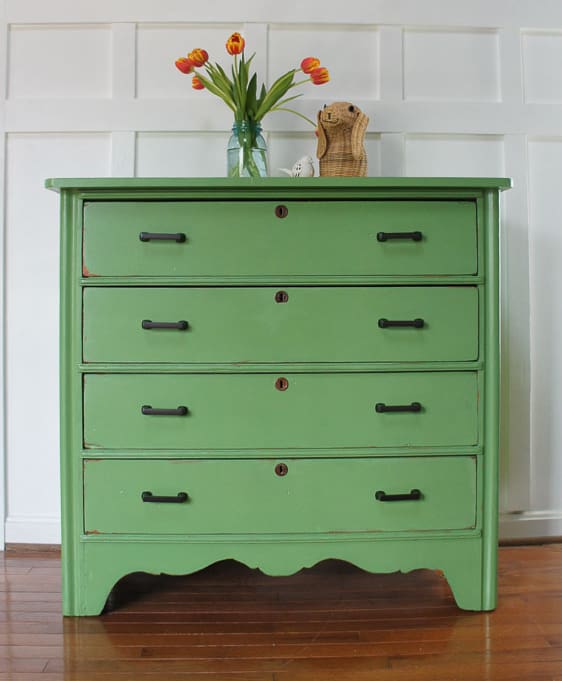
I love the color green! Perfect for spring!
The top was built out of 2 pieces of 1x10s that we joined together. We rounded the edges to mimic the curves on the dresser.
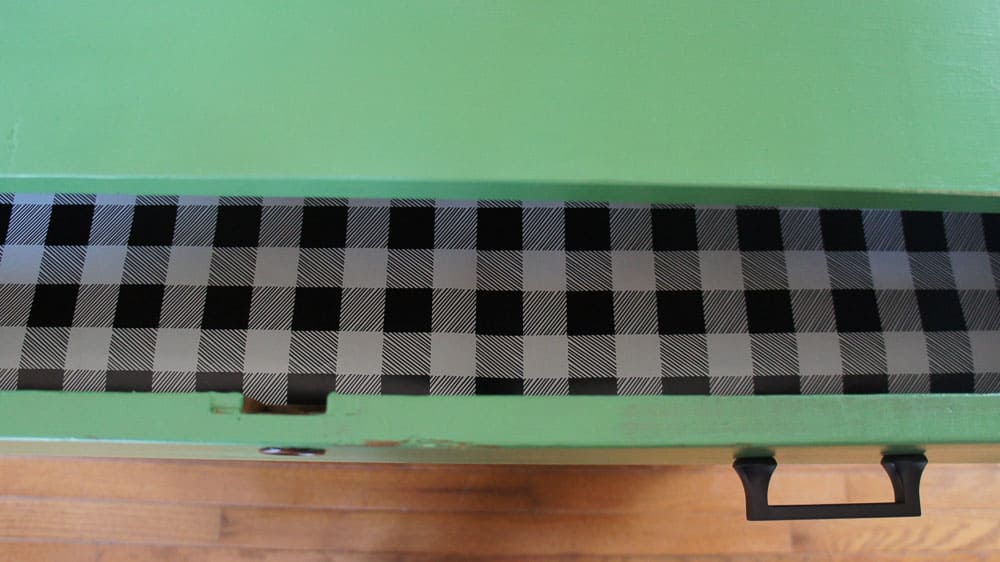
I’m lining the drawers with buffalo check wrapping paper. I love adding patterned paper to drawers because it provides such a happy detail!
So what do you think of my dresser makeover? Do you love green?
Be sure to check out Country Chic Paint!
Pin for Later!

Emy is a vintage obsessed mama of 2 DIYer who loves sharing affordable solutions for common home problems. You don’t need a giant budget to create a lovely home. Read more…


such a fun piece! i am ready to see some green outside, too!
I love that green. Hello, spring!