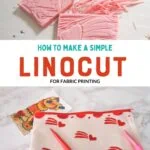
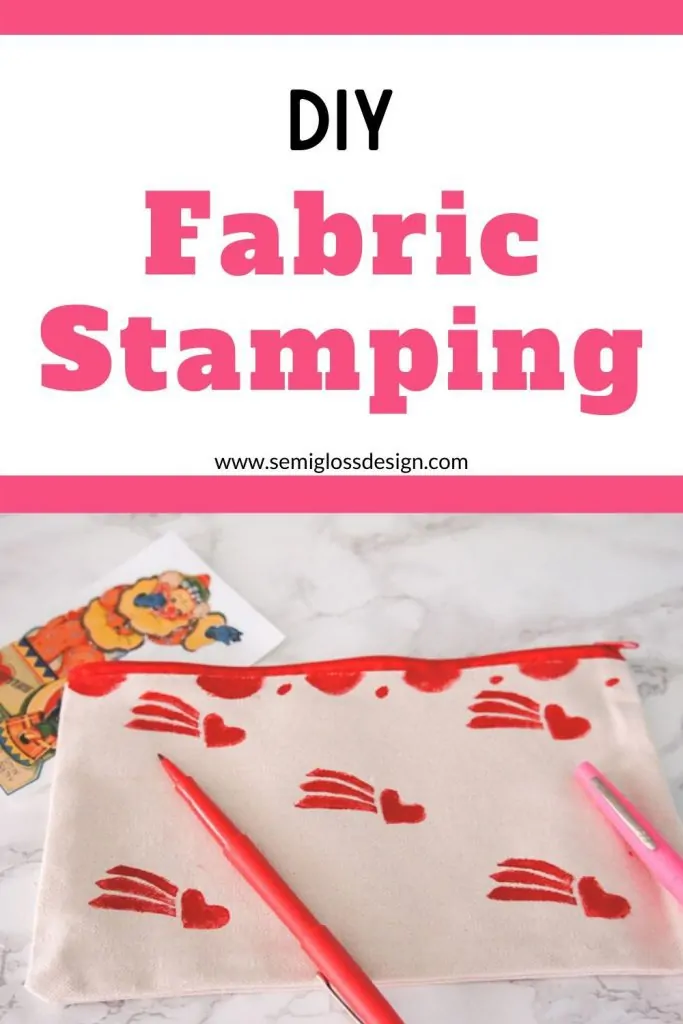
Make a DIY Stamp for Printing on Fabric
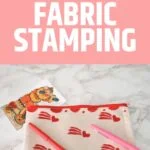
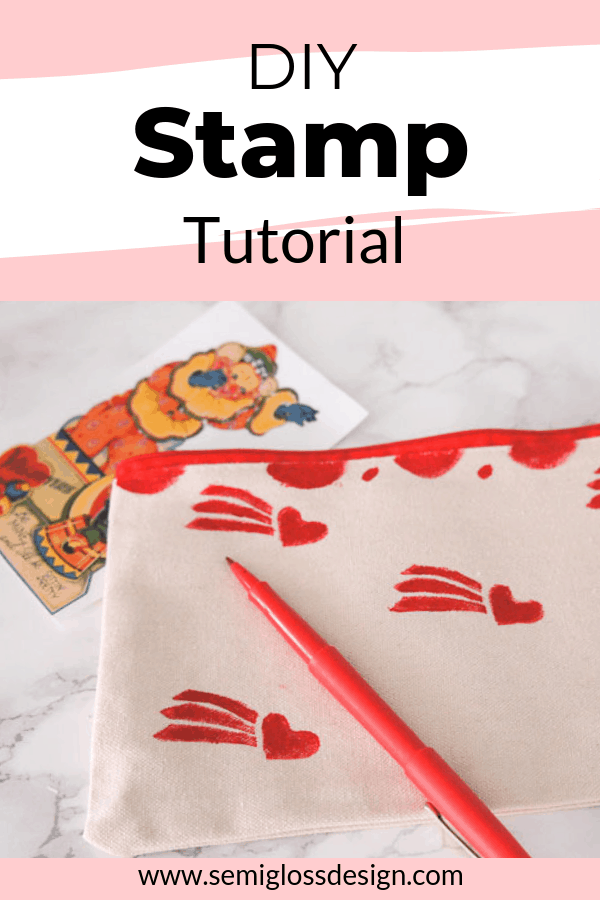
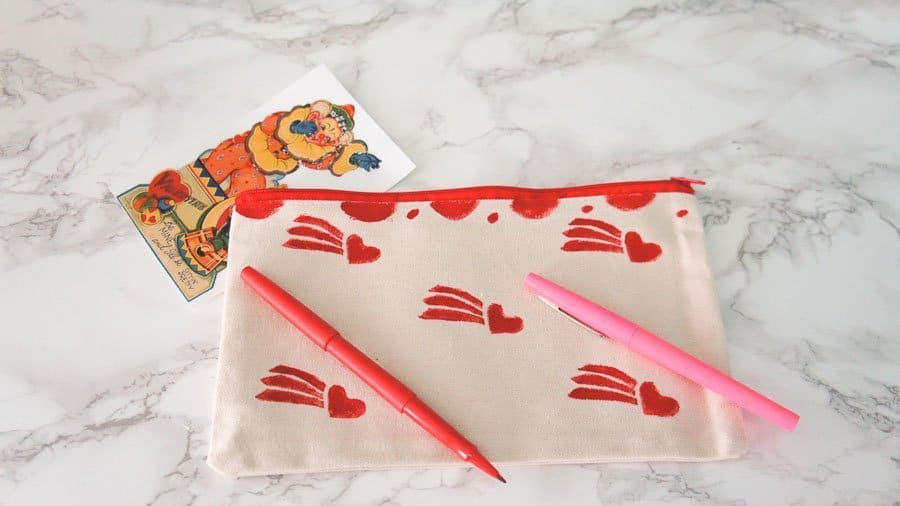
Learn how to make a DIY stamp that is great for printing on fabric. This block printed pouch makes a great Valentines Day gift, especially paired with these fun conversation heart mugs!
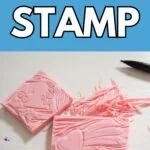
Making DIY stamps has been one of my favorite crafts since I learned how in high school. This process is also called block-printing, linocutting, or linoleum cutting. It’s very fun and very peaceful to carve your stamp!
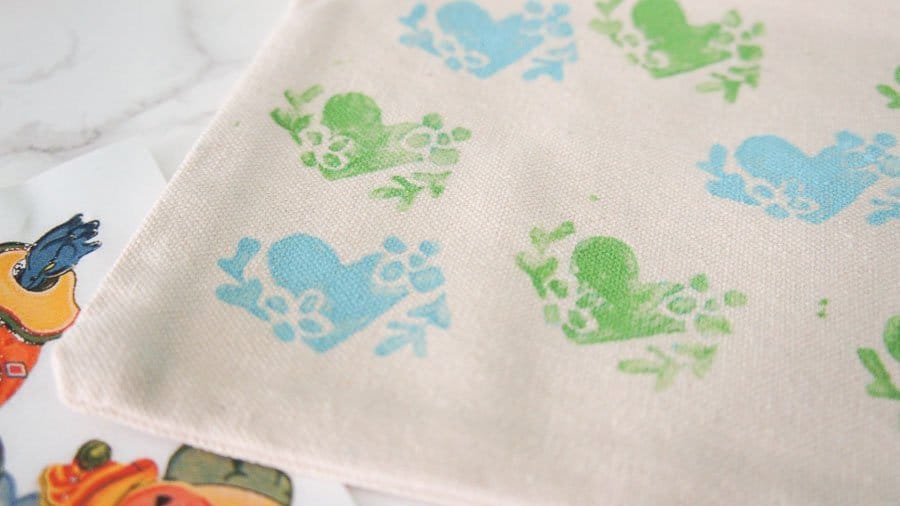
I made mine to make pouches to give to my daughter, but you can use them on tea towels, tote bags, cards, or really anything!
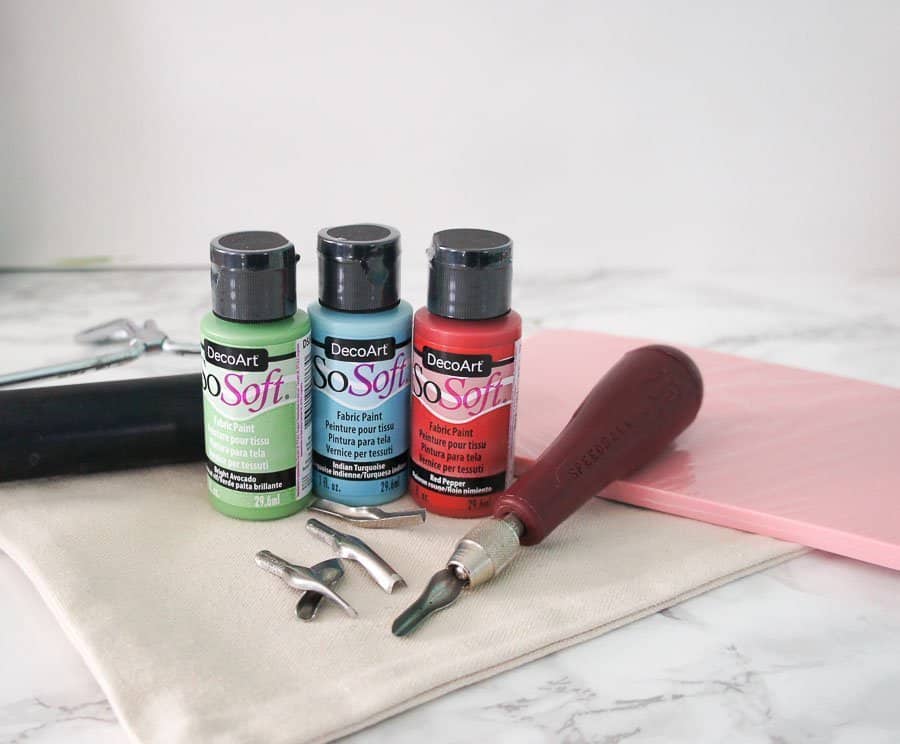
When my son was little, I used to make him fun t-shirts using DecoArt So Soft Fabric Paint. It really did stay soft, even after hundreds of washes.
Traditionally, block-printing calls for special ink, but I decided to use So Soft fabric paint for my stamps instead and I’m glad I did.
The fabric on the pouch had a lot of texture and needed to be touched up with a paintbrush after stamping.
Luckily this paint works great with a paintbrush! I even gave it some hand-painted scallops to cover an oops spot.
Make a DIY Stamp for Printing on Fabric
Supplies Needed
This post contains affiliate links. By purchasing an item through an affiliate link, I earn a small commission at no extra cost to you.
- Pouch (These are much cheaper when you buy in bulk)
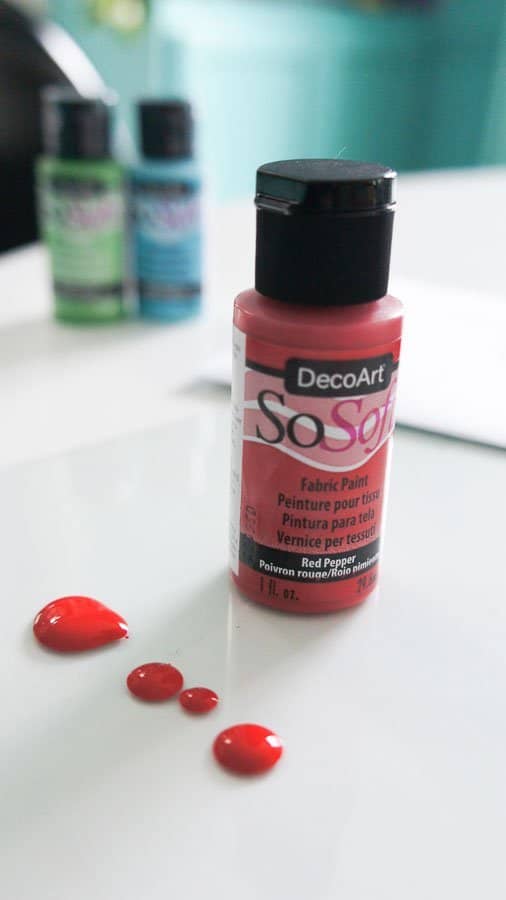
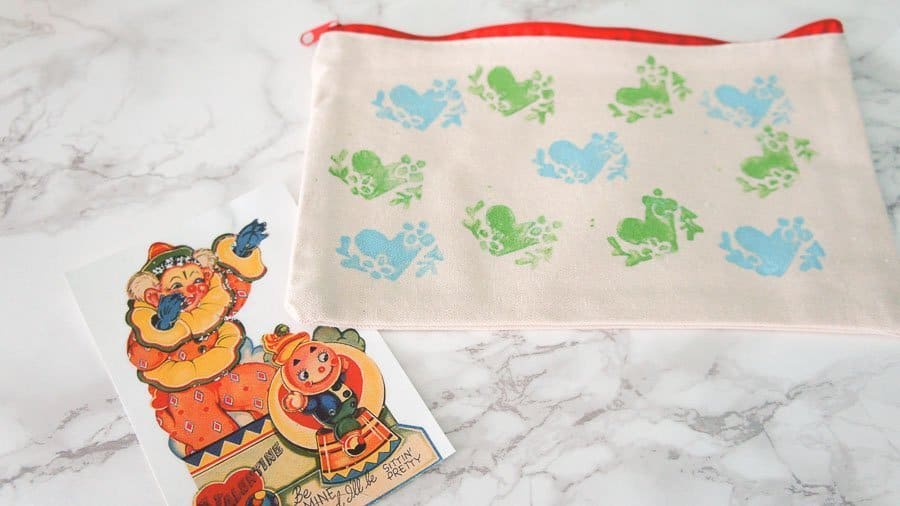
- DecoArt So Soft Fabric Paint in Teal
- DecoArt So Soft Fabric Paint in Red Pepper
- DecoArt So Soft Fabric Paint in Bright Avocado
- Small paintbrush for touch ups
- Paint brayer
- Flat piece of glass or plastic
Stamp Carving Tools
*The speedy carve block is so much easier to carve than regular linoleum. Easier to carve means safer to your fingers. It’s worth every penny!
Carving the Stamp
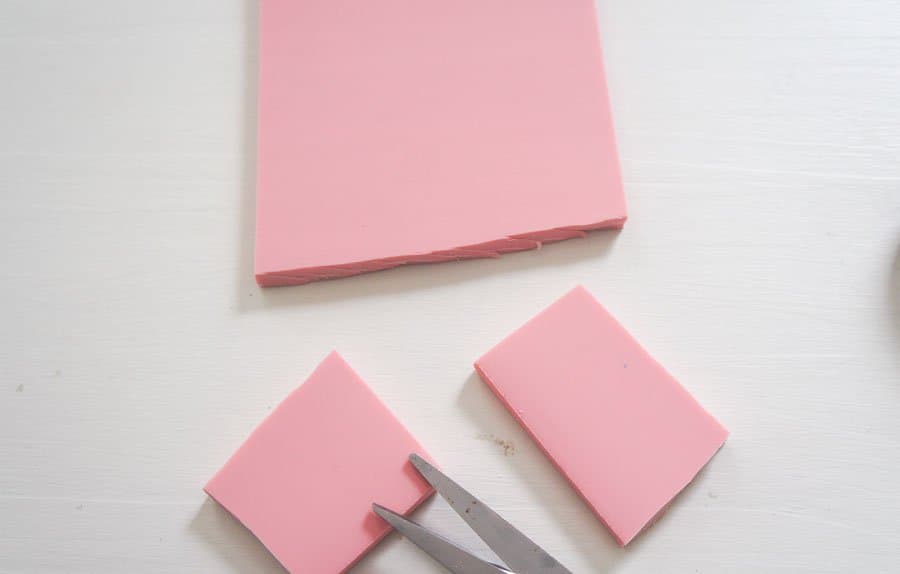
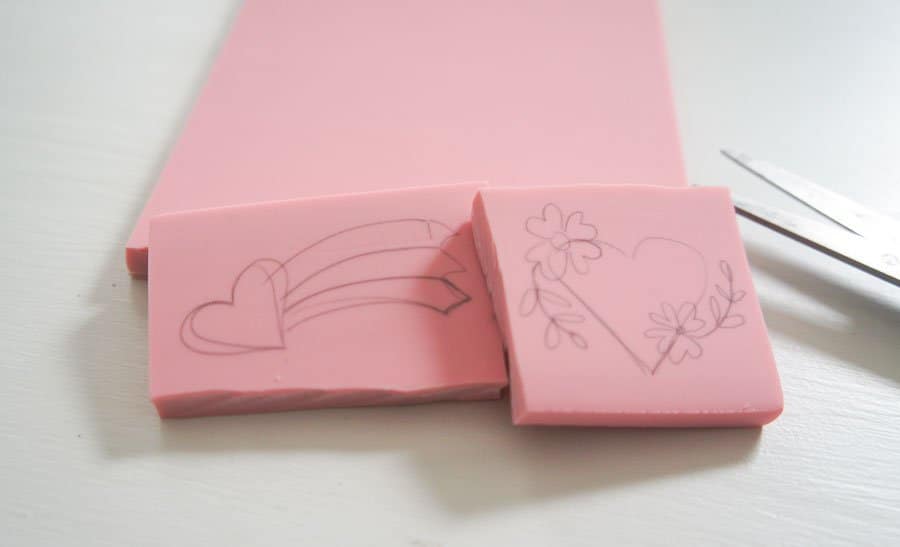
- Figure out how large you want your design. Smaller designs are much faster to carve. >
- Cut your carving block to that size.

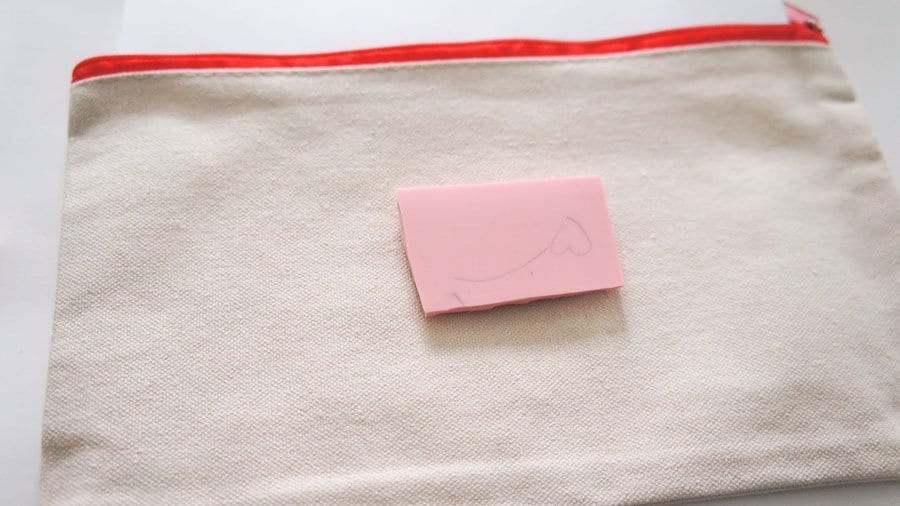
- Draw out your design. You can use paper first if you want. I drew mine straight onto the carving block with a pencil. It’s not perfect, but I knew that I could fix it while carving. If it contains words, it needs to be the reverse image. Same for if you care about which way your design faces.

- When drawing out your design, keep it simple. The parts that are left after carving will be the parts that make the stamp.
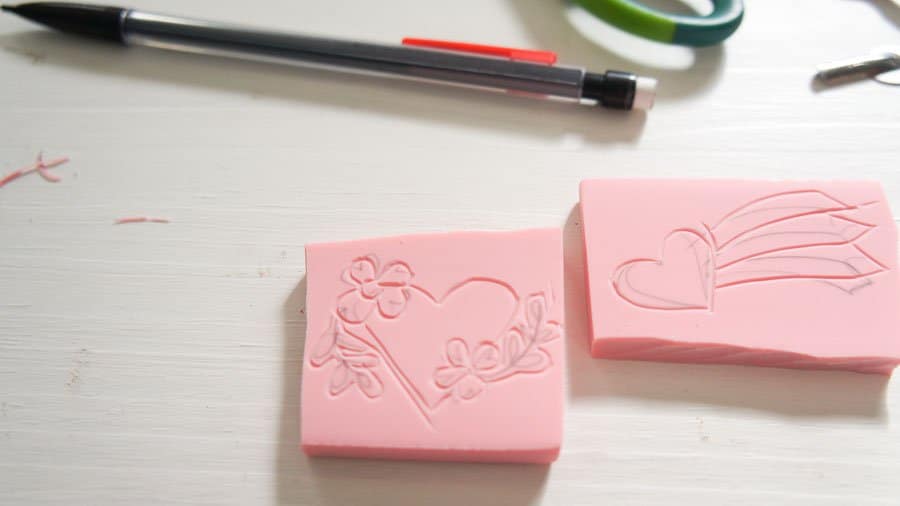
- Start with the smallest cutter (#1) and work your way around the design. This cutter is also great for detail work.

- Work your way up carving larger parts with bigger cutters.
- Make sure you cut away the outside edges (unless you want that as part of your design.) All the ridges should be as smooth as you can get them.
- Keep going until you’re satisfied with your stamp.
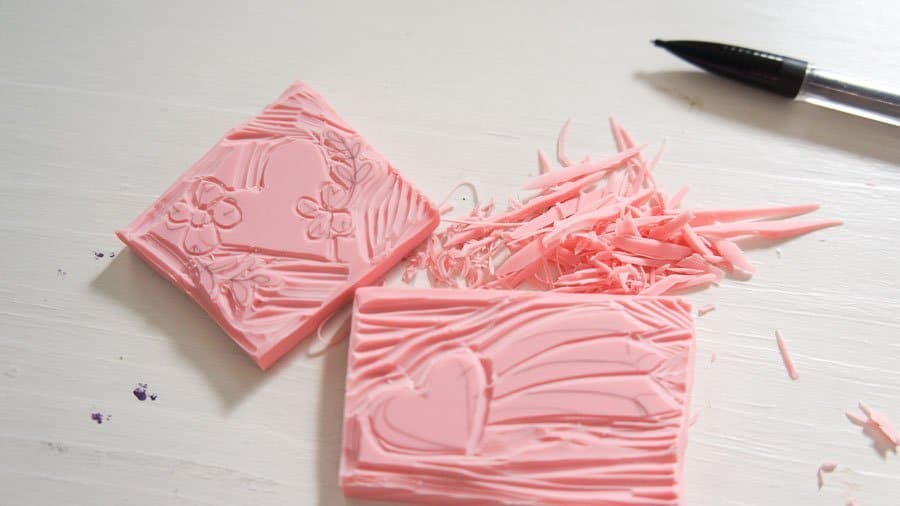
- You might find as you go that smaller details get ruined. Try to integrate that into your design if possible. Part of the beauty of this process is the hand-drawn quality!
- When you’re done, remove any fuzzy spots. I wiped mine on cloth to remove those tiny, stray pieces.
Printing the Stamp on Fabric
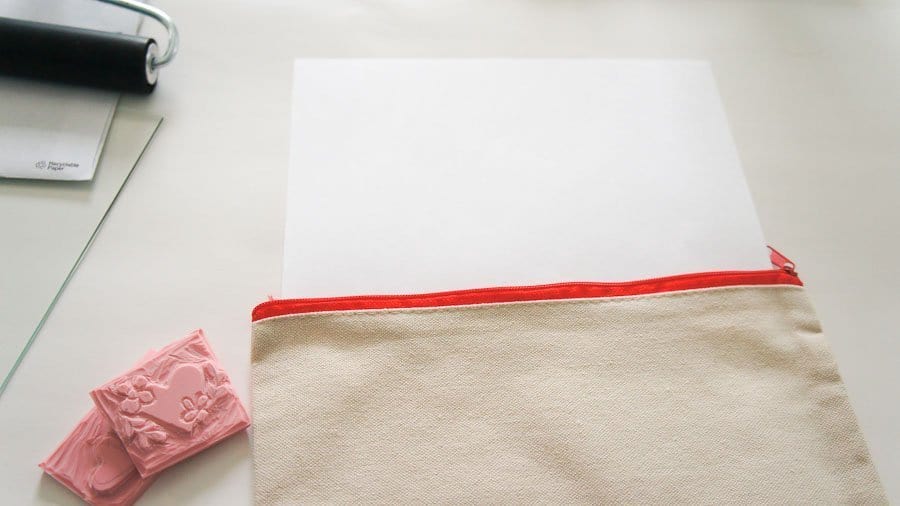
- If you’re printing on fabric, place a sheet of paper behind it to protect from bleed through.
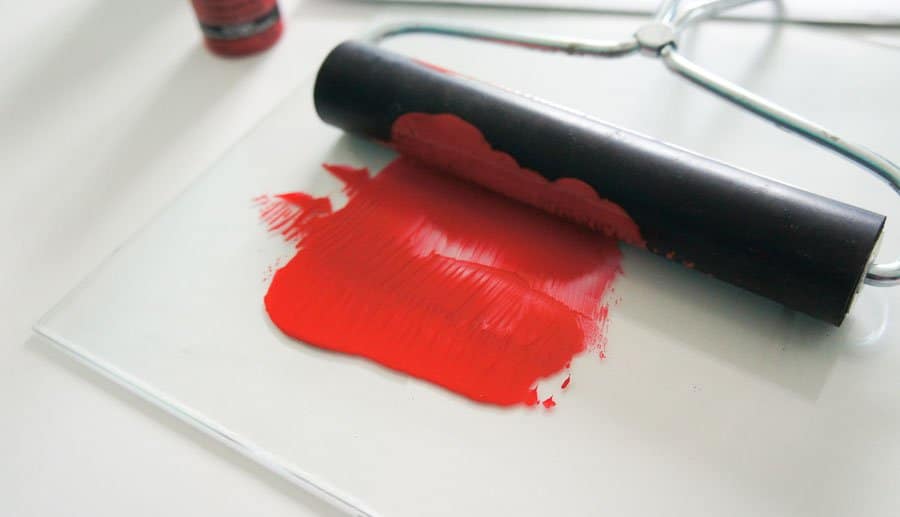
- Pour some paint onto your flat surface. I used a sheet of glass from a frame, but hard plastic or even a paper plate would work. Keep in mind that paint will dry faster on a paper plate.

- Use the brayer to spread the paint thin.

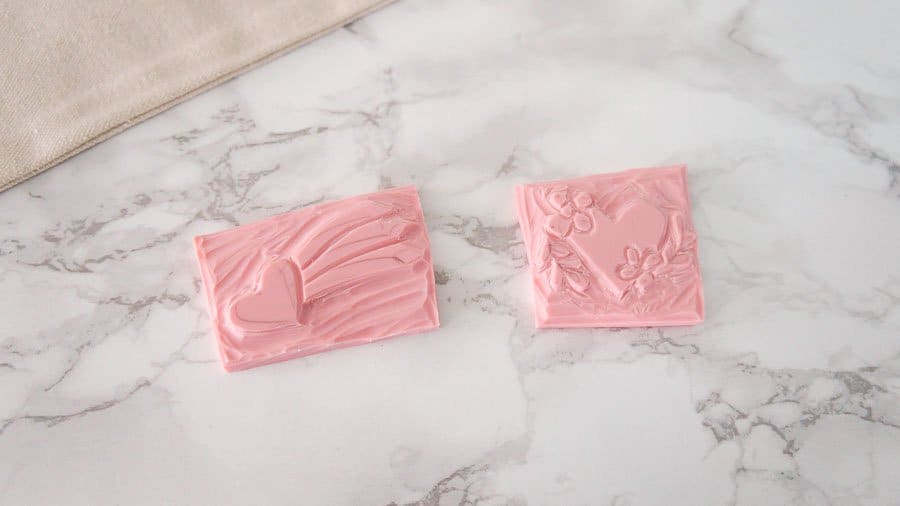
- Apply paint to your stamp using the brayer. (If you get paint onto the background of the stamp, wipe it away if possible. Otherwise, it will print onto your fabric.
- Test the stamp and make sure that you like it. It will also give you a good indication of how much paint you need, although fabric soaks up more paint than paper.
- If you don’t like the way your test stamp turned out, this is a good time to tweak the design. Wash it off and carve out the problem areas.
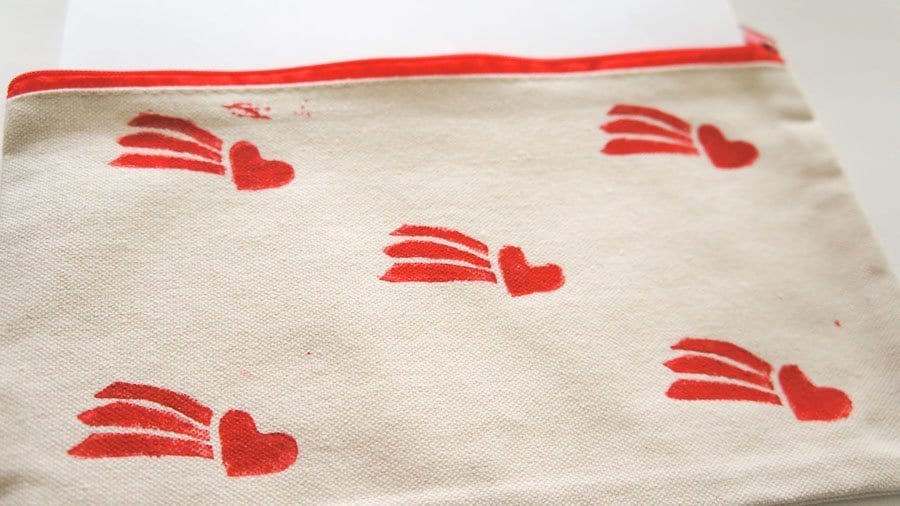
- Reload the stamp with paint and place your stamp on the fabric where you want it. I placed mine in the middle so that I could stagger the design.
- Press hard on the stamp.
- Lift up and admire your work.
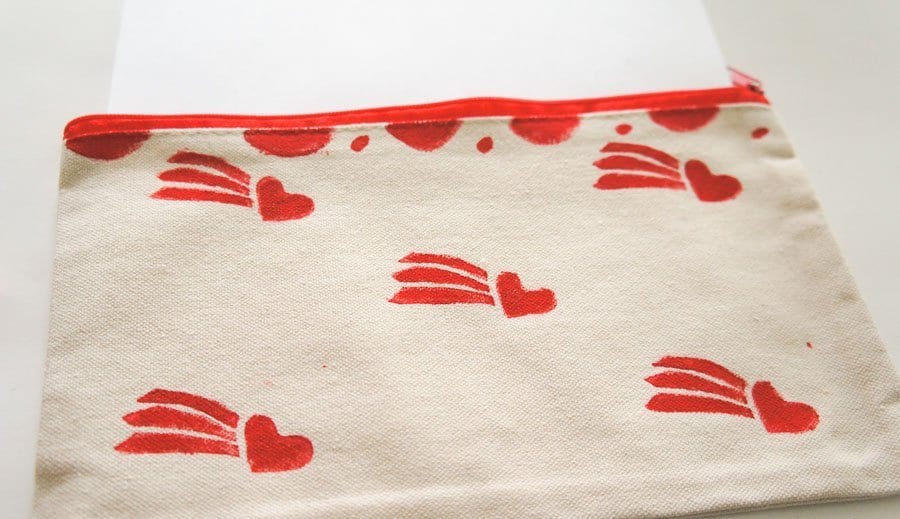
- My fabric was pretty thick, so my stamp was lighter than I wished. I took a paint brush and touched up the lighter areas.
- Keep going until your design is complete.
- I accidentally got paint on a spot from the stamp, so I hand-painted a scallop design at the top.

- Let your fabric dry for 2-4 days.
- Wash it and dry it. For my pouch, I ironed it on low instead.

Tips for Carving a DIY Stamp
- Simple designs are easier for stamp carving.
- Move the carving block as you work, instead of the cutter, especially around curves. This decreases your chance of cutting yourself.
- Never cut towards your fingers.
- For some images, the ridges in the background can look really cool when printed.
- Switch back and forth between the cutter sizes as much as you want. They make different shapes and thicknesses, so it’s fun to experiment with them.
Can you tell I cut myself badly when I was younger?
I love the imperfect details of this DIY stamp!
You Might Also Like
- Freezer Paint Stenciled Pillow
- How to Use Photo Transfer Medium on Fabric
- Dip Dyed Ombre Curtains
- How to Shibori Dye
Pin for Later!

Emy is a vintage obsessed mama of 2 DIYer who loves sharing affordable solutions for common home problems. You don’t need a giant budget to create a lovely home. Read more…