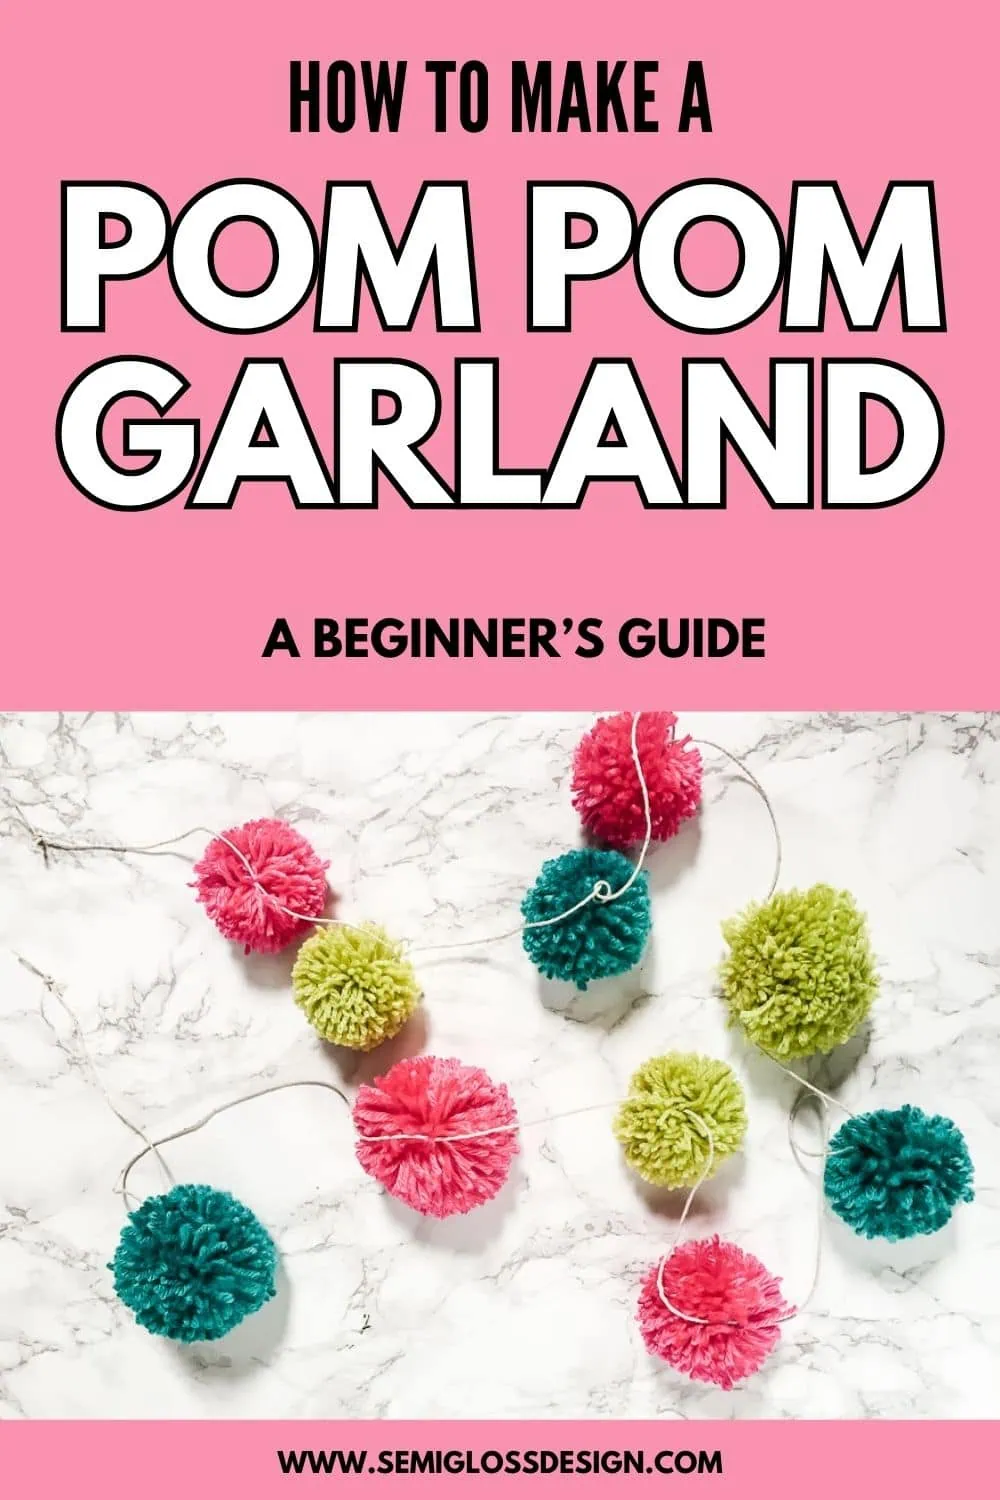
How to Make a Pom Pom Garland
Pom-pom garlands are so much fun to make and decorate with. They look cute hanging on a mantle, a Christmas tree, a bookshelf, or anywhere else that needs a fun touch. Learn how to make this easy pom-pom garland.
Pom-poms are one of my favorite things to make. In fact, I just taught my daughter to make them so that she could join in on the fun. So far, she’s making a zoo of pom pom animals.
I’m currently in my Christmas crafting phase. It’s all I want to do. Luckily, pom-poms can be made while watching TV, which is nice. They don’t require a lot of attention or space. And they’re not a messy craft, which is one of my favorite aspects of them.
How to Make a Pom Pom Garland
Supplies Needed
This post contains affiliate links. By purchasing an item through an affiliate link, I earn a small commission at no extra cost to you.
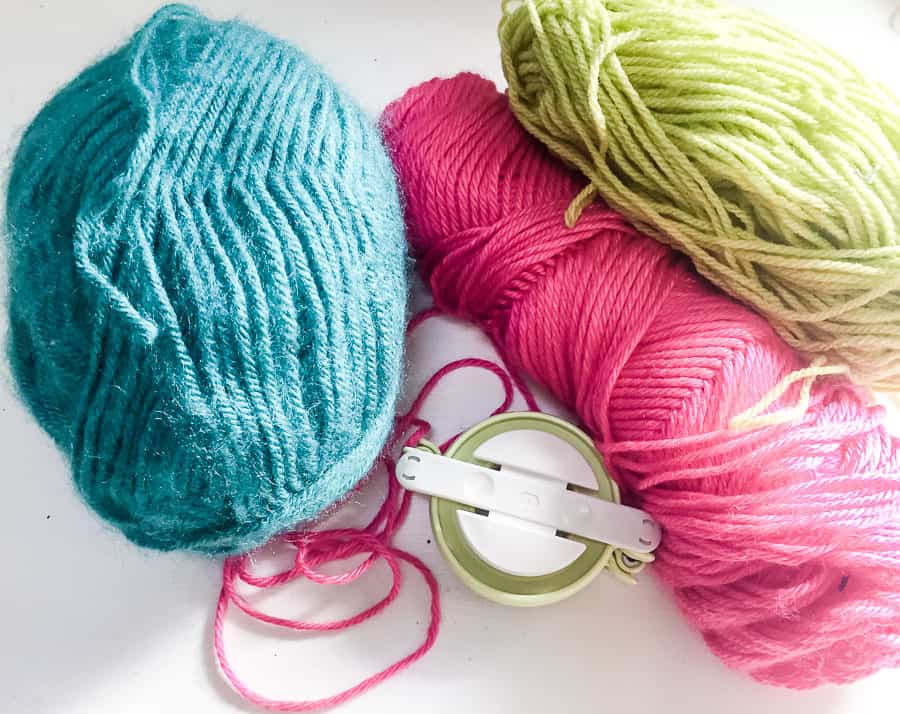
- Yarn in desired colors
- Scissors (I like short, sharp scissors the best)
- Pom pom maker (as a former sewing enthusiast, I highly recommend this brand)
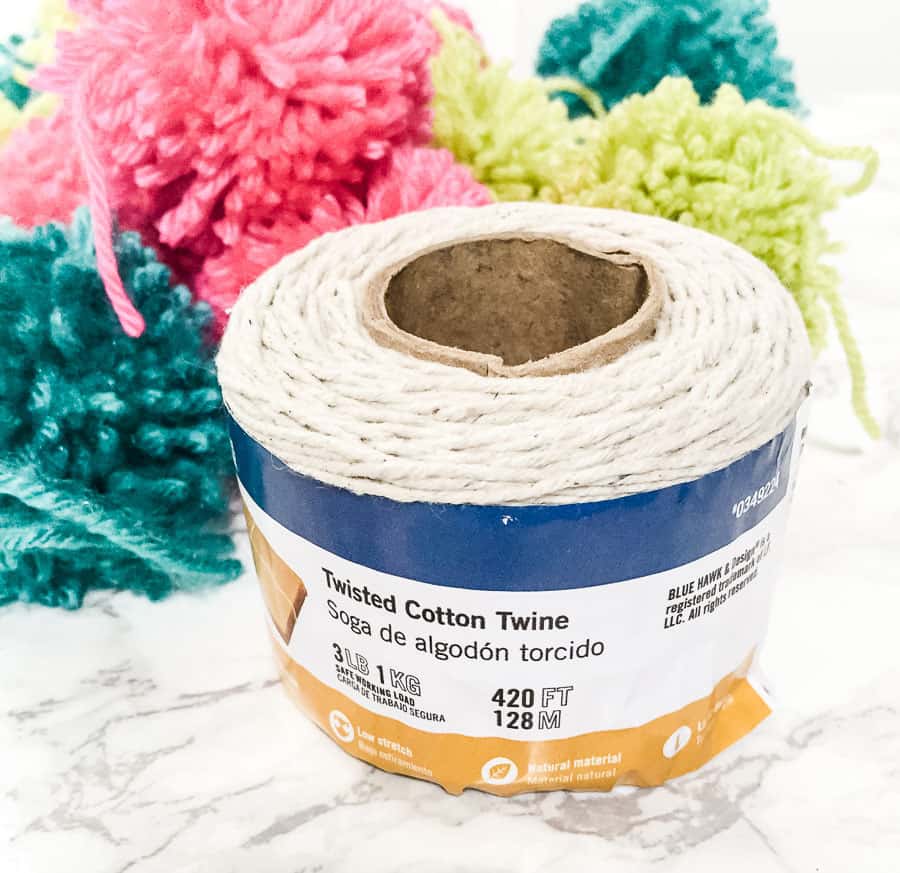
- Cotton twine
Making the Pom-Poms
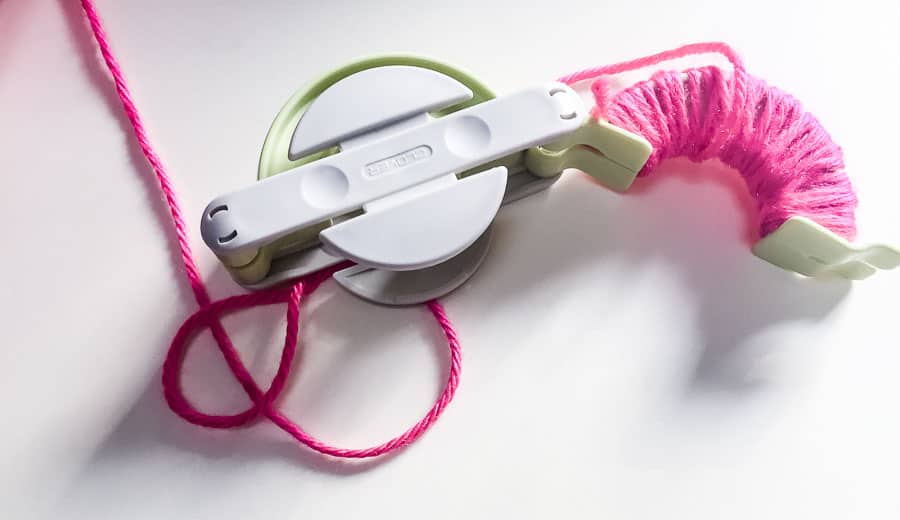
- Start by opening your pom pom maker and wrapping yarn around one side. It doesn’t need to be done precisely or in a row. Just wrap it.

- I like to make my pom-poms nice and full, so I wrap them until they become puffy.
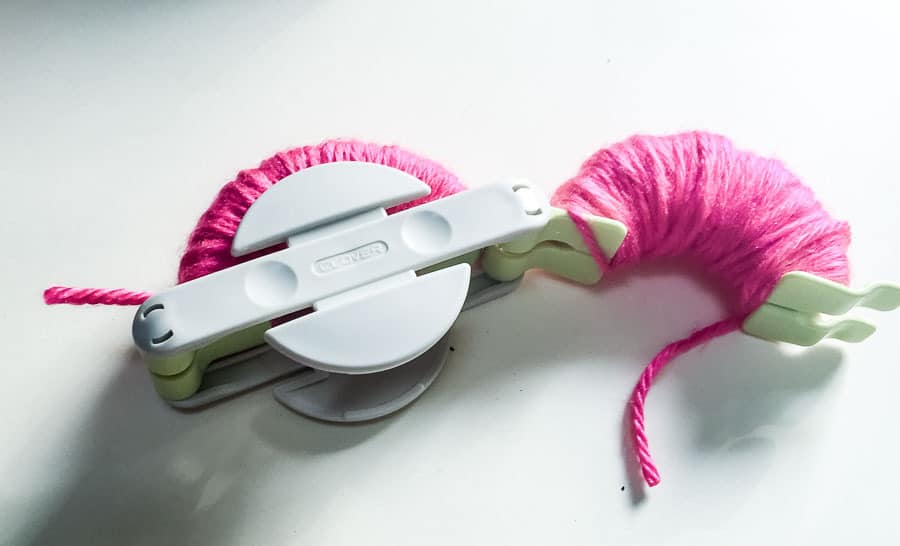
- Close the wrapped side and start wrapping yarn around the other side.

- When you’re done, close that side as well.
- Use scissors to cut the yarn from the skein.

- Then, cut a length of yarn about 8″ long.
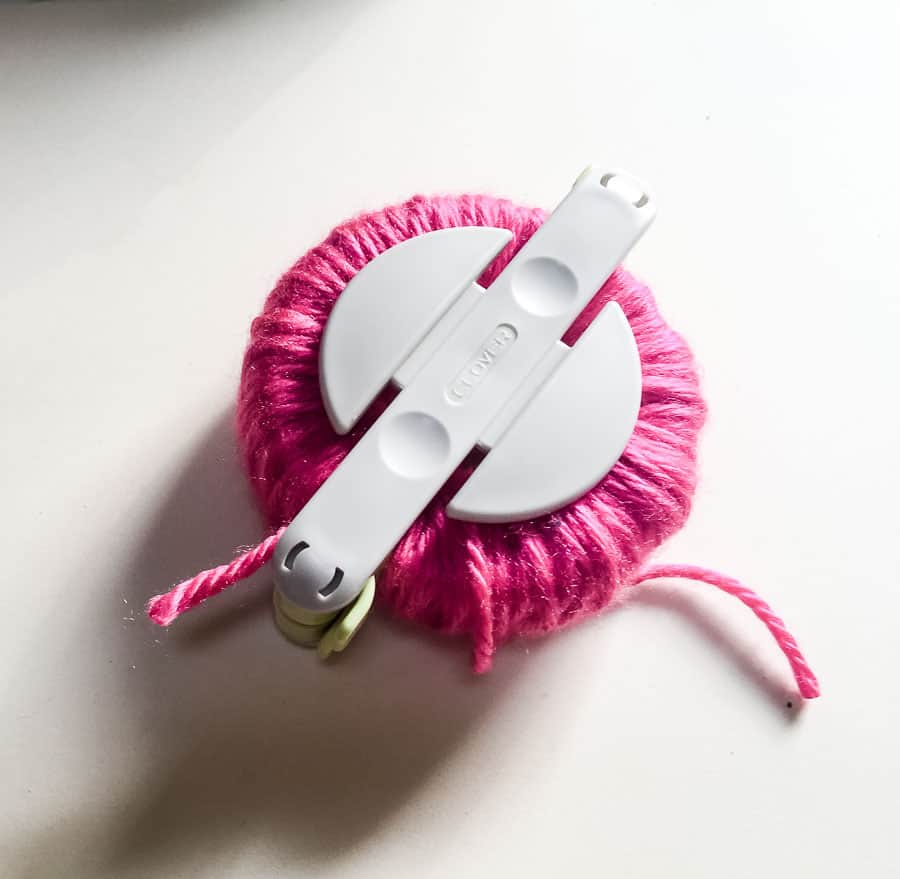
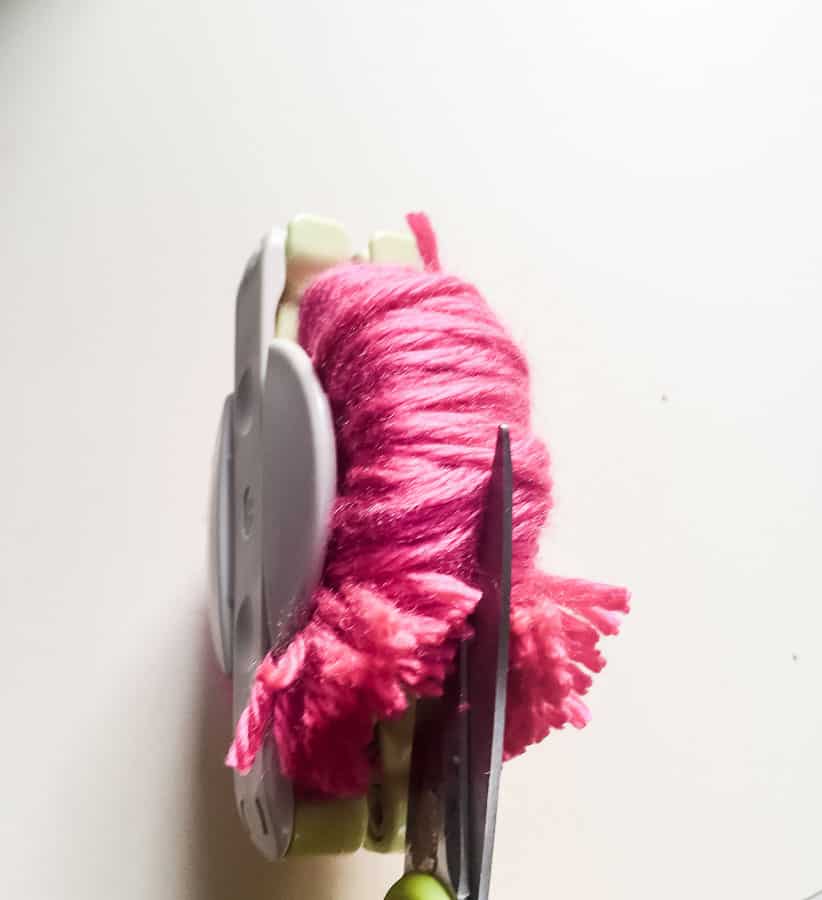
- Cut the wrapped pom pom maker along the ridge. Shorter scissors work better for this and are much kinder to your hands.

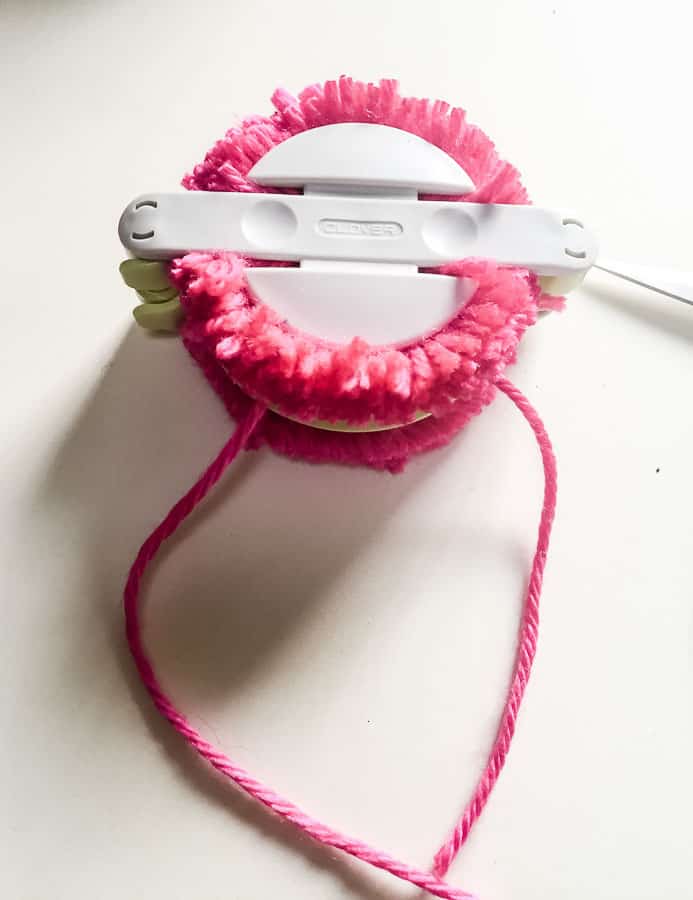
- Take the length of yarn from step 6 and wrap it around the area you just cut, in the ridge. Tie it as tight as you can with a knot.

- When you’re finished, open the pom pom maker.

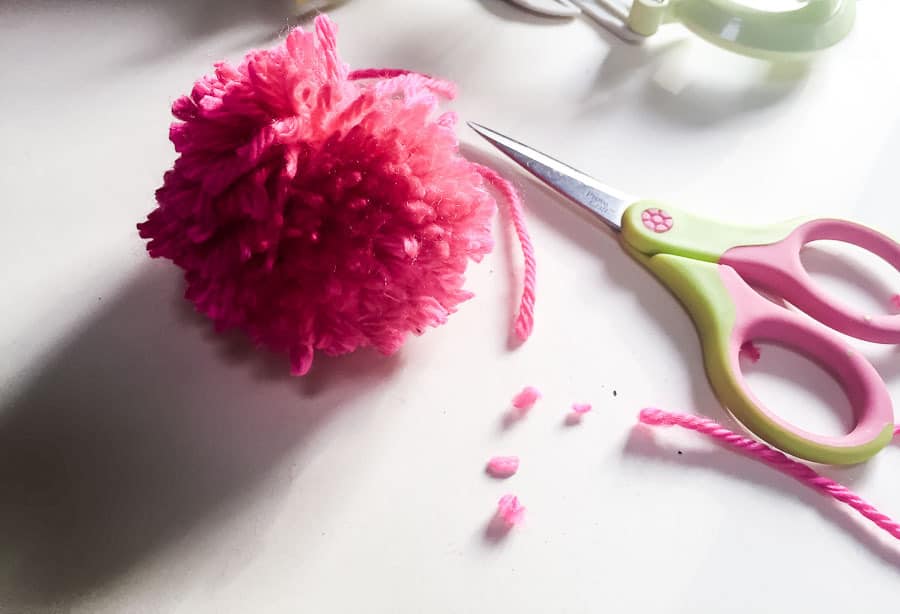
- Trim any excess fluff, but leave the longer pieces for now.

- You can use a fork to fluff the yarn if desired.
- Make as many pom poms as you need. For this garland, I used both the medium and large sizes.


Making the Pom Pom Garland
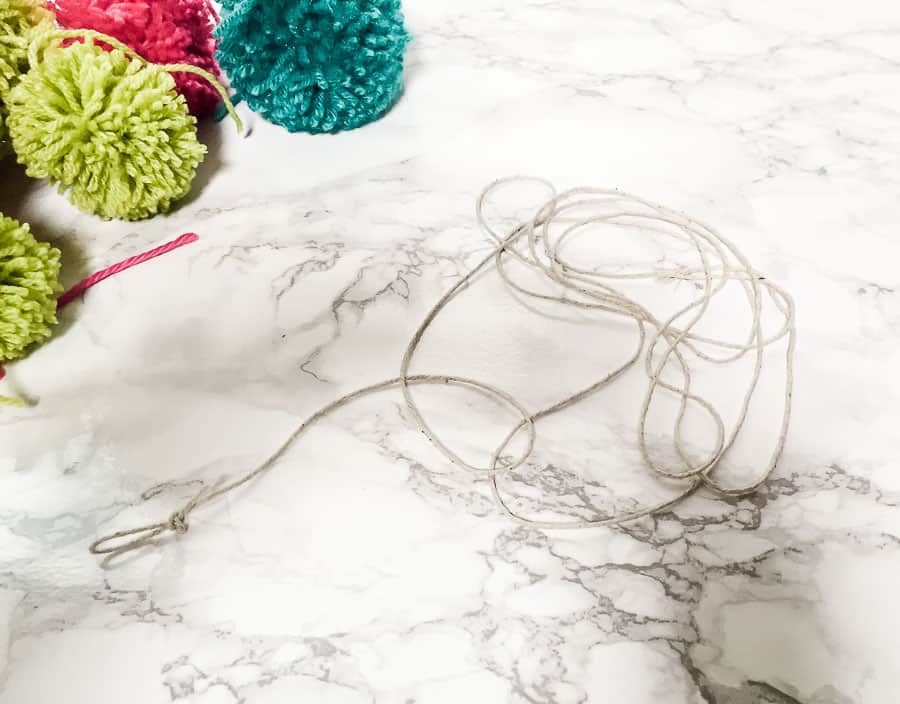
- Cut a length of cotton twine or string for the garland.

- Tie loops at each end for hanging.

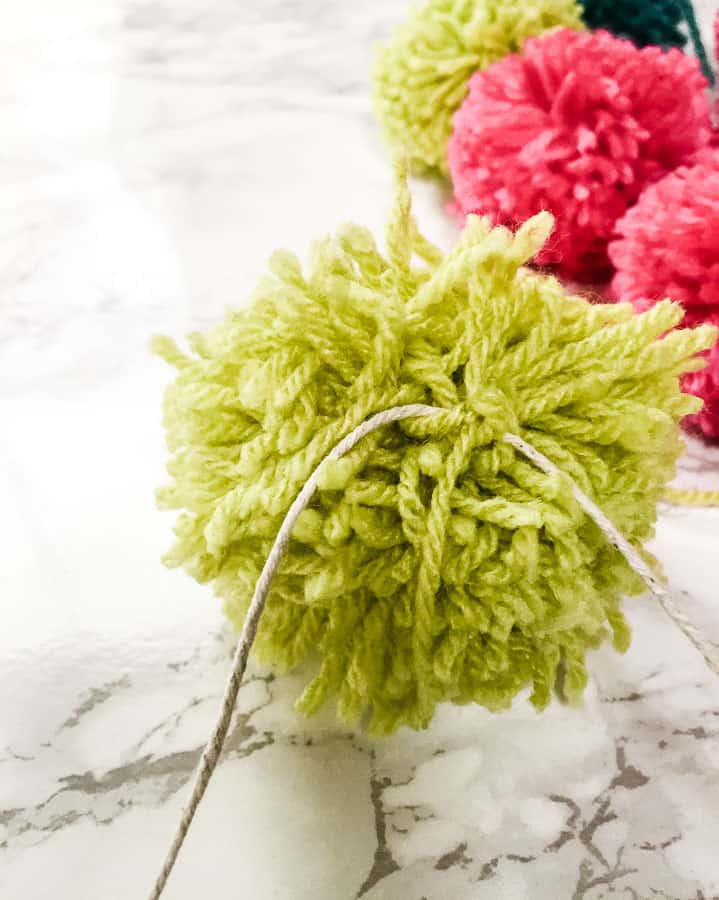
- Start tying pom poms onto the twine, using the long bits of yarn left on each pom pom. I find it easiest to start in the middle and space them out from there.

- After tying on the pom poms, trim the excess yarn.
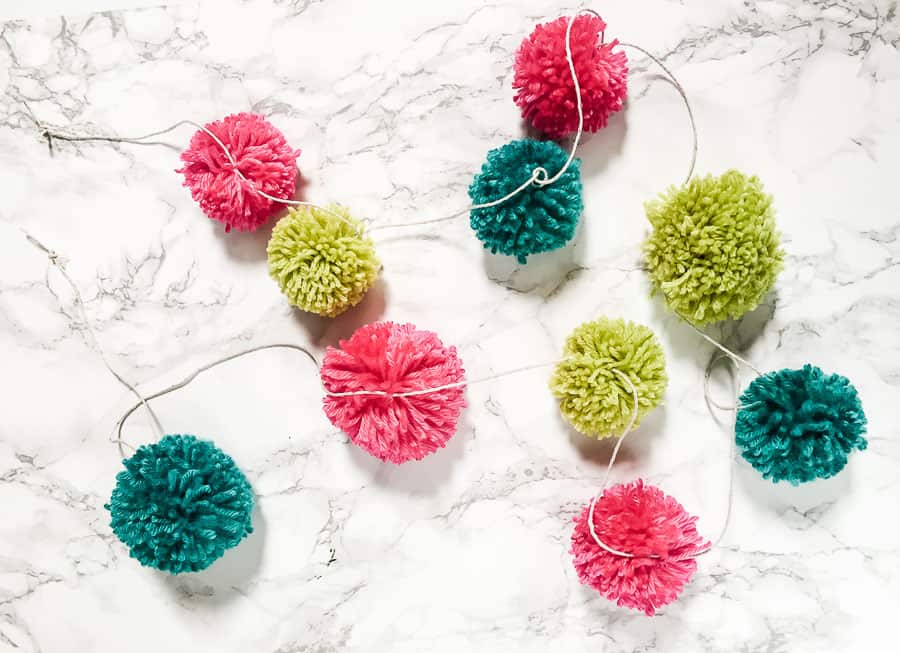
- Continue tying all of the pom poms onto the rope.
- Check the spacing of the pom-poms to make sure that they look nice.

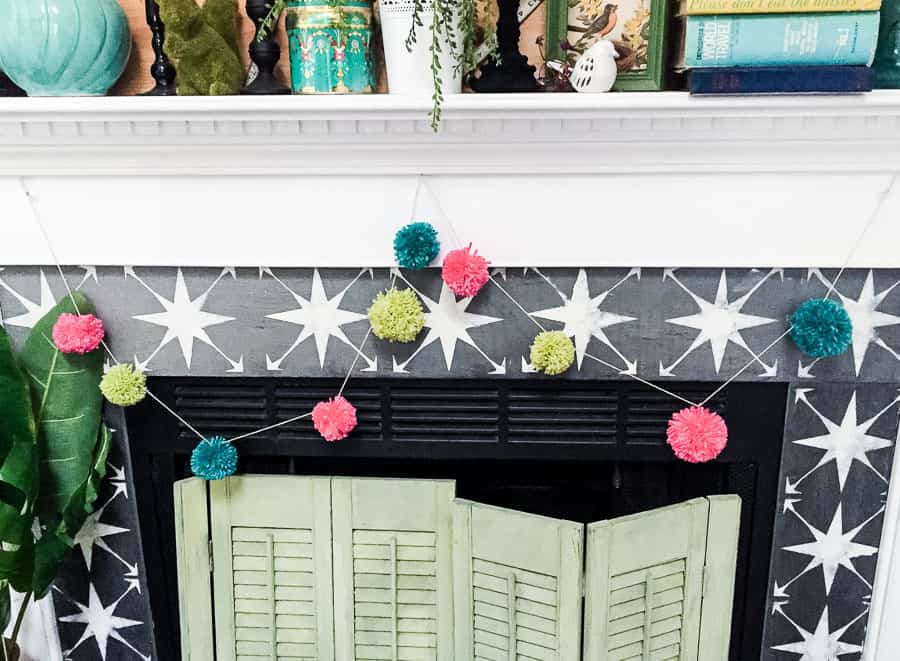
- When you’re done, hang the pom pom garland and enjoy! I plan on hanging my garland on my Christmas tree when I put it up. For now, it’s hanging on my mantle.

You might also like:
Pin for Later!

Emy is a vintage obsessed mama of 2 DIYer who loves sharing affordable solutions for common home problems. You don’t need a giant budget to create a lovely home. Read more…