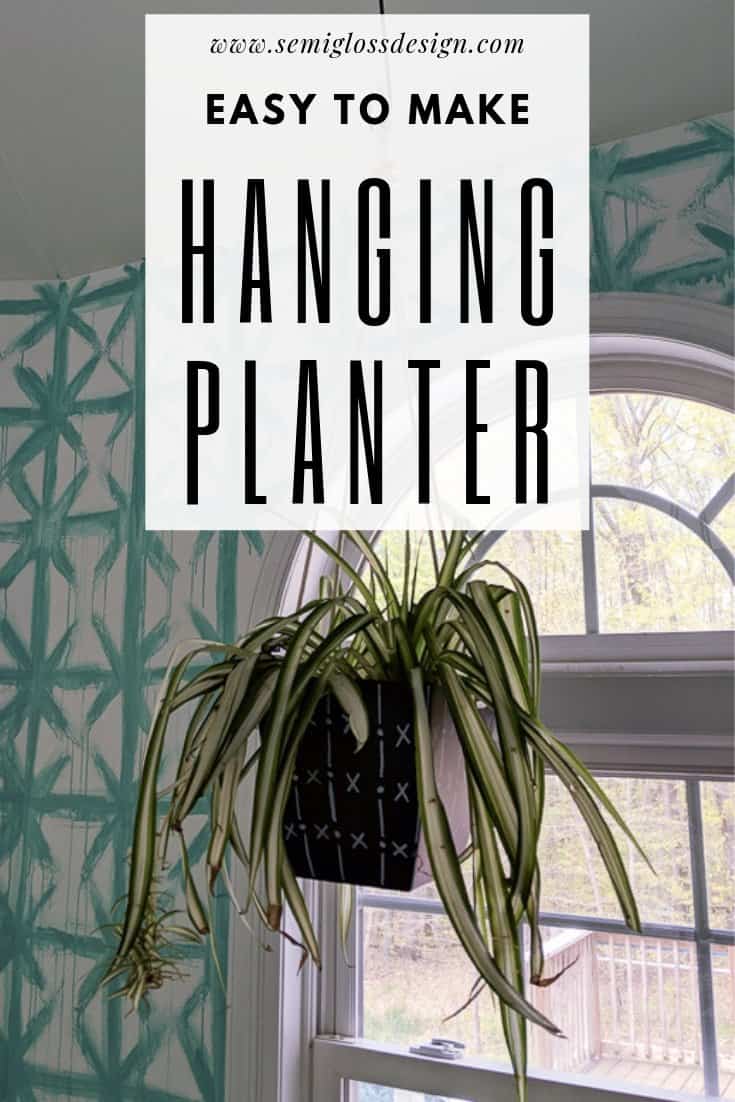
Simple Modern DIY Hanging Planter
Learn how to make a DIY hanging planter. You might also like this post on how to fill tall planters.
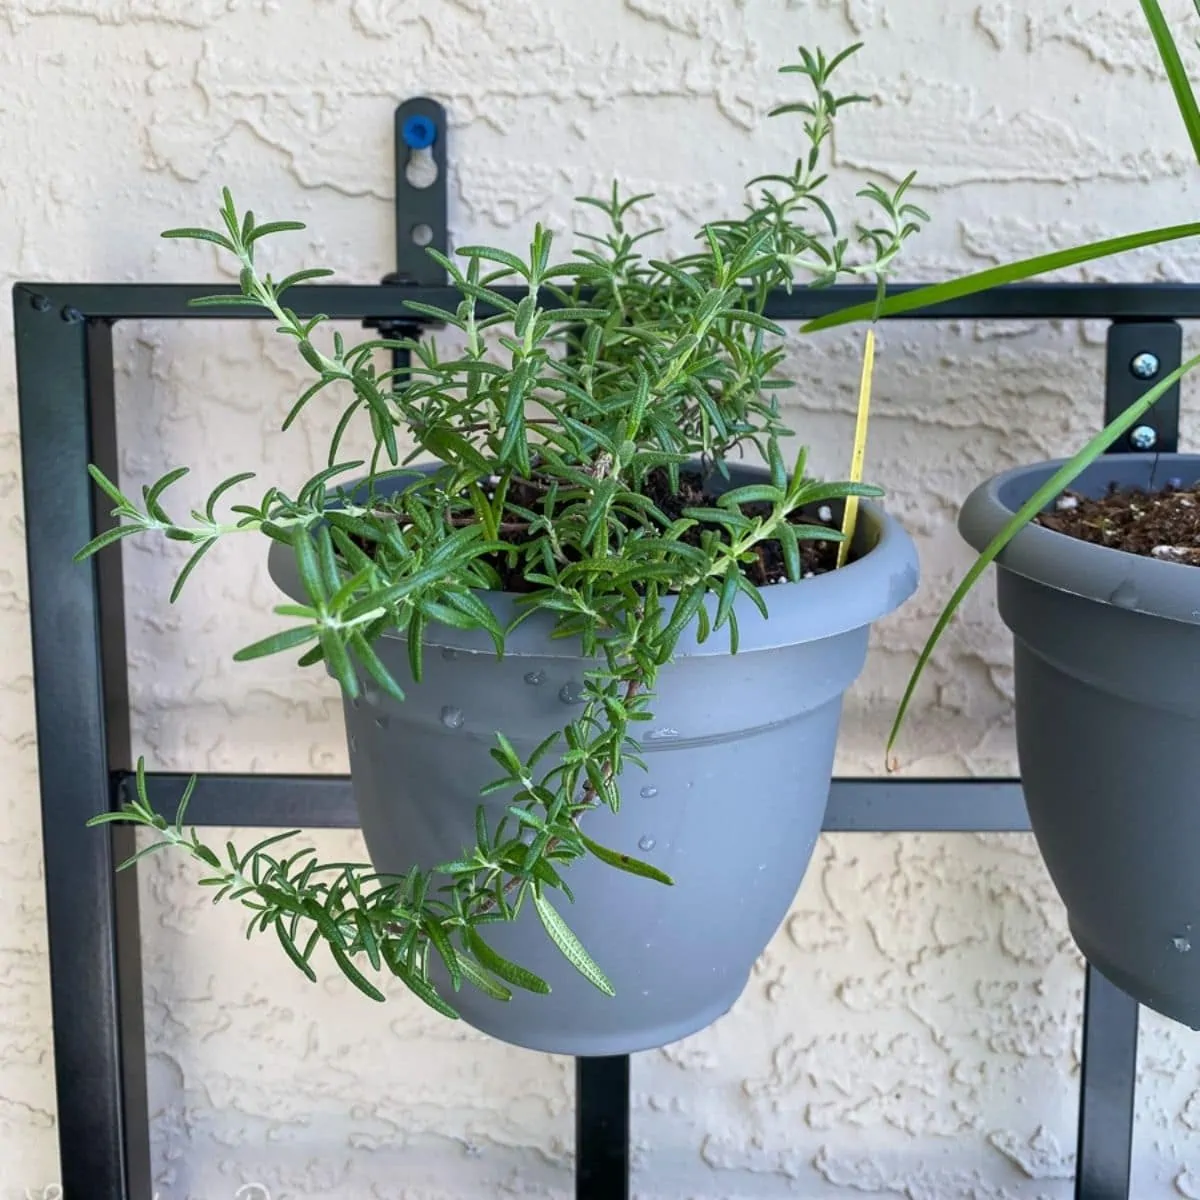
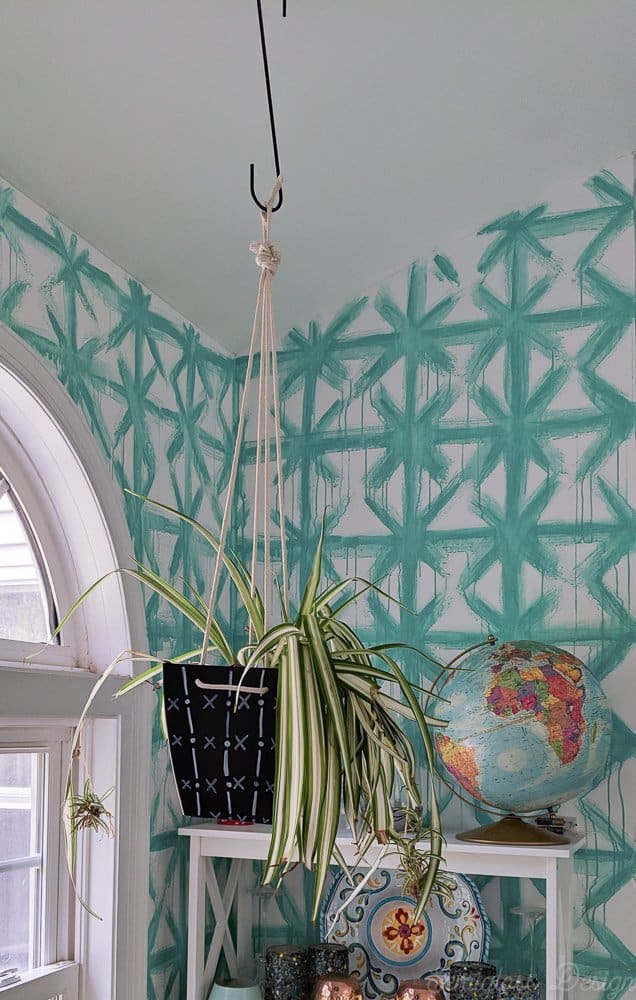
I love the look of macrame planters, but it feels like such an intimidating craft. Until I’m ready to learn, I wanted to make a super simple DIY hanging planter for my spider plant. I’m not sure this guy can survive my level of plant neglect, but at least it will die in style.
This post has a printable instruction sheet at the bottom of the post!
Make a DIY Hanging Planter
This post contains affiliate links. By purchasing an item through an affiliate link, I earn a small commission at no extra cost to you. As an Amazon Associate I earn from qualifying purchases.
Supplies Needed for Hanging Planter
- Plastic planter
- Cotton rope
- Drill
- Spray paint (optional)
- Chalk pen or paint pen (optional)
- Clear spray paint (optional)
- Plant hook
A few notes about the supplies I chose
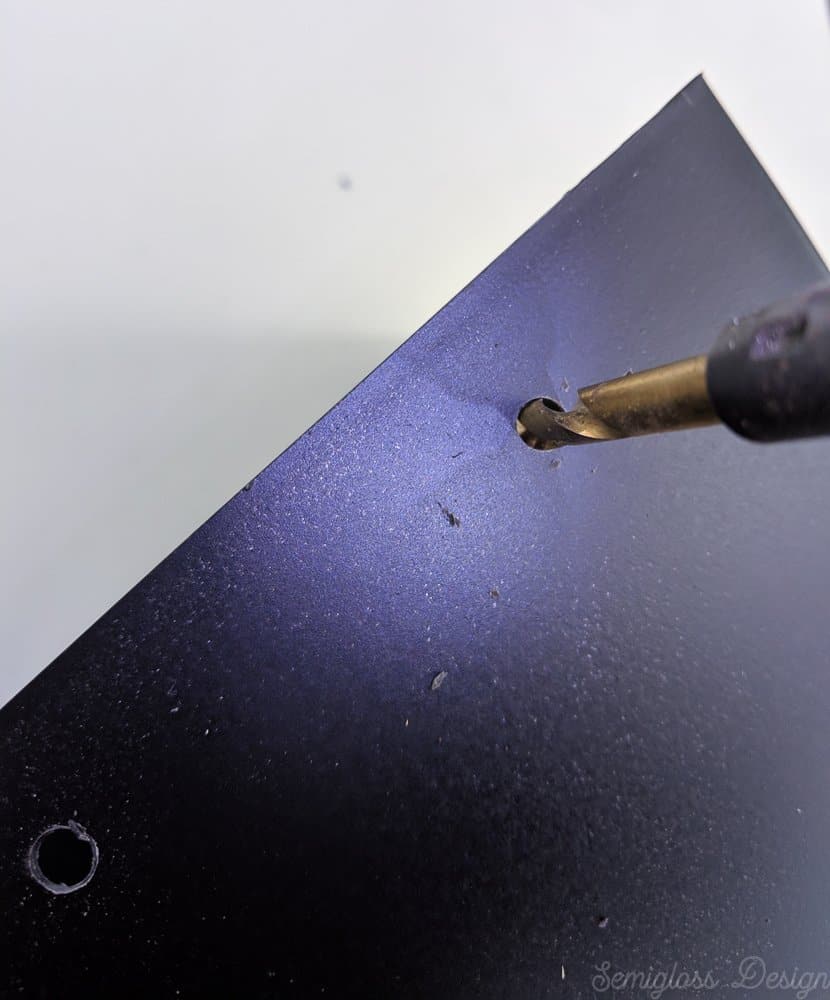
- Plastic pot. I used a plastic pot because it’s much easier to drill into a plastic pot. Plastic is also lightweight, which is helpful for hanging planters. Look for a pot without a hole in the bottom so that it won’t leak when you water your plant.
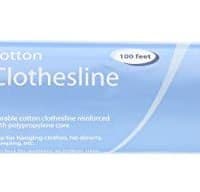
- Cotton rope. I chose cotton rope because it stays knotted better than nylon knots without learning difficult knots outside of the ones you use to tie your shoes.
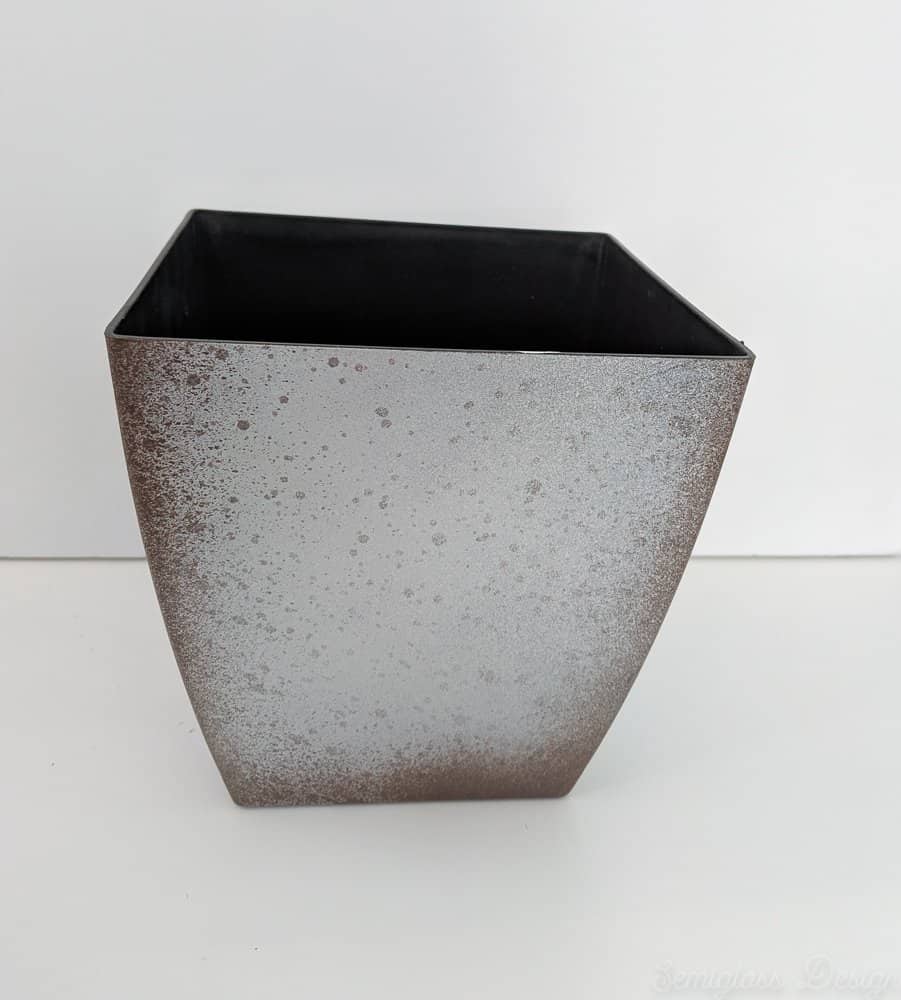
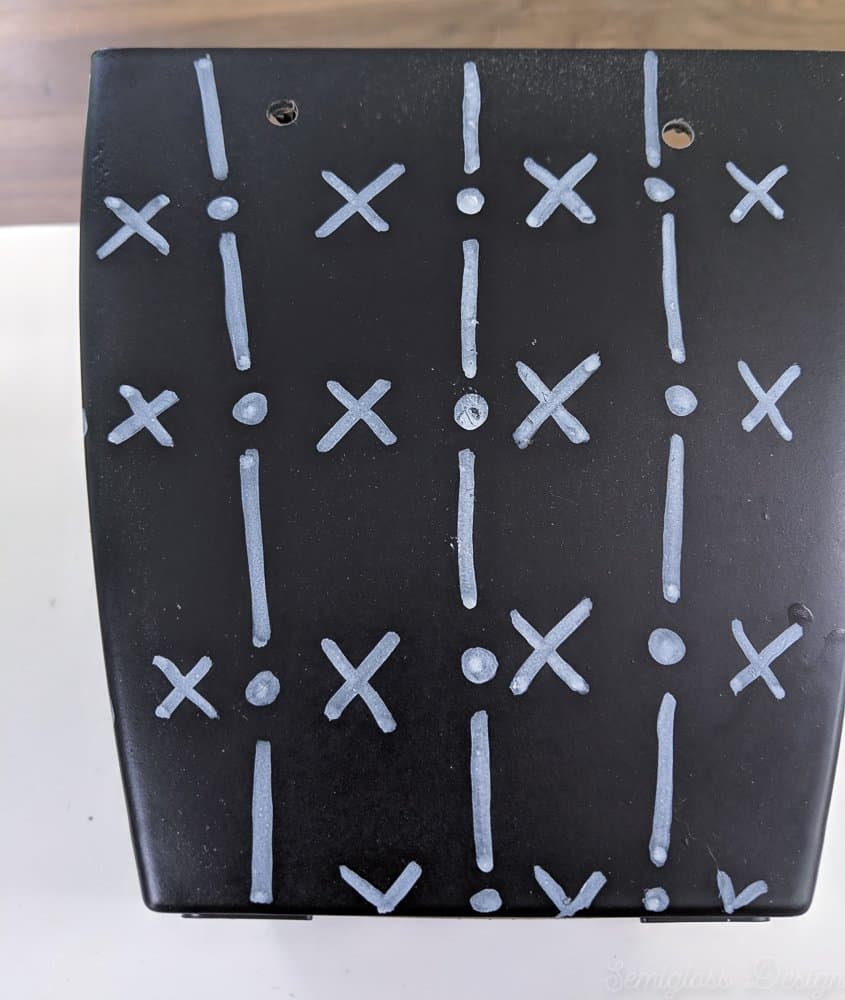
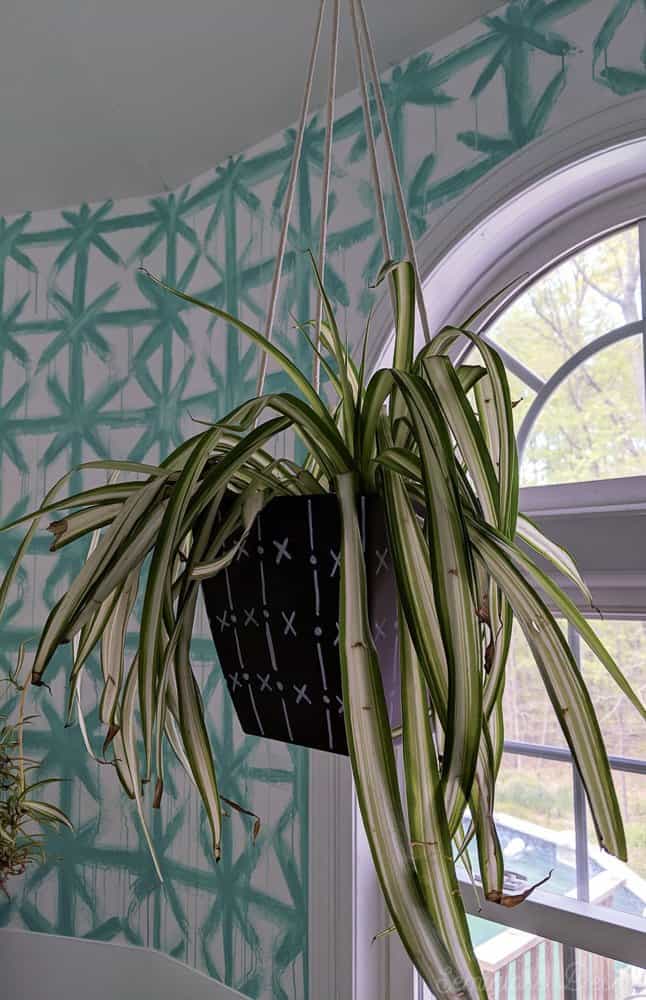
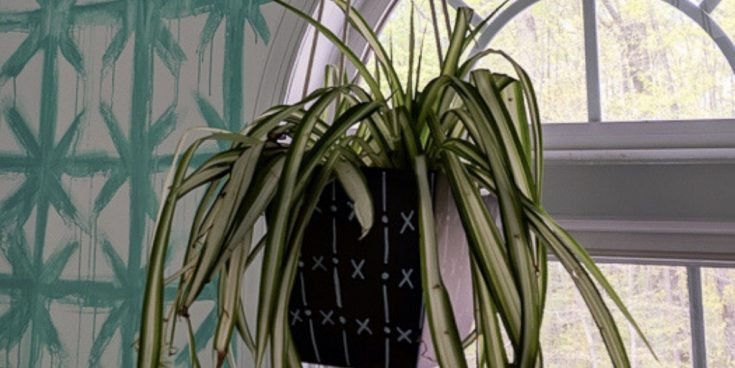
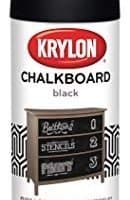
- Spray paint your planter if desired. I used chalkboard spray paint in black so that I could draw on it.

- Drill 2 holes at the top of the planter on opposite sides, equidistance apart.

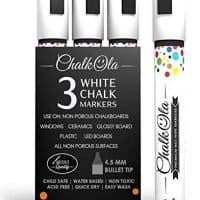
- Use a chalk pen (or paint pen) to draw a design on your planter if desired. I like chalk pens because they’re erasable if you mess up or hate your design. Plus you can change it if you want.

- If you don’t want your chalk pen design to get erased, give your pot a few coats of clear spray paint.
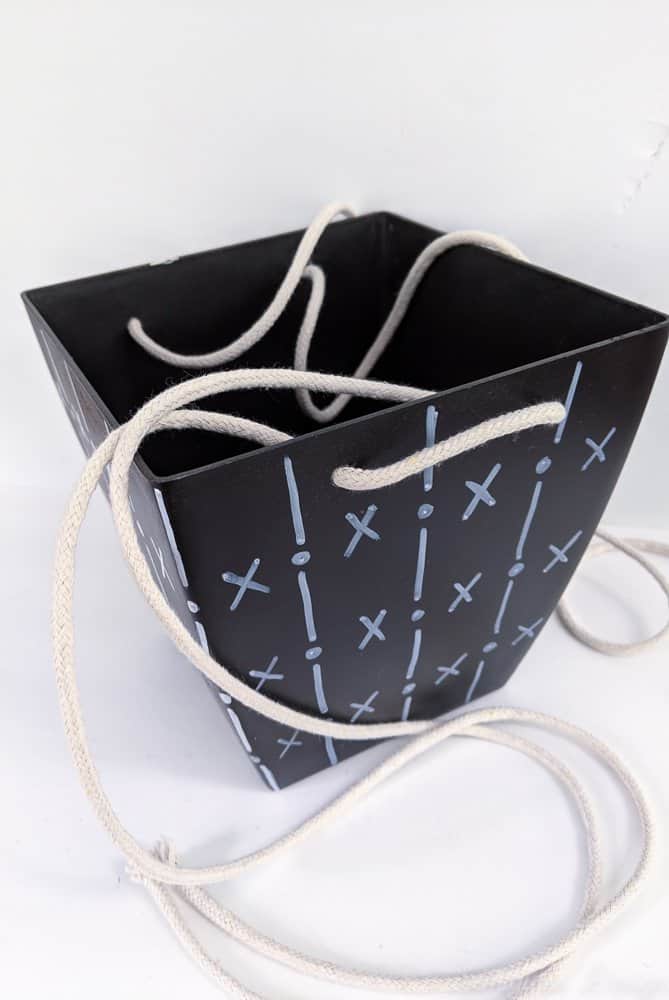
- Cut 2 lengths of rope about 4 ft long.
- Thread a length through each side of the pot, making sure both ends are even.

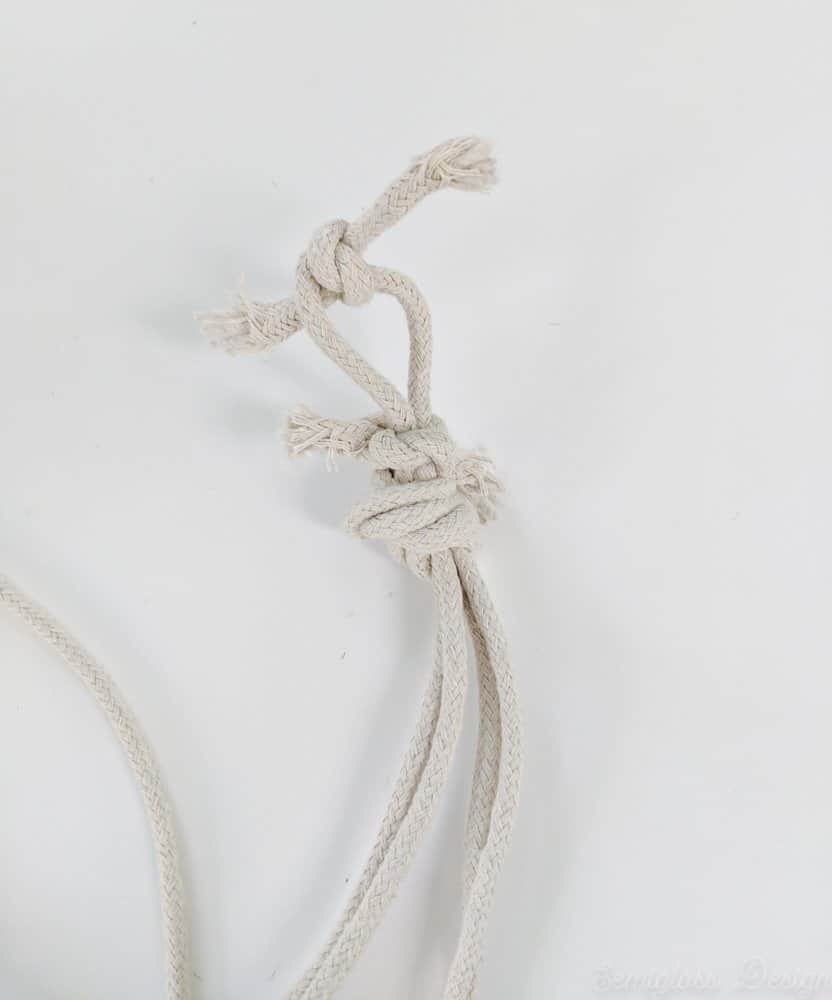
- Tie all 4 rope ends together in a basic knot, leaving a few inches of rope at the end.
- Use the end rope of 2 pieces to make a loop with a knot. Tie the other rope end as needed or cut it short.

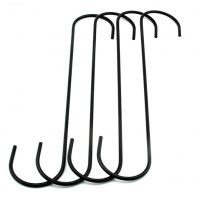
- Place your plant in the planter and hang it. I used a plant hook to help me reach the hook in the ceiling. This will also help when it’s time to water the plant in your DIY hanging planter.


Super Simple DIY Hanging Planter
Easy to make hanging planter
Materials
- Plastic pot
- Cotton rope
- Spray paint (optional)
- Chalk pen (optional)
- Clear spray paint (optional)
- Plant hook
Tools
- Drill
Instructions
- Spray paint pot if desired.
- Let dry.
- Drill 2 holes at the top of planter on opposite sides.
- Draw design with chalk pen or paint pen if desired.
- Protect your drawing with clear spray paint if desired.
- Cut 2 lengths of 4' rope.
- Thread each length of rope into each side of the pot, making sure the ends are even.
- Tie all 4 rope ends together leaving a few inches of rope at the end.
- Make a loop with 2 of the rope ends and tie a knot.
- Tie the remaining rope in a knot or cut it off.
- Hang plant. Use a plant hook if needed to reach the ceiling easier.
Recommended Products
As an Amazon Associate and member of other affiliate programs, I earn from qualifying purchases.
-
 Ella Square Planter, 8-Inch, Black
 -
Whitmor 100-Foot Cotton Clothesline
-
DEWALT DCF885C1 20V Max 1/4 Impact Driver Kit
-
White Chalk Markers - Pack of 3 chalk pens - Use on Chalkboard, Windows, Blackboard, Signs, Glass, Bistro - Water based wet wipe erasable pen - 4.5 mm Reversible bullet & chisel Tip
-
Plant hooks
-
Krylon I00807 Chalkboard Aerosol Spray Paint, 12-Ounce, Black

You might also like:
Pin for Later!

Emy is a vintage obsessed mama of 2 DIYer who loves sharing affordable solutions for common home problems. You don’t need a giant budget to create a lovely home. Read more…