How to Paint Fireplace Tile with a Stencil
Learn how to paint fireplace tile with a stencil. Check out this post with more information on how to use DIY stencils.
Over the long holiday weekend, I completed a project that I’ve been wanting to do for a long time.
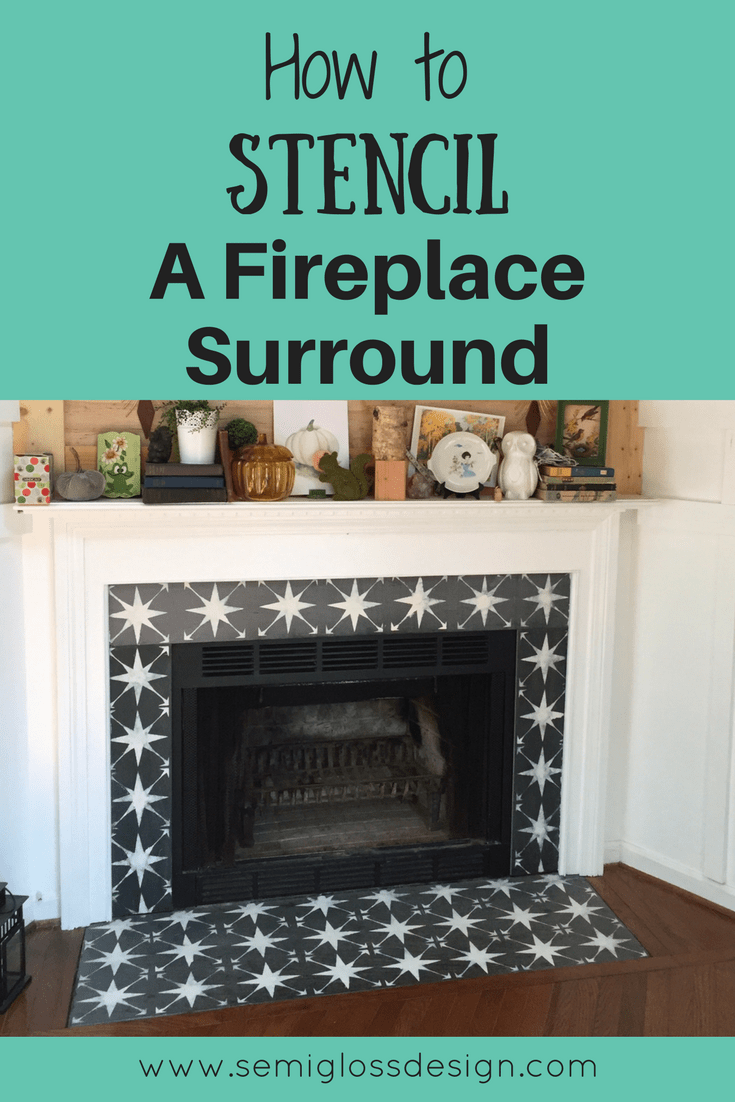
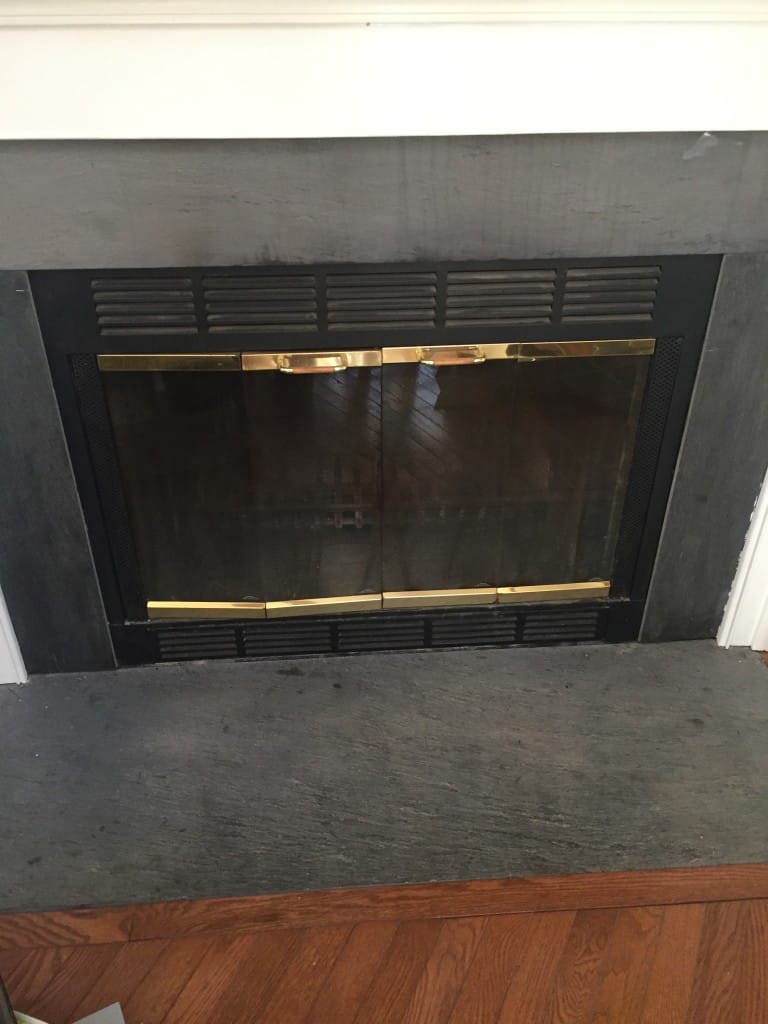
I painted my fireplace tile. I have slate tile which is probably sacrilege to some people, but I hated it. It always looked dirty and dull. Each slab was a different color. It drove me nuts. Plus, I wanted a pattern.
However, I did not want the mess of removing the mantle to remove the tile, then the mess of tiling itself. So I did what anyone does in my situation and grabbed paint and a stencil.
Want to learn how to paint fireplace tile using a handmade stencil?
Ironically, after working on this room all weekend, my sofa and chair that I had listed on craigslist sold, so this room is empty.
This post contains affiliate links. By purchasing an item through an affiliate link, I earn a small commission at no extra cost to you.
Painting Fireplace Tile FAQ’s
How do you paint a tile fireplace?
I didn’t have to paint the entire tile because the slate made a great background color for the stencil.
However, if you need to paint your fireplace tile, it’s possible!
- Clean the tile and rinse any soap you used.
- Lightly sand the surface.
- Use a good primer so that your paint will stick.
- Paint the tile.
What kind of paint should be used to paint fireplace tile?
After priming, you can use chalk paint or latex paint.
I used chalk paint for my stencil because the coverage is excellent for stenciling.
If you use chalk paint to paint the entire tiles, be sure to add a few coats of polycrylic to seal the paint.
You can also use latex paint if you want.
How to Paint Fireplace Tile Using a Stencil
Supplies Needed
- Paint (I just used chalk paint that I had on hand)
- Stencil brush
- Card stock for making stencil or stencil film
- Silhouette (for cutting stencil)
- Cut file
- Paper plate
Prep Work for Stenciling Fireplace Tile
- Figure out your tile spacing. All of my pieces were different sizes, so it took some math to figure out a decent size. In the end, there was still leftover space, but it’s not super noticeable because as a whole, it reads as a complete pattern.
- Resize your cut file fit the predetermined size.
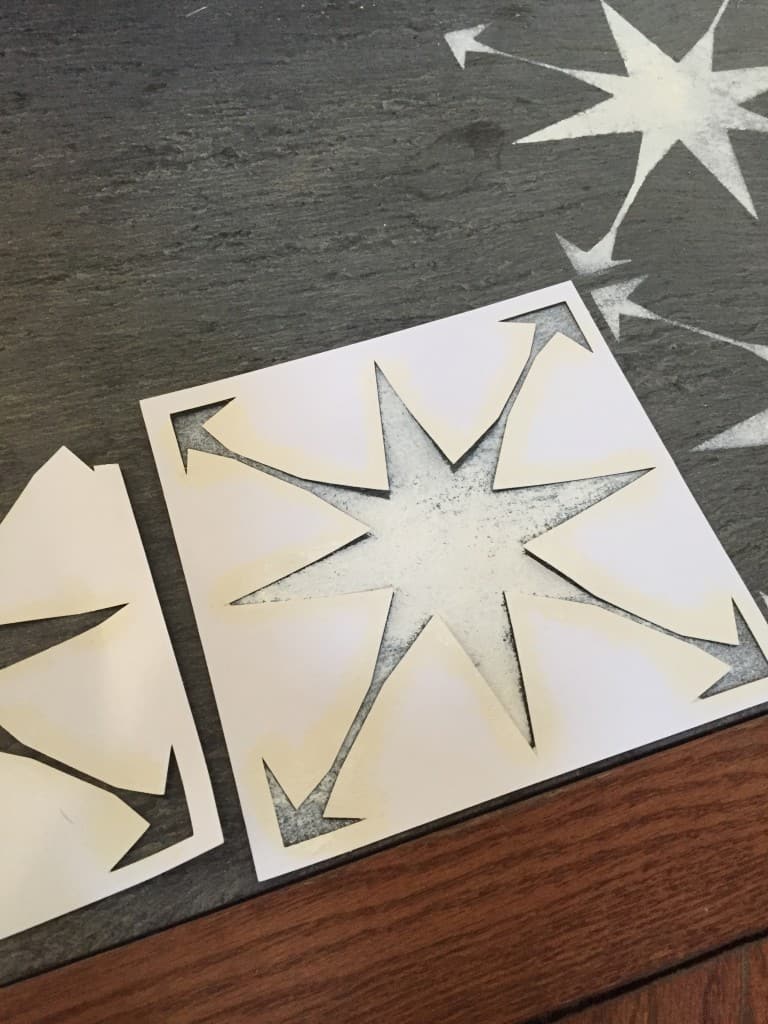
- I used card stock for my stencil and had my silhouette cut 3 of them. Card stock is cheap, so if you need to make more, you can. It is a bit flimsy, but it worked okay for a small job like this.
- Clean your fireplace well. I vacuumed mine well and then wiped it down a few times. (We also took this opportunity to remove the glass doors.)
Stenciling the Fireplace Tile
- Once your tile is dry, place your first stencil. I worked from the outside edges and worked my way in.
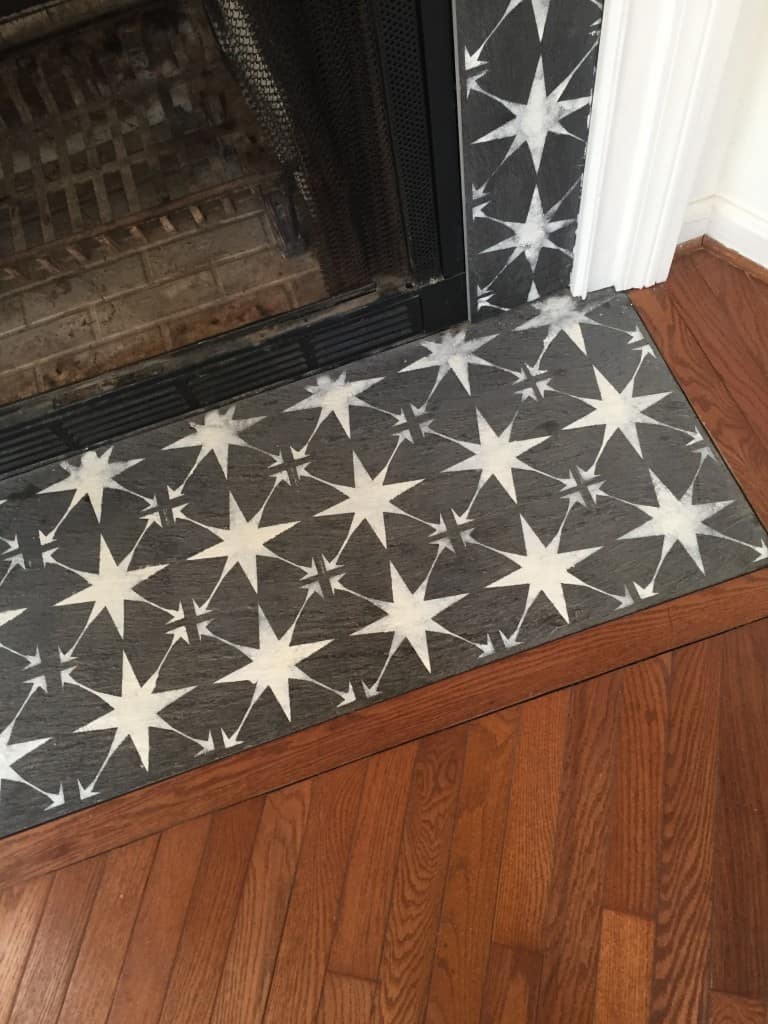
- Put paint on your brush and dab off most of it onto the paper plate before continuing onto the stencil. Work your way from the corners in to the middle to prevent seepage. You don’t have to have perfect coverage. In fact, a mottled look makes it look more like cement tile.
- I continued stenciling all of the whole stencils that I could. If any one area gave me trouble, I stenciled what I could so that I could come back to finish the hard areas.
- Then I went back and bent the stencil to fit the hard areas. In some areas, I cut it. Don’t worry about being perfect. Cement tiles are not perfect.
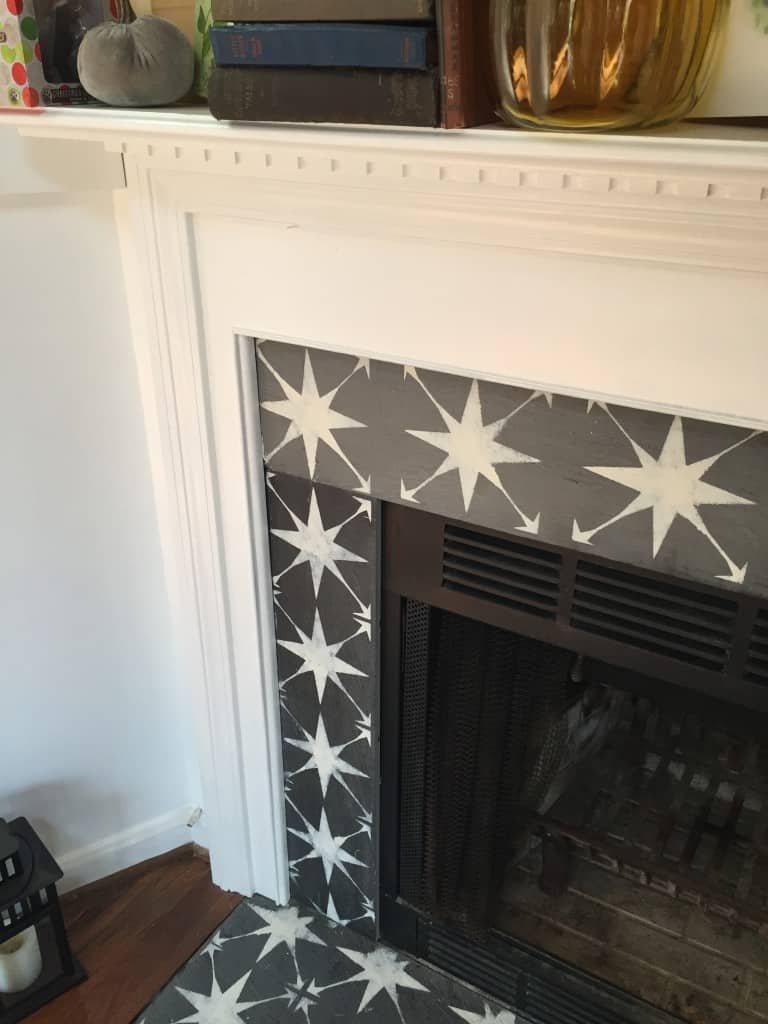
I’m so in love with the results.
The top of the fireplace is clad in shiplap using this technique.
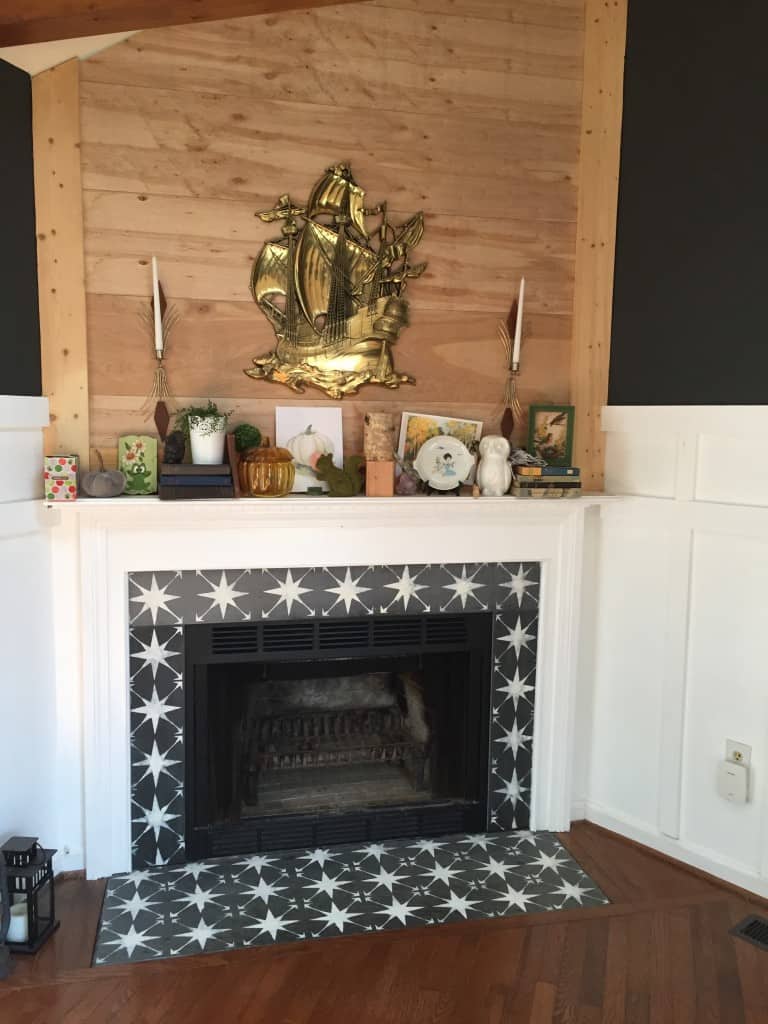
Want to create your own faux tile masterpiece?
The cut file is available in my Etsy shop if you want to make your own masterpiece. It includes PNG, DXF, and SVG files. DXF files work with Silhouette and SVG work with Cricut.
Check out this post for more information on using DIY stencils!
You might also like this post on repainting a brick fireplace.
Looking for other stenciled projects?
Pin for Later!


Emy is a vintage obsessed mama of 2 DIYer who loves sharing affordable solutions for common home problems. You don’t need a giant budget to create a lovely home. Read more…




oooh emy! that is awesome!!! totally love how it turned out!
Thanks Cassie! Now to find a new sofa…. Or just have a pretty space to work in for now.
Did you have any problems using chalk paint when the tile got heated up while using your fireplace? Also, did you have to seal it?
Hi Ashley. I haven’t used the fireplace yet. It’s not used often because we have a wood burning stove in the basement that we use more. We’re hoping to get a good snow day soon and have plans to use it then, so I’ll let you know how it goes.
I didn’t seal it because the slate is very porous. There are spots where I had accidentally gotten paint on it and despite scrubbing it clean several times, the paint remained. If your fireplace surround is glossy at all, you should seal it. A few coats of polycrylic will keep it protected. 🙂
Emy, this is spectacular! I am in love! And that ship on the wood mantel- you’re killing me! Just saw your updates on Insta this weekend and this room is spectacular!