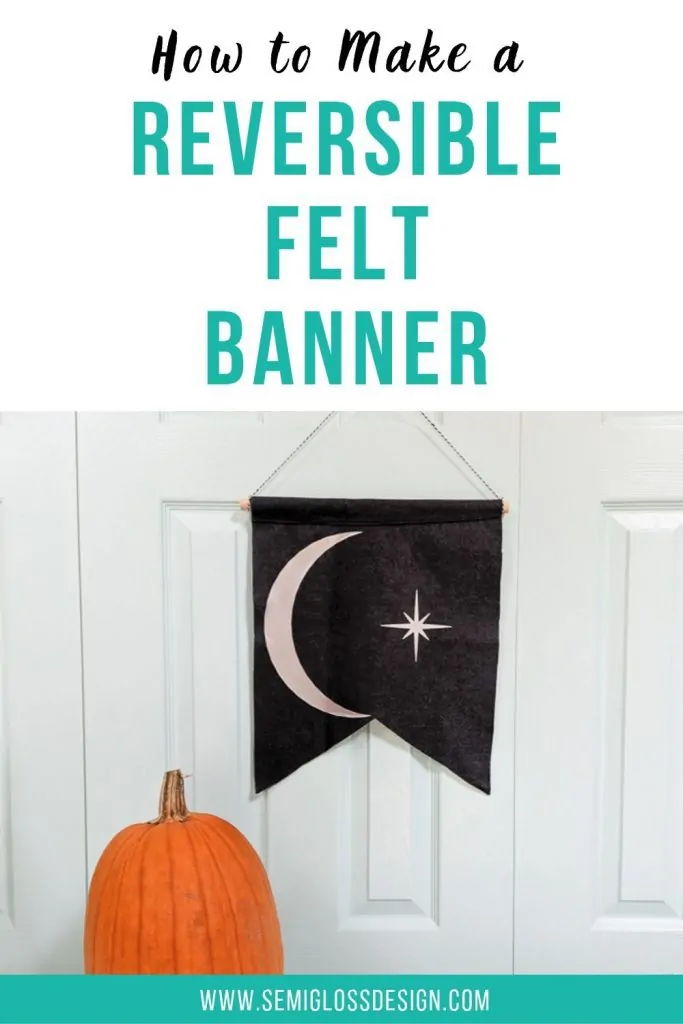
Reversible DIY Felt Banner
This DIY felt banner is so easy to make. It has a fun boho feel or can even be used as Halloween decor. Free cut files and the printable version are available!
Some years I’m super into Halloween crafting and other years not so much.
As I write, I have pumpkins sitting on my porch waiting to be carved and I’m hoping they’re not rotten already.
Check out how I etched my pumpkins with a dremel!
This post contains affiliate links. By purchasing an item through an affiliate link, I earn a small commission at no extra cost to you. As an Amazon Associate I earn from qualifying purchases.
This is my first attempt at Halloween decor so far this year. Maybe I need to watch some spooky movies to get more in the mood for my favorite holiday.
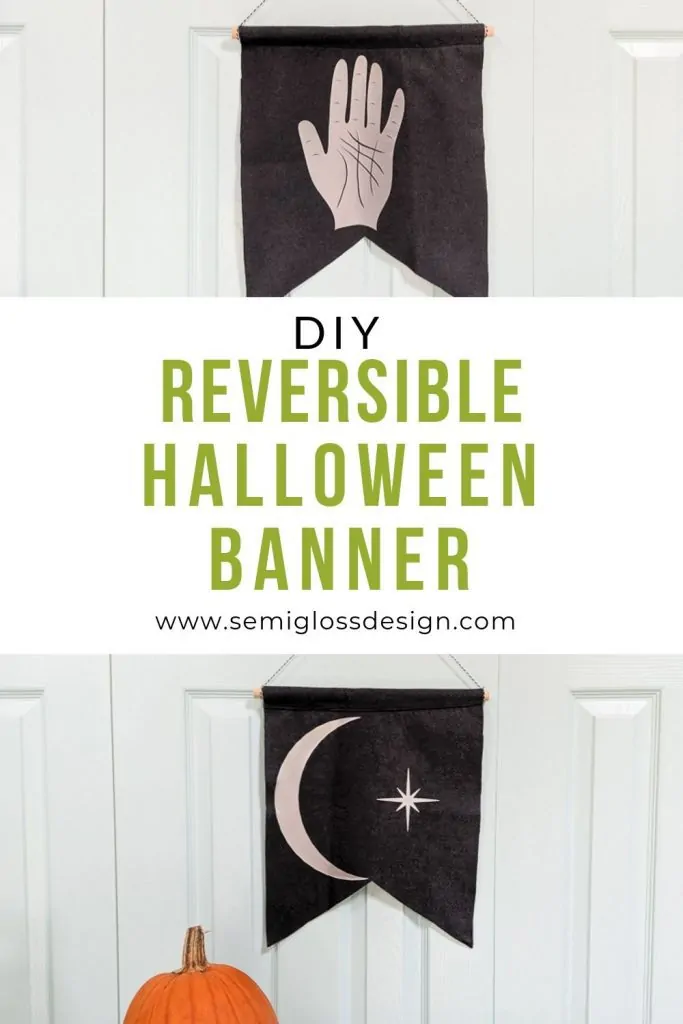
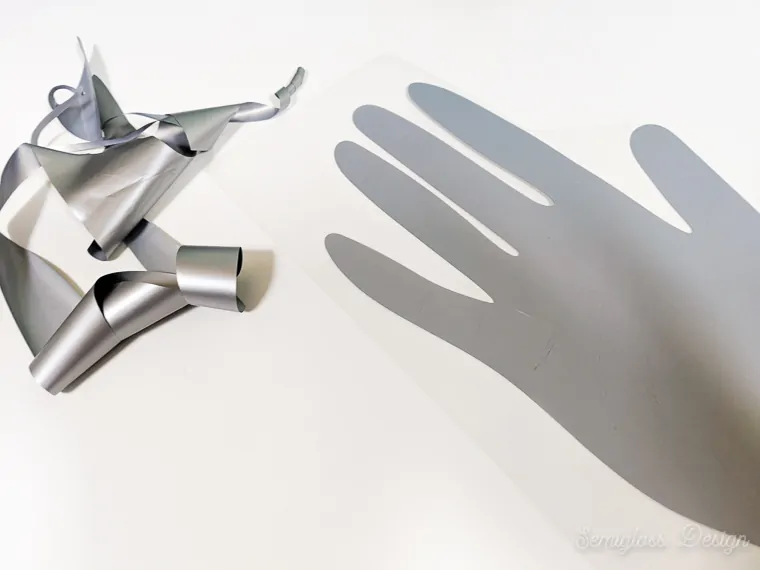
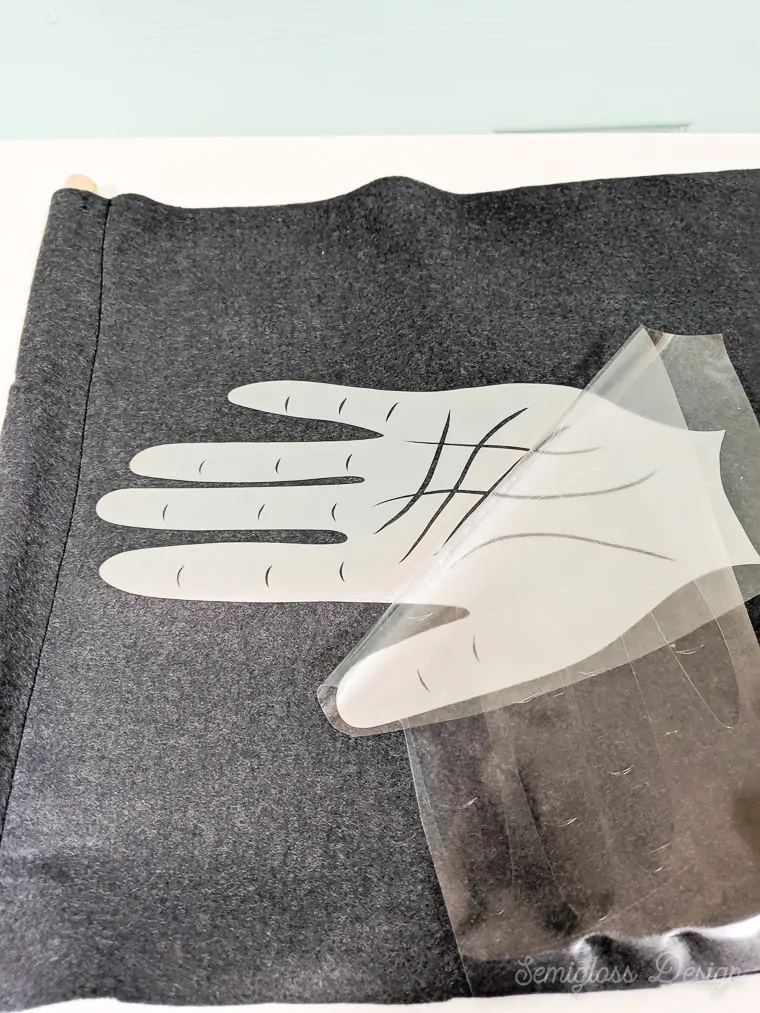
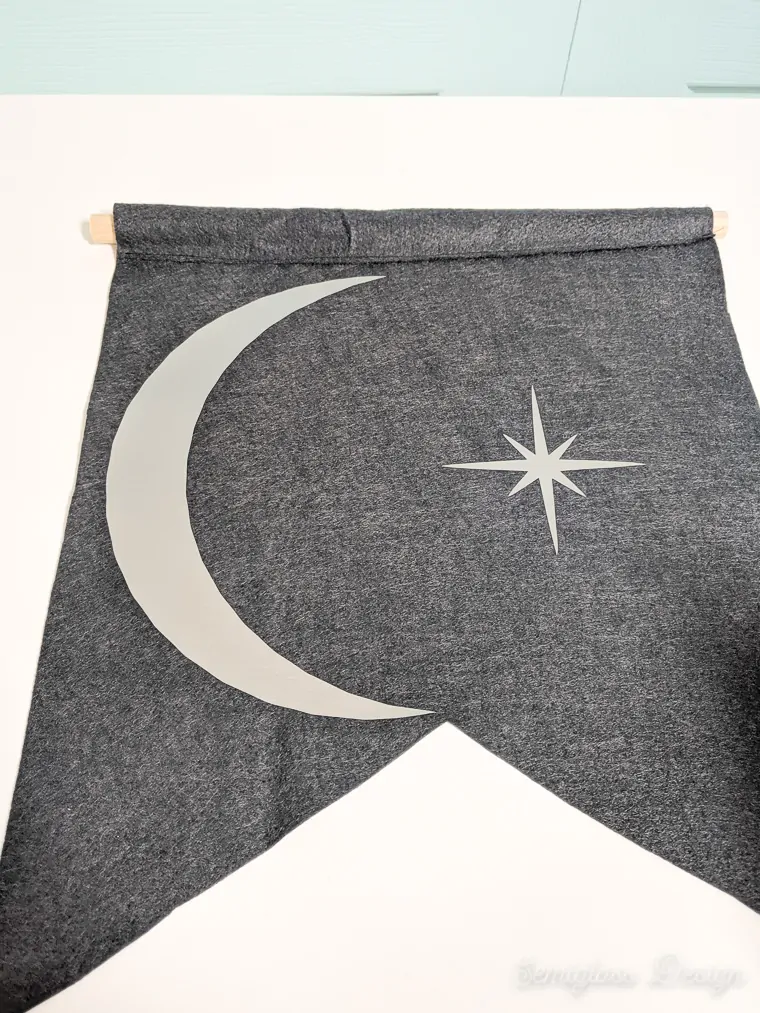
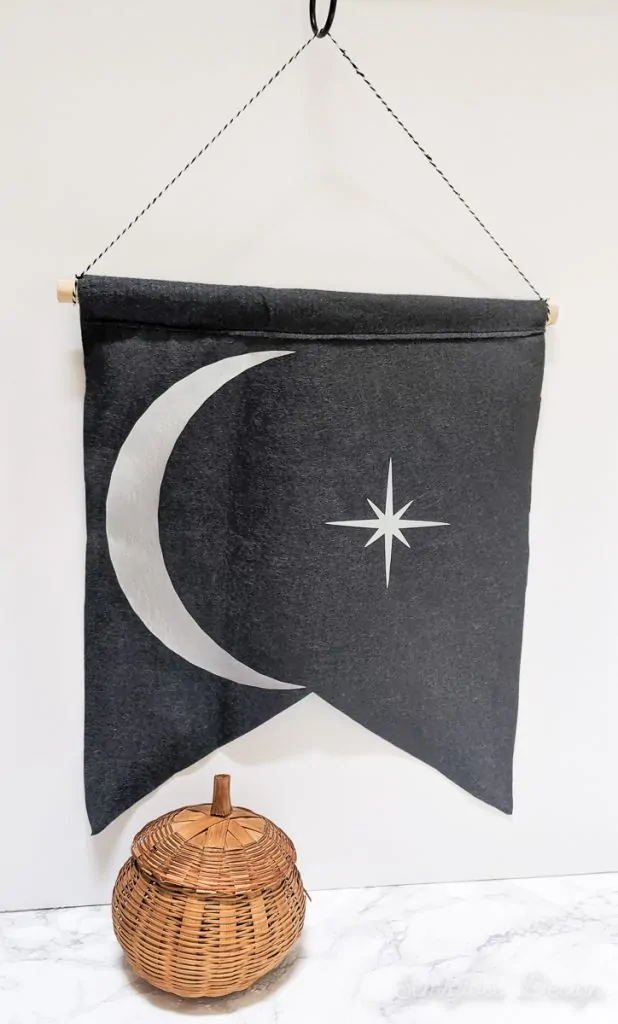
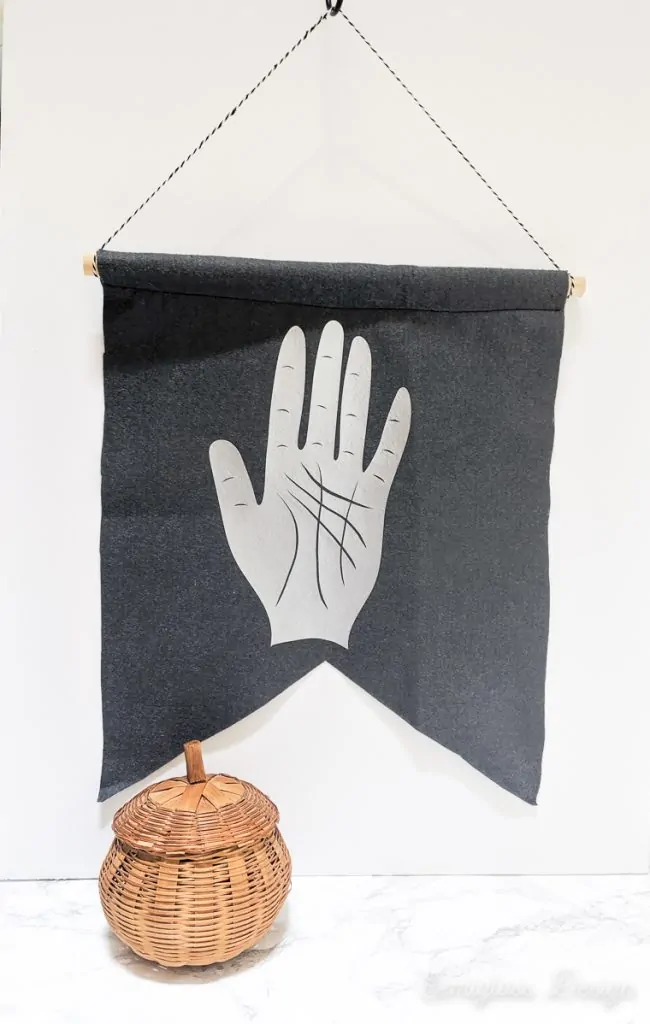
This banner has a subtle spooky look with a moon and star adorning one side and the other featuring a palmistry hand.
It’s perfect for Halloween, but I’m willing to bet that it’s going to end up in a certain daughter’s boho room.
I hand drew the hand (haha) in Adobe Fresco, a new drawing app for the iPad. It seemed like a good time to test out the vector brush and how it works with Adobe Illustrator.
If you’re into that kind of thing, look for a post about it on my art blog.
How to Make a Felt Banner
Scroll down for cut files and printable files.
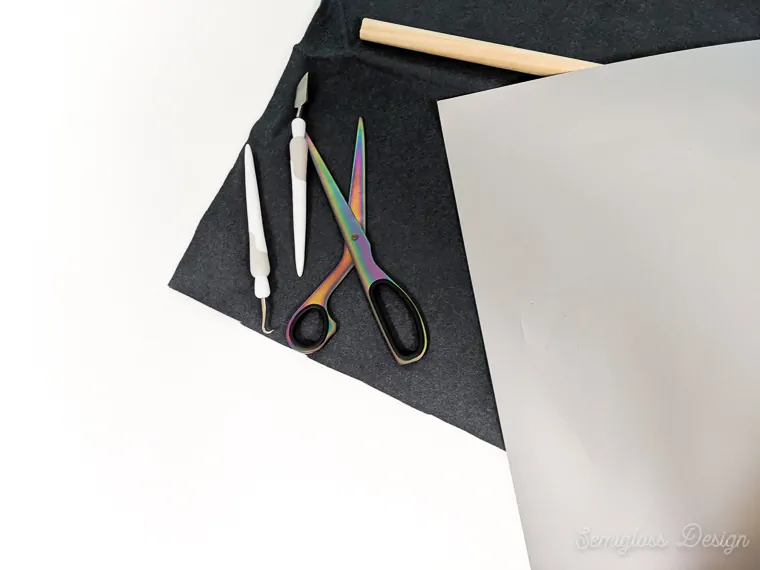
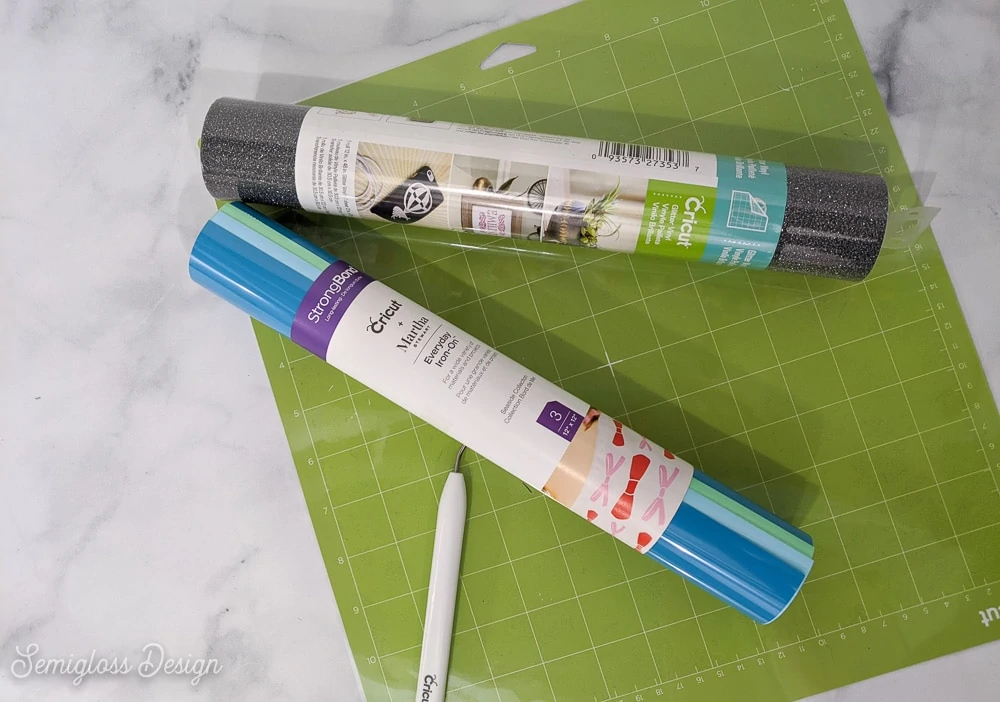
Supplies Needed:
- Felt fabric
- HTV (I used silver)
- Silhouette
- Weeding Tools
- Dowel
- Baker’s Twine
- Sewing Machine
- Iron
A quick note about using silver or metallic vinyl. It looks horrible with the plastic backing on it, but I love how the finished product looks.
Don’t let the shiny backing scare you from using it. It’s much prettier when applied!
Prep Work
- Cut your dowel to size if needed. I cut a longer one to about 14″, but the 12″ ones I listed above will work just fine.
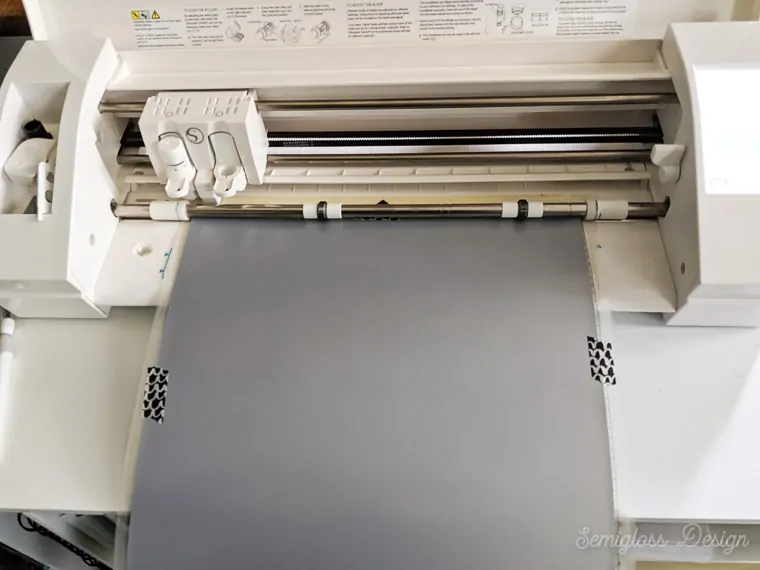
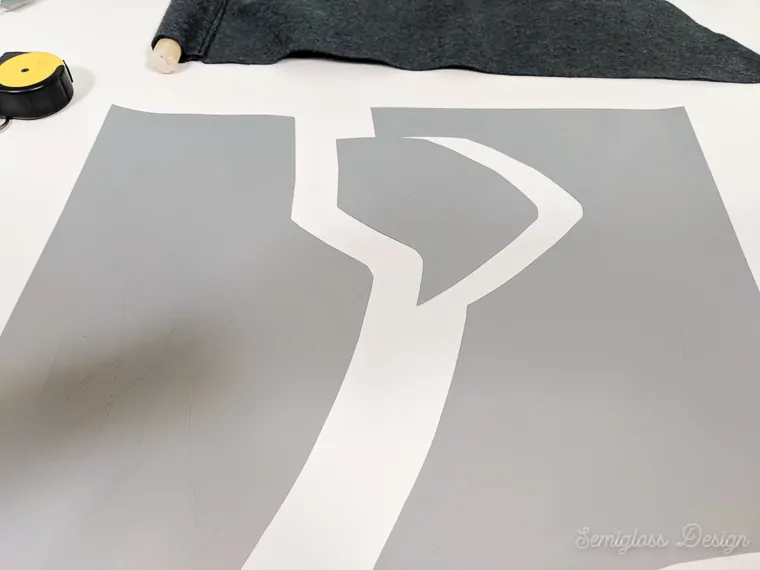
- Lay out your design in your cutting software to efficiently use a sheet of vinyl.
- Don’t forget to mirror your design. This only matters if you want your hand and moon to face a certain way.
- Load your HTV onto your mat SHINY SIDE DOWN. (Use washi tape to hold the vinyl in place if your mat isn’t very sticky.)

- Send to cut. I use the settings of 2,8, and 9 on a Silhouette.
Making the DIY Felt Banner
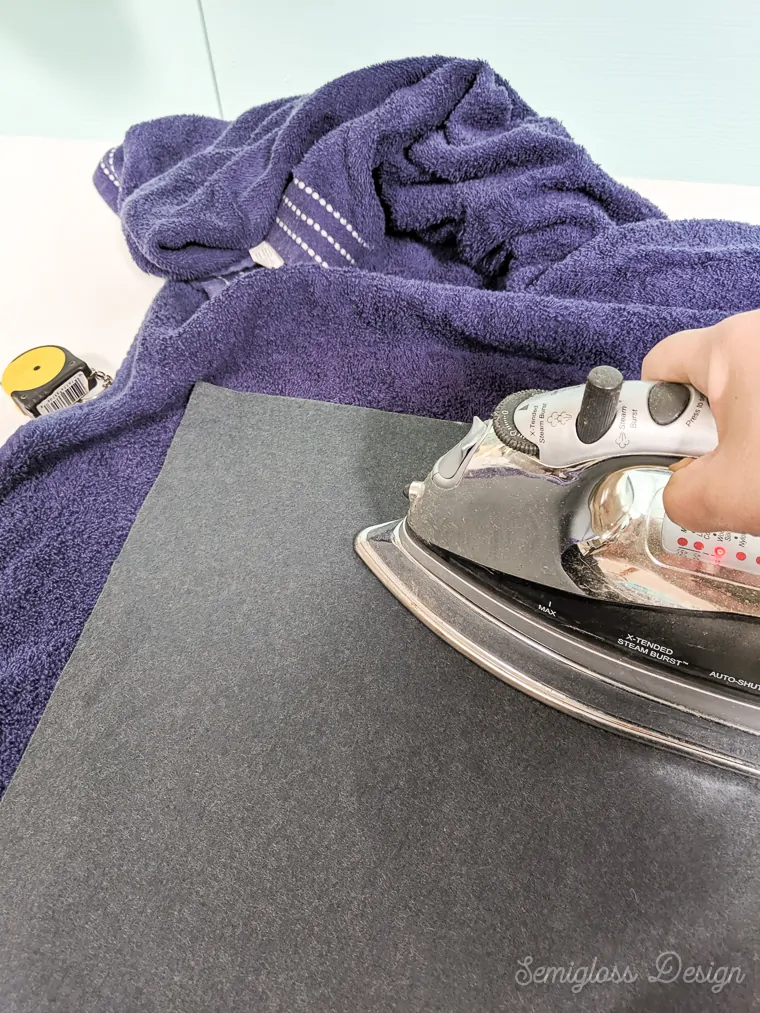
- Iron your felt on a low setting to remove creases.

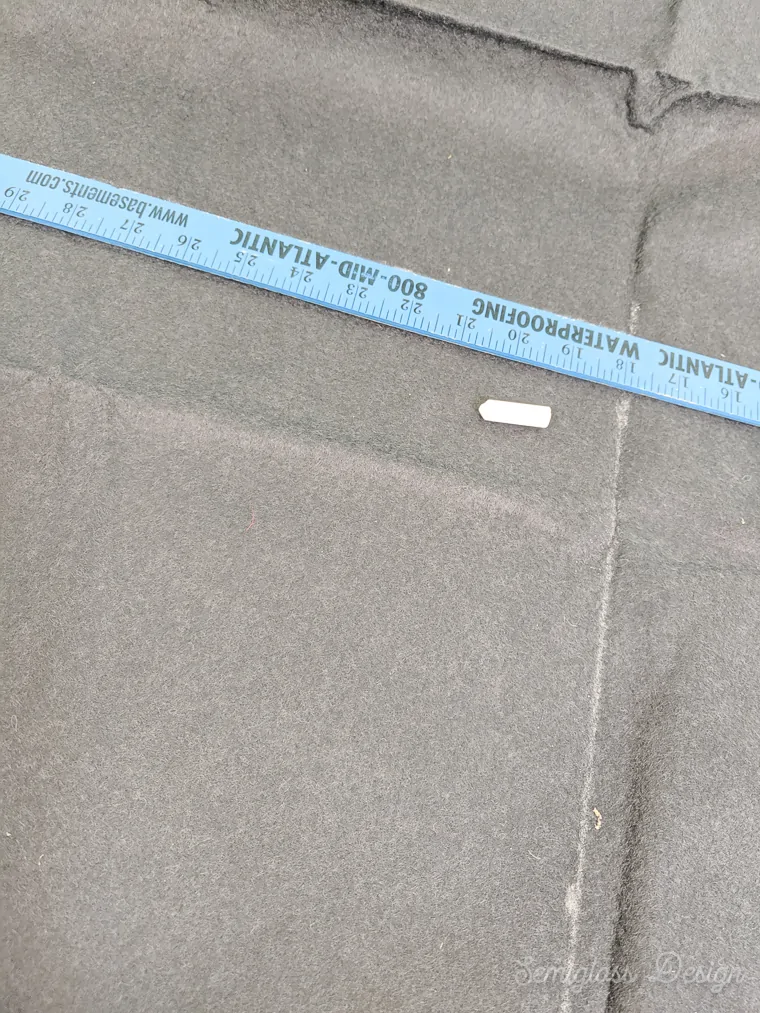
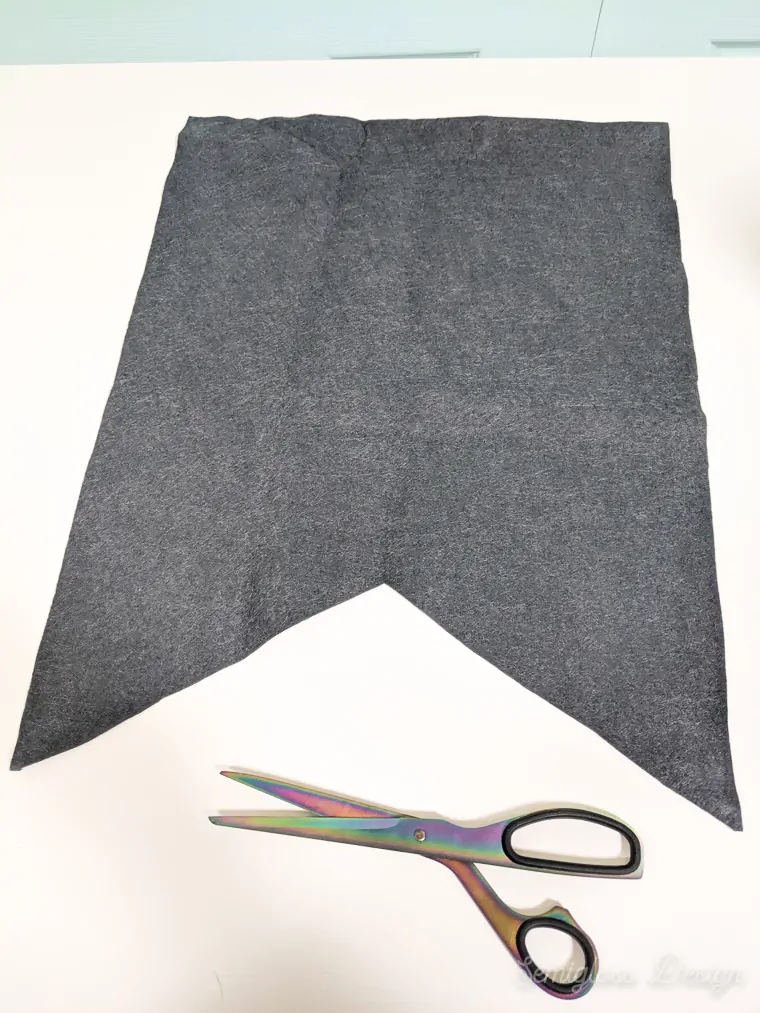
- Mark the felt with chalk for cutting. I made mine about 13″ wide by 18″ long. Your dowel length will determine your width (leave 1/2″ on each side for the string.) I would make the banner at least 20″ long if you filled your entire 12″ mat with the HTV design.
- Cut the felt along the lines.
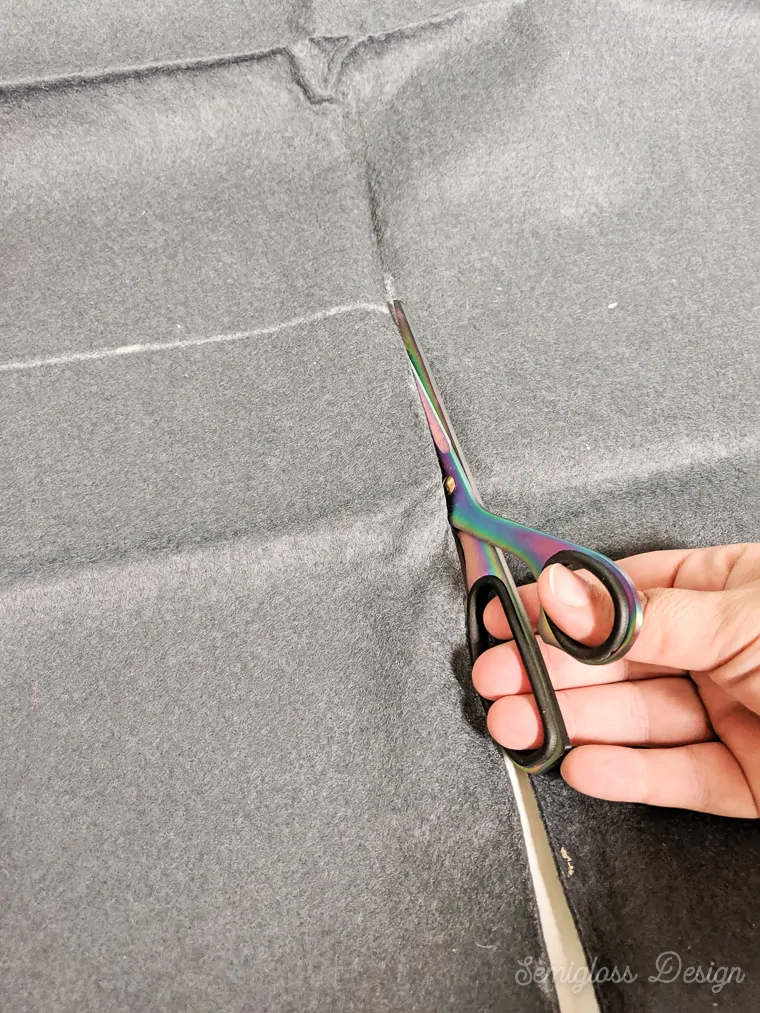
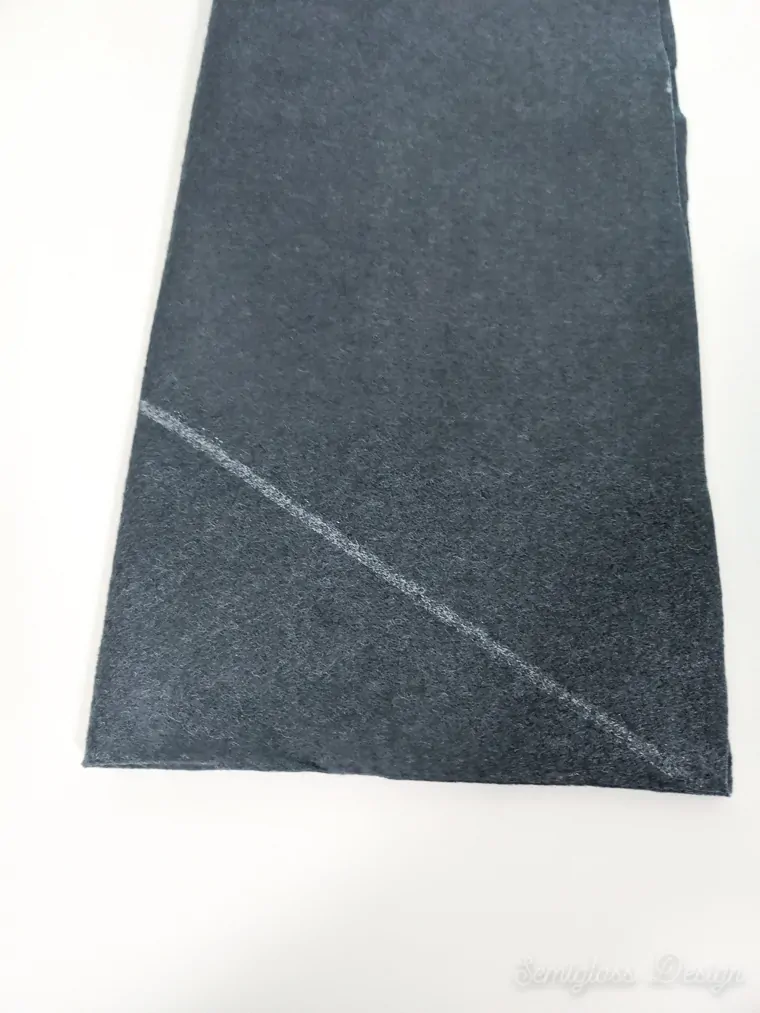
- Fold the felt in half lengthwise and use the chalk to draw an angled line to form the banner shape.
- Cut along the line.
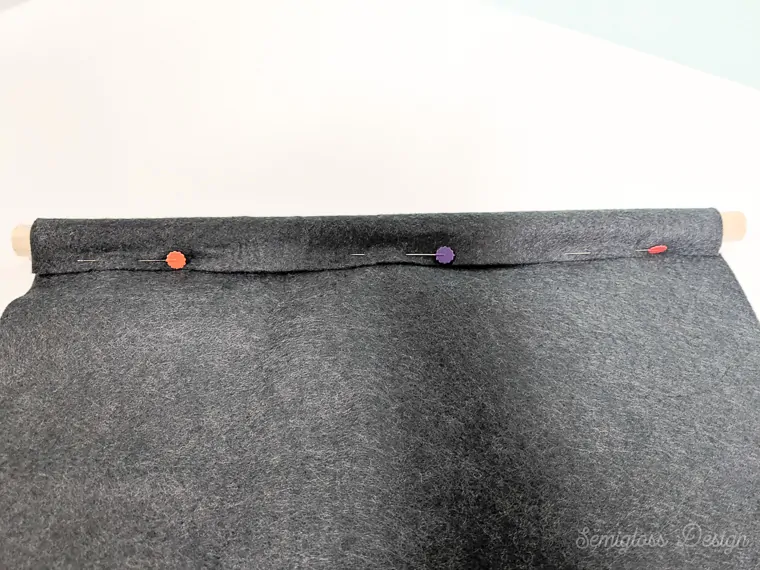
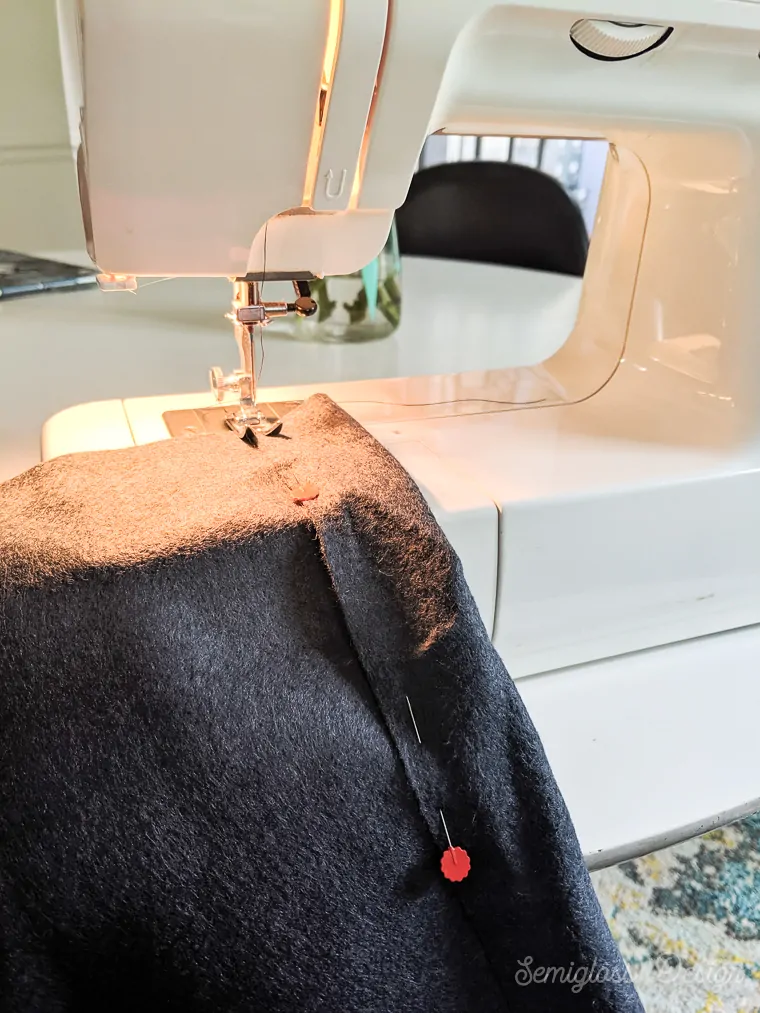
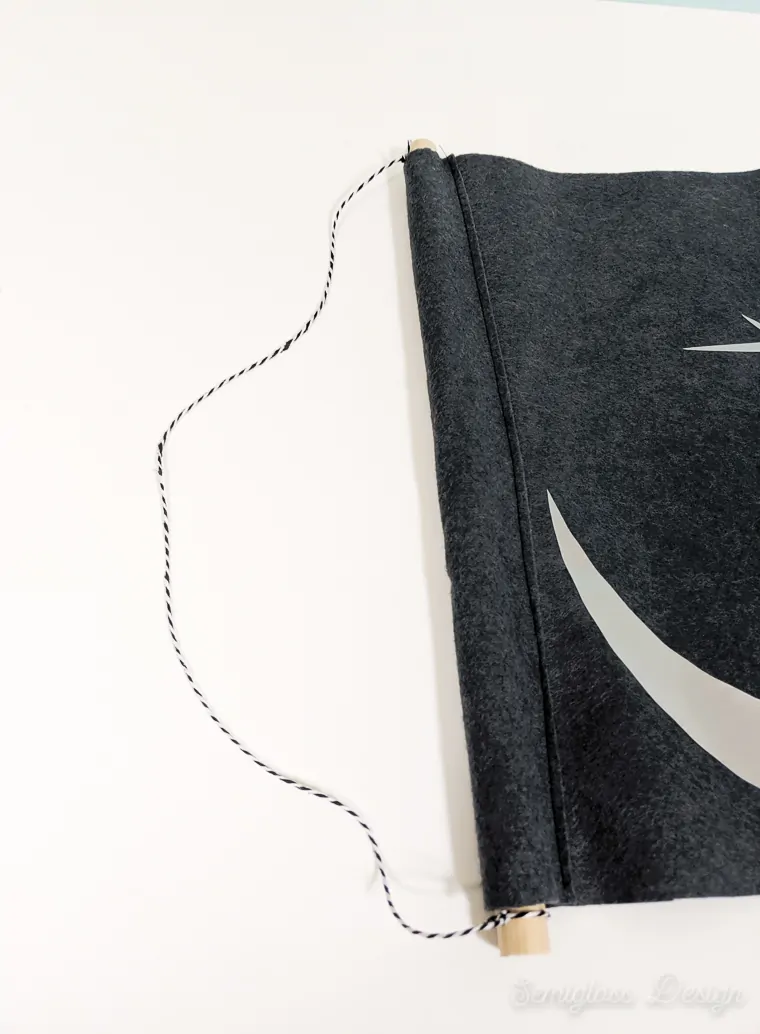
- Fold the top of the banner over the dowel and pin, leaving wiggle space (felt doesn’t slide against wood!)
- Sew the edge where you just pinned. (You could alternatively use Stitch Witchery and iron the edge – just give yourself more space to fold over.)
- Trim any stray strings.
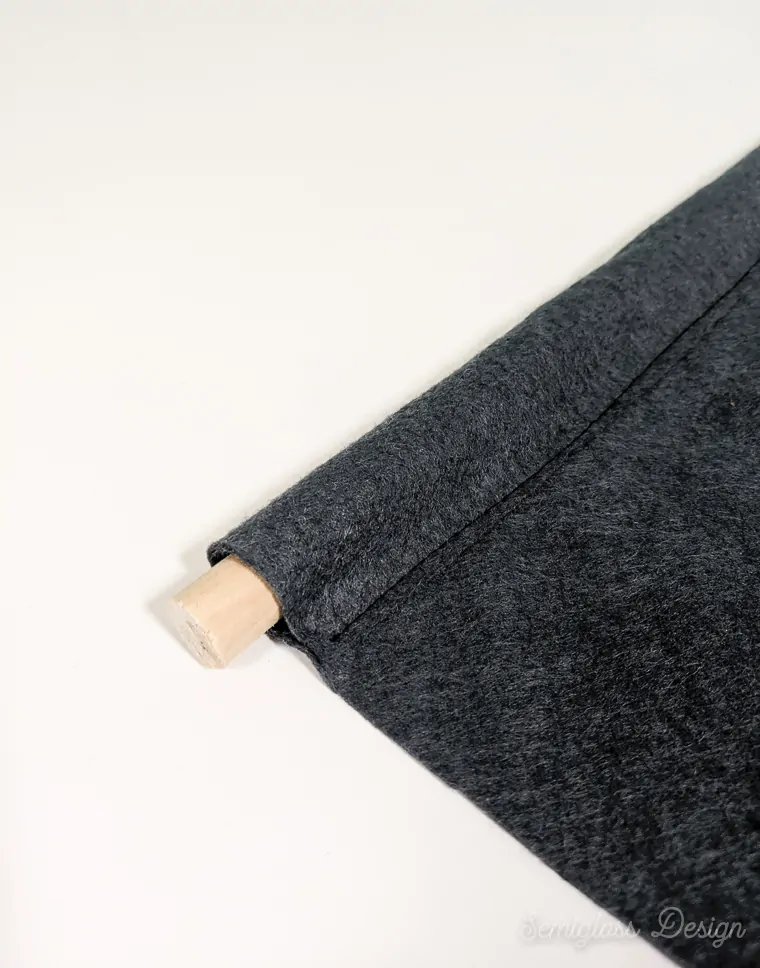
- Slip the dowel into the pocket you just sewed.

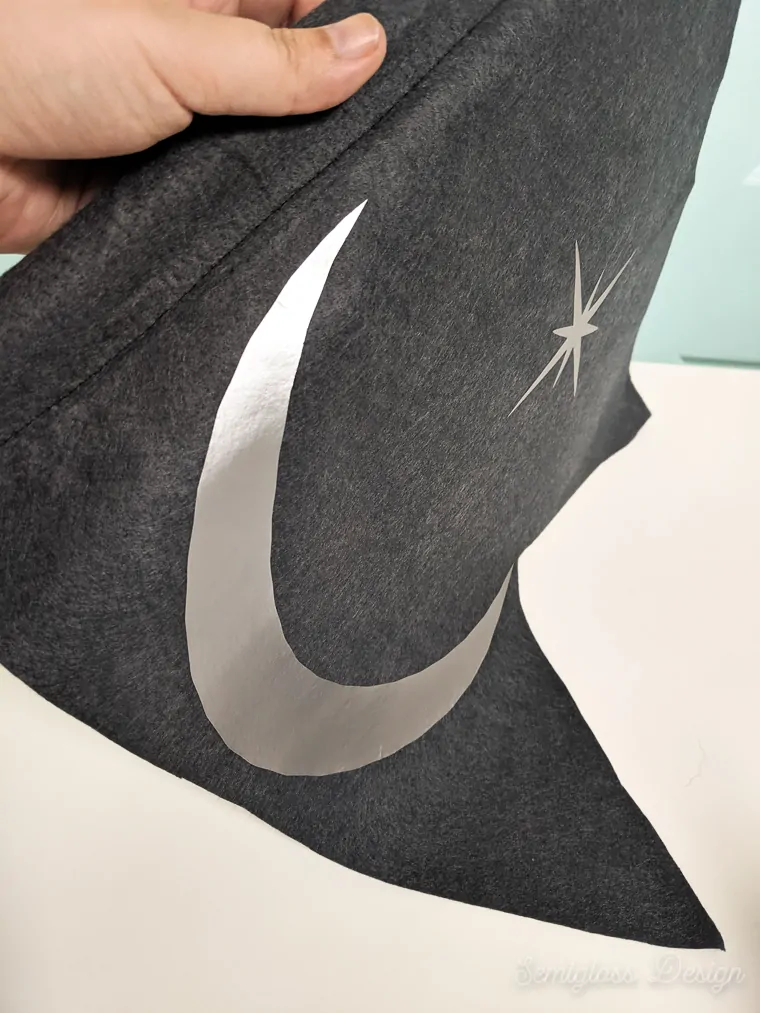
Applying Heat Transfer Vinyl to the Felt Banner
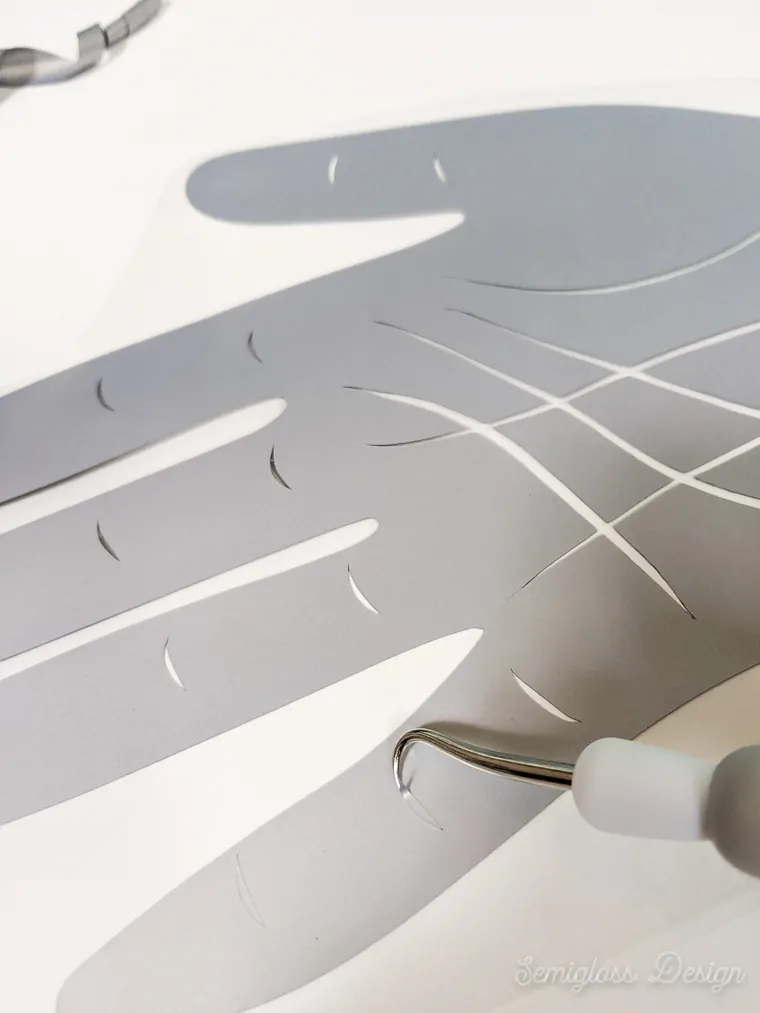
- Cut the designs apart, leaving a little space around the edge of each design.
- Peel away the larger parts.
- Use a weeding pick to remove the smaller parts.
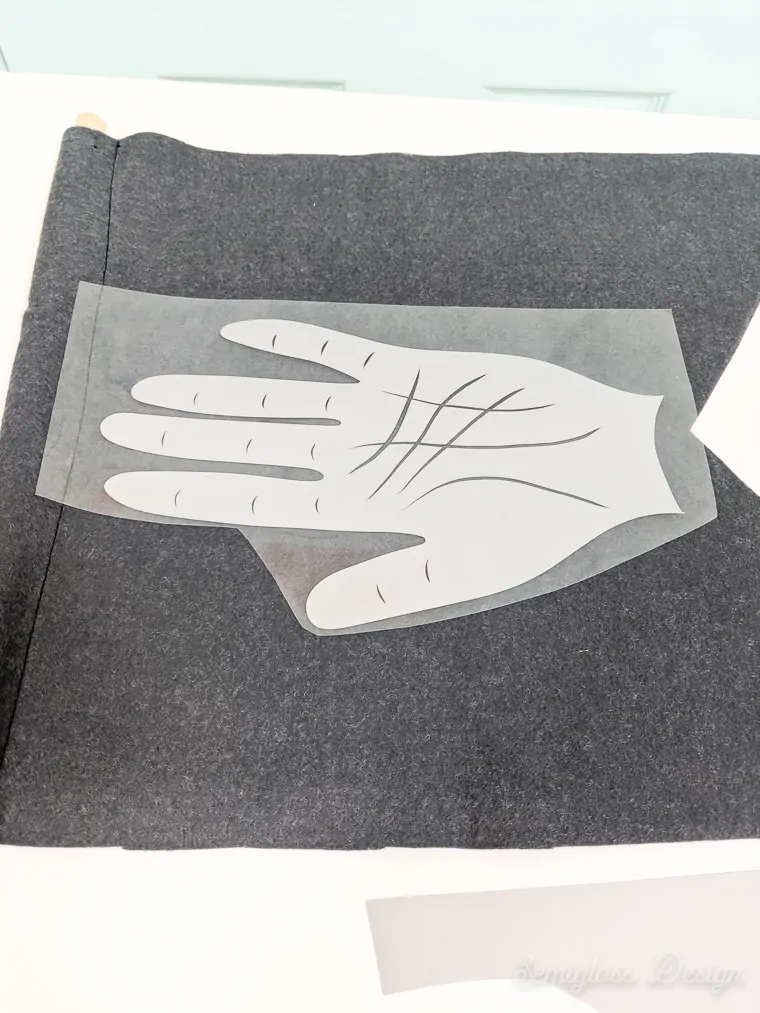
- Place the weeded design into place on the banner, plastic side up.
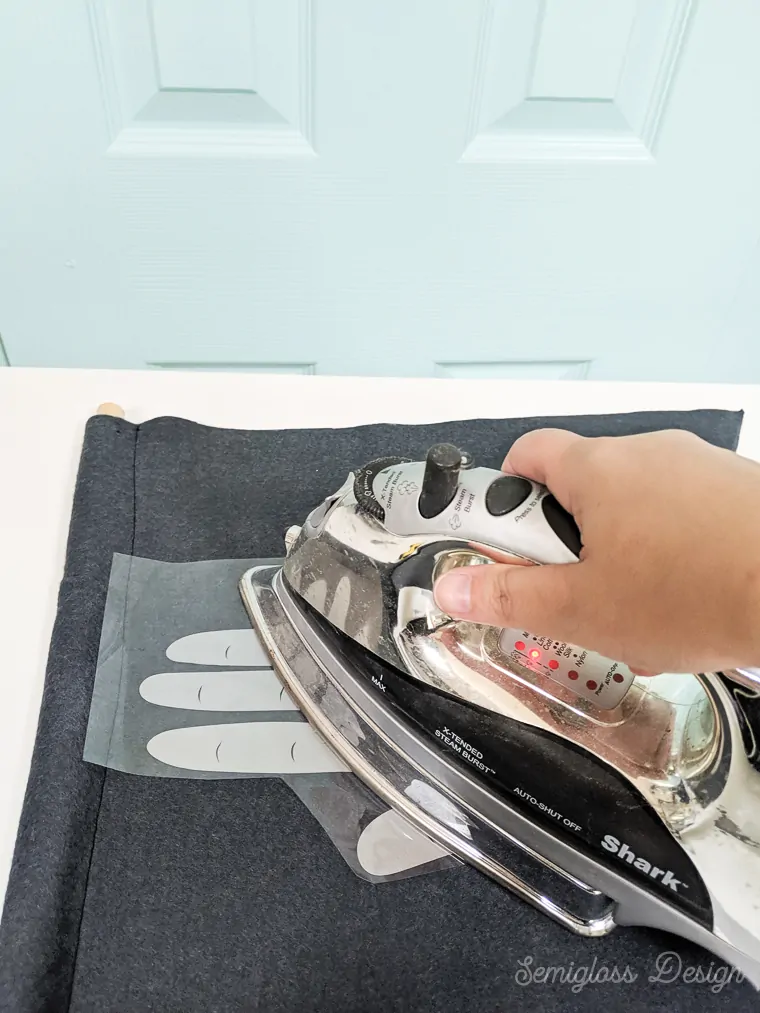
- Iron the design on medium heat for about 10 seconds, paying special attention to the edges. (You can see the vinyl attaching to the fabric and pulling away from the plastic. It may look bubbly under the plastic.)
- Peel away the plastic. Replace it and iron some more if the vinyl isn’t attached.
- If you’re doing both designs, flip it over and restart the process.
Finishing Up
- Cut a length of baker’s twine and tie it to each end of the dowel.

- Hang and enjoy.
Other DIY Felt Banner Variation Ideas
- Use other designs for other holidays.
- Use jute twine instead of baker’s twine for a more rustic look.
- Use felt instead of HTV and hand-sew it (or glue it.) It won’t be reversible due to the stitches.

Download the Palmistry Cut Files
All downloads are for personal use only. Please do not redistribute or sell files.
I’ve included both PNG and JPEG versions as well as SVG, DXF, EPS files and the Silhouette cut files since the hand design is tricky to use with the DXF file. Cut files can be resized as desired.
The files are all packaged in a handy zip file.
For best results, print scaled to 100%.
Palmistry Hand and Moon Cut Files
You might also like:
- DIY Vintage Pennant Flag
- How to Make Felt Pumpkins
- Felt Pumpkin Banner
- DIY Twig Wreath
- Felt Candy Corn Banner
Pin for Later!

Emy is a vintage obsessed mama of 2 DIYer who loves sharing affordable solutions for common home problems. You don’t need a giant budget to create a lovely home. Read more…
This is a wonderful idea! The banner looks both spooky and fun and I can see how much energy, love and creativity you’ve put into this project. I really enjoyed reading your blog post and I think I’ll give this project a go. Thank you so much for sharing all the details about it!