The Easy Guide to Make Pom Poms Using a Pom Pom Maker
Learn the easy way to make pom poms using a pom pom maker.
Pom poms are so fun to make and can be used for so many projects! Wreaths, garlands, piles of pom poms… The sky’s the limit!
Making pom poms is such an addicting activity and can be done while binge-watching Netflix. It’s very easy to make an armful in an hour. These fluffy yarn balls will soon fill your home!
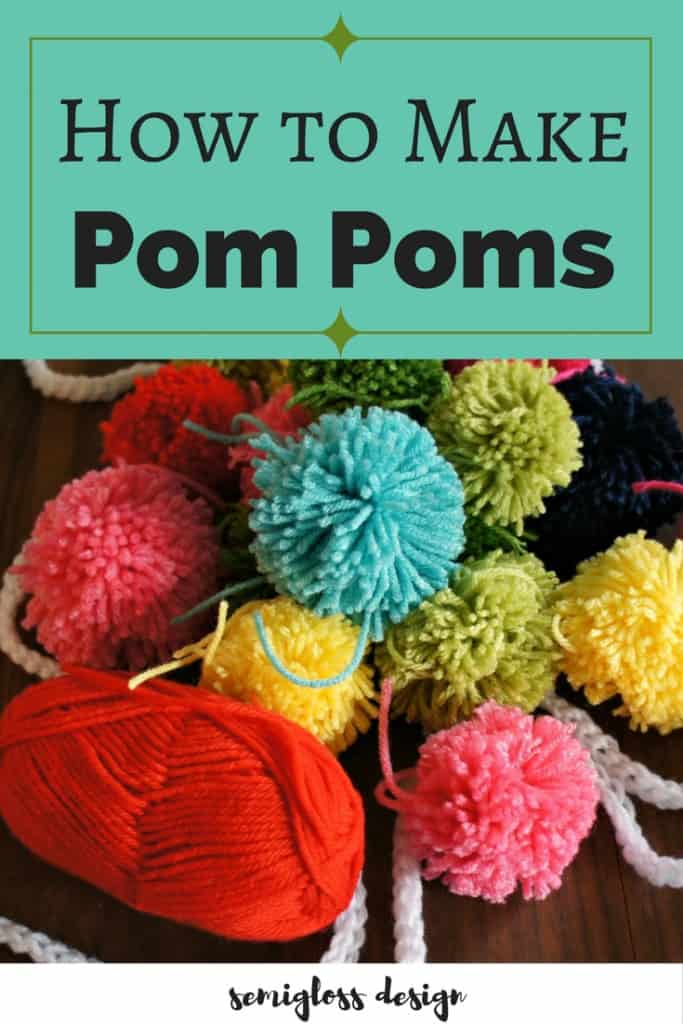
How to Make a Pom Pom Using a Pom Pom Maker
Supplies Needed
This post contains affiliate links. By purchasing an item through an affiliate link, I earn a small commission at no extra cost to you.
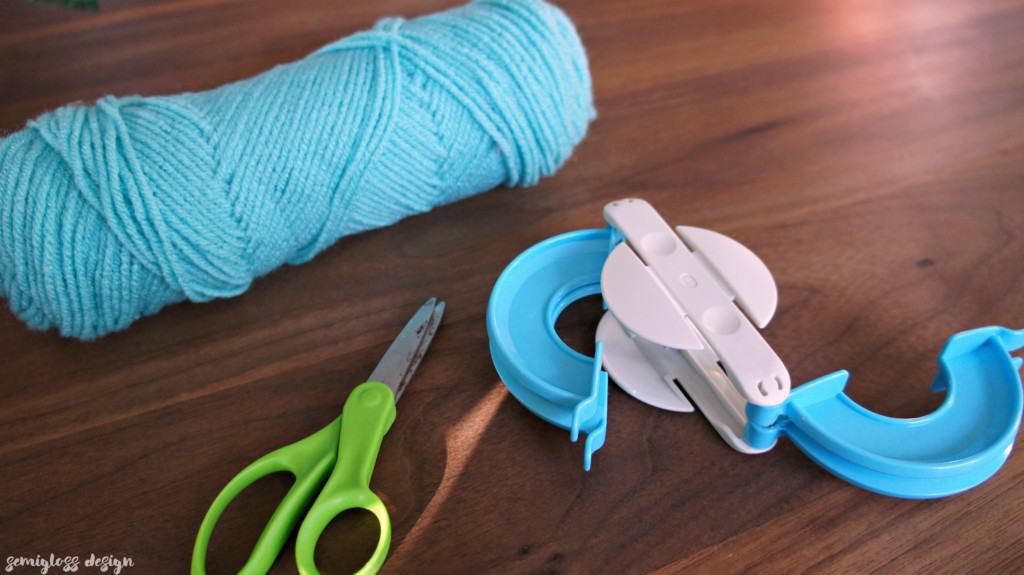
- Yarn – I just used acrylic yarn that I had on hand, but wool works as well
- Scissors
- Pom pom maker
Using a pom pom maker is so much fun.
Making pom poms is easy with a pom pom maker! Pom pom makers are the coolest! I’ve tried the DIY method of using cardboard and they never turn out as beautiful!
When you use a pom pom maker, the pom poms are full and perfectly round. Plus, they’re just so easy to use!
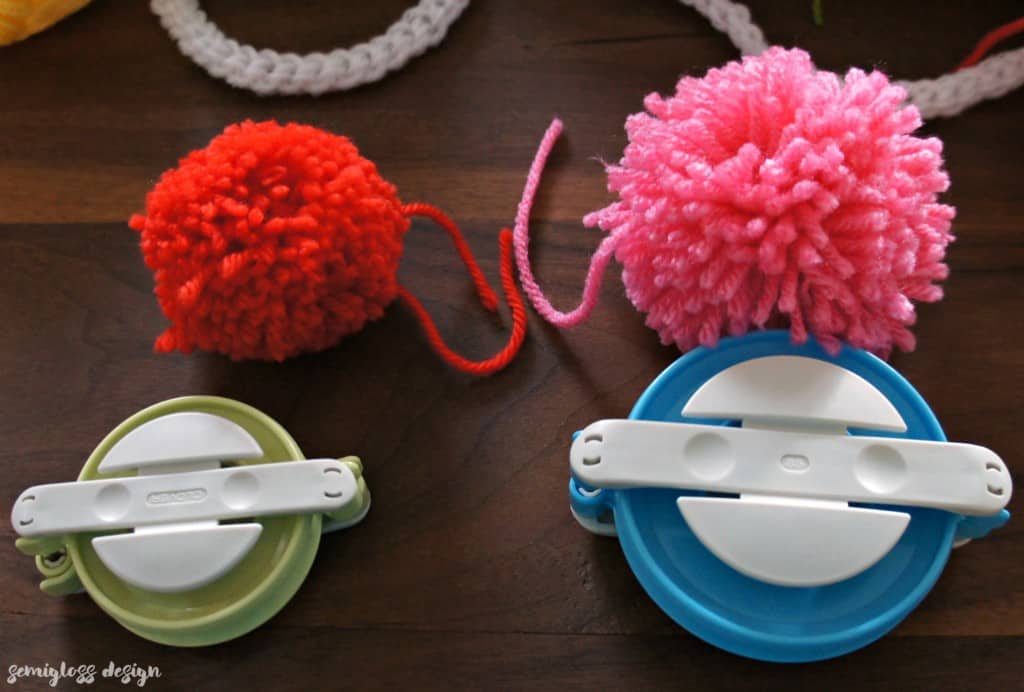
The pom pom makers I bought come in 2 sizes. For the tutorial, I’m making the larger size. (You can also buy the smaller sizes, which I totally want!)
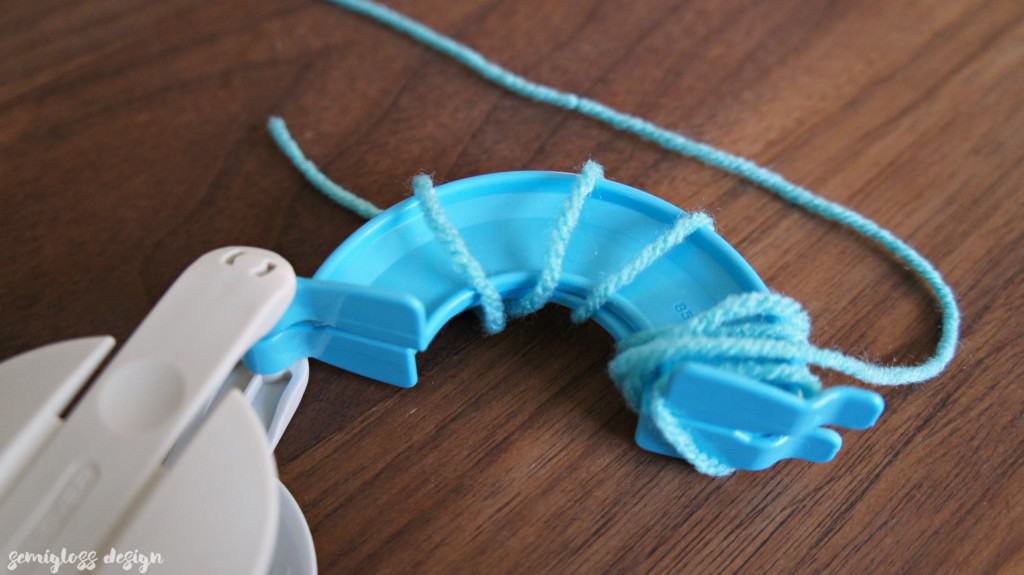
Open the pom pom maker and start wrapping yarn around one side.
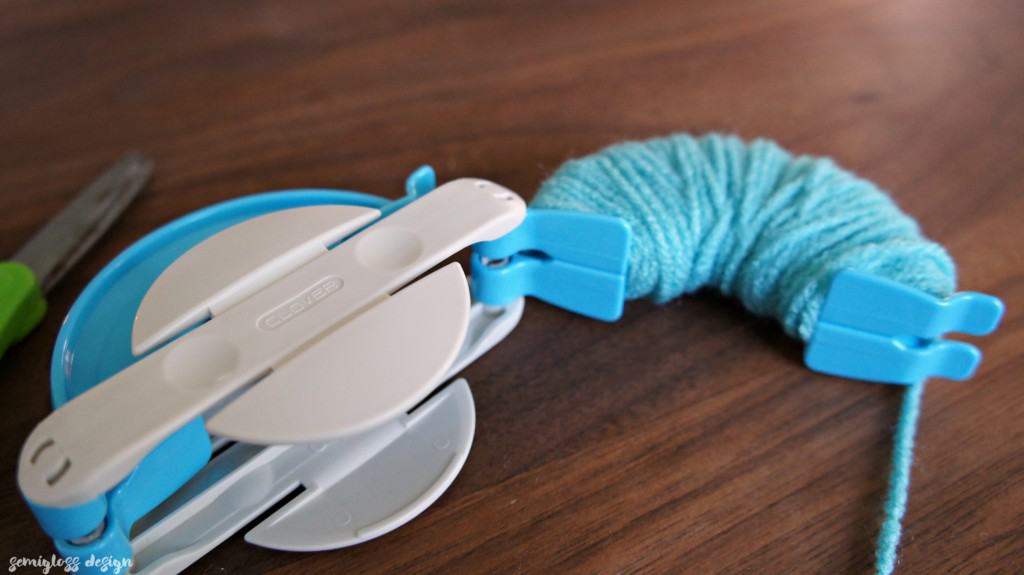
Keep wrapping yarn until it’s completely covered. The more yarn, you add, the thicker your pom pom will be. BUT! If you add too much yarn, it will be really hard to cut.
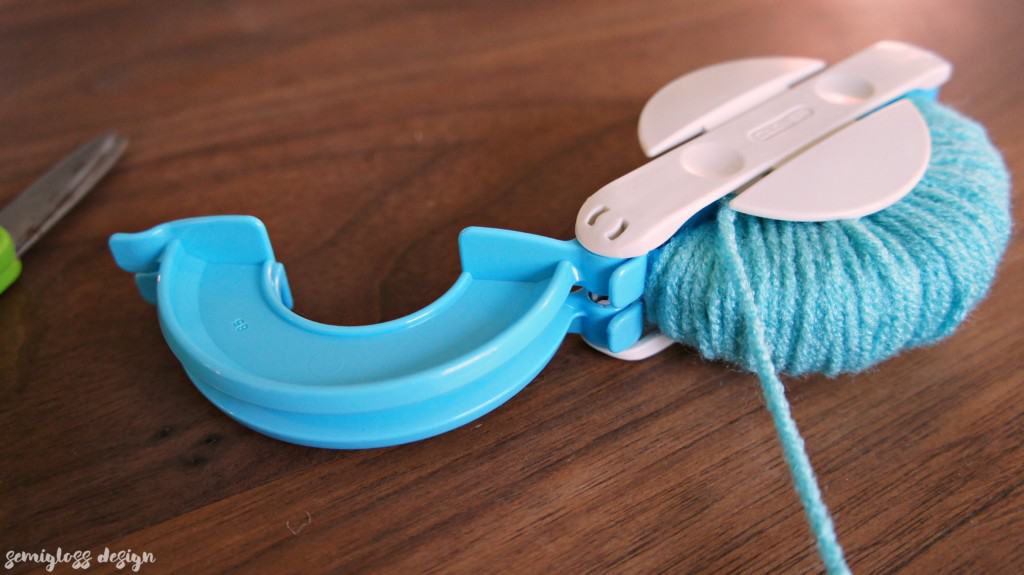
Close the yarn covered side and open the other side.
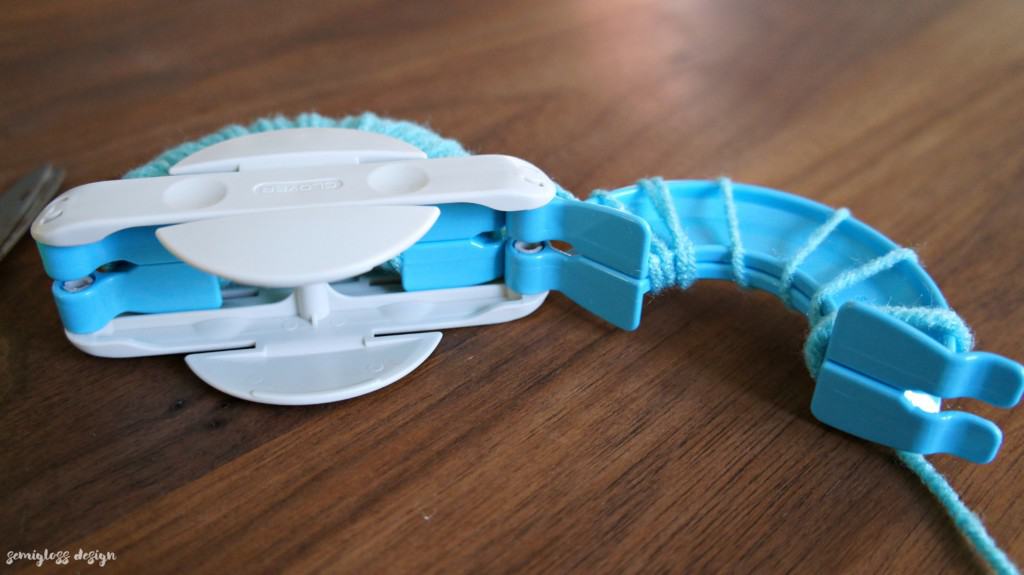
Wrap that side with yarn, just like you wrapped the first side.
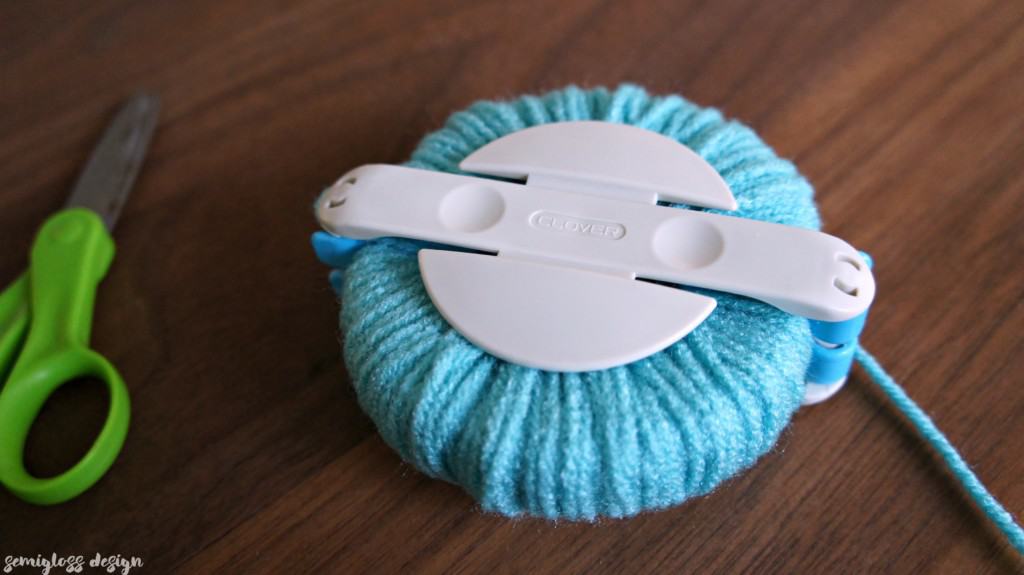
Close both sides and this is what your pom pom maker will look like.
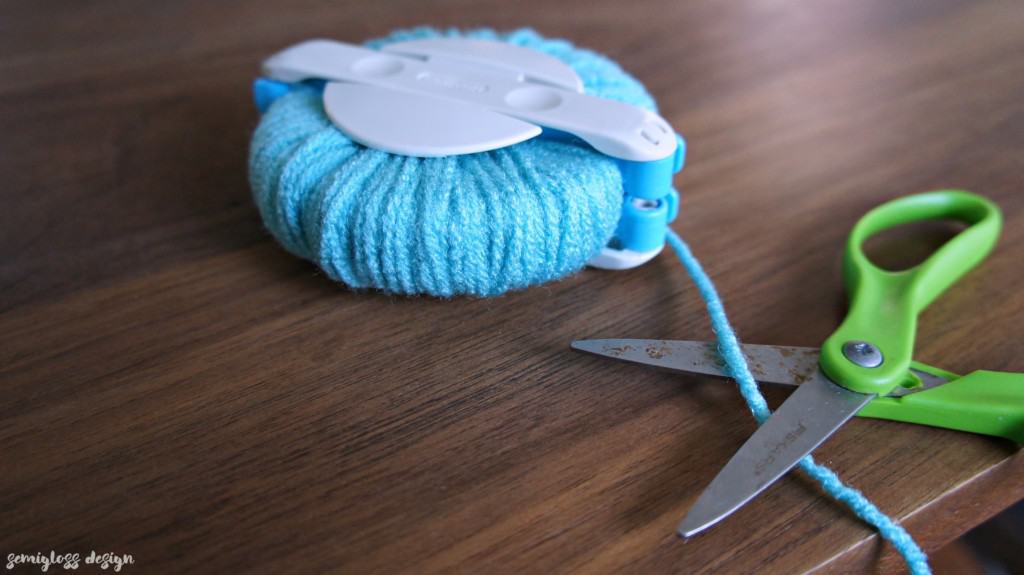
Cut the yarn. It doesn’t matter where you cut it. You will trim it in a bit. (Also, note to self: steal a different pair of scissors from kids.)
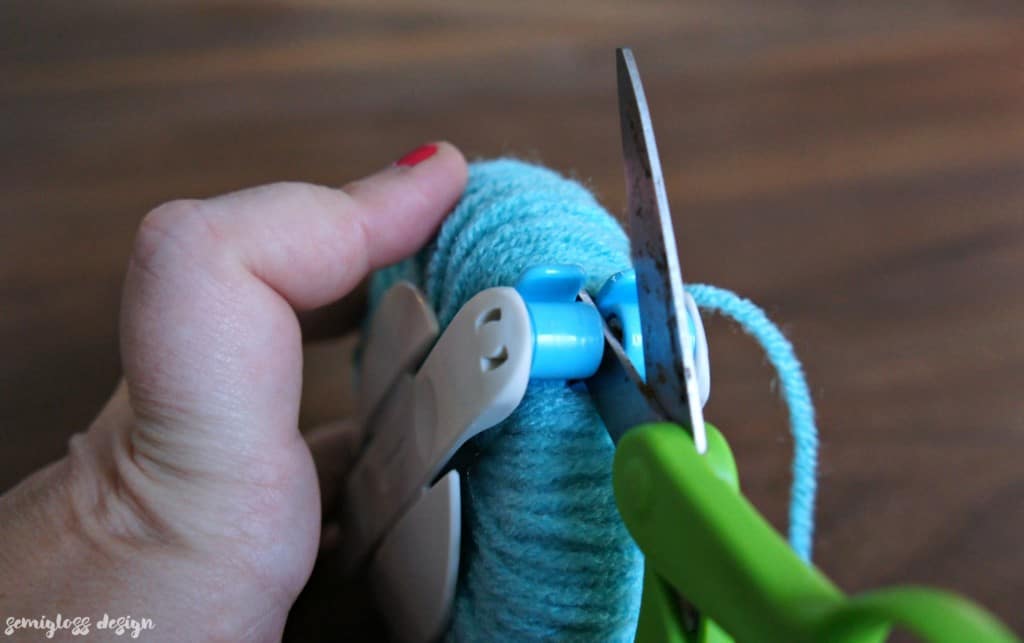
With both sides closed, it’s time to cut the yarn on the pom pom maker. Gently squeeze both sides together and start cutting in the groove.
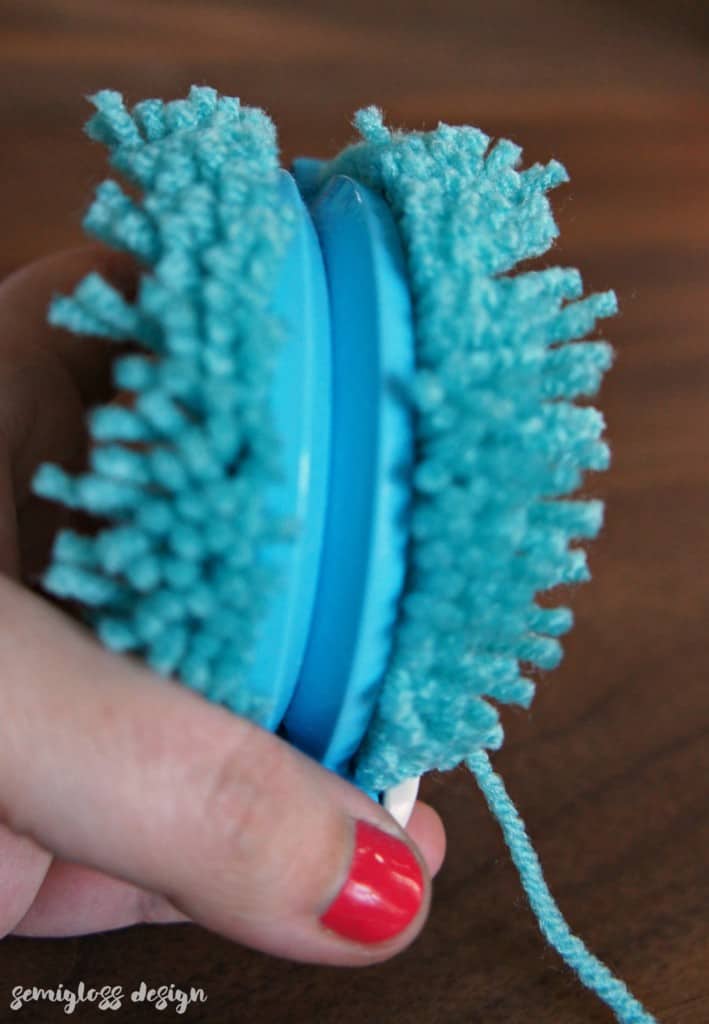
It will look like this when it’s all the way cut.
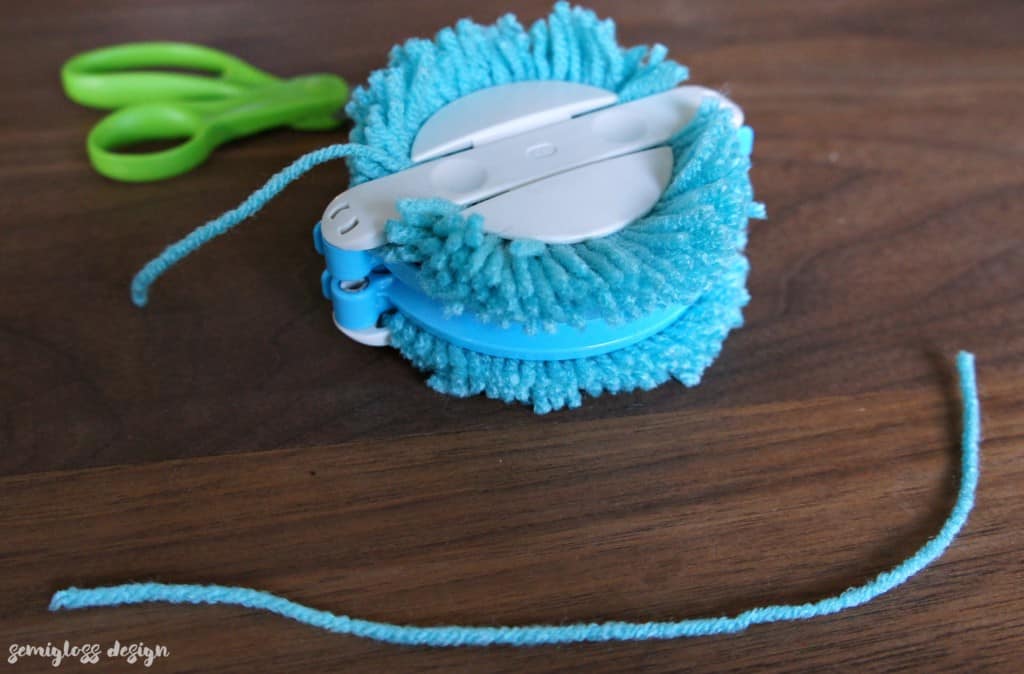
Cut an extra piece of yarn about 6-8″ long. (Use a piece about 12″ long if you’re making a wreath with the pom poms.)
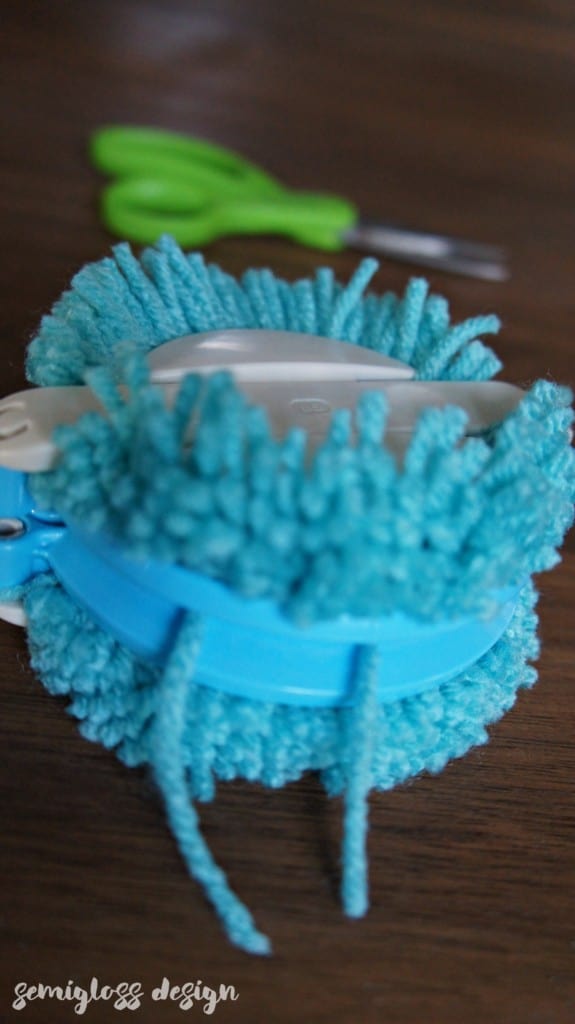
Wrap the yarn around the pom pom maker in the groove and tightly tie a knot. (It will slip inside the groove.)
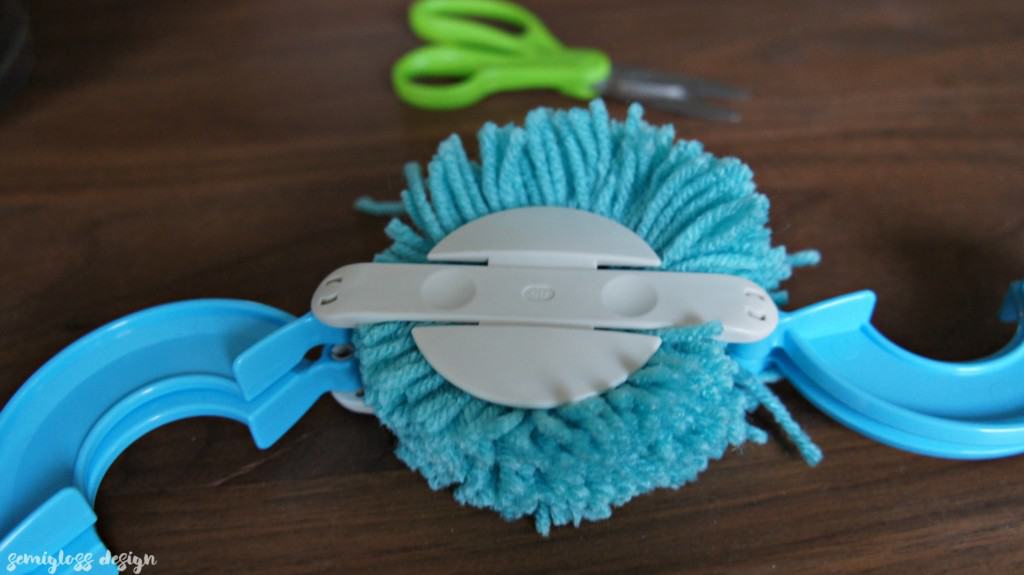
Open the pom pom maker. This is done by opening both sides, then the white parts come apart.
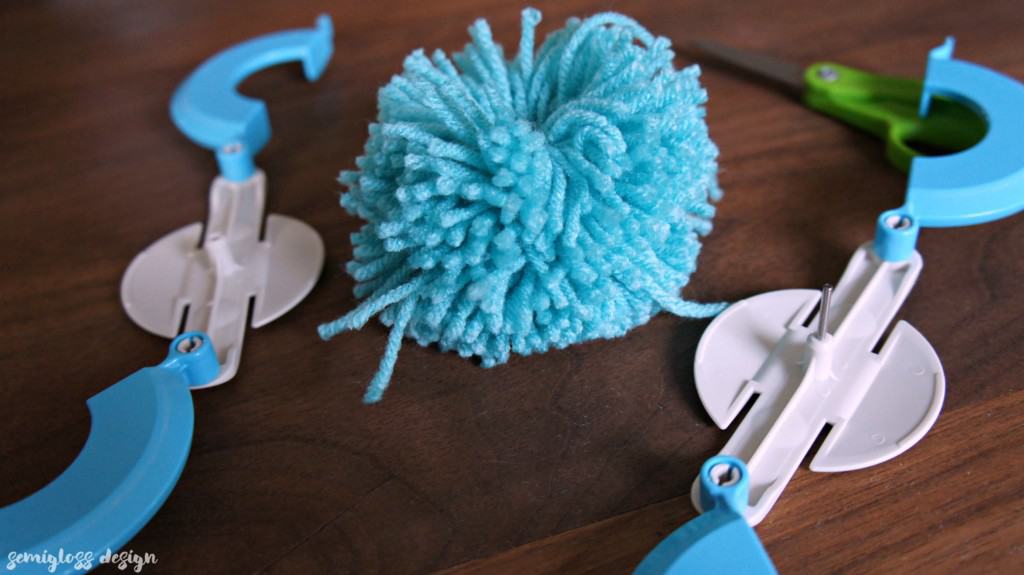
You will be left with a mostly perfect pom pom!
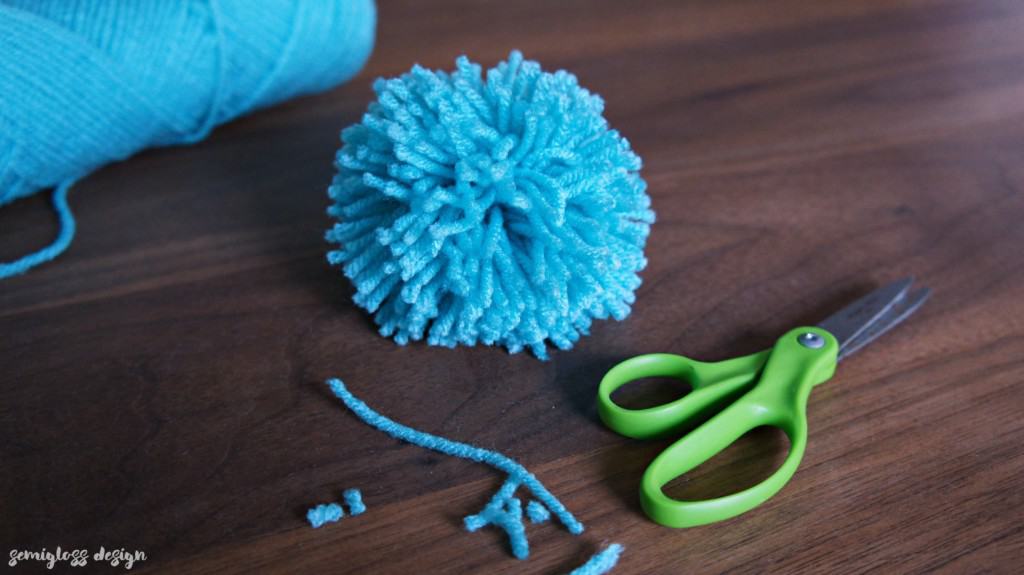
Trim the extra strings off.
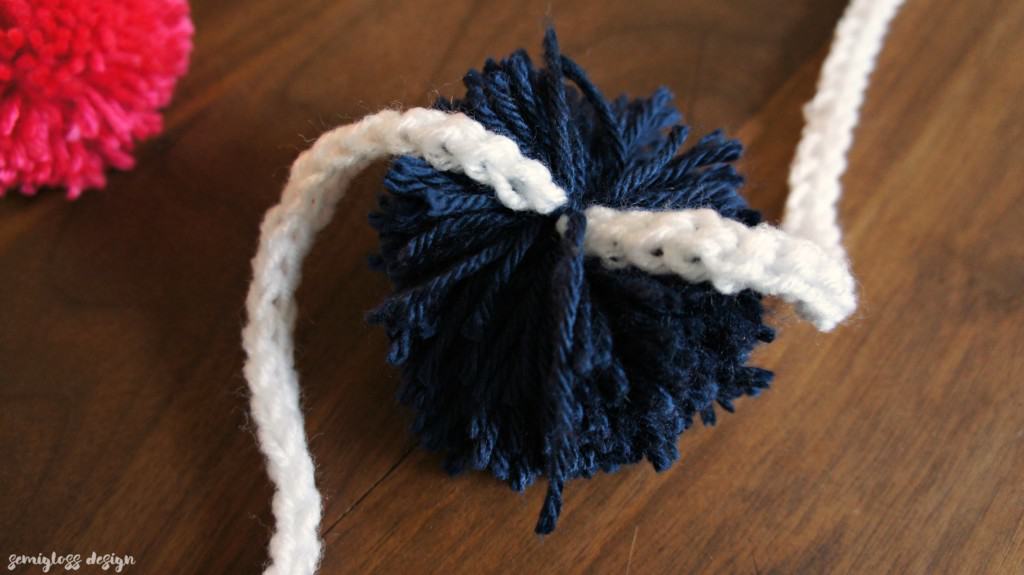
The possibilities are endless!
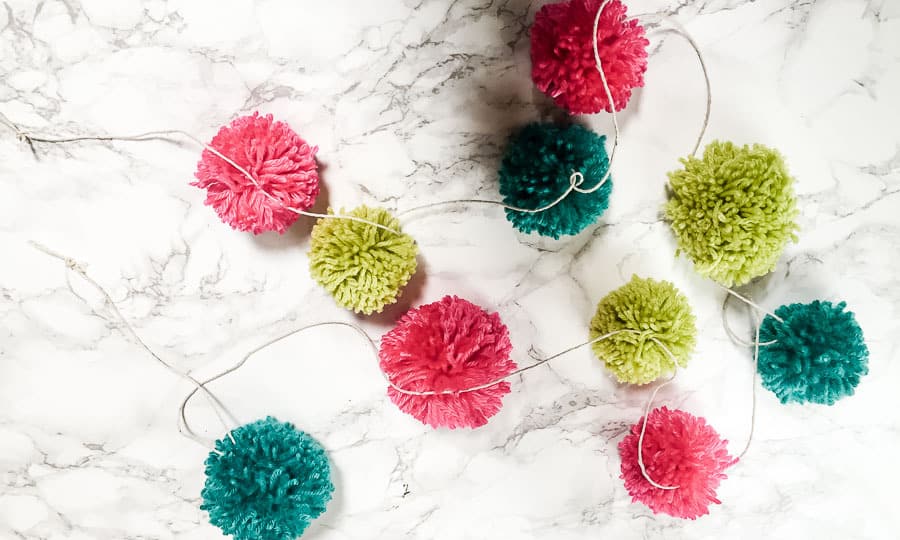
If you’re going to make a garland (or a wreath), leave the strings that you used to tie the knot around the pom poms.
These are easy to find because you can pull them and they don’t fall out. Then you can tie them to a string (0r wreath).
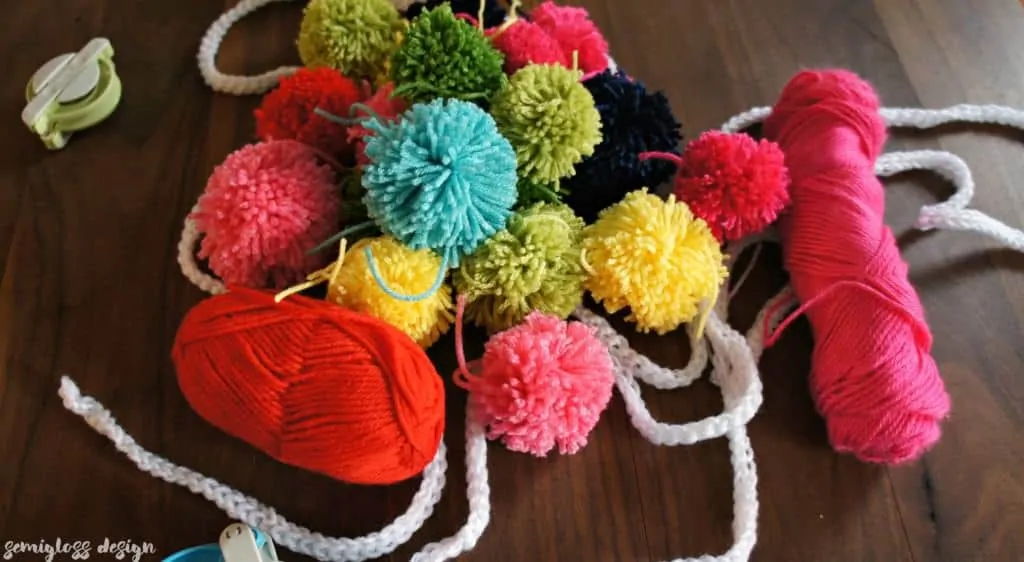
Using a pom pom maker is so much fun!
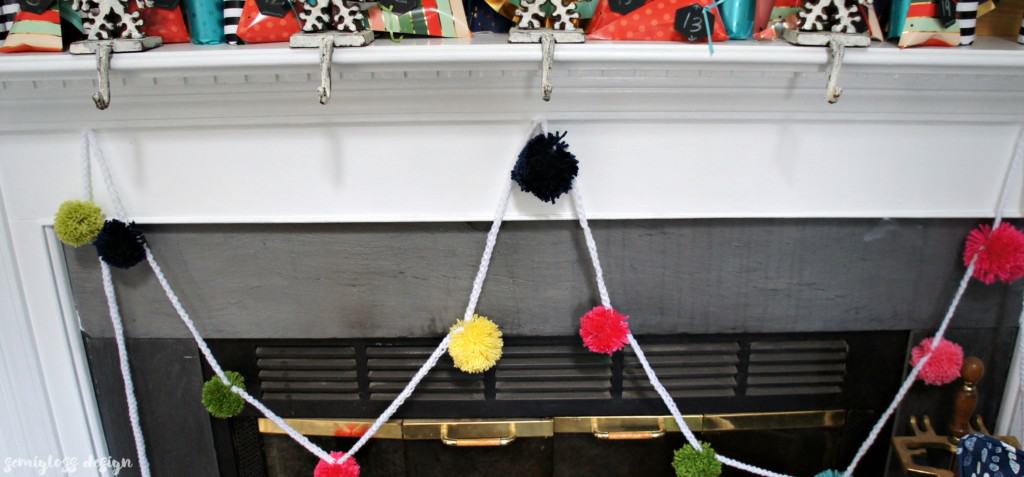
I attached mine to a string that I single crocheted for a fun, festive garland. I also like to use them for display. A bowl of pom poms is so much fun to look at!
PS: If you make white pom poms, they look like snowballs!
Pom Pom Craft Ideas
- Make a pom pom wreath
- Use them for Christmas ornaments
- Use them on gifts
- Sew them onto hats
- Make flowers with them
- Sew them onto pillows or throw blankets
- Make a rug
- Fill jars, vases or bowls with them
Love garlands? Check out these other easy garland posts!
Pin for Later!

Emy is a vintage obsessed mama of 2 DIYer who loves sharing affordable solutions for common home problems. You don’t need a giant budget to create a lovely home. Read more…


pom pom makers are the BEST!
I agree! Best invention ever.
AHA! I love that we’ve both got pom poms on the go this week. I’ve never used one of those contraptions, they look like fun though! It also look like a more full version of the pom pom.
They’re super fun to use, Ariel! I think I need the tiny size too. 🙂