Decorate for Spring with a DIY Easter Banner
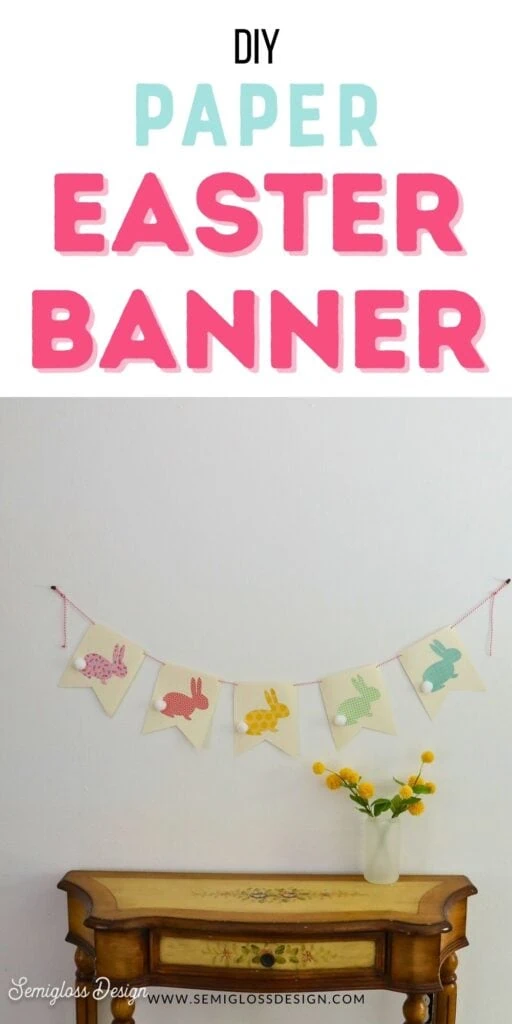
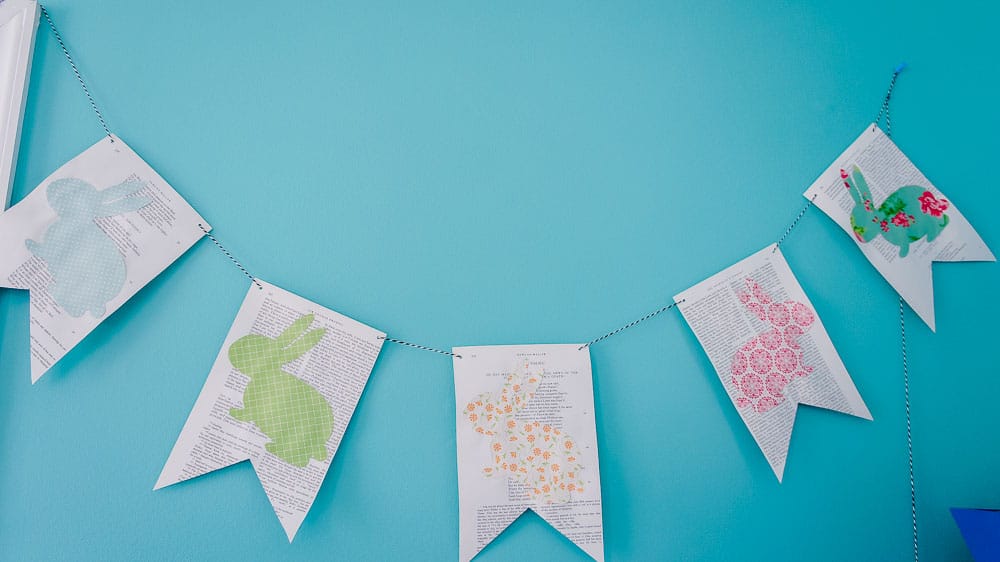
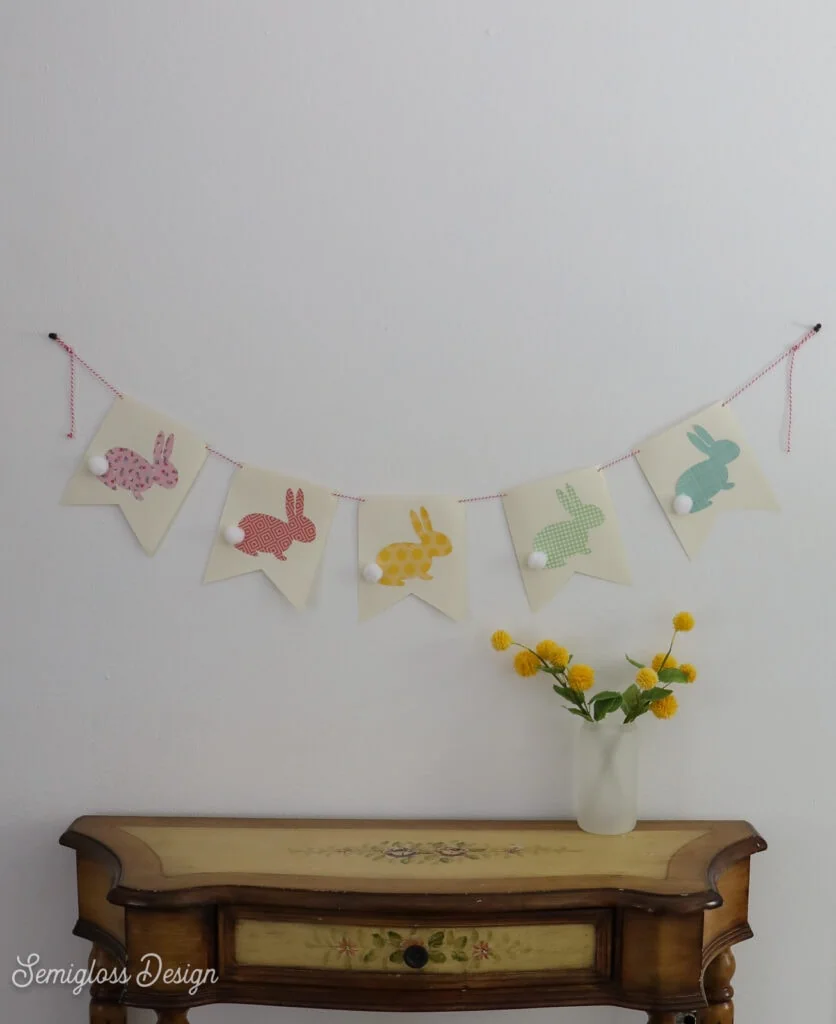
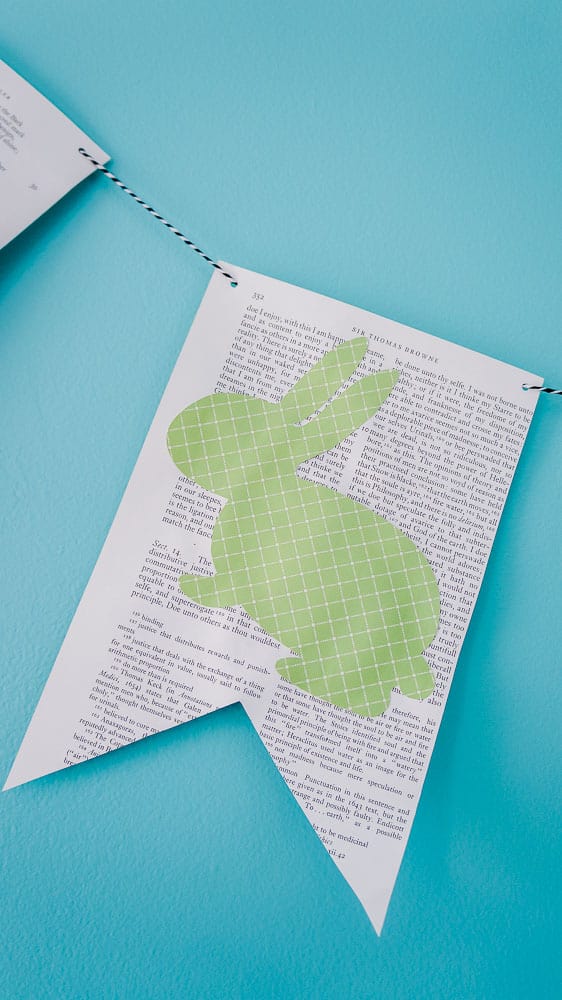
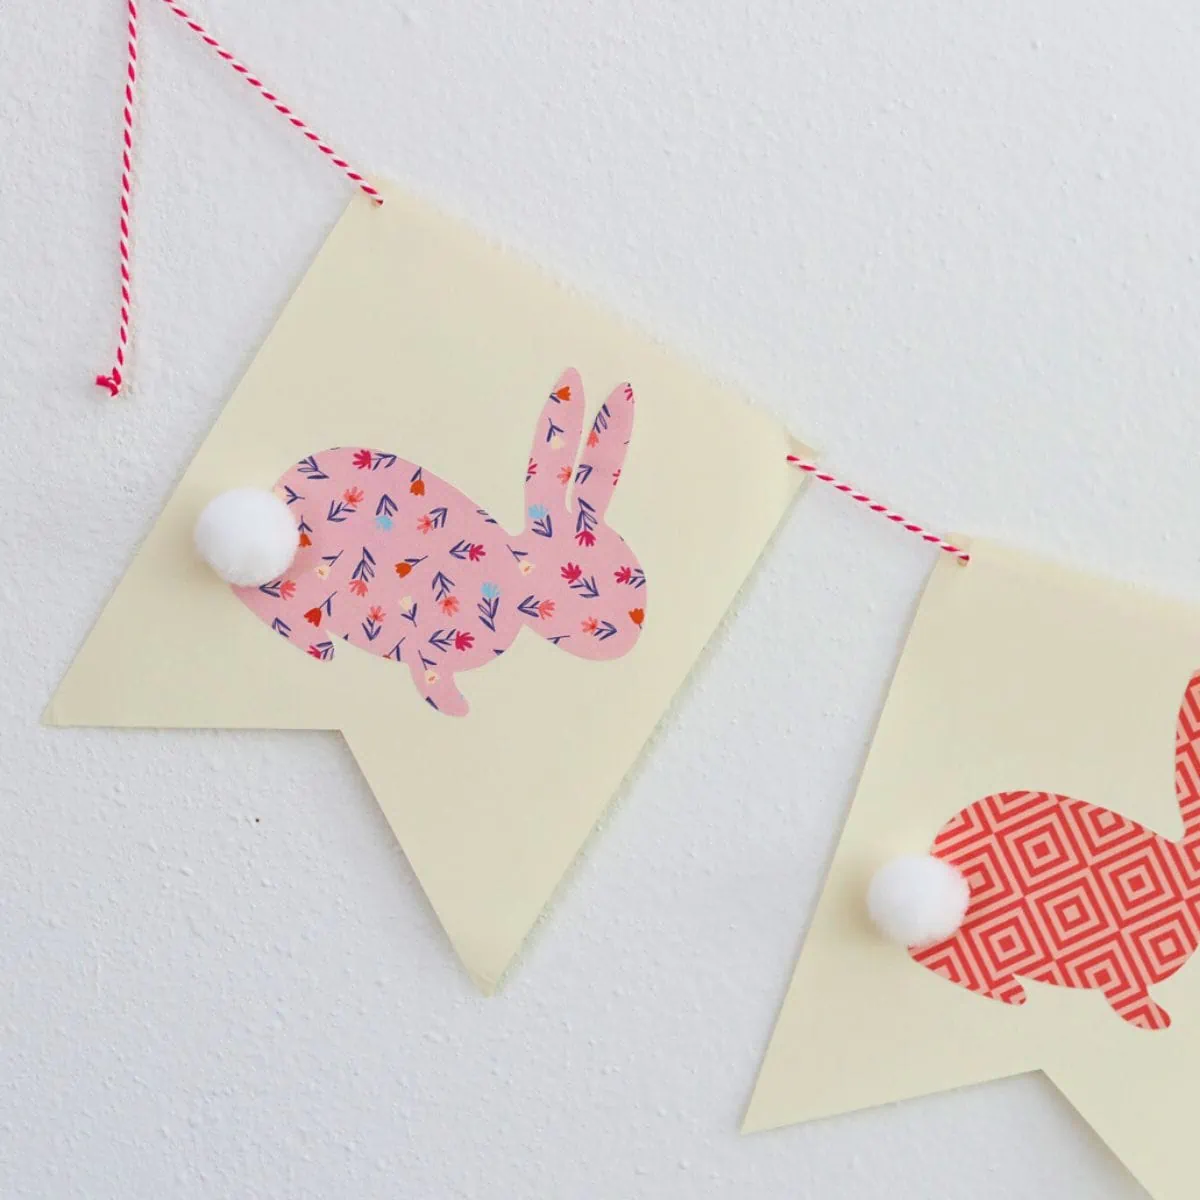
Decorate for Easter with a cute DIY Easter banner. This paper banner is so easy to make and features a cute bunny silhouette in different colors. This fun garland is easy to customize to match your decor.
Find more Cricut projects and tutorials here.
This post contains affiliate links. By purchasing an item through an affiliate link, I earn a small commission at no extra cost to you. As an Amazon Associate I earn from qualifying purchases.
Banners are one of my favorite things to make for holidays and special occasions. They’re quick to make and easy to store since they lay flat.
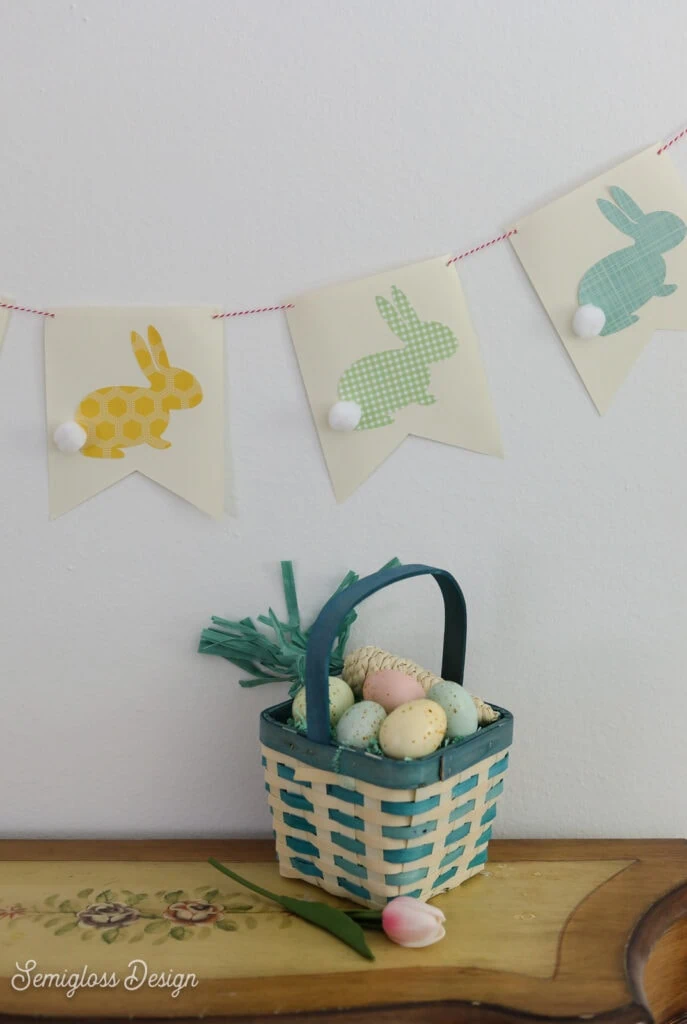
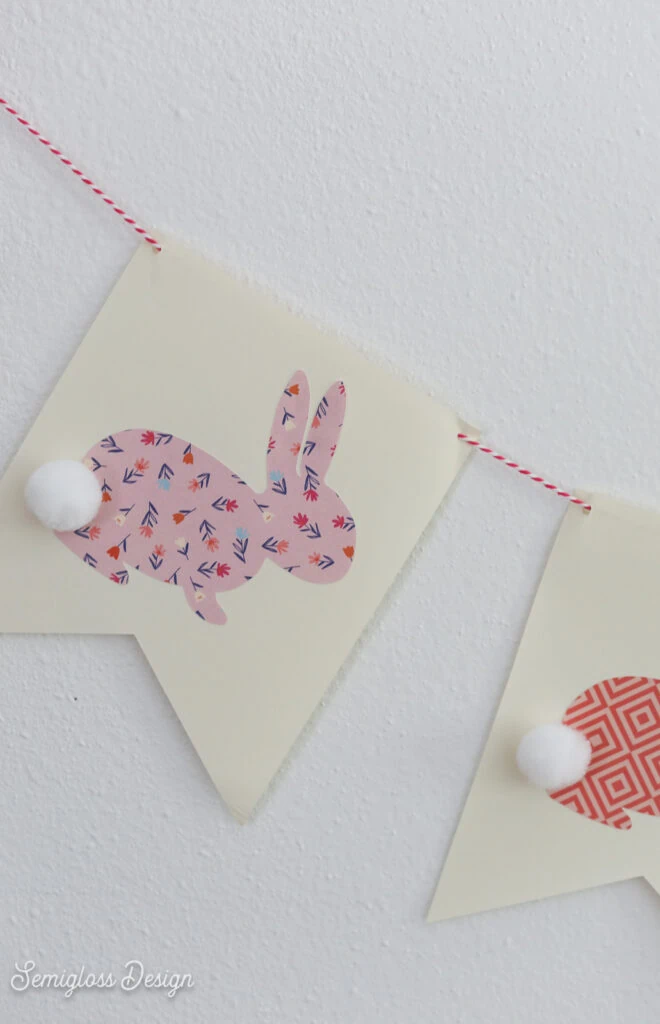
I had a lot of fun making this Easter bunny banner. You will see two versions because I remade it to update this post. The second one features an adorable pom-pom tail, which is a fun detail to add.
Make Your Own DIY Easter Banner
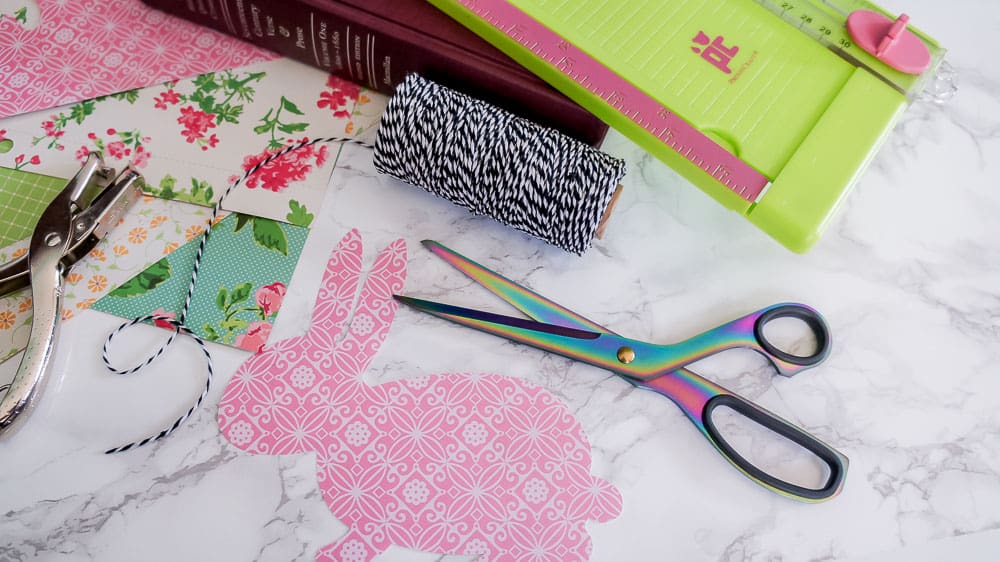
Supplies
- Scrapbook paper*
- Cut files
- Old Book Pages or Scrapbook Paper**
- Paper Cutter
- Cricut (I use a Cricut Maker 3)
- Baker’s Twine
- Hole Punch
- Glue Pen
- Scissors
- Pom poms
Notes About Supplies:
Scrapbook Paper
Choose scrapbook paper in a variety of colors and patterns. I love mixing florals and geometric patterns.
Old Book Pages or Scrapbook Paper for the Banner Flags
I used an old book for the first version and cardstock for the 2nd version. The important thing to remember is to choose a background with enough contrast.
- Gather your supplies. I picked some pretty scrapbook paper for the bunny shapes and used an old poetry book from the thrift store.
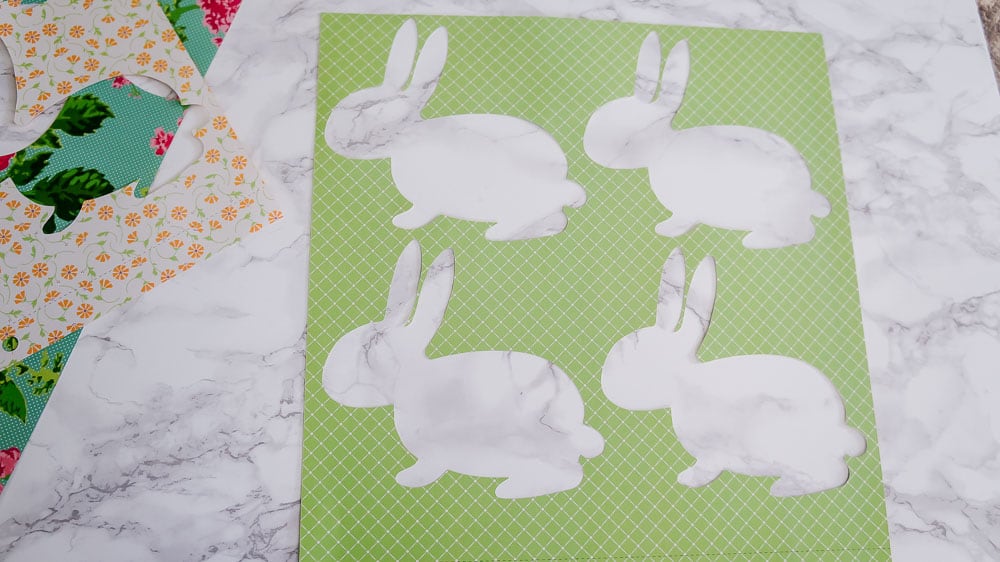
- Cut your bunnies. I used my Cricut Maker 3 to cut my bunnies. Here’s a post all about cutting scrapbook paper. If you want your bunnies to face different ways, mirror the image or use reversible papers. (Note: if you don’t have a cutting machine, you could print out the shapes, trace them onto the paper, and cut them by hand.)
- Weed the paper away from the bunnies.
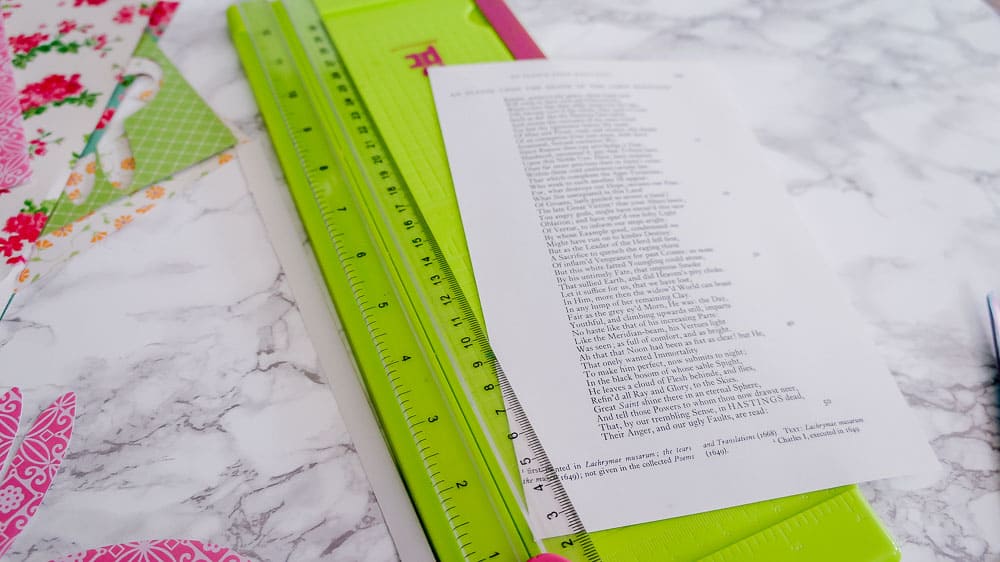
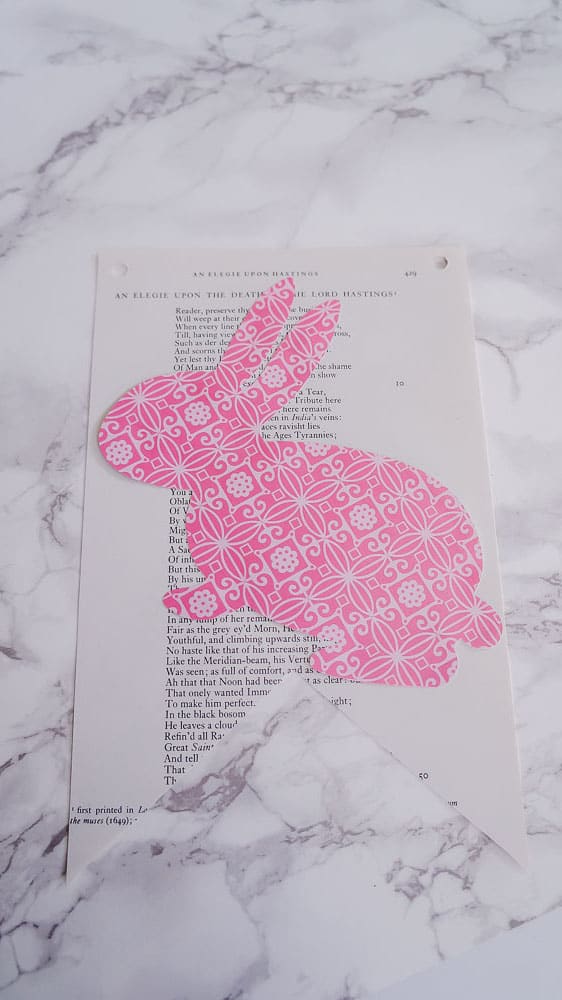
- Prepare your banners. Rip out a page and trim it down using a paper cutter or scissors if you can cut straight.
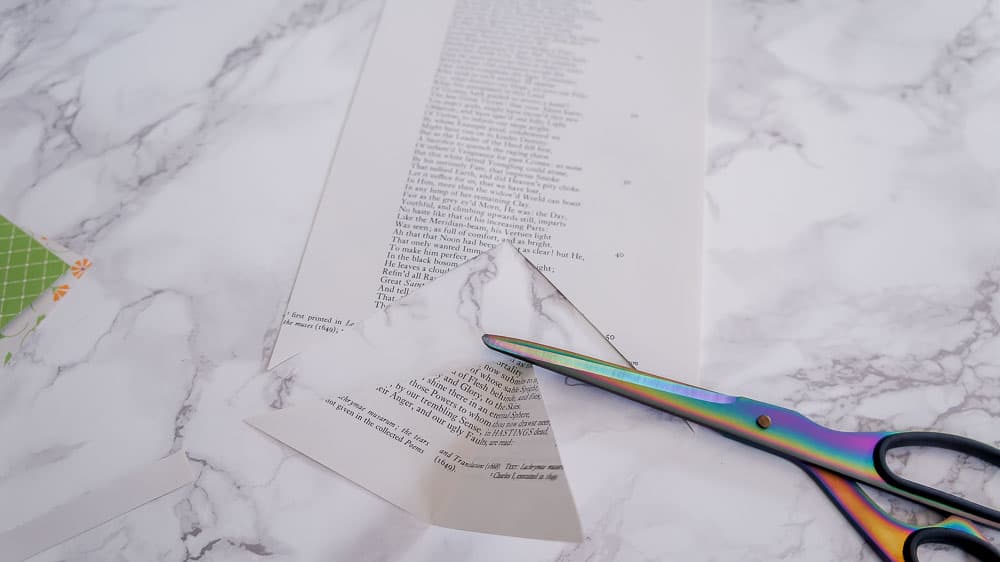
- Cut the shape of your banners. Then, fold the page at the bottom and cut out a triangle.
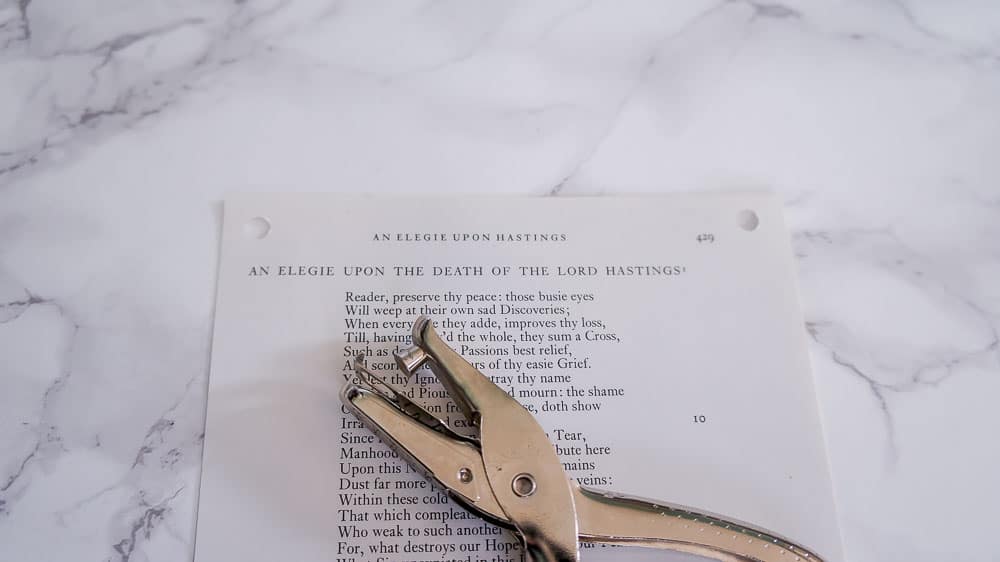
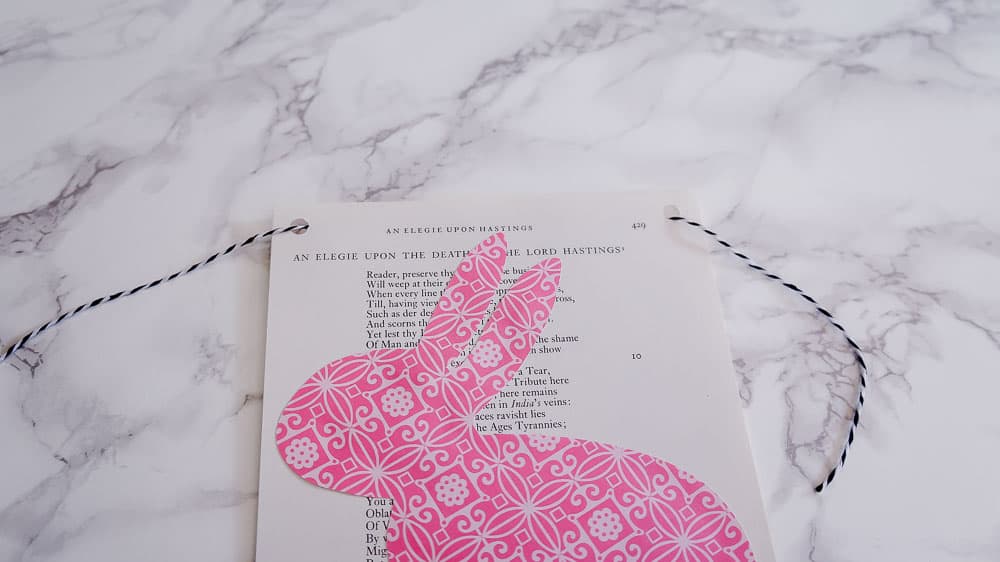
- Use a hole punch in the corner of each page.
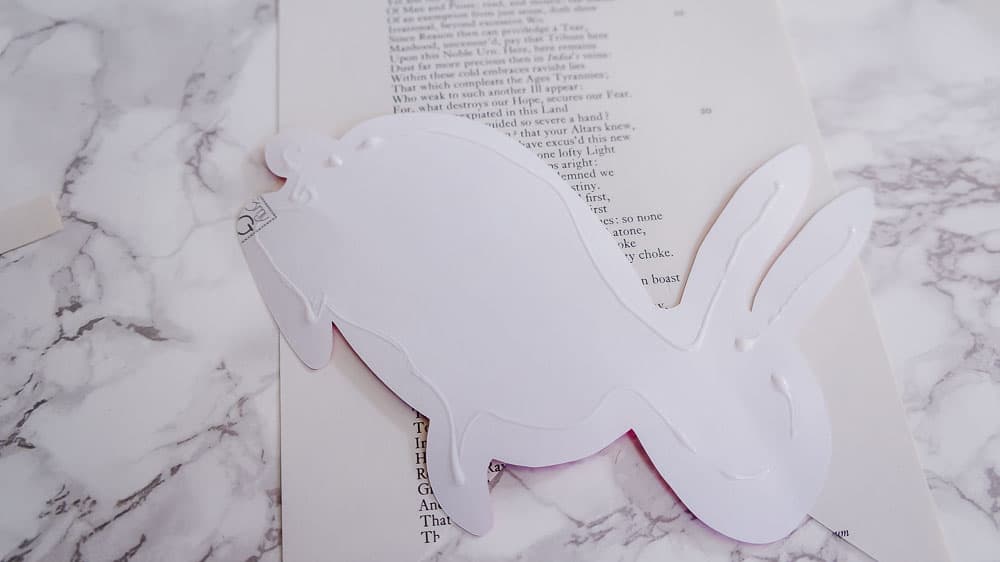
- Apply glue to each bunny. A glue pen is perfect for those tiny parts like the ears.
- Glue a bunny to each banner. I angled mine a bit because they were a bit large. But it makes them look like they are hopping!
- Thread the banners onto the string. Use the baker’s twine through each hole. I like to have the paper on the back of the banner.
- Glue a pom pom for the tail if desired.
- Hang and enjoy.
Aren’t the bunnies cute?
Easter Cut Files
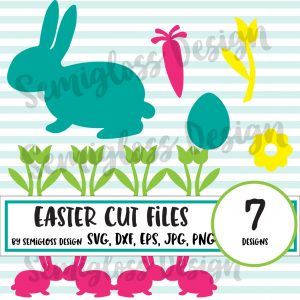
Want your own bunny cut files? These adorable cut files are available in my Etsy shop.
You might also like these cute acrylic Easter basket name tags.
Other Cute Banners to Make
Pin for Later!

Emy is a vintage obsessed mama of 2 DIYer who loves sharing affordable solutions for common home problems. You don’t need a giant budget to create a lovely home. Read more…


