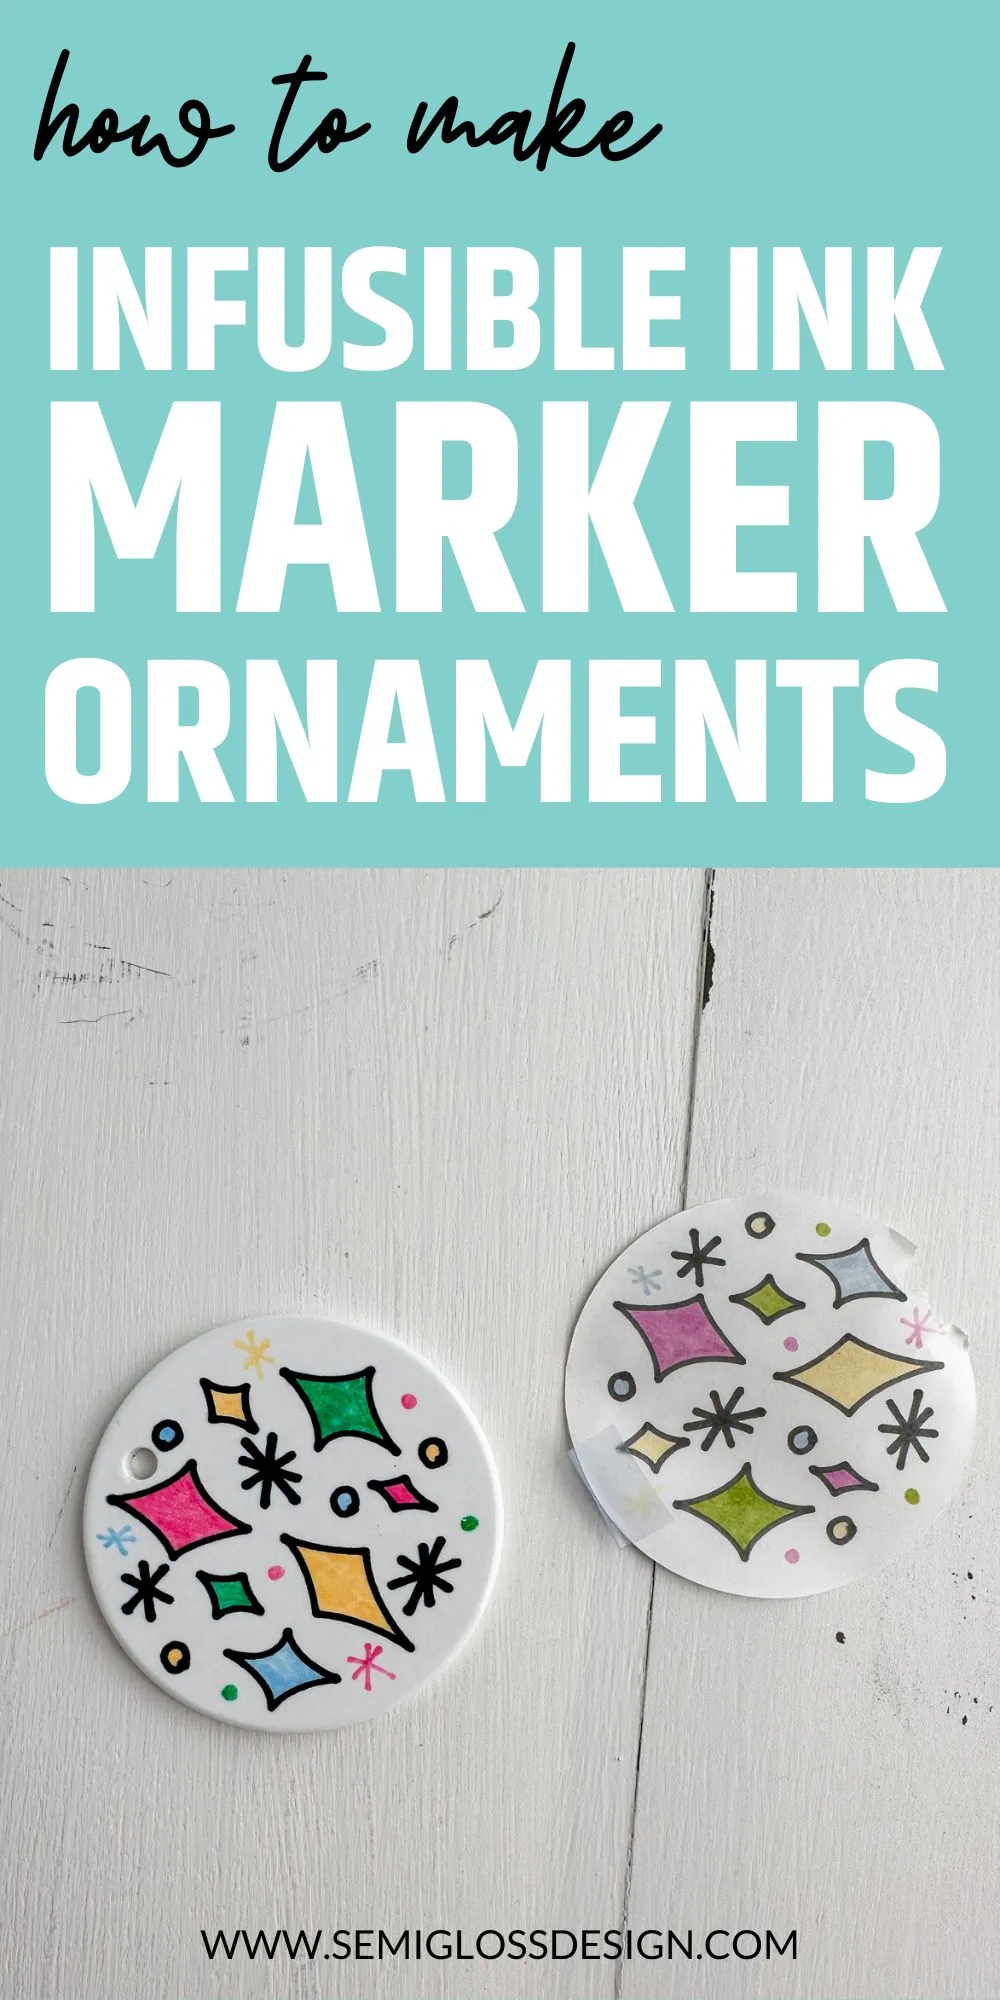
Infusible Ink Marker Ornaments
Learn how to make infusible ink marker ornaments. These markers create a vibrantly colored design that is permanent. Can’t draw? No problem! The Cricut draws for you!
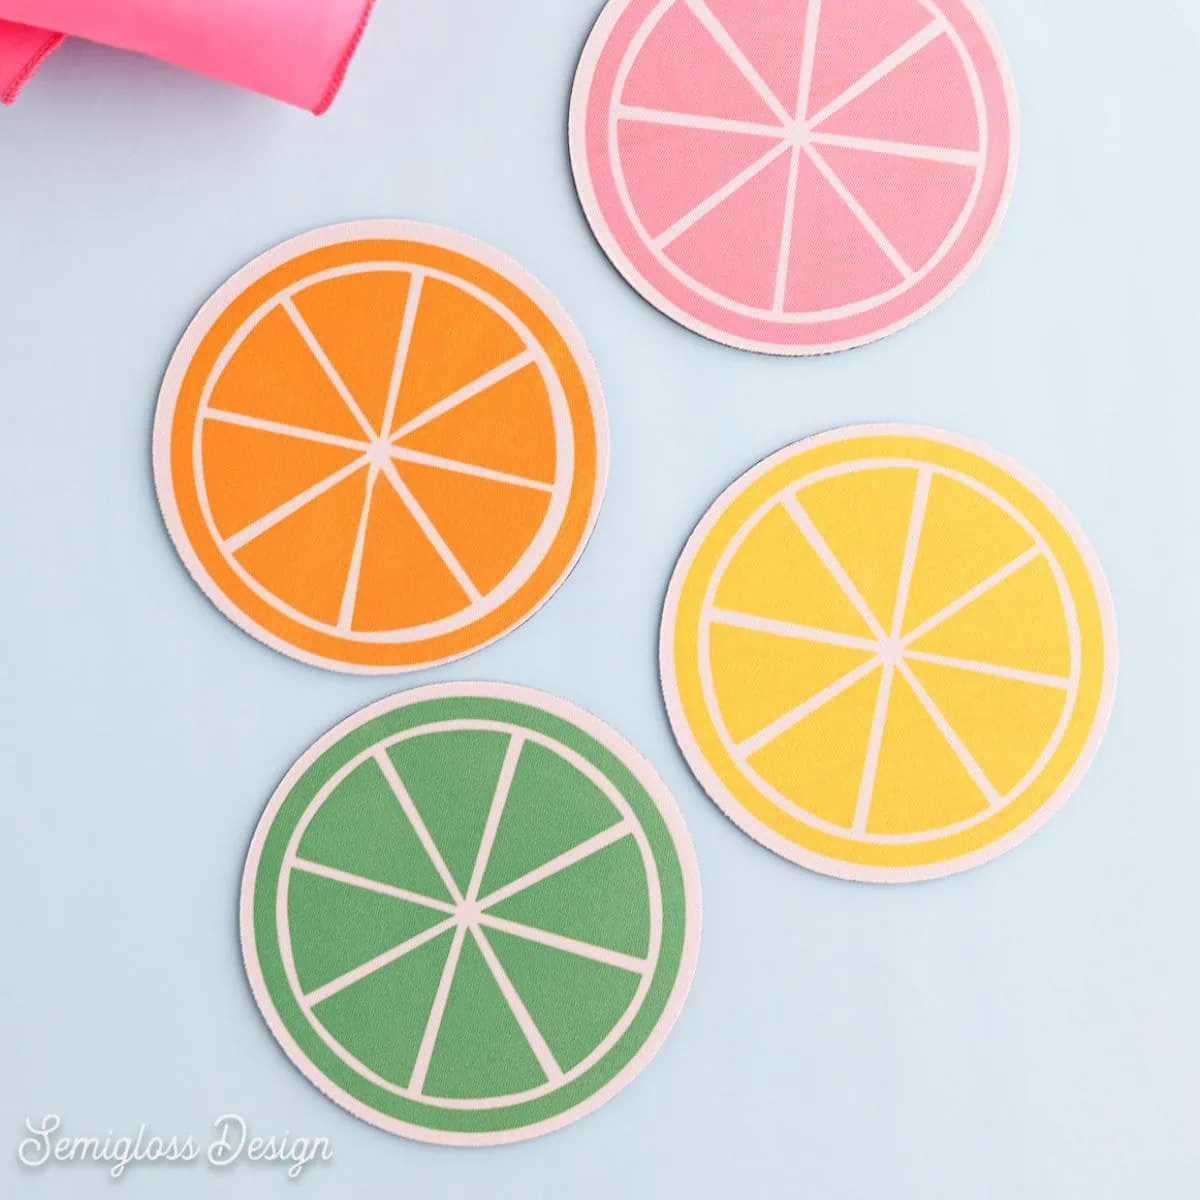
You might also like these fun DIY ornament ideas.
This post contains affiliate links. By purchasing an item through an affiliate link, I earn a small commission at no extra cost to you. As an Amazon Associate I earn from qualifying purchases.
I love using infusible ink markers. They combine 2 of my favorite things: drawing and Cricut.
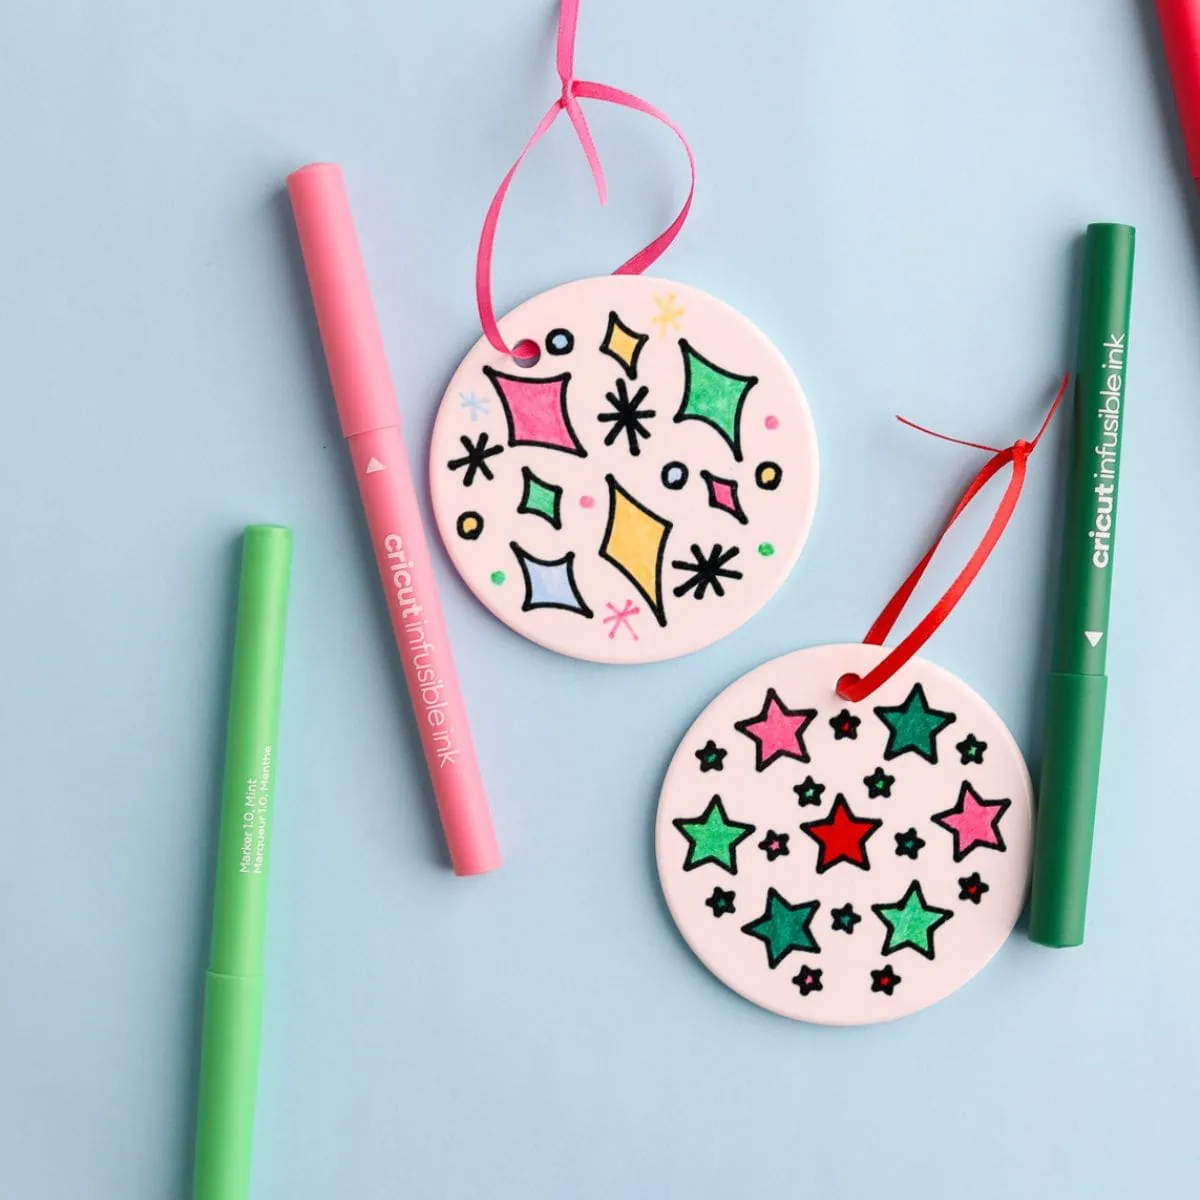
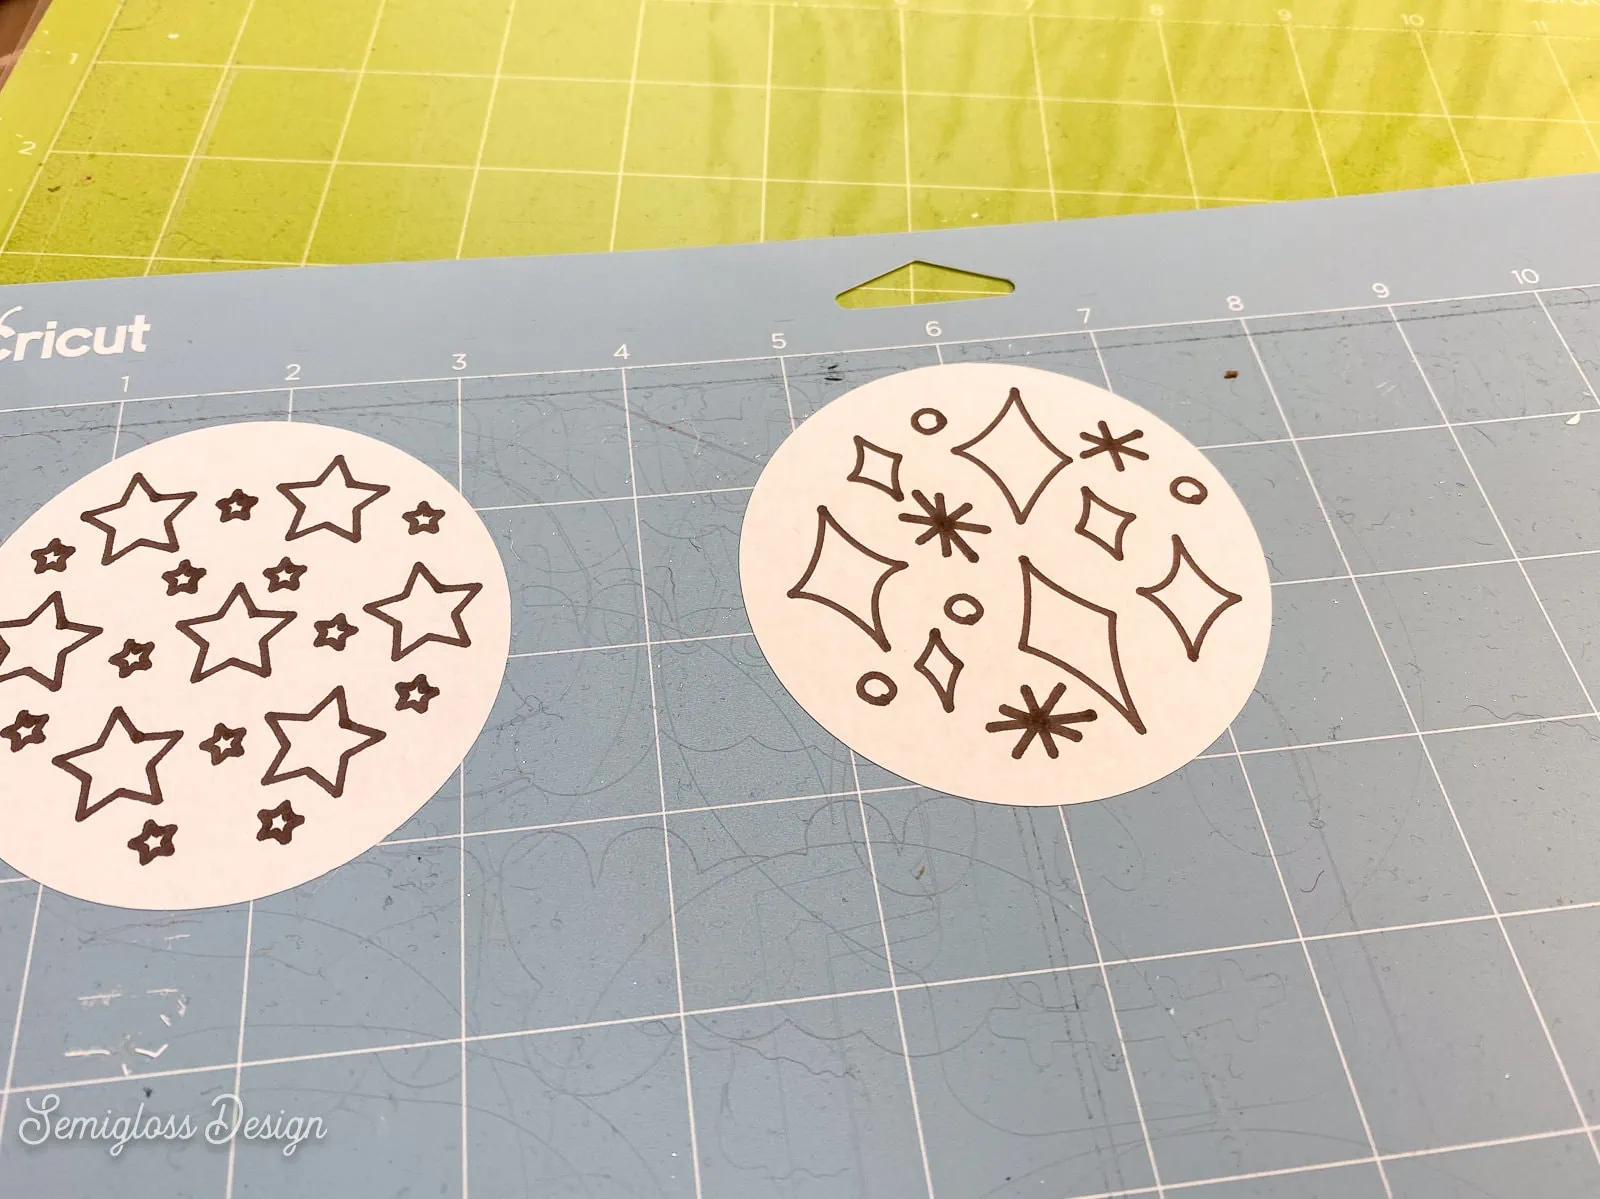
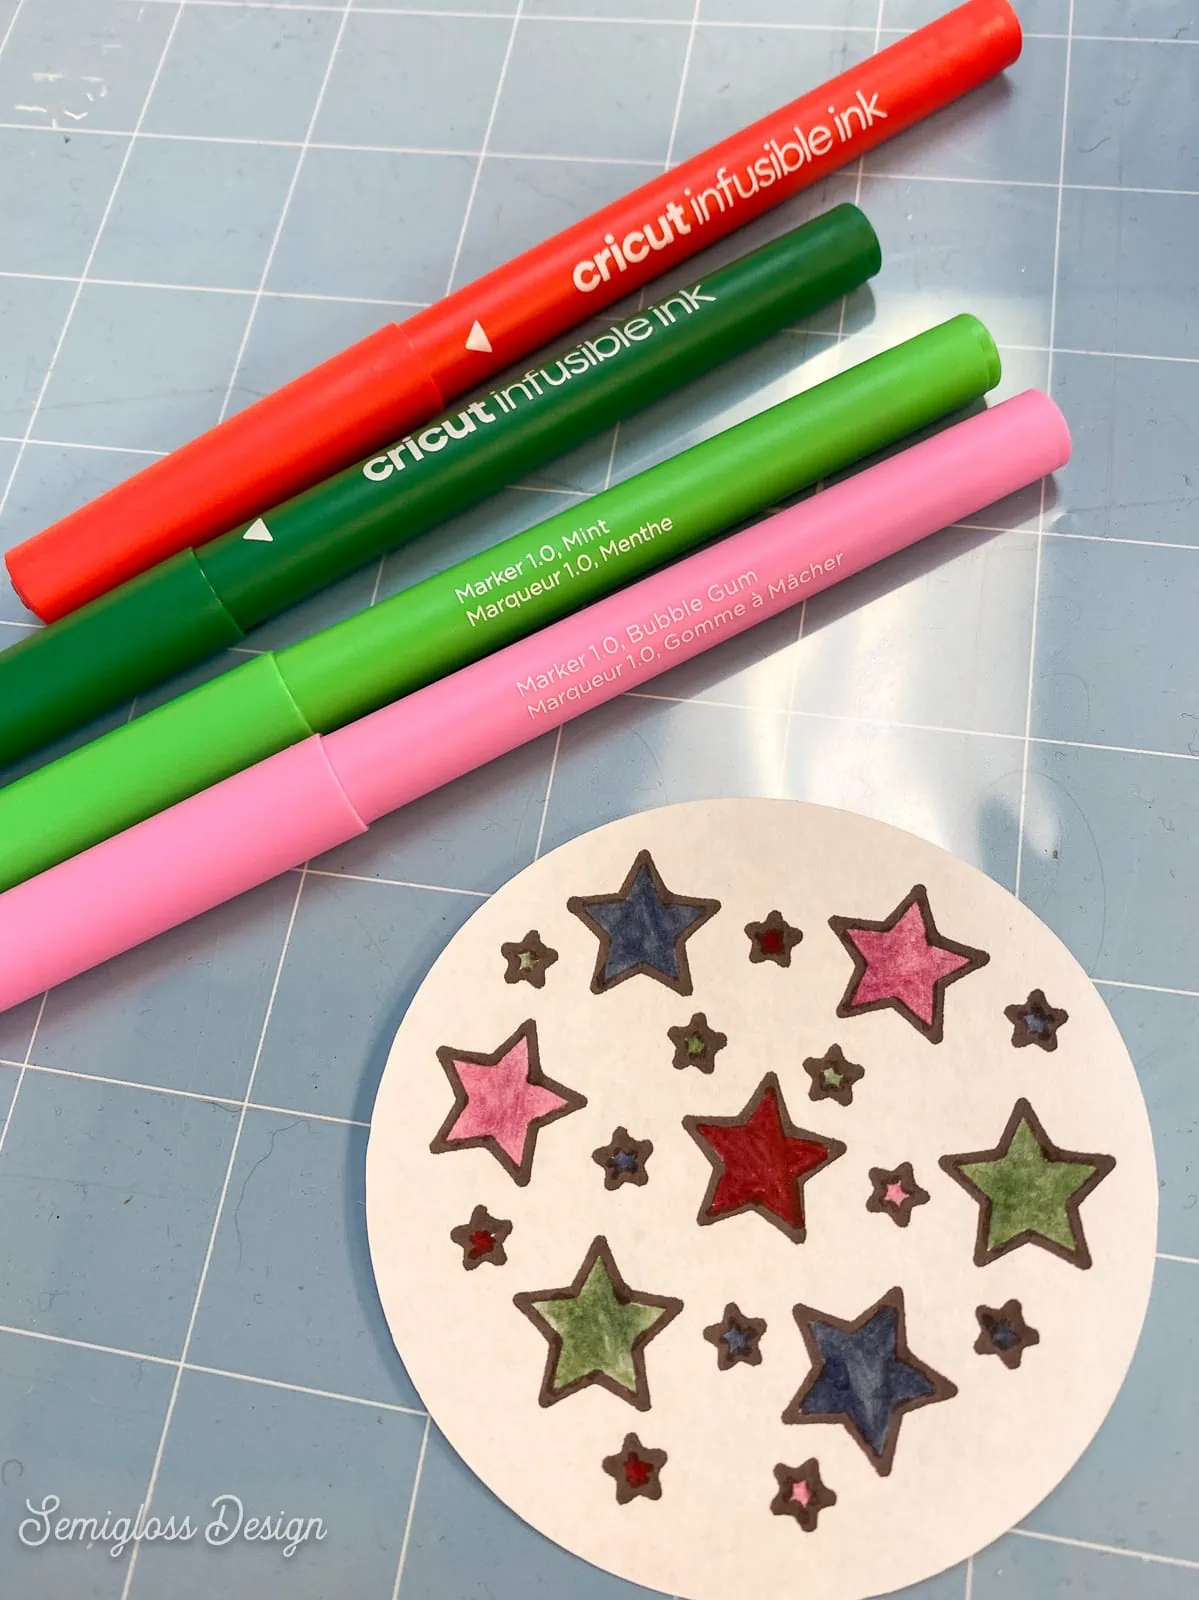
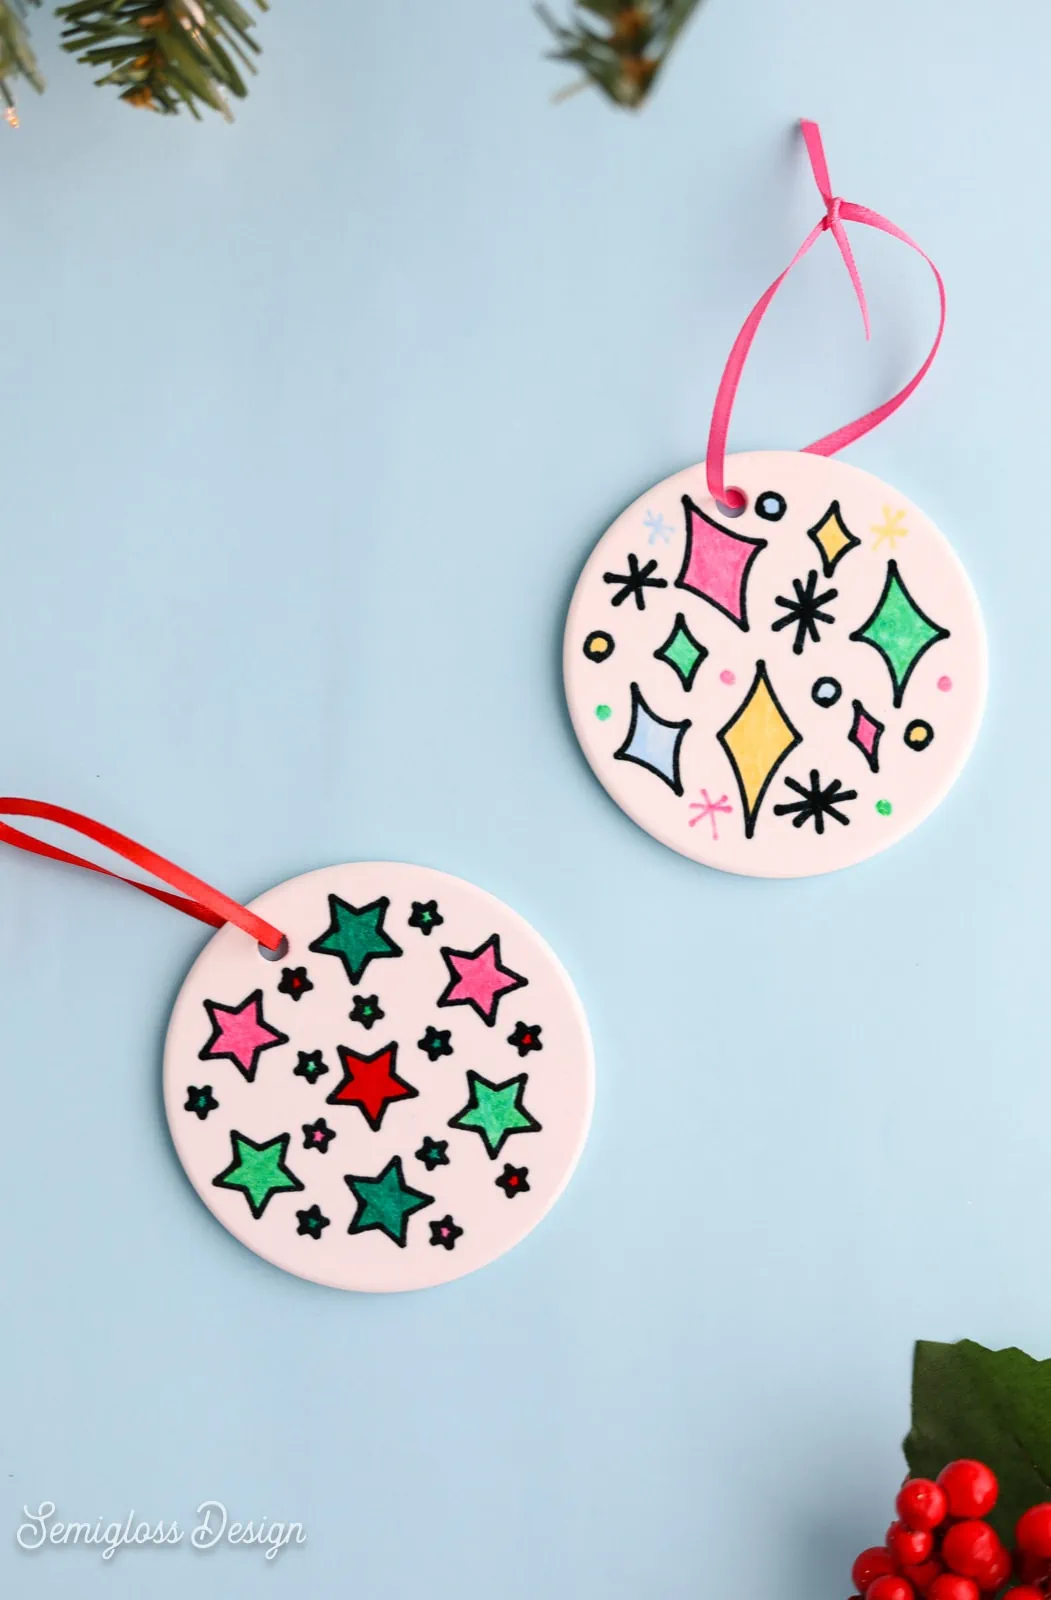
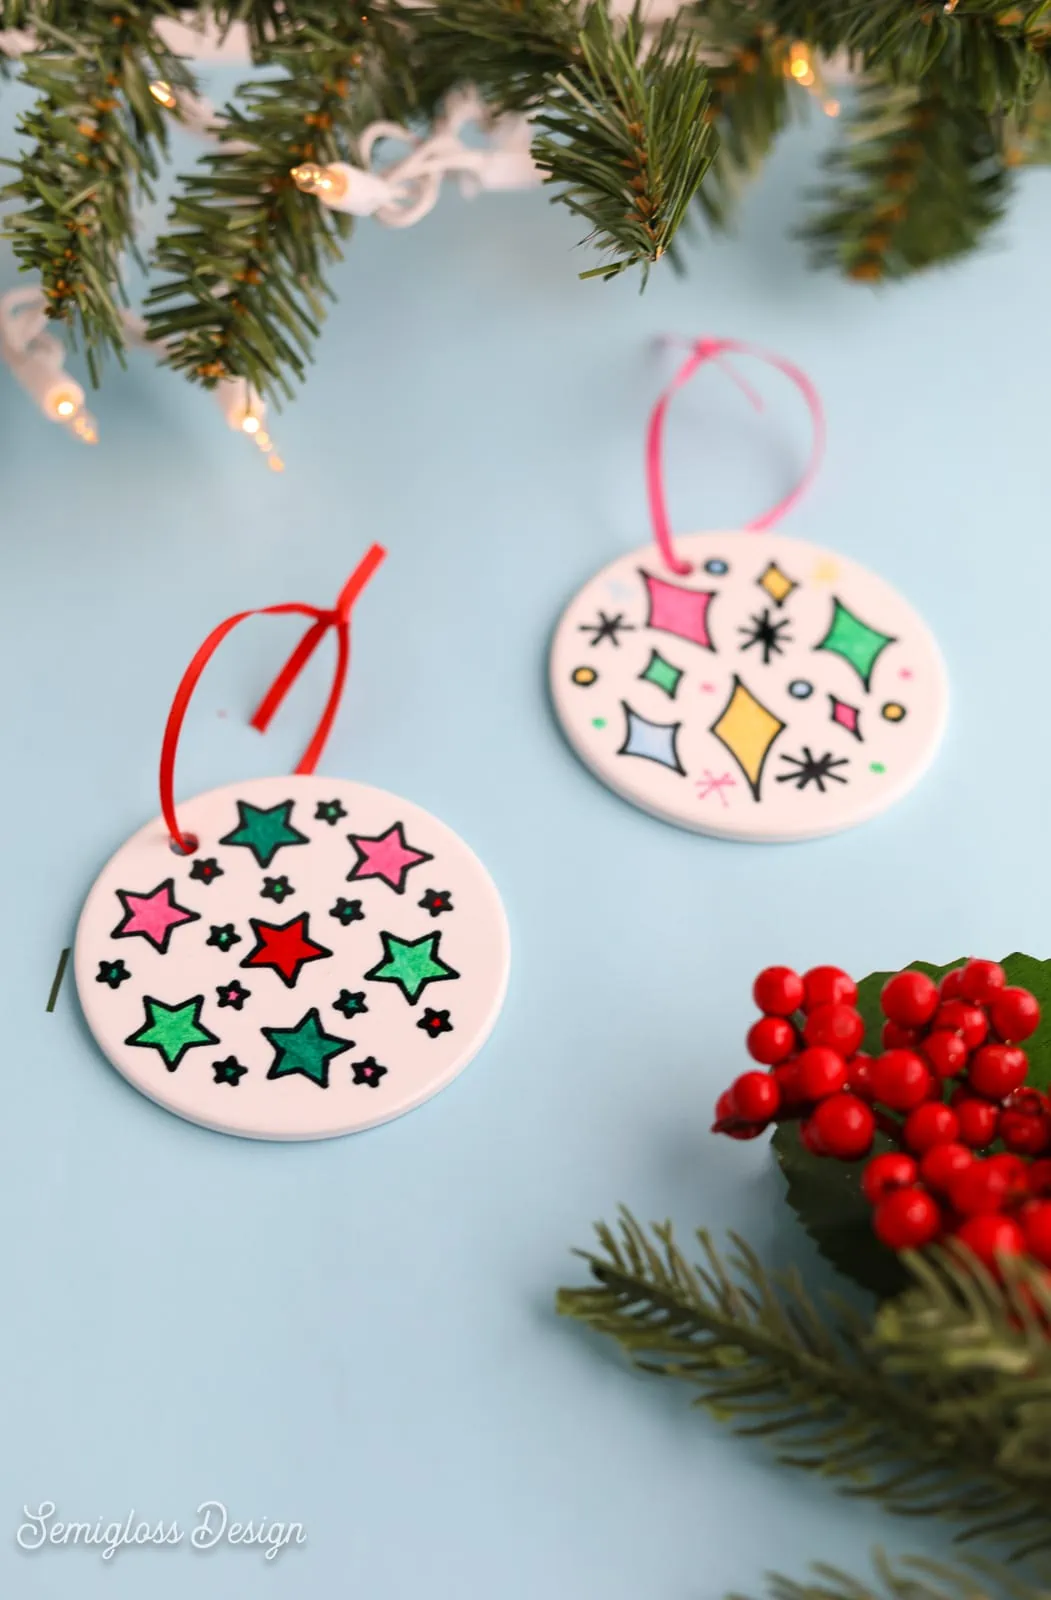
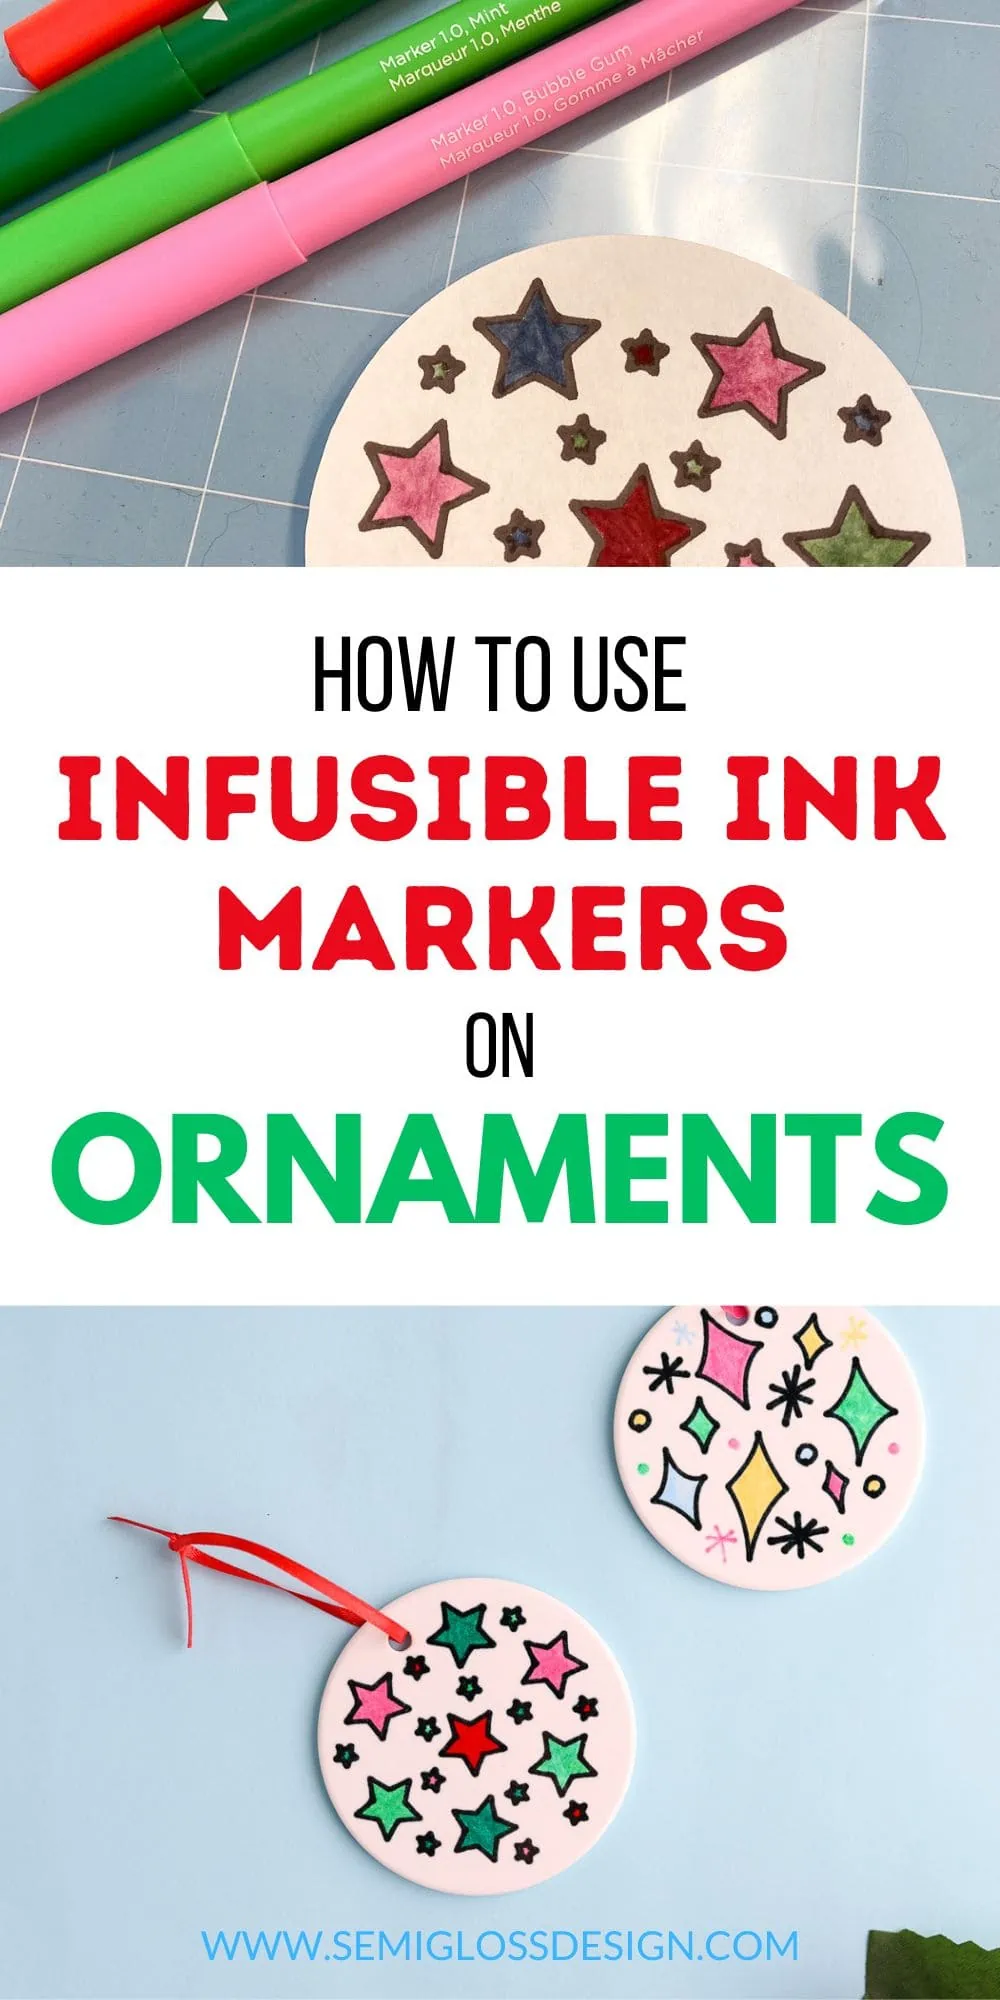
I created a design with cute stars and sparkles because I love a graphic design.
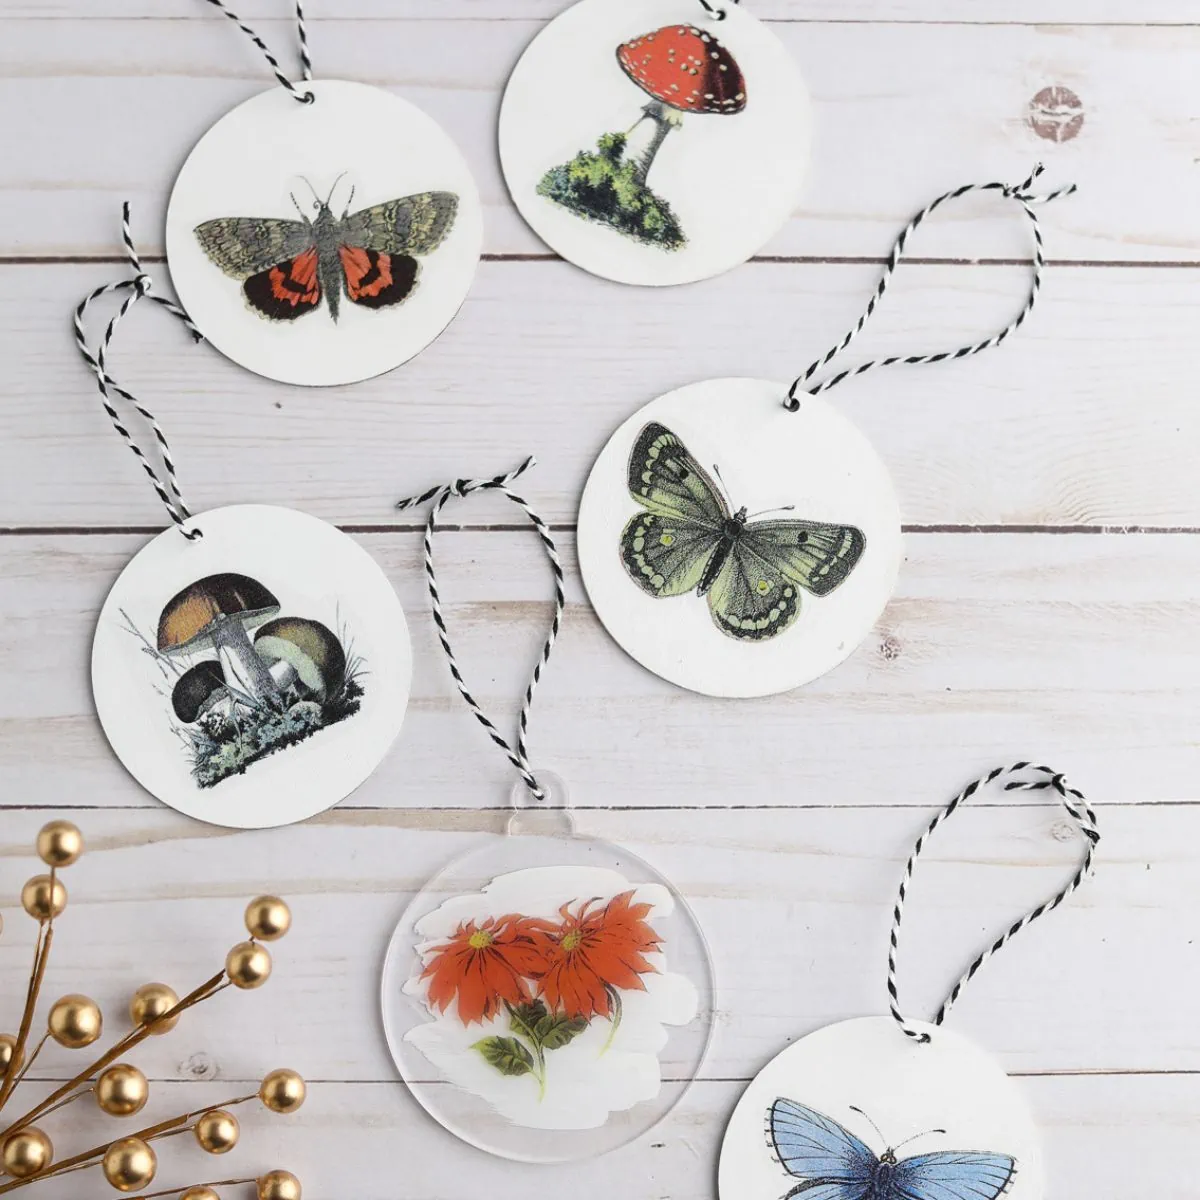
Another cute idea is to use this process to add children’s drawings to ornaments.
Infusible Ink Marker Ornaments
Supplies Needed:
- Sublimation ornament blanks
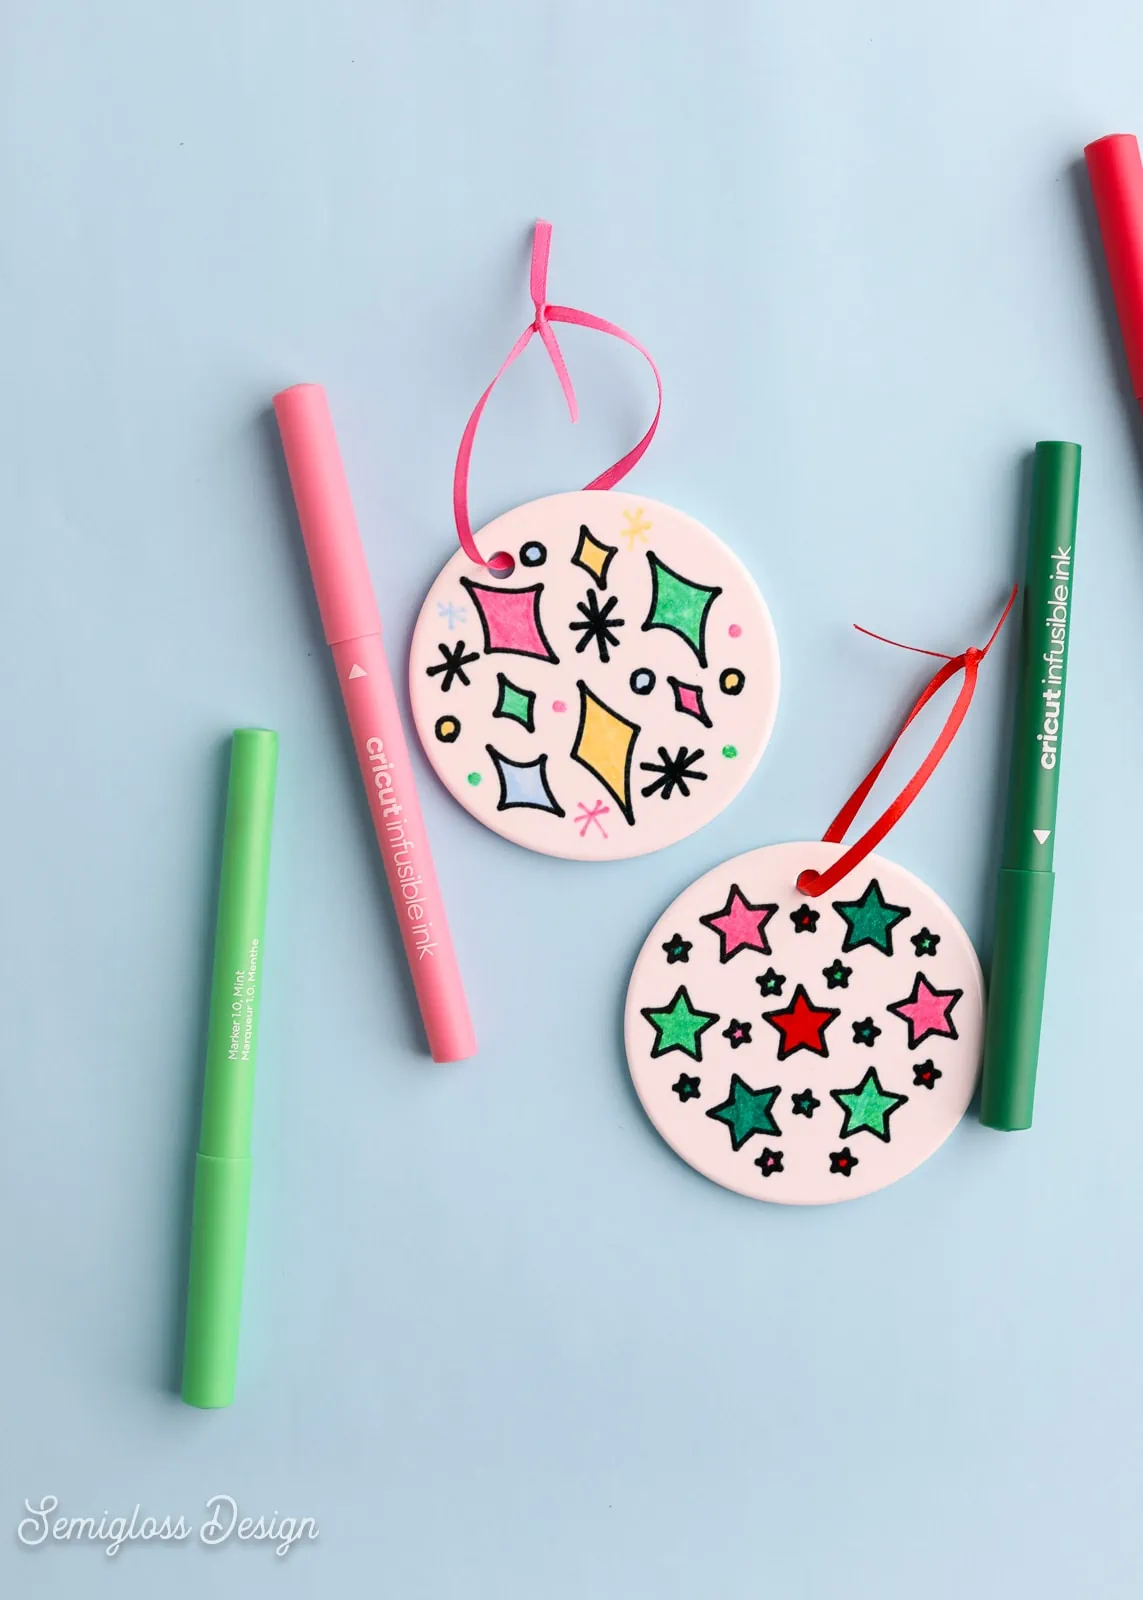
- Infusible ink markers
- Printer paper
- Butcher paper
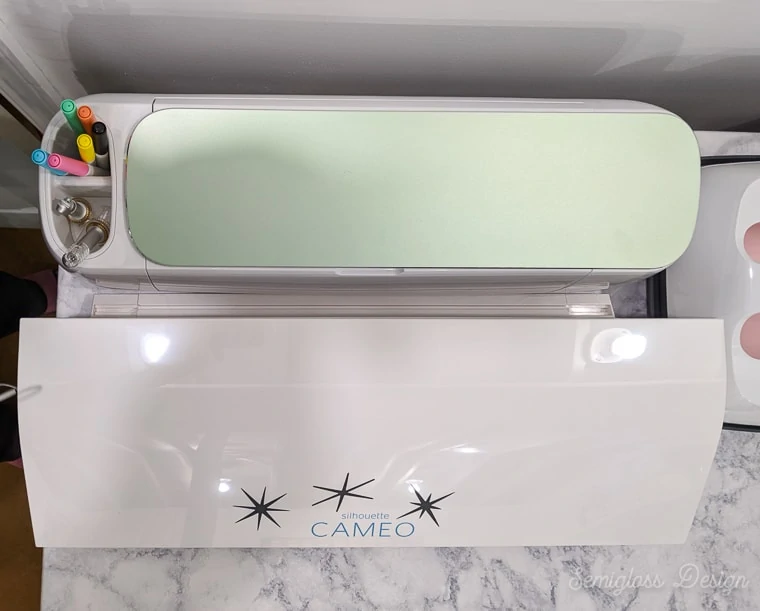
- Cricut (I used a Cricut Maker 3)
- Easy Press (or heat press machine)
- Easy Press mat
- Ribbon (to hang ornaments)
- SVG (Available at the bottom of the post)
Notes about Supplies:
All sublimation ornament blanks have different heat settings. Be sure to check the listing to make sure that you’re using the correct temperature and timing.
Infusible ink markers can not be used with a normal iron because it doesn’t get hot enough. They must be used with a heat press.
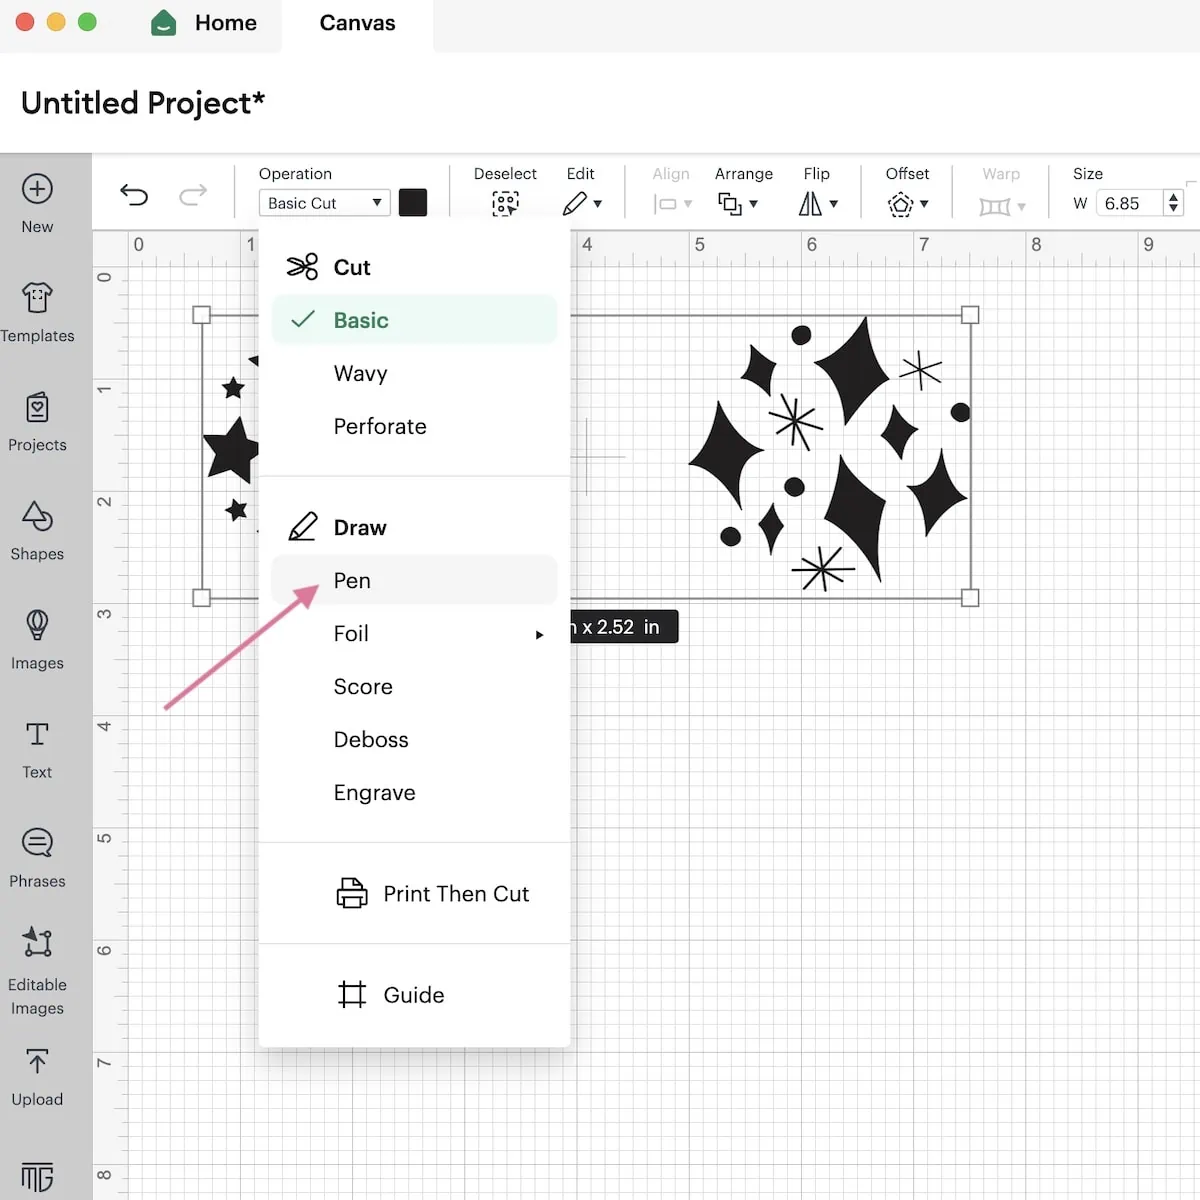
The markers can only create outlines if you’re using them with the Cricut. To get around this, I use the Cricut to draw the shapes and then color them in myself.
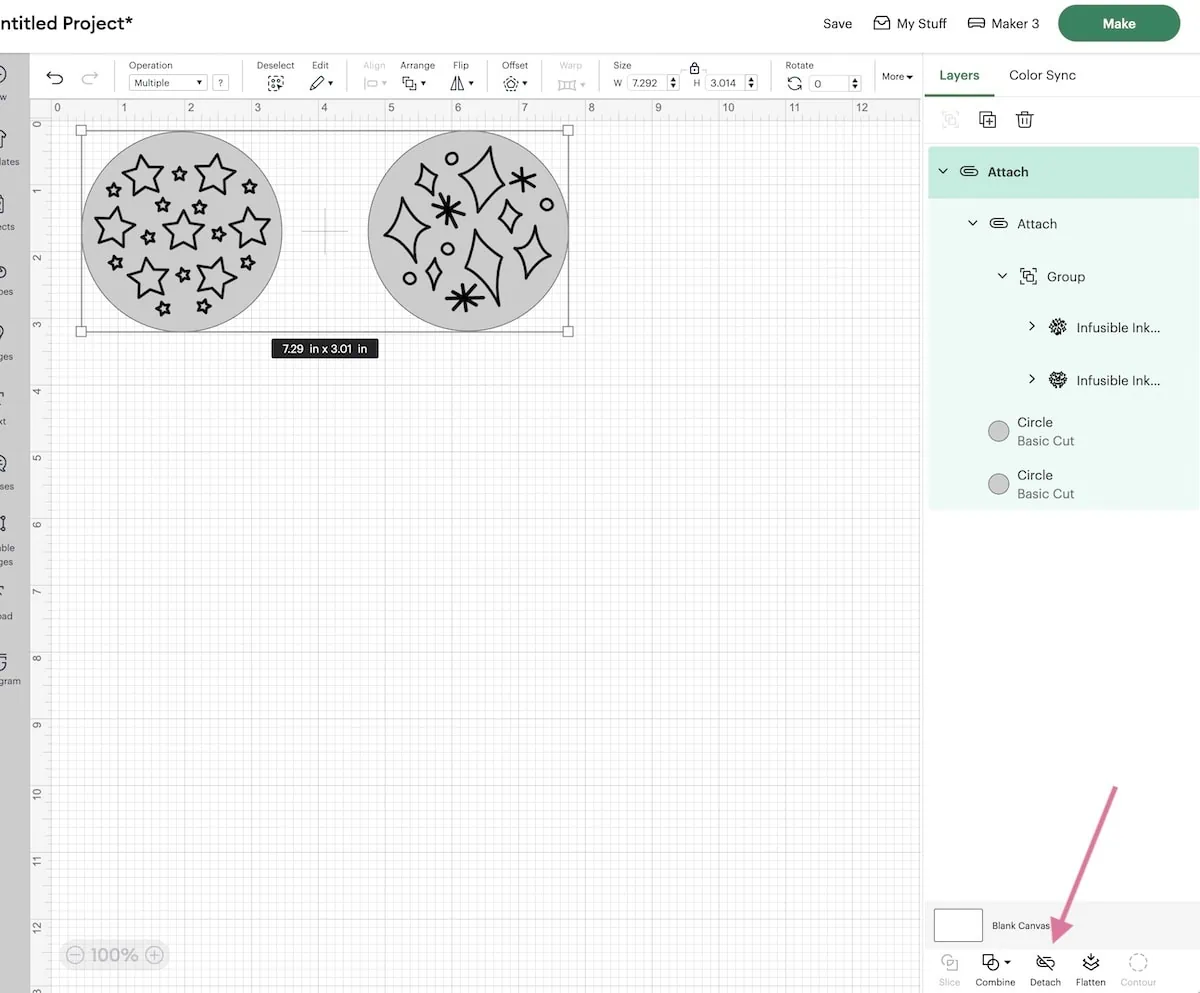
Creating the Design in Cricut Design Space
- Upload the design as usual.
- Change the operation from cut to Draw>Pen.

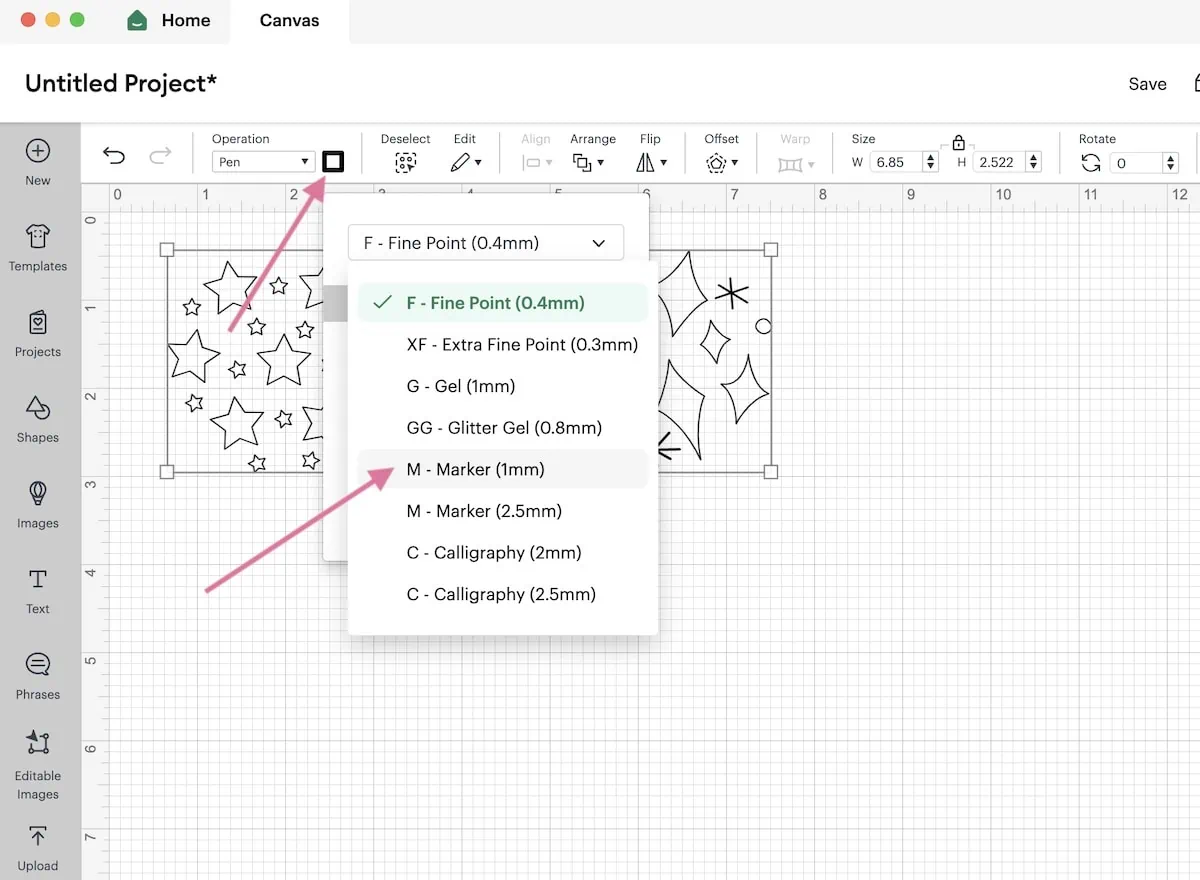
- Click on the color button to change the pen type to “1mm marker” and set the color. (I just used black.)

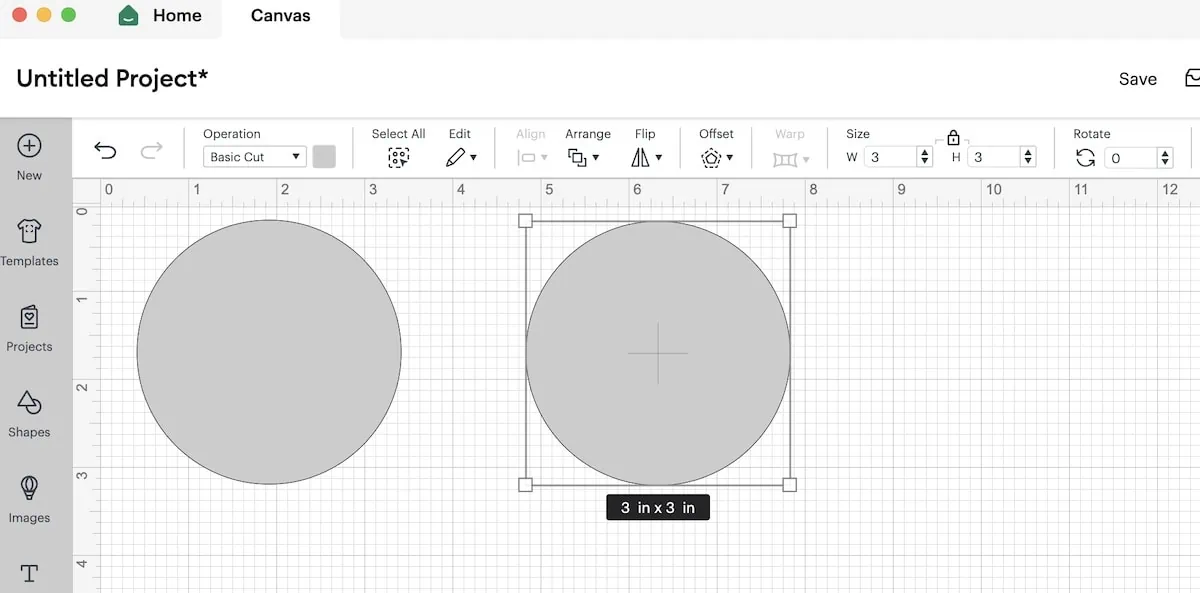
- Add a circle from the shapes panel.
- Increase the size to 3 inches. (If your ornament blanks are a different size, use that size.)
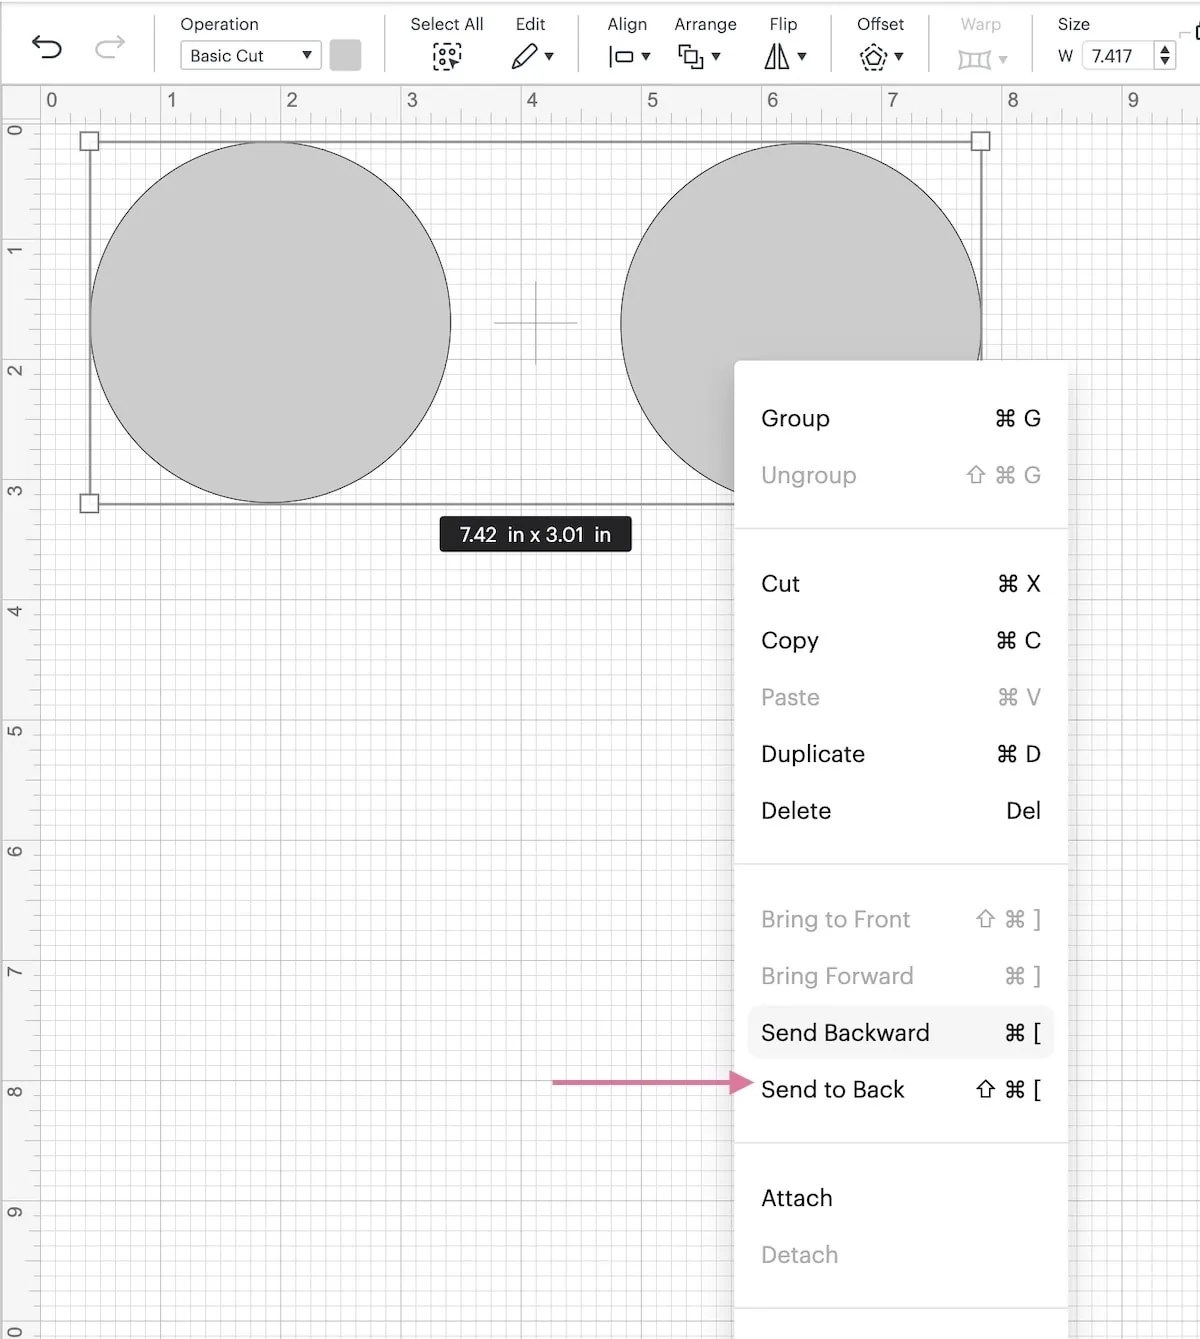
- Duplicate the circle.

- Select both circles and send them to the back. (You can recolor the circle to make your design easier to see.)

- Move the circles so that they are aligned with the designs.
- Attach all of the layers. This keeps all of the layers in place.

- Click Make when you’re happy with the design.
- If you’re using text, be sure to mirror the design.
Infusible ink markers can be used without a Cricut if you just want to draw a design. I added a circle behind the design and had my Cricut cut it, but it’s not necessary. Just trace the ornament and draw in that space.
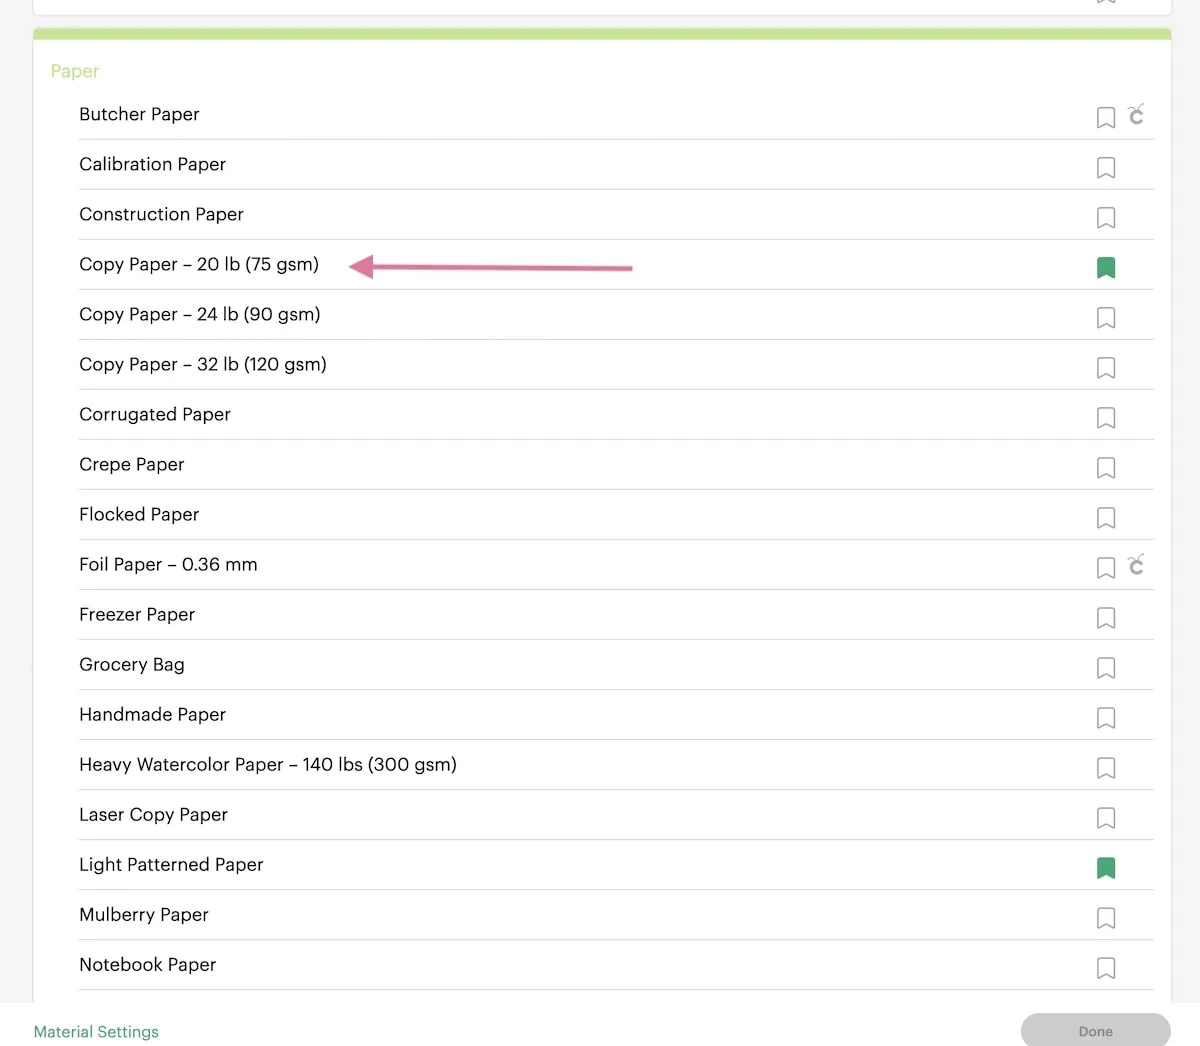
Cutting the Design
- If you’re using text, be sure to mirror the design.
- Place a sheet of printer paper on a mat.

- Select “copy paper – 20 Lb.”

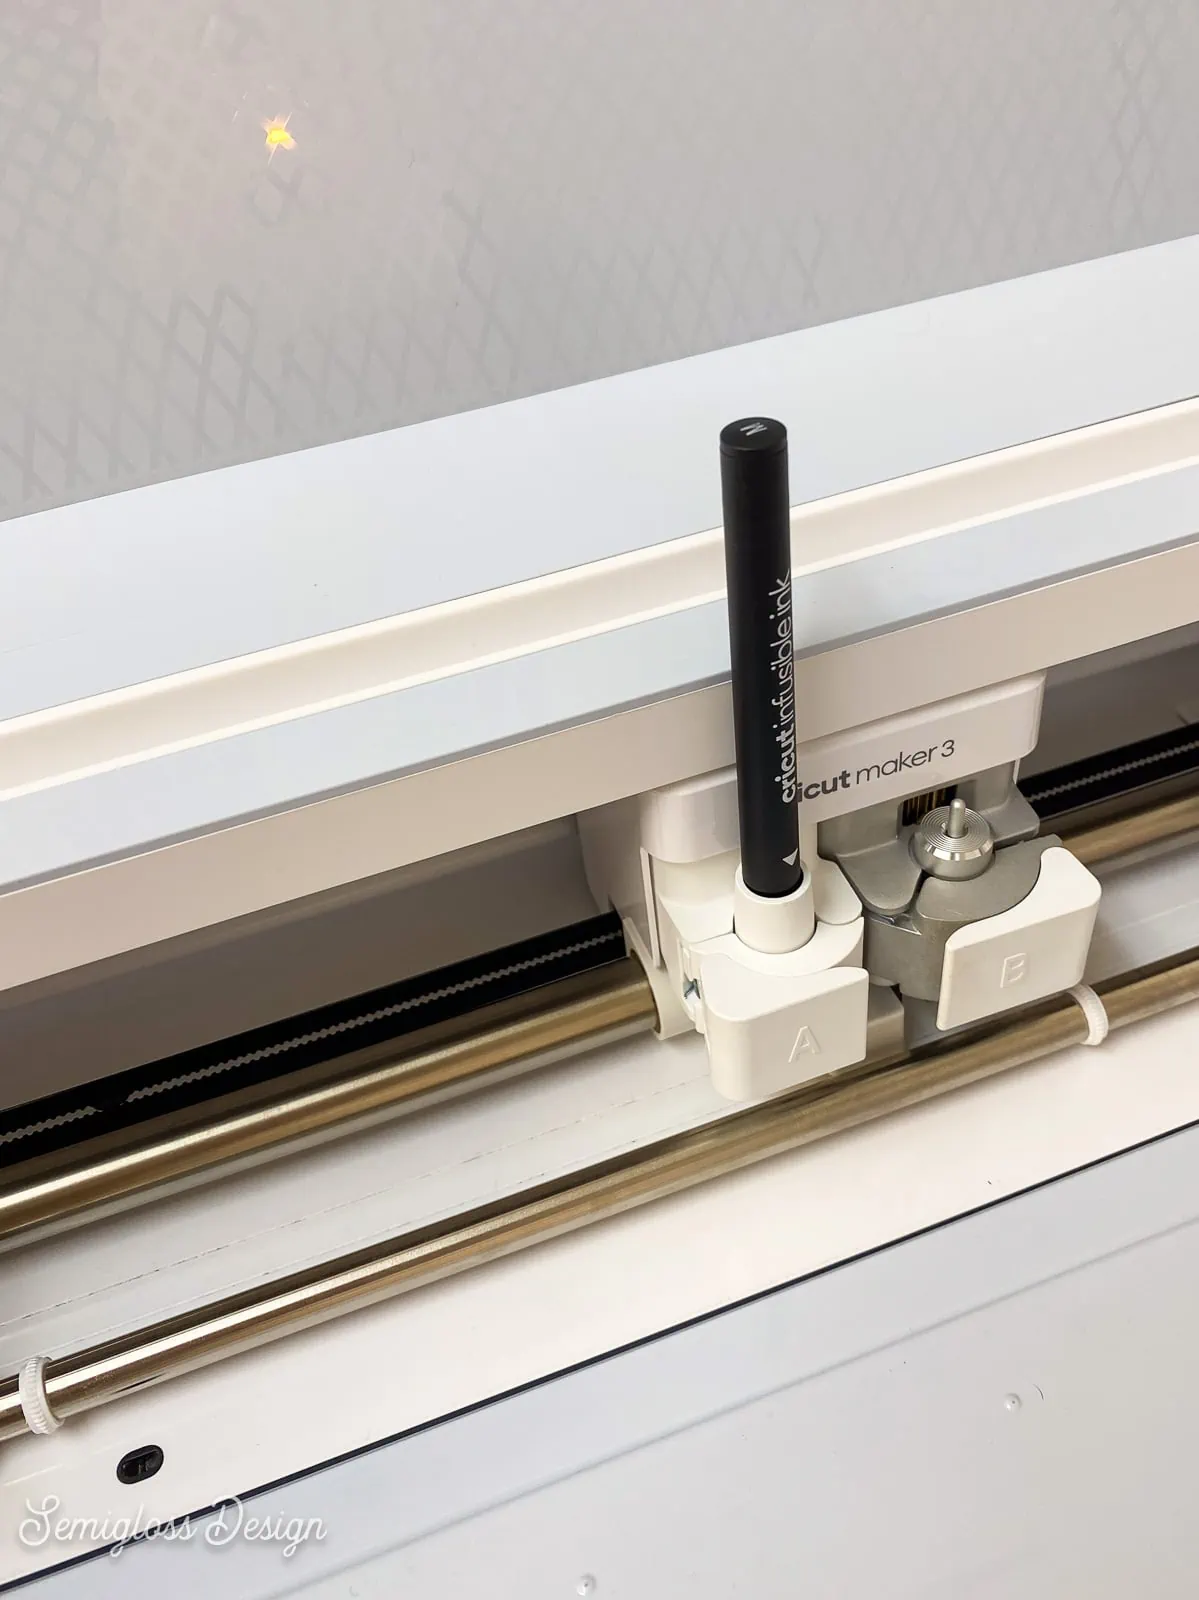
- Load the pen into clamp A. Make sure it clicks when you put it in, or it doesn’t work.
- Click the start button on the Cricut. The machine will draw the design and then cut it.
- Unload the mat when the Cricut is finished cutting the design.


Using the Easy Press with Infusible Ink Markers
I recommend only pressing one ornament at a time for this process.
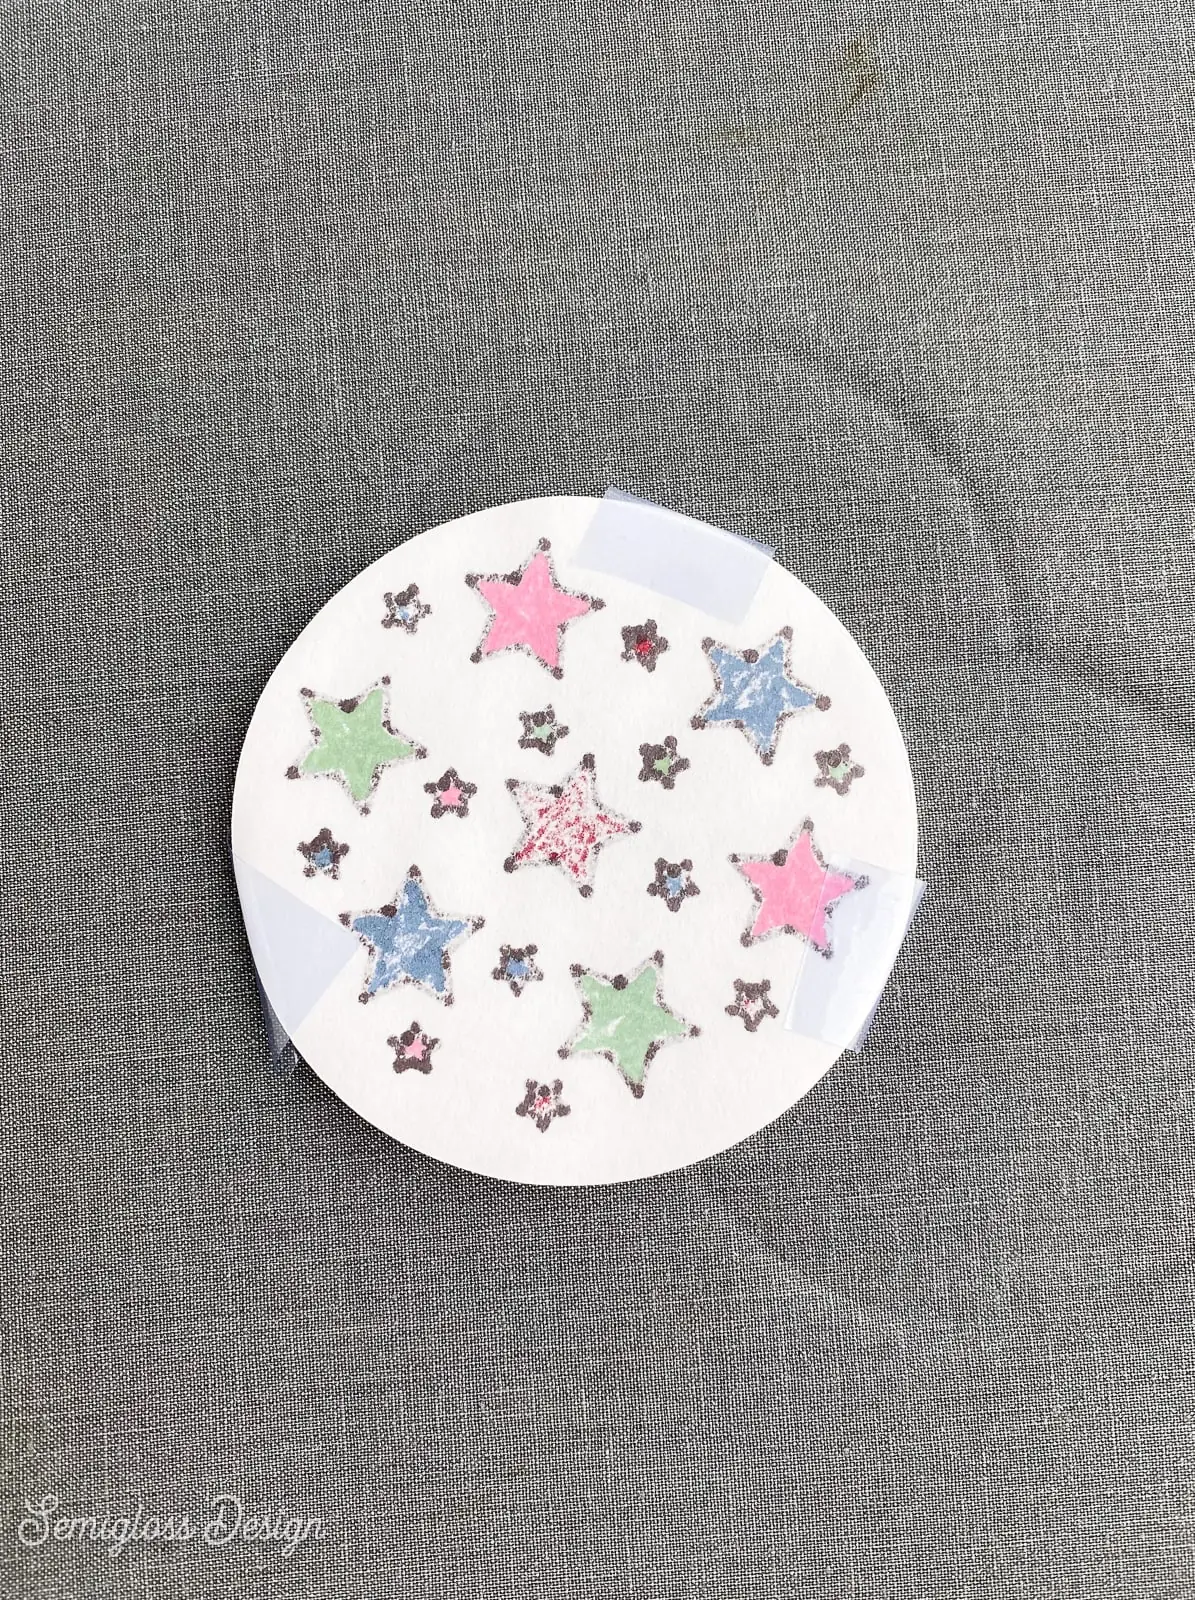
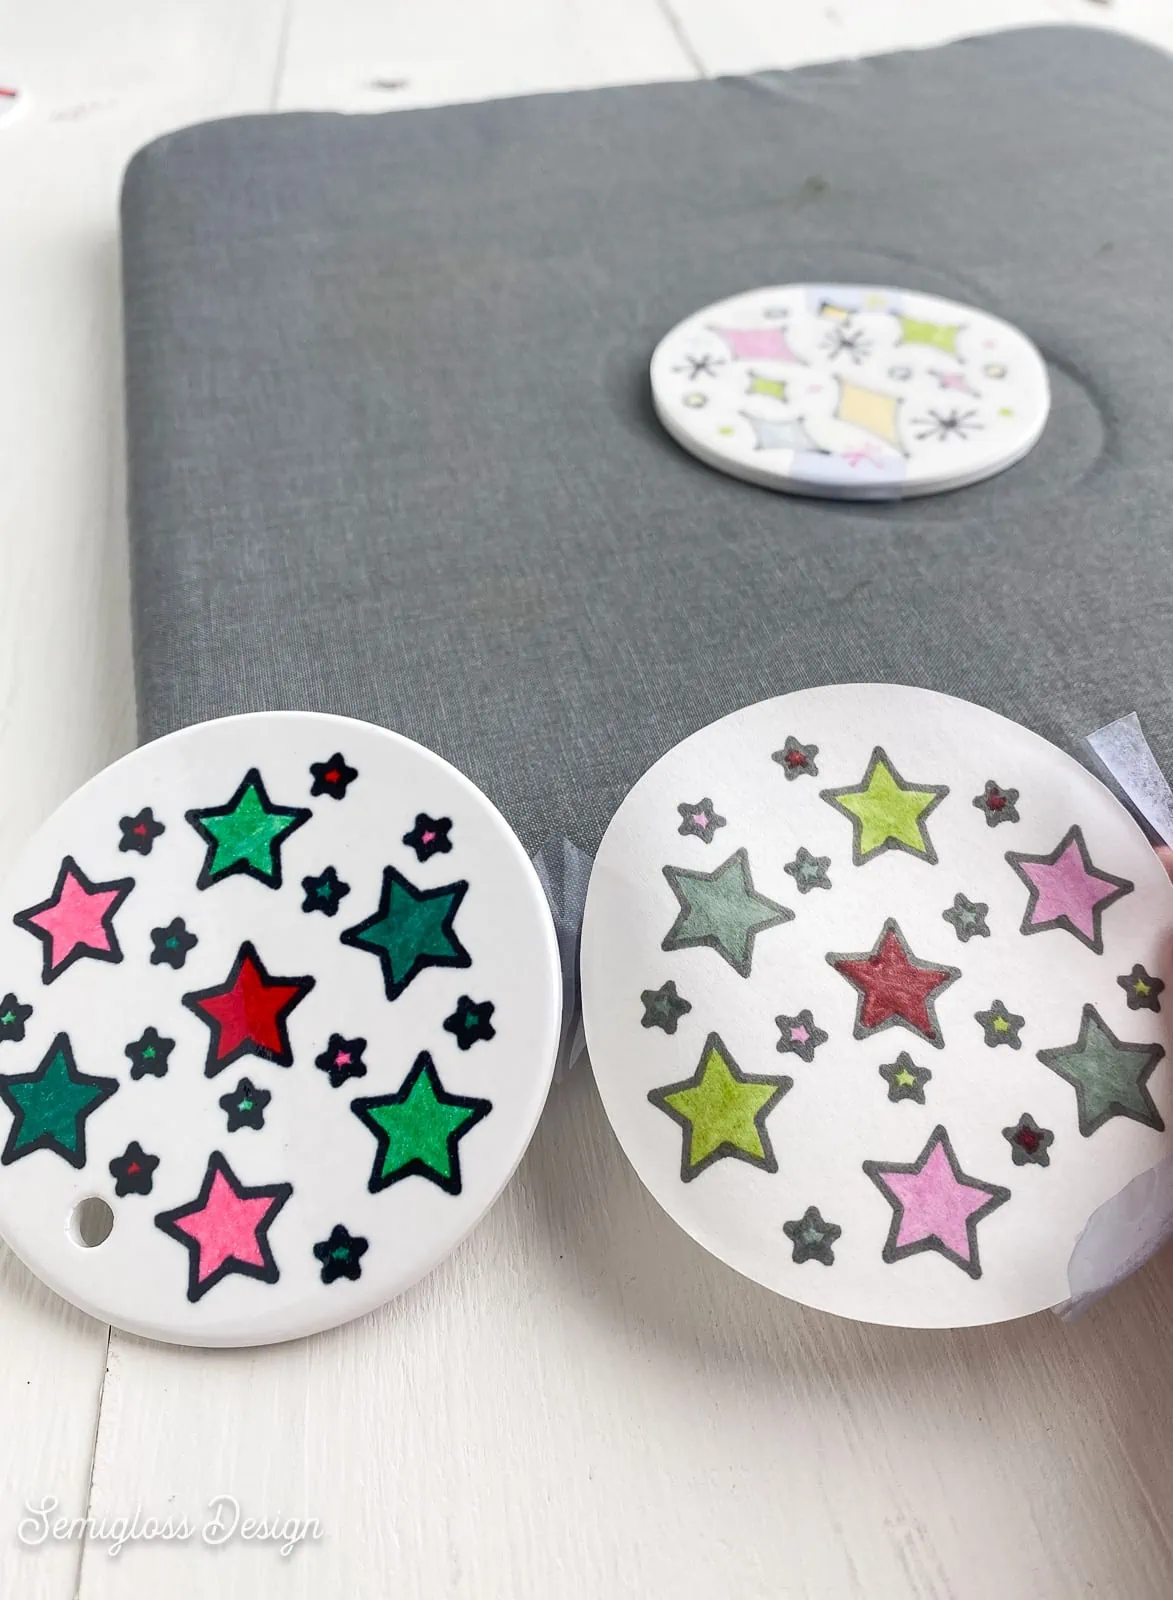
- Peel the mat away from the paper to avoid curling the paper.
- Color the design as desired. The marker cases tend to be different colors than you expect, so read the labels and hope for happy accidents. Testing some colors on an ornament might also be a good idea.
- Place the design onto the sublimation ornament, ink side down.

- Secure the design with heat transfer tape.
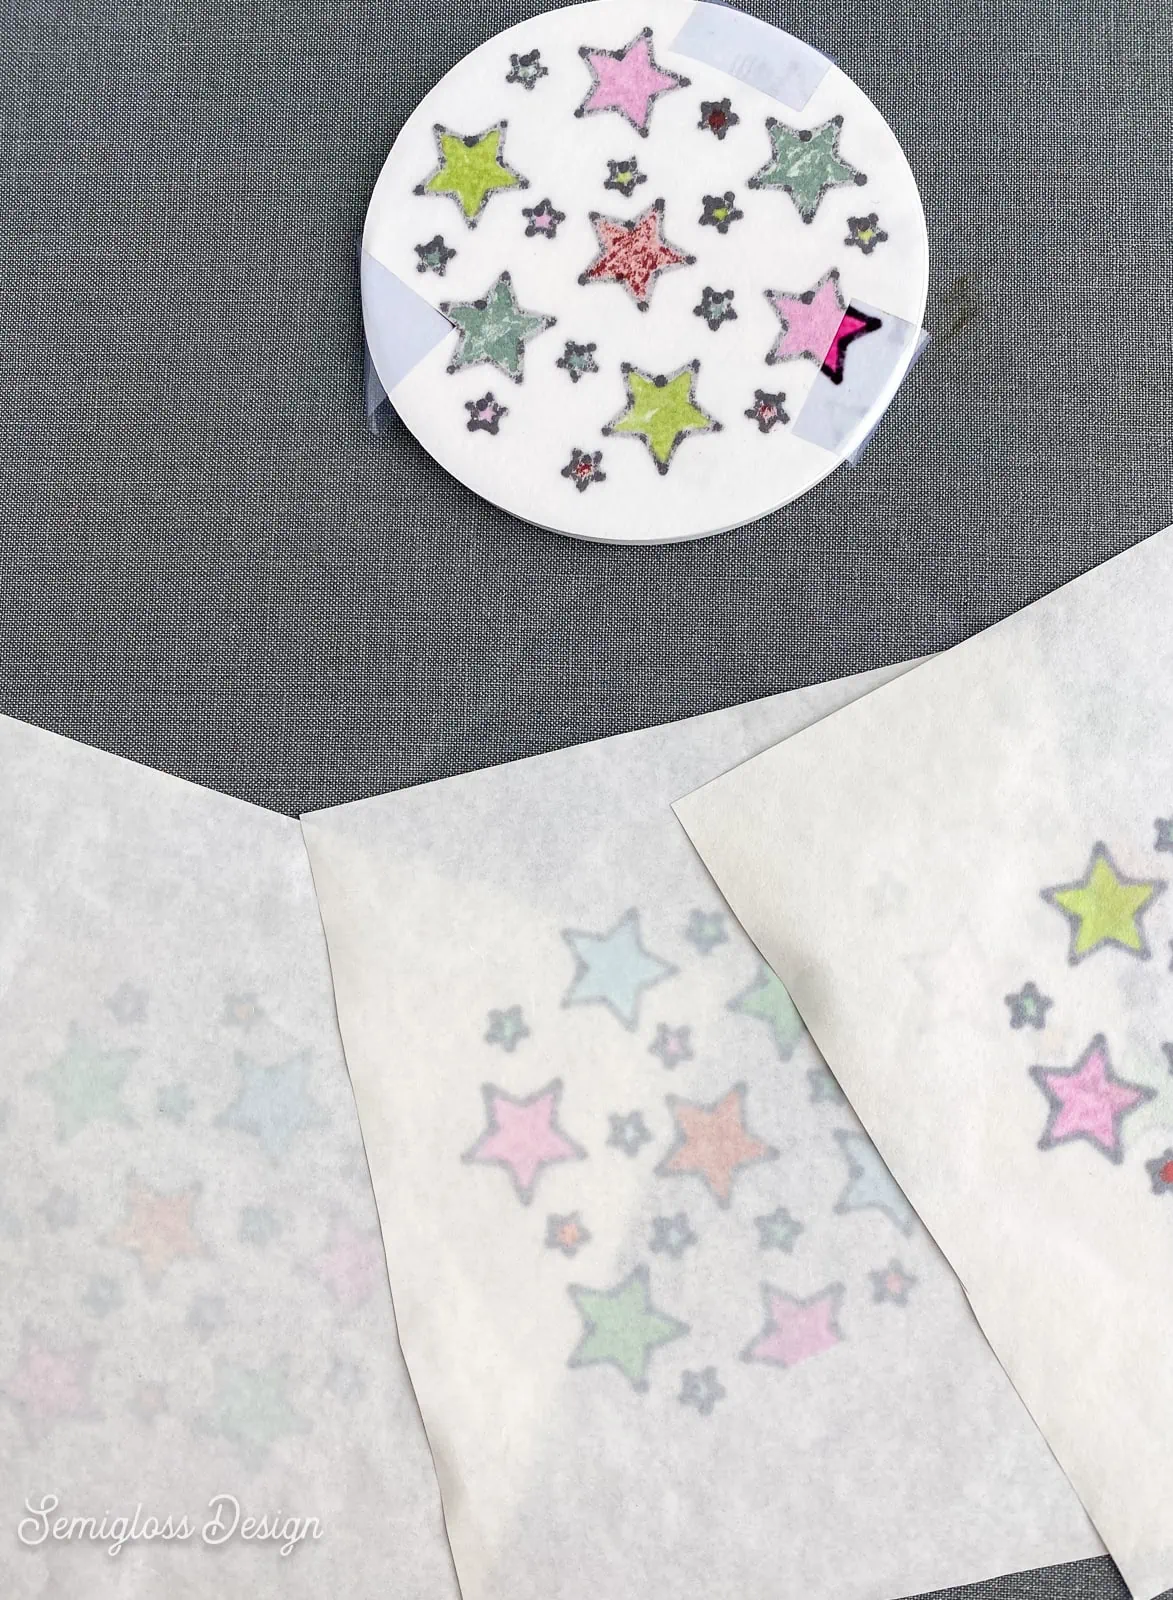
- Place the ornament with the design facing up on the Easy Press mat.
- Place 3-4 layers of butcher paper over the design. The marker ink bleeds through several layers of paper.

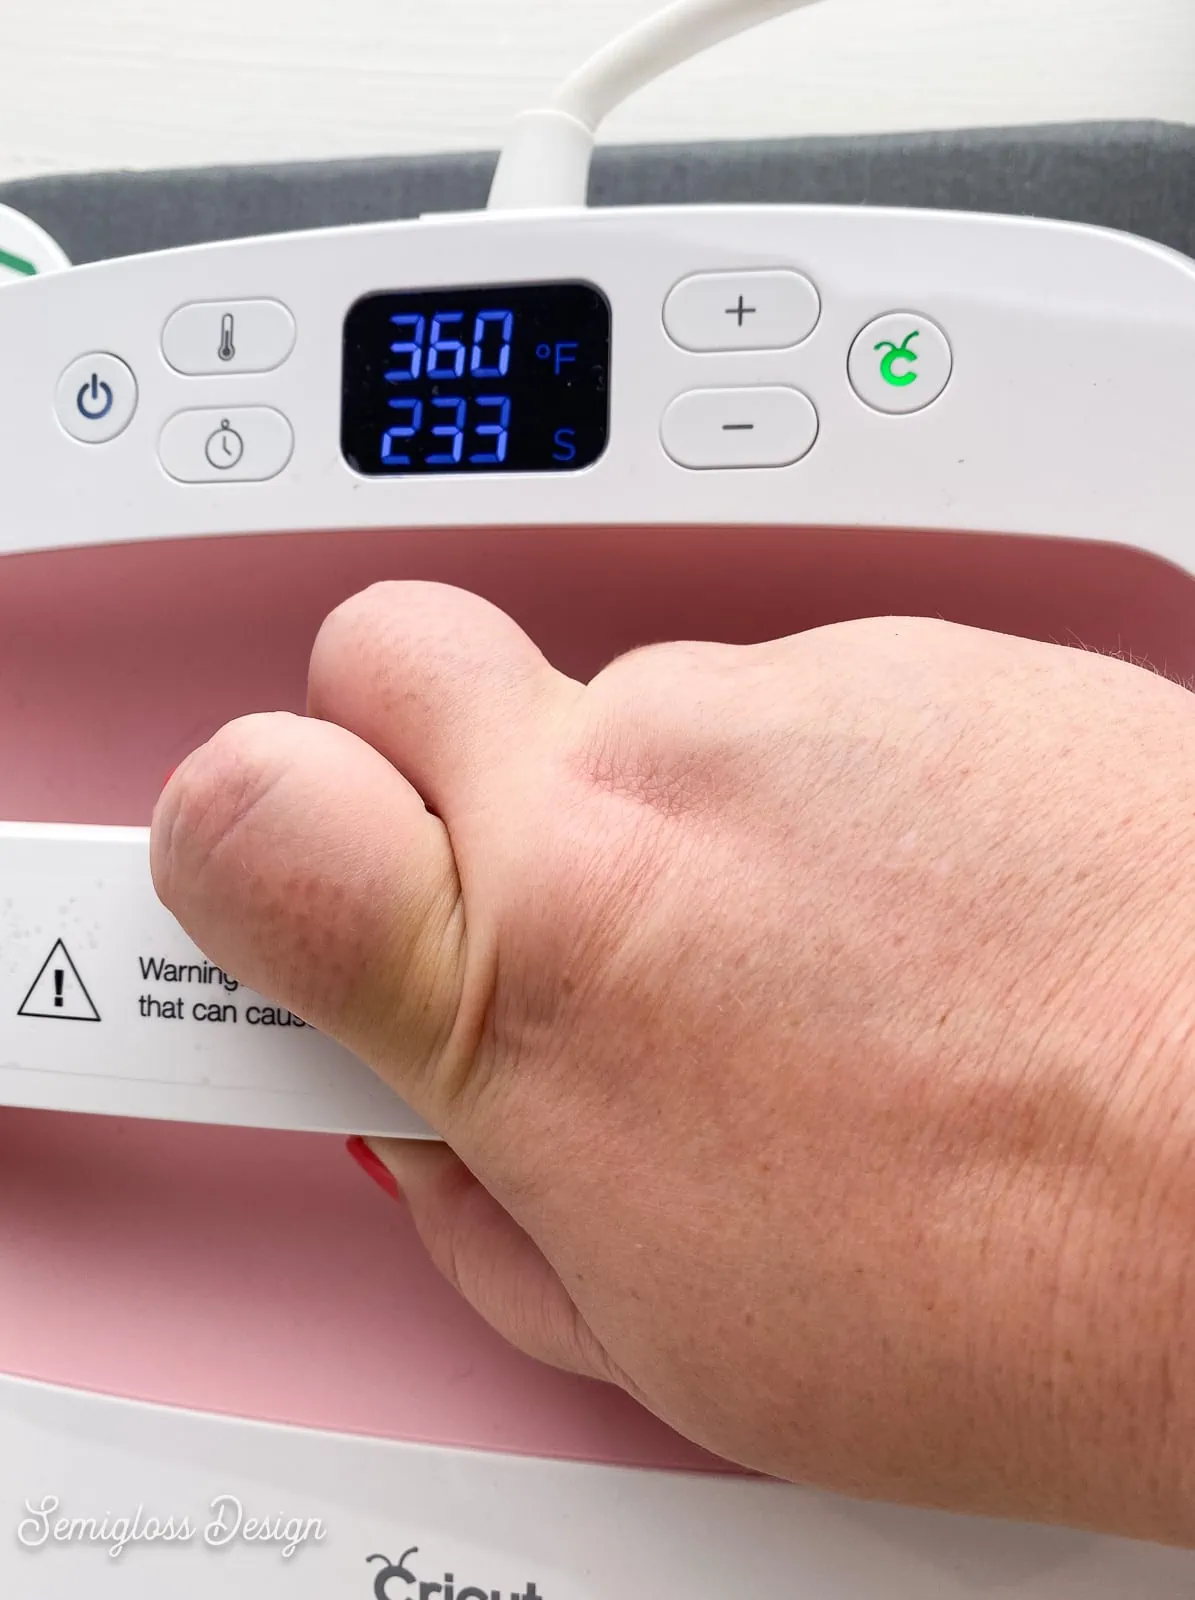
- Set the Easy Press to the correct temperature and set the timer. The sublimation ornaments that I used needed to be set to 360º and heated for 240 seconds.
- When the Easy Press is ready, firmly press the Easy Press onto the ornament for the required time.
- When it beeps, remove the Easy Press and replace it in the cradle.
- CAUTION: The ornament will be extremely hot after being pressed for 4 minutes. Do not touch it until it is cool.
- When the ornament cools off, remove the design.
- Finally, add a ribbon to hang it.

You might also like:
Get access to my SVG Library.
Get access to over 50 SVG sets and Cricut cheat sheets. Join my SVG library.
SVG for Infusible Ink Marker Ornament
All downloads are for personal use only. Please do not redistribute or sell files.
Pin for Later!

Emy is a vintage obsessed mama of 2 DIYer who loves sharing affordable solutions for common home problems. You don’t need a giant budget to create a lovely home. Read more…