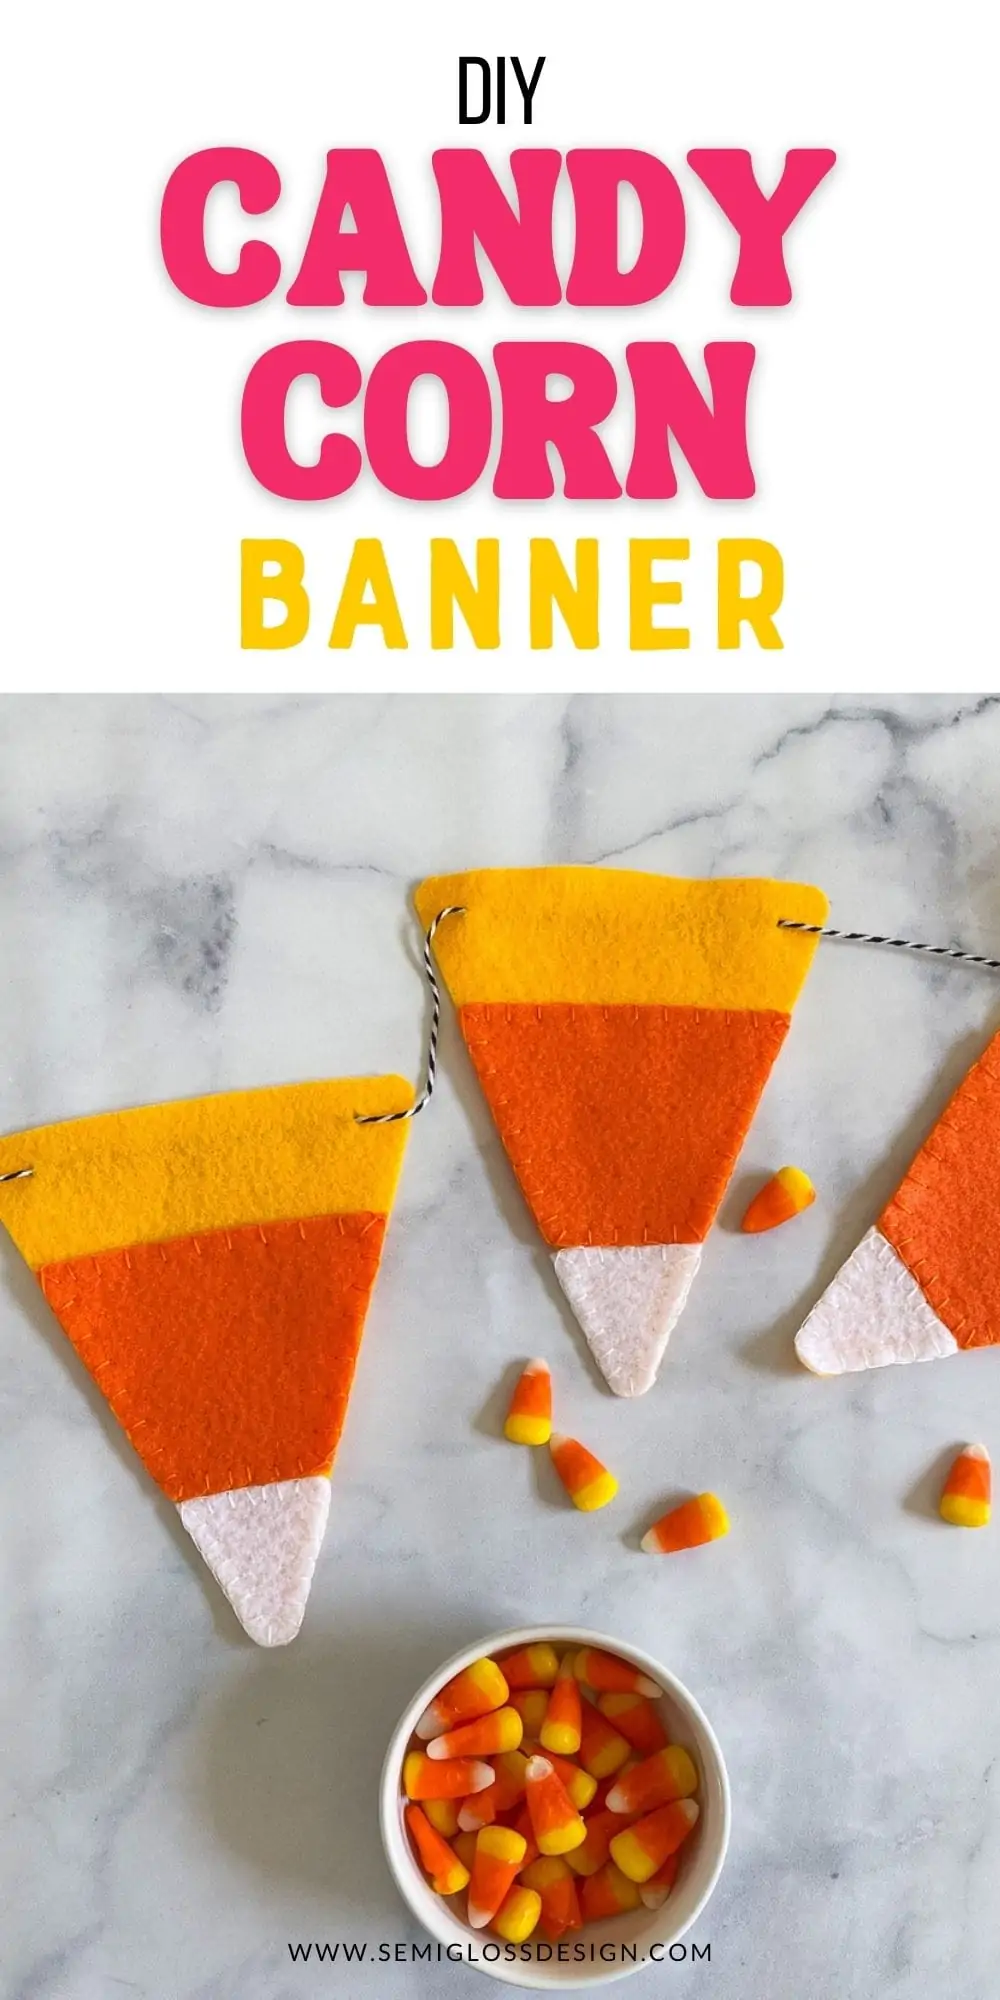
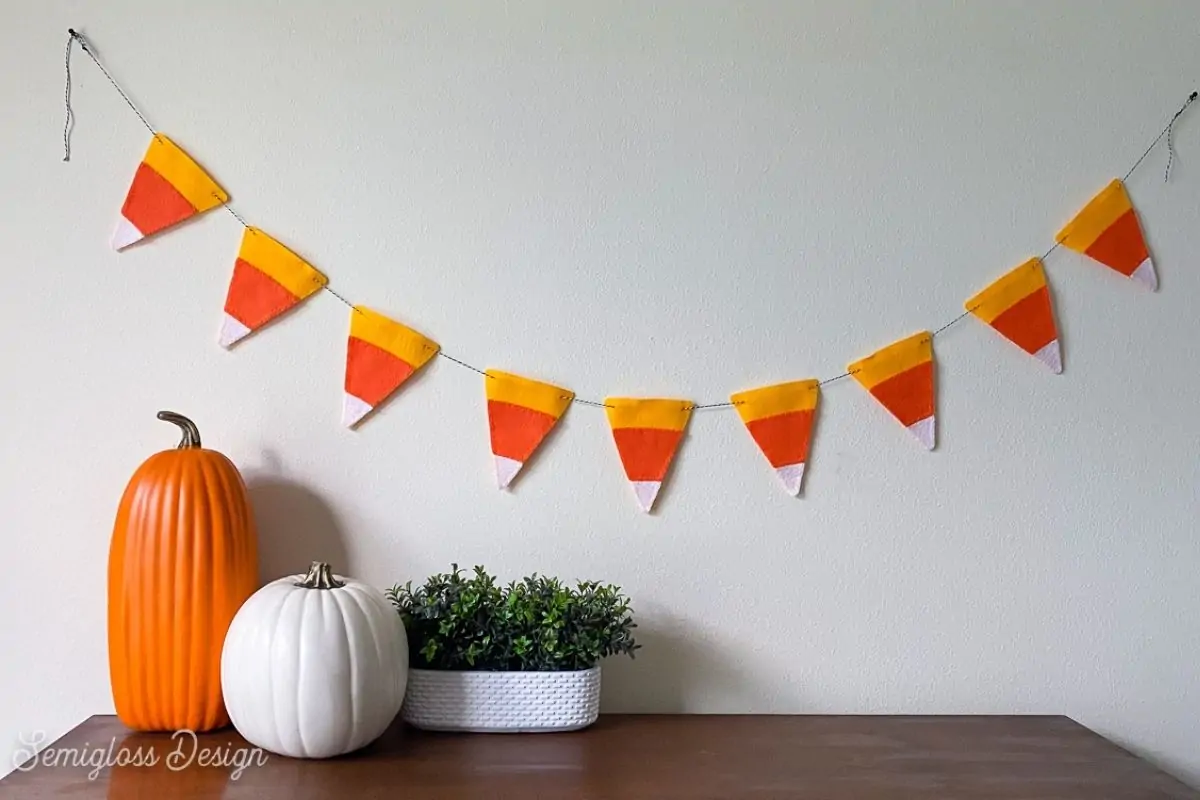
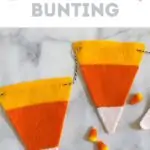
Easy to Make Felt Candy Corn Banner
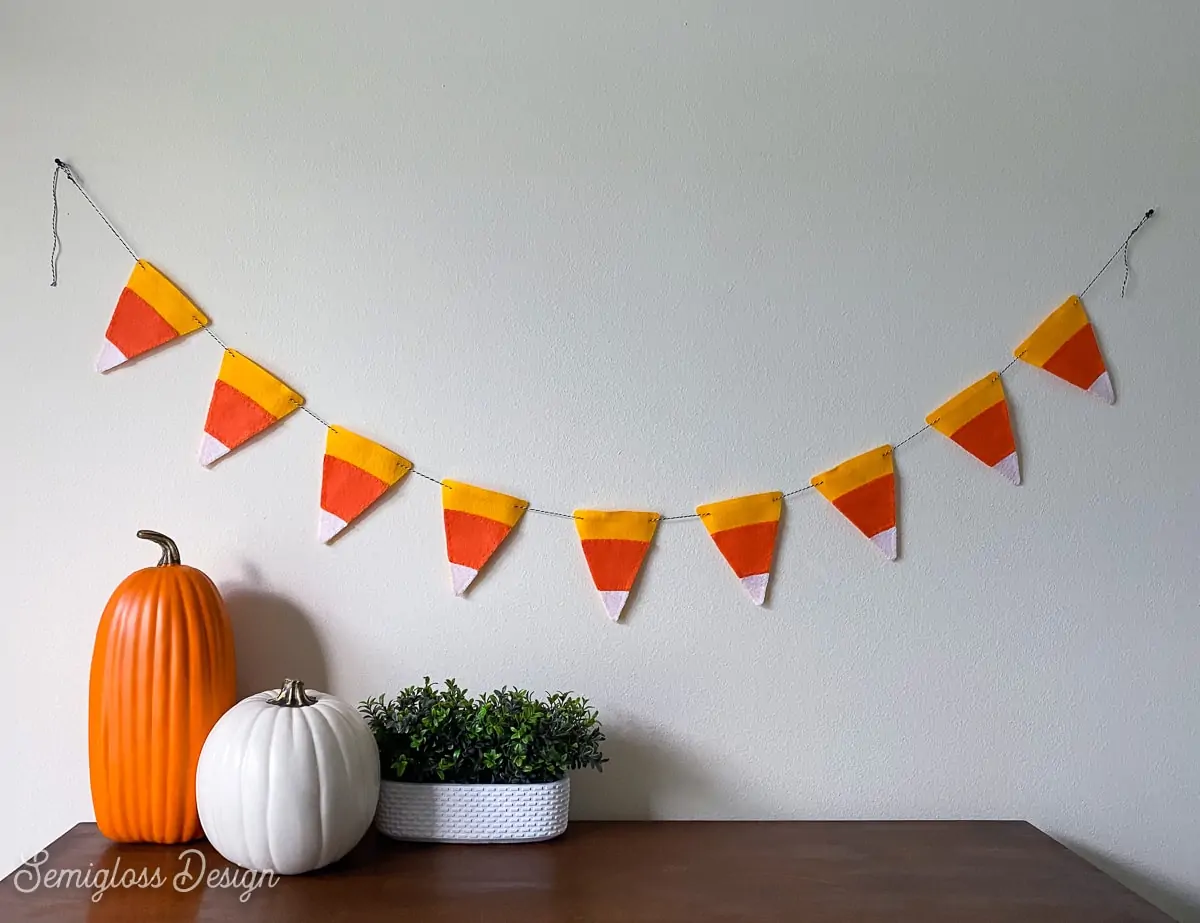
Learn how to make a felt candy corn banner for Halloween. This cute felt banner is perfect for decorating for fall and would look great on a mantel.
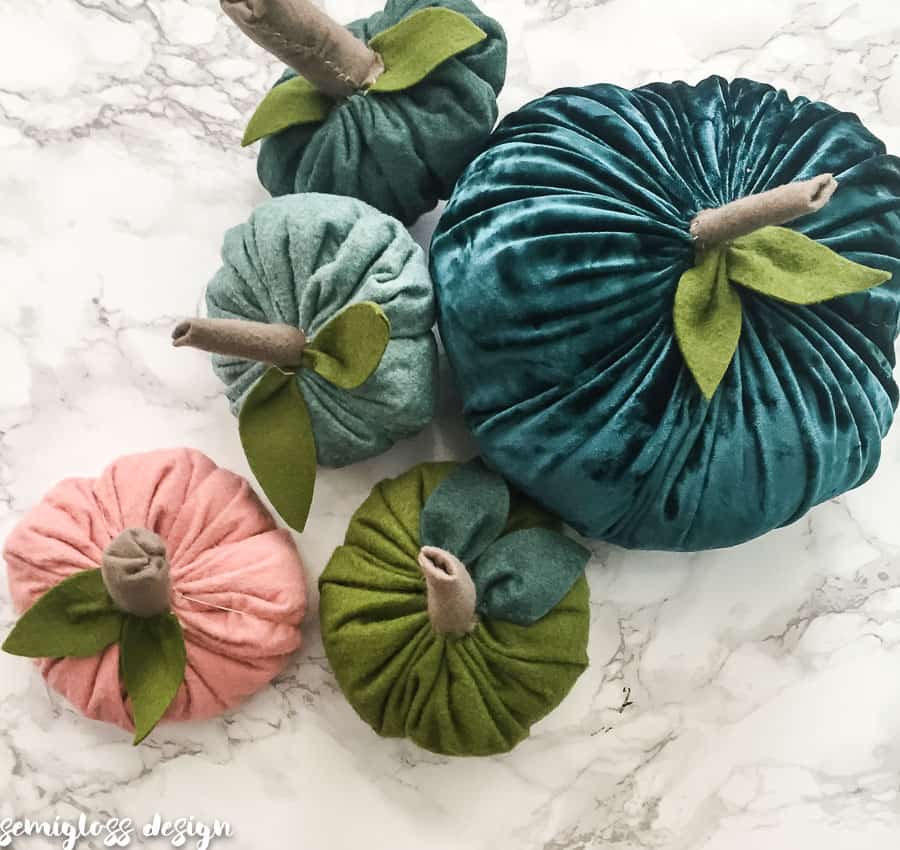
You might also like this felt pumpkin tutorial.
This post contains affiliate links. By purchasing an item through an affiliate link, I earn a small commission at no extra cost to you. As an Amazon Associate I earn from qualifying purchases.
My kids love candy corn and I just don’t get it. Let’s just say it’s not my first choice for candy. Or 2nd. Or 100th…
However, I do think it’s one of the cutest candies and it’s so iconic for Halloween.
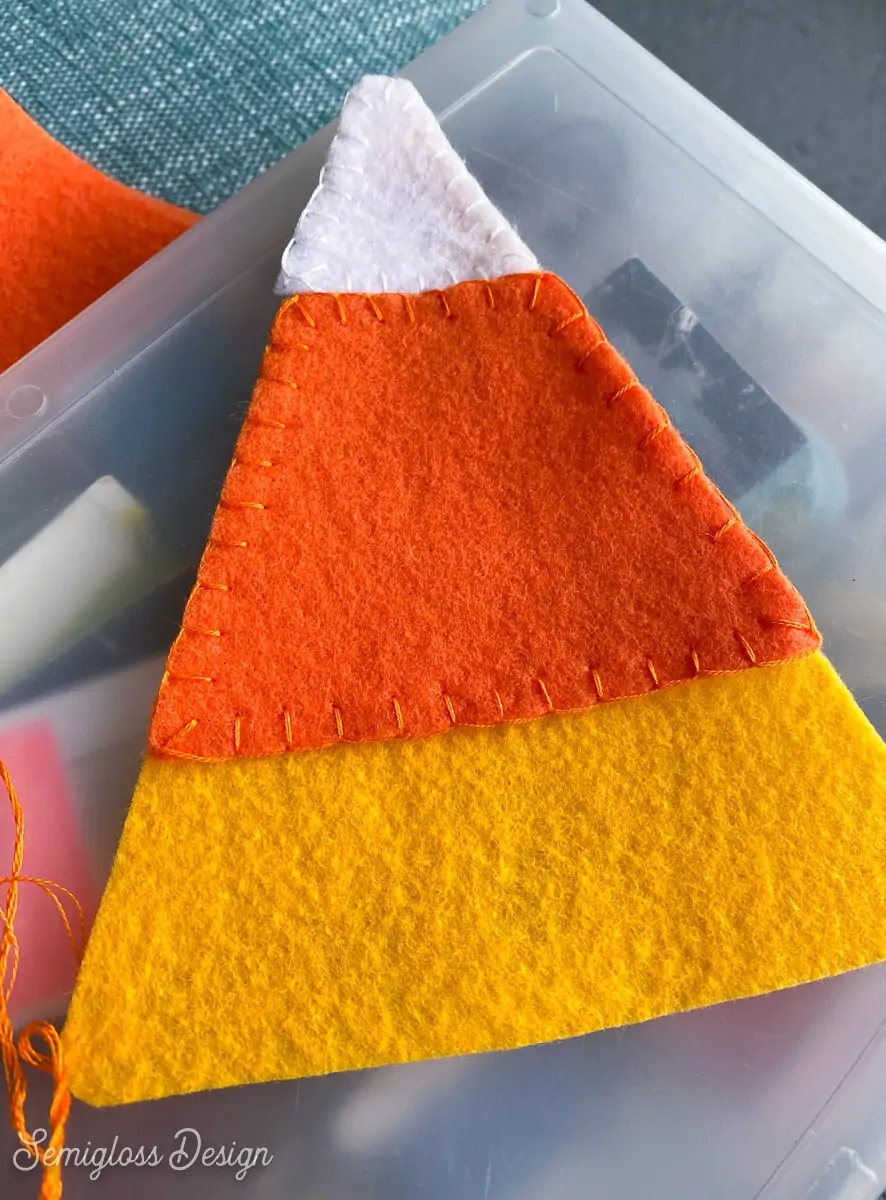
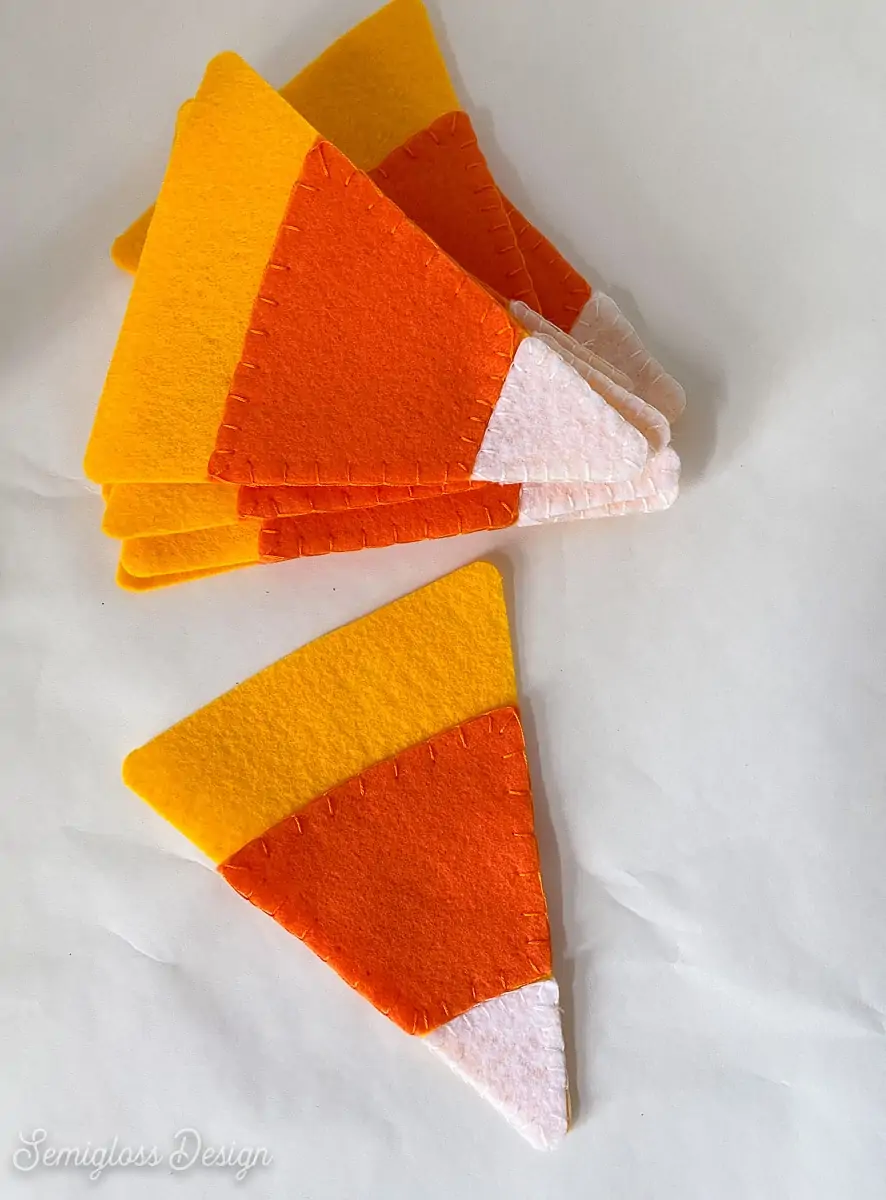
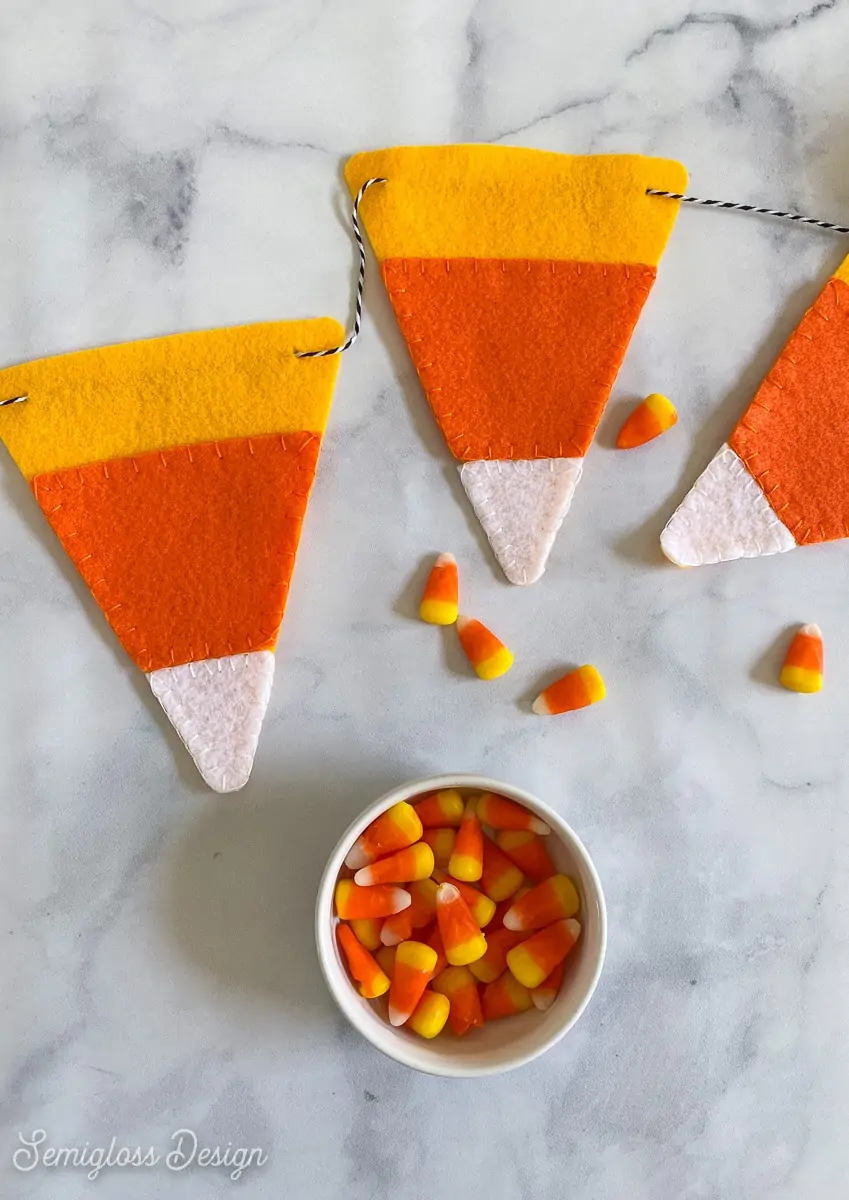
And this felt candy corn banner has to be one of the cutest things I’ve ever made if I do say so myself.
Felt is one of my favorite materials to work with. Especially in the fall. I envisioned a day cozied up on the patio, sewing and listening to podcasts.
However, I guess I forgot that I moved to Florida and it was 90º in the shade, so instead, I cozied up in the air-conditioned house instead.
Shop My SVG Designs
Felt Candy Corn Banner
Supplies Needed:
- Felt in yellow, orange, and white
- Cricut Maker
- Rotary Blade
- Fabric Mat
- Embroidery floss
- Embroidery needle
- Baker’s Twine
- Cut file or printable PDF (scroll to the bottom of post to download)
Notes about supplies:
Felt
For this project, I used cheap acrylic felt. You know, the kind that you get at the craft store for .25 a sheet. If you want a banner that is nicer quality, use better felt.
Colors
Also, note that I used a mustard color instead of yellow for my candy corn. The yellow felt was too green-toned and looked too bright with the orange.
One more note about the colors: This is the correct color order for candy corn.
My brain told me otherwise as well, but we happened to have some in the kitchen and this is really the color order.
Cricut Maker
You don’t have to have a Cricut or other cutting machine to make this banner. I’ve included a printable PDF to use as a template if you want to cut things by hand.
I will admit that the Cricut Maker makes cutting this project and many others SOOOO much faster.
Embroidery Floss
When working with felt, I prefer to use embroidery floss and sew everything together by hand. Feel free to use fabric glue if you want.
Alternatively, you could make this with paper or even quilting fabric and use applique!
Directions:
These are directions for the Cricut Maker. If you use another machine, the exact method may vary a bit.
If you need more information on using a Cricut Maker, check out this post.
Get the Design Ready in Cricut Design Studio
- Upload the SVG to Cricut.
- Ungroup the designs.

- Either delete or turn off the visibility for everything except the first design that you’re cutting. (I cut the main part that is yellow first.)
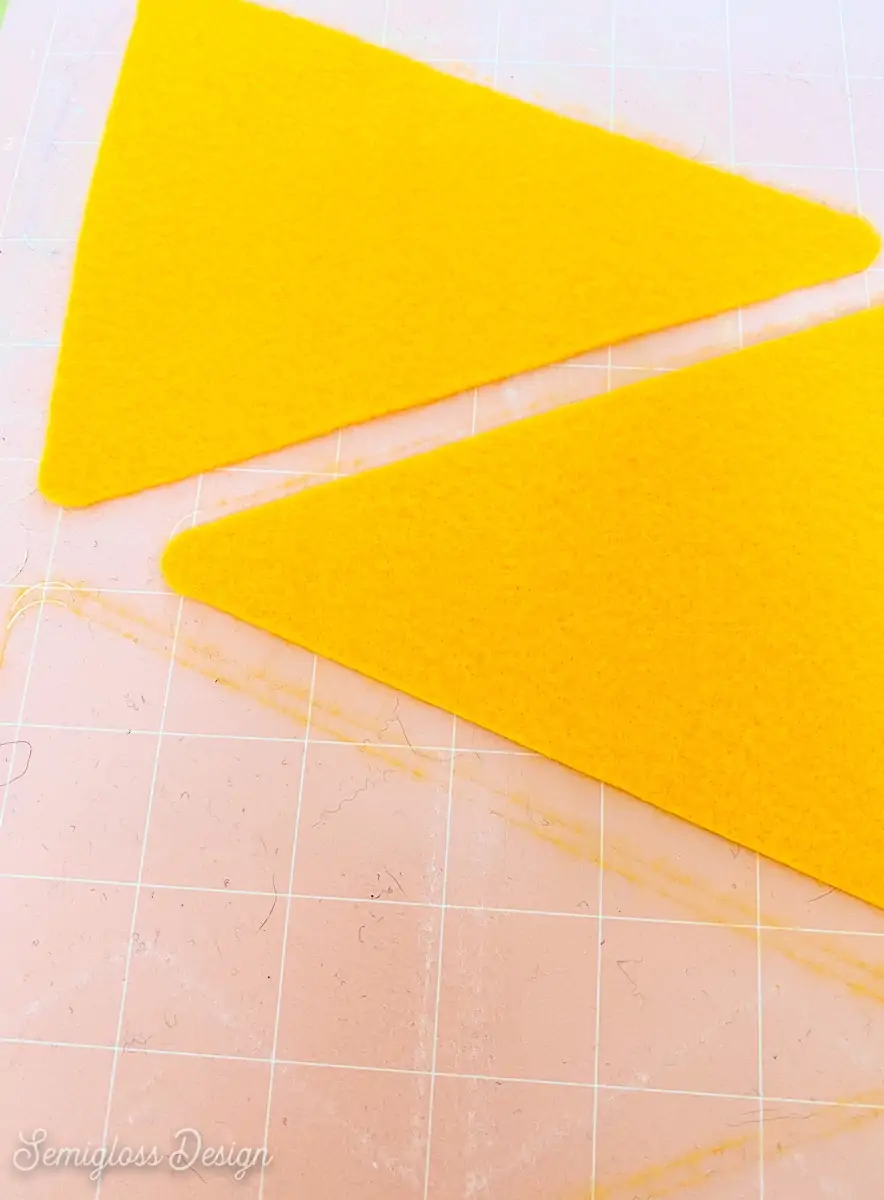
- Duplicate it 3 times. (Regular felt sheets and 9×12″, so 3 triangle shapes fit on the page.)
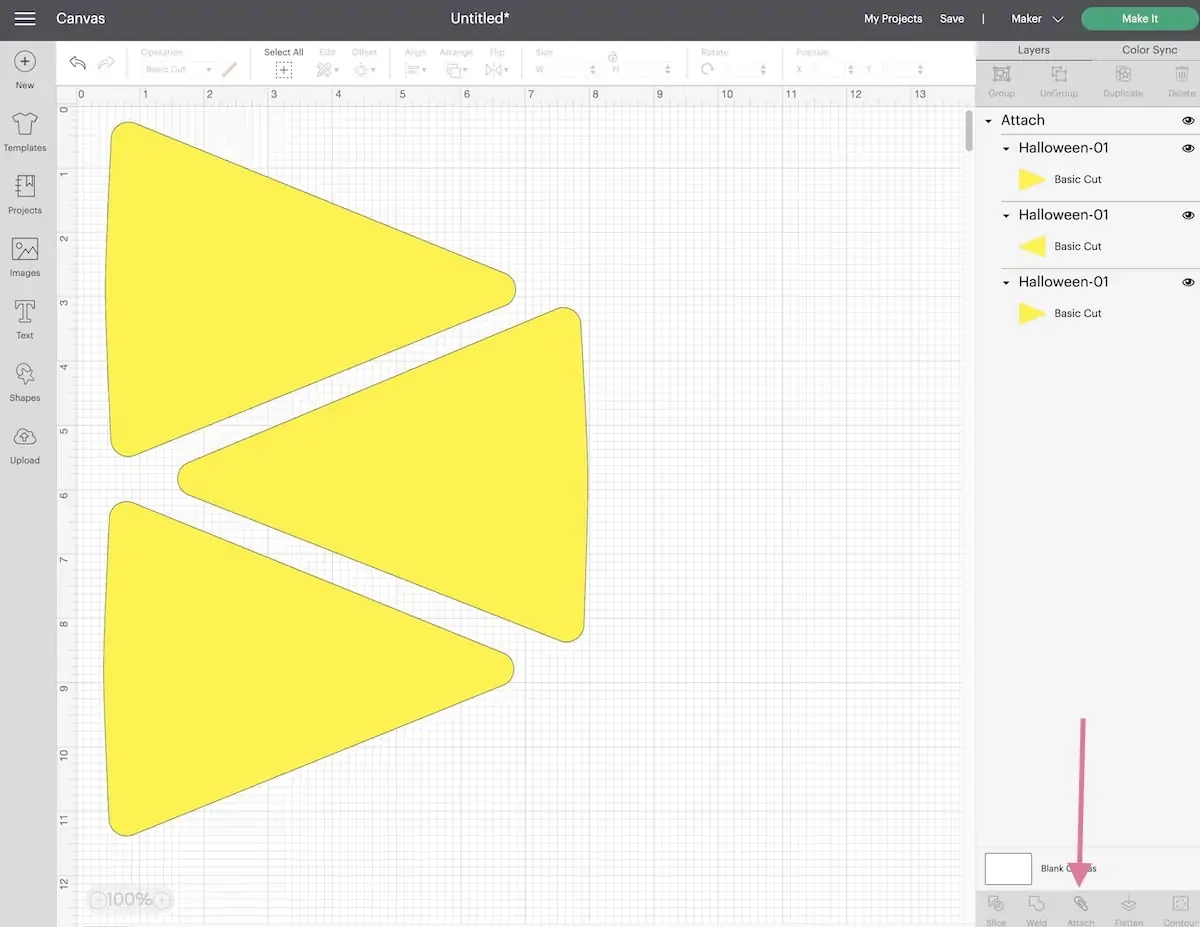
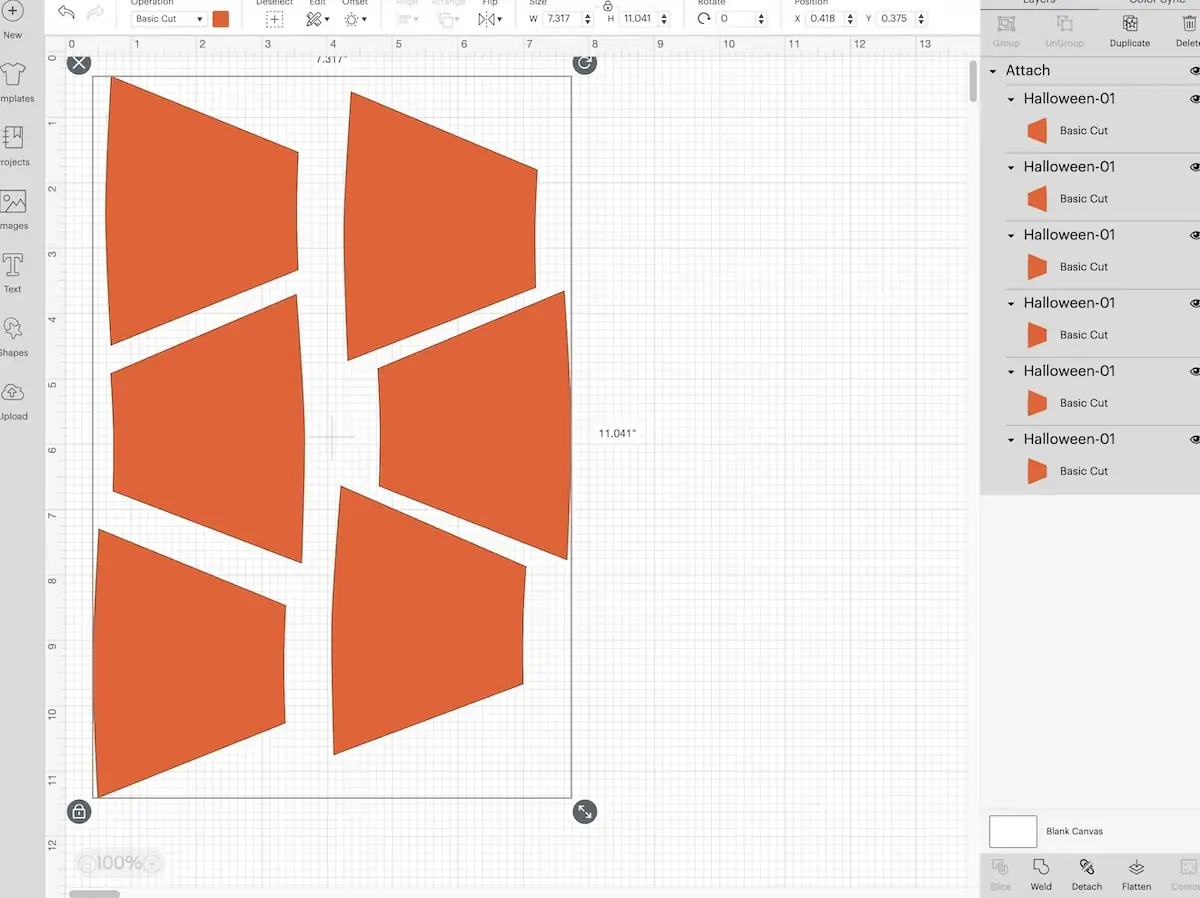
- Position the design as shown below to get the most cuts from your sheet of felt.
- Select all 3 and attach the designs together. (Cricut kept wanting to place them all on separate mats and I like to use as little material as possible.)

- Click Make it.
- On the mat page, make sure that your design fits. I like to manually move mine apart if they’re too tight together or too close to the edge.
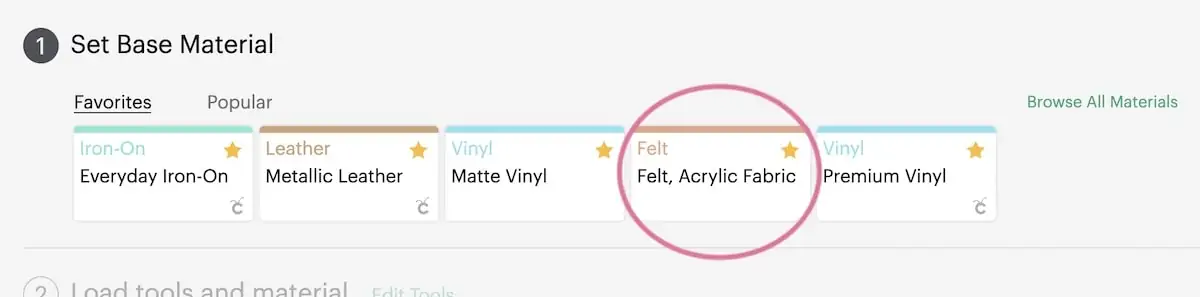
- Choose felt acrylic from the materials list. (Acrylic felt is in my favorites so it shows up on the main page.)

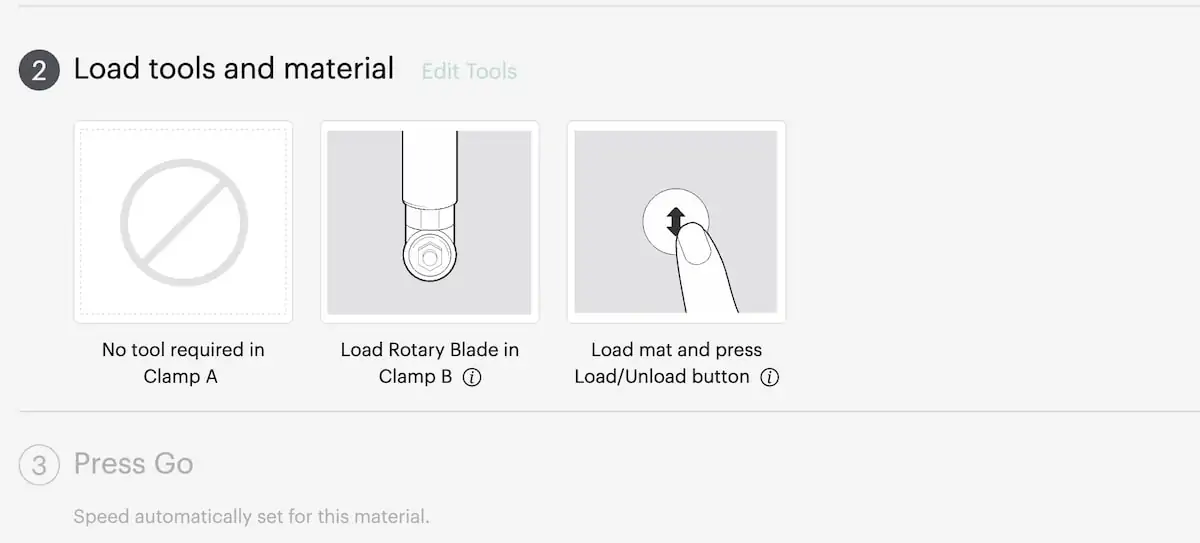
- Change your blade to the rotary blade.

Cut the Felt
- Place the felt onto the fabric mat. Smooth it well to make sure that it sticks.

- Load the mat into the Cricut.
- Press the C button to make your design.
- After your design finishes cutting, unload the mat and remove the felt. It’s easier to remove the excess felt from the cuts first.

- Place another sheet of felt onto the mat.
- Load the mat again and press the C button to cut more designs. Repeat this as many times as you need to get your desired amount.
- Unload the mat when finished and click finish to go back to the canvas.
- Repeat these steps for the rest of the cuts, changing the felt color as needed.

Sew the Candy Corns
A Few Embroidery Tips
- Embroidery floss comes in 6 thread strands. Cut a length of thread (about 3′ long) and separate it into 2 thread sections. It’s easier to start in the middle and work your way to the ends.
- Use a needle with a large eye to make sure you can get this thicker thread in.
- Your first stitches will not be evenly spaced and that’s okay. As you work, they get better!
- Embroidery floss colors don’t have to match the felt 100%. The color will blend with the felt.
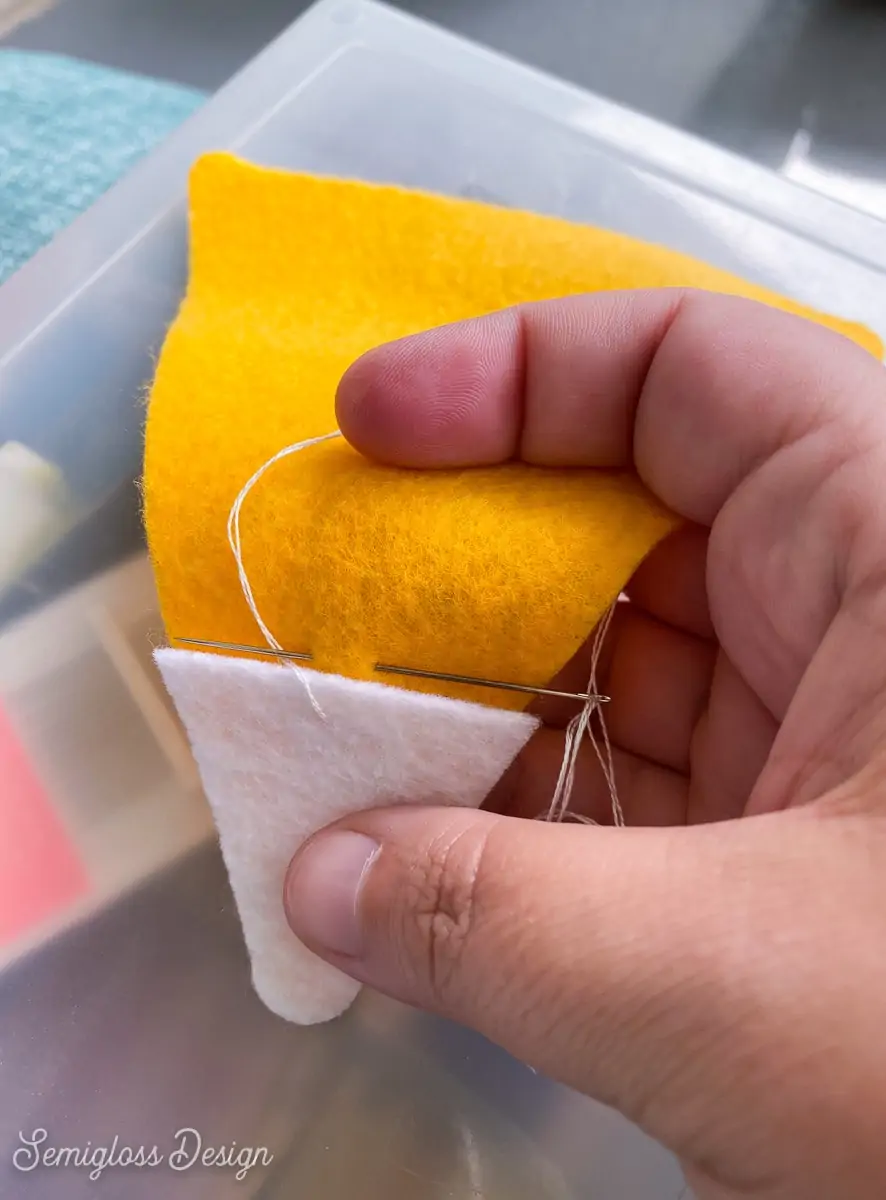
- Use a blanket stitch to attach the white piece to the yellow background.

- Then attach the orange piece in the same manner, butting the edge against the white part.
Make the Banner
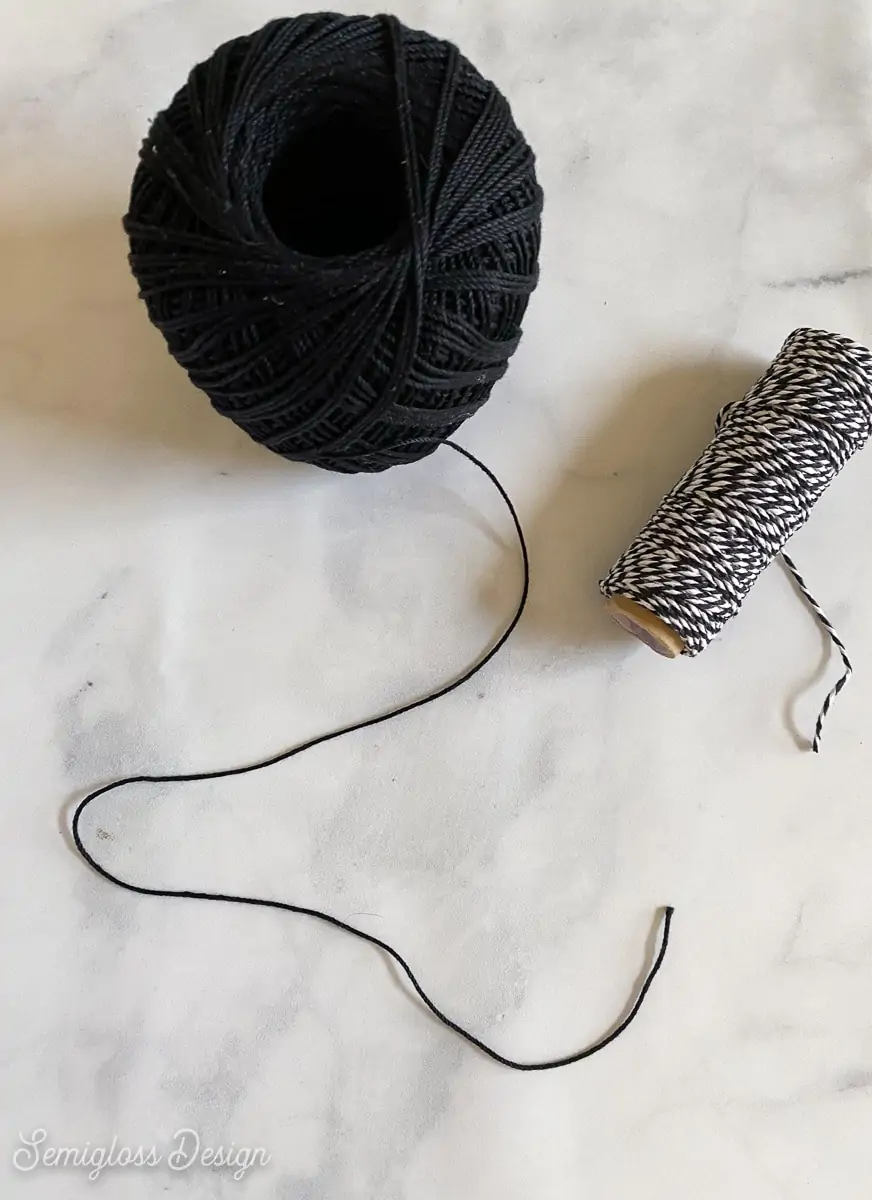
You can use string or yarn for the banner if you want. I love using Baker’s twine because I love how it’s striped.
Plus, it’s perfect for Halloween!
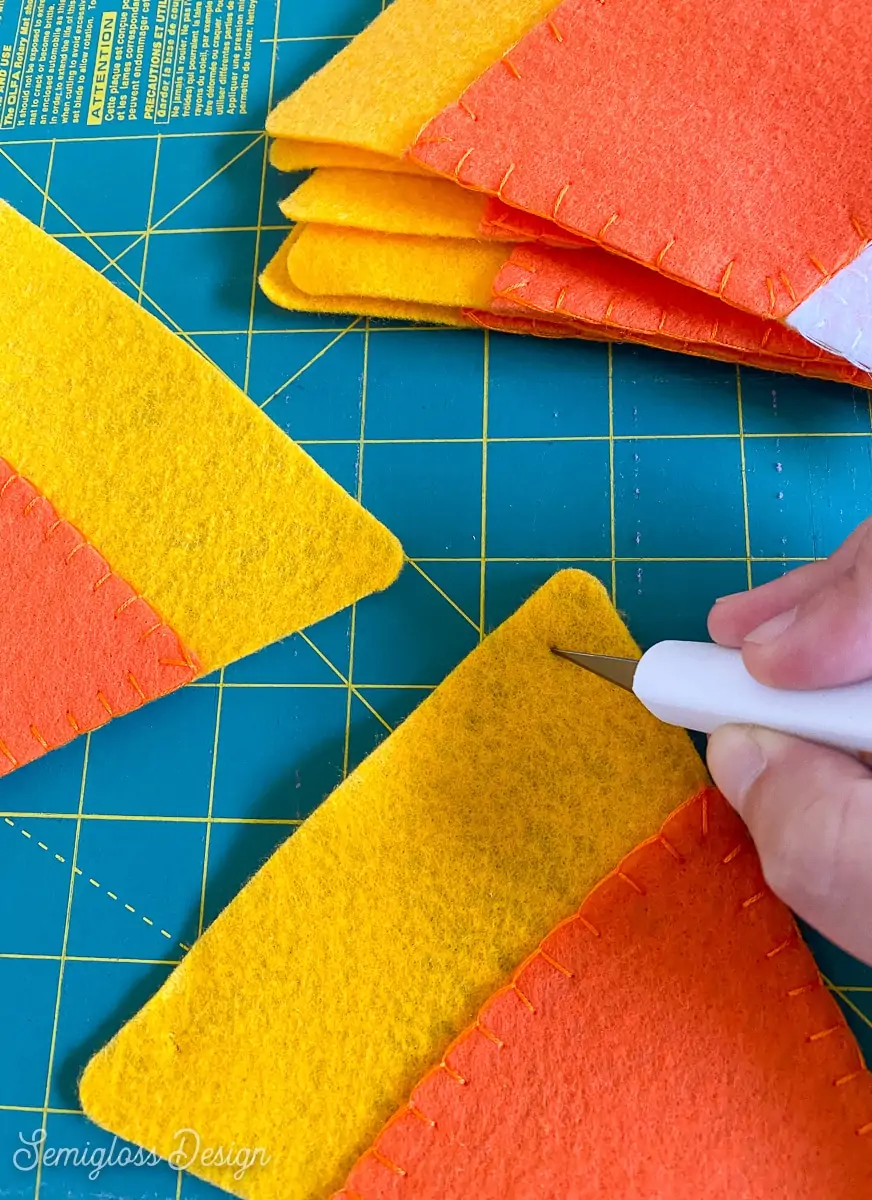
- Use scissors or a sharp knife to cut small holes for the string.

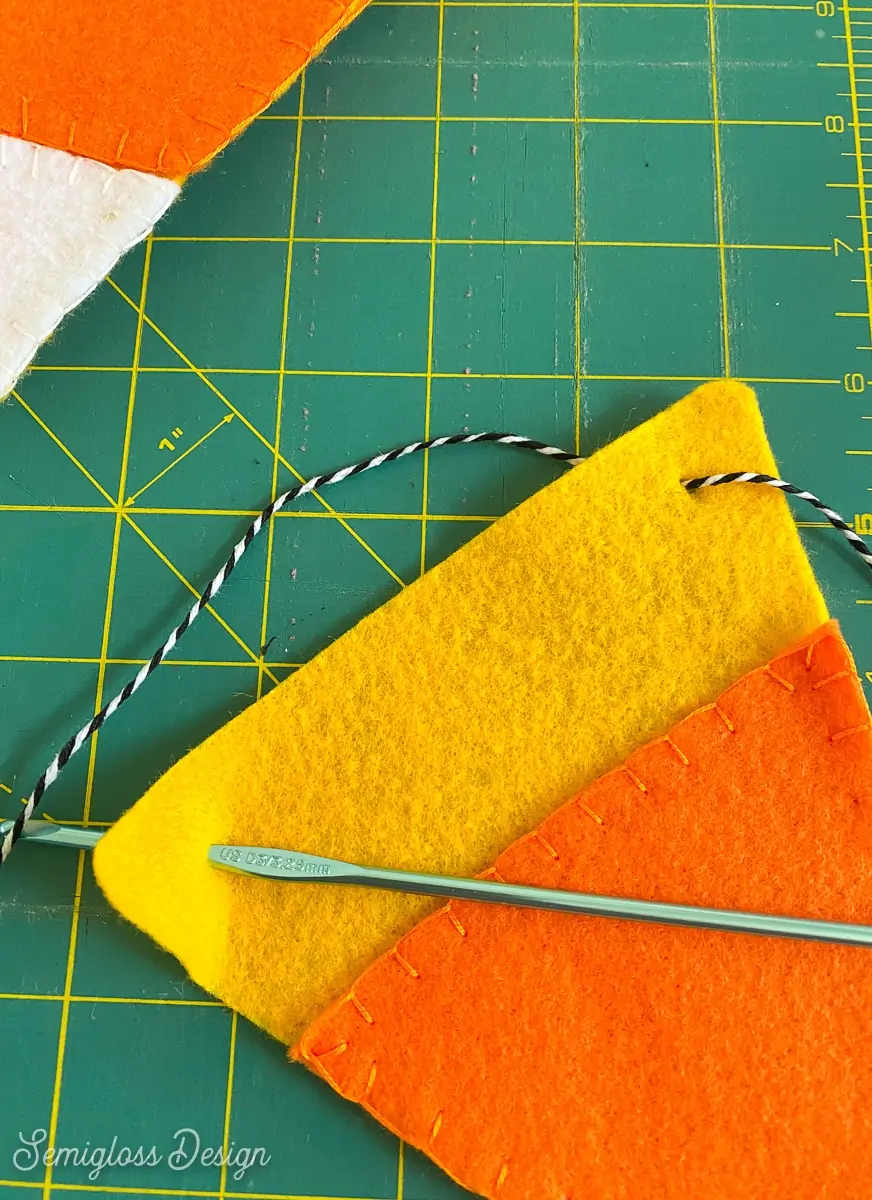
- Cut a length of baker’s twine or string.
- Thread the string through the holes. I used a tiny crochet hook to help me get the string through the holes.
- Position the candy corns along the string as desired.

- Hang your banner and enjoy. (To hang felt banners, I always use tacks.)
Get access to my SVG Library.
Get access to over 50 SVG sets and Cricut cheat sheets. Join my SVG library.
Download a Candy Corn Template
I am including cut files (including SVG, PNG, and DXF.) SVGs can be used with Cricut and DXF files can be used with Silhouette.
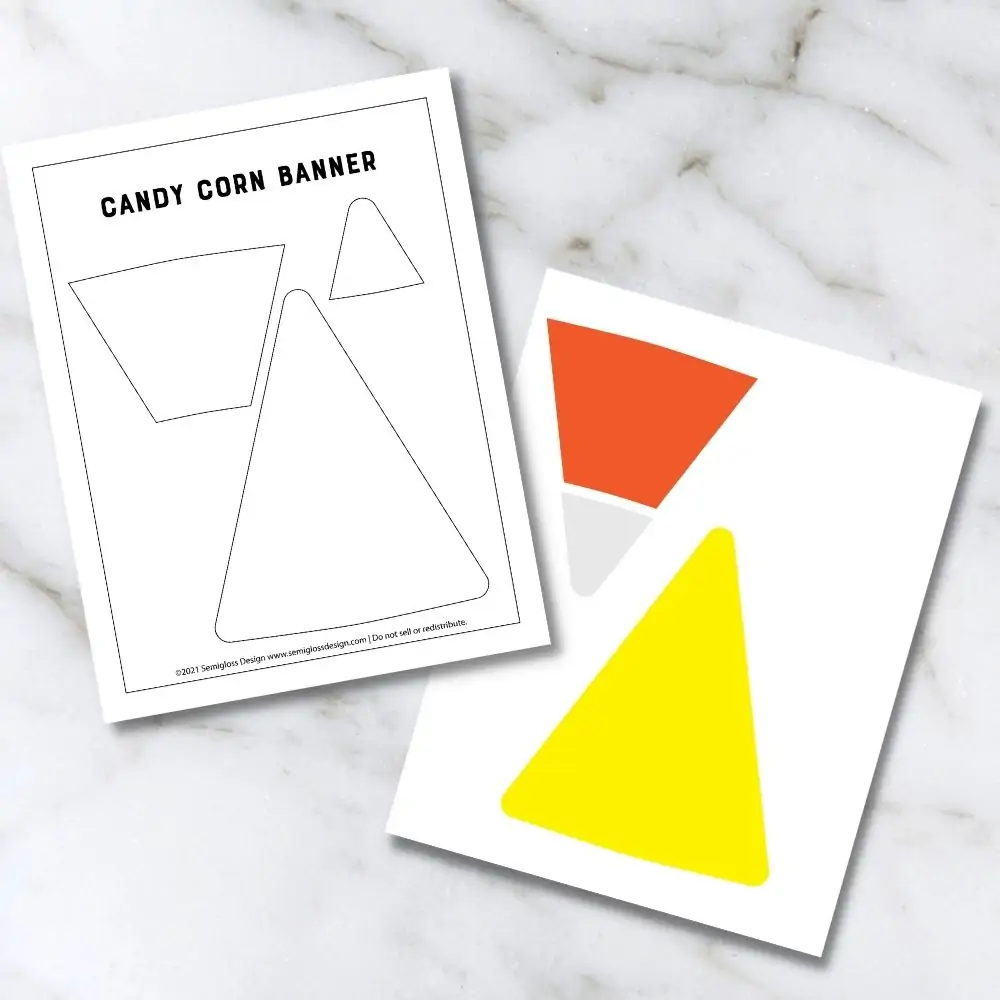
I have also included a printable PDF to use as a template for cutting by hand.
All downloads are for personal use only. Please do not redistribute or sell files.
Printable PDF for Cutting by Hand
You might also like:
Shop My SVG Designs
Pin for Later!


Emy is a vintage obsessed mama of 2 DIYer who loves sharing affordable solutions for common home problems. You don’t need a giant budget to create a lovely home. Read more…


Darling!! Thank You!!