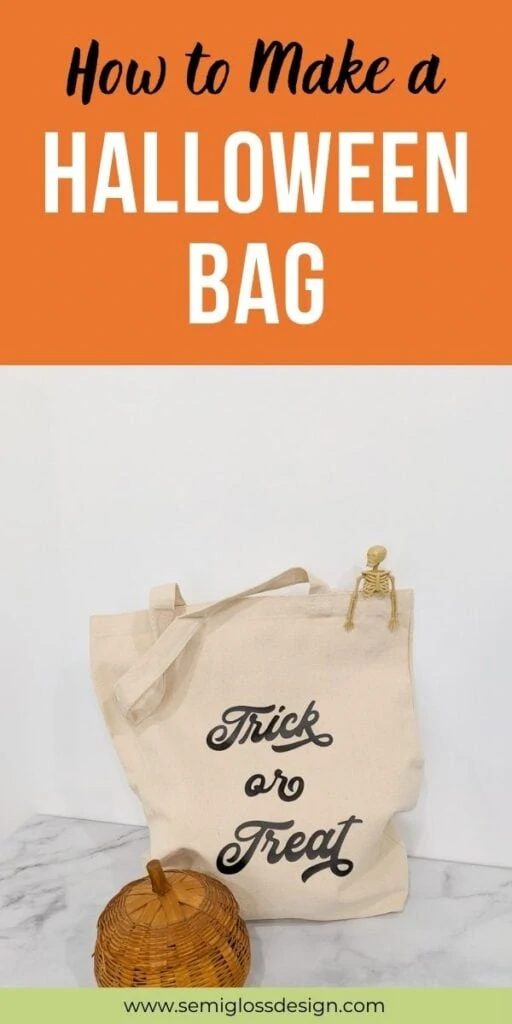
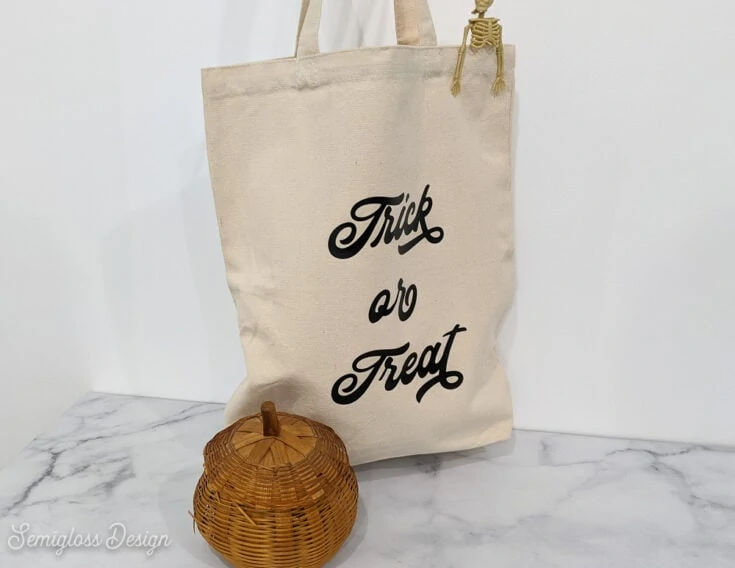
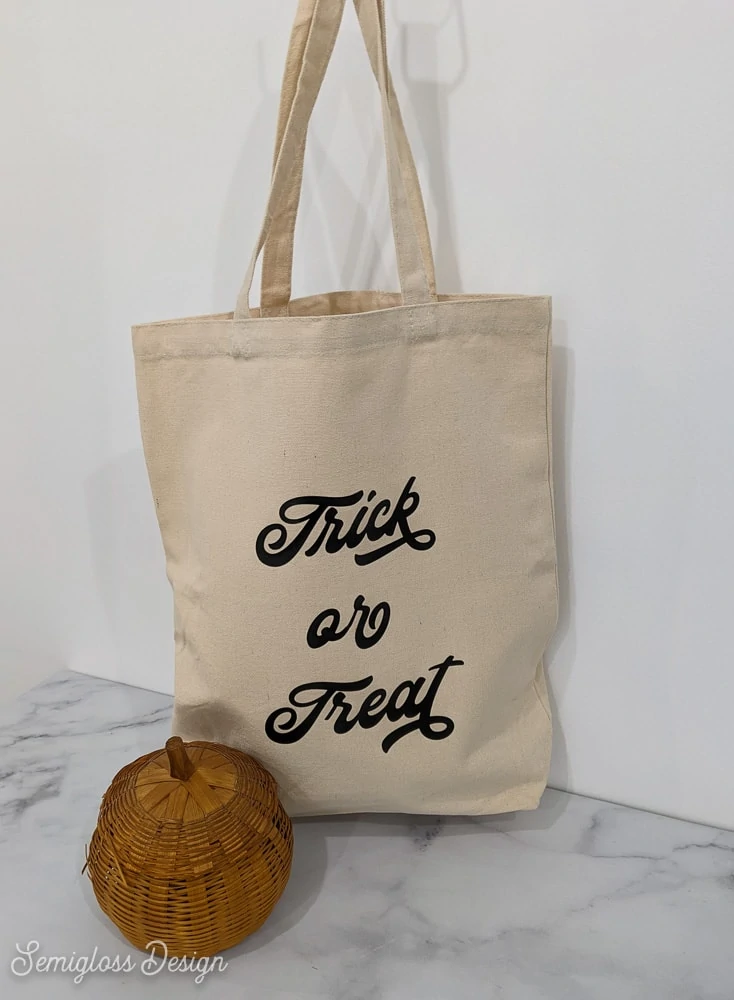
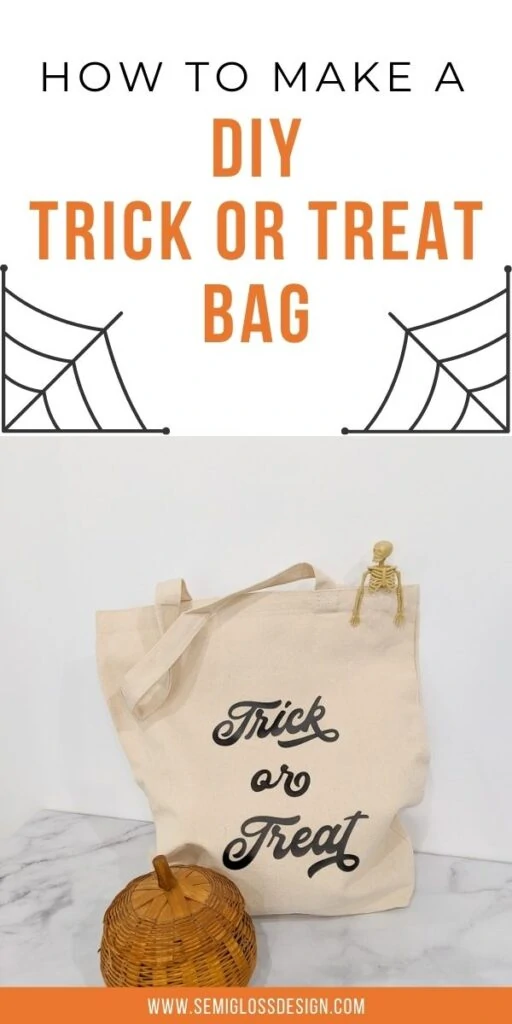
DIY Trick or Treat Bags for Halloween
Learn how to make your own DIY trick or treat bags. These quick and easy bags can be easily customized to say whatever you want.
You might also like these easy to make felt pumpkins.
This post was re-written and re-photographed in October 2020.
My kids are the type of kids who plan out their costumes months in advance. My oldest says that he’s going to keep trick or treating until people refuse him.
They kind of LOVE Halloween. And what’s not to love? Dressing in costumes and getting candy is the best.
Want to know my mom-fail for Halloween, though? They normally use my reusable grocery bags for trick or treating.
So I decided to make my candy-loving children some pretty Halloween treat bags. This year, I’m winning.
How to Make DIY Trick or Treat Bags
Supplies Needed
This post contains affiliate links. By purchasing an item through an affiliate link, I earn a small commission at no extra cost to you.
- Plain tote bags
- Black Iron-On Vinyl
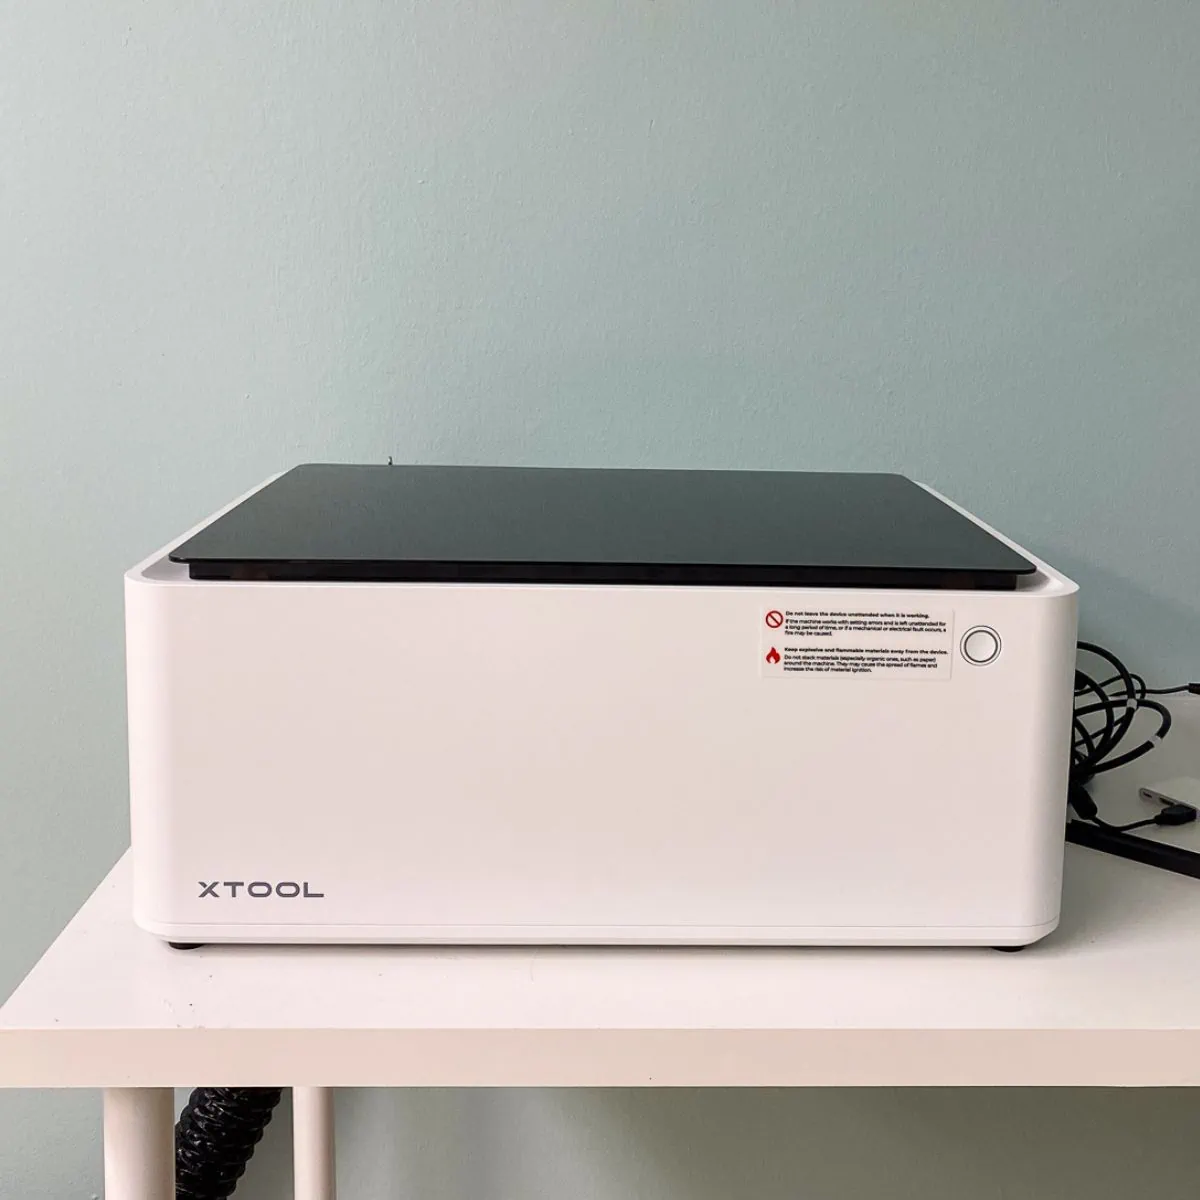
- Cricut Maker (or another electronic cutter)
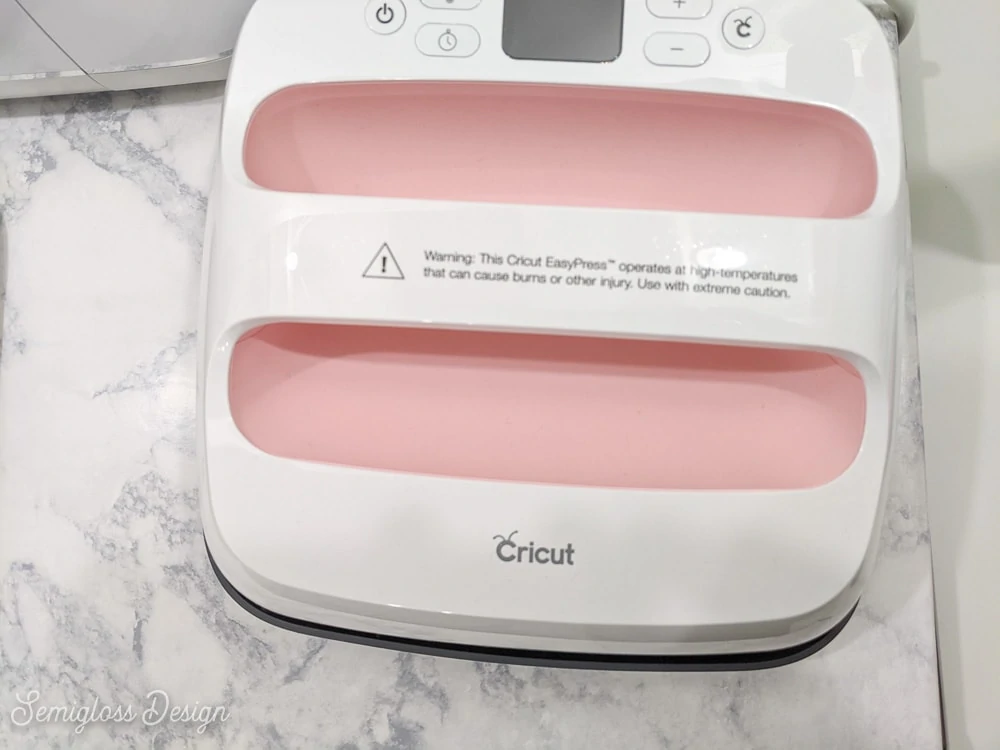
- Easy Press (or an iron)
- Cut File (scroll down for cut files)
If you want to make your own quote for a Trick or Treat bag, I used this fantastic font. It is an OpenType font that has a lot of stylistic alternatives, which means that many of the letters have different looks.
You can use fonts with stylistic alternatives in most Adobe programs and somewhat with Microsoft Word.
Be sure to weld the lettering when making your design.
Directions
How to Make a DIY Trick or Treat Bag
Learn how to make a DIY trick or treat bag using iron-on vinyl. This Halloween craft is so easy to make!
Materials
- Reusable Cotton Tote Bag
- Black Iron-on Vinyl
Tools
- Cricut Maker
- Cricut Easy Press
Instructions
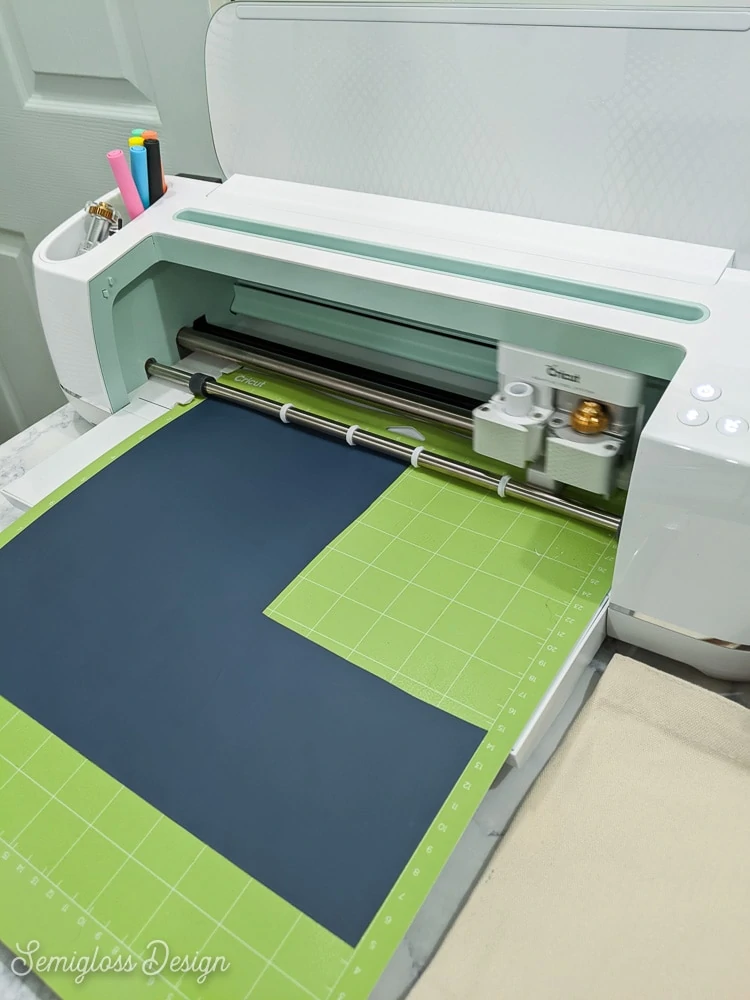
- Cut your design using an electronic cutter. Don't forget to mirror the design and place the iron-on vinyl shiny side down.

- Weed the design.
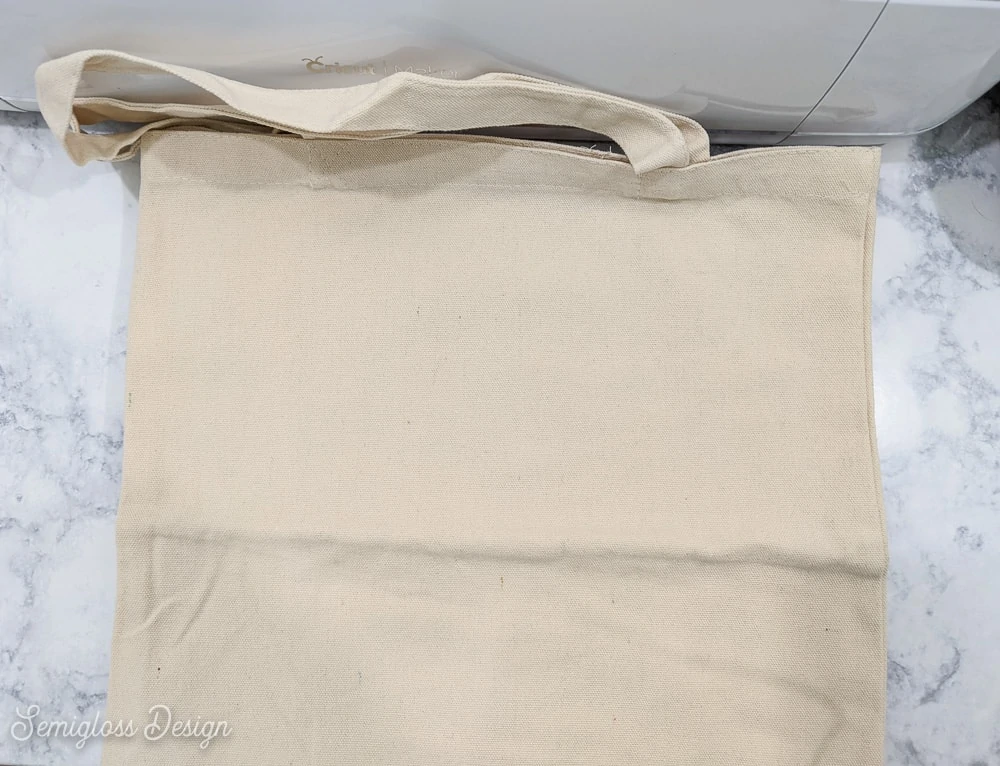
- Turn on the Easy Press and let it warm up. Set it to 330º and set the timer to 30 seconds.
- Press the cotton bag for 5 seconds, making sure that the bag is smooth without wrinkles.

- Place the design in the center.
- Cover the vinyl with a thin towel.
- Apply the easy press and set the timer.
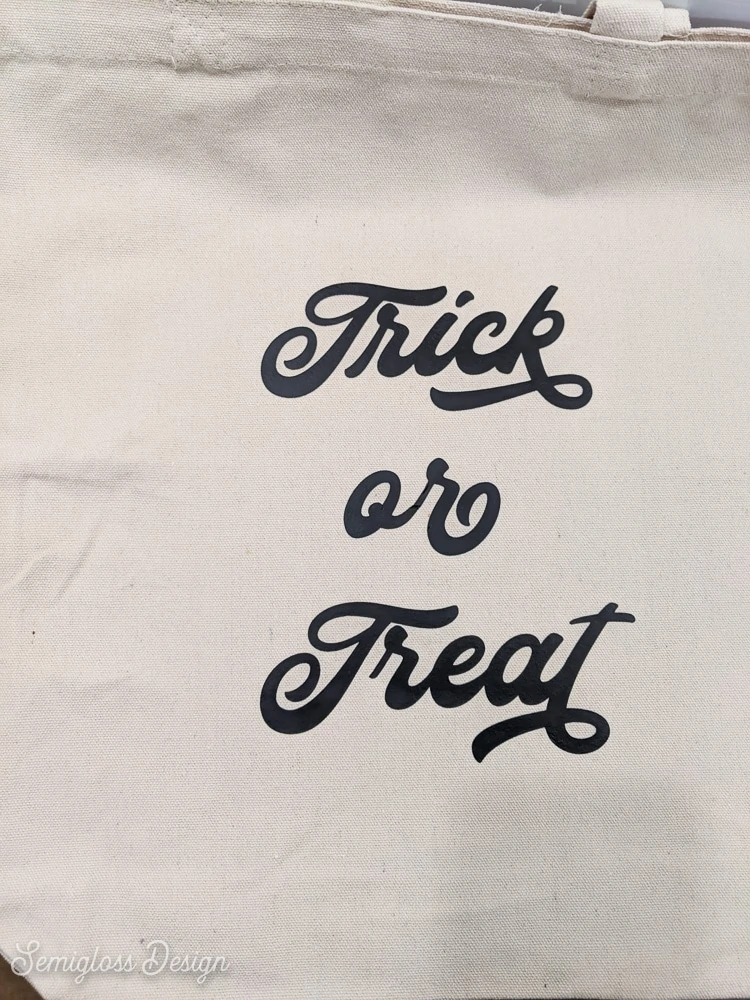
- Remove the Easy Press when the timer goes off.
- Remove the plastic sheet.
- If you're concerned about the vinyl sticking all the way, you can cover the design with the towel and press it again for a few seconds.

Notes
If you're having trouble getting the iron-on vinyl to detach from the plastic sheet, try letting it cool. Some iron-on vinyl brands require letting the vinyl cool before peeling it away.
Recommended Products
As an Amazon Associate and member of other affiliate programs, I earn from qualifying purchases.
Other Quote Ideas for Trick or Treat Bags
- Happy Halloween
- Smell My Feet
- Give Me Something Good to Eat
- I <3 Candy
- Gimme Candy
- Treats and Sweets
- Boo
- Spooky
Free Retro Trick or Treat Cut File
All downloads are for personal use only. Please do not redistribute or sell files.
You might also like:
Pin for Later!

Emy is a vintage obsessed mama of 2 DIYer who loves sharing affordable solutions for common home problems. You don’t need a giant budget to create a lovely home. Read more…