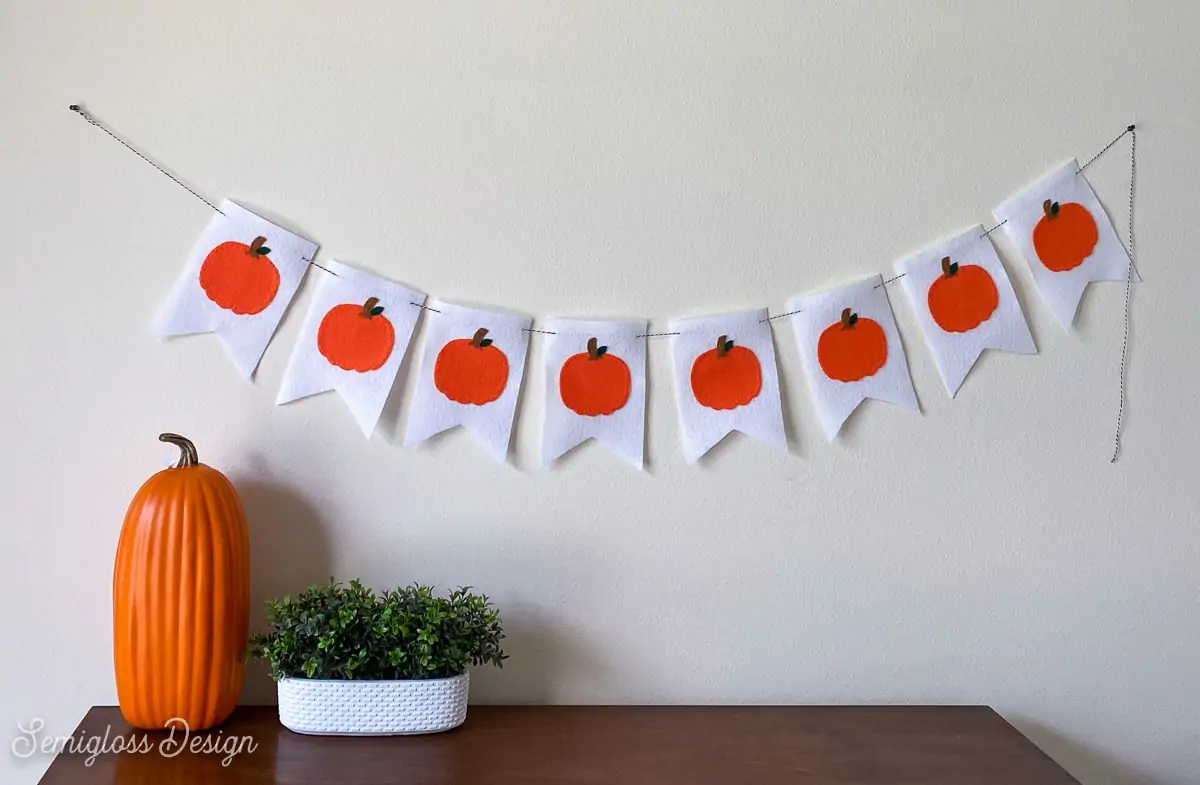
How to Make a Felt Pumpkin Banner
This cute felt pumpkin banner is perfect for fall decorating! Use it for Halloween or even through Thanksgiving! It would look adorable hanging on a mantle.
You might also like this cute felt candy corn banner.

This post contains affiliate links. By purchasing an item through an affiliate link, I earn a small commission at no extra cost to you. As an Amazon Associate I earn from qualifying purchases.
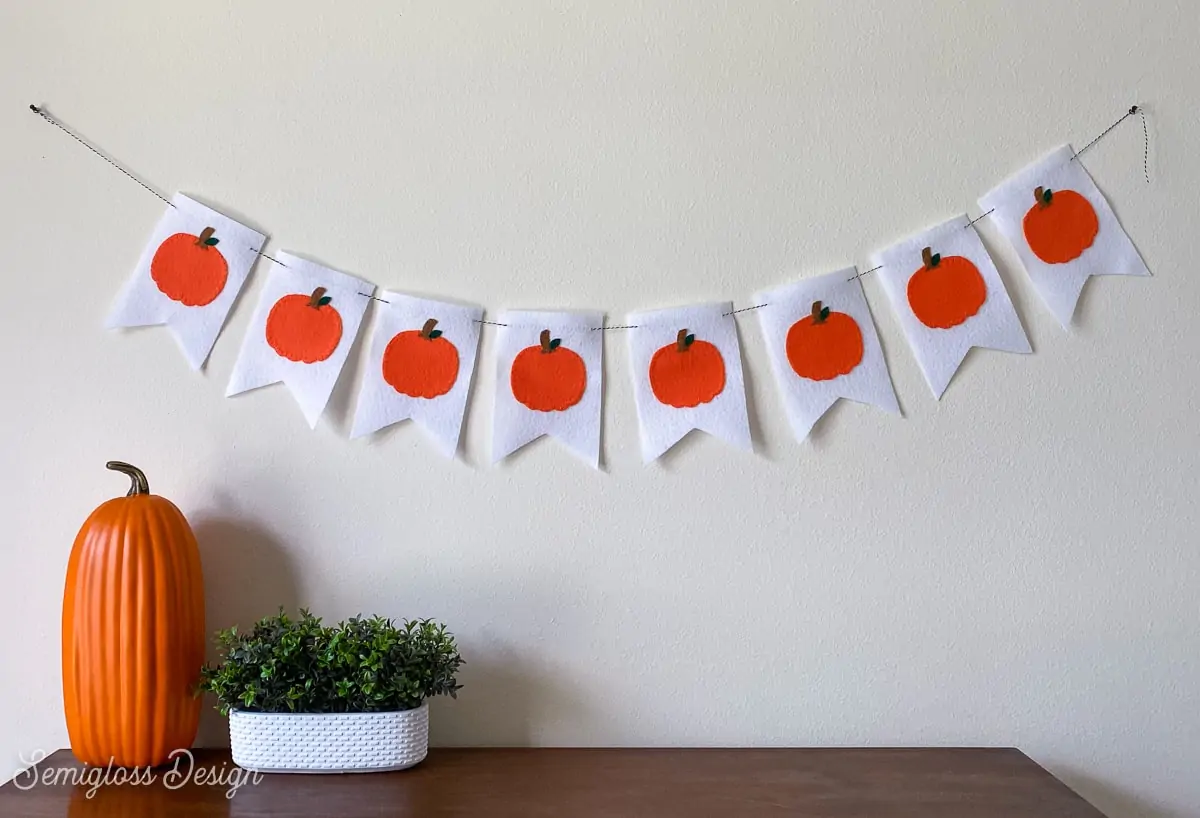
DIY Felt Pumpkin Banner
Supplies Needed:
- Felt
- Cricut Maker
- Rotary Blade
- Fabric Grip Mat
- Embroidery floss
- Embroidery needle
- Baker’s Twine
- Pumpkin SVG Cut Files (scroll to the bottom of the post)
Notes about supplies
Felt
I used acrylic felt for this banner, but you can use nicer wool felt if you want. Wool felt is so lovely to sew and the color variety is a bit better.
Acrylic felt is just fine though.
Alternatively, you could make this pumpkin banner with paper instead.
Cricut Maker
I used my Cricut Maker and rotary blade for this project to speed up the cutting, but it’s possible to cut everything by hand.
I’ve included a printable PDF template if you choose this option.
Embroidery Floss
I love embroidering my felt projects, but you can use fabric glue to speed this project up if you want.
Baker’s Twine
Baker’s twine is my favorite string to use for felt banners, but feel free to use yarn, string, ribbon, or even twine!
Using Cricut Design Space
I used my Cricut Maker for this project, so these directions are for using the Cricut Design Space. If you’re using a different cutting machine, the exact directions will vary a bit.
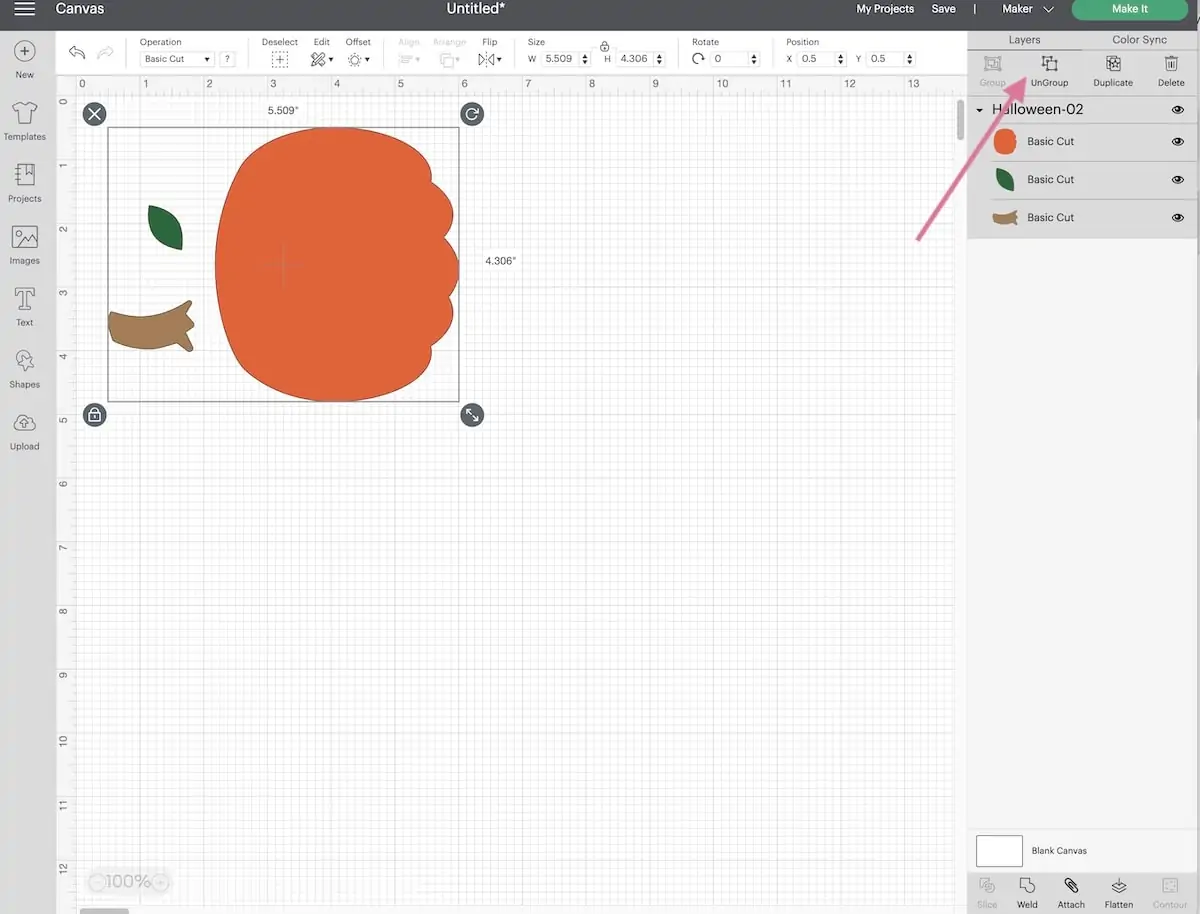
- Upload the SVG to Cricut Design Space.
- Ungroup the pumpkin, stem, and leaf.

- Turn off the visibility for the design elements that you aren’t going to cut first.
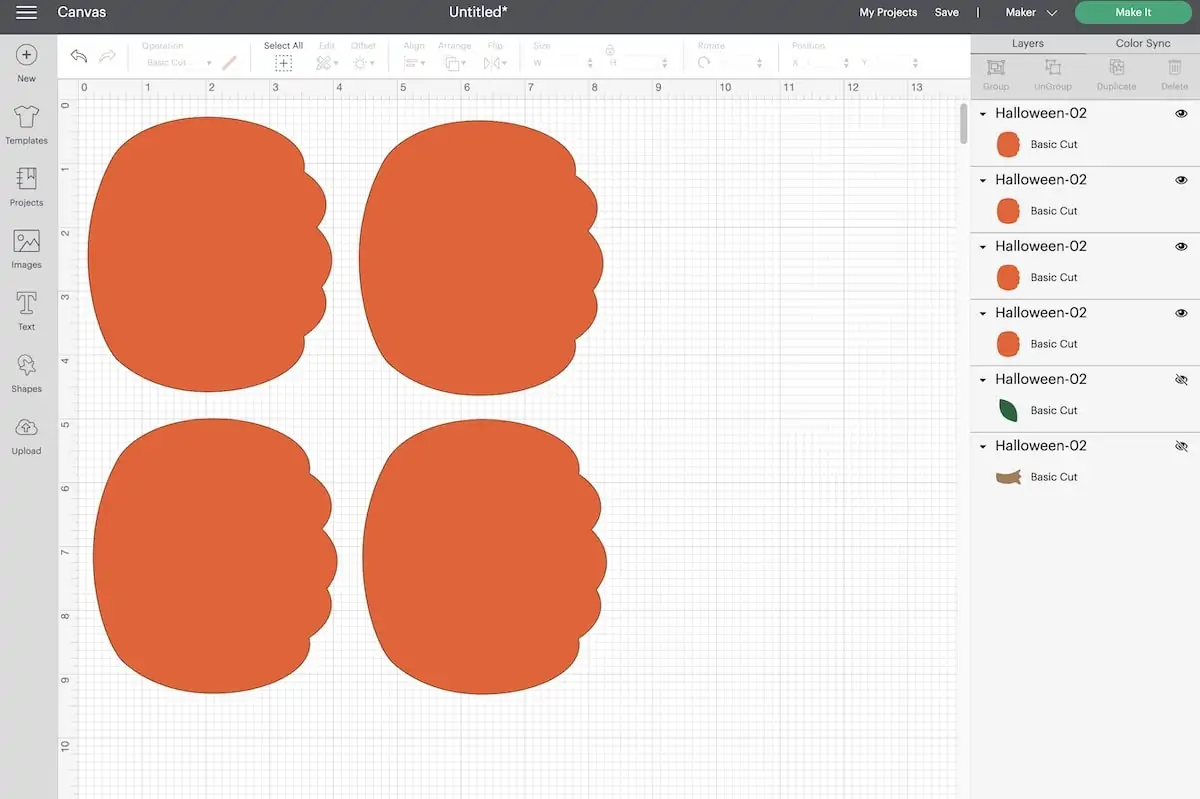
- Duplicate the pumpkin 3 times.
- Arrange the pumpkins so that 4 fit in a 9″ x 12″ area. (This is the size of a sheet of felt.)

- Group the pumpkins and attach them. (Sometimes Design Space acts weird and wants to place every element on a different mat.)
- Click Make It.
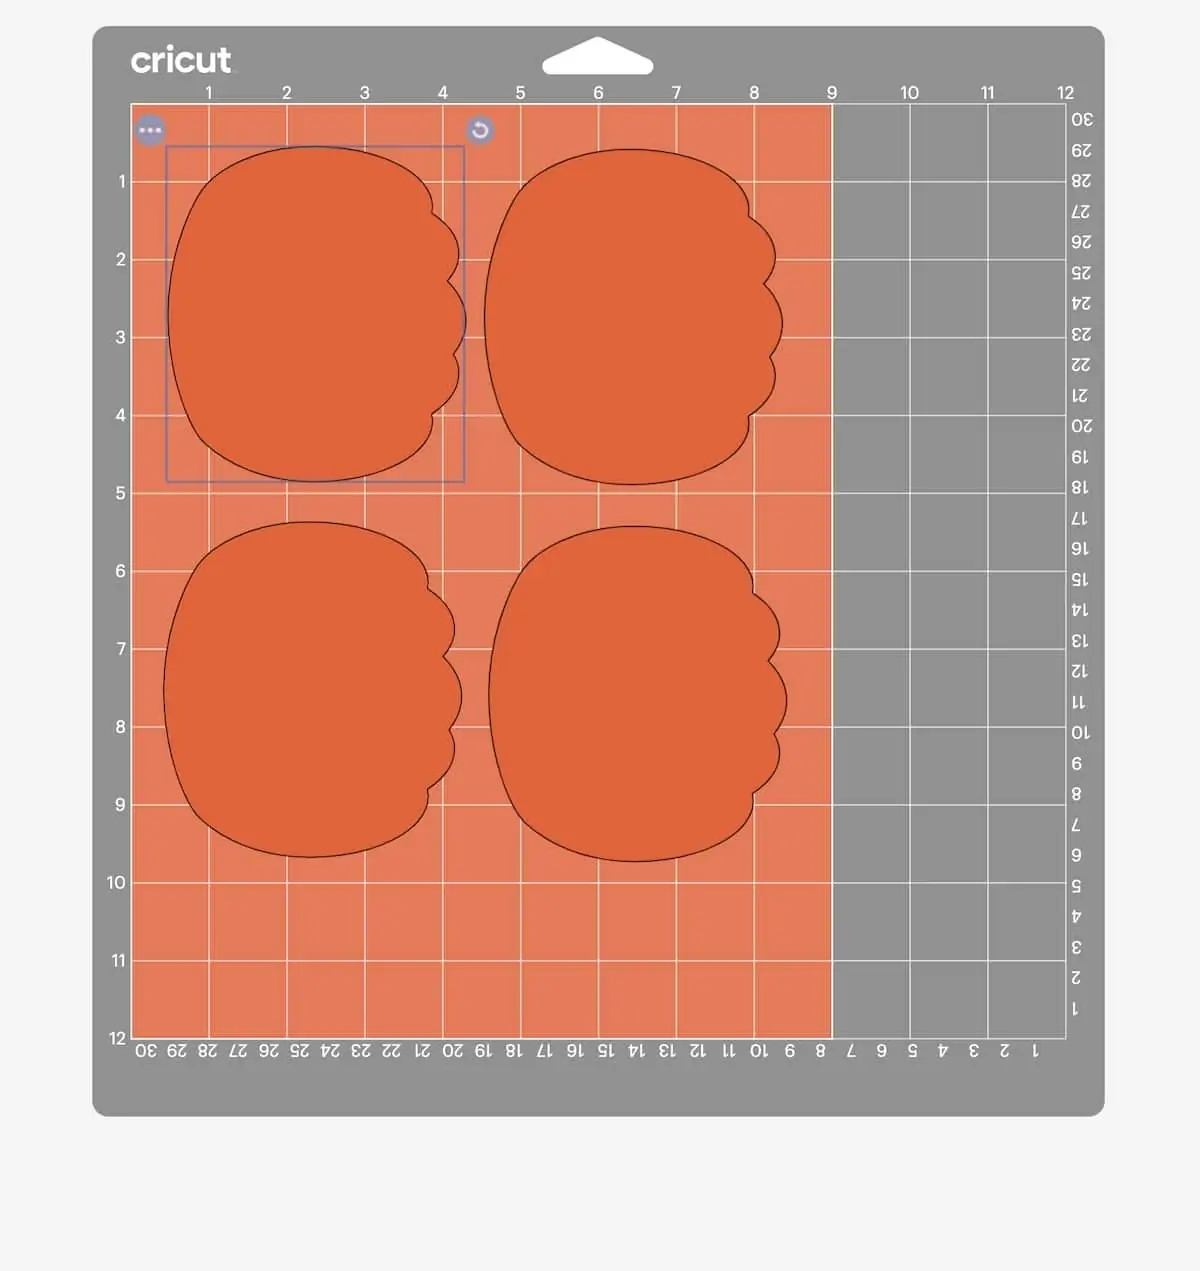
- On the mat page, select 9×12 and make sure that your pumpkins fit. I like to give them extra space around the edges to make sure that I get a perfect cut.

- On the next page, select Felt Acrylic. (I have this option saved as a favorite.)
- Make sure that the rotary blade is installed.
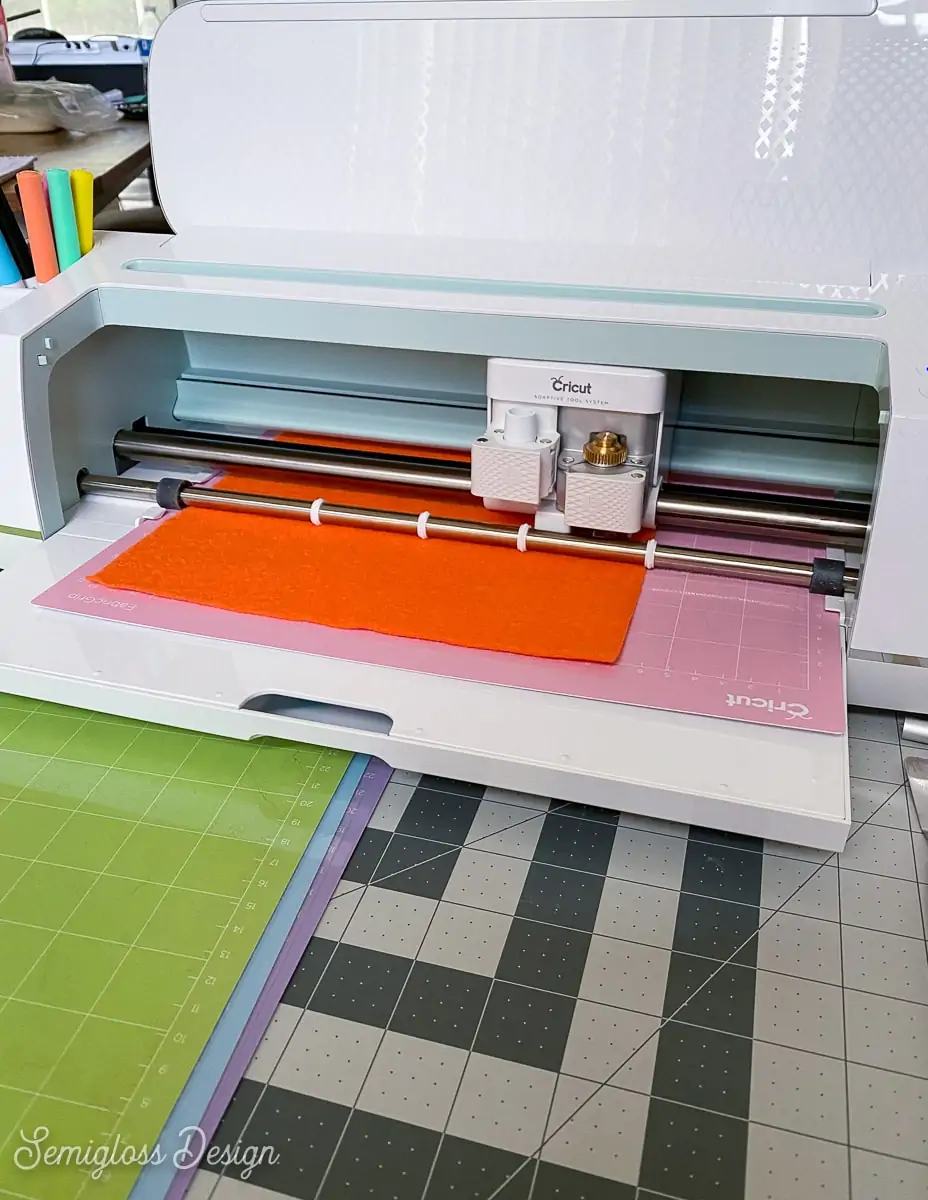
Cutting the Felt Pumpkin Elements
- Place a sheet of orange felt on the fabric grip mat, smoothing it as you go to make sure that it sticks well.
- Load the mat.
- Press the C button to start cutting the design.

- After it finishes cutting, unload the mat, remove the pumpkins and excess felt, and apply another sheet of felt.
- Repeat these steps until you have enough pumpkins for your banner.
- Repeat this whole process for the leaves and felt, changing the felt color as desired. (In Cricut Design Space, turn on the visibility for the element you need and duplicate it the correct number of times.)
Cutting the Felt Banners
The banners can be cut with the Cricut Maker as well, but I decided to cut mine by hand since it’s pretty easy.
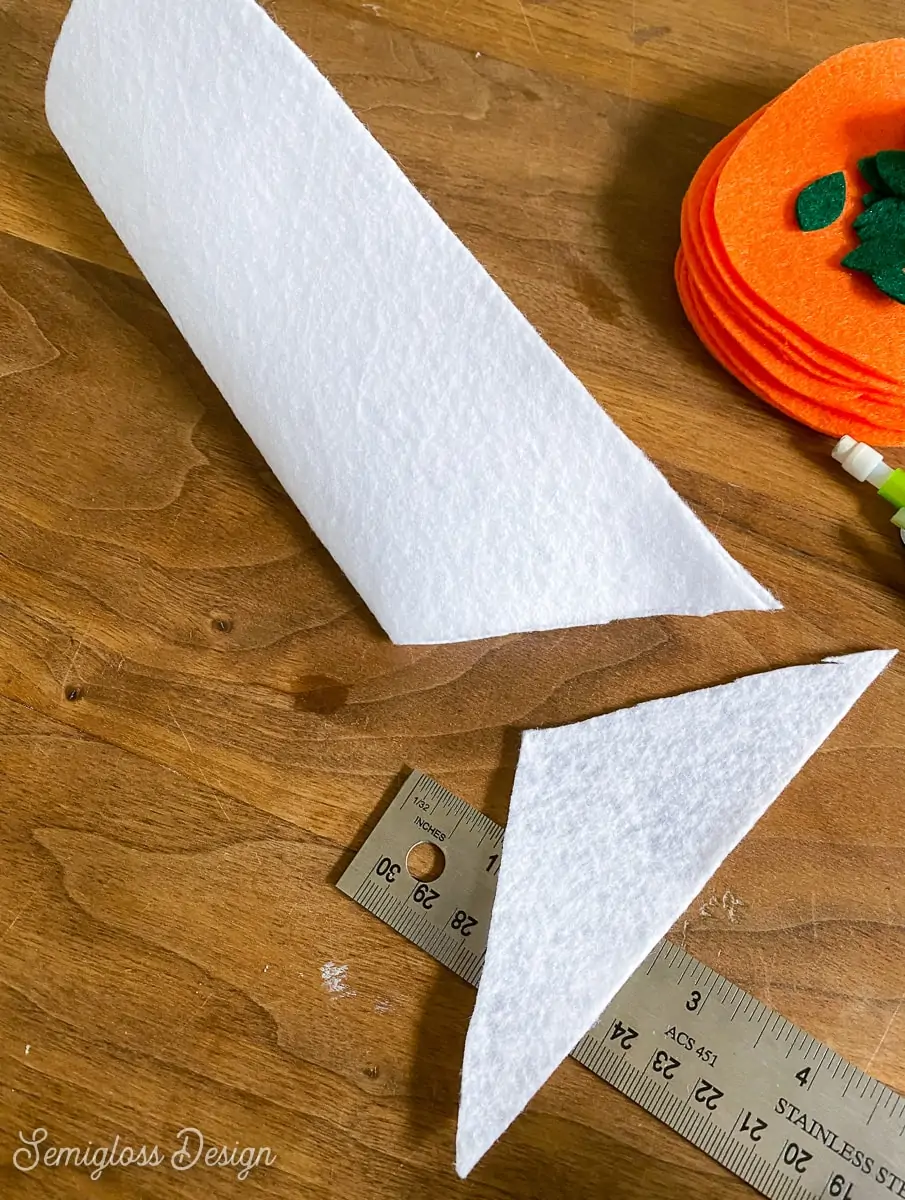
- Fold a sheet of felt in half and cut it down the middle.

- Fold the cut piece in half again.
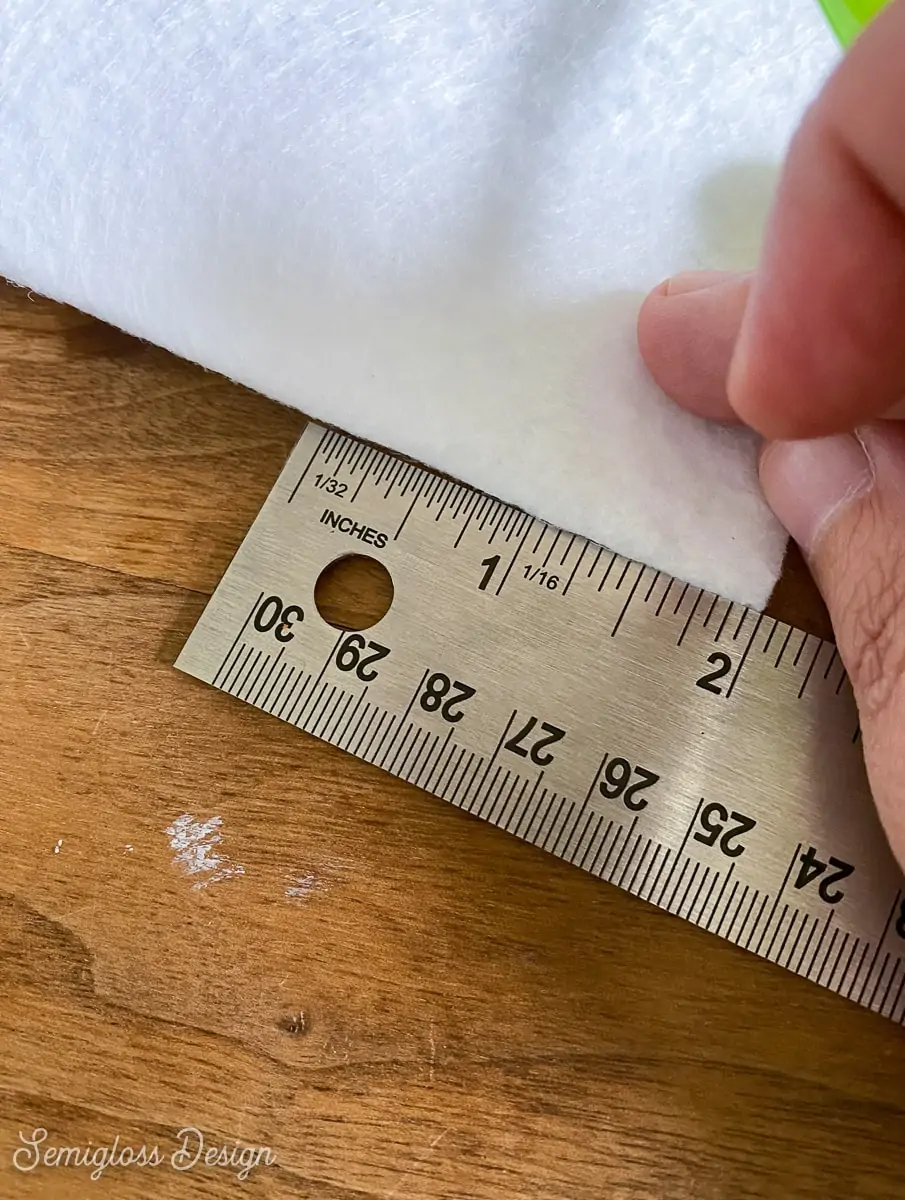
- Measure 2″ up along the folded edge.
- Cut from the 2″ mark to the other corner to make a banner flag shape.
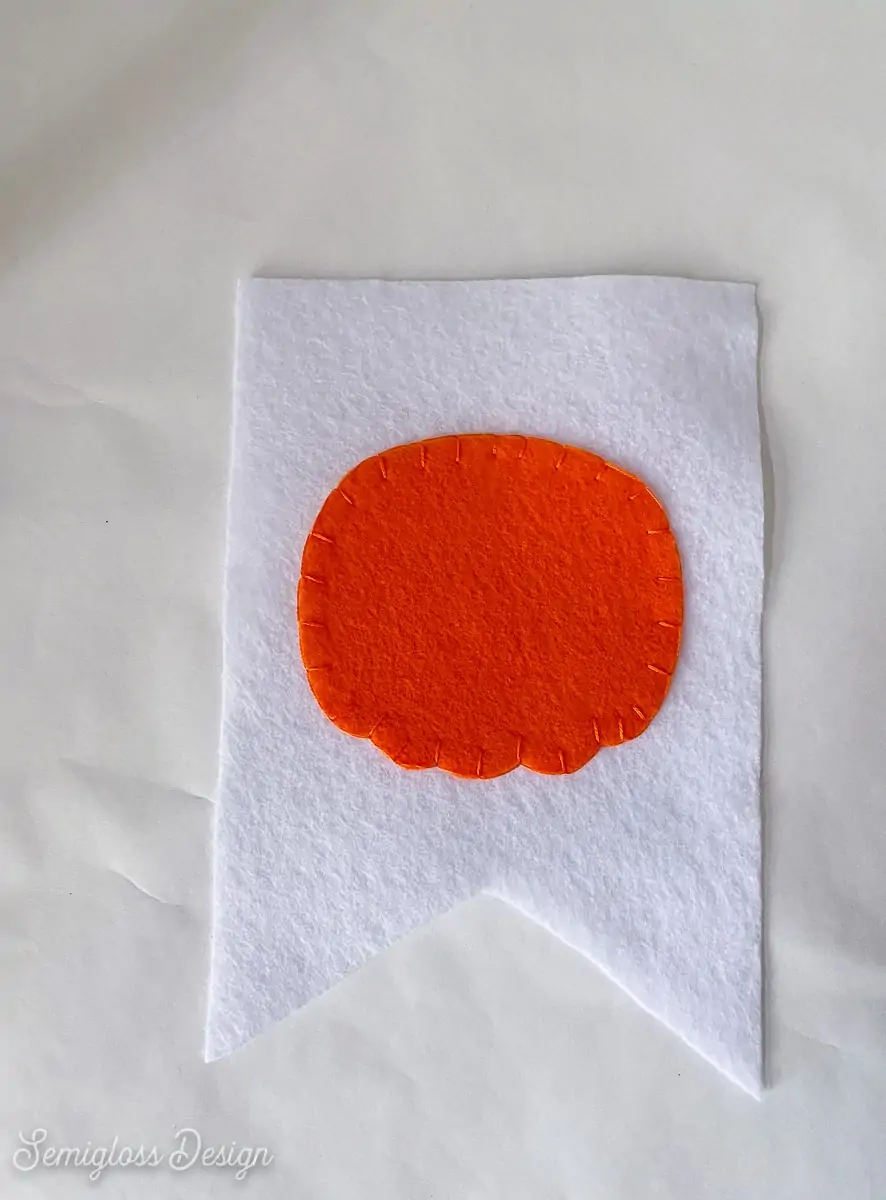
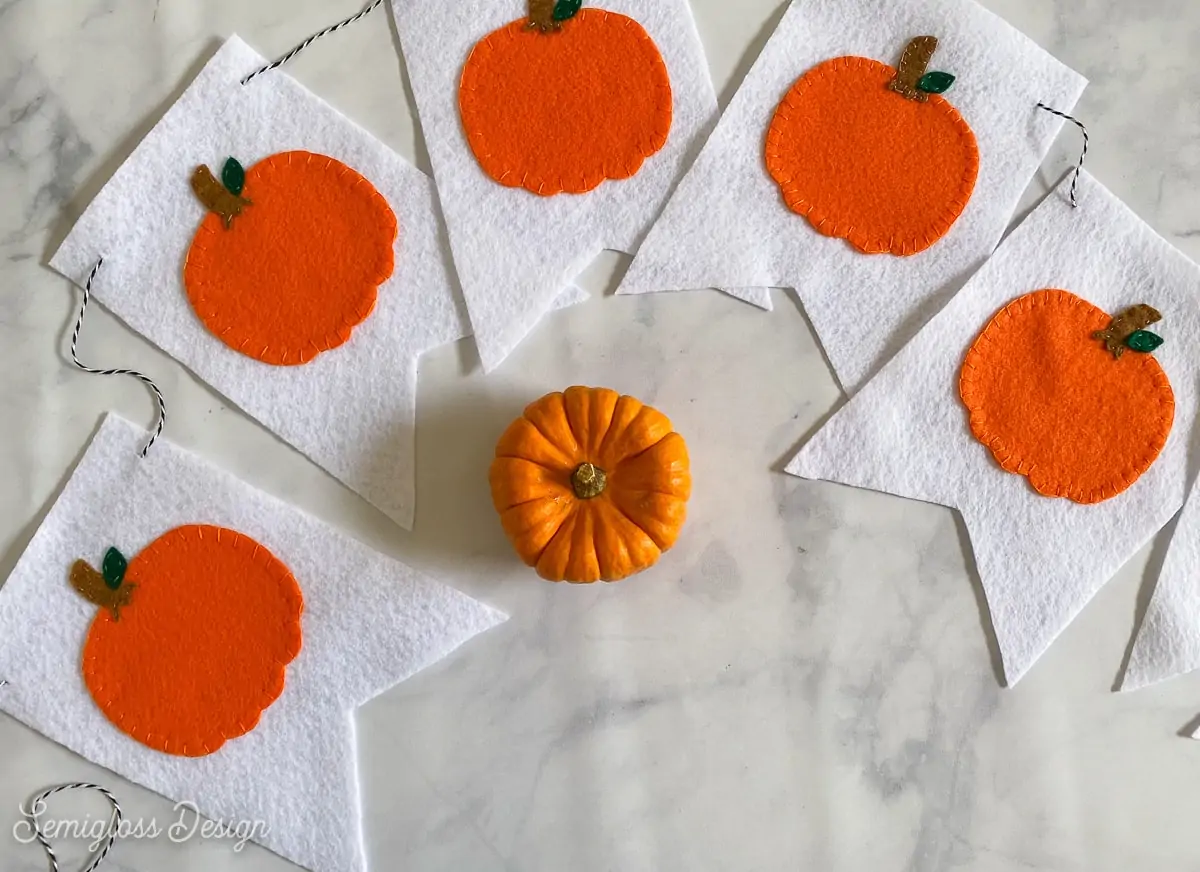
Embroidering the Pumpkins
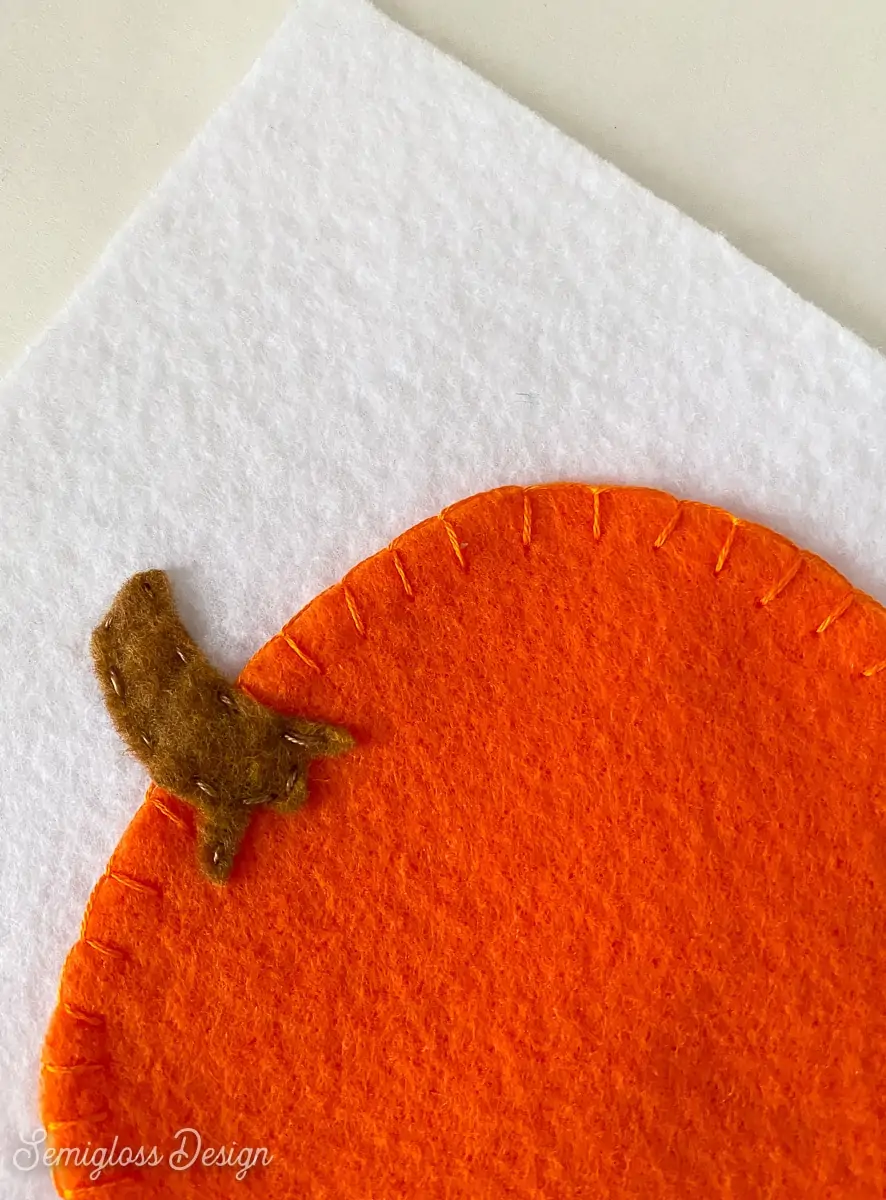
- Center a pumpkin on a banner and pin it in place.

- Attach the pumpkins using a blanket stitch in a matching color of embroidery floss.
- Continue until all of the pumpkins are attached to the banners.
- Next, add the stem using a running stitch in a matching color of embroidery floss.
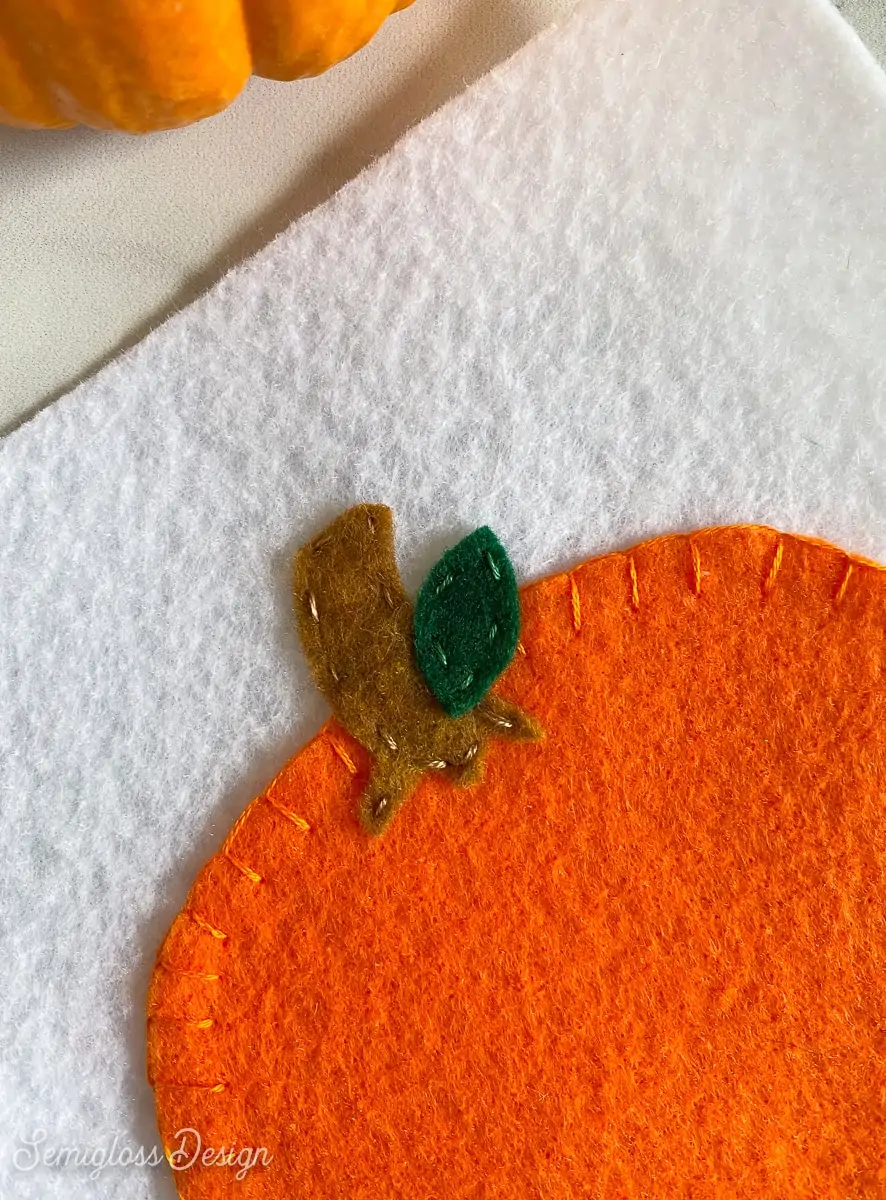
- When you’re done with the stems, attach the leaves with a running stitch as well.


Assembling the Felt Pumpkin Banner
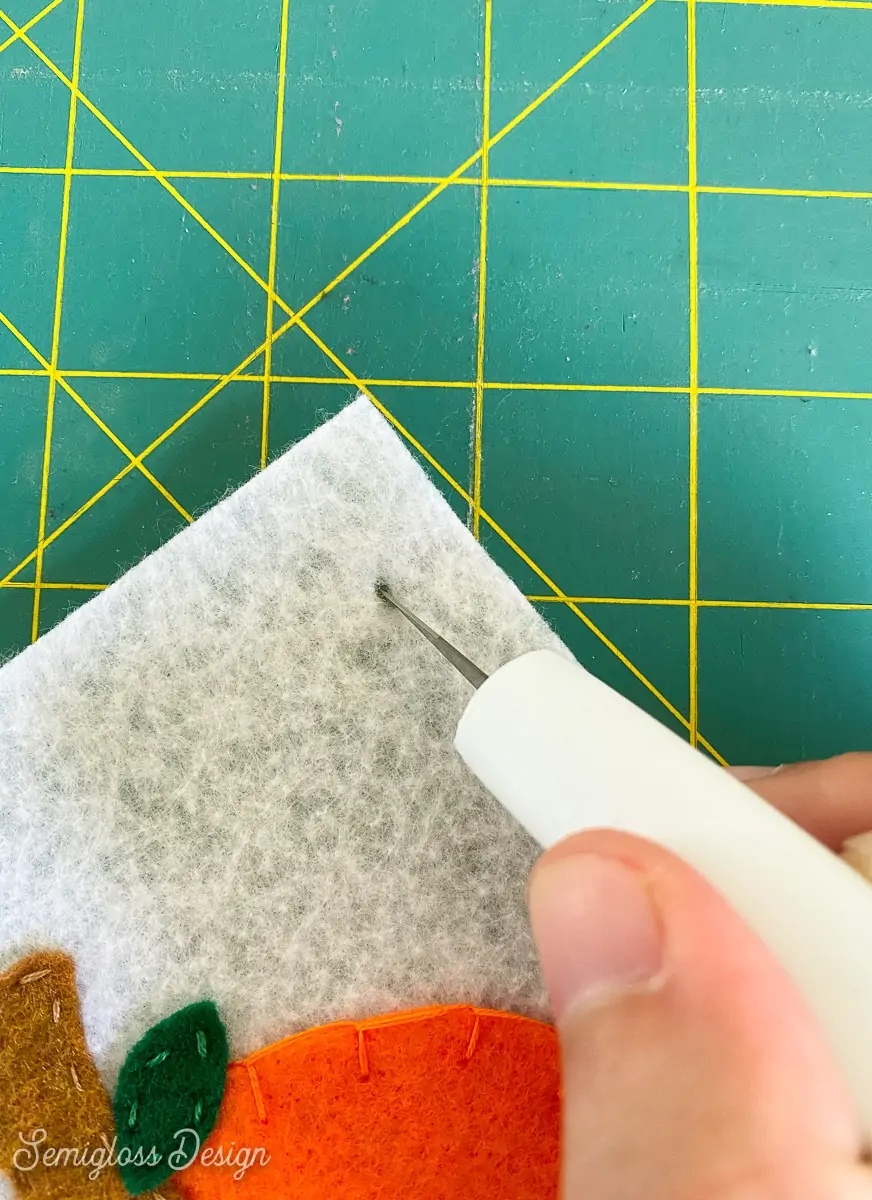
- Use scissors to cut tiny slits near the top edges of each pumpkin.

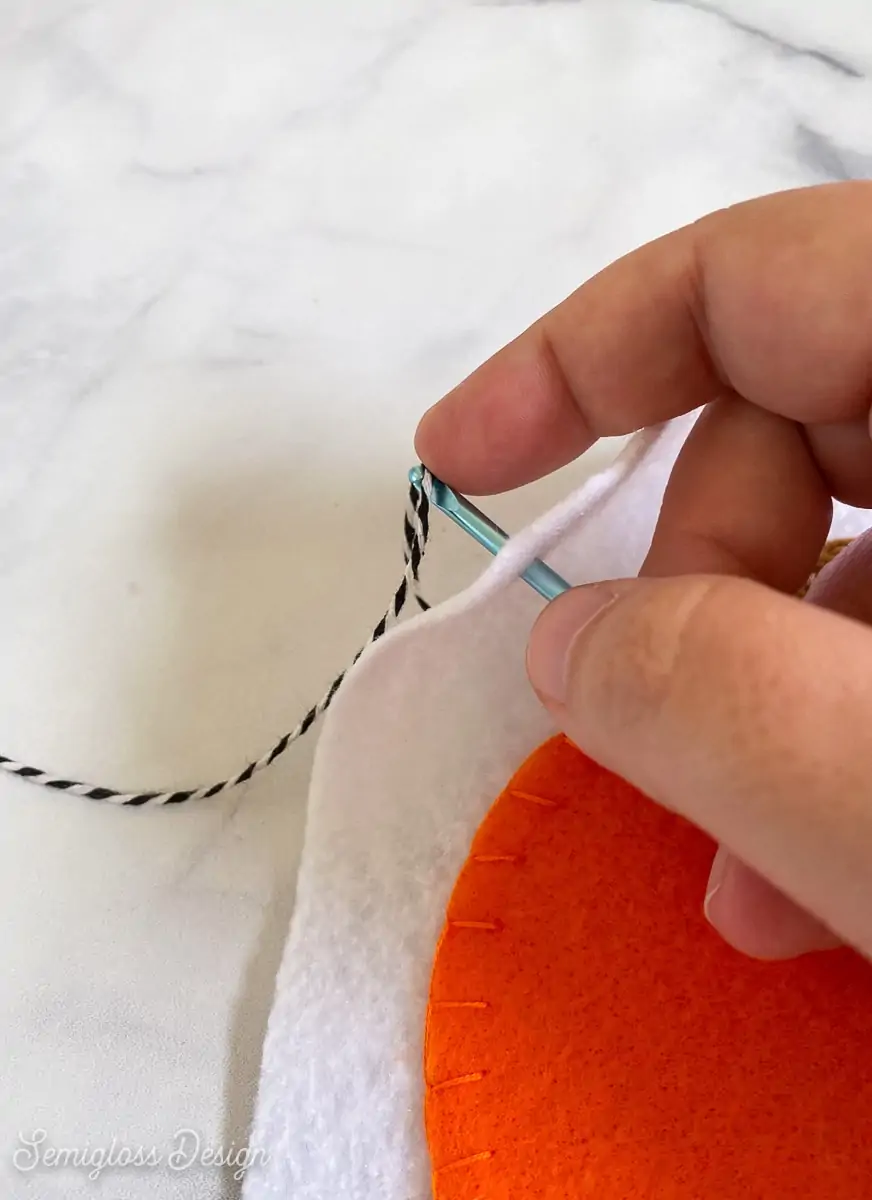
- Thread the baker’s wine through the banner flags. I used a small crochet hook to help with this process.
- Evenly distribute the banner flags on the string.

- Hang and enjoy.
Get access to my SVG Library.
Get access to over 50 SVG sets and Cricut cheat sheets. Join my SVG library.
Download the Pumpkin SVG Cut Files and PDF Template
All downloads are for personal use only. Please do not redistribute or sell files.

This download includes a folder of cut files (SVG, PNG, and DXF.) Use the SVG file for Cricut and the DXF file for Silhouette.
The printable PDF template can be used to cut the design by hand.
Pumpkin Printable PDF Template
You might also like:
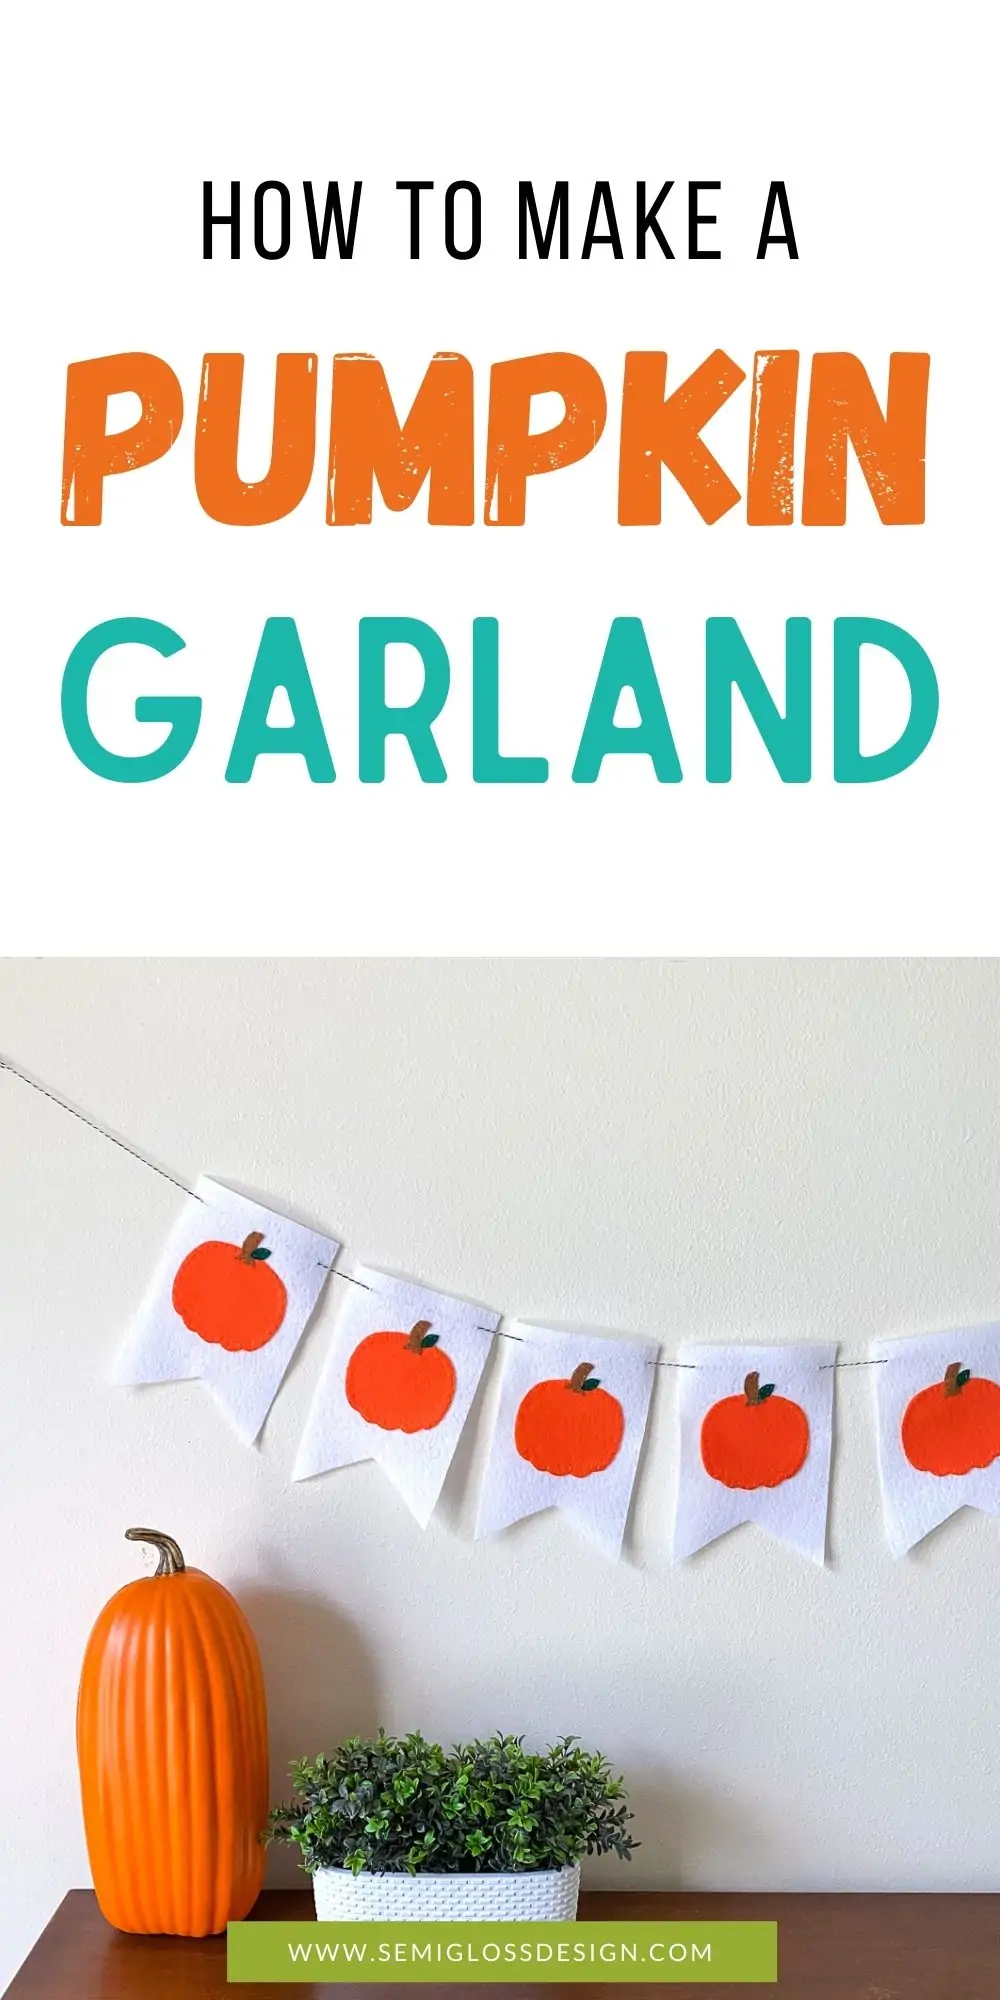
Pin for Later!

Emy is a vintage obsessed mama of 2 DIYer who loves sharing affordable solutions for common home problems. You don’t need a giant budget to create a lovely home. Read more…