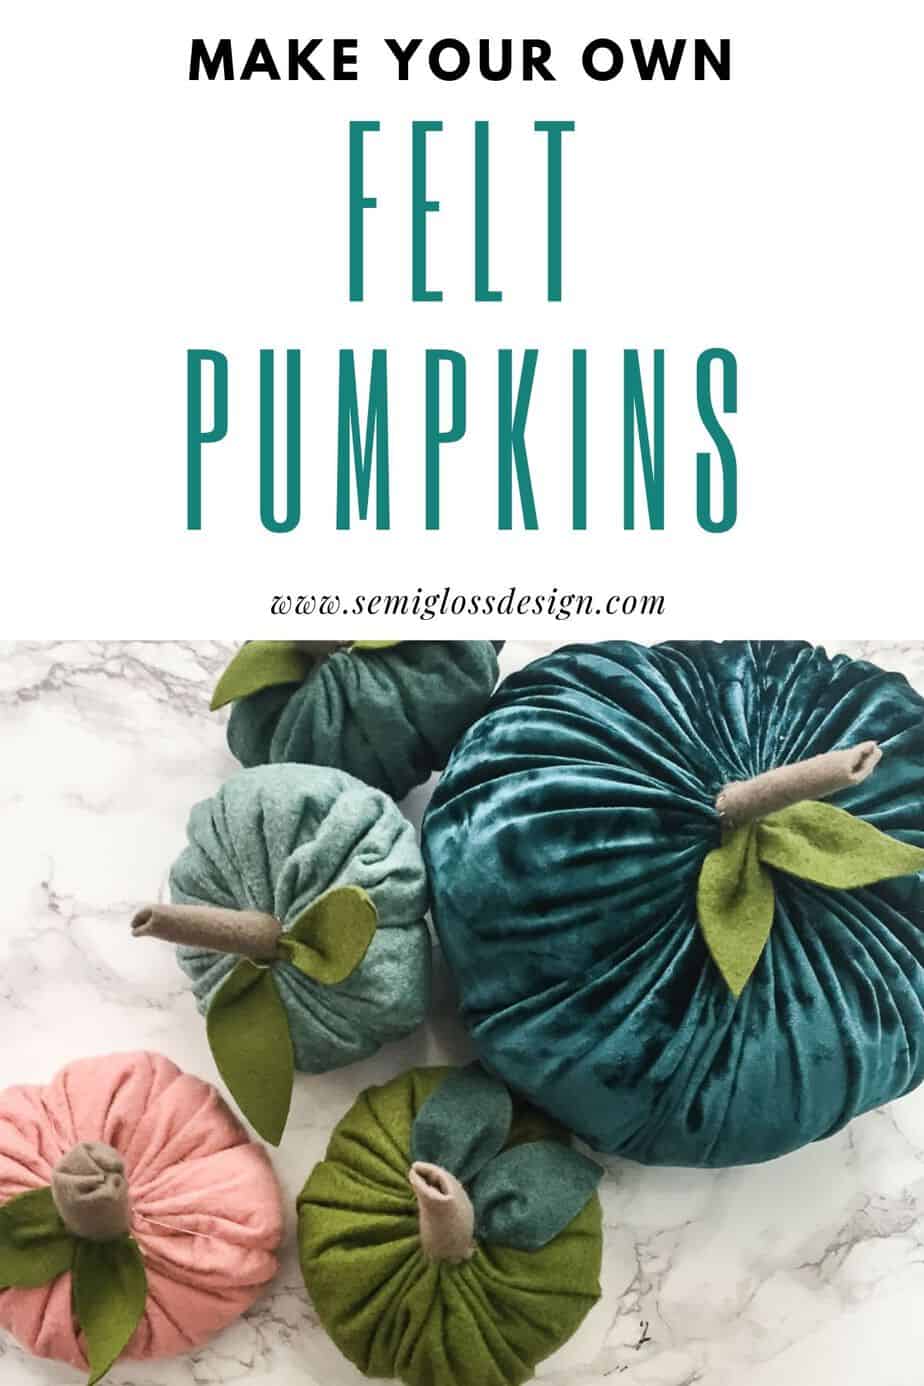
How to Make Felt Pumpkins
Learn how to make felt pumpkins to decorate for fall. These felt pumpkins are easy to make and can be made in any color to coordinate with your fall decor.
You might also like this post on how to paint bronze pumpkins.

As much as I love summer, there’s just something about fall that gets me excited. The cooler weather means fires, cozying up, and crafts.
Even though it’s 90 degrees out and my kids haven’t started school. I made some pumpkins to maybe encourage those cooler temps to arrive. Here’s hoping it works!
One of the pumpkins is made with velvet. I used the exact same process. See notes at the bottom of the post.
How to Make Felt Pumpkins for Fall
Supplies Needed
This post contains affiliate links. By purchasing an item through an affiliate link, I earn a small commission at no extra cost to you.
- 12 x 18″ sheets of wool felt* (Toffee, Babbling Brook, Moss Green, Blushing Bride, Mediterranean Mist)
- Embroidery floss
- Embroidery needle
- Fiber fill
- Scissors

Why use wool felt?
- Quality. I love wool felt for the same reason that I love nice paintbrushes. It’s a superior product, so it’s easier to work with. Wool felt will not stretch the way that acrylic felt does. Since it doesn’t stretch, it will hold the stitches better. Once you use wool felt, you’ll never go back.
- Colors. The range of colors is even better than the acrylic colors. This product features muted colors, but wool felt is available in brighter colors as well.
- Durability. Wool felt is incredibly durable. Even though these felt pumpkins are just for decor, I live in a home with children. They will inevitably become toys and get thrown around. Wool felt holds up better to abuse than acrylic felt.
Each 12 x 18″ felt sheet will make one 3″ pumpkin. For larger pumpkins, you need larger sheets of felt or fabric.
Making the Pumpkin
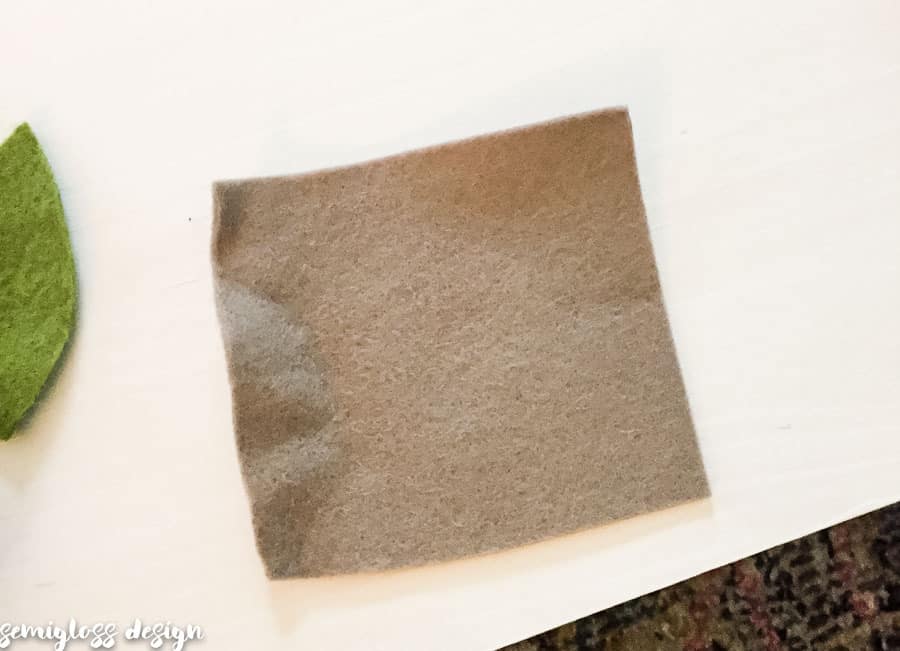
- Fold your felt to form a square.

- Freehand cut an arc to form a circle. It doesn’t matter if it’s not perfect or even oval-shaped.

- Embroidery floss comes in strands of 6 threads. After cutting about 20″, separate the floss into two 3 thread sections. It’s easiest to do this in the middle of the strand, rather than the ends. The ends tangle more.
- Thread your needle, leaving one end loose and knotting the other end.

- Stick the needle through the edge with the knot on the inside. Use a running stitch to gather the fabric. A running stitch just means to go in and out. I found that longer stitches (about 3/4″ long) were easier to work with. My stitches were about 1/4″ from the edge.

- When you have stitched mostly around the circle, tighten the stitches, leaving a gap in the middle.
- Fill the gap with fiberfill. When using fiberfill, don’t ball it up. Just grab a wad of it and stuff it in. Fill it as full as you can.

- Finish stitching the edges and tighten the string. If the pumpkin is still loose, fill it with more fiberfill. You want a nice plump pumpkin.

- When the pumpkin is full, tighten the gathers and sew the last gathered pleat to the first gathered pleat and knot it.
- Take the needle and stick it through the center of the pumpkin so that it emerges on the underneath. Pull it tight and stick the needle back through.
- Make a stitch on the edge of the pumpkin gathers to hold that tight stitch for the bottom.


Optional: Use the embroidery floss to create lines on the pumpkin. Just like in step 10, you will stick the needle through the center of the pumpkin.
When it comes out of the bottom, wrap it around to the top, and repeat sticking the needle through the center, spacing the thread lines equally around the pumpkin.
Tie it off in the gathered edge.
Making the Stems and Leaves
- The leaf is shaped like this. You can make different shapes, but I wanted to keep mine very simple.

- The stem is a small rectangle. You can cut it with angled sides to form a trapezoid shape if you want a fatter stem bottom. Some of my stems are thin and some are thicker. Each stem is about 3″ tall.

- For the fatter stems, I gathered the top edge just like the pumpkin.

- Then I turned the pleats to the inside and folded the felt rectangle length-wise.
- Then I sewed the edges together. Evenly spaced stitches look nicer.

- When you’re about halfway done with the stem, shove some fiberfill into it. For thin ones, I used a small cuticle stick to shove it in.

- Finish sewing and knot it at the end.
- For thin stems, I started by turning the top edge down and sewing the sides.


Attaching the Stems and Leaves

Attaching the stem is not a fun process, but it’s do-able. I prefer attaching the stem first and then the leaves to cover any mistakes I made. 😉
Use thread the same color as the pumpkin to hide the stitches better.
Squish the pumpkin to be able to sew the ends of the stem to the gathered part of the pumpkin.
When you’re done sewing, knot it and cut the thread.
Gather the pumpkins and sew them together. Then sew the leaves to the pumpkin around the base of the stem.

If they’re too floppy, you can use a tiny stitch in the middle of the leaf to attach the leaf to the pumpkin.
Alternative Version Using Fabric

You can use the same technique for other fabrics, like my velvet pumpkin. Other fabrics are softer to work with, but the felt has more weight.
Patterned fabrics would also look cool.


So what do you think about my felt pumpkins?

You might also like:
- Reversible Felt Banner for Halloween
- Bronze painted pumpkins
- Trick or treat bags
- Decoupaged pumpkins
- DIY Felt Candy Corn Banner
- Felt Rainbow Wall Hanging
- Felt Pumpkin Banner
- Alcohol Ink Glass Pumpkin
Pin for Later!

Emy is a vintage obsessed mama of 2 DIYer who loves sharing affordable solutions for common home problems. You don’t need a giant budget to create a lovely home. Read more…