How to Applique: Easy Heart Pillow
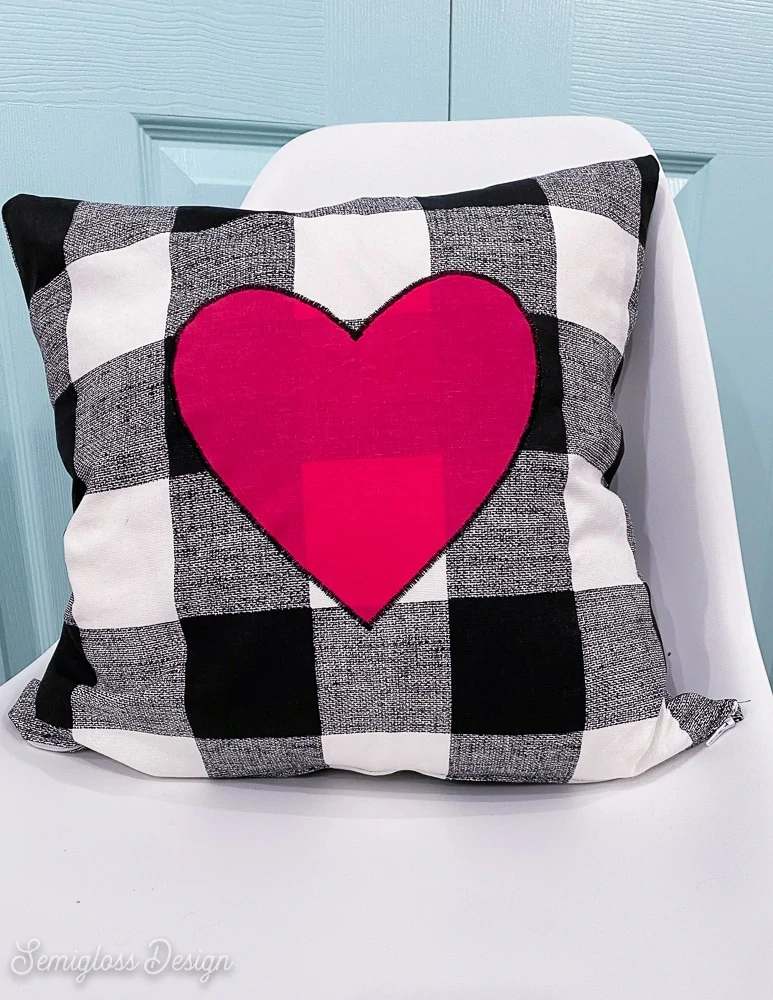
Learn how to applique and make this easy heart pillow! Heart decor is perfect for Valentine’s Day, but hearts are always great in my book. We all need a little more love in the world right now.
If you like this heart pillow, you might also like this cute felt heart banner!
This post contains affiliate links. By purchasing an item through an affiliate link, I earn a small commission at no extra cost to you. As an Amazon Associate I earn from qualifying purchases.
I am so excited to share this technique. Applique is one of my favorite ways to add detail to something. I used to use it to make my son custom t-shirts when he was a baby, so it will always be special to me.
Applique FAQs
What is applique?
Applique is the process of attaching a fabric shape to a base layer of fabric. Think of it like a patch.
What can applique be used for?
Applique is used to add detail to items like pillows, quilts, t-shirts and more. If it’s fabric, it can be appliqued.
Is applique the same as embroidery?
No. Embroidery is using thread to add details to an object. I like to think of it as drawing with thread.
Applique would be more like decoupage.
However, you can combine applique and embroidery. This tutorial uses a sewing machine, but you’re welcome to hand embroider it. Personally, I love a blanket stitch.
What do you need for applique?
You need fabric, iron-on adhesive, an iron, and either a sewing machine or embroidery thread.
What fabrics can be used in applique?
Almost any fabric can be used. I would avoid using fabric that is too thick, like upholstery fabric. It’s probably doable, but your sewing machine is going to struggle.
I would also avoid fabrics that cannot be ironed.
Using iron-on adhesive reduces the chance of the fabric fraying at the edges.
Can a regular sewing machine be used for applique?
Yes! My machine has a special satin stitch, but you can also just use the buttonhole setting. Increasing the size can make it a little larger. Alternatively, you can use a tight zig-zag stitch.
Can you use a Cricut to cut the fabric for applique?
Yes. Detailed shapes can be cut with a Cricut or Silhouette. I plan on doing a full tutorial for this in the near future.
Follow my tutorial for applying the iron-on adhesive, use the pink fabric mat, choose “Bonded cotton” in the menu and use the rotary cutter. Then sew as directed.
Heart Applique Pillow
Supplies Needed:
- Fabric for the pillow (I used this buffalo check fabric)
- Fabric for the heart (I used this pink fabric)
- Iron-on adhesive
- Scissors
- Iron
- Sewing machine
- Thread
- Zipper
How to Applique
Using Iron-On Adhesive
- Print and cut out your template. (Template download is below the tutorial.)
- Cut a piece of fabric for the heart. I cut it slightly larger than the template.
- Cut a piece of the iron-on adhesive.
- Place the fabric for the heart face-down.
- Place the iron-on adhesive paper-side-up on top of the fabric.
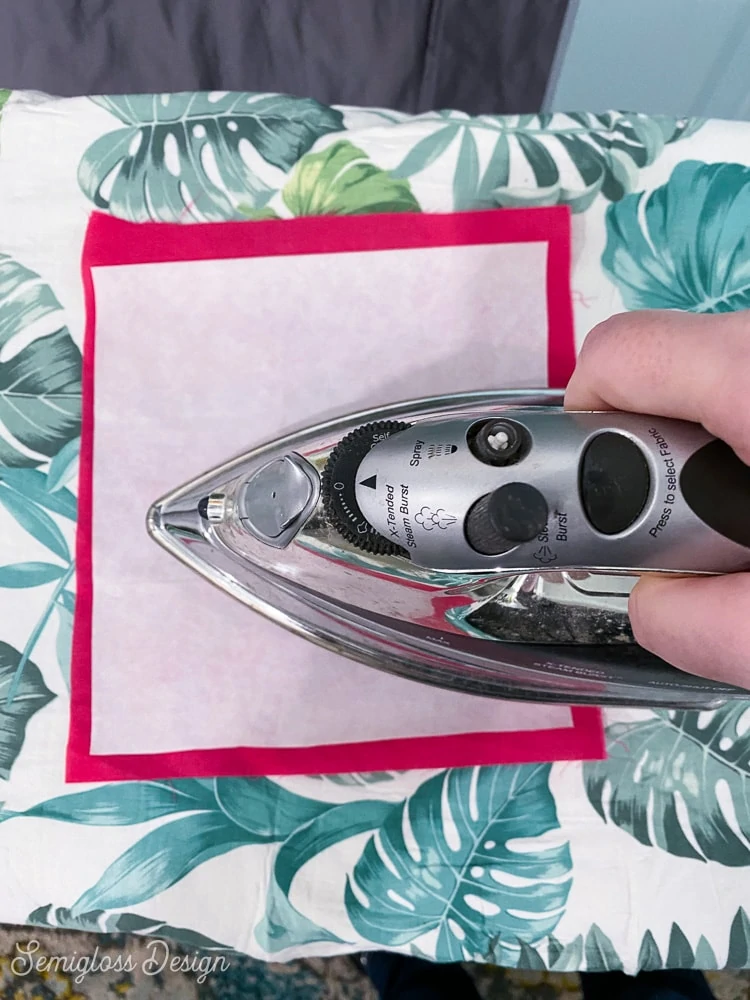
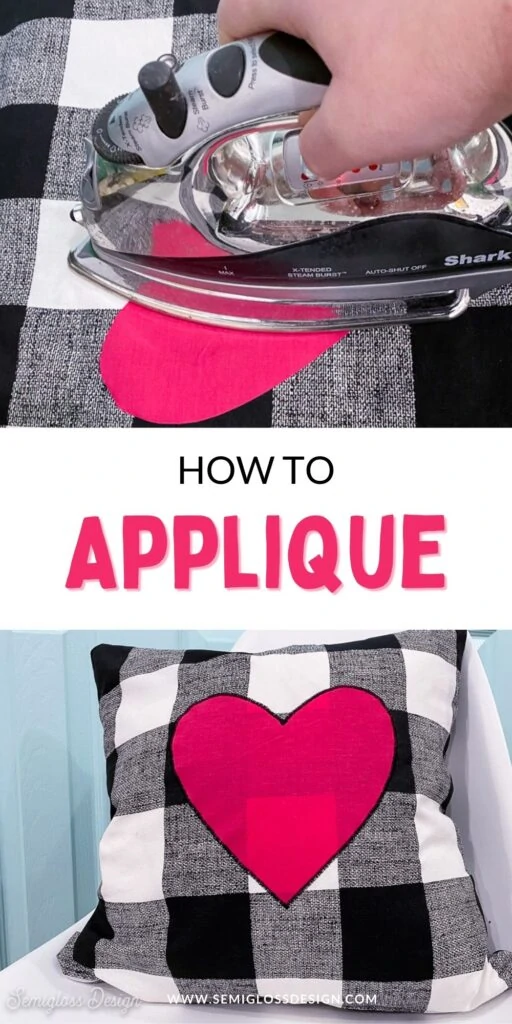
- Iron on medium heat for a few seconds until it sticks completely to the fabric.
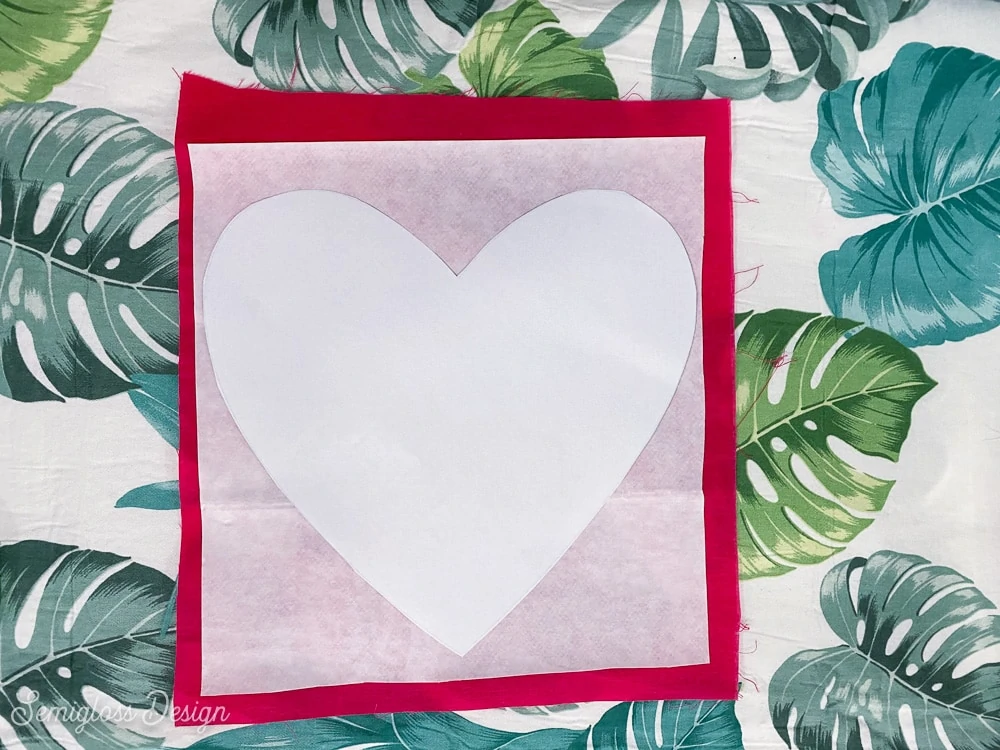
- Trace the template onto the paper backing of the adhesive.
- Cut out the heart shape.
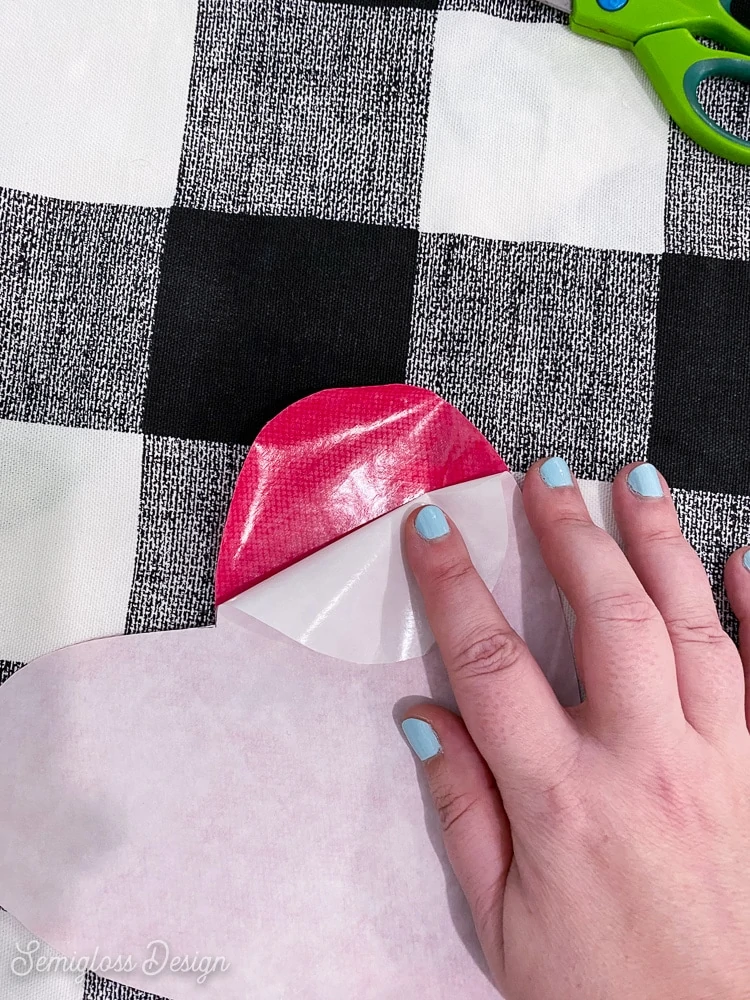
- Peel away the paper backing.
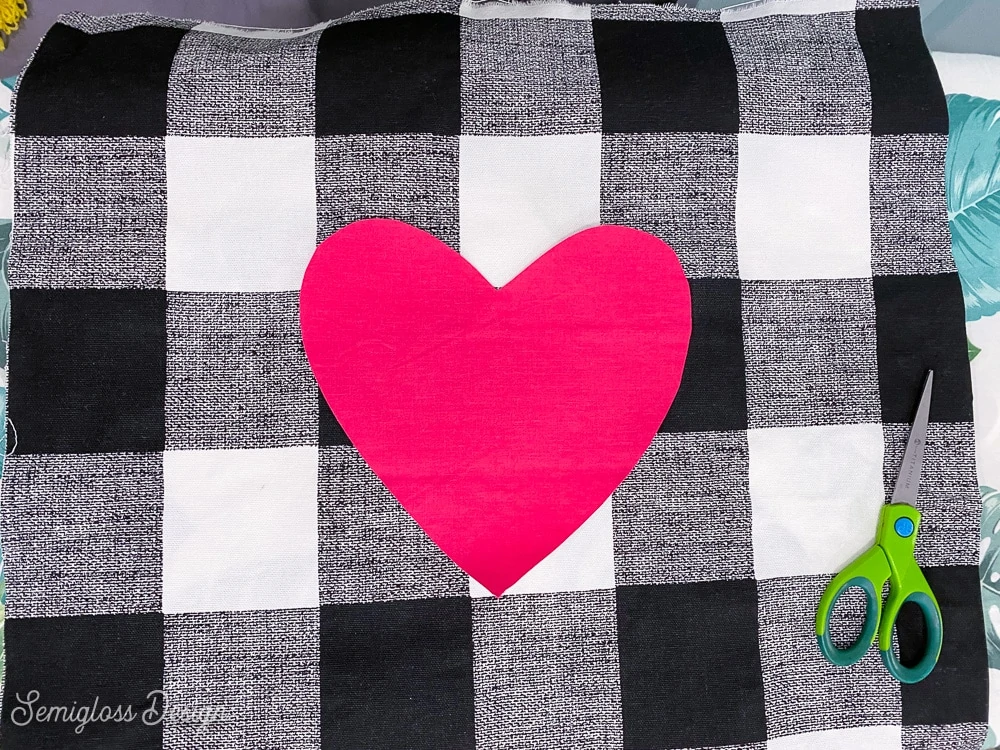
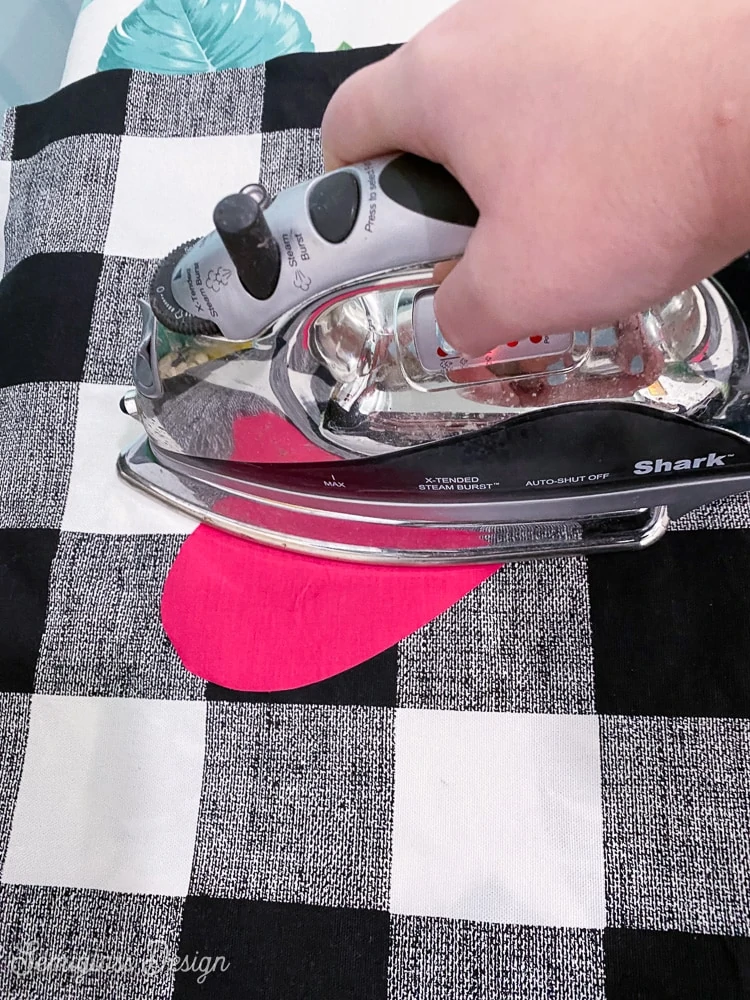
- Place it in the center of the pillow. Use a ruler if you need to find the center.
- Iron the heart onto the pillow until it sticks. It might take a few times to get it to completely stick.
Sewing the Applique with a Sewing Machine
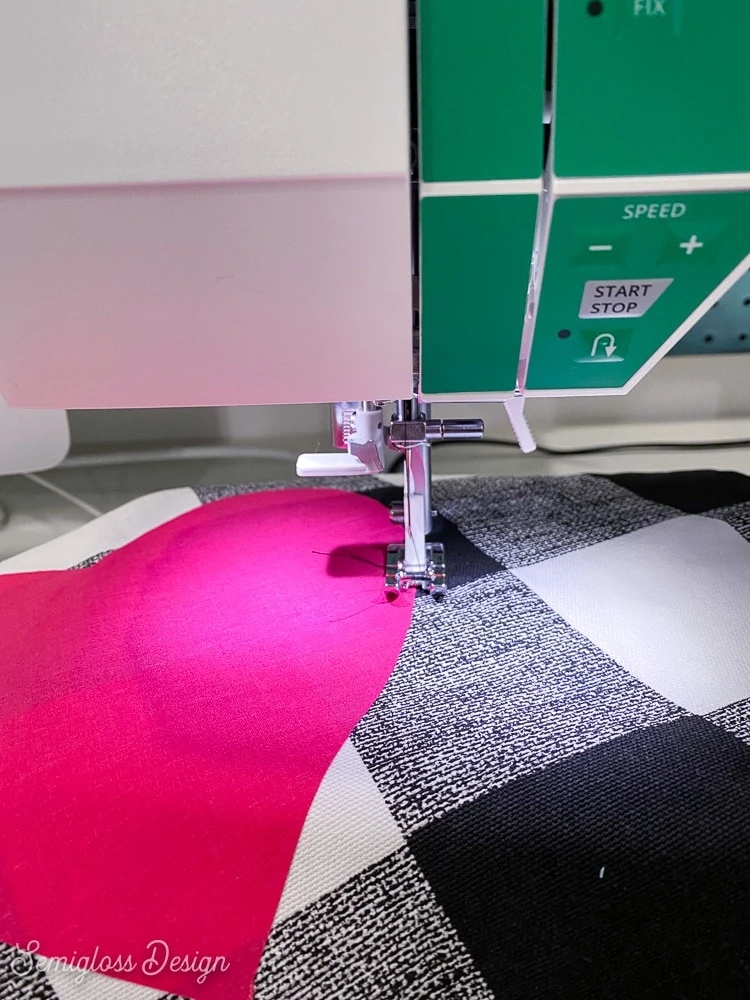
If your machine has the ability to adjust the speed, slow it down. If not, just sew slowly.
- Set your machine to satin stitch if your machine has that setting. If not, you can use a buttonhole stitch or a tight zig-zag.
- Start sewing on a straighter part of the heart. Use the line in the center of your sewing machine foot to keep it lined up.
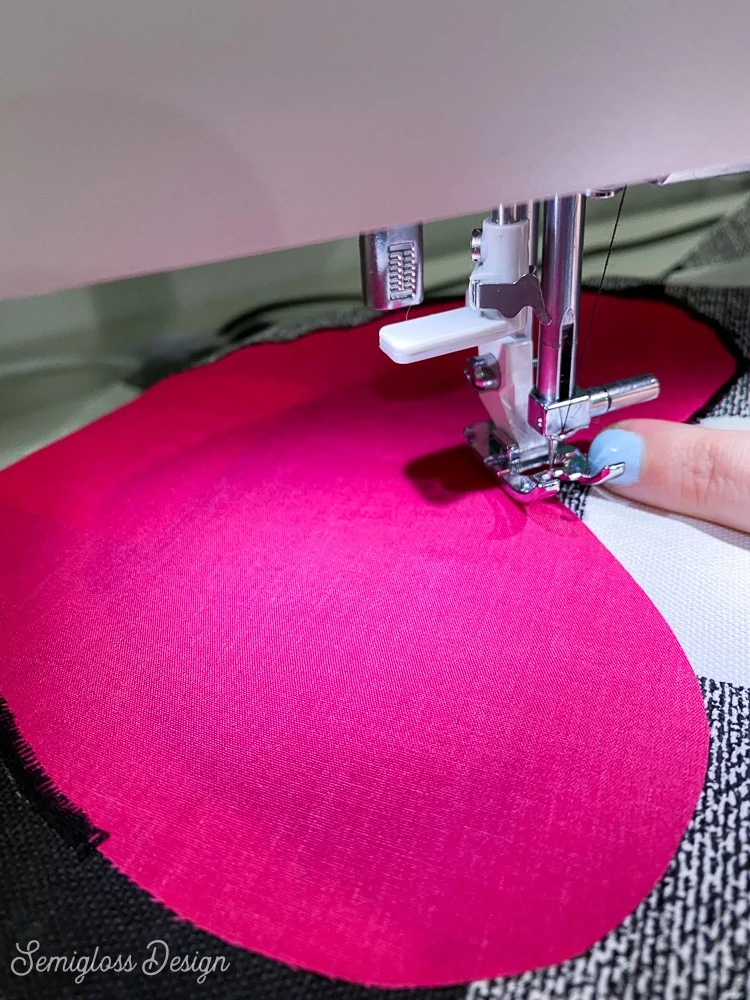
- When you reach the corner (or top center of the heart) stitch past the edge for about the width of your stitches. So if your stitches are 1/8″ wide, stitch for another 1/8″ past the edge.
- Stop sewing and make sure the needle is in the down position in the fabric.
- Lift the presser foot and turn the fabric.
- Keep sewing until you get the next corner or center of the heart and repeat steps 13-15.
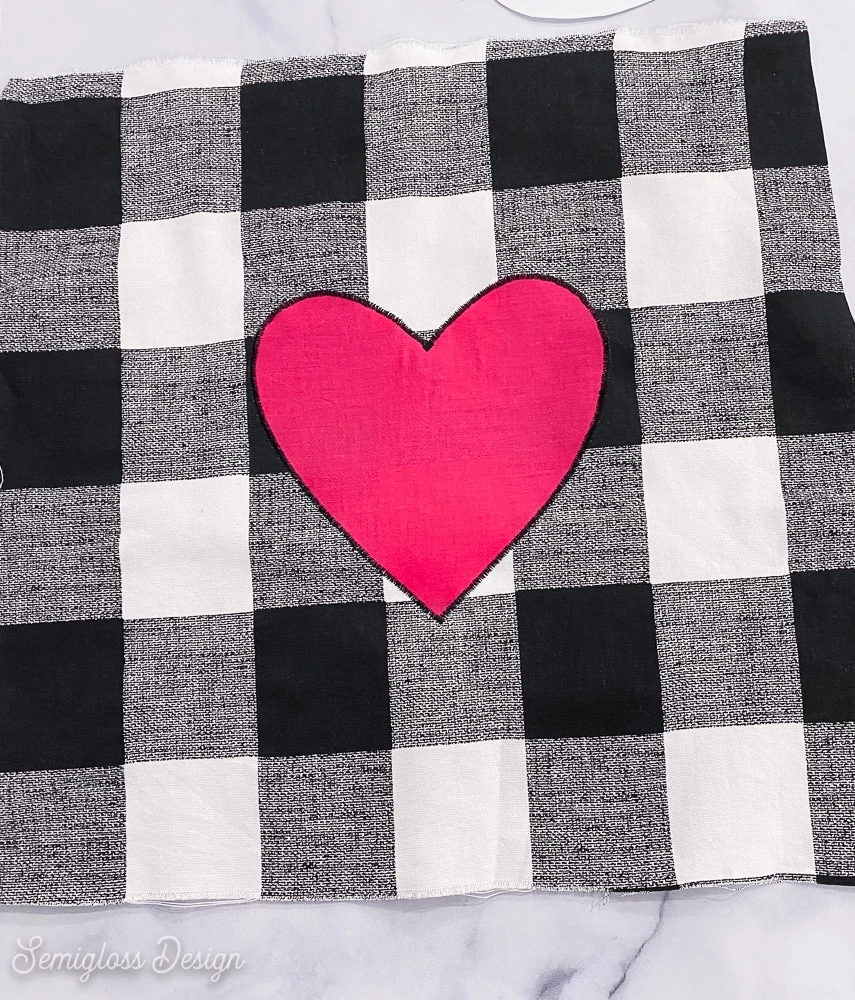
- Continue sewing until you reach the place you started.
Sewing the Pillow
I need to start this part of the tutorial with a disclaimer. I just bought a new sewing machine that is waaaaayyyyy fancier than what I’m used to, so my sewing is not great as I learn to use it.
It got better as I went, so please don’t judge the crooked lines on the pillow. (Also probably should have switched to the white thread, but re-threading the machine still makes me want to cry.)
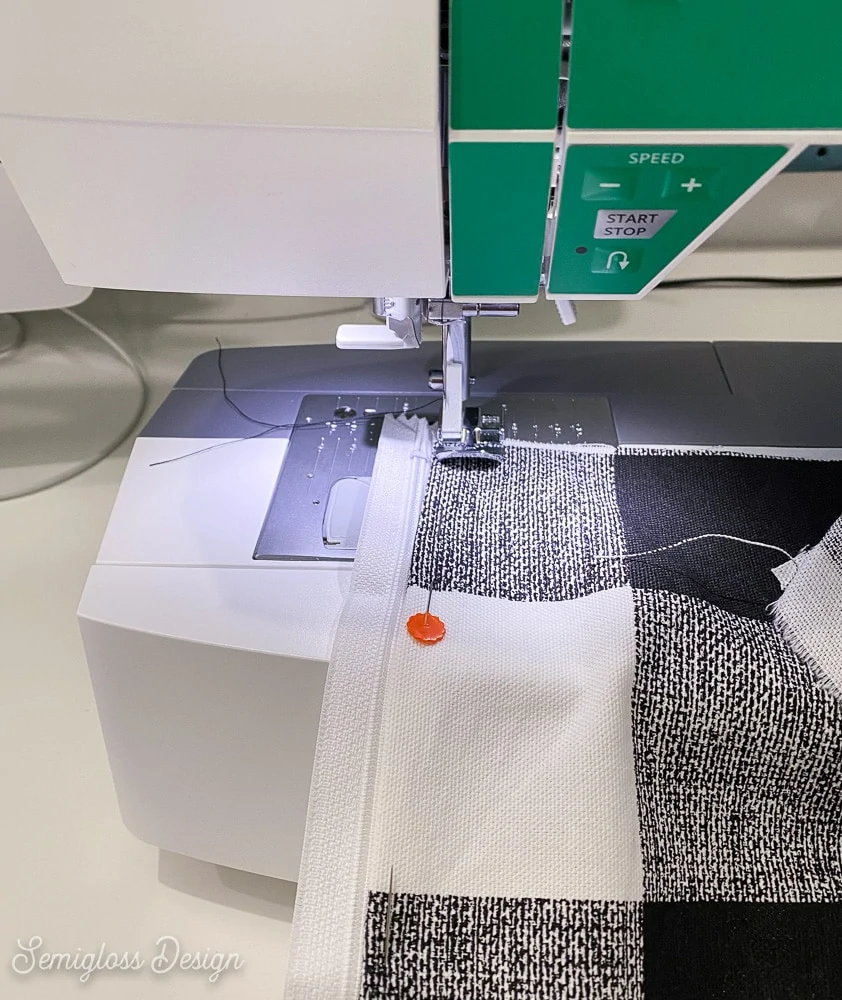
- Sew the zipper. I wrote a tutorial on sewing zippers in pillows if you need help.
- Unzip the zipper a few inches
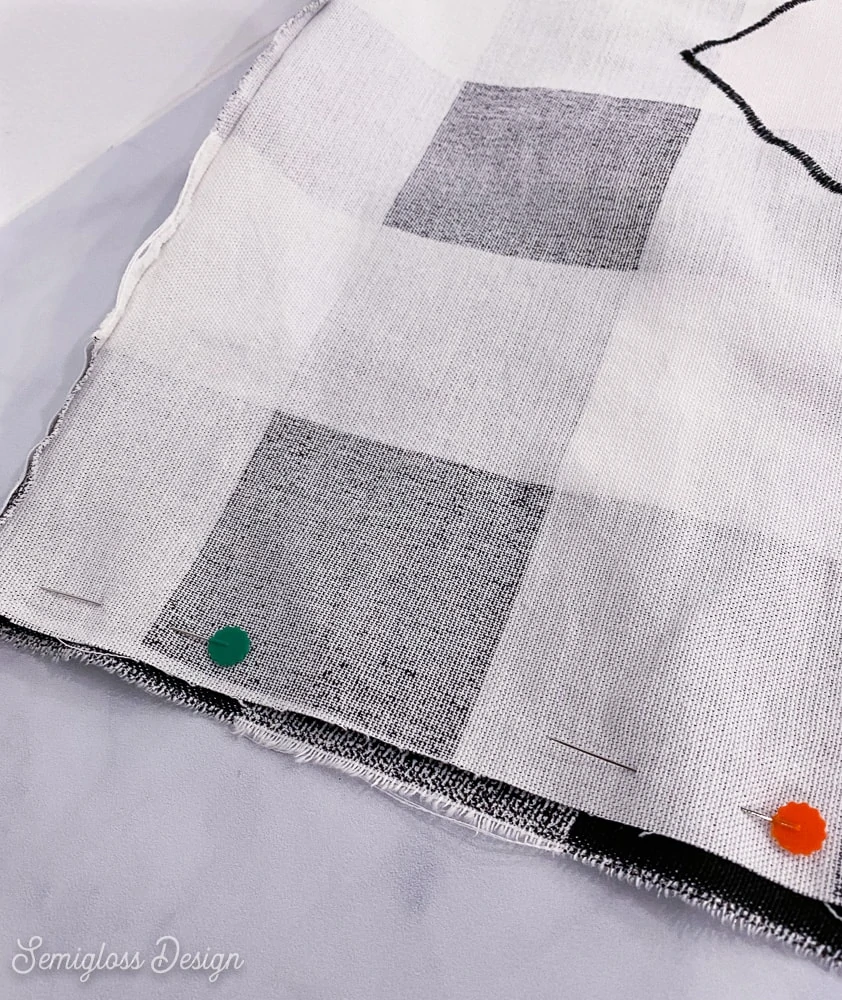
- Pin the pillow fabric right sides together.
- Sew along the edges, being careful when you get to the zipper. (Make sure not to sew over the metal part of your needle will break…)
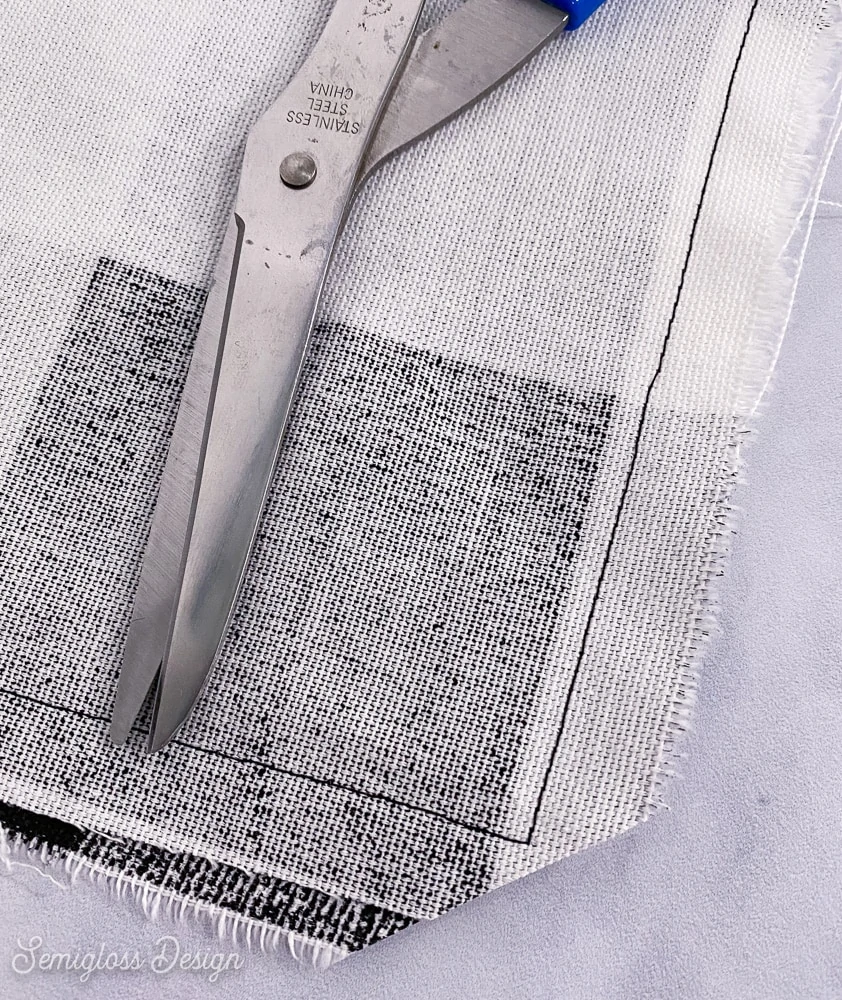
- Clip the corners. This creates nicer corners on the finished pillow.
- Flip the pillow inside out and insert the pillow insert. I’m a huge fan of these feather pillow inserts. They’re super affordable and will last forever.
Tips for Applique
- Try using decorative stitches instead of a plain satin stitch if your machine has fun stitch options.
- You can also hand embroider the edges.
- It’s also possible to add fun embroidered details, like dainty flowers.
- You can use a thread that matches or contrasting colors. I had intentions of using a matching color, but I ran out while making a bobbin.
- For more complicated designs, be sure to mirror the design.
Heart Template
This download includes both a printable PDF to cut out by hand and cut files to use with a Silhouette or Cricut (SVG, PNG, JPG and DXF files are included.)
Print scaled to 100% for best results.
All downloads are for personal use only. Please do not redistribute or sell files.
You might also like:
Pin for Later!

Emy is a vintage obsessed mama of 2 DIYer who loves sharing affordable solutions for common home problems. You don’t need a giant budget to create a lovely home. Read more…


