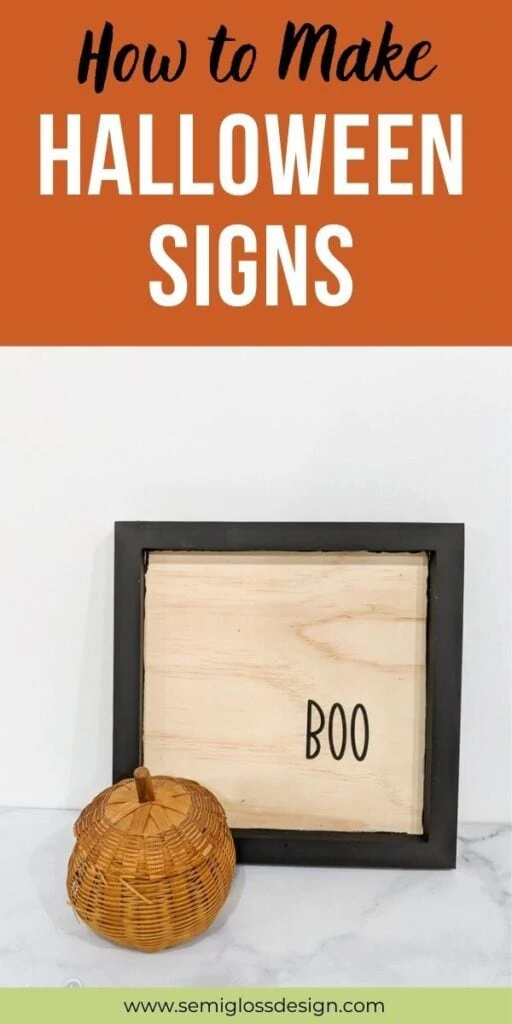
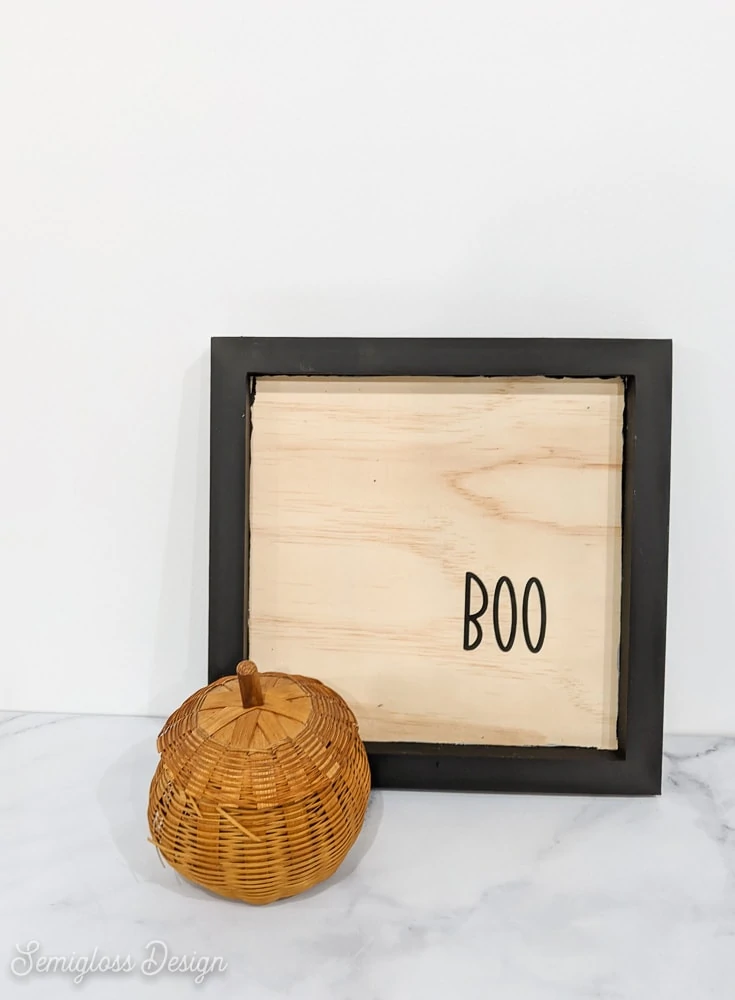
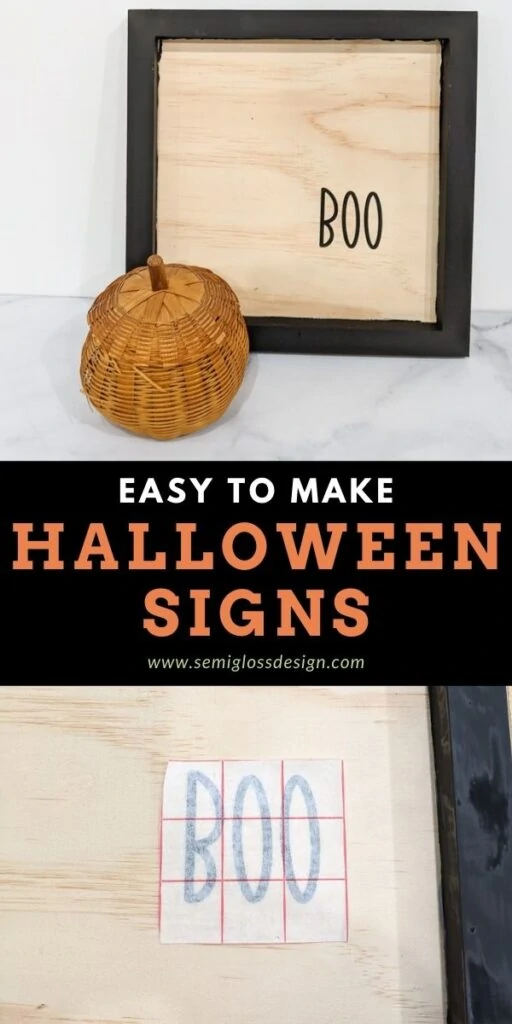
Make Your Own DIY Halloween Signs for Fall
These DIY Halloween signs are so easy to make! The simple design is perfect for modern Halloween decor!
If you’re looking for more sign inspo, check out my carved signs or my stenciled signs.
This post has been re-written and re-photographed in October 2020. The old post used a stencil that is no longer available.
How to Make DIY Halloween Signs
Supplies Needed
This post contains affiliate links. By purchasing an item through an affiliate link, I earn a small commission at no extra cost to you.
Signs
- Scrap wood or 1×6’s cut to length
- 2″ craft wood or lattice trim
- Miter saw
- Wood glue
- Clamps
Lettering
Building the Halloween Wooden Sign Frames
Don’t want to make your own sign frame? Buy one here!
- Cut your wood to the right length. I wanted to make a variety of sizes, so I cut them between 8″ and 12″. For other signs, I used pieces of plywood as well since the edges will be covered.
- Cut your frame wood to the right length. I cut my horizontal pieces first by lining up the wood next to the scrap wood and marking. Cut at that mark using a miter saw.

- The vertical length for the frame was held up the corresponding side and marked as well. Then I also marked the width of 2 pieces and cut using a miter saw. No math or measuring necessary. It tends to be more accurate when I “measure” this way as well.
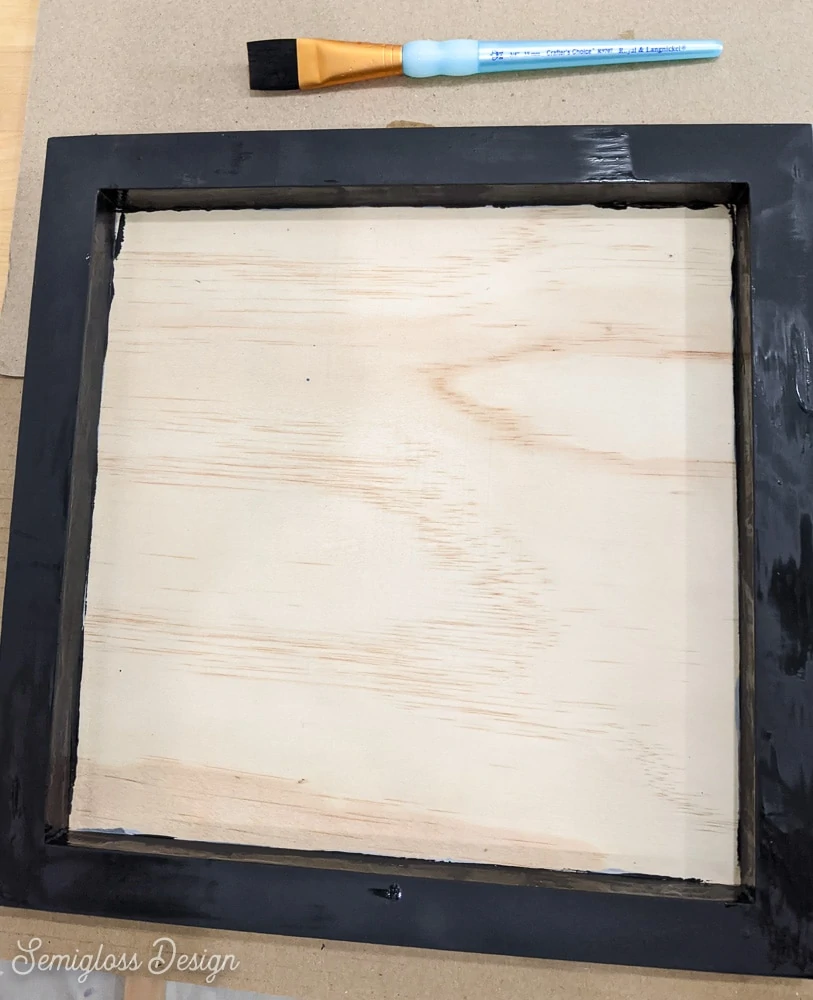
- Stain your frame pieces. Get the edges too!

- Paint your scrap wood. Or vice versa. I did a nice mixture so that I could have a variety of colors.
- When your paint and stain are dry, apply a thin line of glue along the side of your scrap wood. Place your frame wood against the glue.

- Do this for the other side. Use a clamp to squeeze the frame to the wood. (You will only be able to clamp 2 sides at a time.)

- Let the glue dry for a few hours before removing the clamp. Then repeat gluing the frame to the wood on the remaining sides.

- Let dry for at least 24 hours.


For this sign, I used a pre-made wooden panel and painted the frame part.
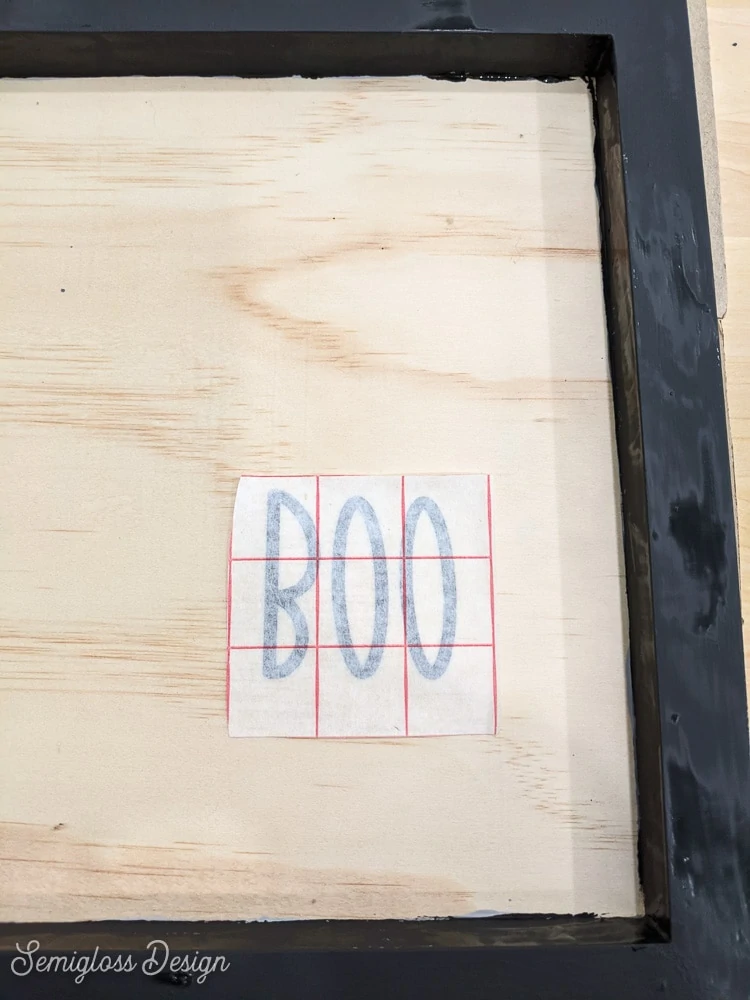
Adding Lettering to Your Signs
*Please note: the stencil I used has been discontinued.
- Cut a piece of vinyl that’s large enough for your design and place it on the mat.
- Use your electronic cutting machine of choice to cut the vinyl.
- Weed the design.
- Apply a piece of transfer tape to the design.
- Remove the design from the plastic backing using the transfer tape.
- Apply the vinyl to the sign in the desired location.

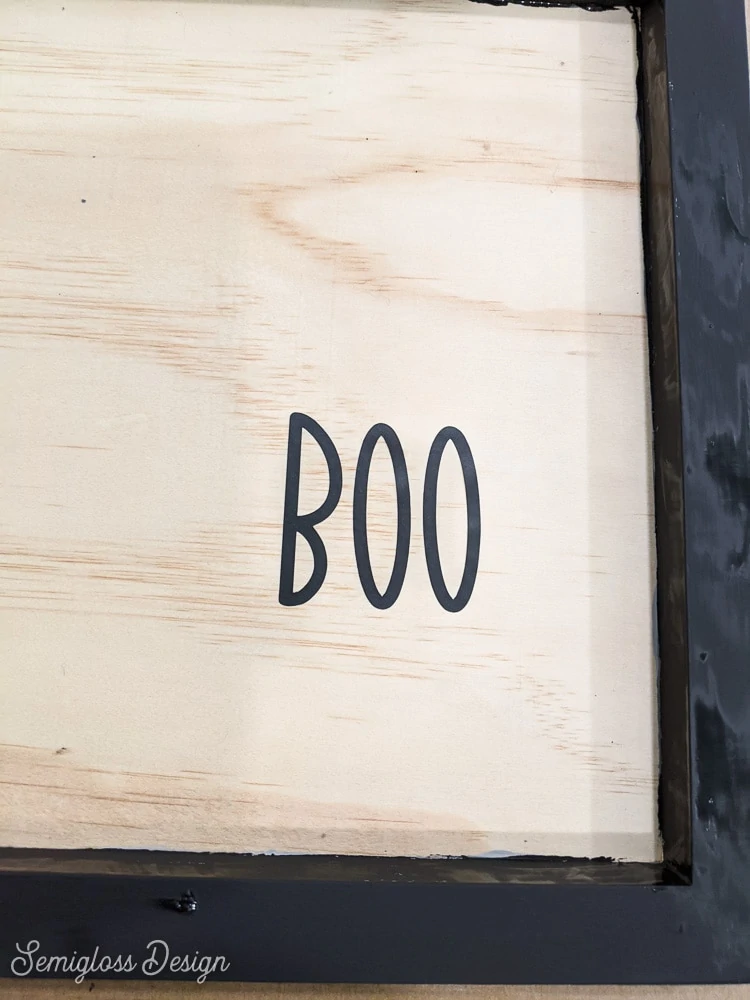
- Firmly press the design to the wood.
- Remove the transfer tape.
- Enjoy your sign.
Free “Boo” Cut File
You will receive SVG, PNG, JPG, and DXF files. (DXF files can be used with the Silhouette.)
All downloads are for personal use only. Please do not redistribute or sell files.
Click to download the cut file.
Phrase Ideas for DIY Halloween Signs
This sign uses this fun font, which is perfect for a modern sign.
- Boo
- Eek
- Spooky
- Trick or treat
- I Love Candy
- Happy Halloween
- Hocus pocus
- Beware
- 31
- Broom Parking
Looking for more Halloween projects?
- Painted metallic pumpkins
- Tissue paper decoupage pumpkins
- Trick or treat bags
- Felt pumpkins
- DIY Jack O’Lantern Sign
Pin for Later!

Emy is a vintage obsessed mama of 2 DIYer who loves sharing affordable solutions for common home problems. You don’t need a giant budget to create a lovely home. Read more…


these are so cute! i was admiring them at the barn!