Painted Curio Cabinet: Update Your Boring Display Cabinet
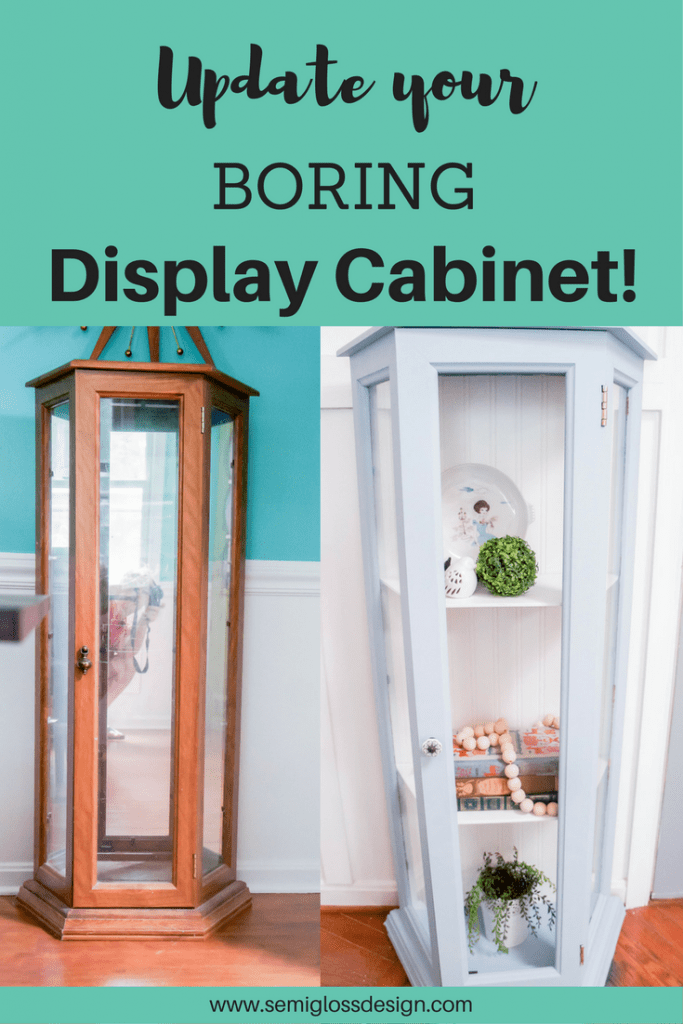
Paint is always a great way to update furniture and this painted curio cabinet is no exception!
I love modernizing furniture with paint, like this weathered wood stain finish on a dining table, ombre painted dresser and this decoupaged dresser.
This post contains affiliate links. By purchasing an item through an affiliate link, I earn a small commission at no extra cost to you.
It seems like in the ’90s, no house was complete without a display cabinet filled with tchotchkes.
My house had a few. In fact, my dad gave me a small display cabinet when I got married.
Display cabinets have since gone out of style, but when I saw one in a thrift store, I had to have it.
Maybe I felt nostalgic, maybe the ’90s are back. Who knows?
Even the thrift store employees seemed confused as to why I bought it. But I had a vision to completely modernize it.
I could see that behind its sad brown existence, this display cabinet wanted to be beautiful and could be with a bit of work.
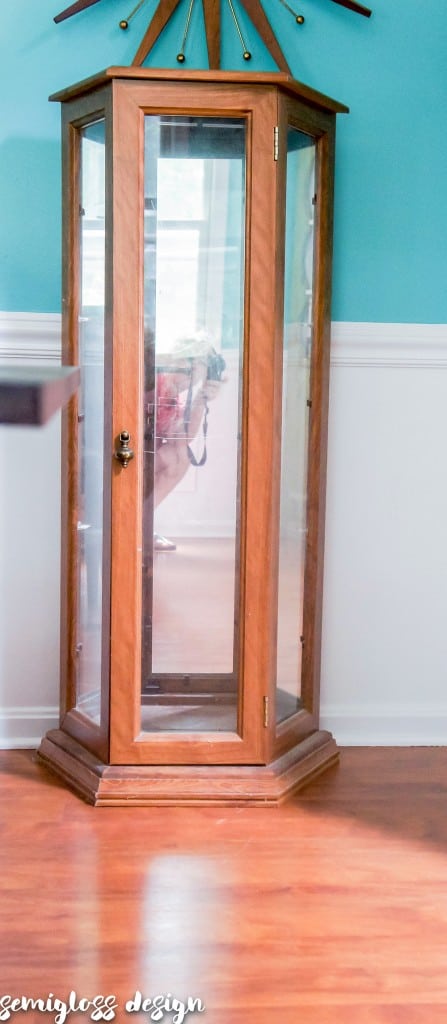
BEFORE
What is a curio cabinet?
A curio cabinet is a display cabinet to show off your favorite collections. They typically have glass doors and a mirrored backing.
What do you put in a curio cabinet?
Curio cabinets are great for sharing your collections. For a modern look, add books and greenery.
Small curio cabinets would look great in a bathroom to hold toiletries and white towels.
Painted Curio Cabinet Tutorial
Supplies Needed
- Valspar chalky paint in Trousseau Blue
- Primer
- Polycrylic
- Paintbrush
- Beadboard wallpaper
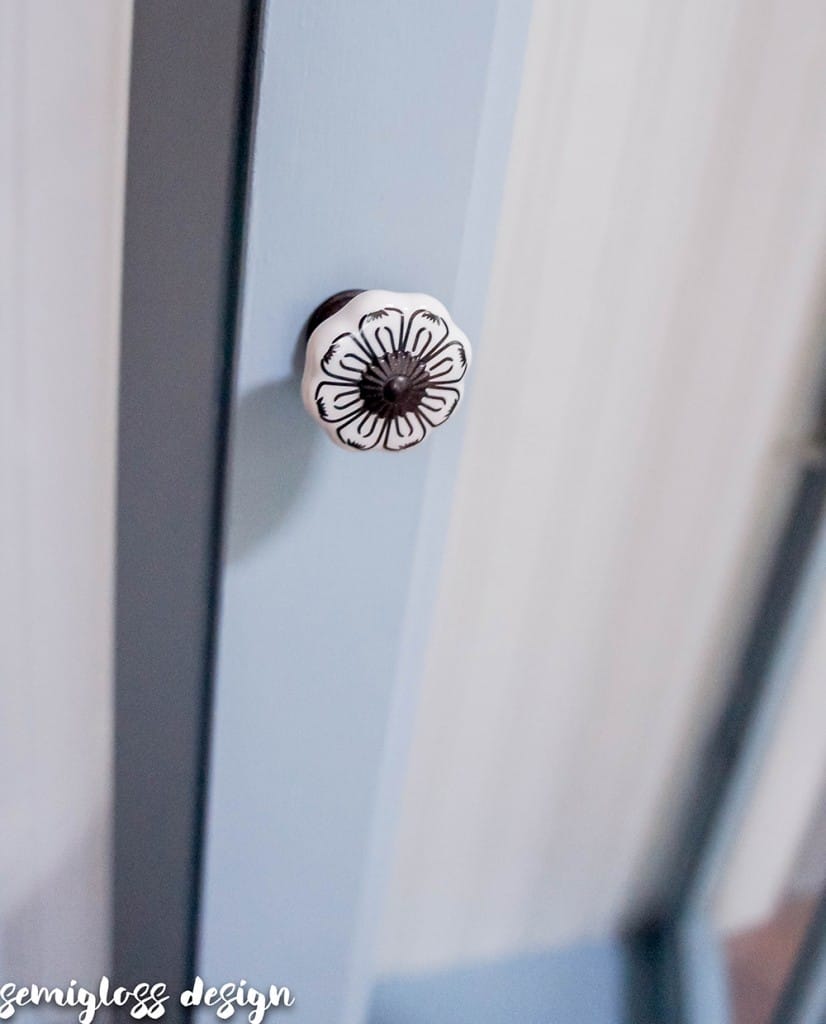
- Black and white knob (similar)
- Paint scraper
How to Paint a Curio Cabinet: Prep Work
Clean the furniture.
First, I had to clean the cabinet. It was just dusty, so I wiped it down with a wet rag. Read more about how I clean old furniture before painting.
Prime the curio cabinet.
Since this cabinet was laminate, I started with a coat of my favorite primer. This stuff is amazing.
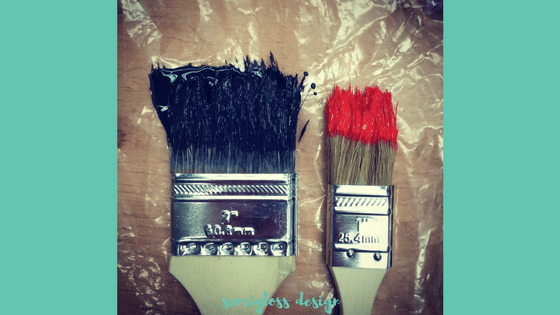
It’s a bit smelly, but not super toxic. Use a chip brush with it and have ammonia on hand to clean the brush.
Read more about priming furniture here.
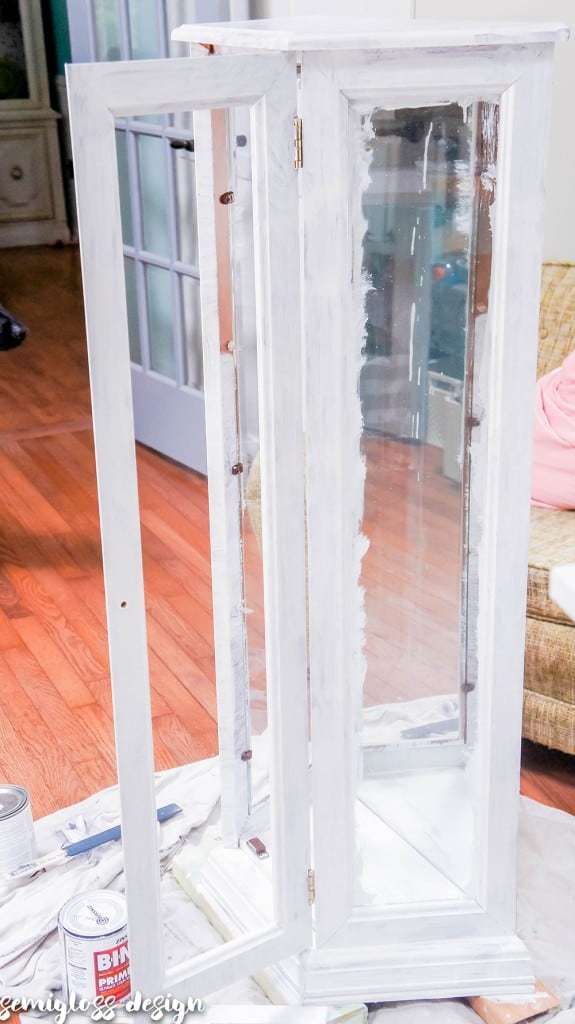
Painted Curio Cabinet
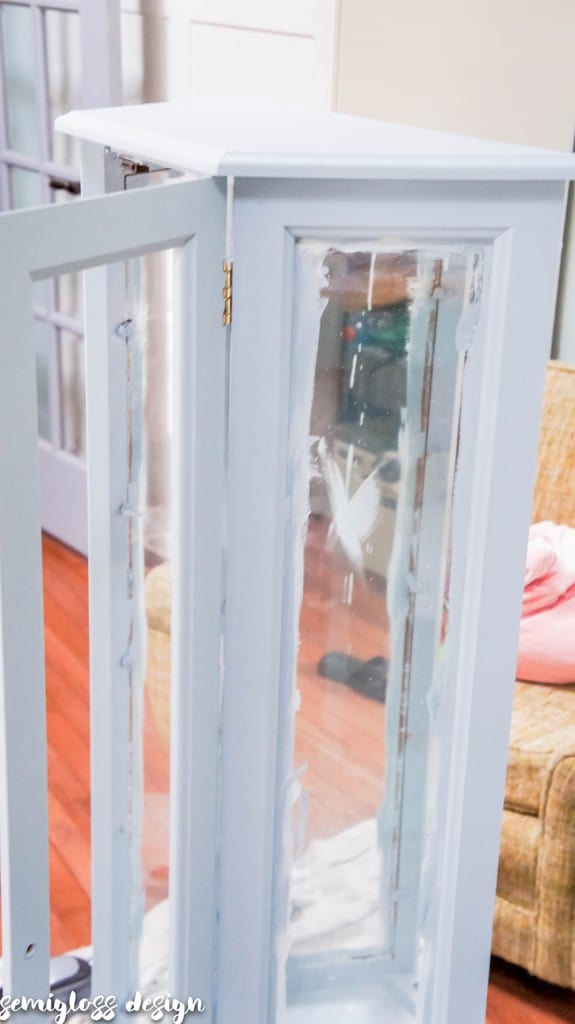
After a coat of primer, I started painting.
I’ve used this paint before and I love it. It’s very accessible and inexpensive as far as chalk paint goes.
The coverage is fantastic! It’s almost one coat, but I put on two coats.
The color is just gorgeous! I was a bit worried that it would feel too country, but I love it.
Top coat.
After painting, I added a sealer. I didn’t want to use wax, so I added a coat of polycrylic.
Finishing Touches for the Curio Cabinet
Clean up the paint splatter.
So at this point, there’s paint all over the cabinet and it looks a mess, right? Wrong.
Cleaning paint off of glass is easy.
I use a utility knife around the edge to score it and then use a scraper and the paint peels right up.
Cleaning it with Windex and a bit of elbow grease takes care of the rest.
Wallpaper the back.
That mirror is still a bummer, right? Why mirror the back? Who wants to look at the back of stuff?
I covered it with beadboard wallpaper that I had on hand.
This stuff is foolproof even if you’ve never wallpapered before. Just soak it in water for a few seconds and let it sit for a few minutes. Then apply it.
It slides around until you get it positioned right.
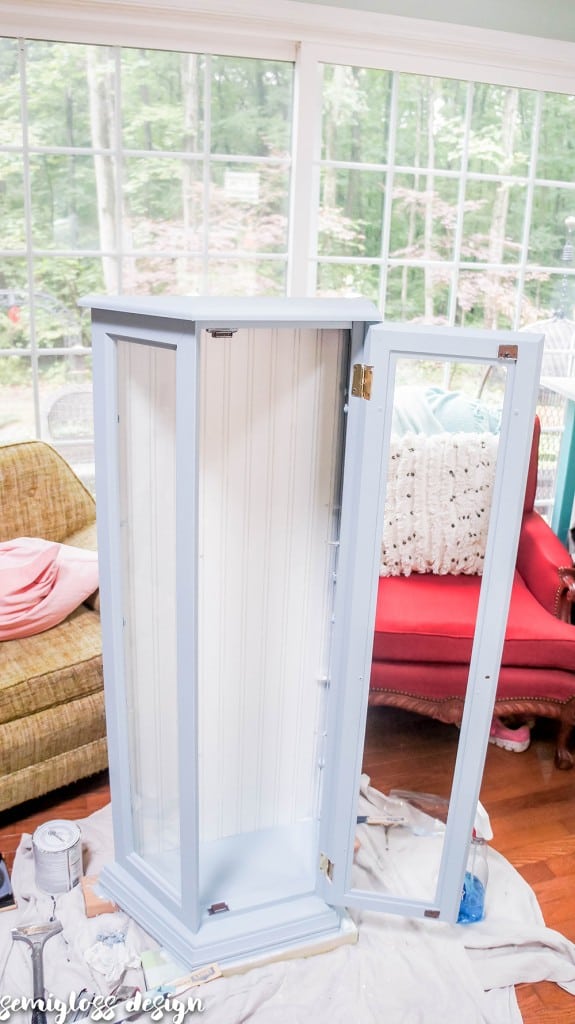
And it looks so pretty, unlike that horrible mirror! It already looks better!
So you might have noticed that in the before picture, I cracked the glass. I removed the glass and still need to get a new piece cut at the hardware store.
For now, let’s just pretend that I’m really good at cleaning glass and it’s just super clean! 😉
I ended up replacing it with a piece of plexiglass that I had cut at the hardware store.
The shelves were cut out of wood and painted white. We used a paper template to get the shape right.
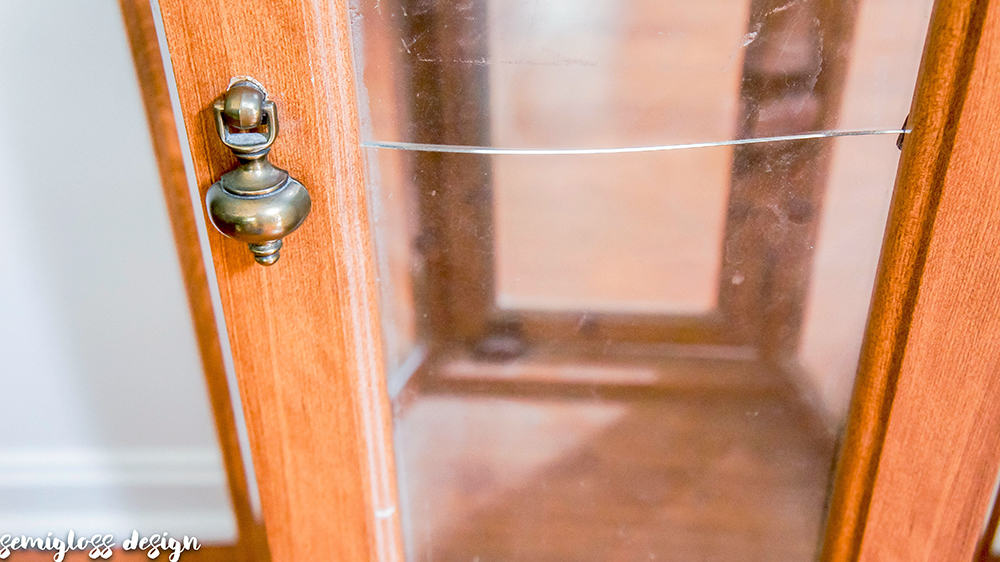
Add a pretty knob. A new knob makes a huge difference!
I love the way it looks now. This sad display cabinet was quite the ugly duckling!
Now it’s a beautiful swan! Just don’t fill it with Hummel and Precious Moments figurines.
Just kidding. Fill your curio cabinets with whatever makes you happy.
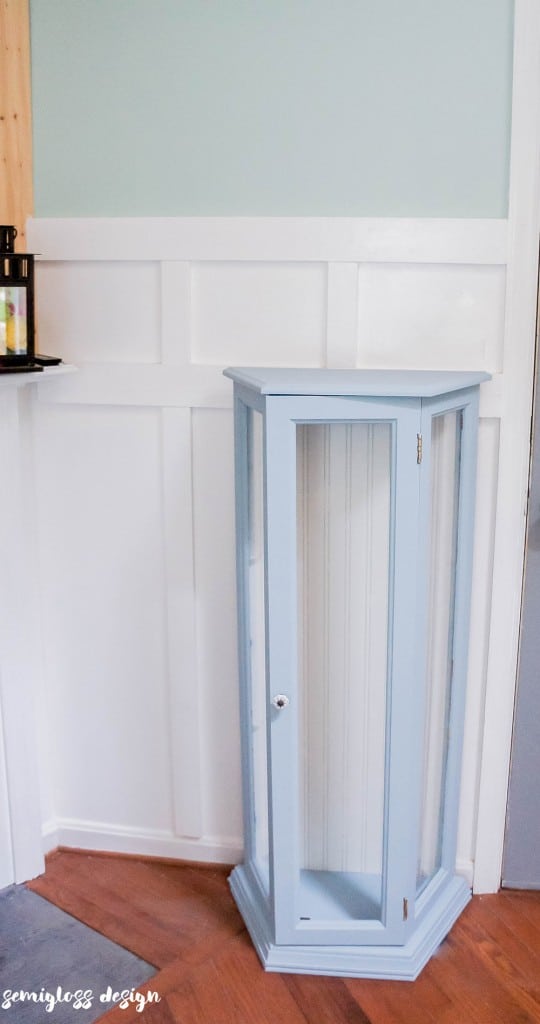
Isn’t the blue pretty? By the way, I had a little visitor over and the display cabinet made the perfect pretend refrigerator to keep pretend pizza in. So there’s that. 🙂
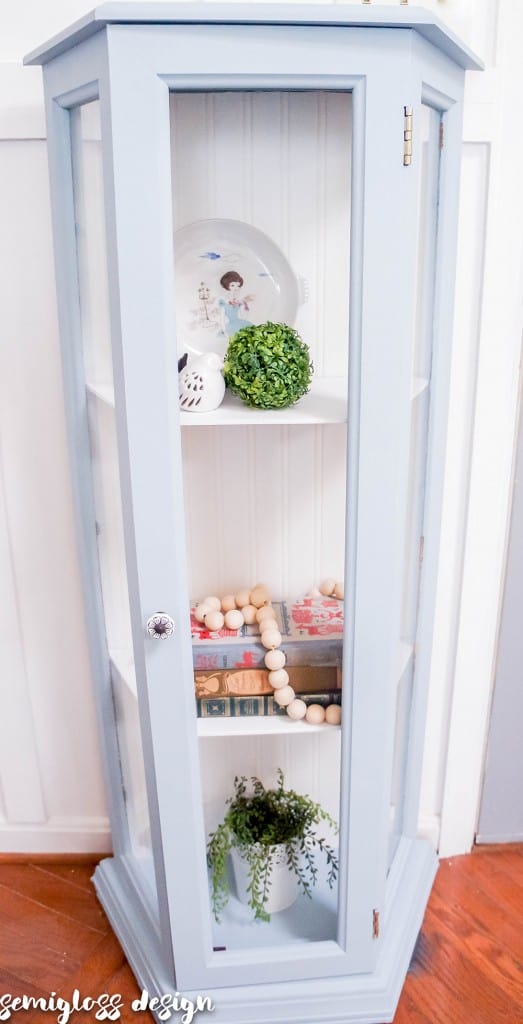
Just pretend those books are pizza.
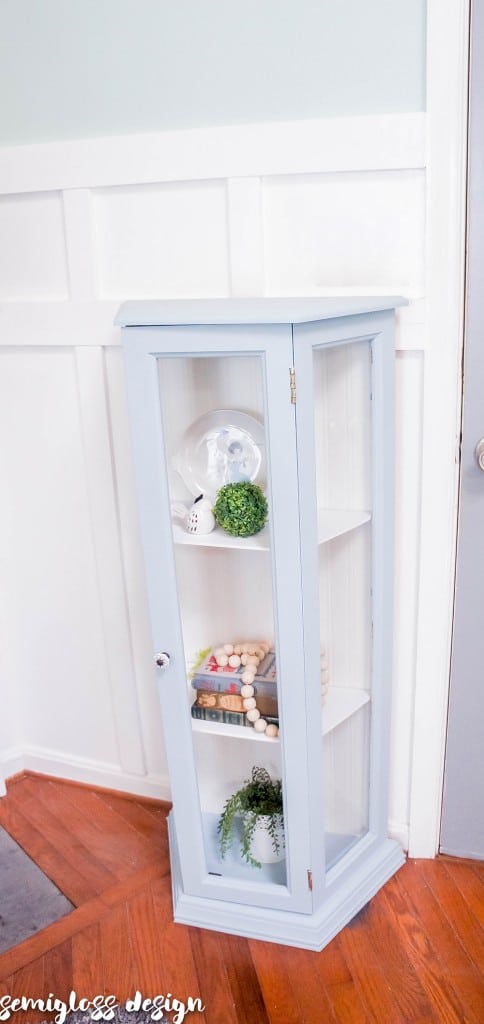
So what do you think? Do you want a chalk-painted curio cabinet now?
Other Ideas for Updating an Old Curio Cabinet
- Use a fun patterned wallpaper in the back. A floral pattern would create one look, while a rustic wood look would create another look.
- Modernize what you put in the cabinet. Ditch the figurines and fill it with coral, antlers, and plants for a cabinet of curiosity look.
- Fill it with books or your favorite vintage collection.
- Use it in a different place than you would expect. This curio cabinet would look amazing in a bathroom filled with towels, bath salts, and loofah.
- Or cookbooks and vintage kitchenware in a kitchen.
- Make it into a bar with fun glassware and liquor bottles.
If you like this post, you might also like these:
- Birch wallpaper bookcase makeover
- How to make a retro table with resin
- Budget-friendly shiplap
- How to make a farmhouse mirror
Pin for Later!

Emy is a vintage obsessed mama of 2 DIYer who loves sharing affordable solutions for common home problems. You don’t need a giant budget to create a lovely home. Read more…


Wow, what a difference. It looks looks so new and fresh. I had to laugh as there is no way I would have had any idea how to spell “tchotchkes”.
Thanks! And LOL. I had to look it up. I say it all the time, but it was hard to spell. 😉
You did an amazing job updating the cabinet. It looks wonderful. And it can be a frig also 🙂
Thanks Debra! It mad a fabulous fridge! 😉
I love this transformation! So pretty and modern now! I love the color too!
Thanks Christine! I’m so happy with it!
What a pretty update! I never think about these old glass cabinets having much potential — but you’ve made it lovely and modern!
Thanks Lora!
This makes me want to run to the thrift store
It’s funny because every time I see a great thrift transformation, I feel like that too!
It’s amazing what paint can do!
I agree! I love paint!
Nice job, Emy! Pinning. 🙂
That is a fabulous makeover! It looks so much better painted and that beadboard wallpaper backing is amazing!
Thanks Ali! Paint is so amazing!
I absolutely love how this turned out!! I agree about the mirror and totally love the bead board wall paper.
Thanks Meg!
Really awesome transformation the cabinet in blue is looking gorgeous, nice makeover.
Thanks! I love the blue too!
I have a very similar display cabinet, circa 1990’s. I’ve been thinking about painting it. Your cabinet turned out great! I really like you idea to cover the mirror with bead-board wallpaper. The cabinet looks really charming, now.
Carol (“Mimi”) from Home with Mimi
Thanks Carol! I’m so glad that the mirror is gone! 🙂
This turned out so awesome! I have a china cabinet in almost the exact same style as the original (but even bigger and uglier haha) that was inherited – I would love to give it a makeover like this!!
You should paint it! It made such a difference!
Oh wow! What a great makeover! I love that you took a dated cabinet and updated it!
Thanks Candice!
Love the makeover… where did you get the beadboard wallpaper? I am in. The process of redoing mine and would love that look.
Thanks, and again…looks great
Hi Terri. I got my beadboard wallpaper at Amazon. There’s a link at the top of the post. 🙂 I love it. It’s so easy to use, even if you’ve never wallpapered before.
It’s beautiful! I have a large display case circa 1990 also and want to paint it. Was wondering about the shelves. Did you cover them or replace them? Thanks!
Hi Dee! Thanks for stopping by! My cabinet came without shelves when I bought it. The ones in the picture were made of thin plywood, but we eventually used those to make templates for thicker ones made from 1×10’s and cut to the right shape. Then I painted them white. If you hate the glass shelves, you can replace them with wood. The hardware store can cut it to length. 🙂 Have a great holiday!!
OMG…..I have the exact same curio cabinet. Have had it forever. I think my mom gave 2 of my sisters one as well. I’ve been wanting to paint it for the longest but had no idea how. After reading this I am going to the store tomorrow to get started. So glad I found you on pinterest.
Hi Andrea! I’m so glad my post gave you inspiration! Your curio cabinet is going to be gorgeous.
The transformation of your curio is beautiful! Thank you for sharing! Got 6 of them & will definitely do what you did!