How to Make an Arched Mirror Frame for a Builder-Grade Mirror
Learn how to make an arched mirror frame for your builder-grade mirrors.
Update: These mirrors were updated with a fun boho stencil.
When we first bought our house, both of the bathrooms had your standard mirror without a frame. I removed both of them and set them aside to use somewhere else. It took me a while to come up with an idea for them, though.
The idea recently came to me. At this time of year, my house that is surrounded by trees feels a little dark. I knew that adding mirrors to my living room would help brighten it up, so an idea was born.
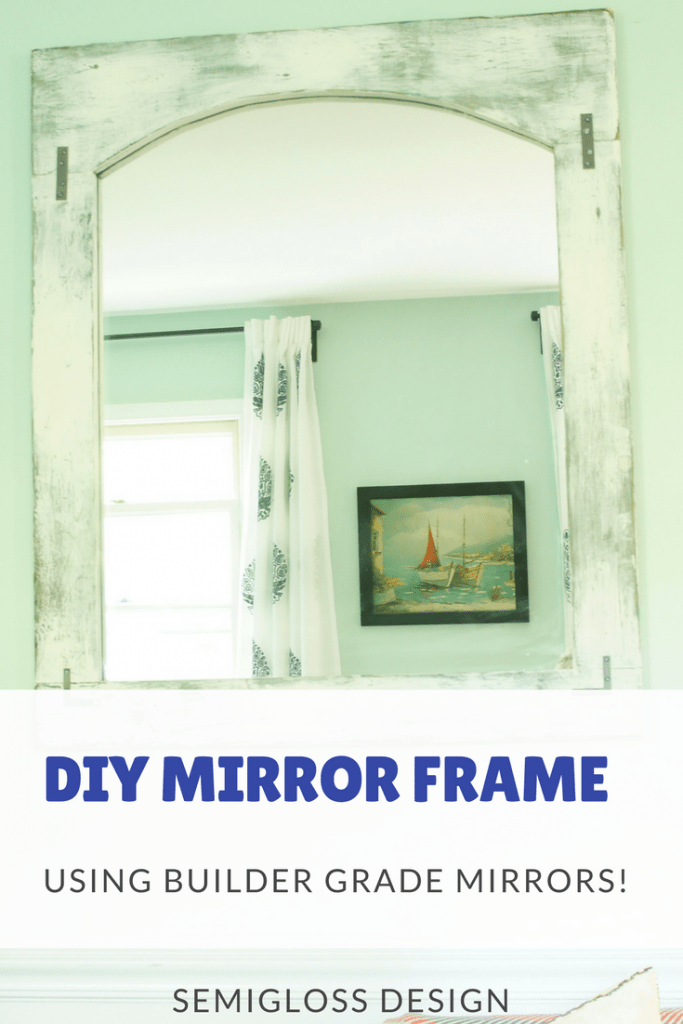
Arched mirror frames would bring in a little more light, plus they would look amazing! I liked it so much, I built 2!
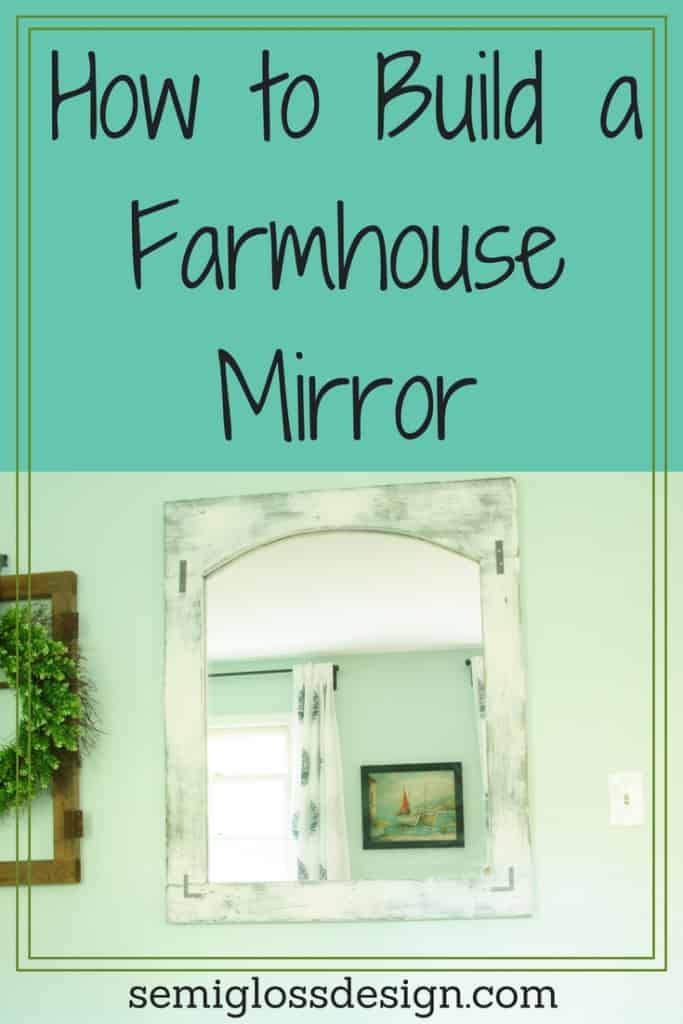
How to Make an Arched Mirror Frame
Supplies
This post contains affiliate links. By purchasing an item through an affiliate link, I earn a small commission at no extra cost to you.
- 1×4’s
- 1×8
- Mirror
- Mirror clips
- Paint
- Stain
- Kreg jig and screws
- Decorative metal pieces and spray paint
- D- Rings for hanging
How to Make a Mirror Frame: Building the Frame
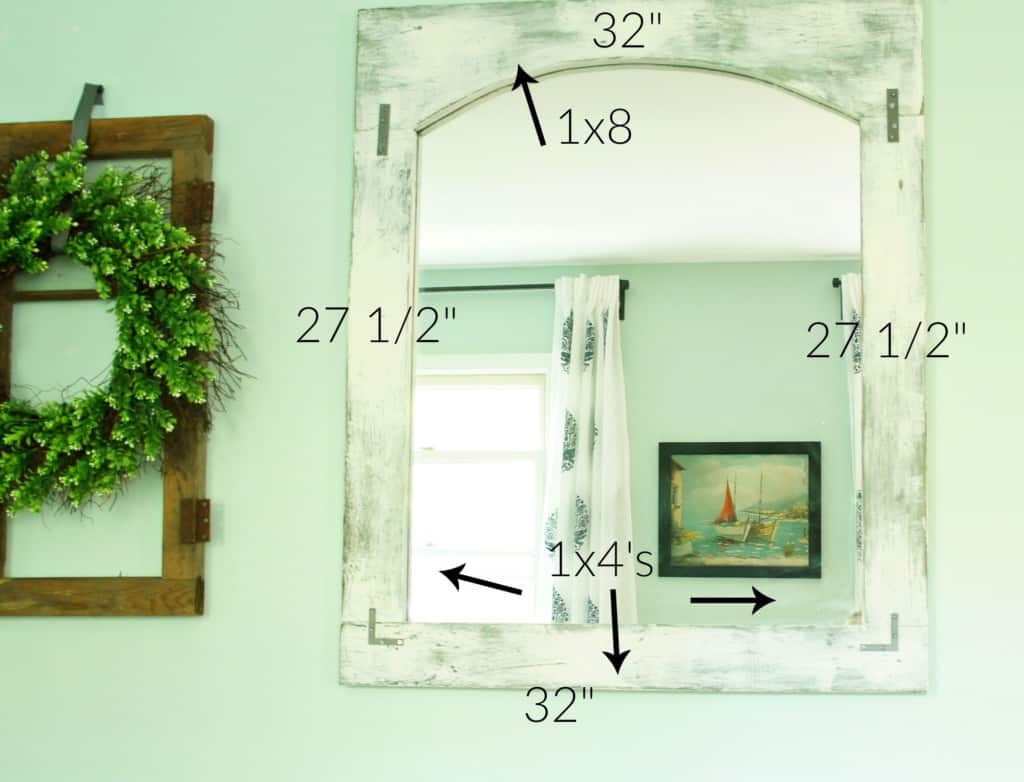
- Determine the size of your mirror frame. My existing builder-grade mirrors are 30″ x 36″, so I made my mirror frame equal out to 32″ x 38″.
- Optional step: beat the wood up. I knocked it around and beat it with pointy stuff. I also took a chisel and knocked the edges off in places.
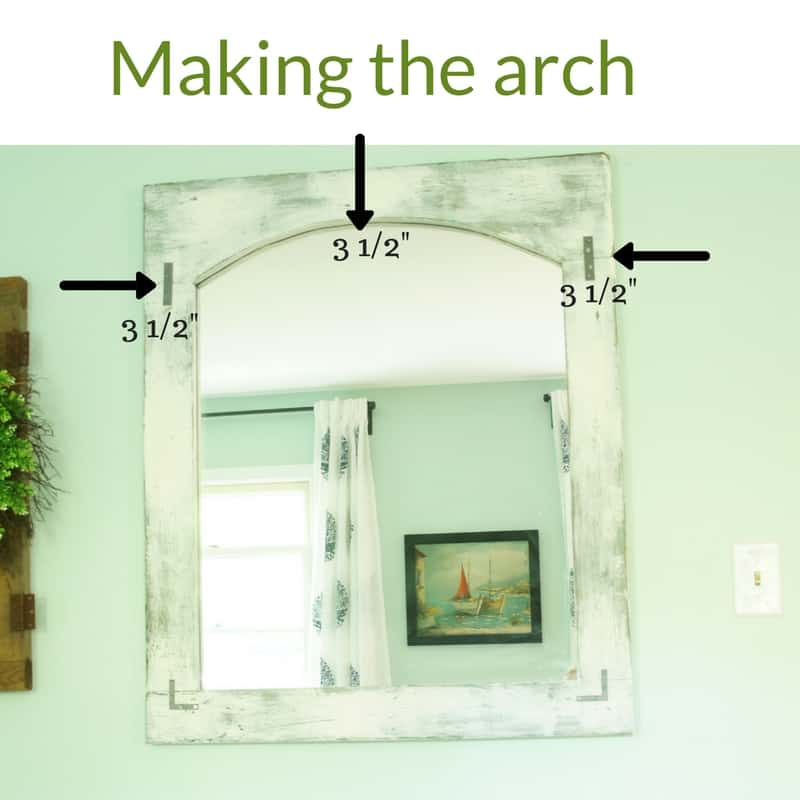
- Make the arch. For the arch, I measured 3 1/2″ from the edges of the board (since I used 1×4’s – actual measurement) and 3 1/2″ from the top. I placed nails at those 3 points and used a thin piece of flexible wood to draw the arch. (It snapped when I tried to take a picture of it.) Don’t worry about perfection here. Then I used a jigsaw to cut the arches. Sand the edges really well.
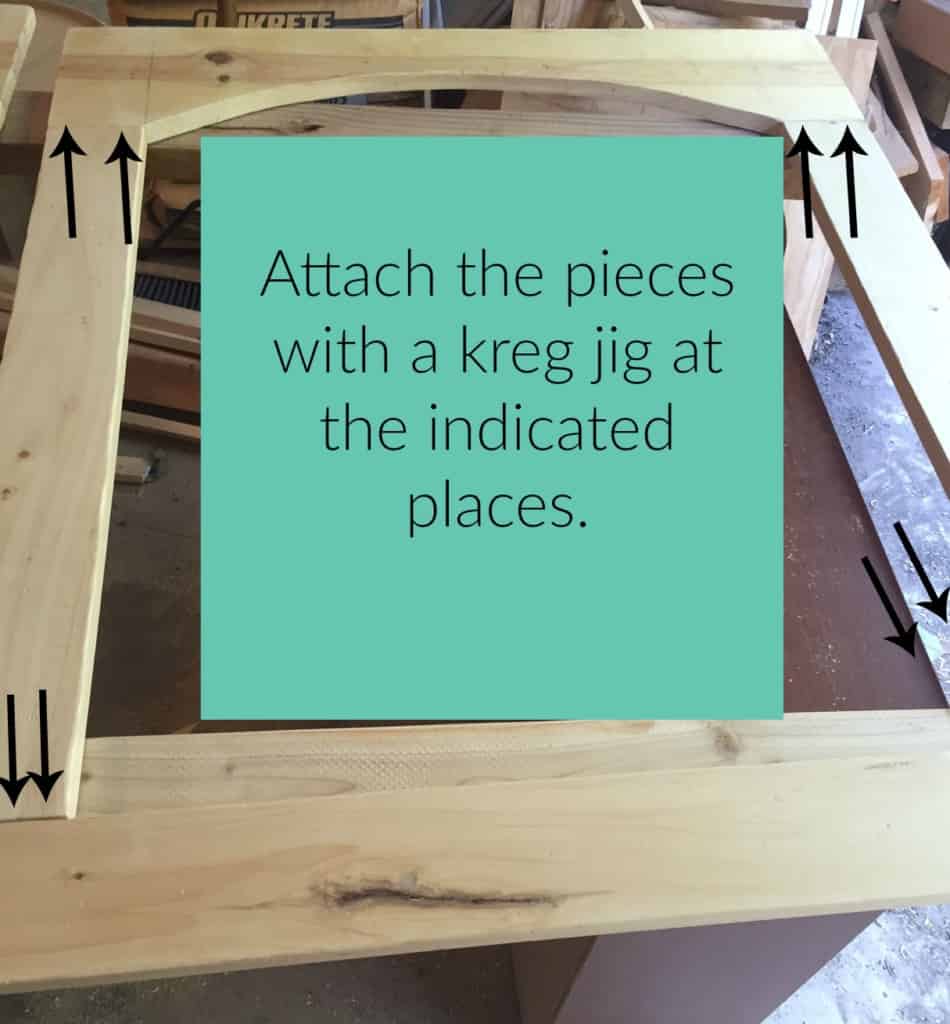
- Make your cuts and attach them with a kreg jig. Attached the shorter vertical pieces to the horizontal pieces.
How to Get a Chippy Farmhouse Finish
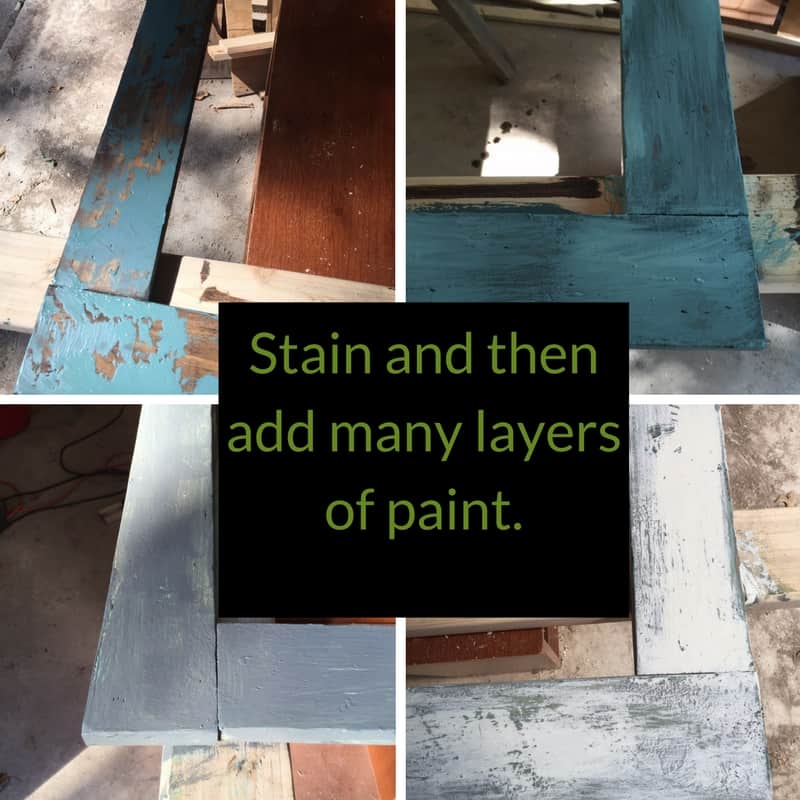
- Flip it over and stain the front.
- Once it’s dry, start applying layers of paint. I probably used 6 colors in all, with white as my last color. When I was applying the paint, I made sure to slop it on. I wanted brush marks and drips.
- When the paint is dry, sand to reveal layers of paint.
- Spray paint the decorative metal pieces and attach them. I used a sharpie to color the screws.
How to Attach the Builder Grade Mirror to the Frames
This part stumped me for a while. Most instructions advise to add a thin layer of wood on the back and glue the mirror to it. Glue gives me anxiety and I didn’t want to add more weight to an already heavy mirror. Finally I came up with a much better solution!
- Flip the frame on over so that you’re looking at the back.
- Lay the mirror on top of it, face down, making sure you leave equal amounts of space on all sides.
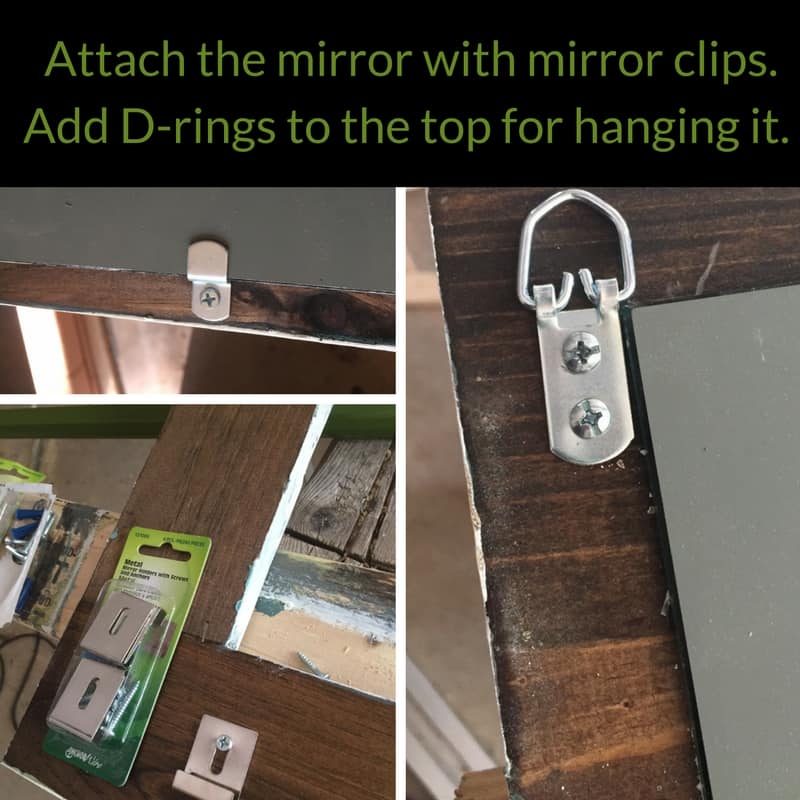
- I used these mirror clips, but could only do 3 sides with them because of how they attach. So then I found a few of these mirror clips in my stash. I recommend these 2nd ones for an easier install. I placed 2 mirror clips on the bottom, 1 on top, and 1 on each side.
- Install D-rings near the top of the mirror for hanging. This is a very strong way to hang these mirrors.
- Hang your beautiful mirror and enjoy it! Now you know how to make a mirror frame!

As you can see, I built 2 mirrors to echo my windows.
Pssst… Want to see how I updated these mirrors to match my decor?
You might also like:
Pin for Later!

Emy is a vintage obsessed mama of 2 DIYer who loves sharing affordable solutions for common home problems. You don’t need a giant budget to create a lovely home. Read more…


Gorgeous! And Willie came in to see, too. I think he likes it. What did you do with your gorgeous paint by numbers collection?
That Willie is so damn handsome. My PBN collection is in a pile by my desk. I’m not getting rid of it, just moving it. I’ll probably rehang them in different rooms. The boy has been eyeing those ducks. 😉