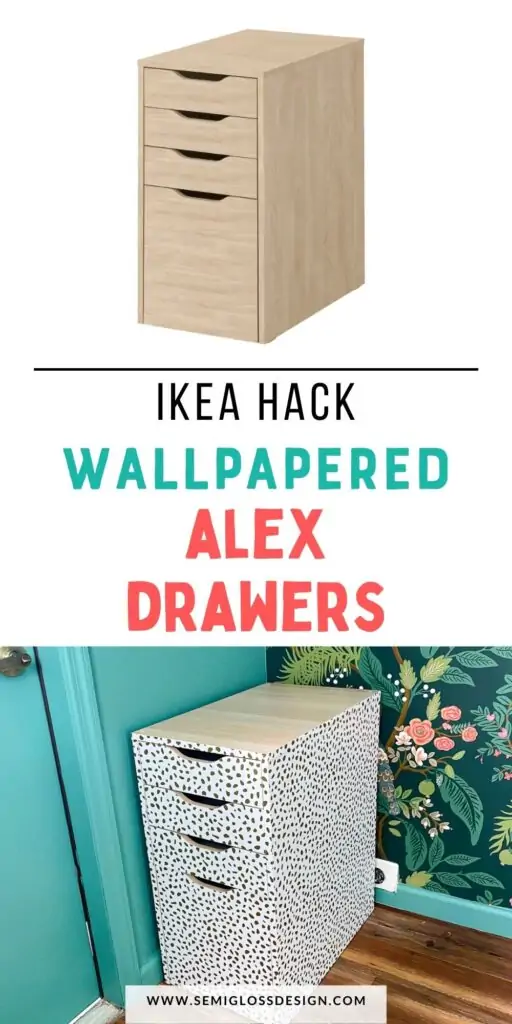
How to Wallpaper Alex Drawers
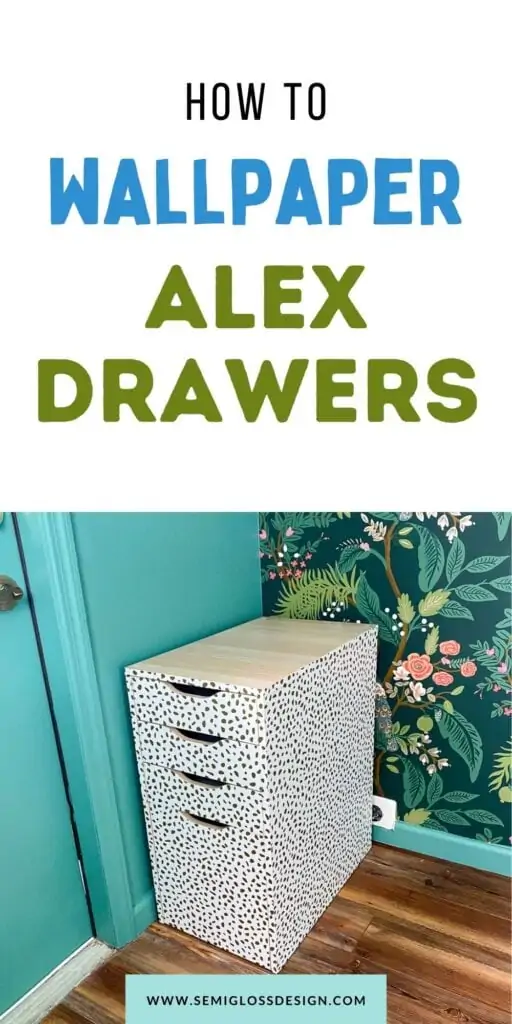
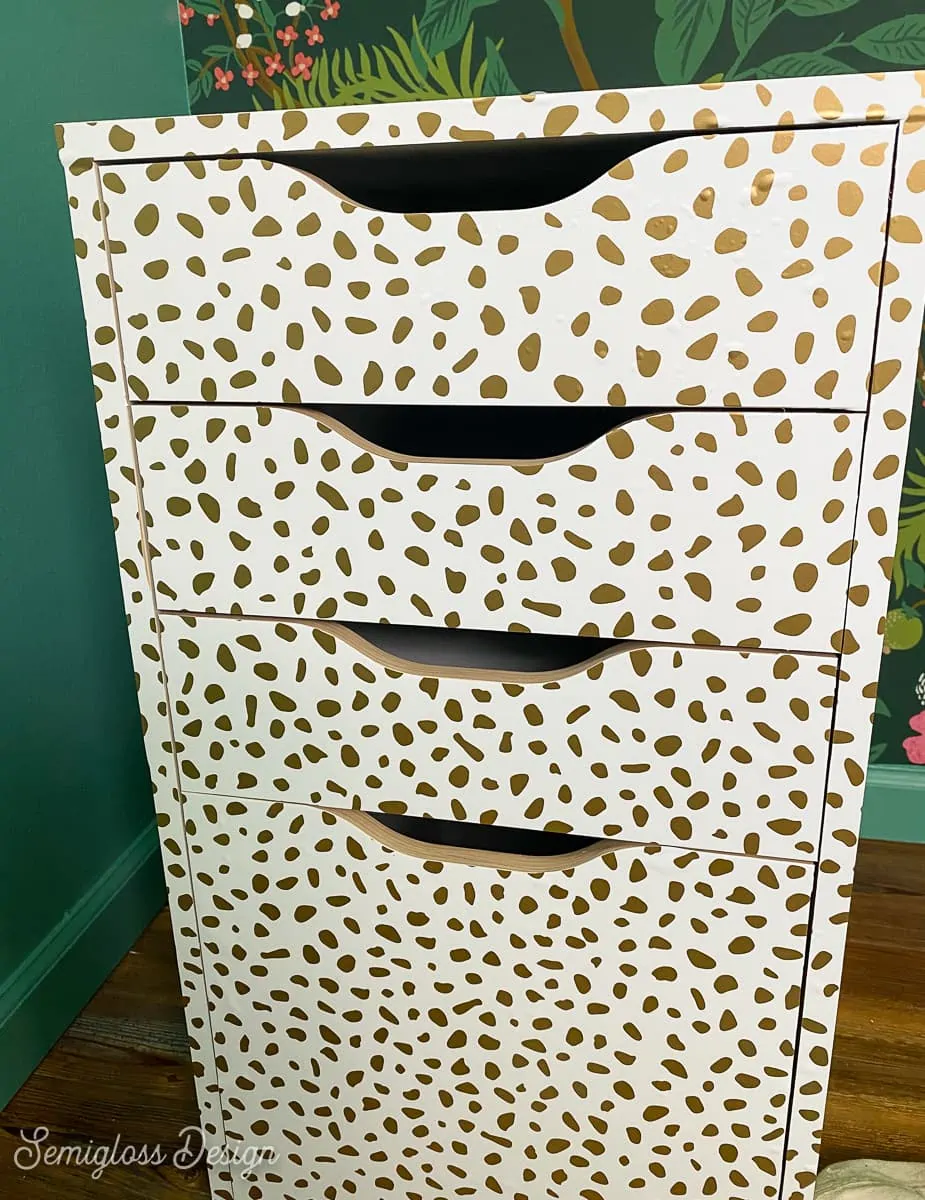
Get easy tips for adding wallpaper to Alex drawers. This easy method allows you to add pattern and interest to the IKEA file cabinet.
You might also like these other IKEA hacks.
This post contains affiliate links. By purchasing an item through an affiliate link, I earn a small commission at no extra cost to you. As an Amazon Associate I earn from qualifying purchases.
IKEA Alex drawers are one of my favorite IKEA products for offices. They hold a ton of stuff and are pretty easy to put together.
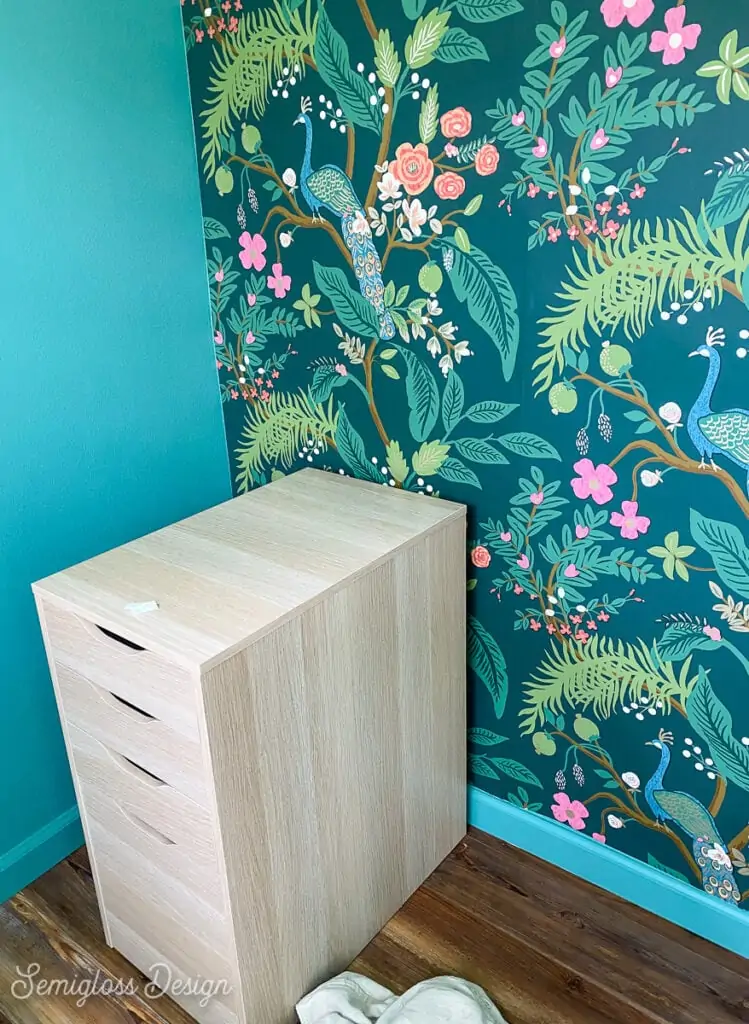
I recently bought a set of Alex drawers for my office. I was in a hurry and accidentally grabbed a light wood color instead of the white drawers I wanted.
IKEA is about an hour and a half from me, so I decided to keep the wood drawers instead of exchanging them.
However, the wood tone is pretty ugly. It’s kind of pixelated and didn’t really work with the floor color.
So I decided to cover it up. It was either paint or wallpaper, so I chose wallpaper.
If you’re interested in painting your Alex cabinet, use the instructions in this post about painting IKEA cabinets.
How to Wallpaper Alex Drawers
Supplies Needed:
- Alex drawers
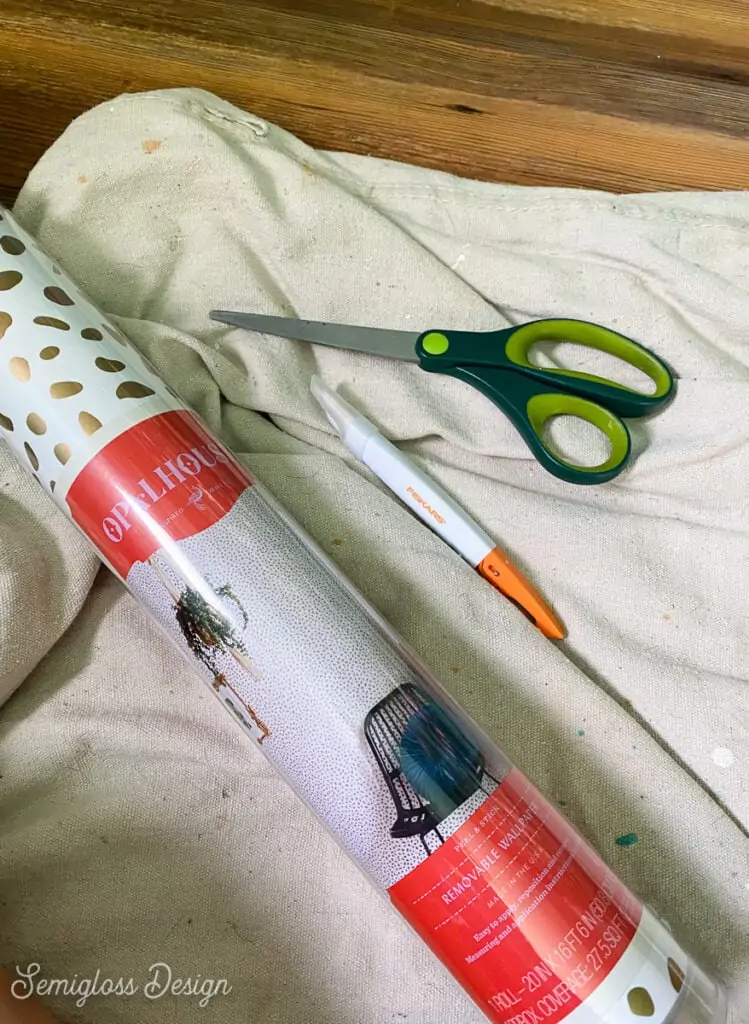
- Peel and stick wallpaper (I used this wallpaper)
- Craft knife (this one is amazing!)
- Scissors
- Wallpaper smoother
The craft knife that I used is the only one I will ever use again. It’s so easy to get perfect cuts with it, even when they are tiny and precise.
Directions
Assemble the cabinet as directed in the instructions.
You can start on any side of the cabinet that you want. I decided to start on the front of the drawers and get the hard part done first.
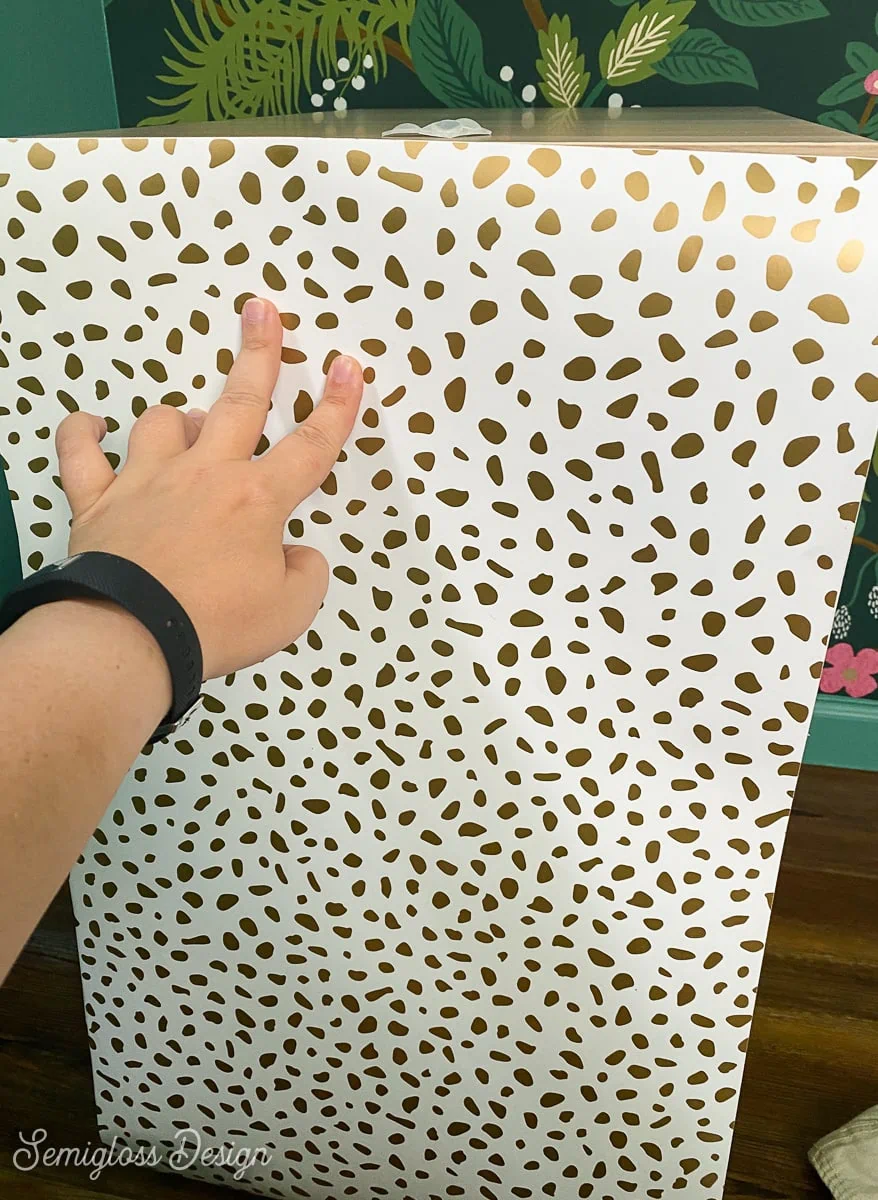
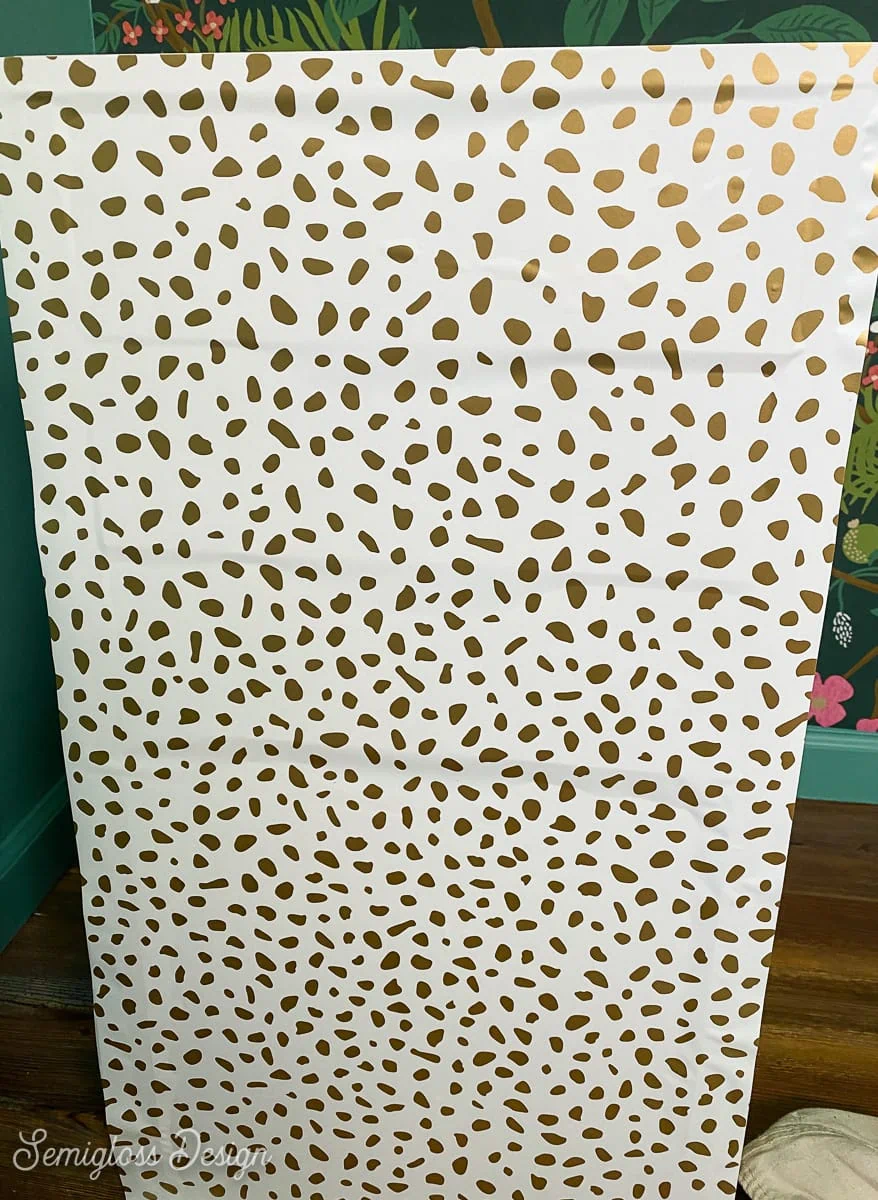
- Measure the side of the cabinet and cut the paper a bit larger than that.
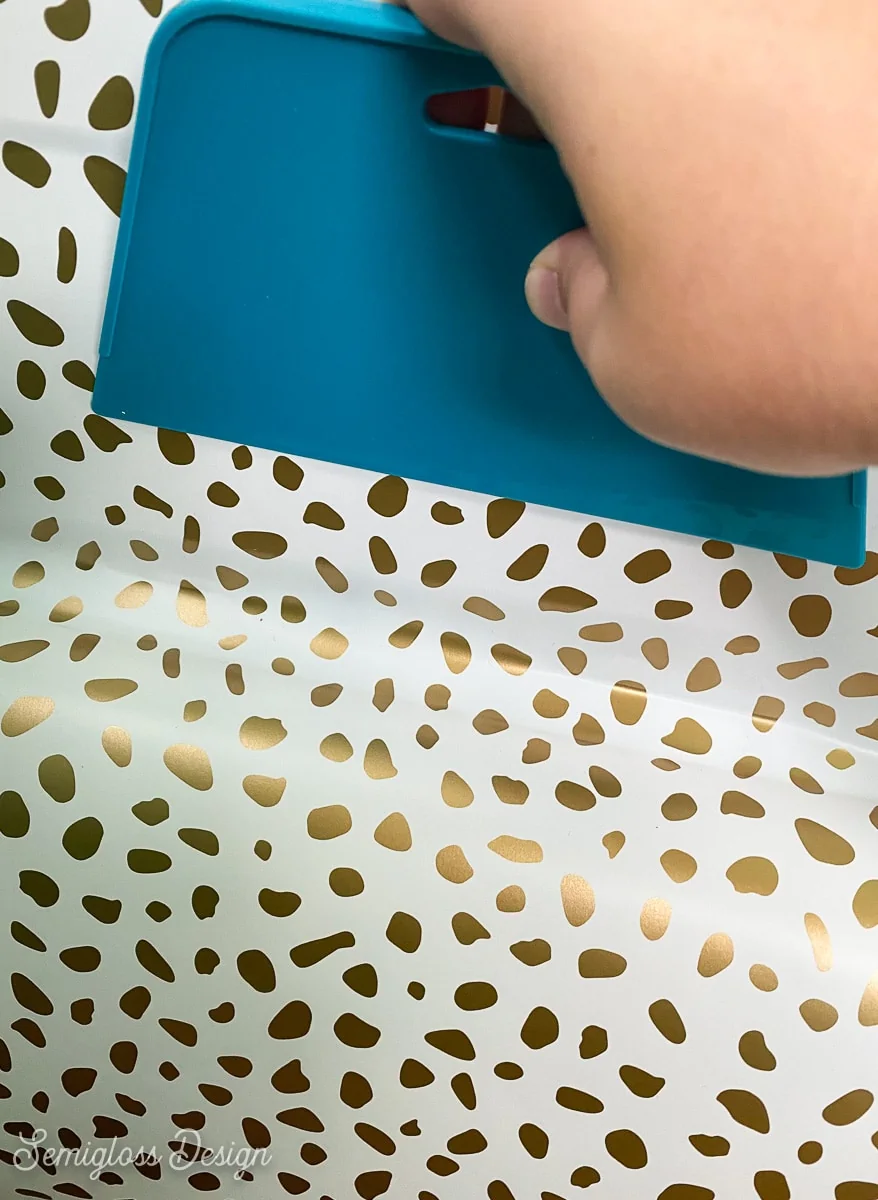
- Slowly peel away the backing and start attaching it to the entire side of the cabinet, smoothing with the wallpaper smoother as you go.
- If you put it on crooked or you have massive air bubbles, peel it off and start again. The trick is to go slow.
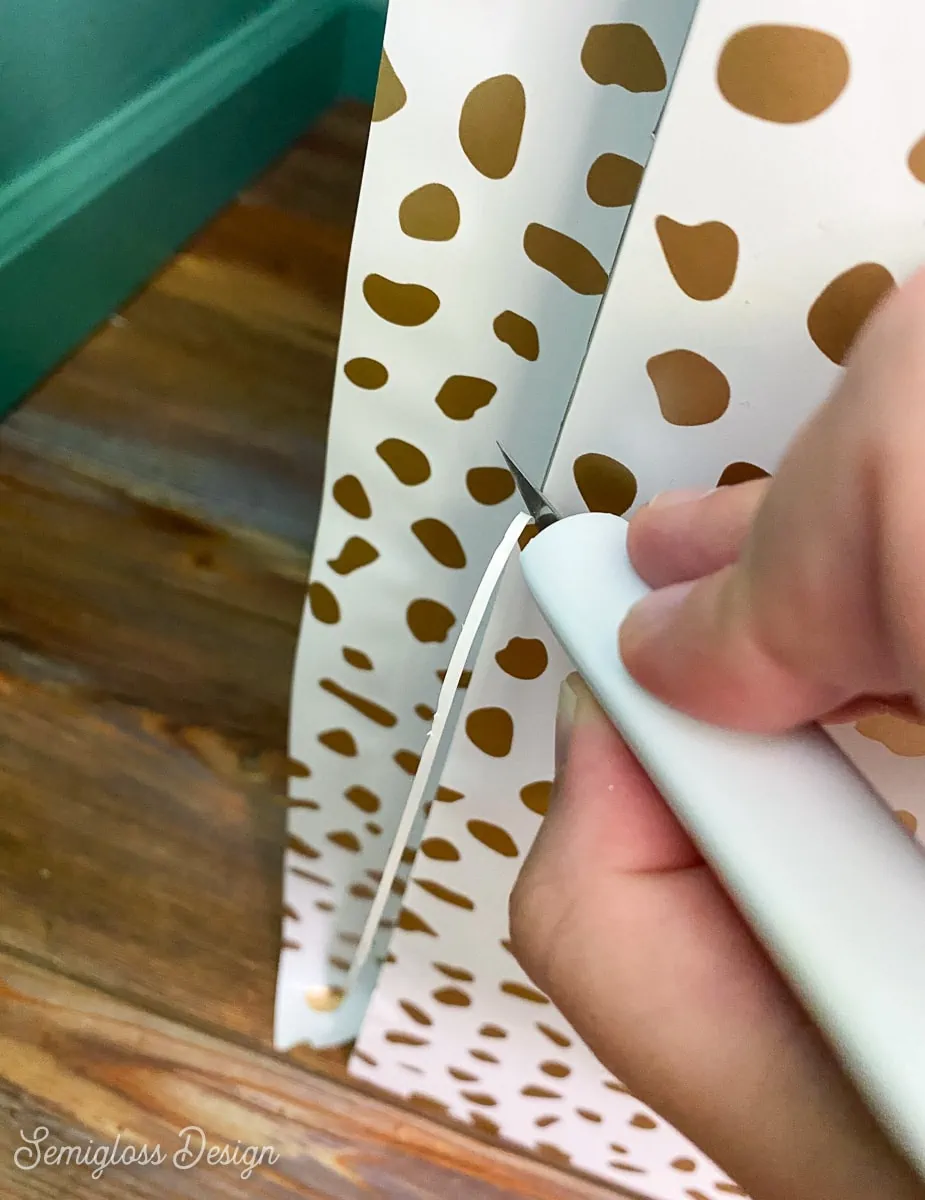
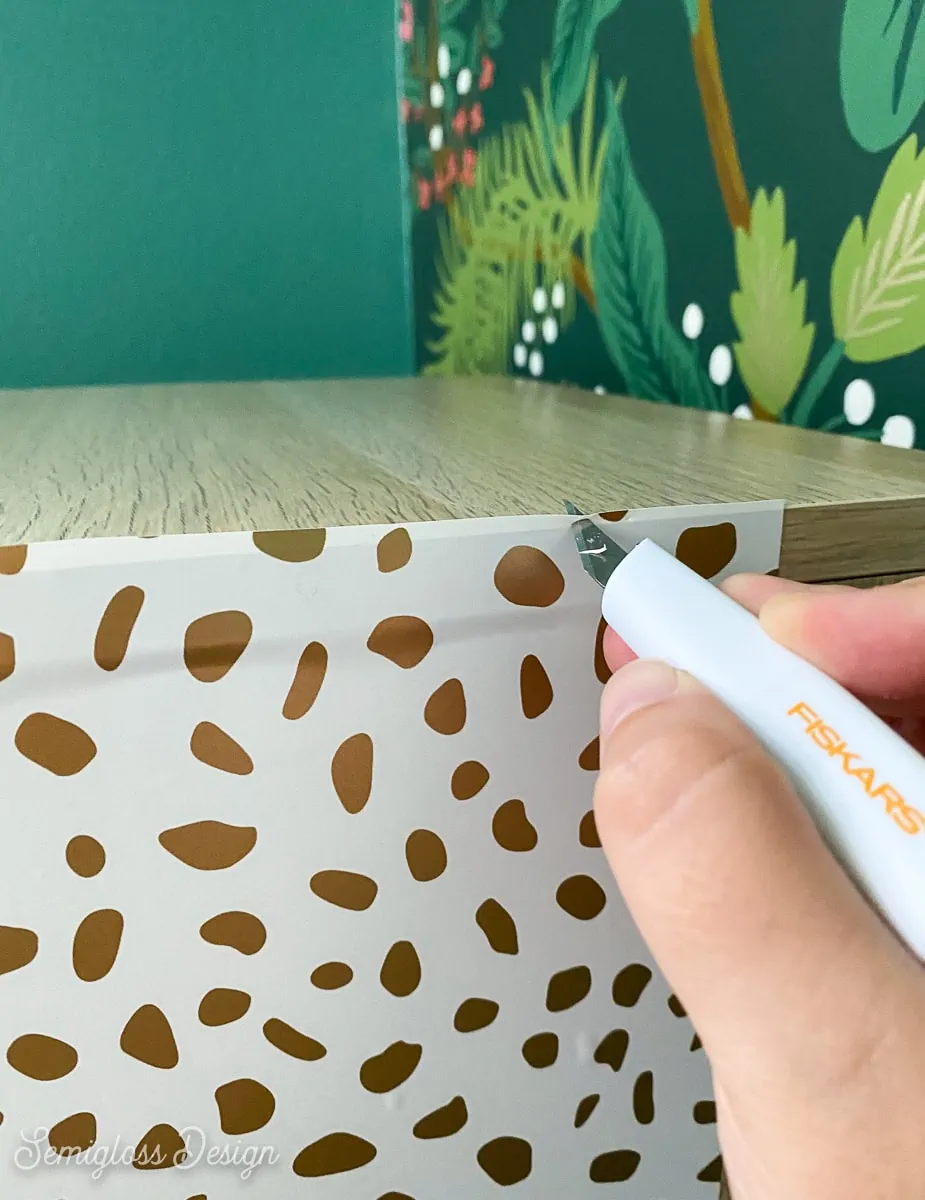
- Once the entire side is covered, use a sharp craft knife and run it along the edges. Be careful not to cut the cabinet as you go.
- For the drawers, you will need to cut along each edge. A really sharp blade can do this easily.
- Make sure the drawers open smoothly. If not, trim more paper away.
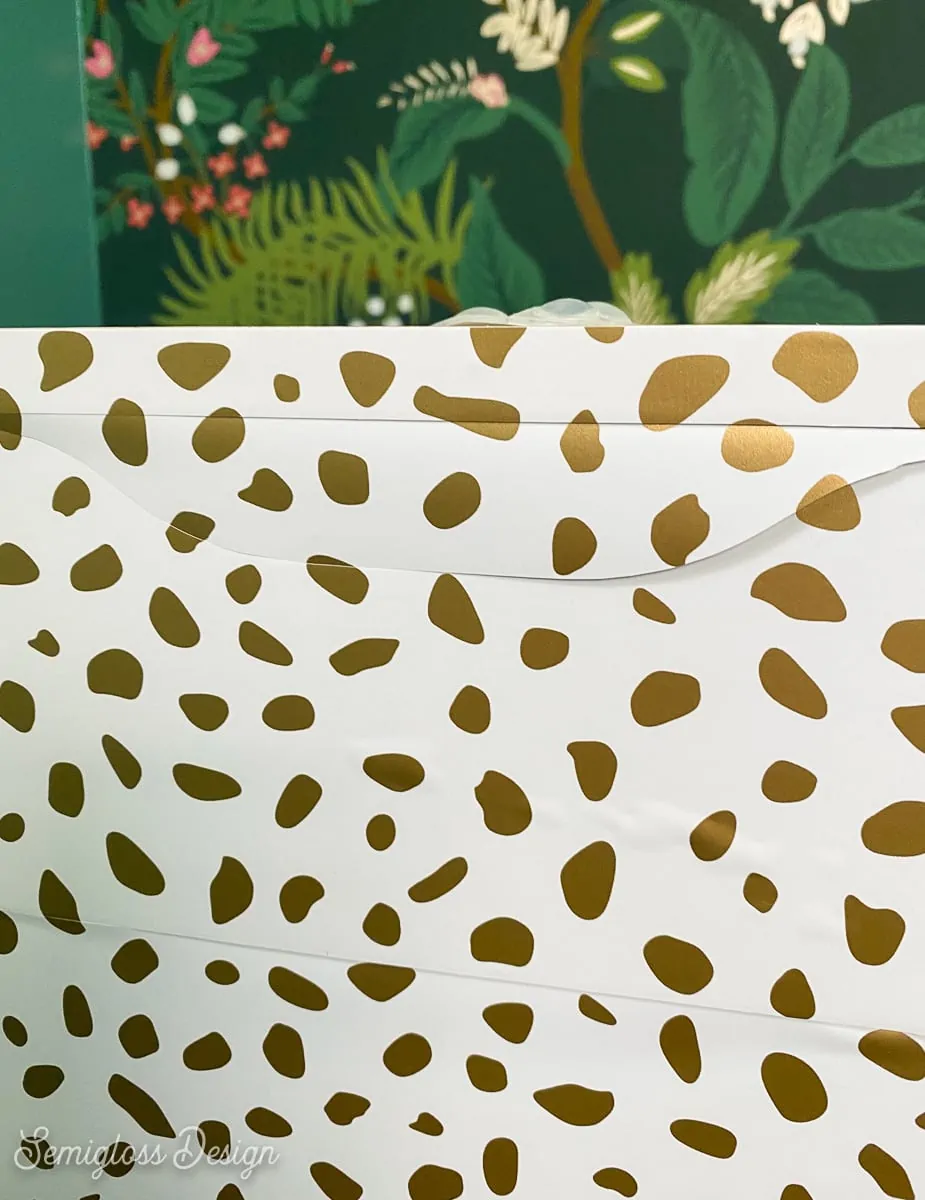
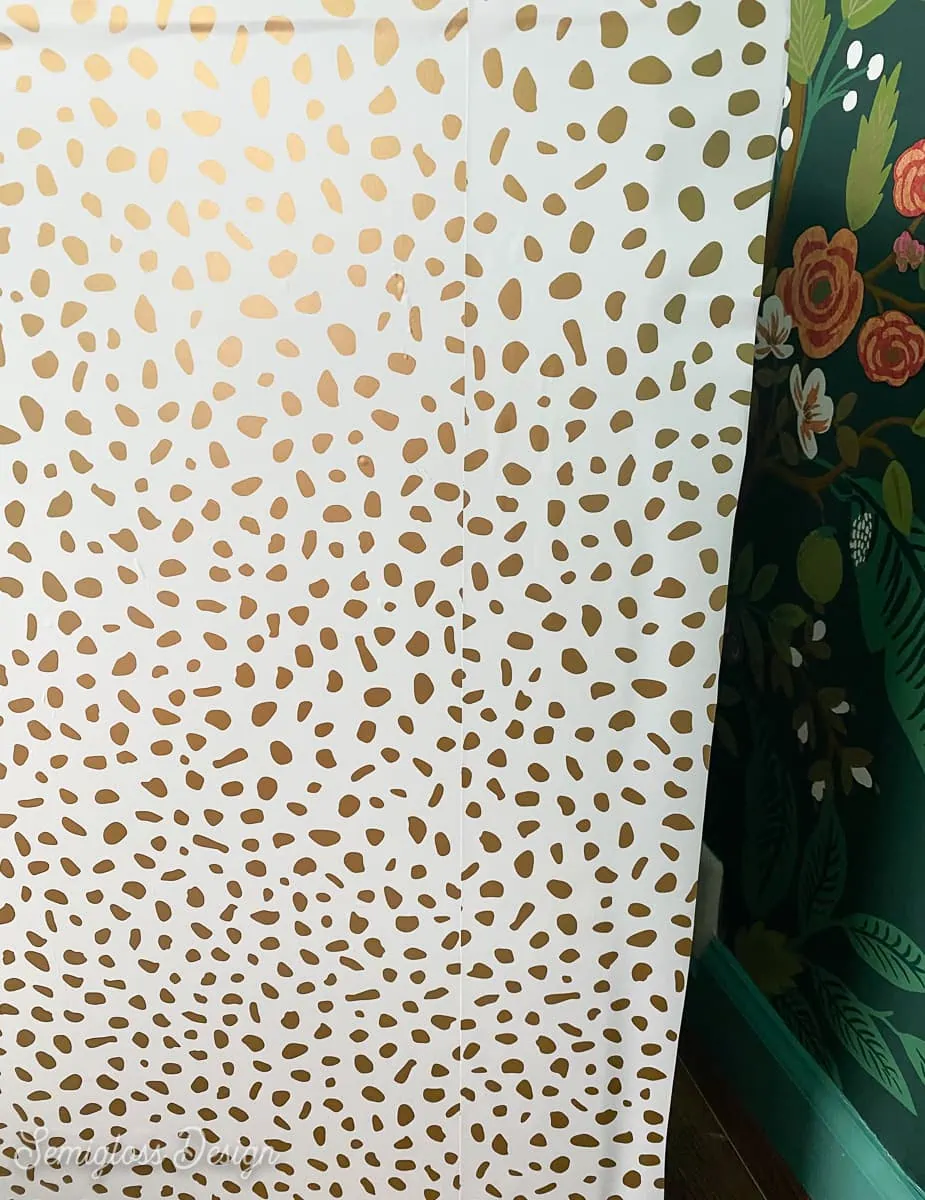
- The sides are much easier than the front, but you will need to match up the pattern because it’s wider than the wallpaper. The pattern I chose was tricky, so I didn’t bother matching up the pattern. (It’s under my desk, so I can’t see it anyways.)
- Make sure to trim all of the edges, including the bottom.
- You can apply wallpaper to the top if you want, but I didn’t because it was going to be under a desktop.
- If you have small air bubbles, you can use a sharp pin to poke a hole and use ab old gift card to smooth it.
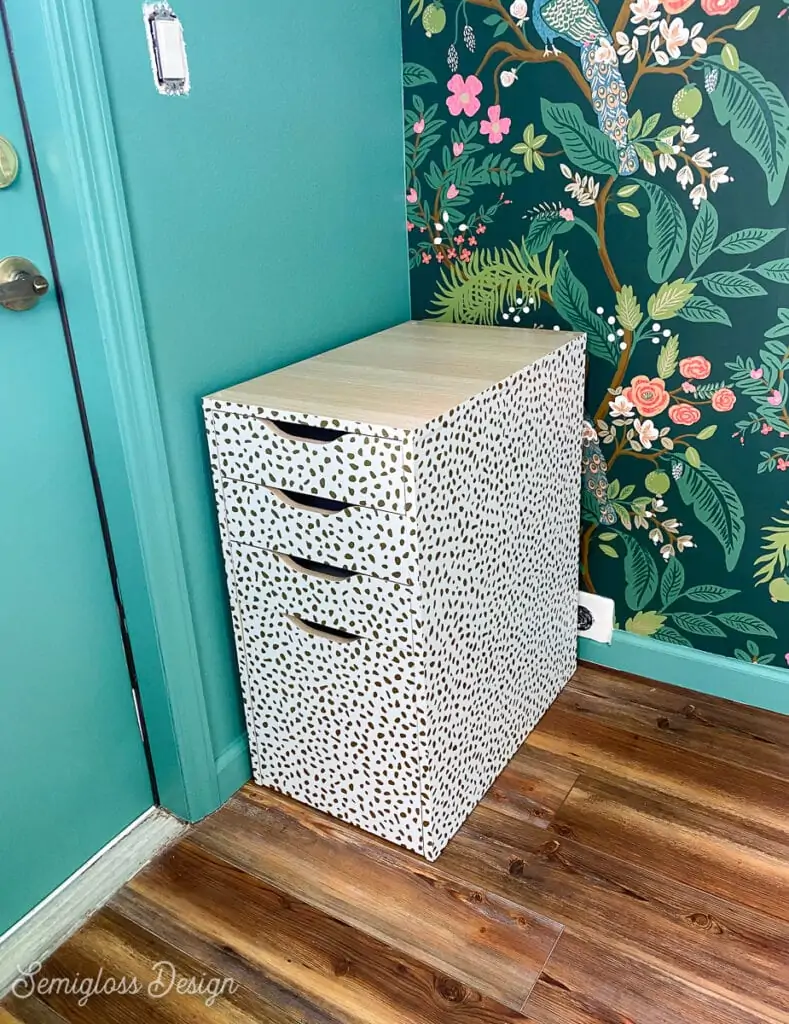
I’m really happy with how it turned out. Also, look how good it looks with the wallpaper!
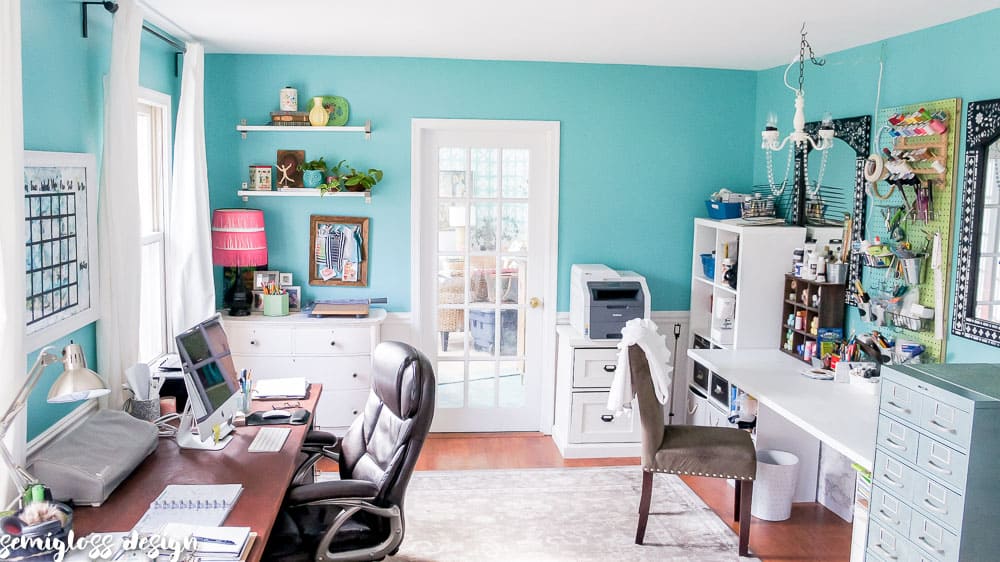
Check out the finished office makeover here.
You might also like:
Pin for Later!

Emy is a vintage obsessed mama of 2 DIYer who loves sharing affordable solutions for common home problems. You don’t need a giant budget to create a lovely home. Read more…


