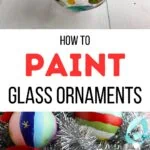
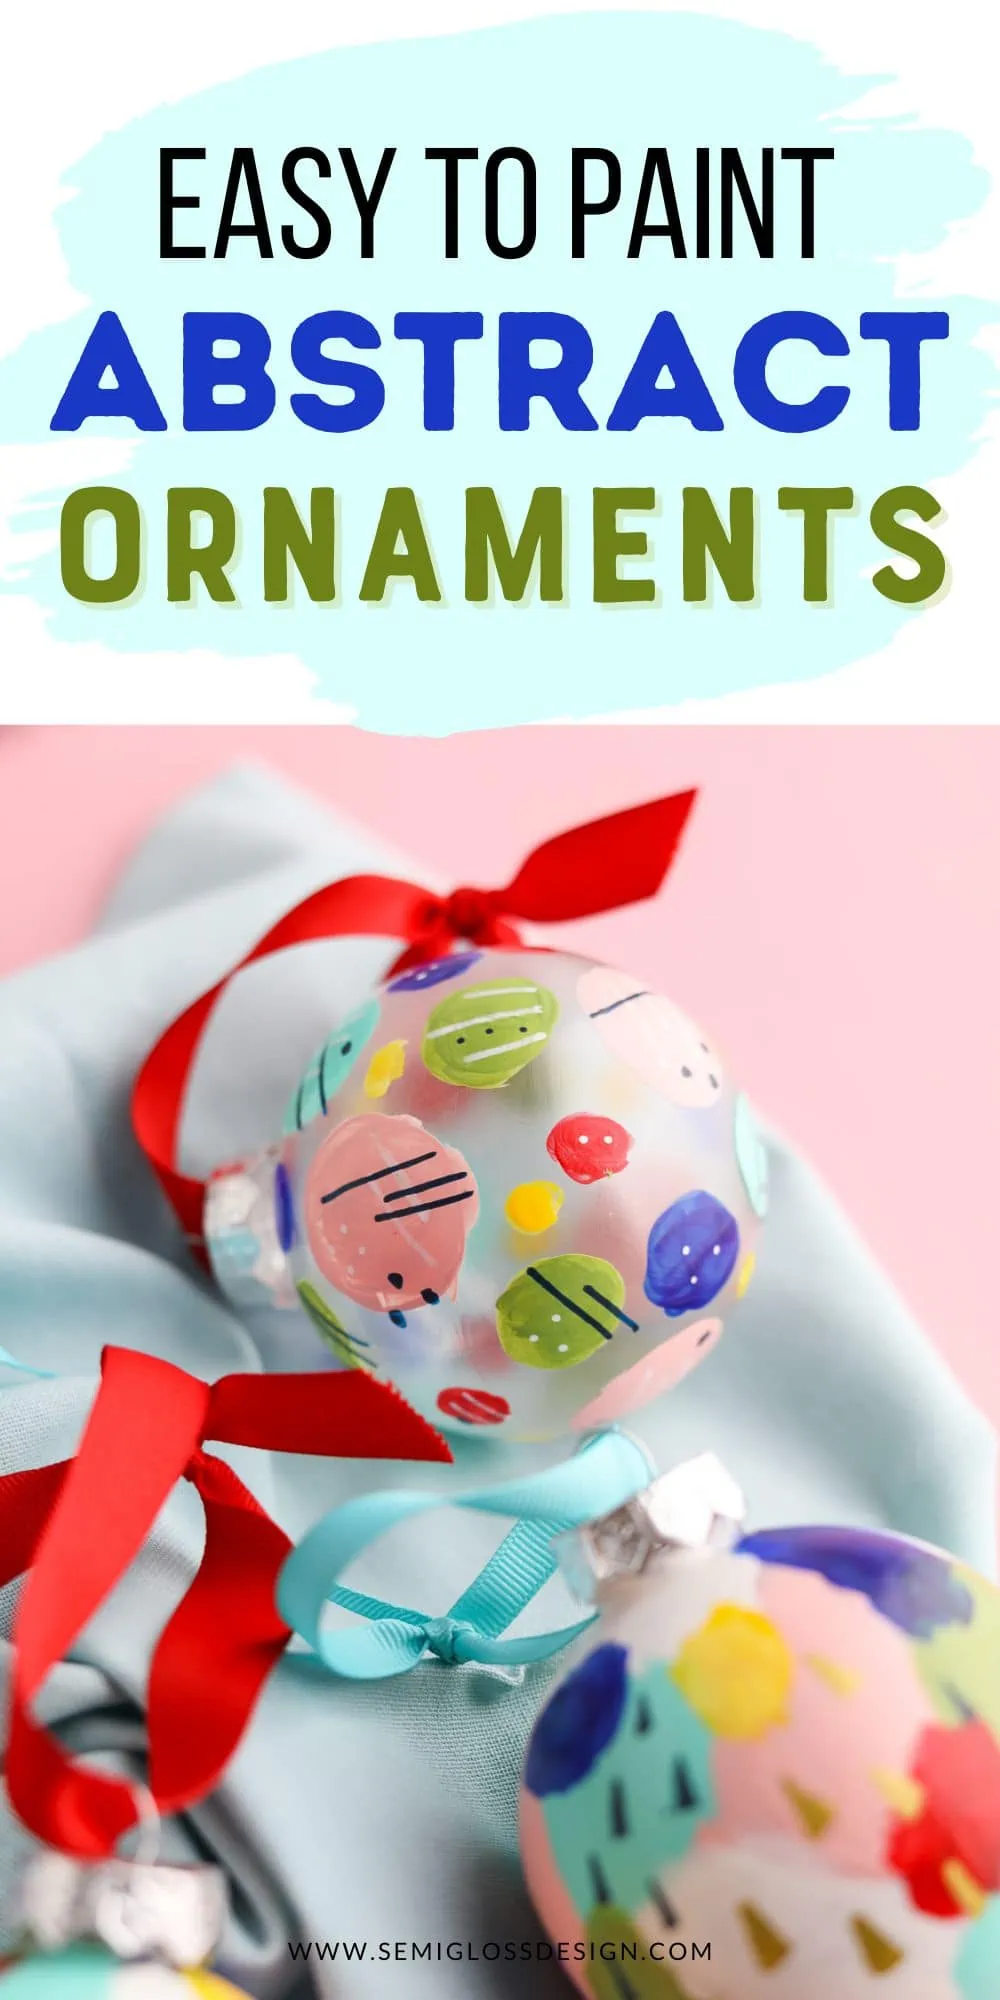
Abstract Painted Glass Ball Ornaments
Learn how to make these easy abstract-painted glass ball ornaments. These ornaments feature bold brush strokes that are easy enough for anyone to paint, no matter your art skills.
You might also like these other fun ornament tutorials.

This post contains affiliate links. By purchasing an item through an affiliate link, I earn a small commission at no extra cost to you. As an Amazon Associate I earn from qualifying purchases.
Vivid colors make my heart sing. And painting is my second love. These painted ornaments combine those two things, and I love how they turned out.
They’re the perfect way to add a bold touch to your Christmas tree. You can even pick paint colors to match your decor!
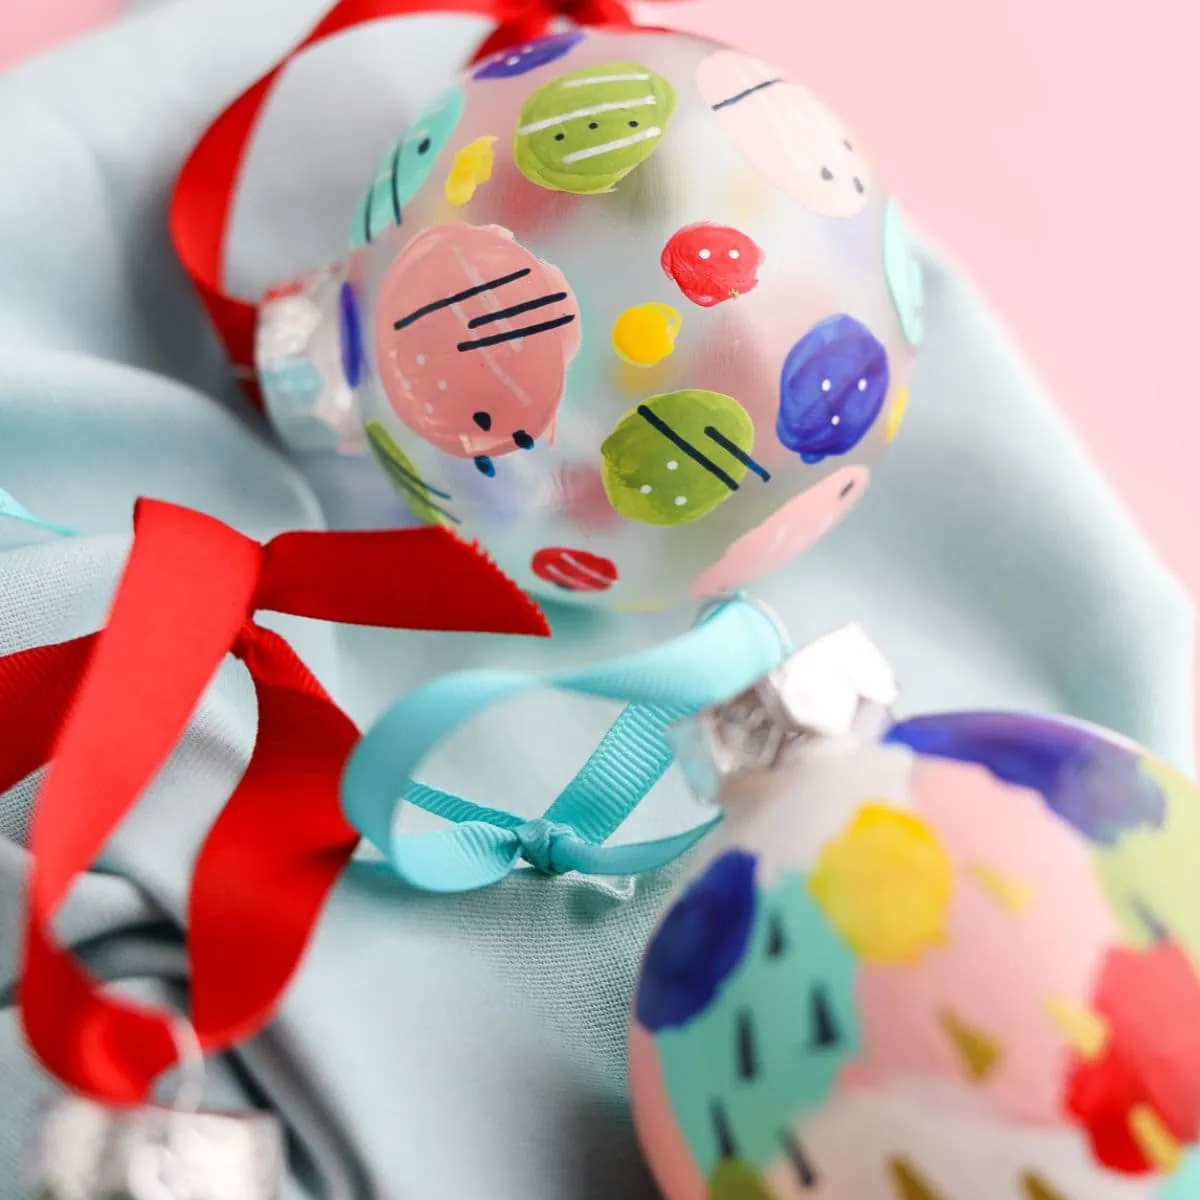
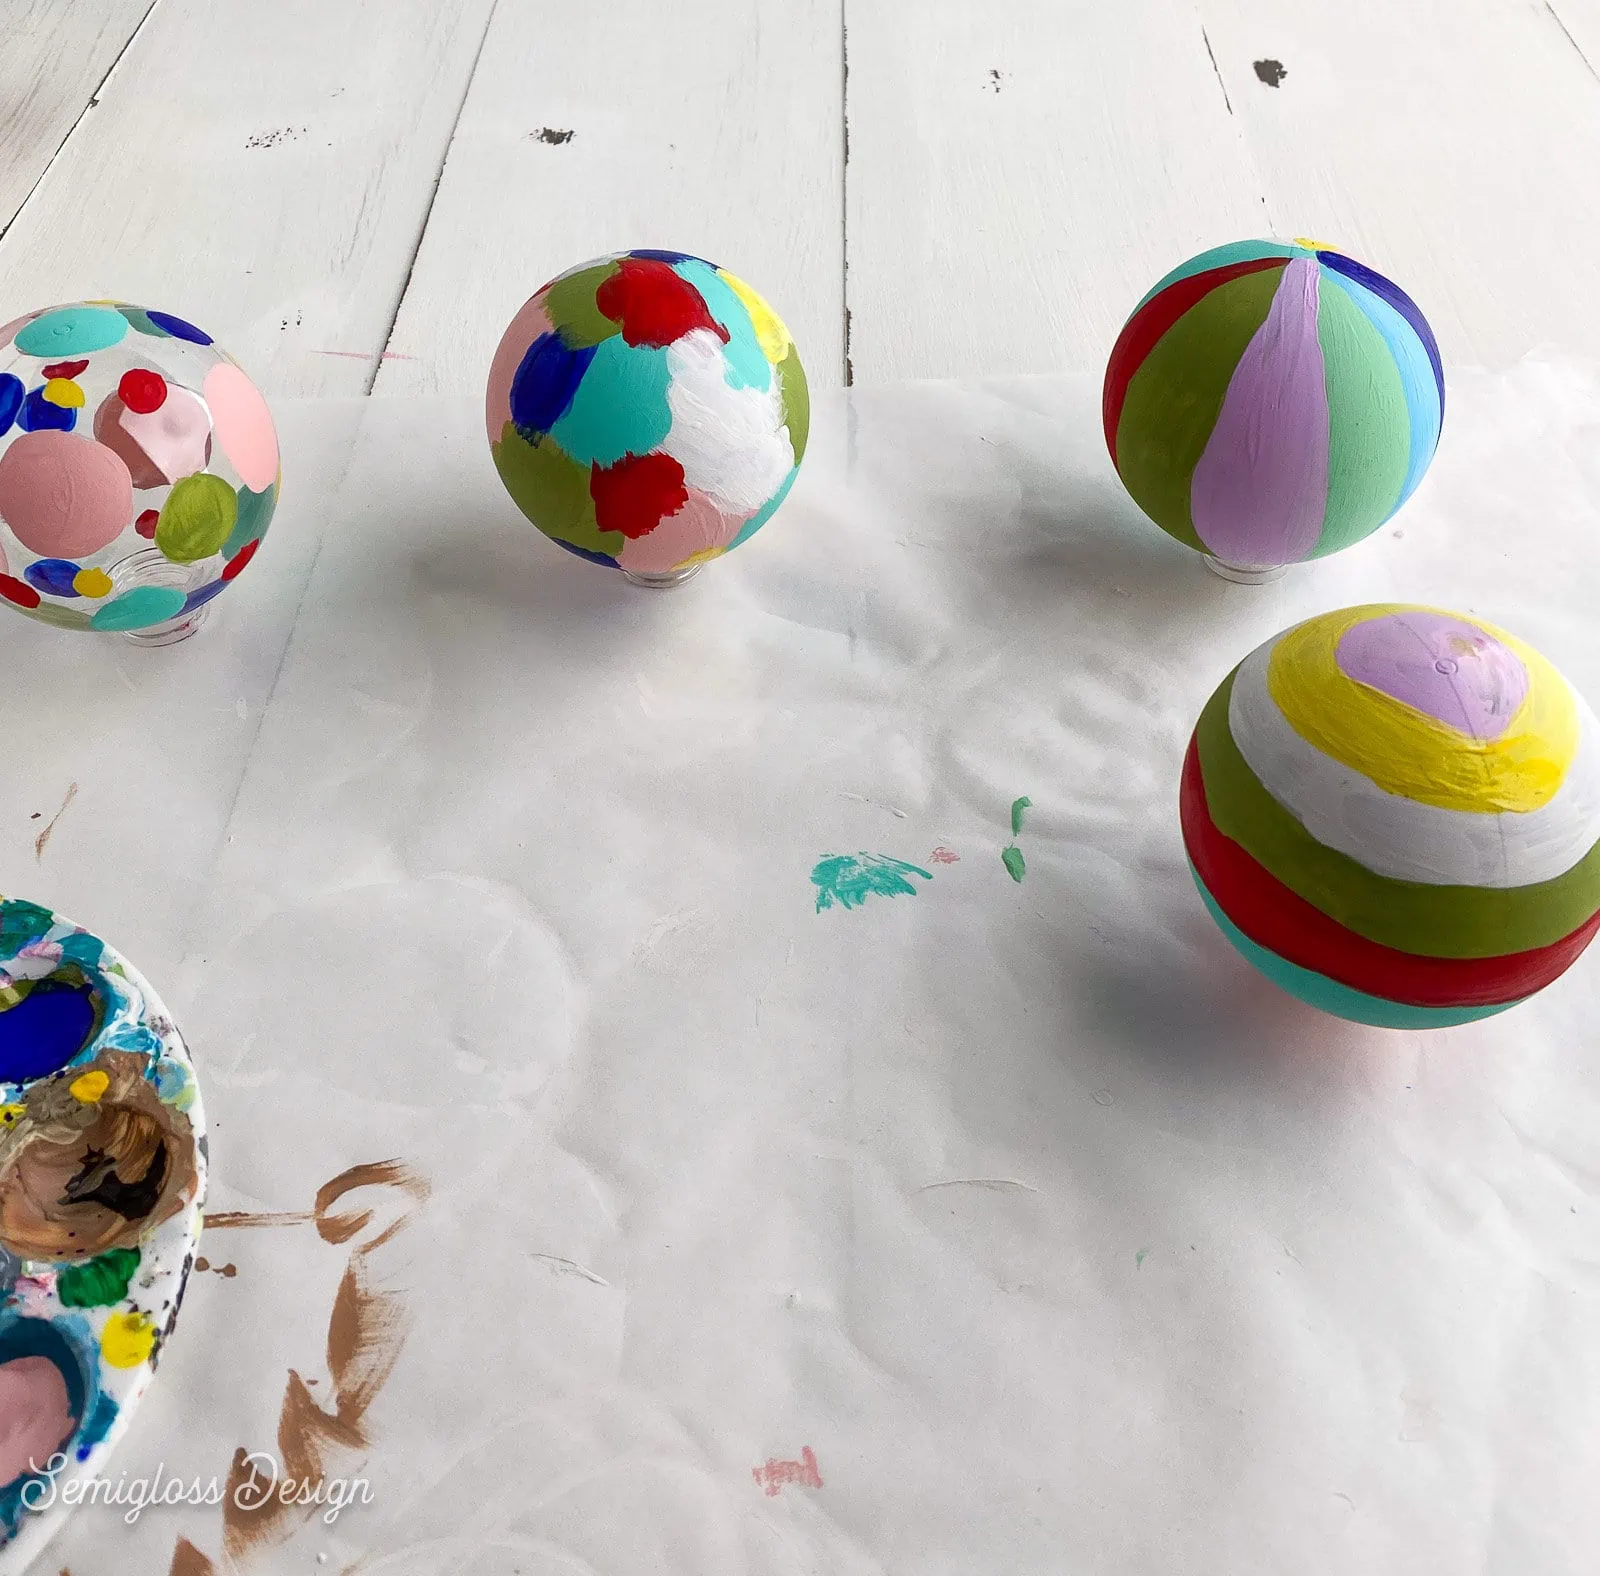
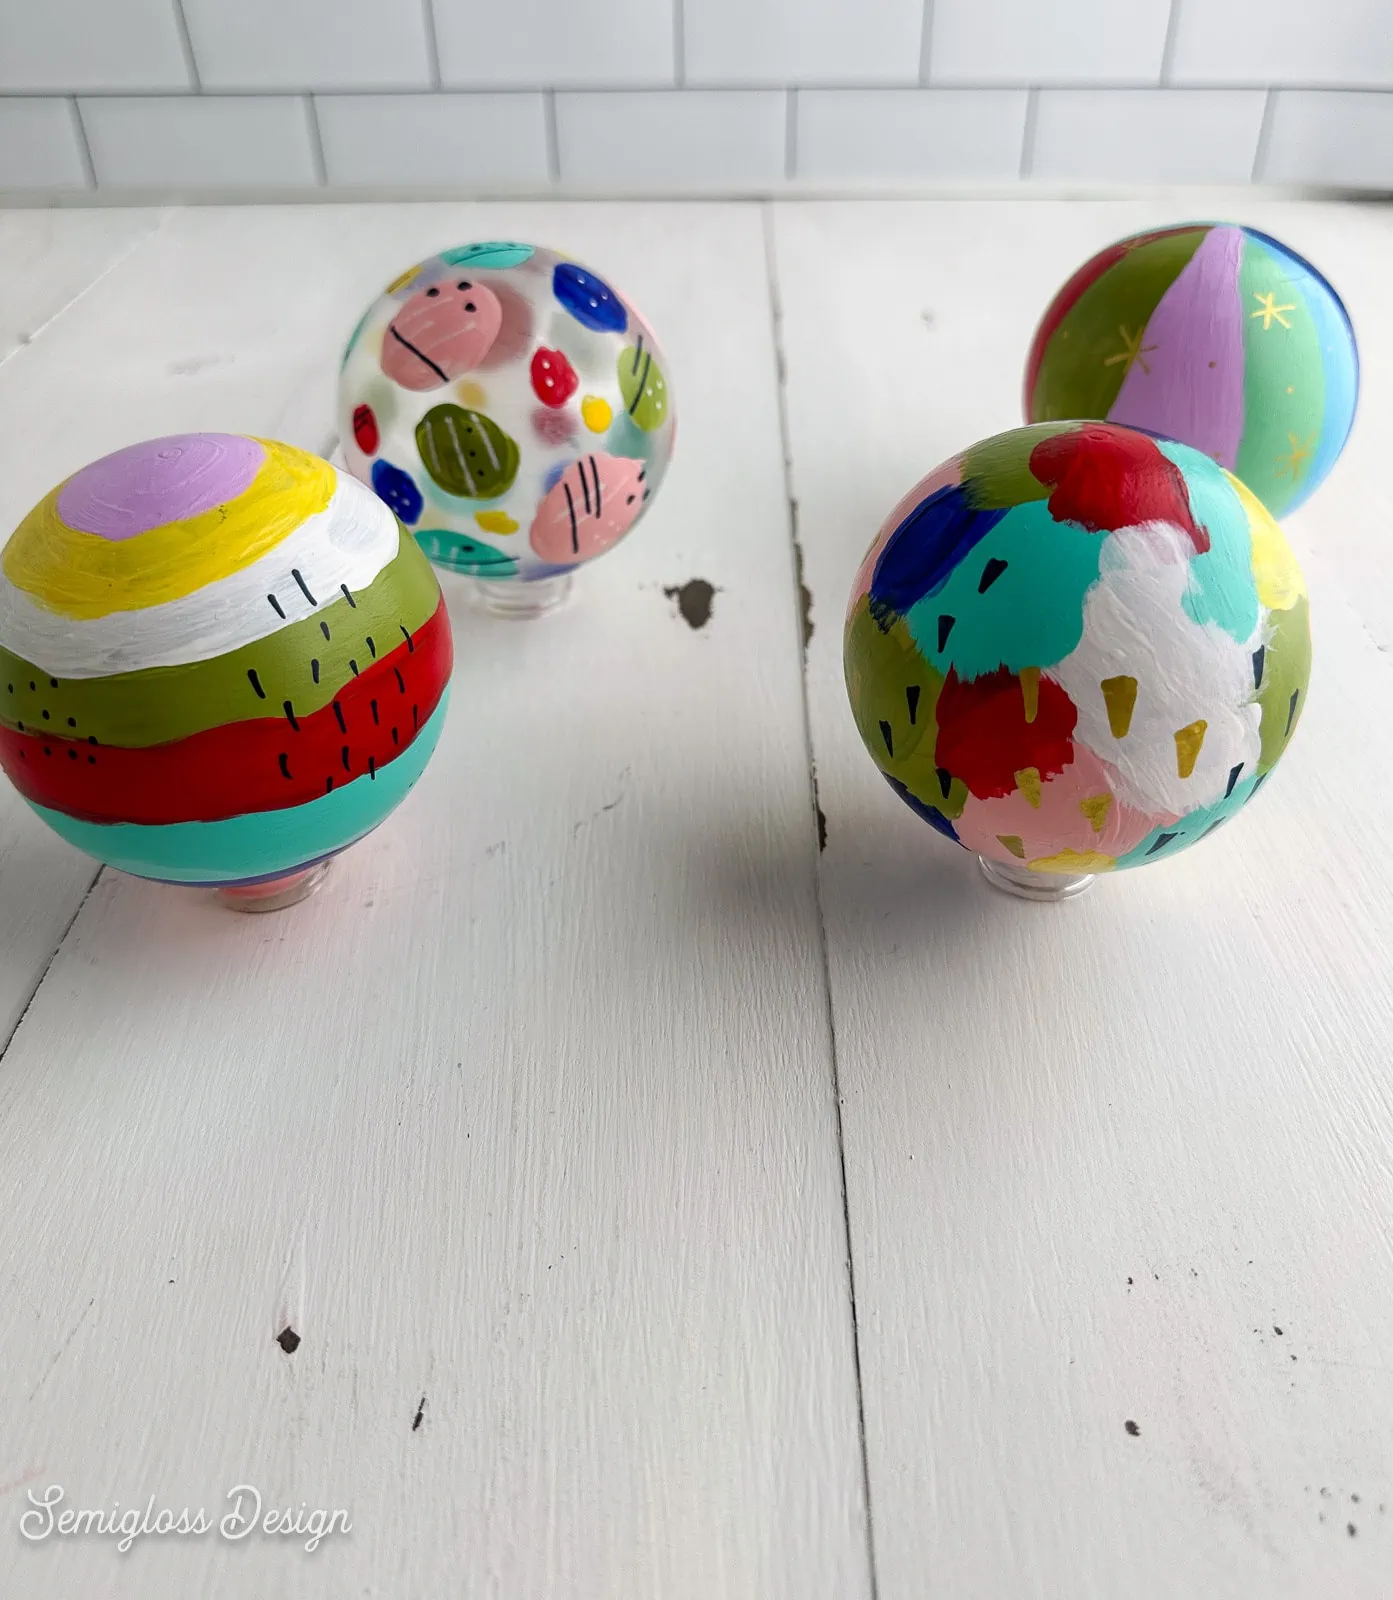
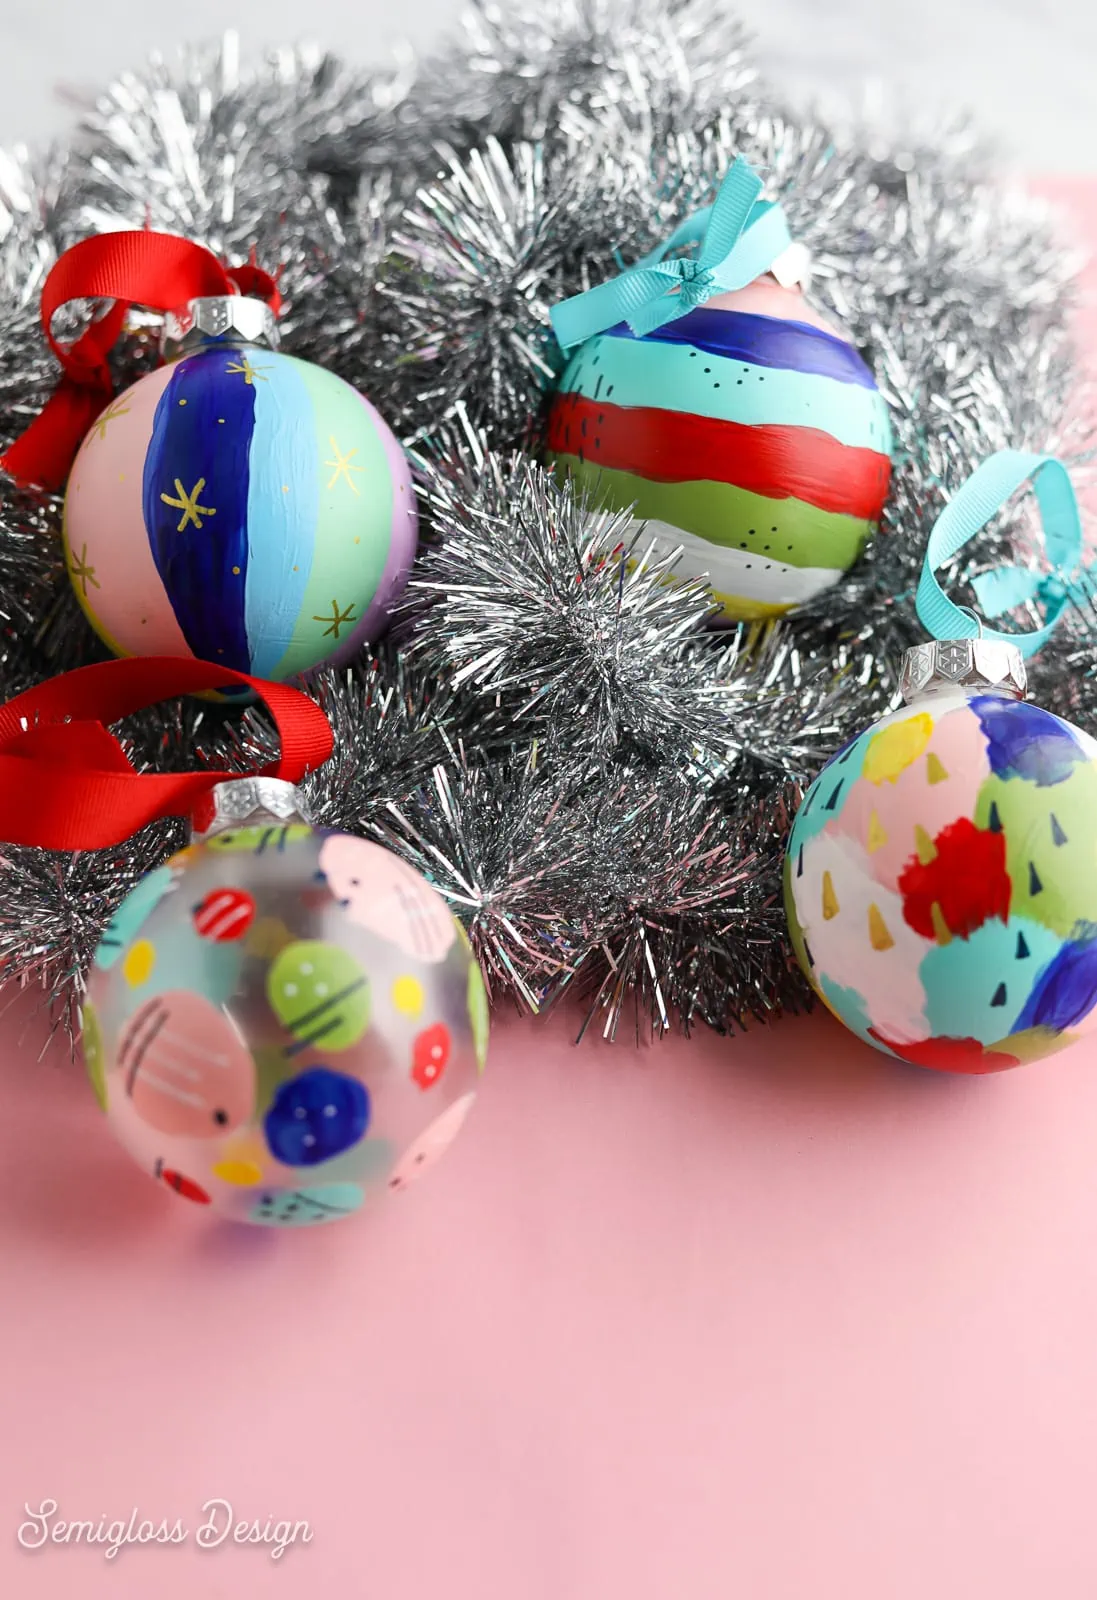
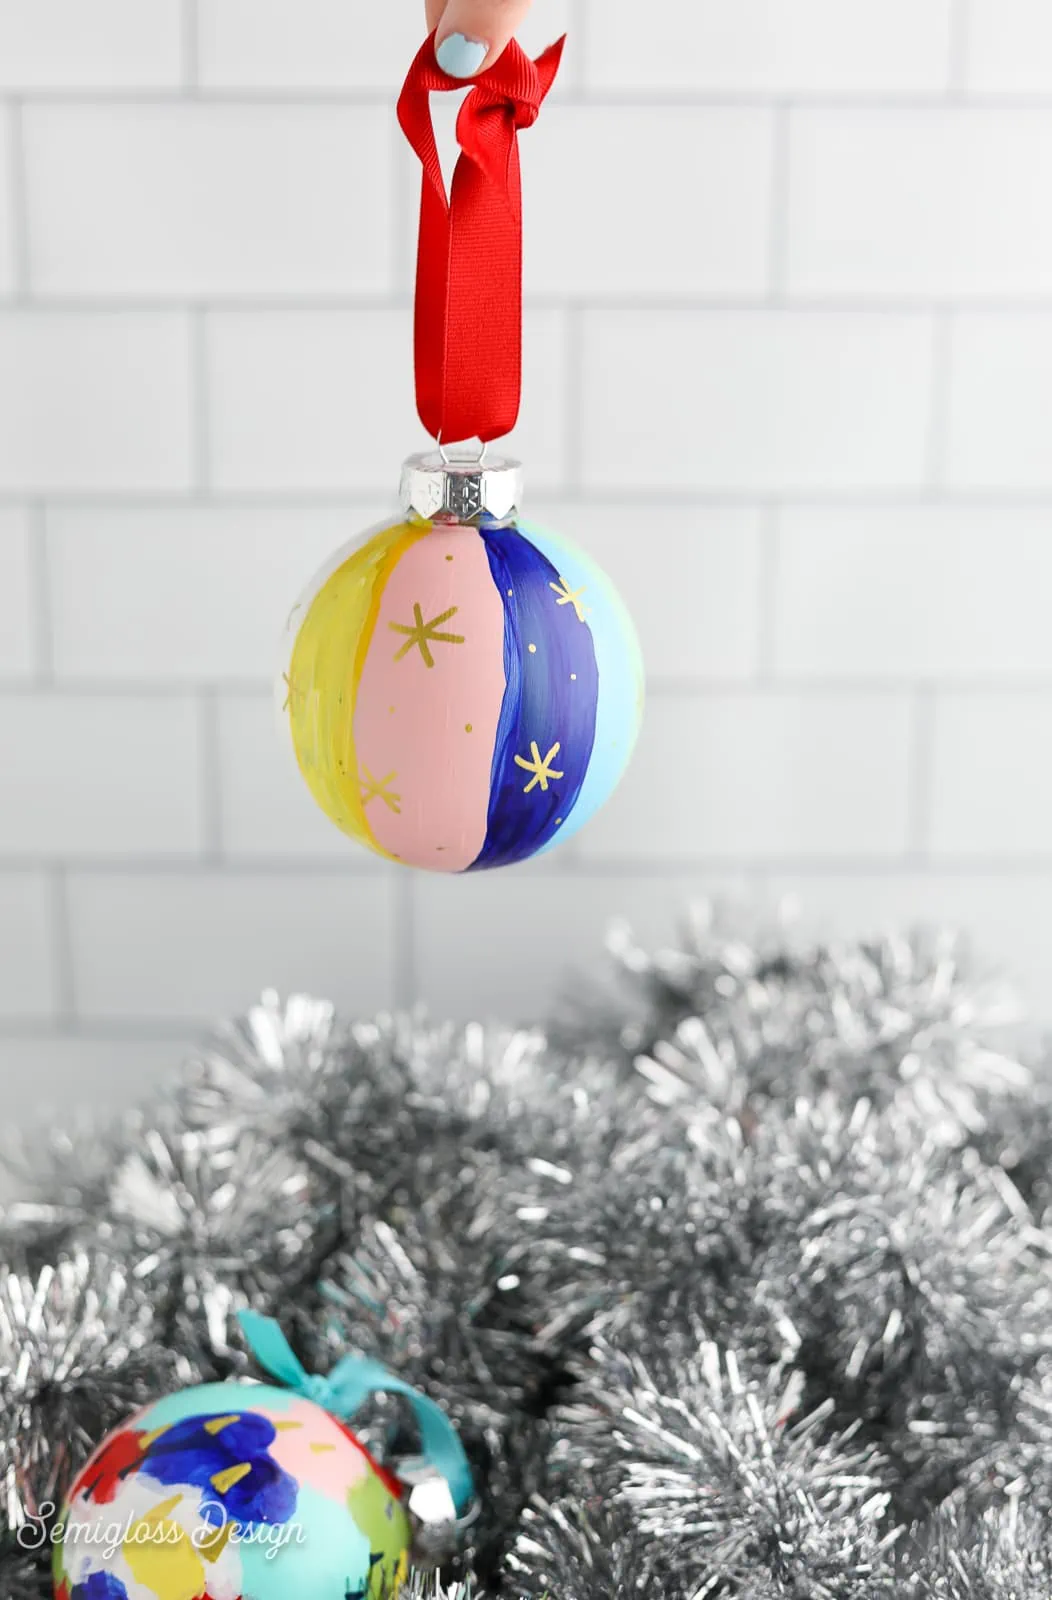
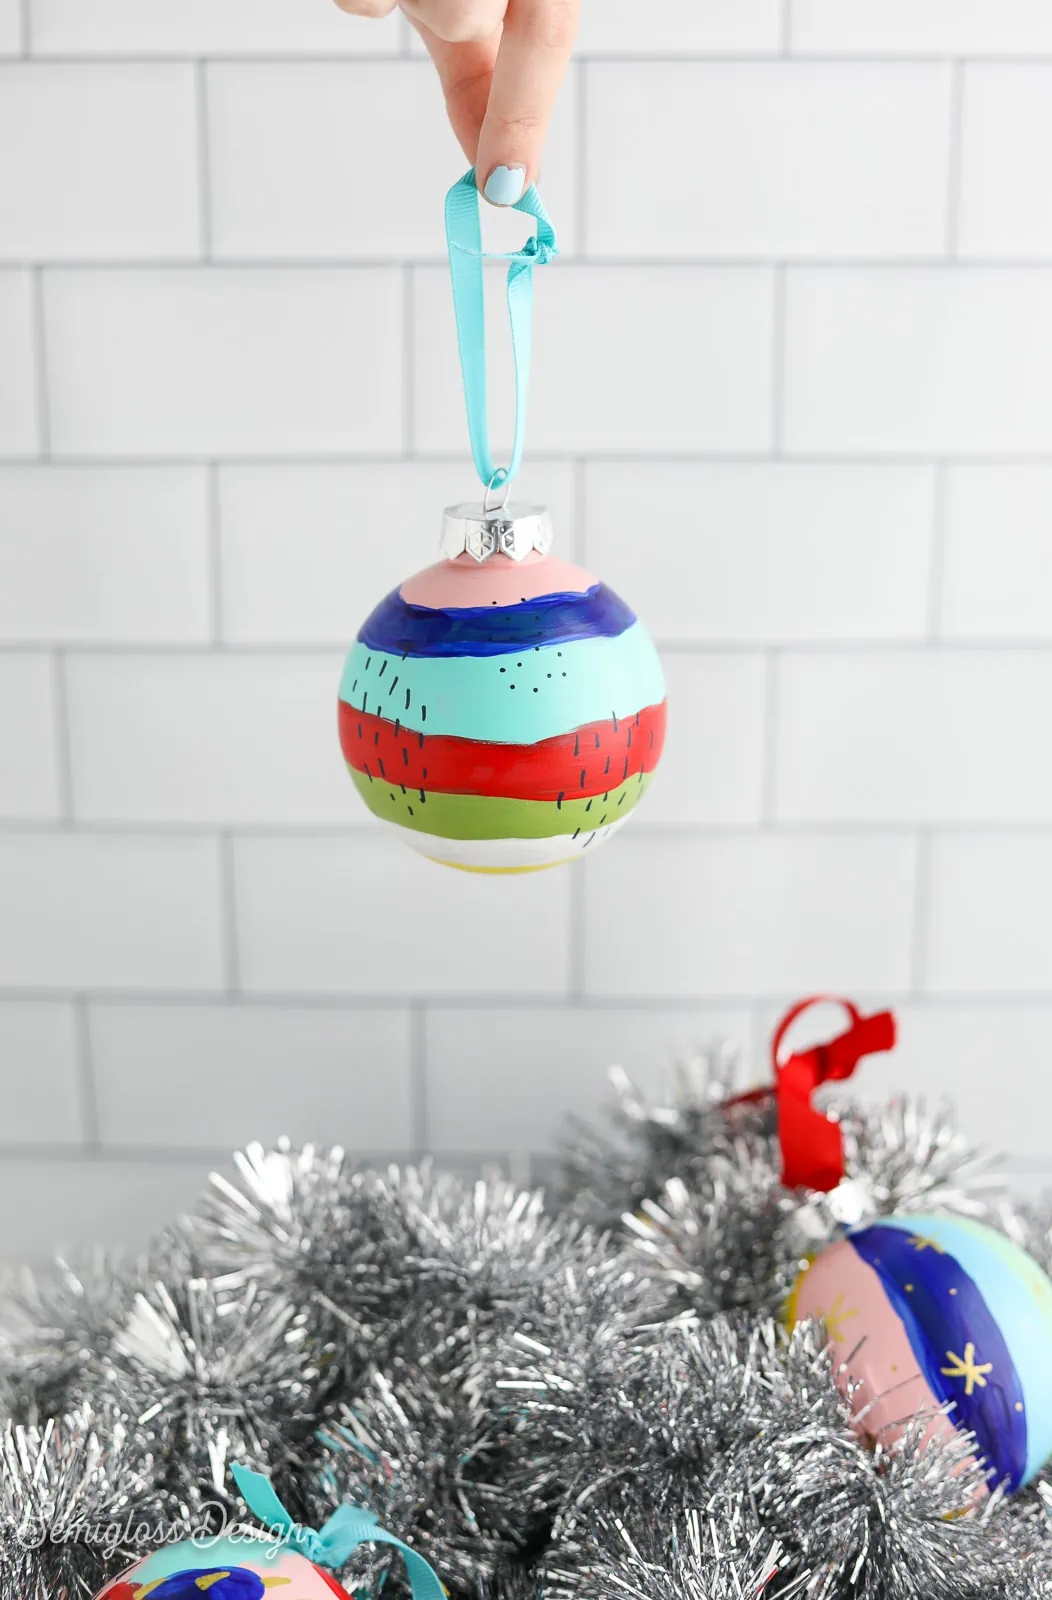
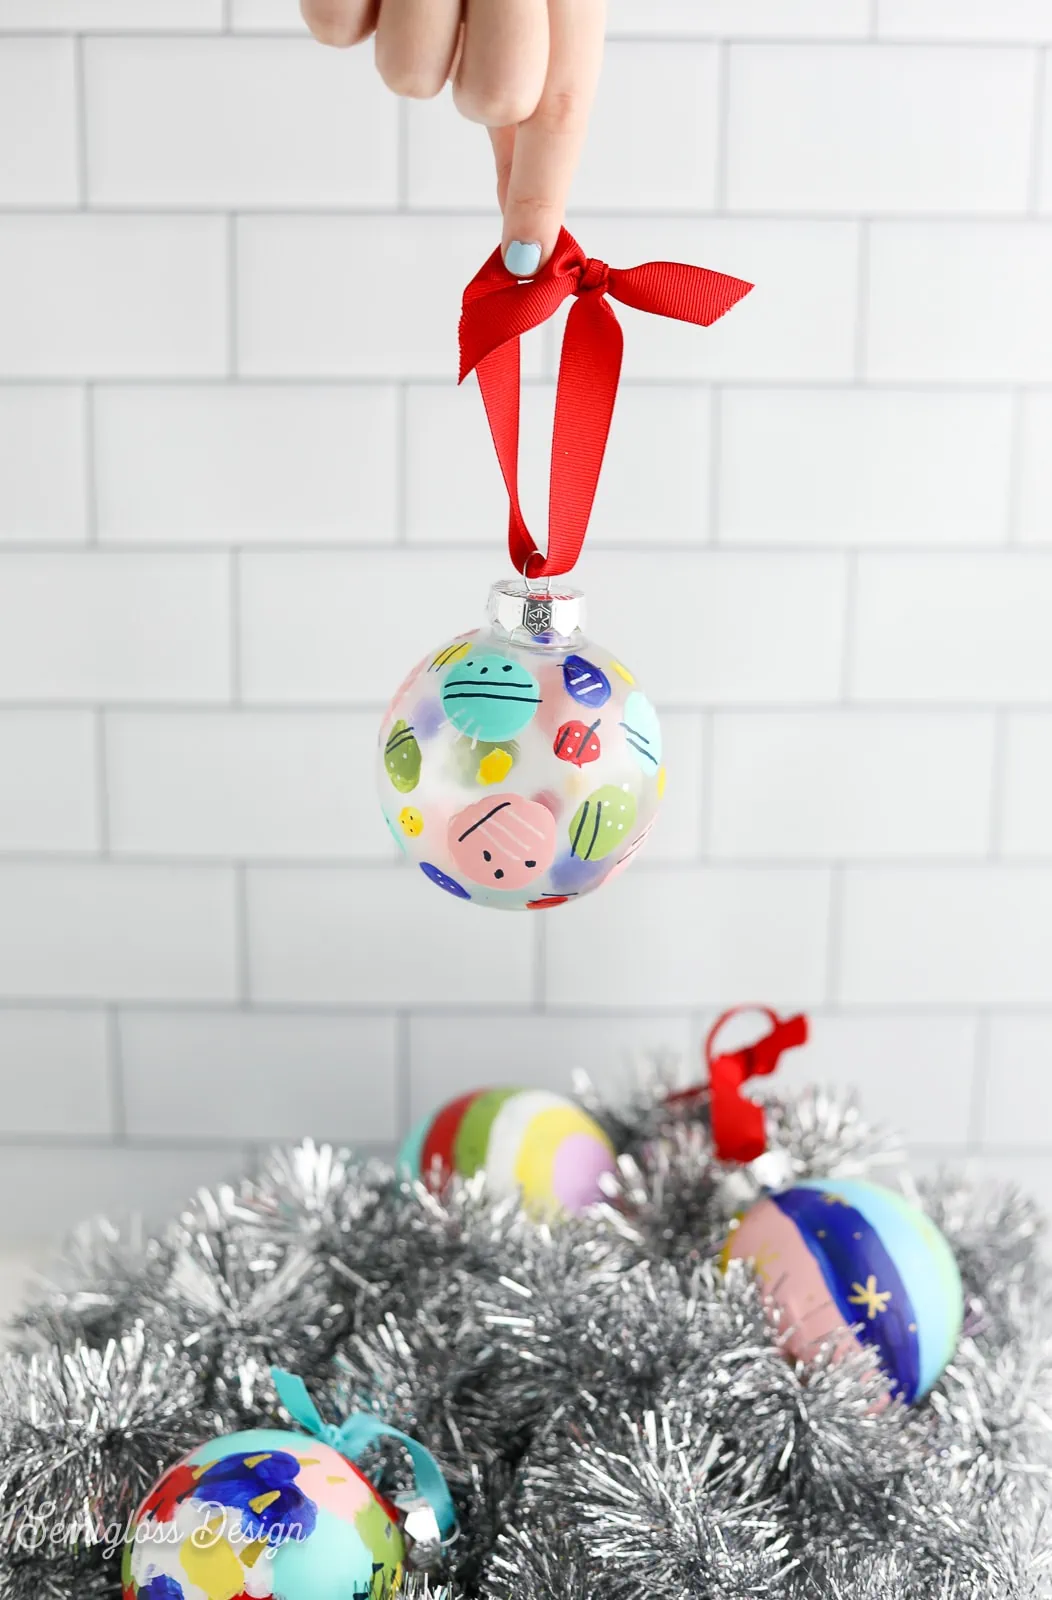
No art skills? No problem! Anyone can paint these easy abstract designs. One design is just brush strokes, one is painted dots, and the other two feature stripes.
Abstract Painted Glass Ball Ornaments
Supplies Needed:
- Glass ball ornaments
- Craft paint
- Paint palette
- Paintbrushes
- Posca markers
- Mod Podge (to seal the paint)
Notes about supplies:
Glass ball ornaments: You can use glass or plastic ornaments. It’s up to you. Glass is pretty but fragile, so it’s not recommended for homes with small children or curious pets. I tend to use plastic because I have a dog with a very enthusiastic tail.
By the way, I have a whole post about my favorite clear ornaments here.
Craft paint: I used a combination of craft paint and acryla gouache. Acryla gouache is nice because it’s creamy, opaque, and has a matte finish. It comes in a lot of dreamy colors. But it is more expensive, so craft paint is fine.
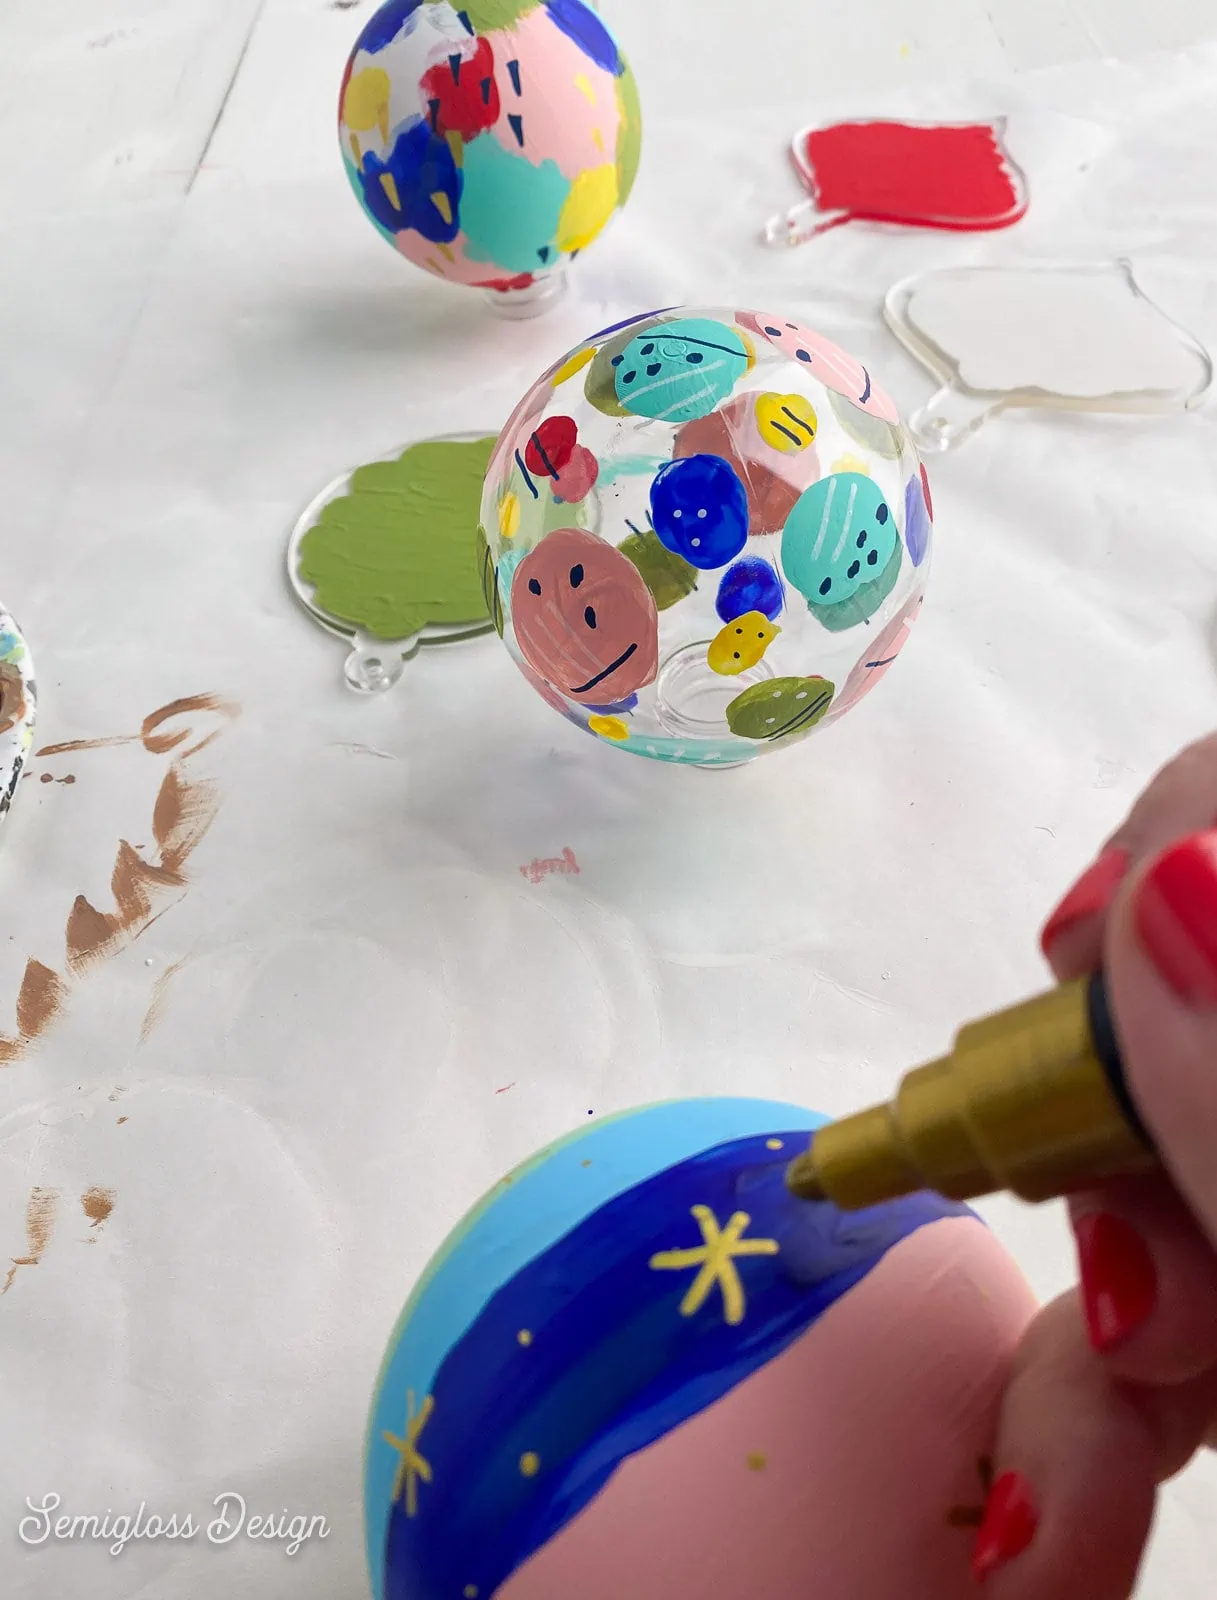
Posca markers: I love Posca markers because they are an easy way to add details without using a tiny paintbrush. Posca markers are paint pens and come in a ton of fun colors. I used navy, white, and gold.
If you’ve never used Posca pens, they need to be shaken and the nib pumped before the paint comes out. Just shake it for about 1 minute and push the marker down a few times so that the paint comes out.
Mod Podge: I used matte Mod Podge to seal my ornaments, but you can use whatever you want. Clear spray paint works. So do other paint sealers.
Painting Tips to Get You Started
- You’re going to get paint on your fingers. Wash the paint off, or it will ruin your work as you go.
- Work on the top or the bottom, but not both at the same time. This allows a dry area to hold and place on the table to dry.
- Let the paint dry between coats so that the colors don’t mix.
- Some colors may need 2-3 coats for full coverage.
- Pick your colors ahead of time and swatch them to make sure the colors look good together.
- Sealing the paint will prevent the ornaments from the paint getting scratched off. It does show up on the clear areas, so be aware of that.
- Start with the lightest paint colors and work your way to the darker colors.
Painting the Ornaments
- Protect your work surface.
- Remove the ornament top.
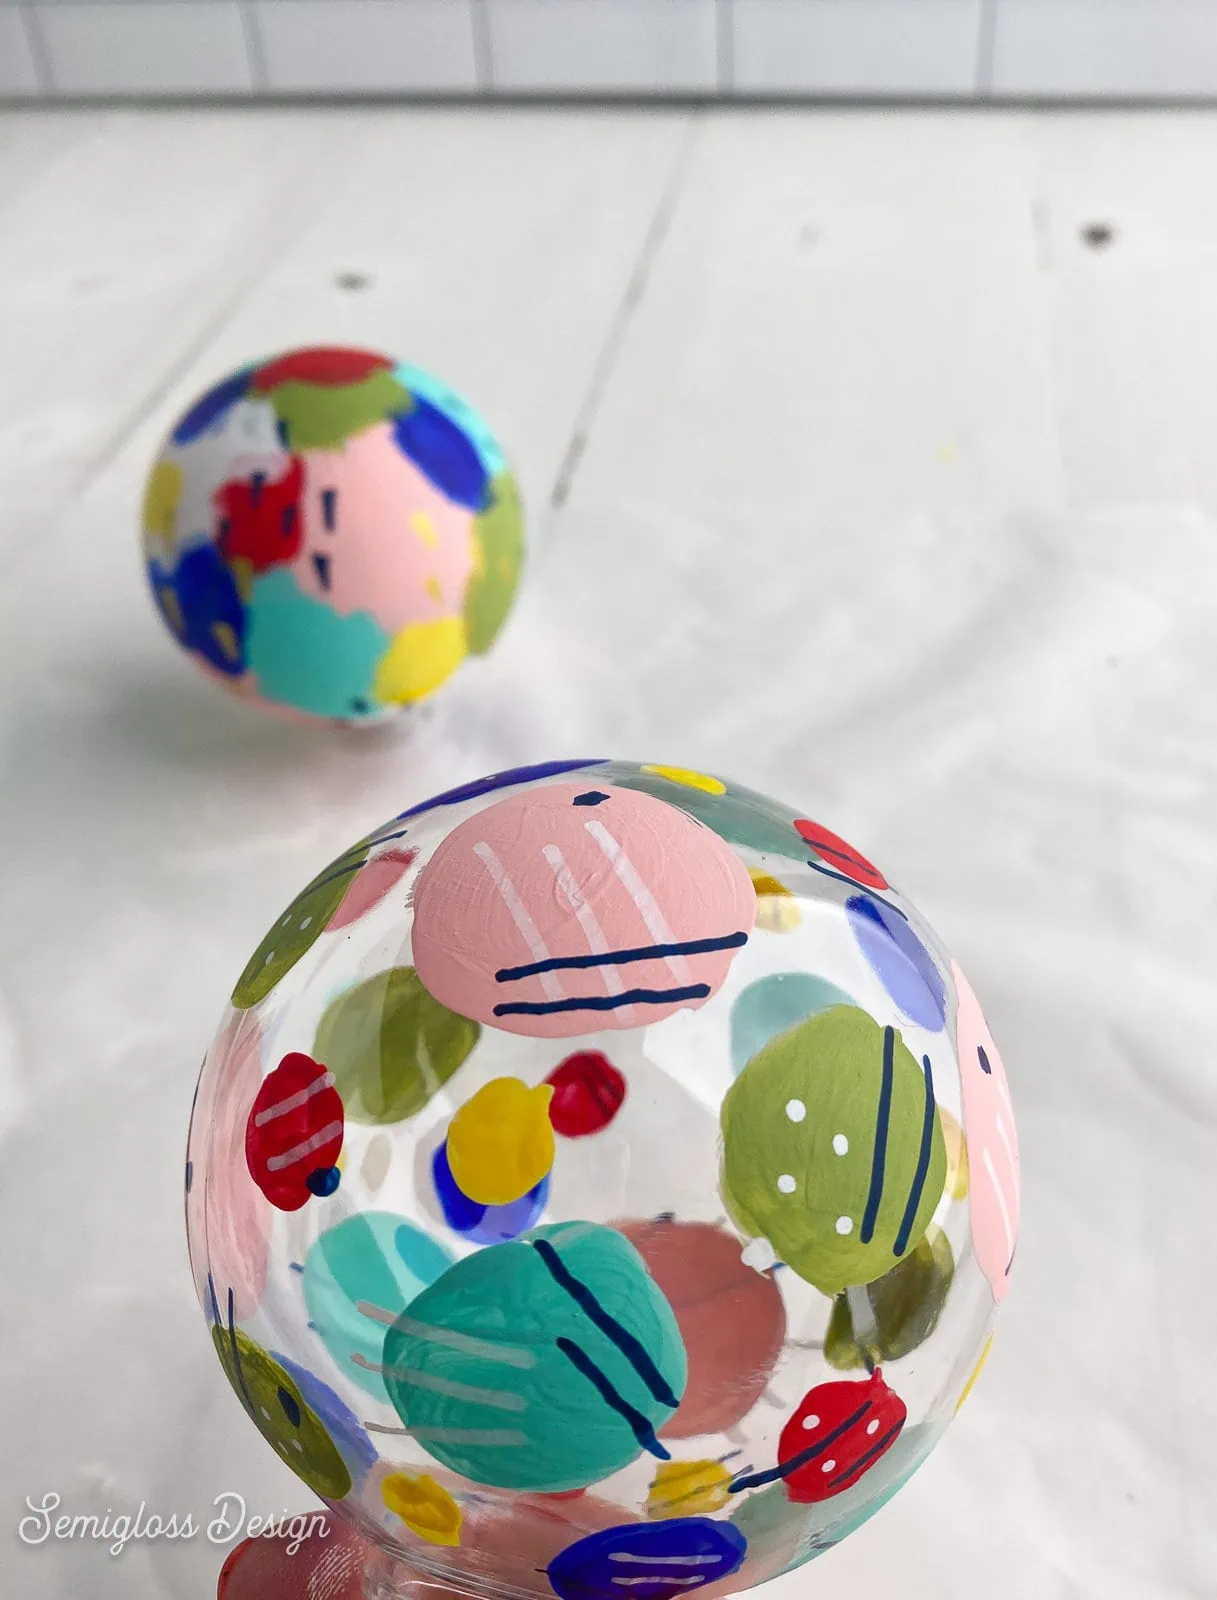
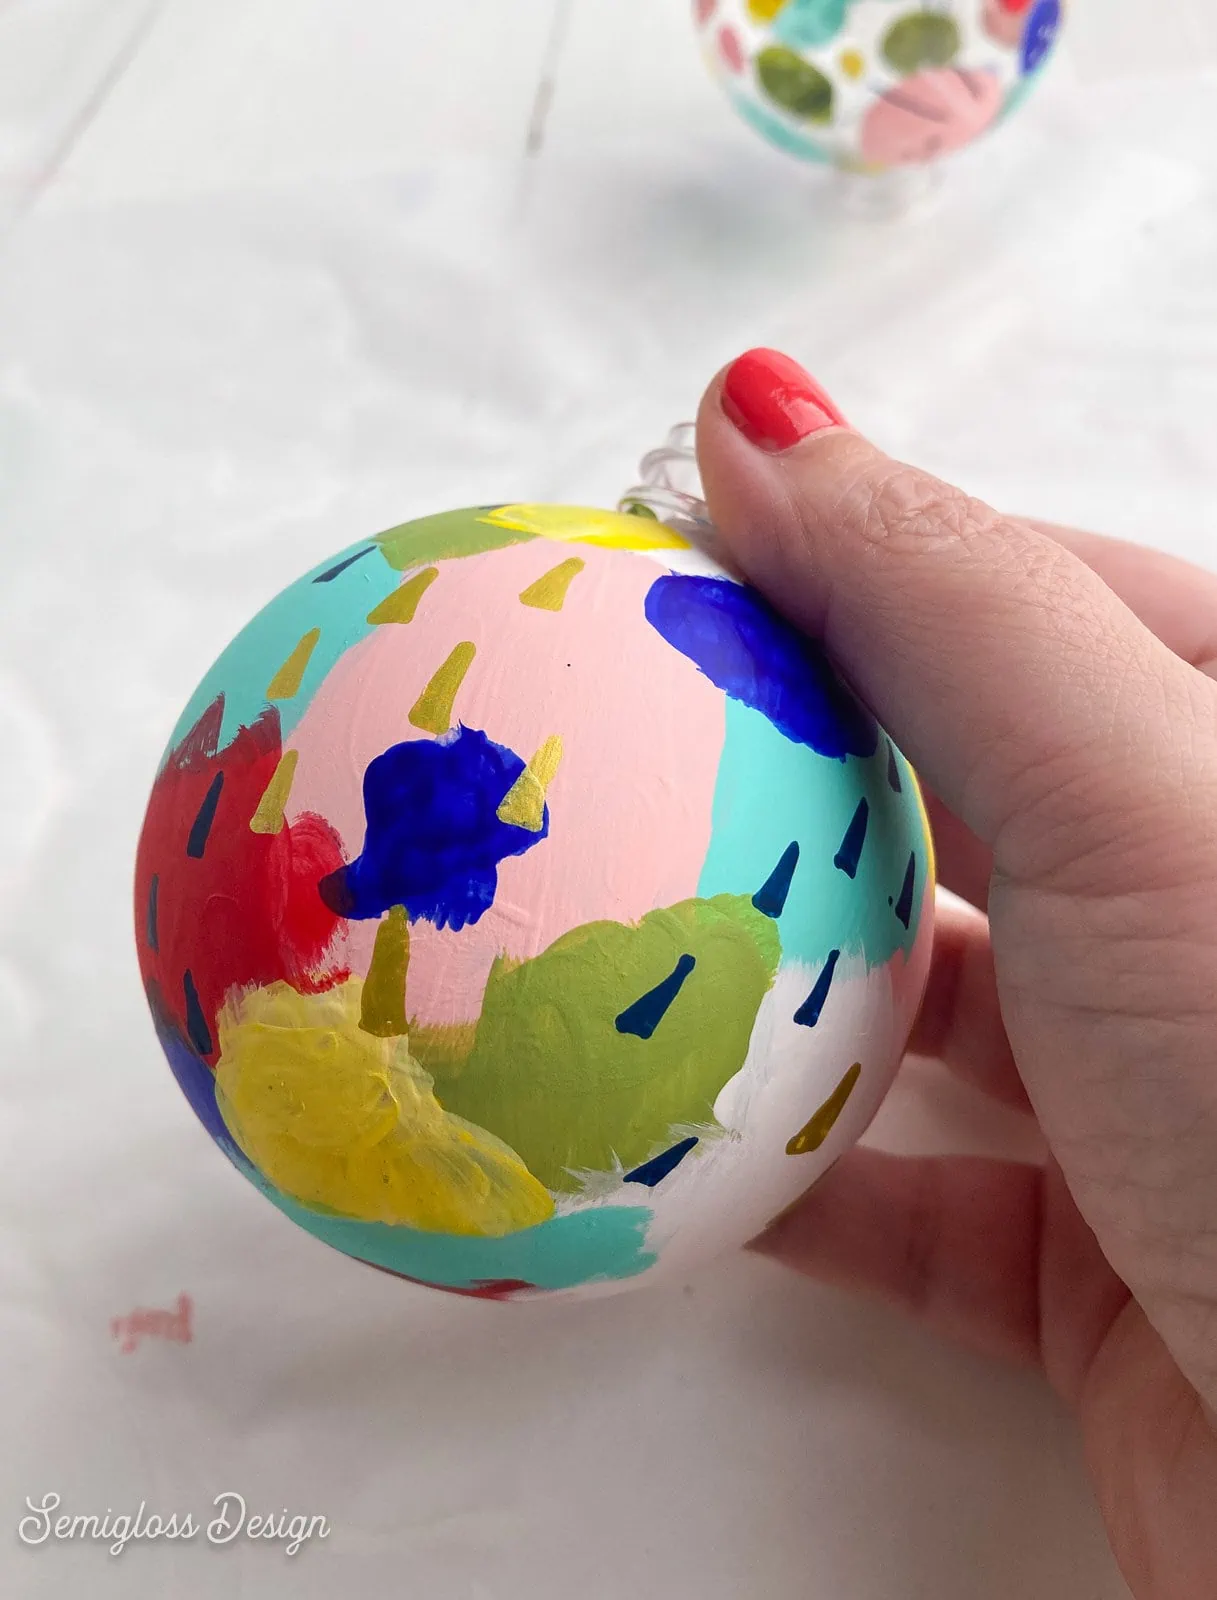
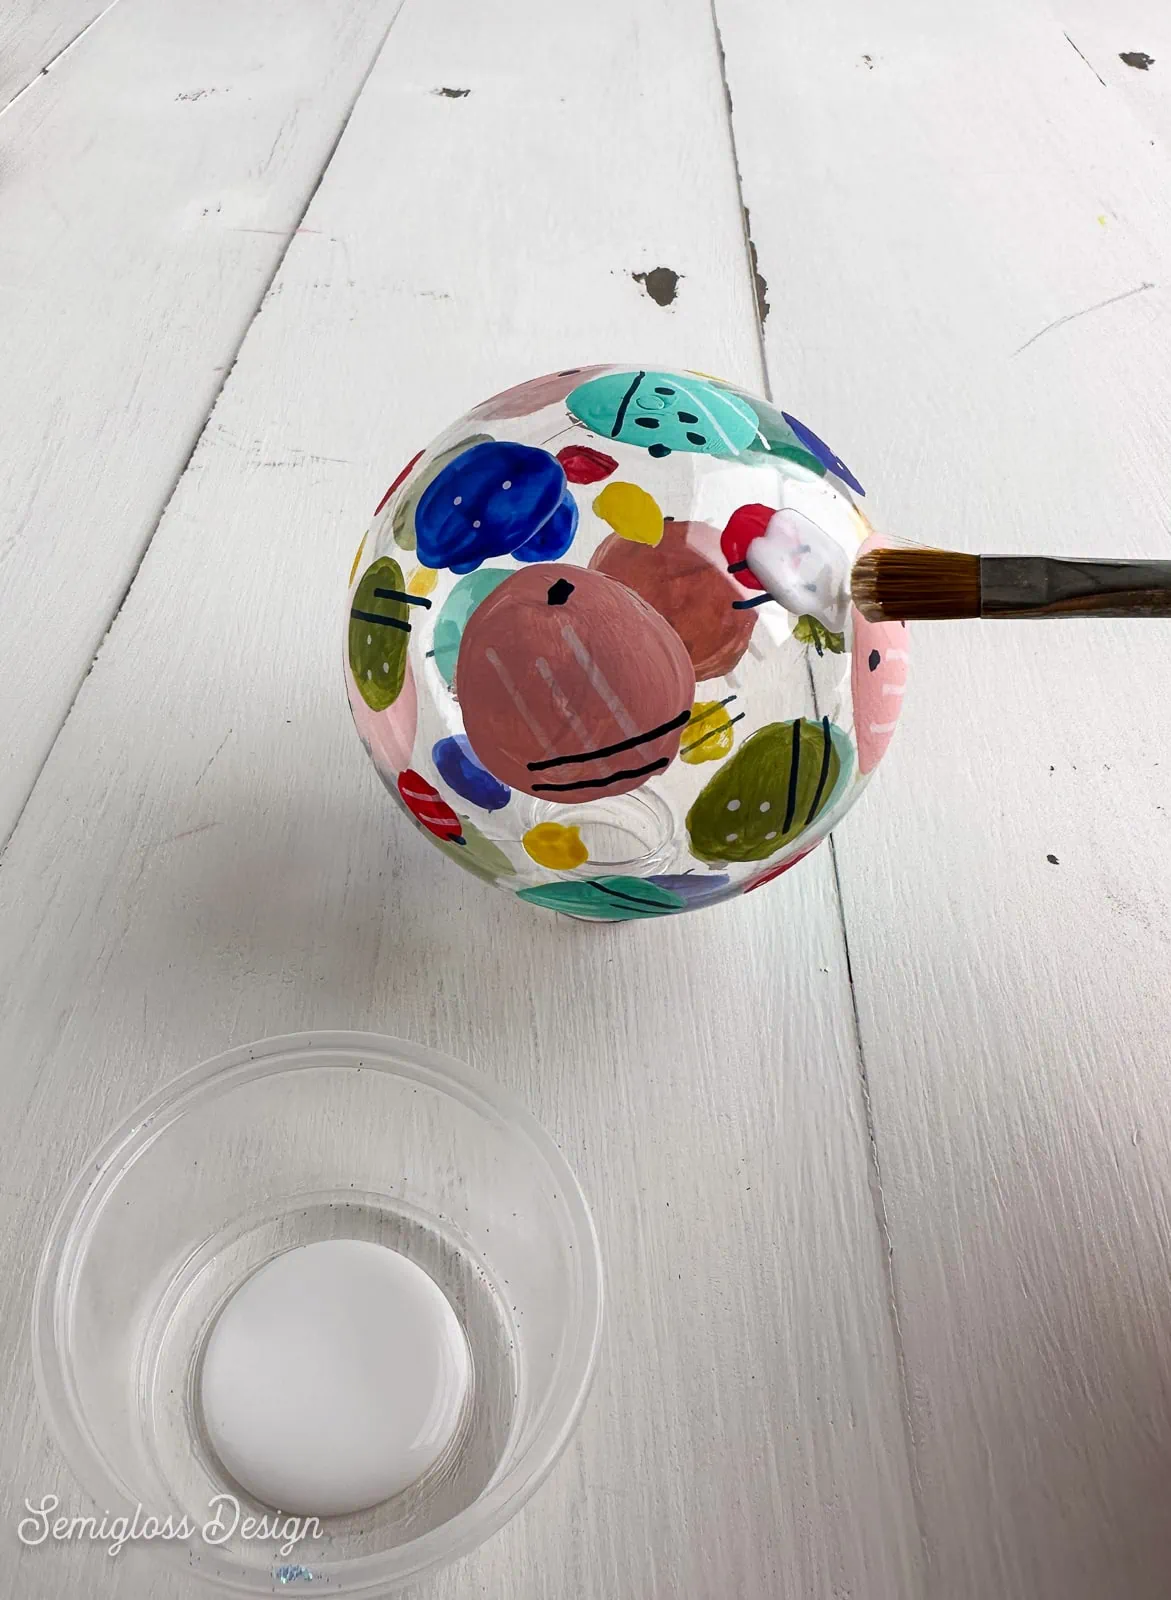
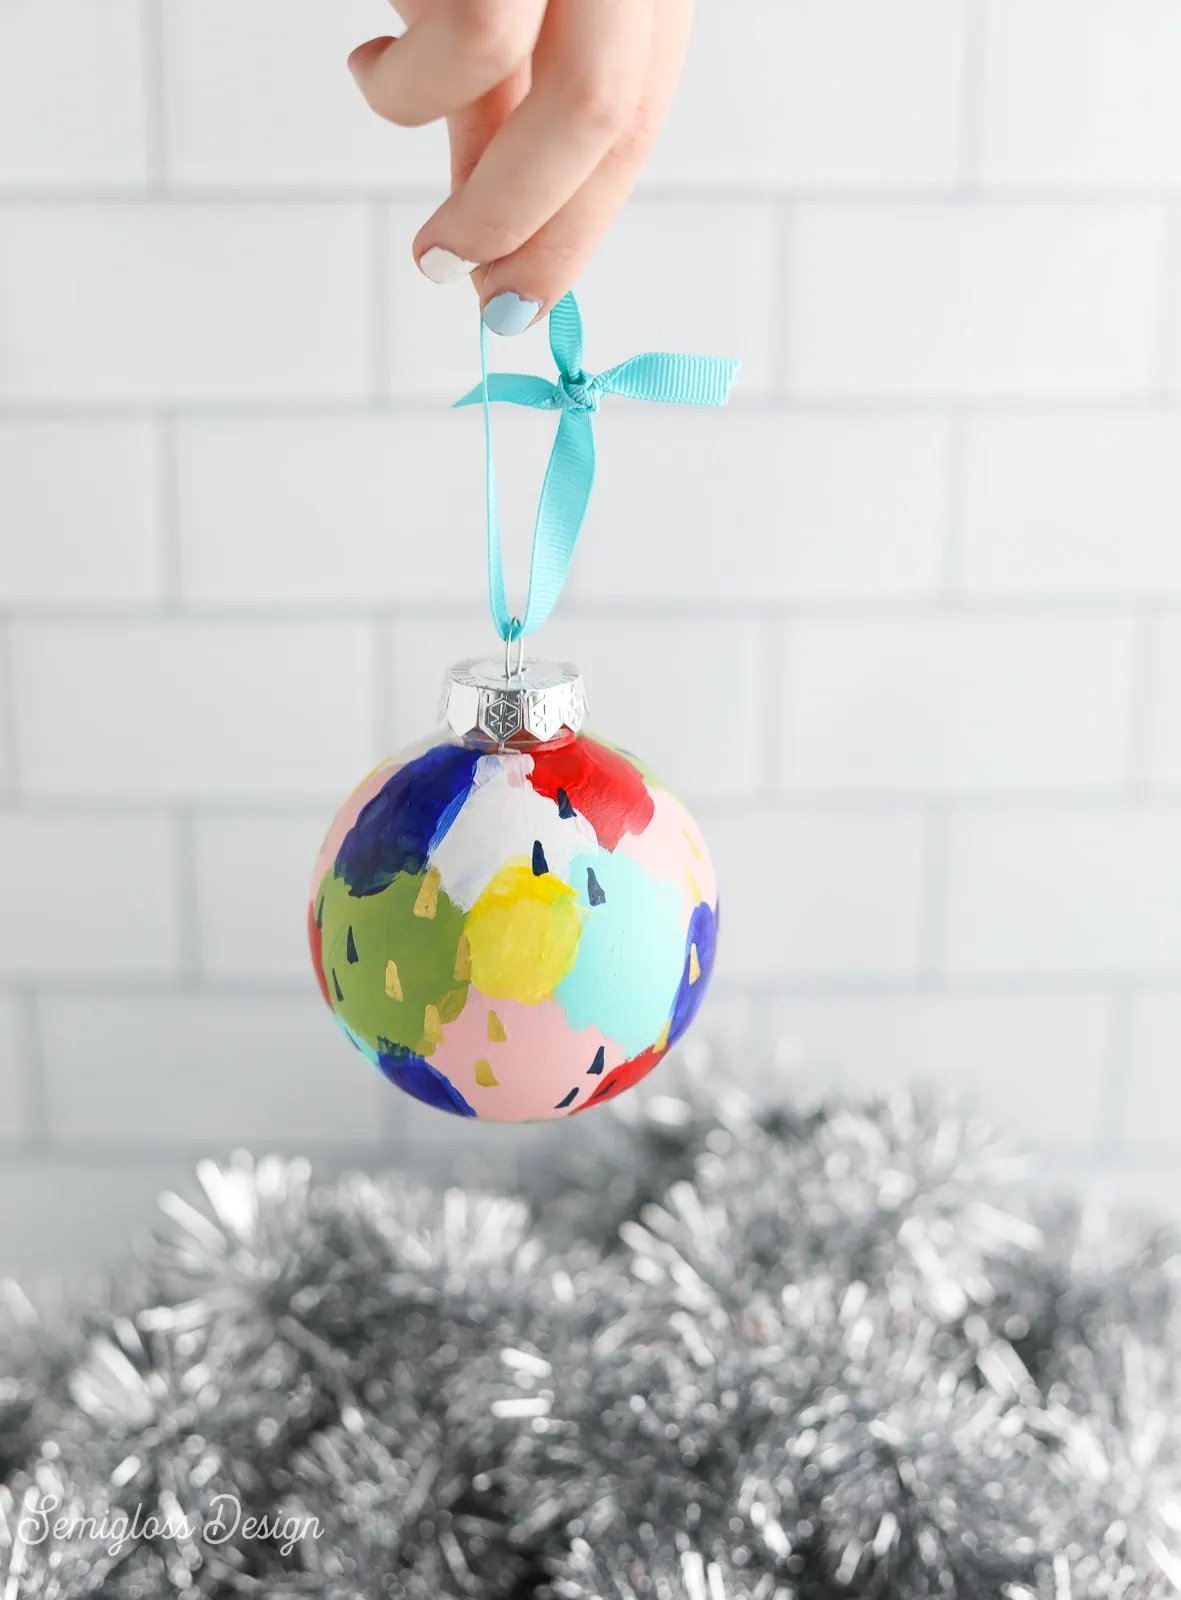
- Start painting the ornaments. I added dots to one, stripes in 2 different directions, and random brush strokes to another one.
 I wanted my ornaments to have a hand-painted look, so I didn’t go for perfection. Messy edges are okay!
- Let the paint dry. Flip the ornament upside down and let it dry sitting on the table.

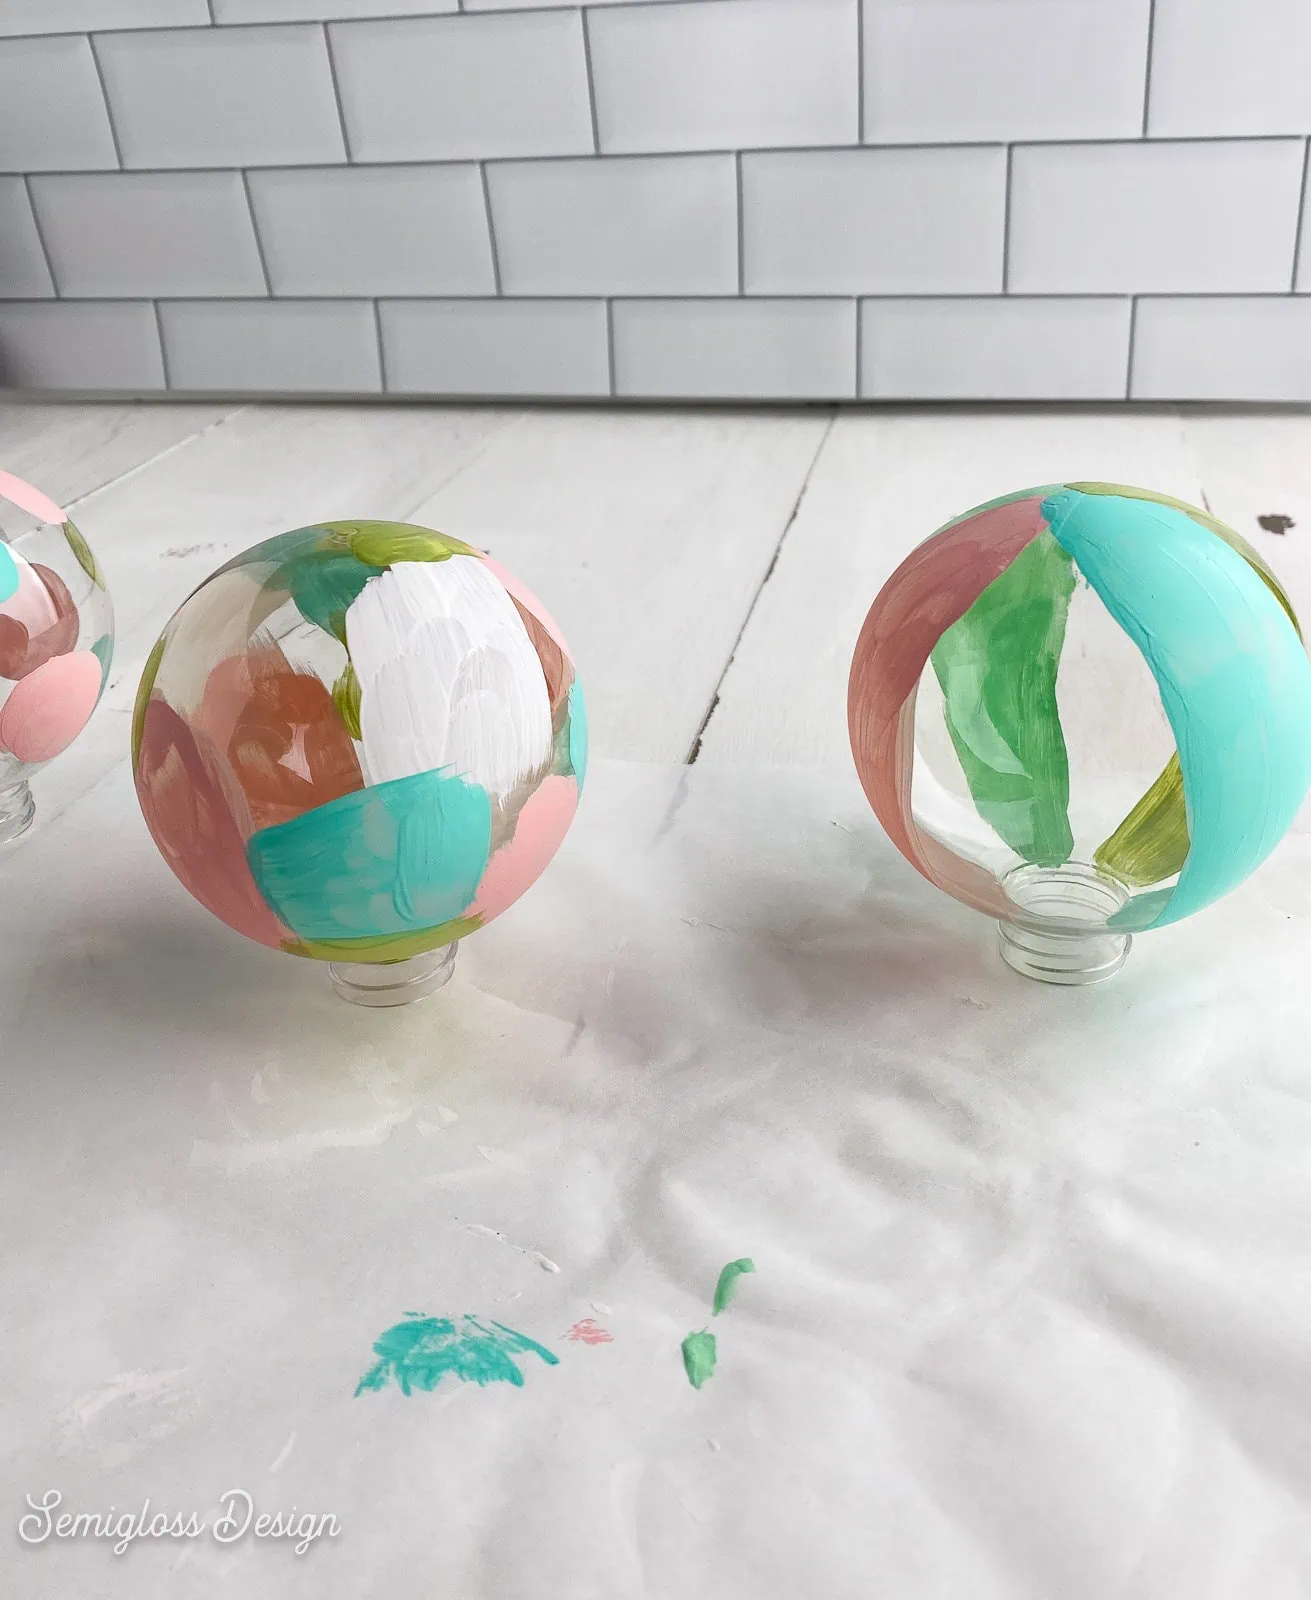
- Add another coat to your ornaments. I let the stripes overlap. The brushstrokes also overlapped.
- Keep painting and adding colors until you’re finished.
- Some colors may need more than one coat.

- Let the paint dry.
 I wanted my ornaments to have a hand-painted look, so I didn’t go for perfection. Messy edges are okay!
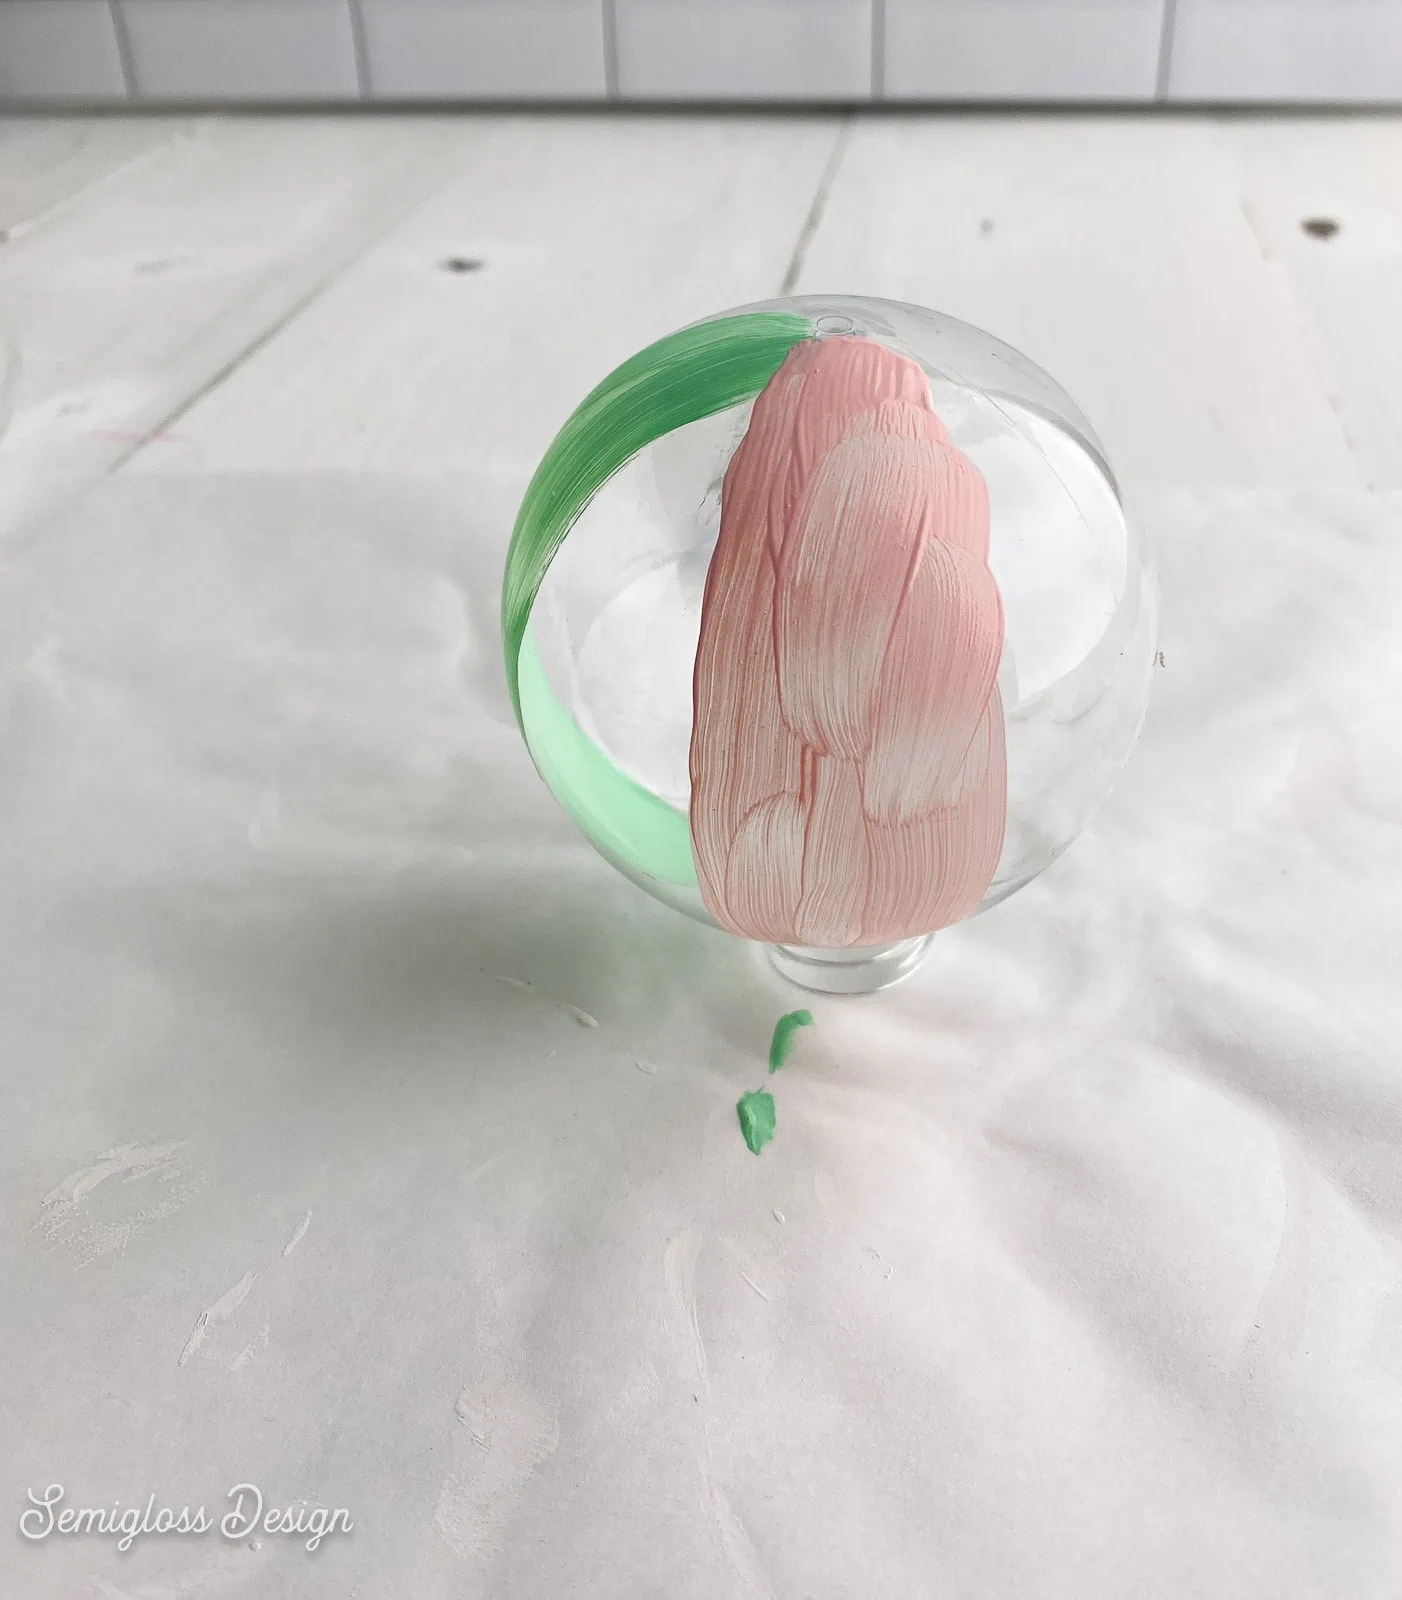
Adding Details
You can skip this step if you want, but I love the added detail.
- Add marks to the ornaments with Posca markers.

- I added lines, dots, starbursts, and triangles to the ornaments in contrasting colors.
- Don’t go overboard. Less is more when it comes to mark-making.
- Let the paint dry. Paint markers dry pretty quickly.
Finishing the Ornaments
- Paint a coat of Mod Podge on the ornaments. I painted the bottoms, let them dry, and then painted the tops so that I had areas to hold and sit down.

- Let the Mod Podge dry.

- Add ribbons to hang the ornaments.


You might also like:
Pin for Later!

Emy is a vintage obsessed mama of 2 DIYer who loves sharing affordable solutions for common home problems. You don’t need a giant budget to create a lovely home. Read more…