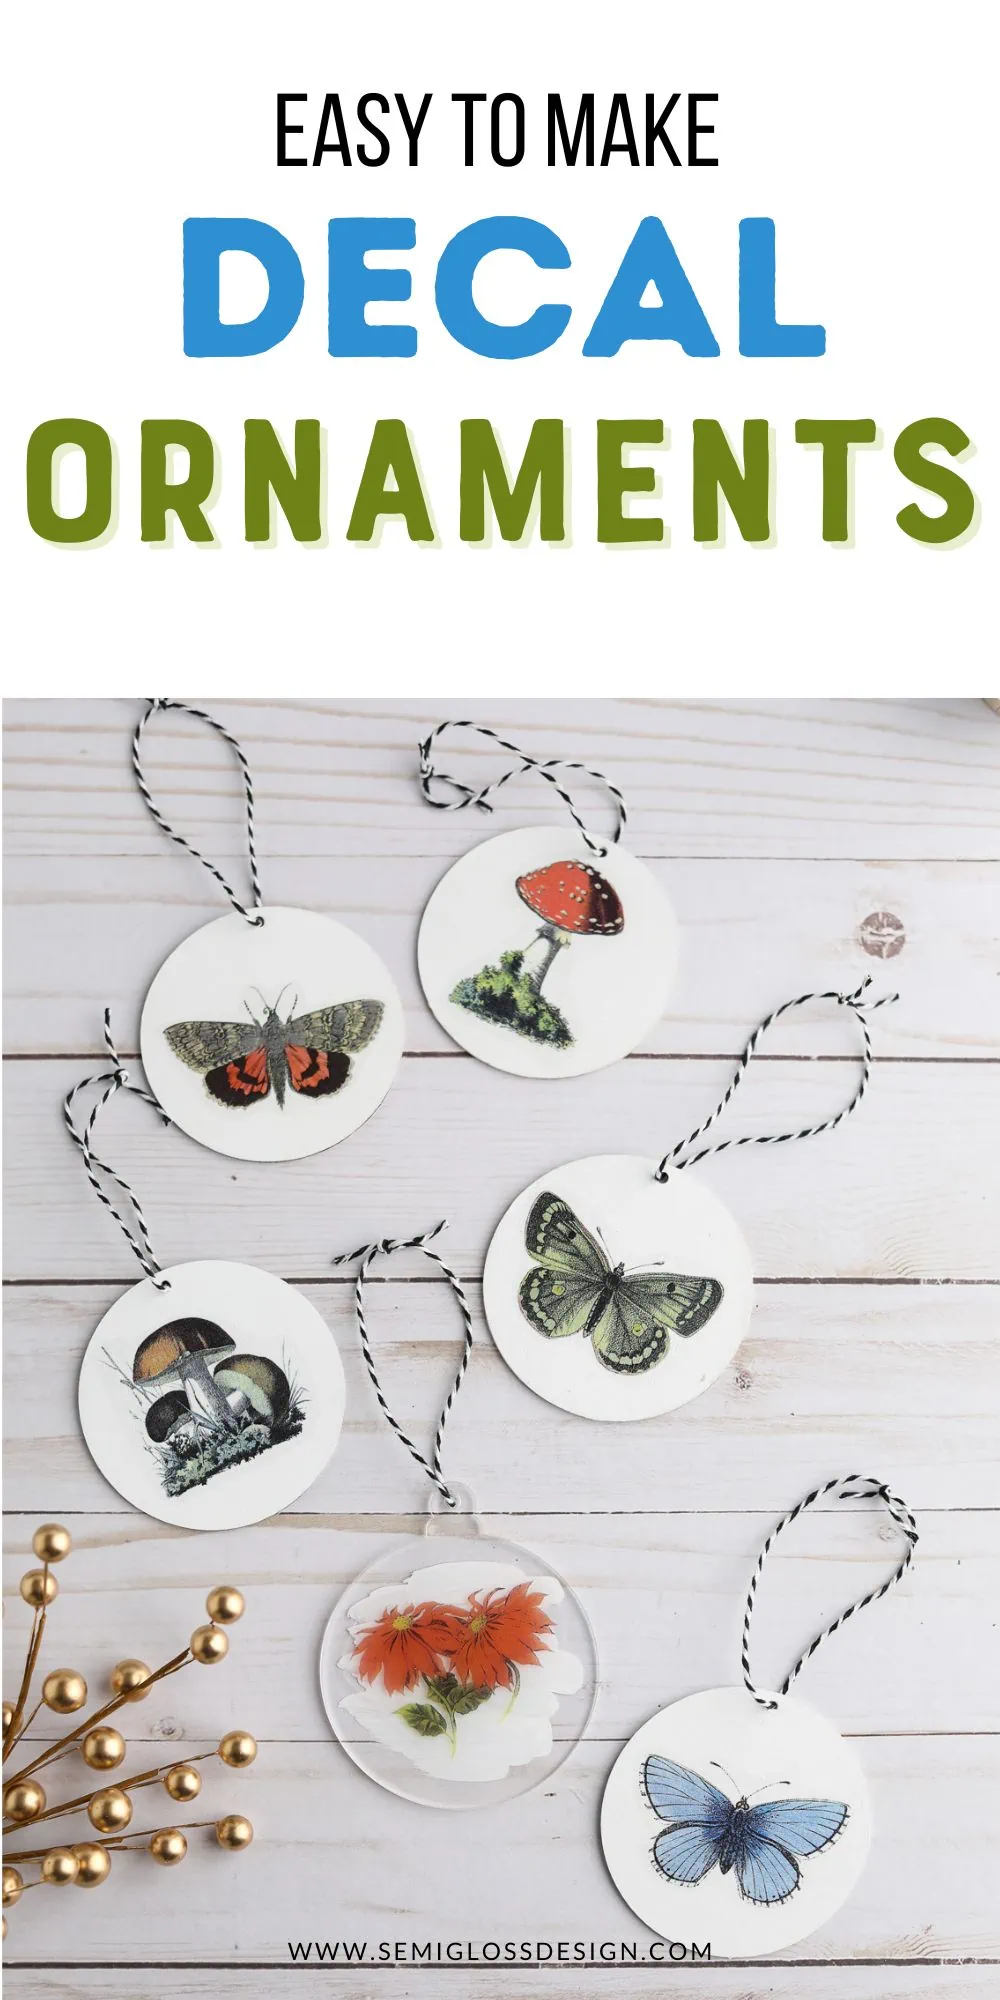
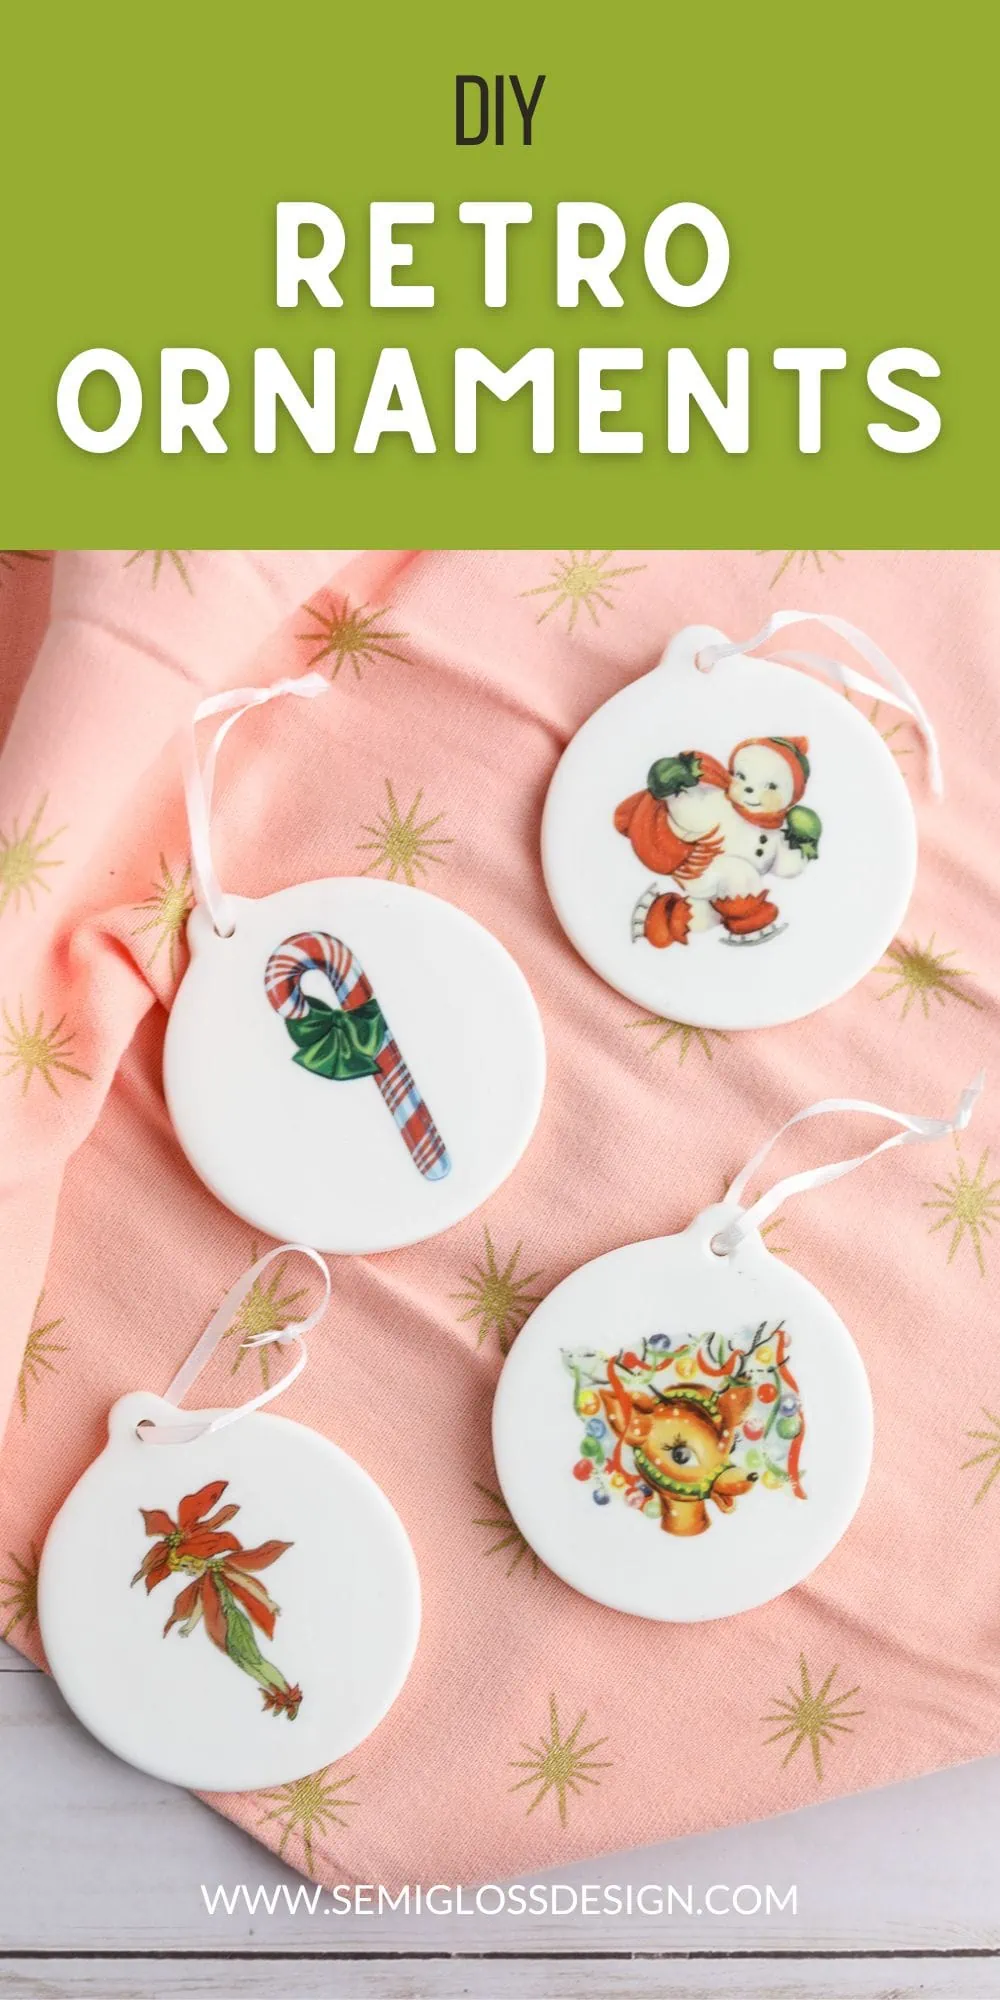
Vintage-Inspired Waterslide Decal Ornaments
These waterslide decal ornaments feature cute vintage illustrations but can be customized with any image that you want. These ornaments are so quick to make and look like something you would buy in a fancy boutique.
You might also like these other fun Christmas ornament tutorials.
This post contains affiliate links. By purchasing an item through an affiliate link, I earn a small commission at no extra cost to you. As an Amazon Associate I earn from qualifying purchases.
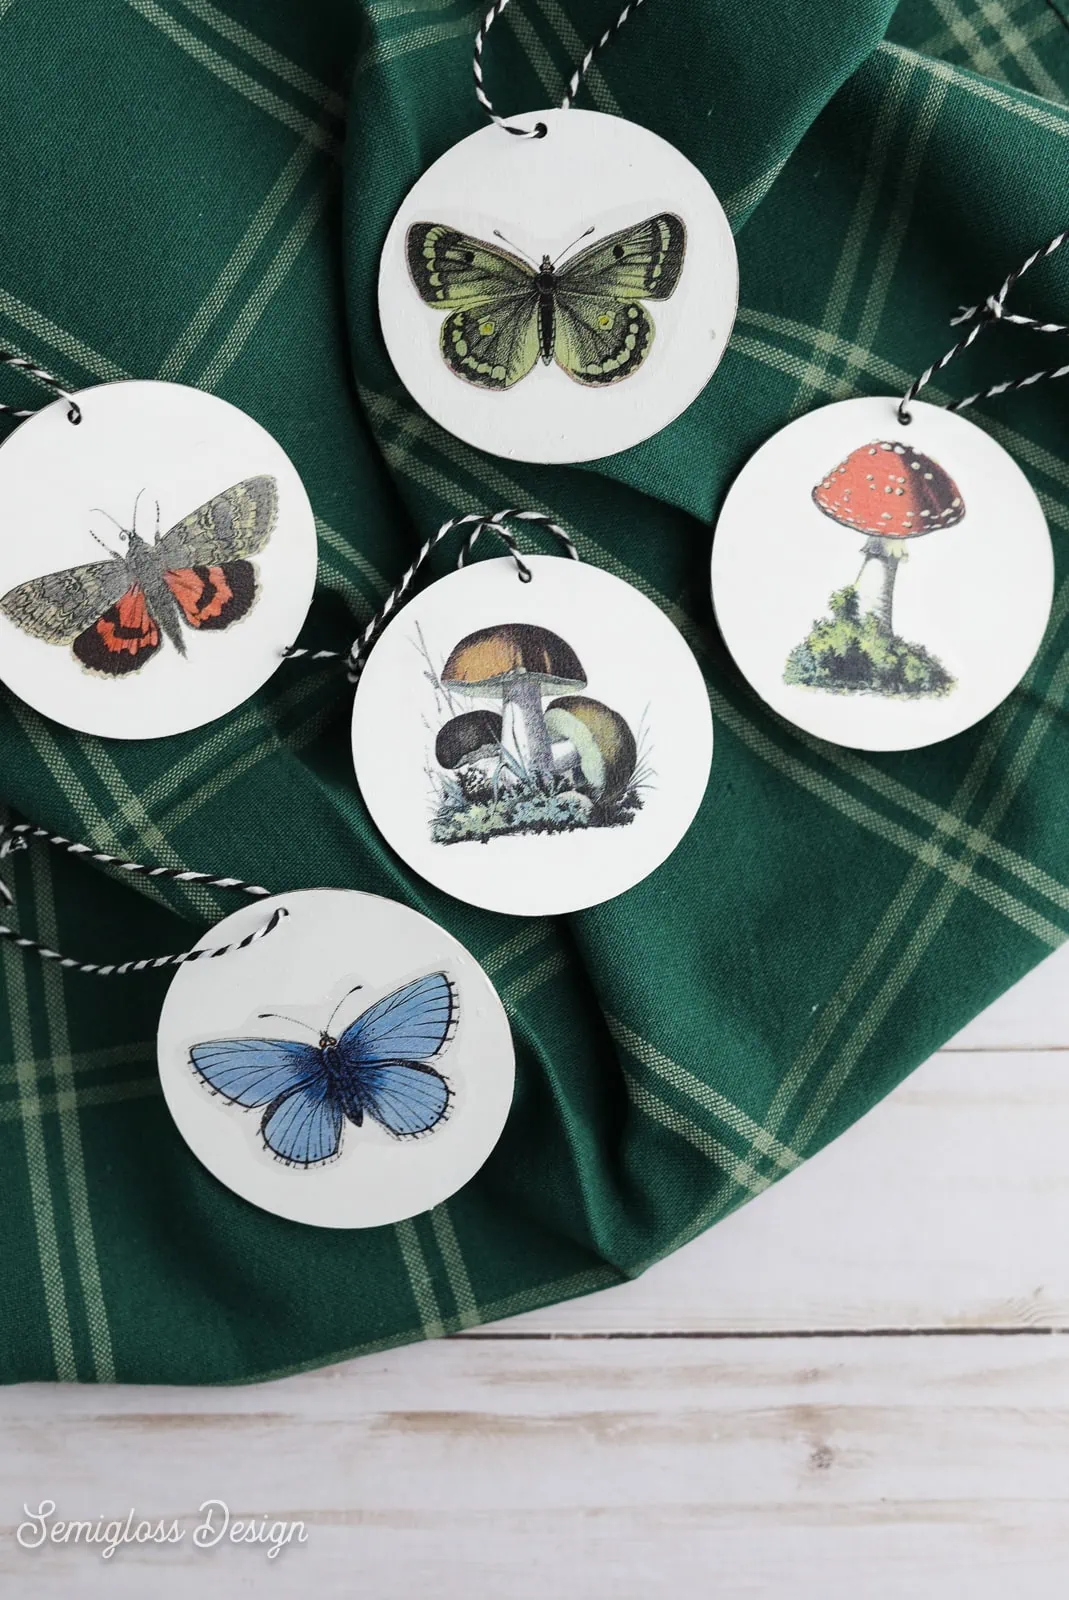
These vintage illustration ornaments might be my favorite ornaments that I’ve ever made. I love the vintage look so much!
These ornaments use waterslide decals. Waterslide decals are so easy to use. I’ve used them for trinket dishes in the past.
Just print your images, seal the paper, soak in water, and slide the image onto the surface! Don’t worry; the instructions have plenty of detailed instructions to guide you through the process.
Waterslide Decal Ornaments
Supplies Needed:
- Ornament blanks
- Craft paint
- Paintbrush
- Waterslide decal paper
- Clear spray paint
- Printer
- Decoupage glue
- Images
Notes about supplies:
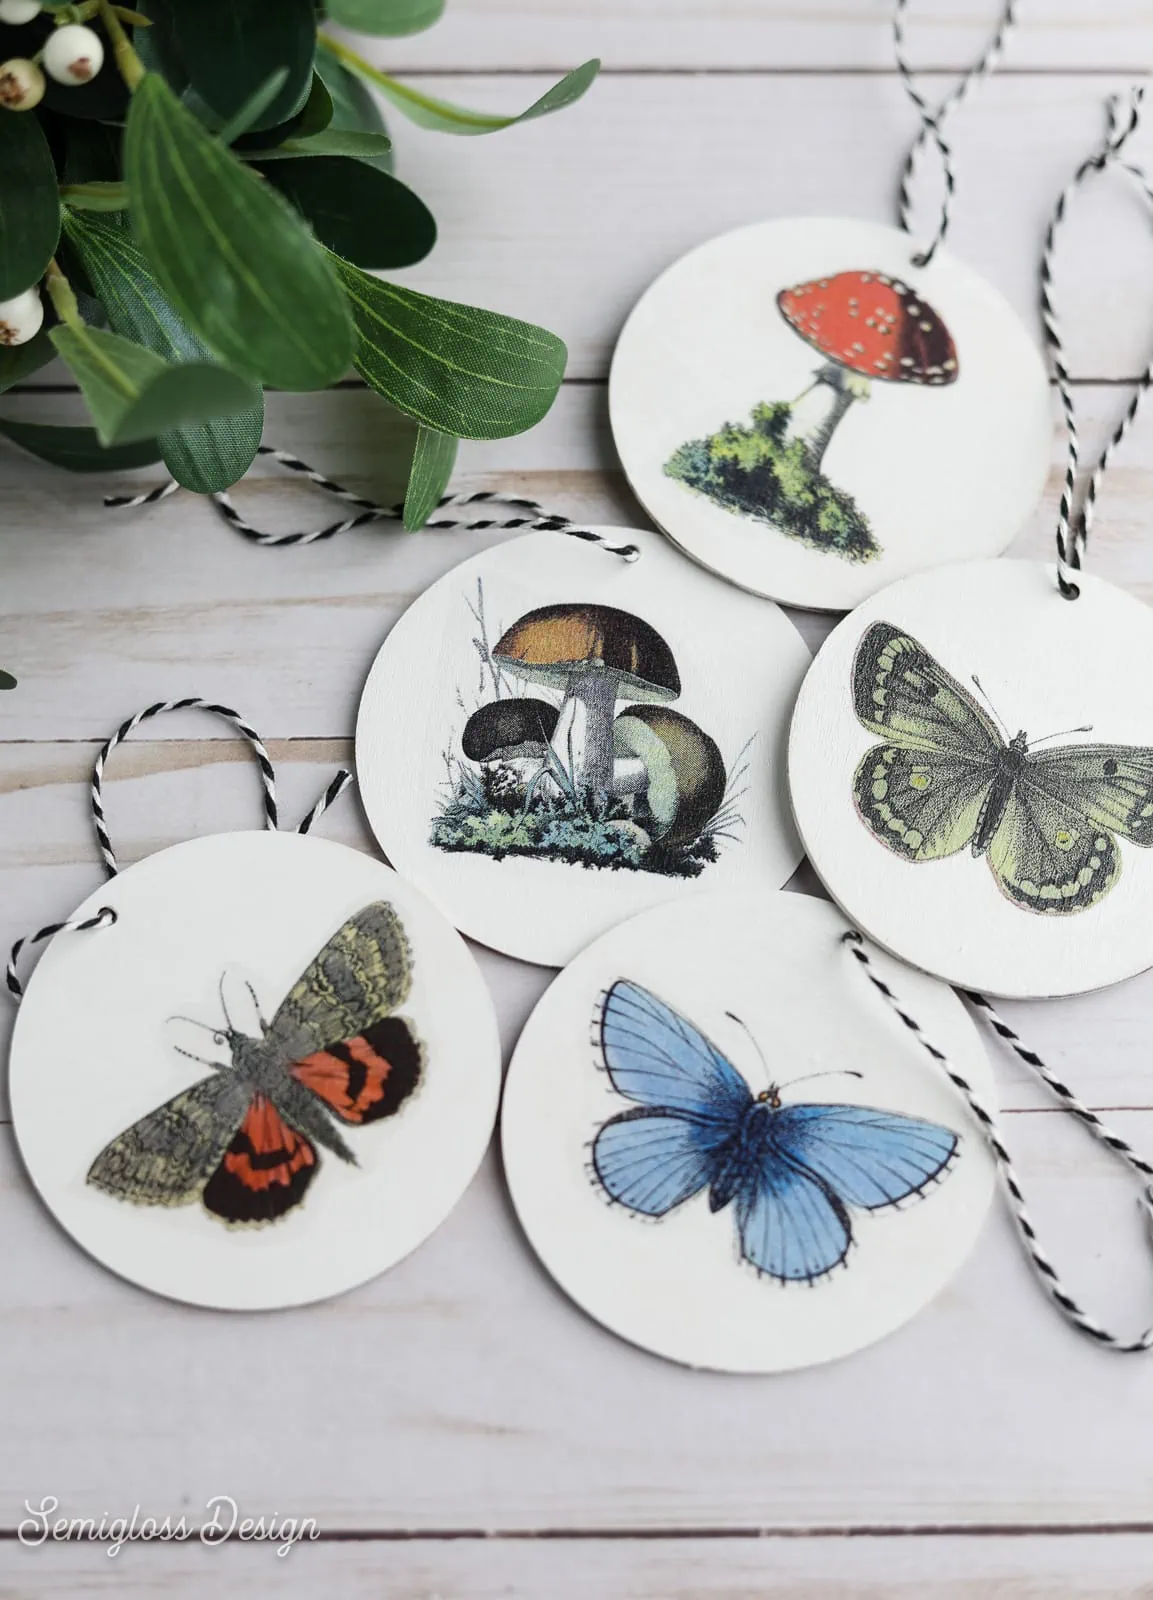
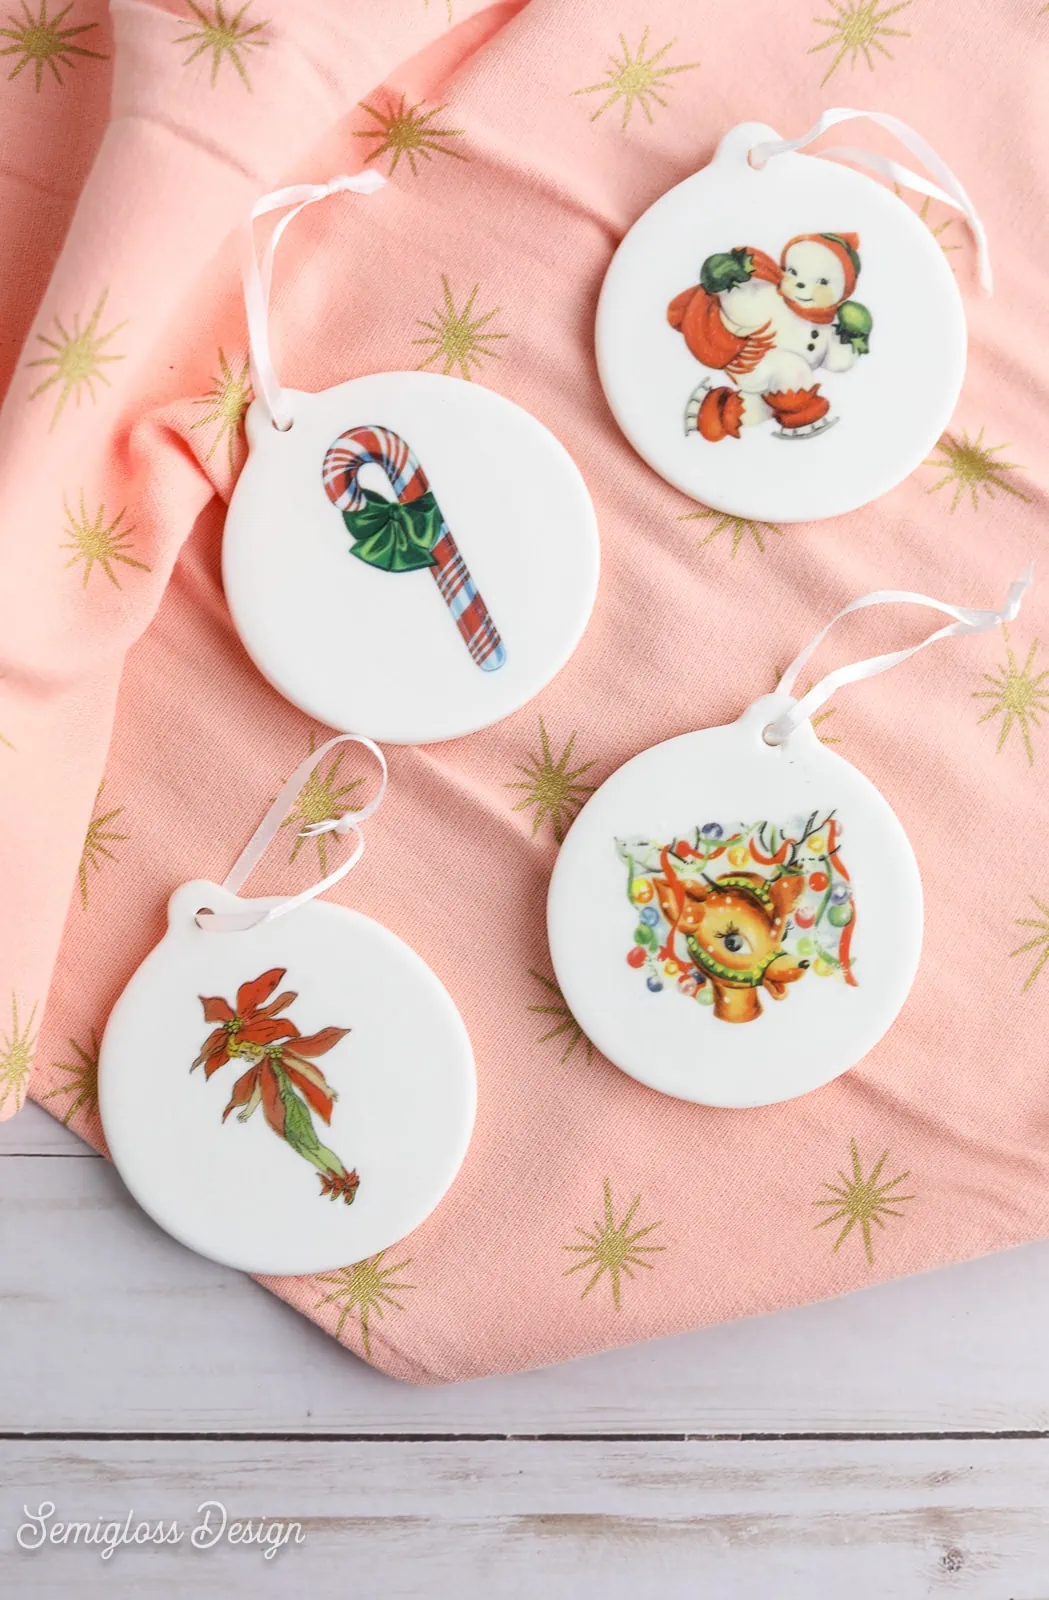
Ornament Blanks: I used ceramic blanks, wooden blanks, and one acrylic ornament with a white paint swatch on the back. The ceramic blanks look gorgeous but don’t work well with the decals. The wooden ornaments were much easier to work with.
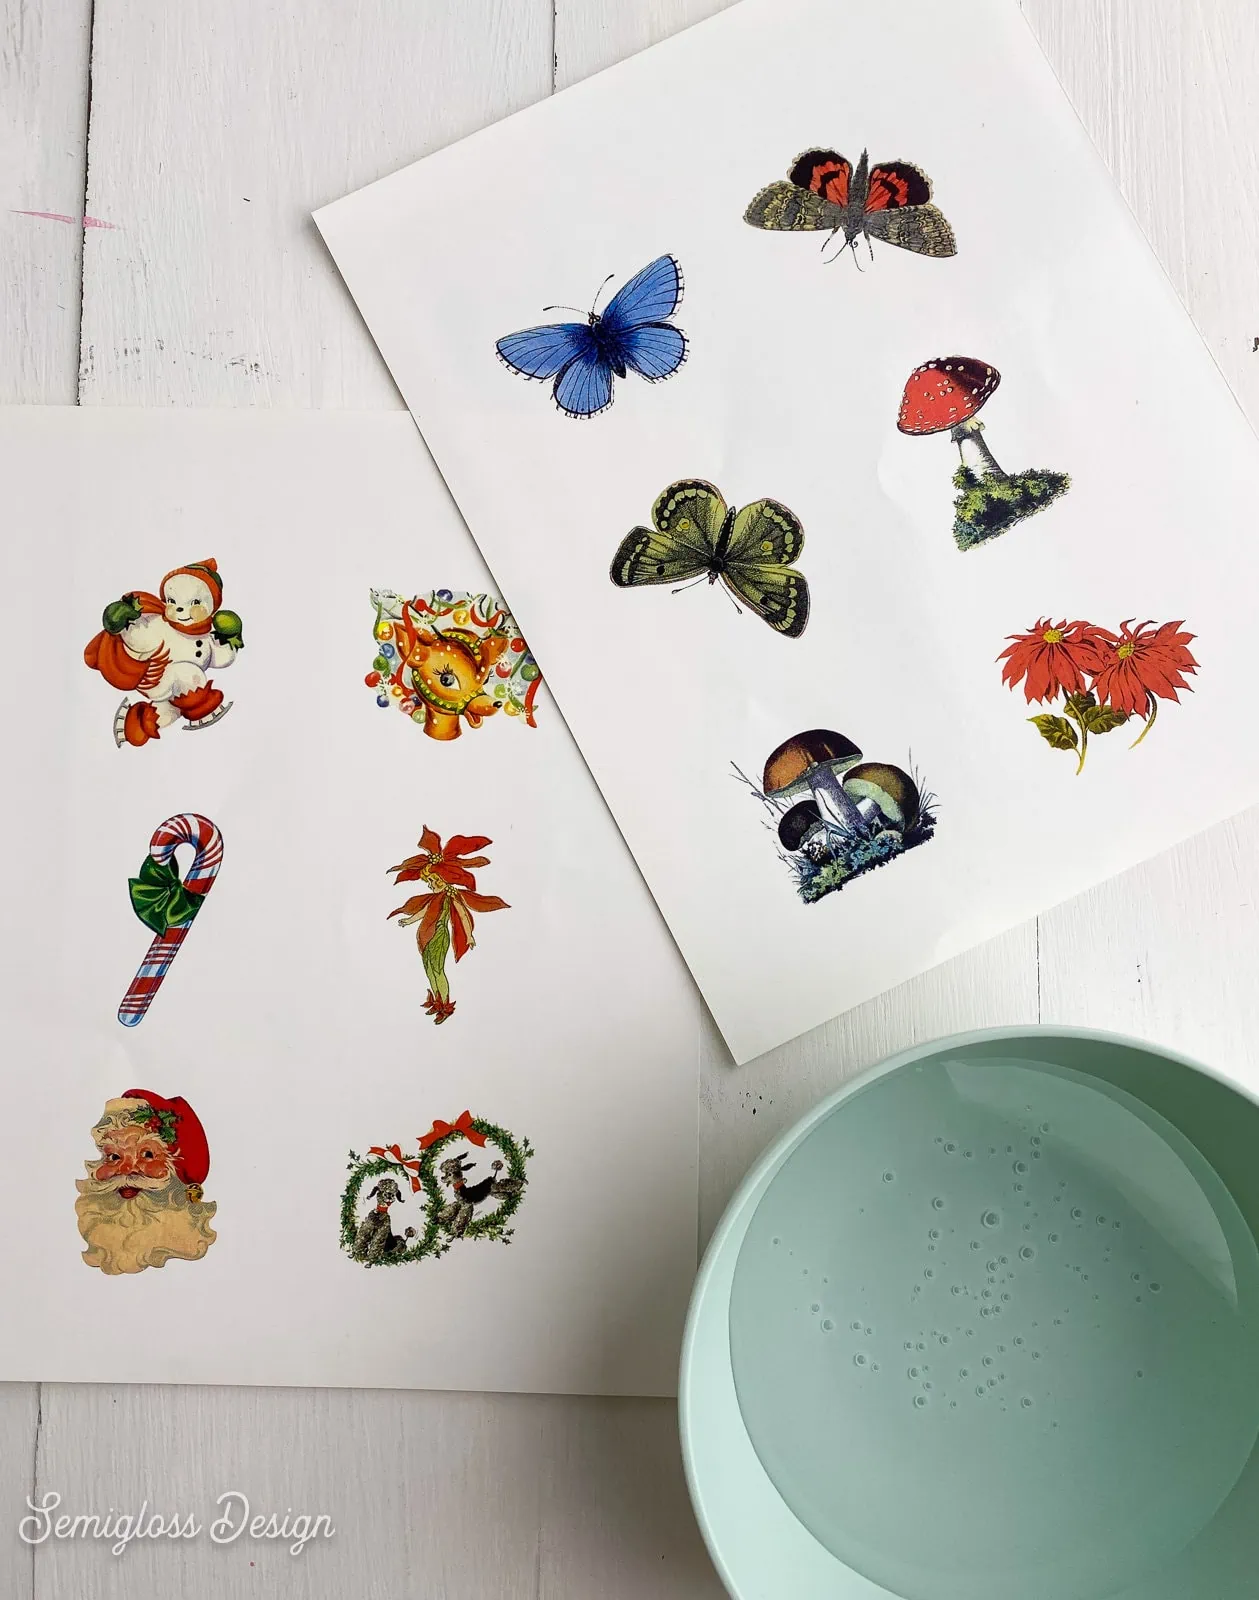
Images: My favorite place to find vintage illustrations is The Graphics Fairy. She has the best collection of vintage images. My favorite searches are vintage botanicals, vintage Christmas, and bugs and butterflies.
I would love to give them away, but they aren’t my images to give. Instead, I’ll tell you how I collected the images and how you can create your own collage sheet.
Waterslide decal paper: Waterslide decal paper has a clear background so that it can be used on items with colored backgrounds. However, the images have white backgrounds. So, if you don’t know how to remove the backgrounds, you can just decoupage the images instead.
Decoupage glue: I used decoupage glue to seal the images on the ceramic ornaments because the decals didn’t stick very well. Sealing the images on the wood ornaments is unnecessary unless you want to.
Creating the Image Sheet
- As mentioned above, the images are from The Graphics Fairy. Find your images, click on them to make them bigger, and then double-click the image to save it to your computer.
- Collect as many images as you want.
- Open a 8.5″ x 11″ document in Canva. (Canva is a free graphics design software.)
- Upload the images and add them to the document.
- Resize each image to fit on the ornaments. The ornaments I used are 3″ wide, so I made the images a little smaller than that.
- If you have Canva Pro, you can click on each image and remove the background in the edit photo menu.
- Save the document. If you have Canva Pro, save it as a PNG with a transparent background.
- If you can’t remove the background and save it as a transparent PNG, it’s fine. The images will have a white background, so you will need to place these on white ornaments and trim around the images. (You can save it as a PNG or a JPG.)
How to Print Waterslide Decals
A note about printers: These decals can be used with inkjet or laser printers. Inkjet printers use ink that bleeds when it gets wet. Laser printers use toner that is waterproof.
However, the image needs to be sealed no matter which printer you use. I used my laser printer, and the images disintegrated when I tried to use them without sealing them.
- Before you print your image, mark on the top sheet of paper in your printer and send a test print through to figure out which side of the paper gets printed on.
- Place your decal paper in the printer paper loader. The shiny side gets printed on.
- Print as usual.
- Let the ink dry for about 30 minutes.
- Spray the images with 2-3 coats of clear spray paint. Let them dry between each coat.
Prepare Your Ornament Blanks
If you are using transparent PNG images, you can use whatever blanks you want. If you’re not using PNG images, your ornaments need to be white.
- Paint each ornament white.
- Each ornament will need 2-3 coats of paint.
- Let them dry between each coat.
- Flip them over and paint the other side.
How to Use Waterslide Decals
- Cut the images apart, leaving 1/4″ around them.

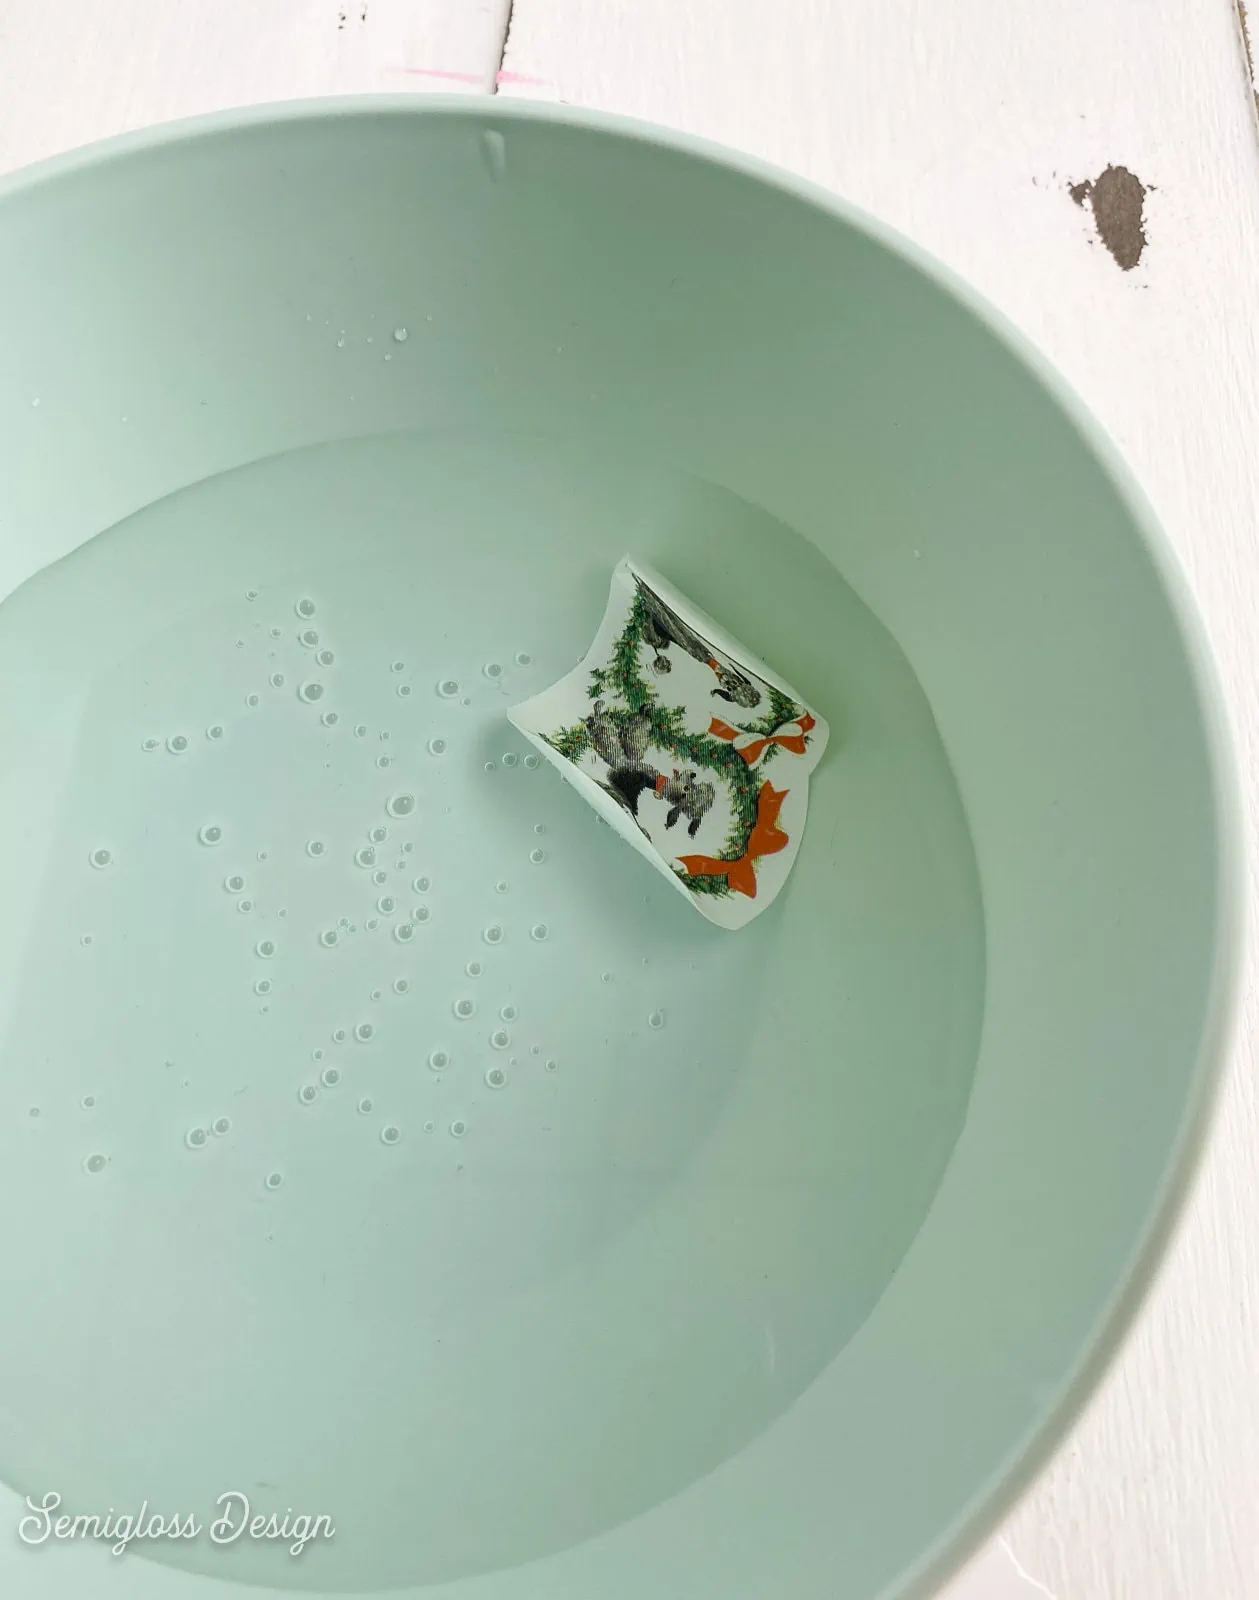
- Fill a bowl with lukewarm water. Cold water doesn’t work as well.
- Drop an image in the water and let it soak for about 30 seconds.
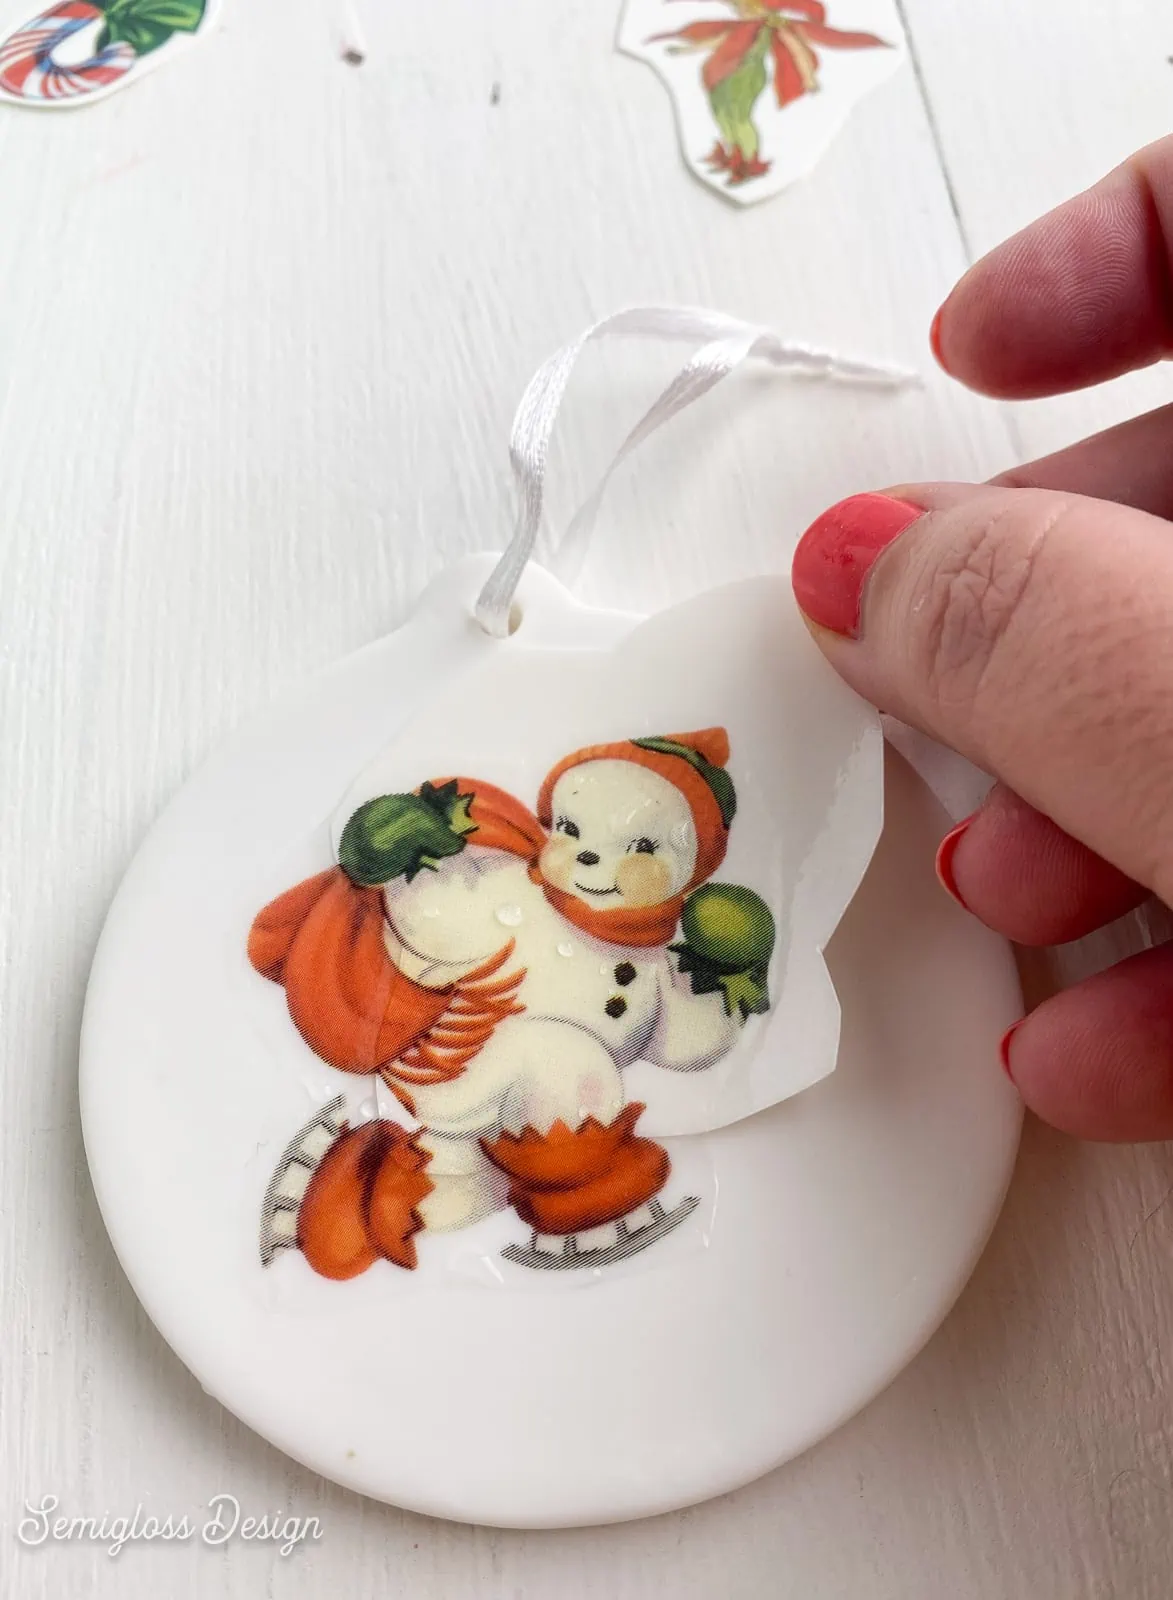
- Remove the image and place it on an ornament.
- Gently slide the paper from the decal, leaving it on the ornament.

- If it’s not in the right place, you can move it.
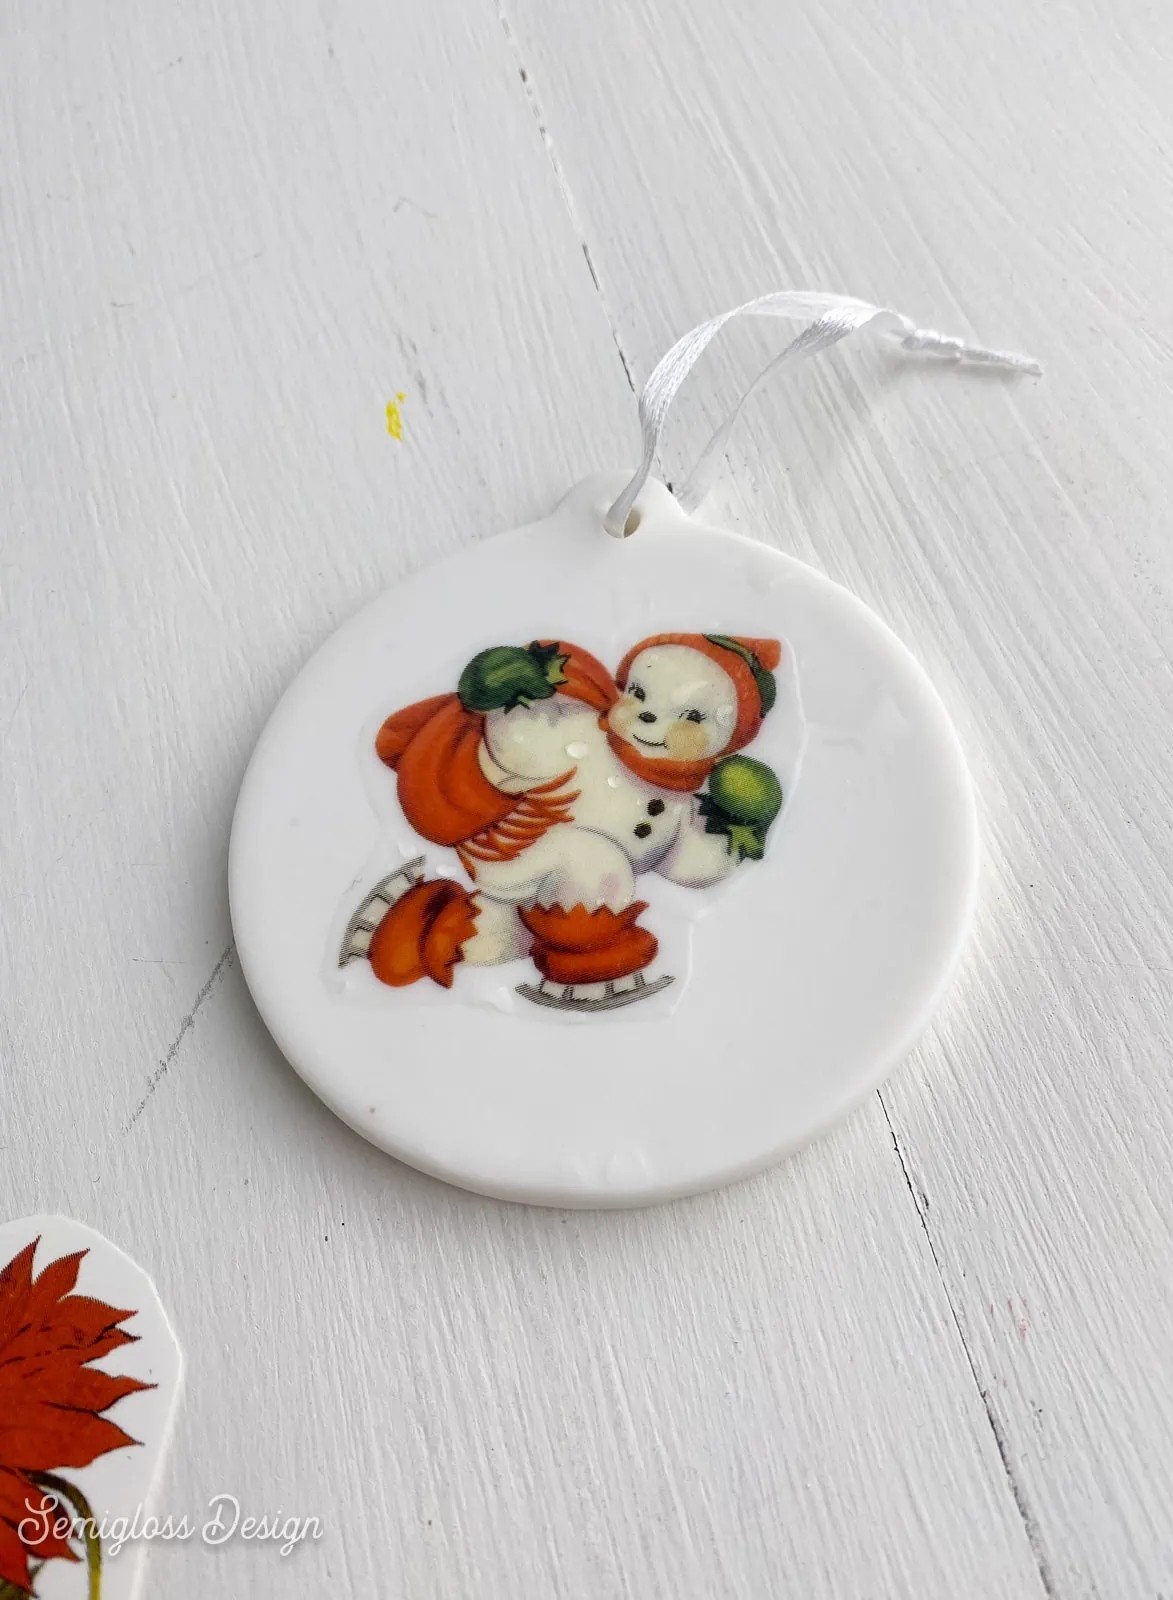
- Let each ornament dry.
- Sealing isn’t necessary, but if you want to, you can add a coat of decoupage glue or clear spray paint.
- The ceramic ornaments didn’t love the waterslide decals, so I used decoupage glue under each decal and on top to glue the images to the ornaments.
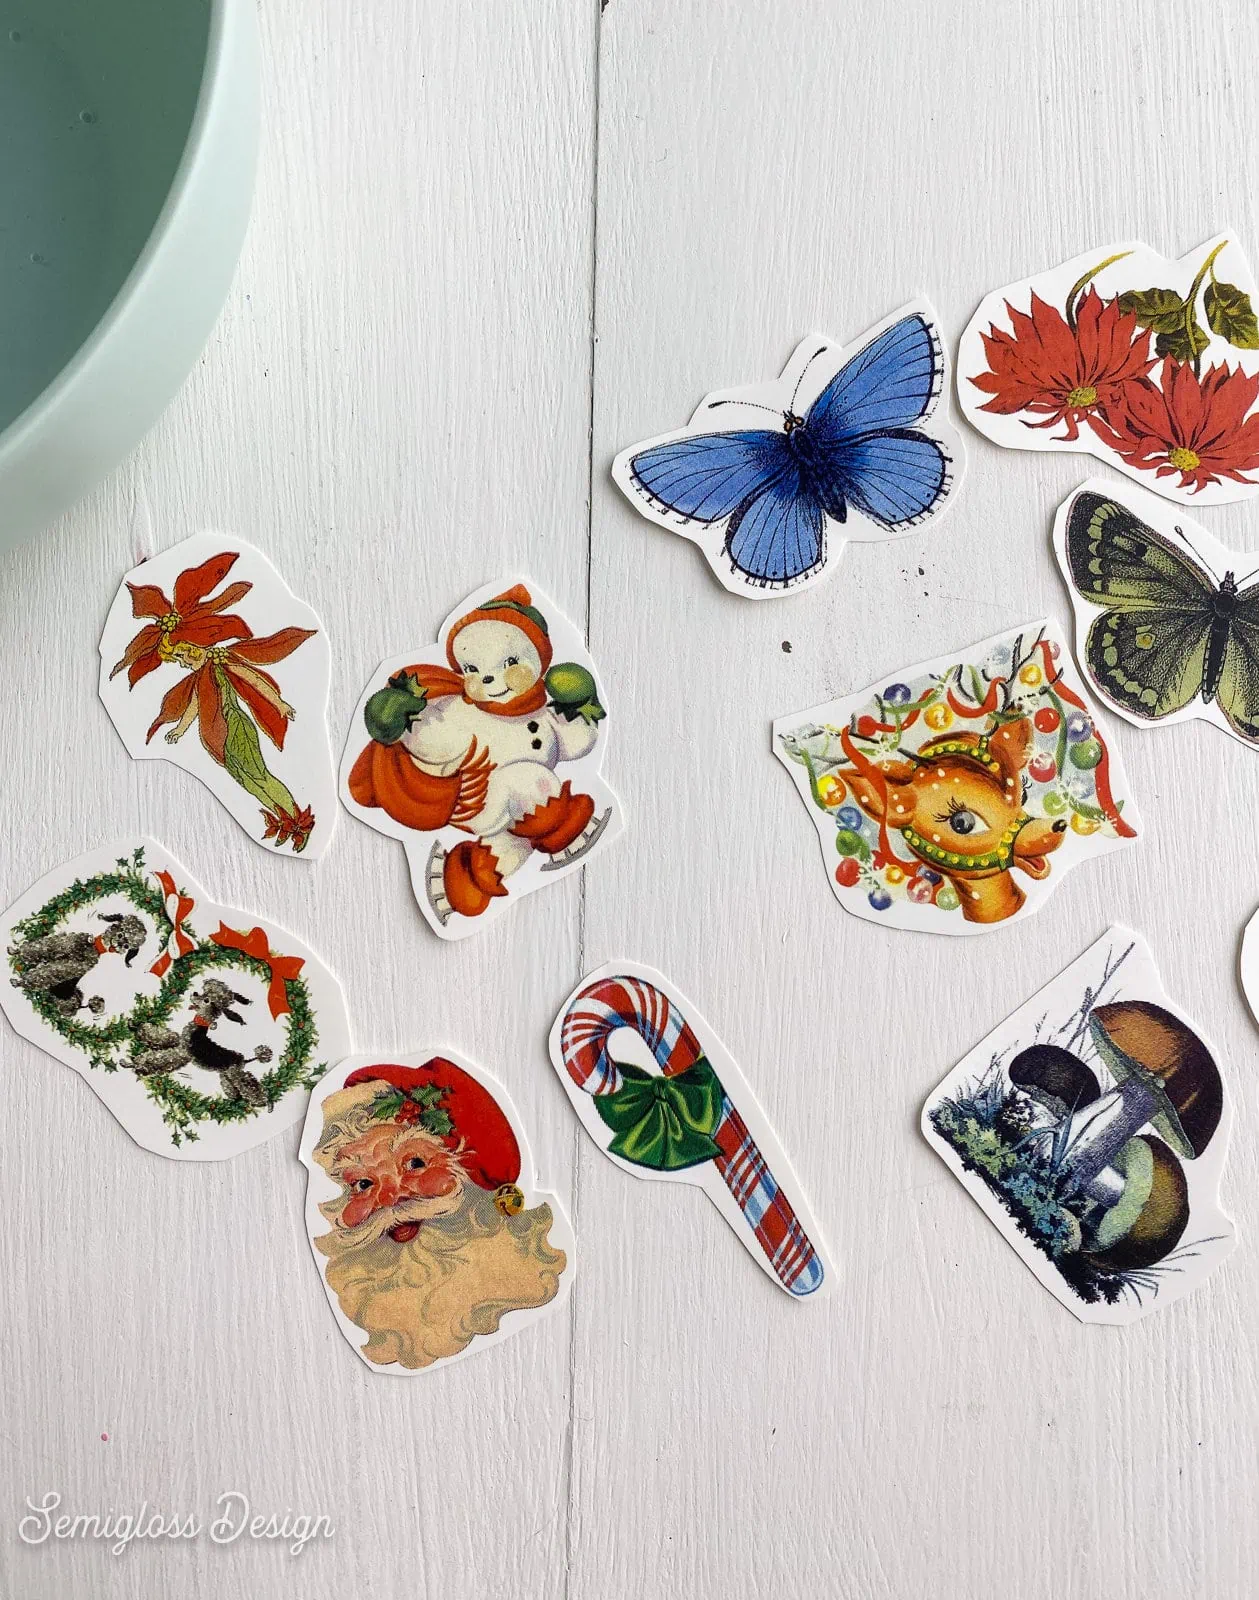
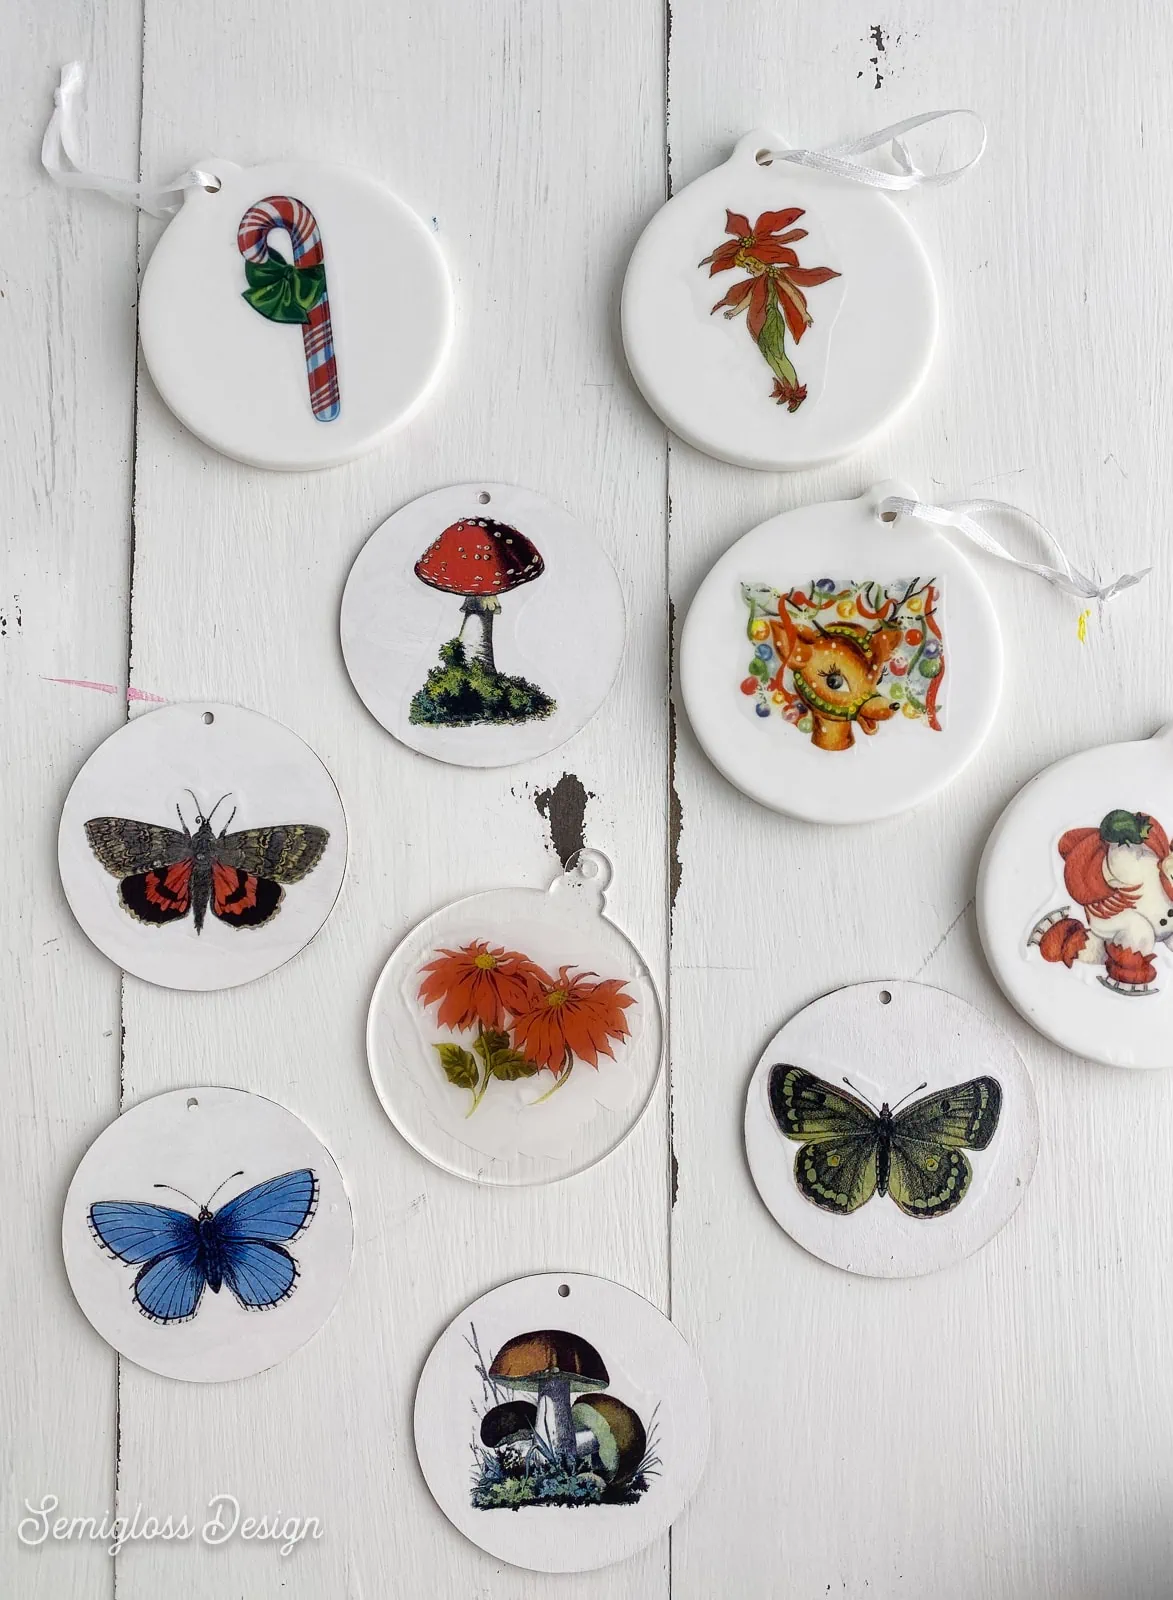
The Christmas images are so cute!
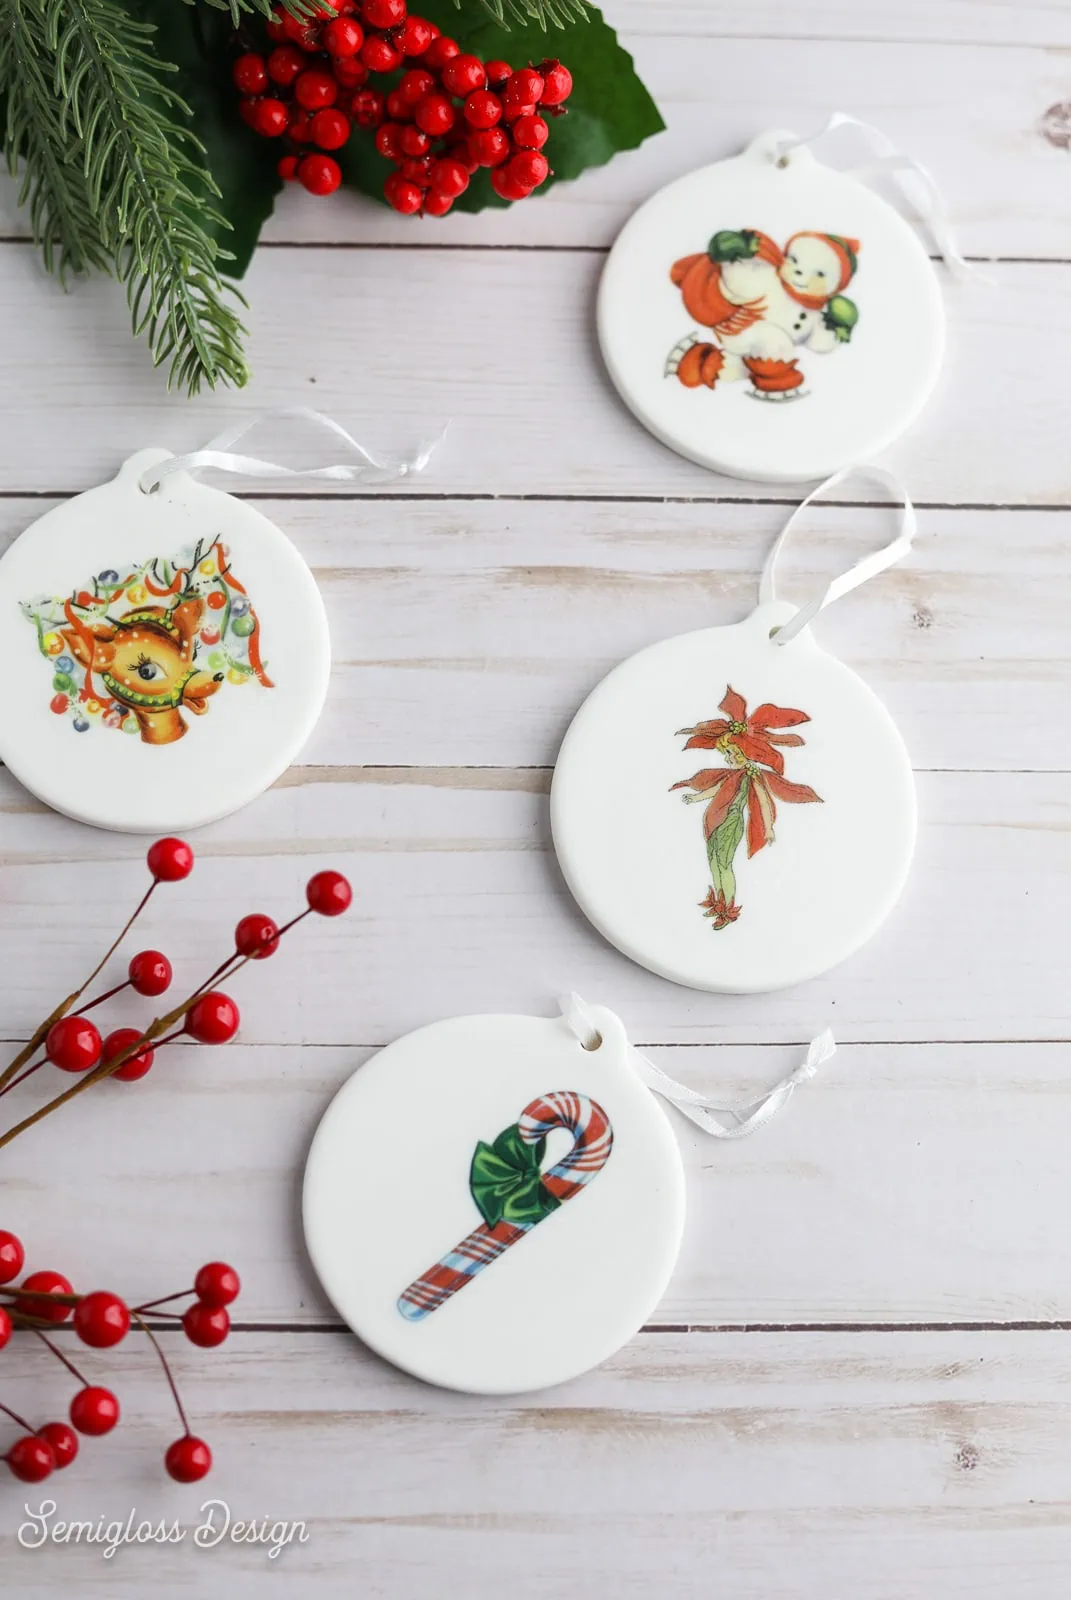
Add ribbons to hang the ornaments.
You might also like:
Pin for Later!

Emy is a vintage obsessed mama of 2 DIYer who loves sharing affordable solutions for common home problems. You don’t need a giant budget to create a lovely home. Read more…