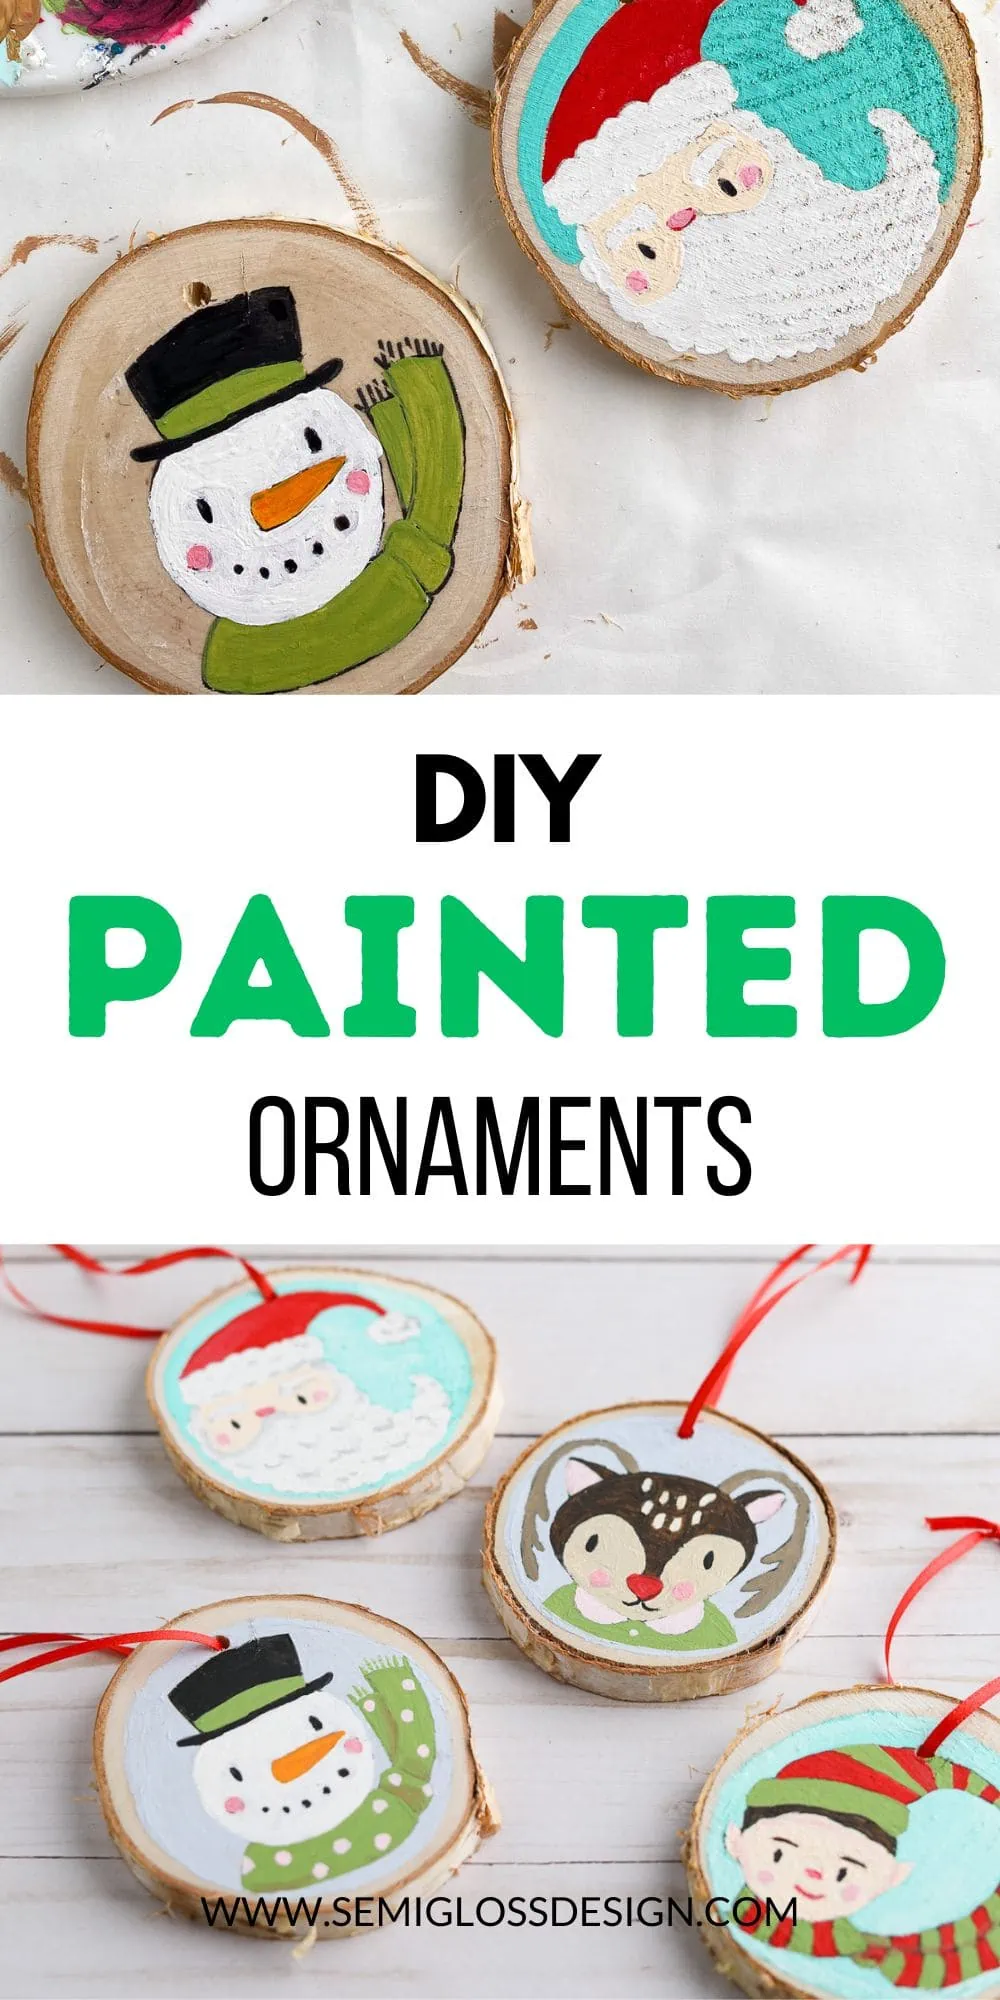
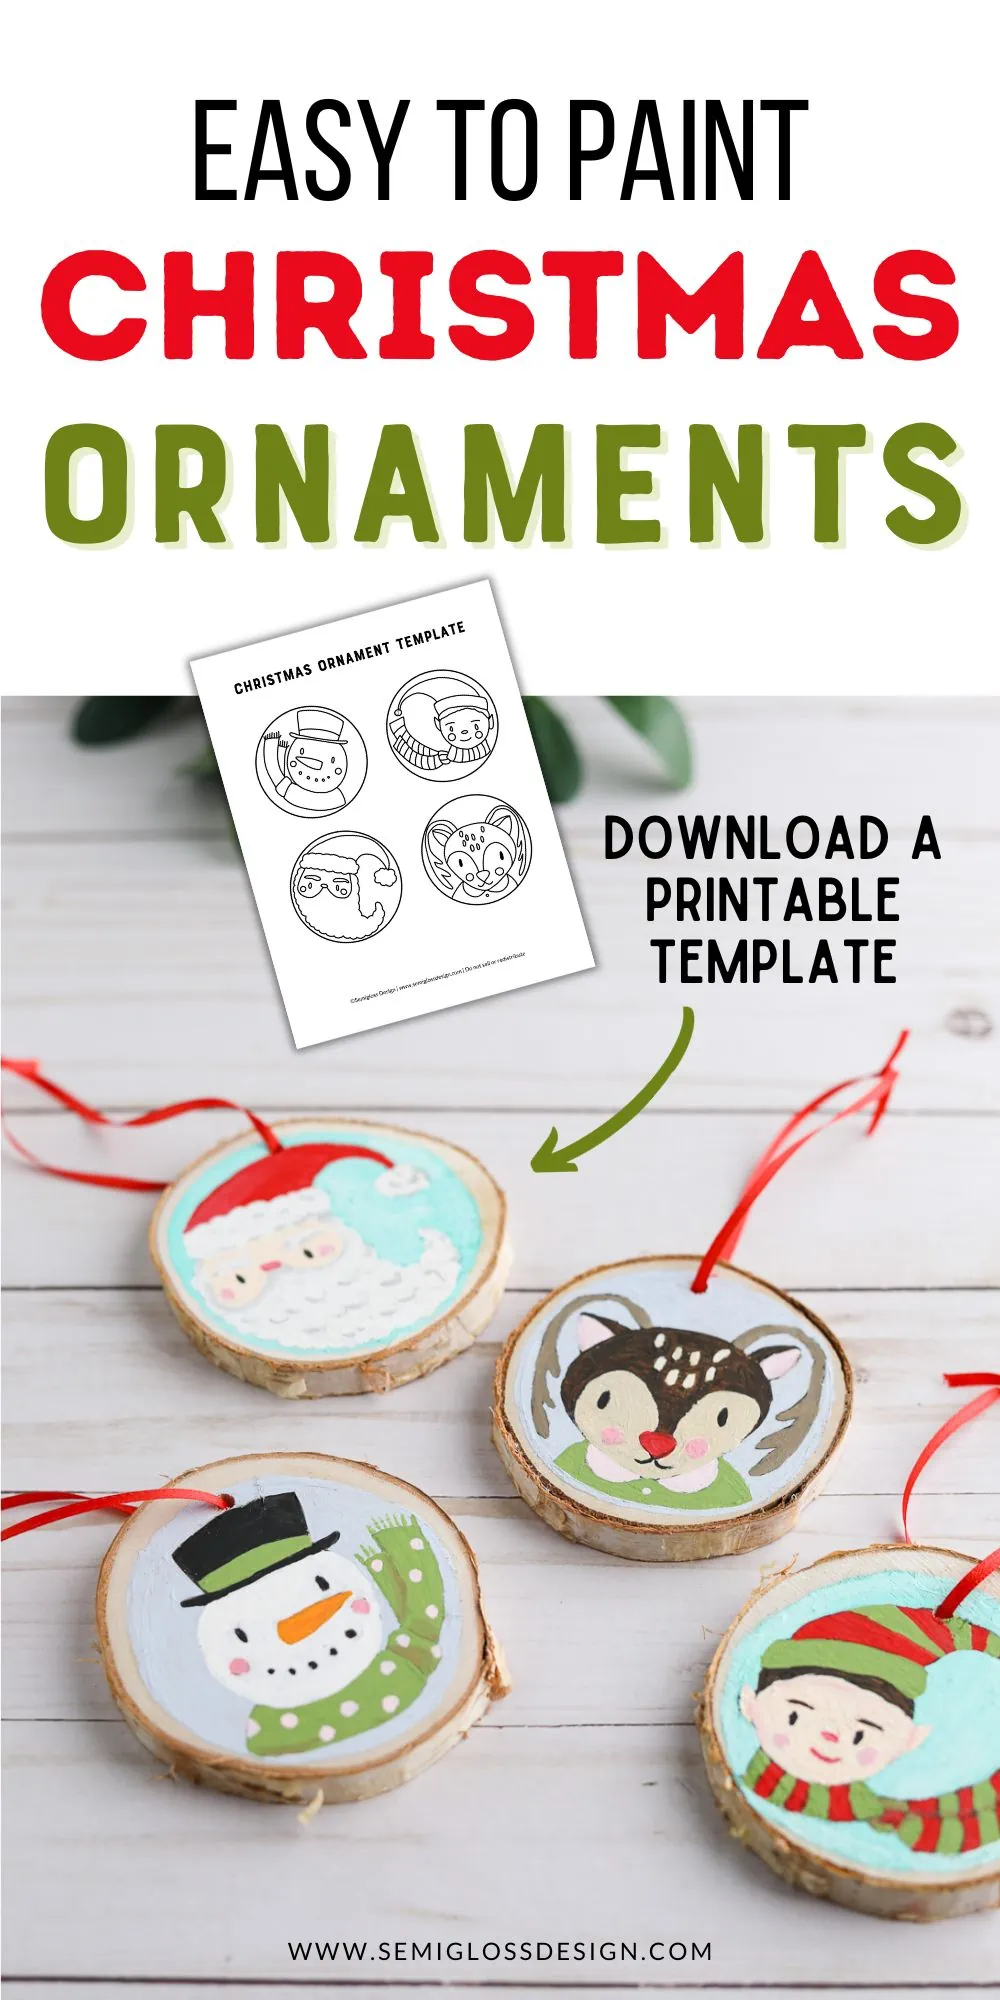
Easy Painted Wood Log Ornaments (with Template)
Get easy tips for making painted wood log ornaments. These easy-to-paint ornaments have a template that can be transferred to the wood. No art skills are needed!
If you can color in the lines, you can paint these cute ornaments.
You might also like these other easy DIY ornaments.
This post contains affiliate links. By purchasing an item through an affiliate link, I earn a small commission at no extra cost to you. As an Amazon Associate I earn from qualifying purchases.
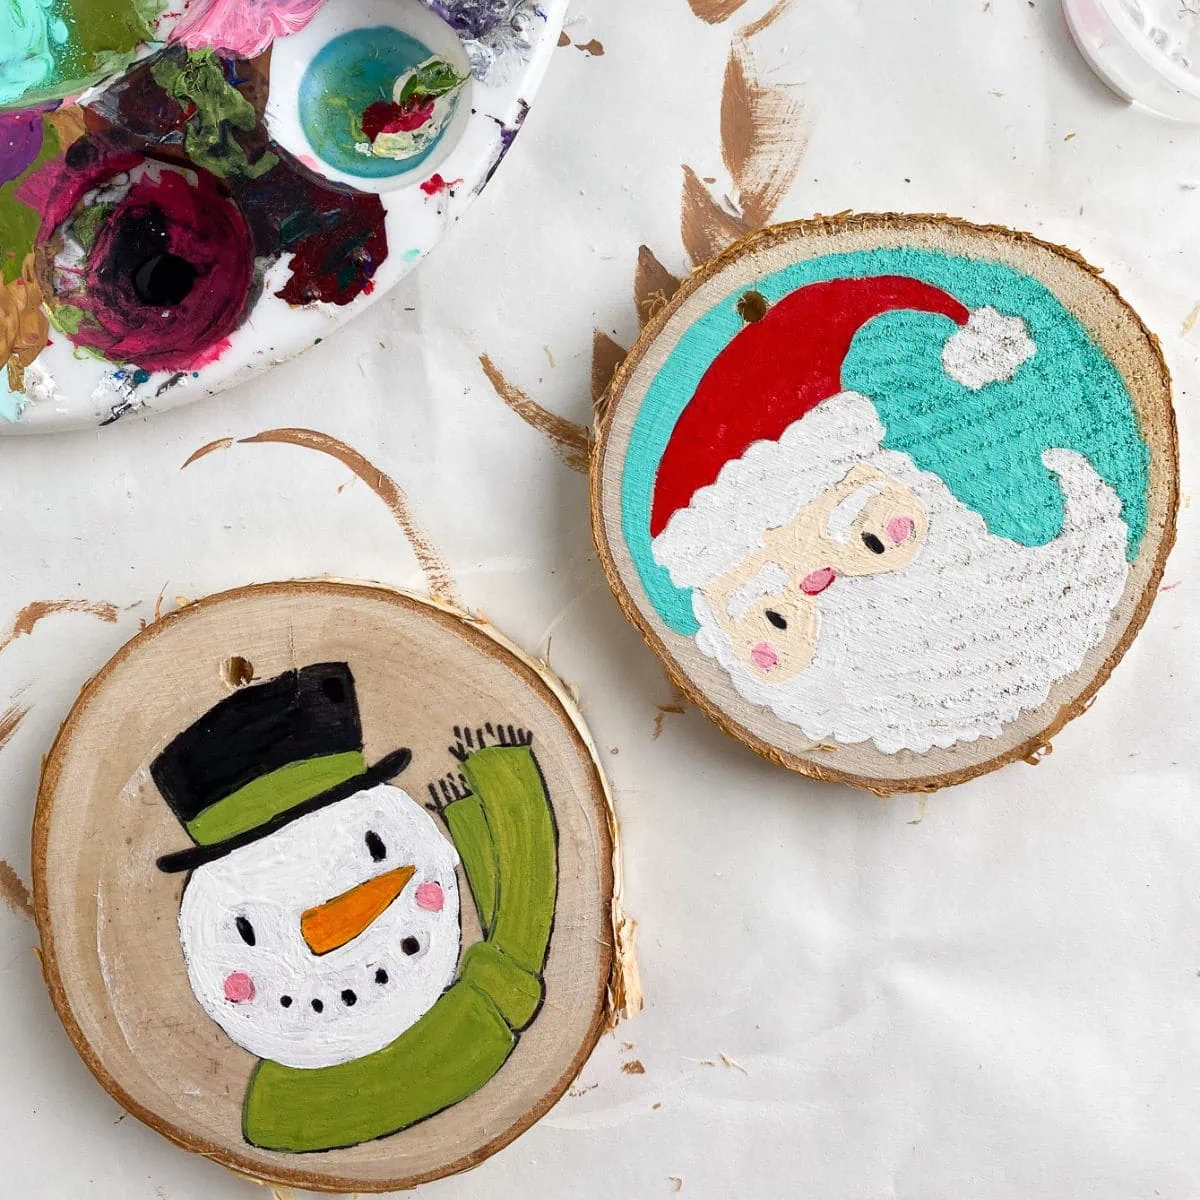
I had so much fun painting these ornaments. These ornaments include my hand-drawn illustrations of Santa, an elf, a snowman, and a cute reindeer.
Painted Wood Log Ornaments
Supplies Needed:
- Wood log ornament blanks
- Sandpaper
- Craft paint
- Paintbrushes
- Paint palette
- Ribbon (to hang)
- Posca markers (optional)
- Matte medium (optional)
- Pencil
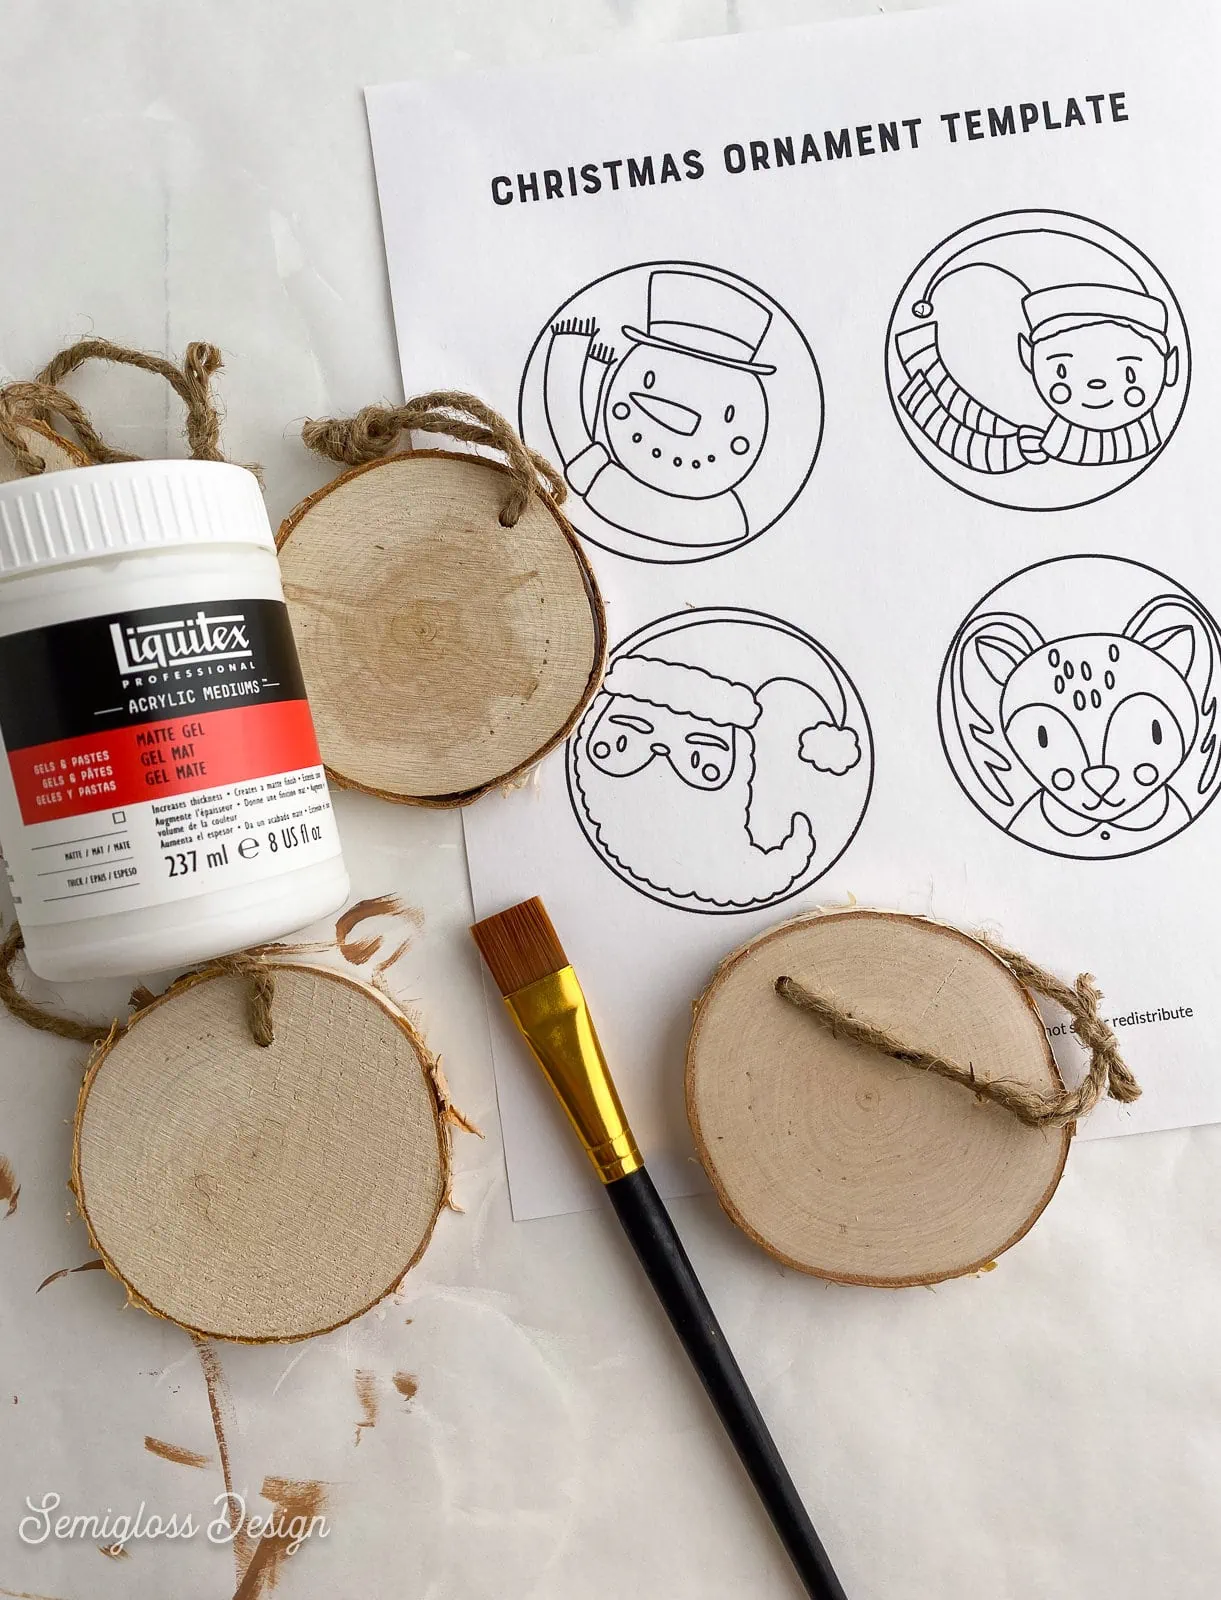
- Template (available at the end of post)
Transferring onto Wood
I’ve included two different ways to transfer the template onto the wood ornaments.
I don’t recommend using carbon paper to transfer. It’s messy, the graphite is too dark, and it smears into the paint. I’ve used it for other projects and dislike the results.
Method 1: Matte medium transfer
This method creates black lines that can be easily seen, but the process is a bit more difficult.
- Print out the template with a laser printer, or get one printed at a print shop. (It needs to be waterproof, and inkjet printers are not waterproof.)
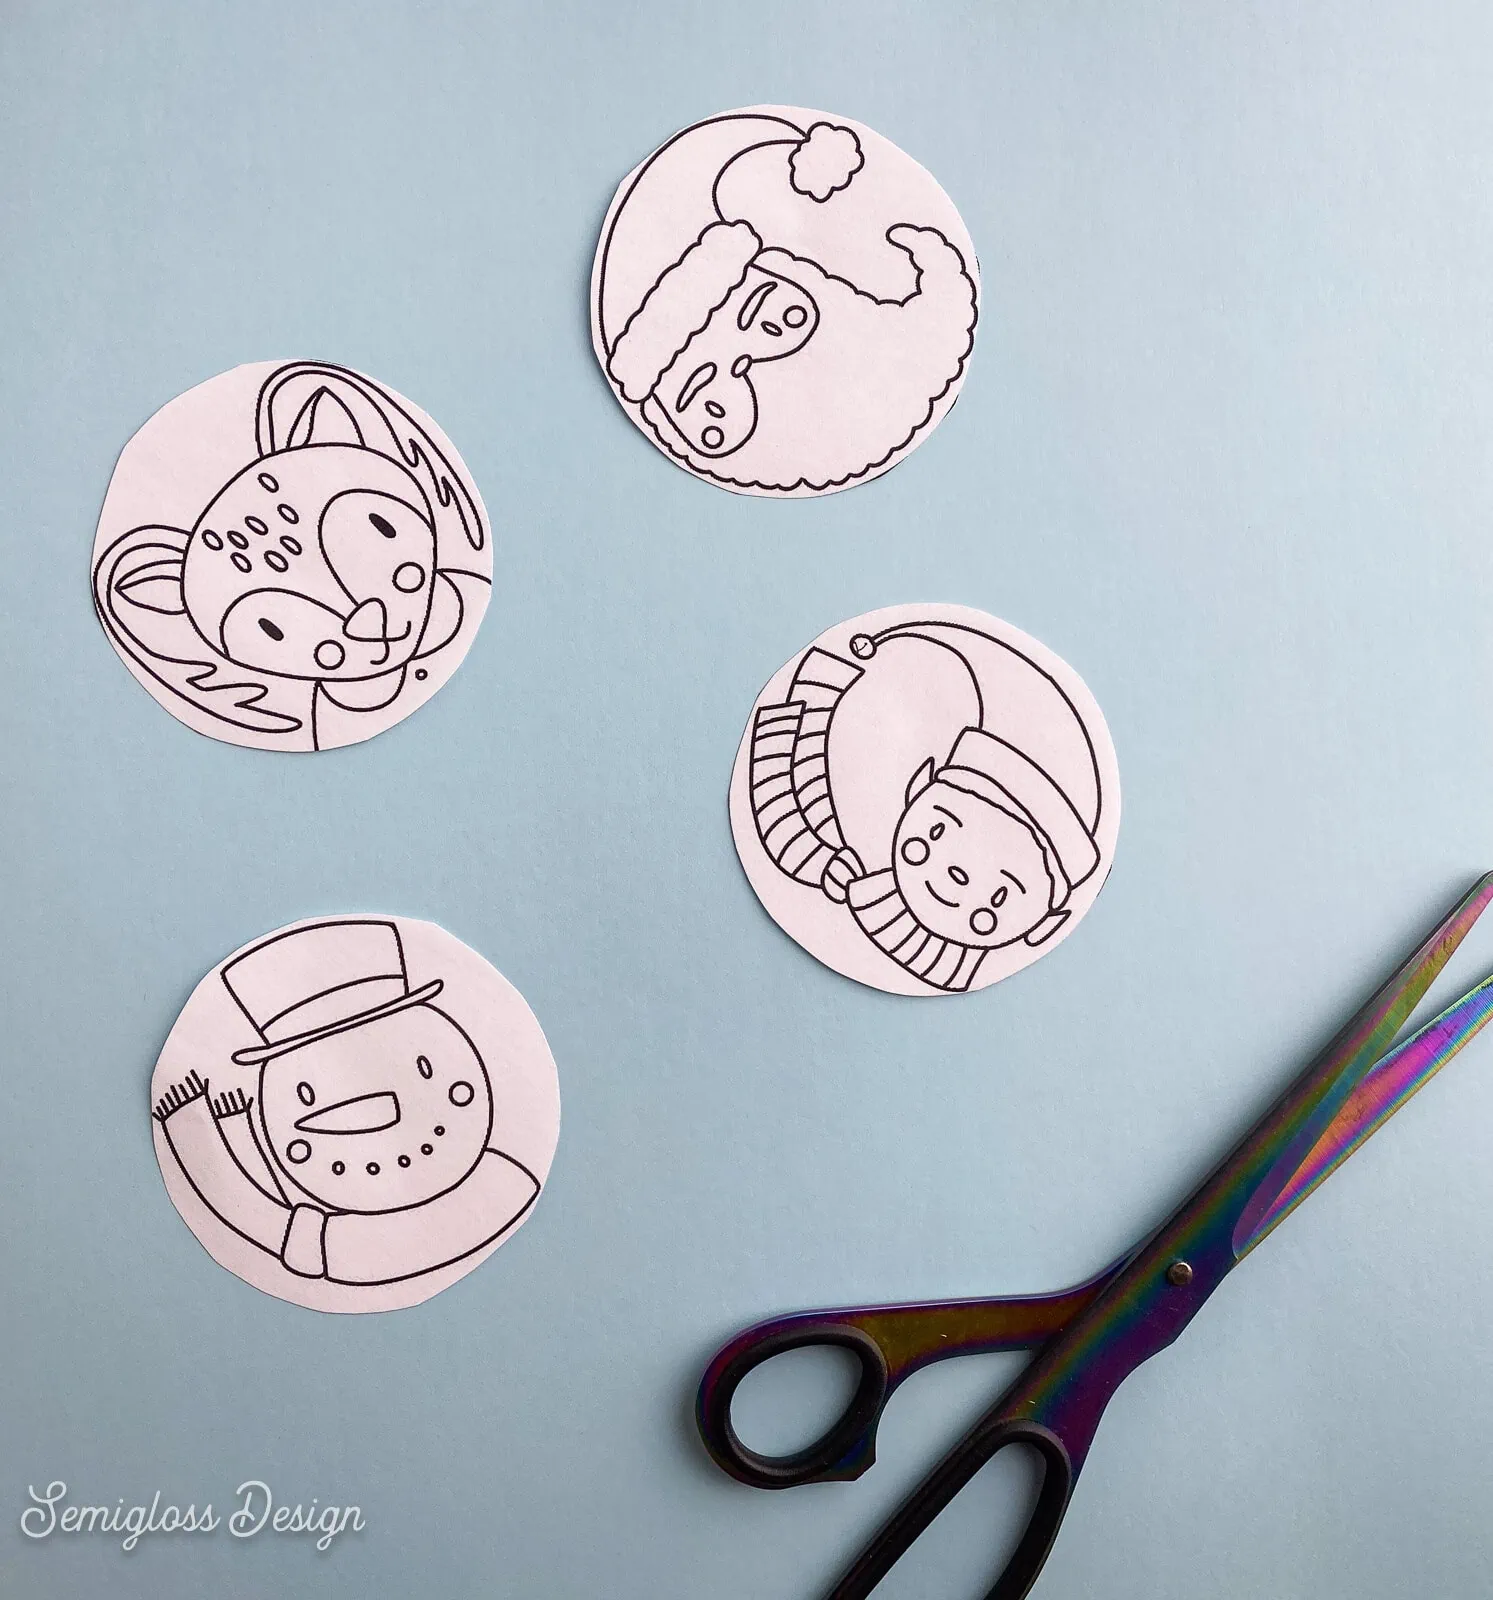
- Cut out each design.

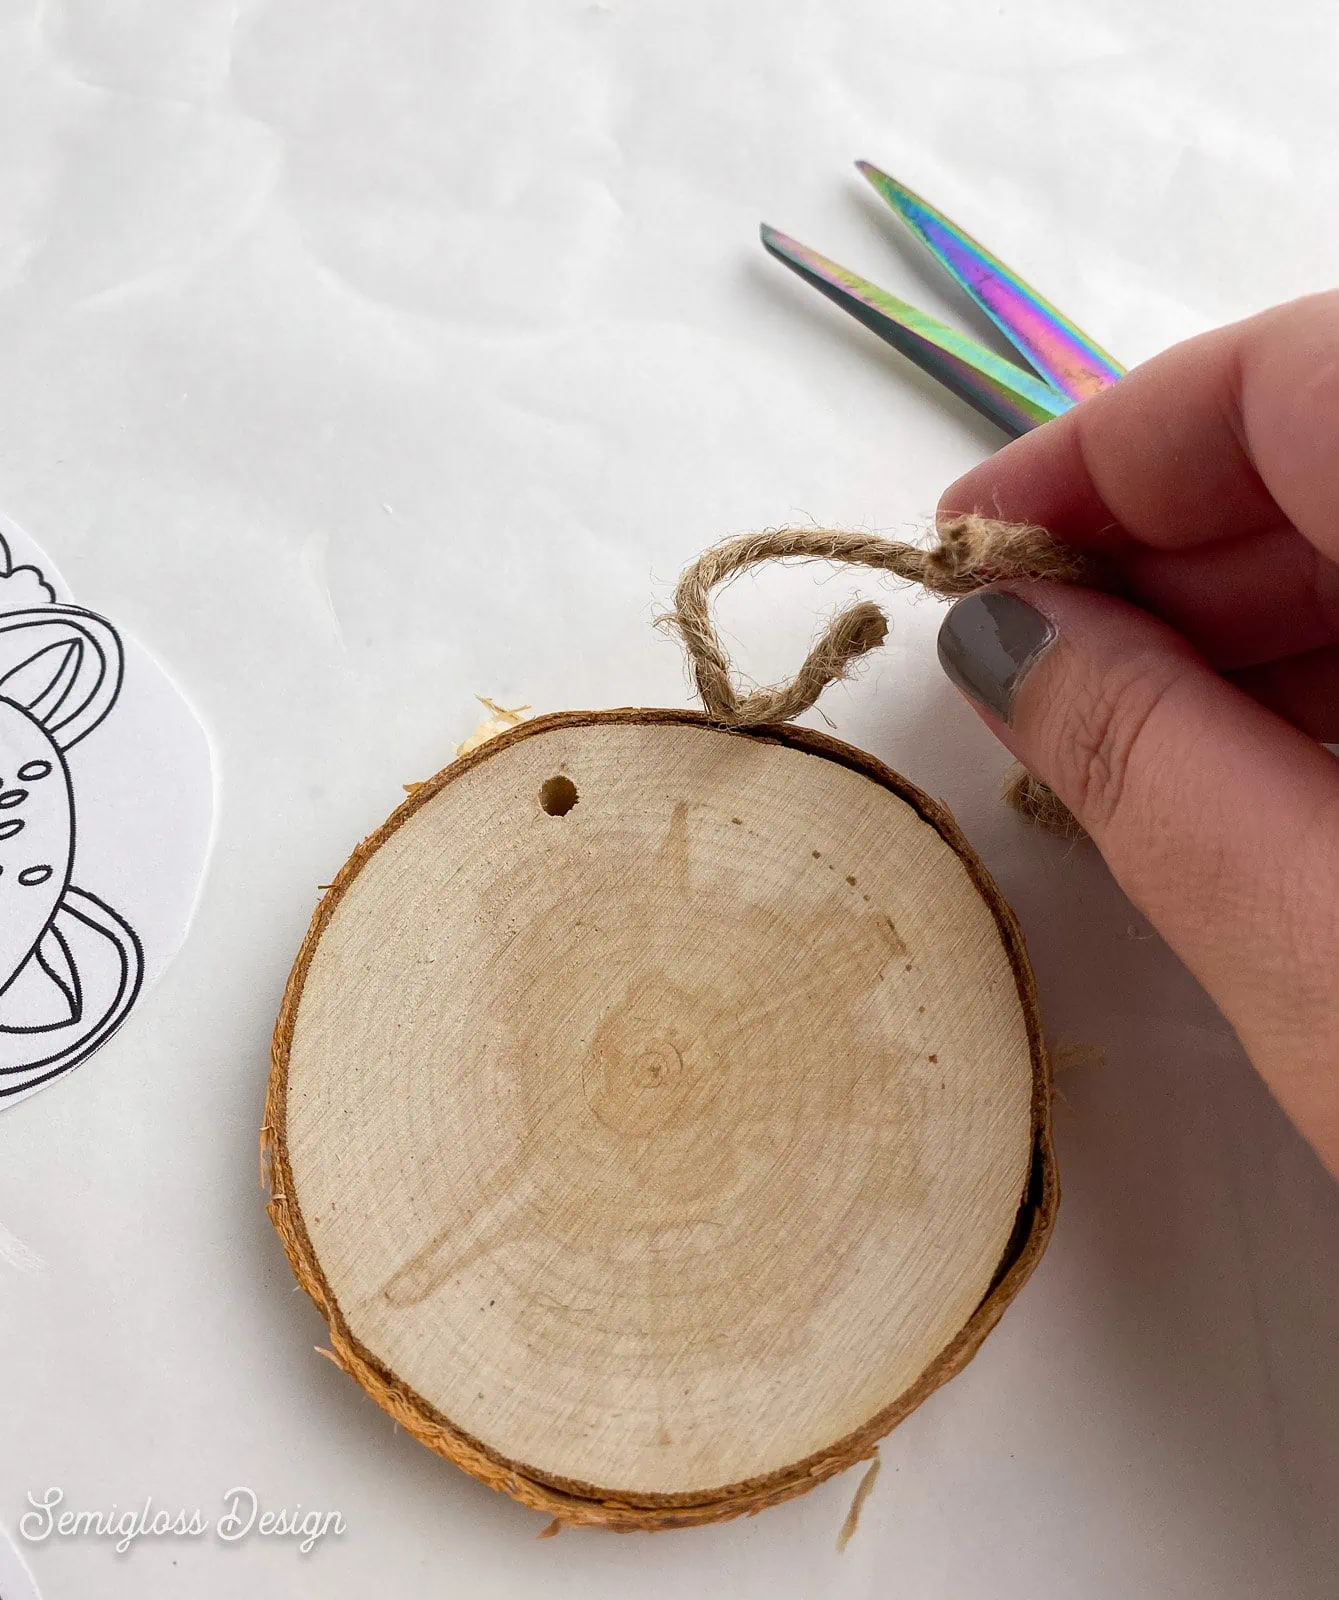
- Remove the existing hangers from the ornaments (if yours have them.)

- Sand the ornaments. (This helps with the transfer but also with the finished look.)
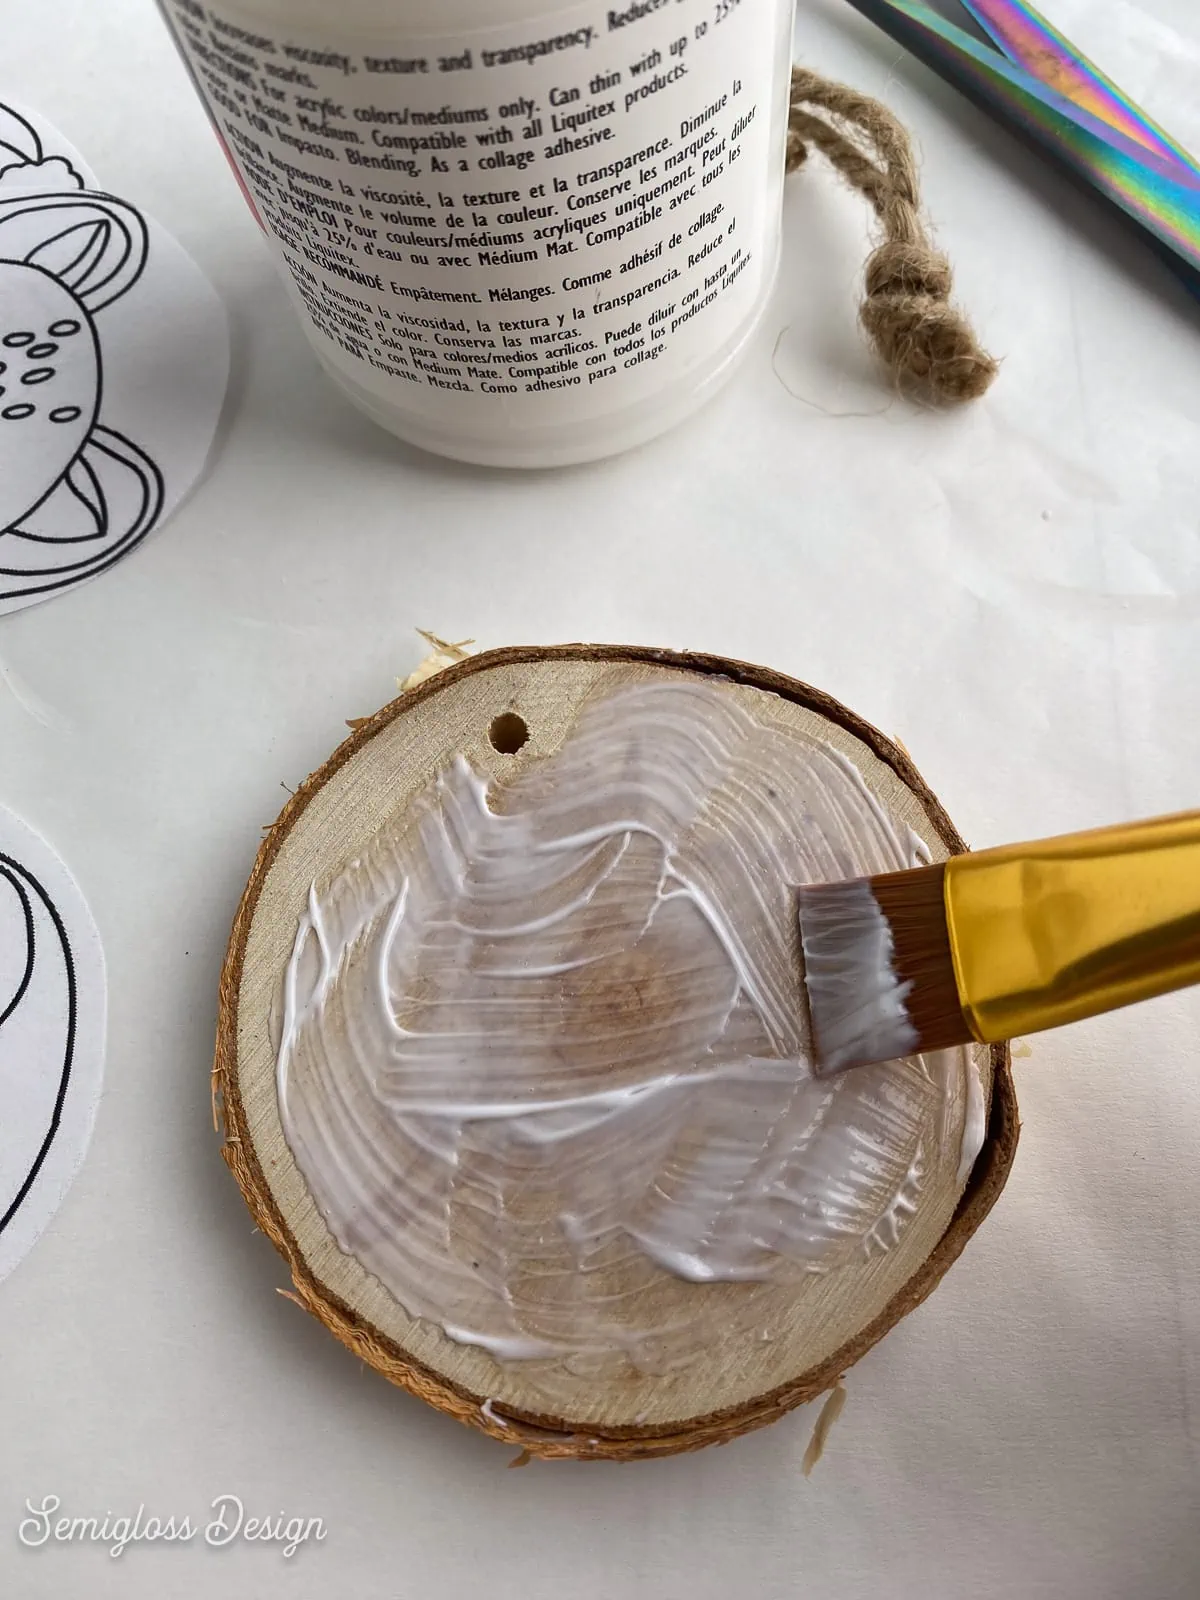
- Apply a thick layer of matte medium to the wood. Make sure that the edges have plenty of medium.

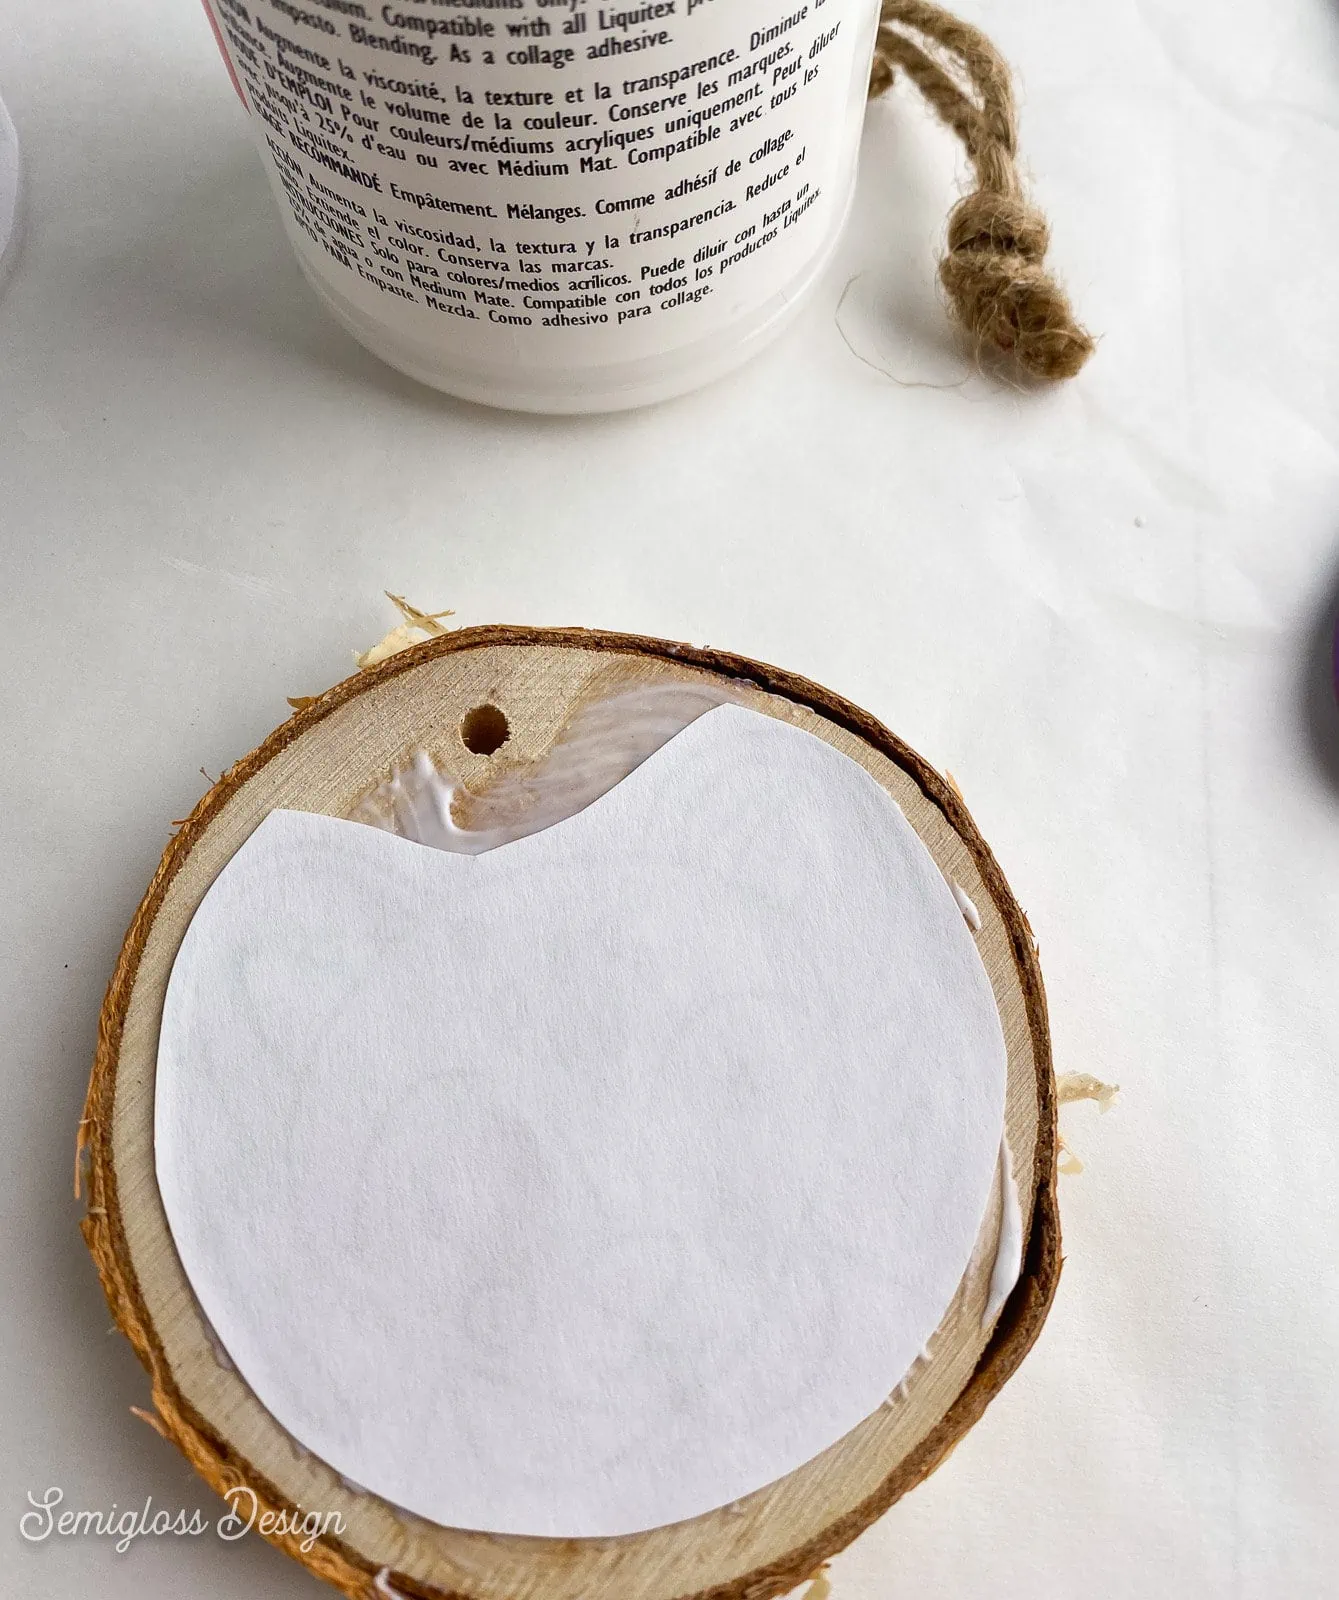
- Place a design face down onto the ornament surface.
- Smooth the paper to ensure that it sticks.
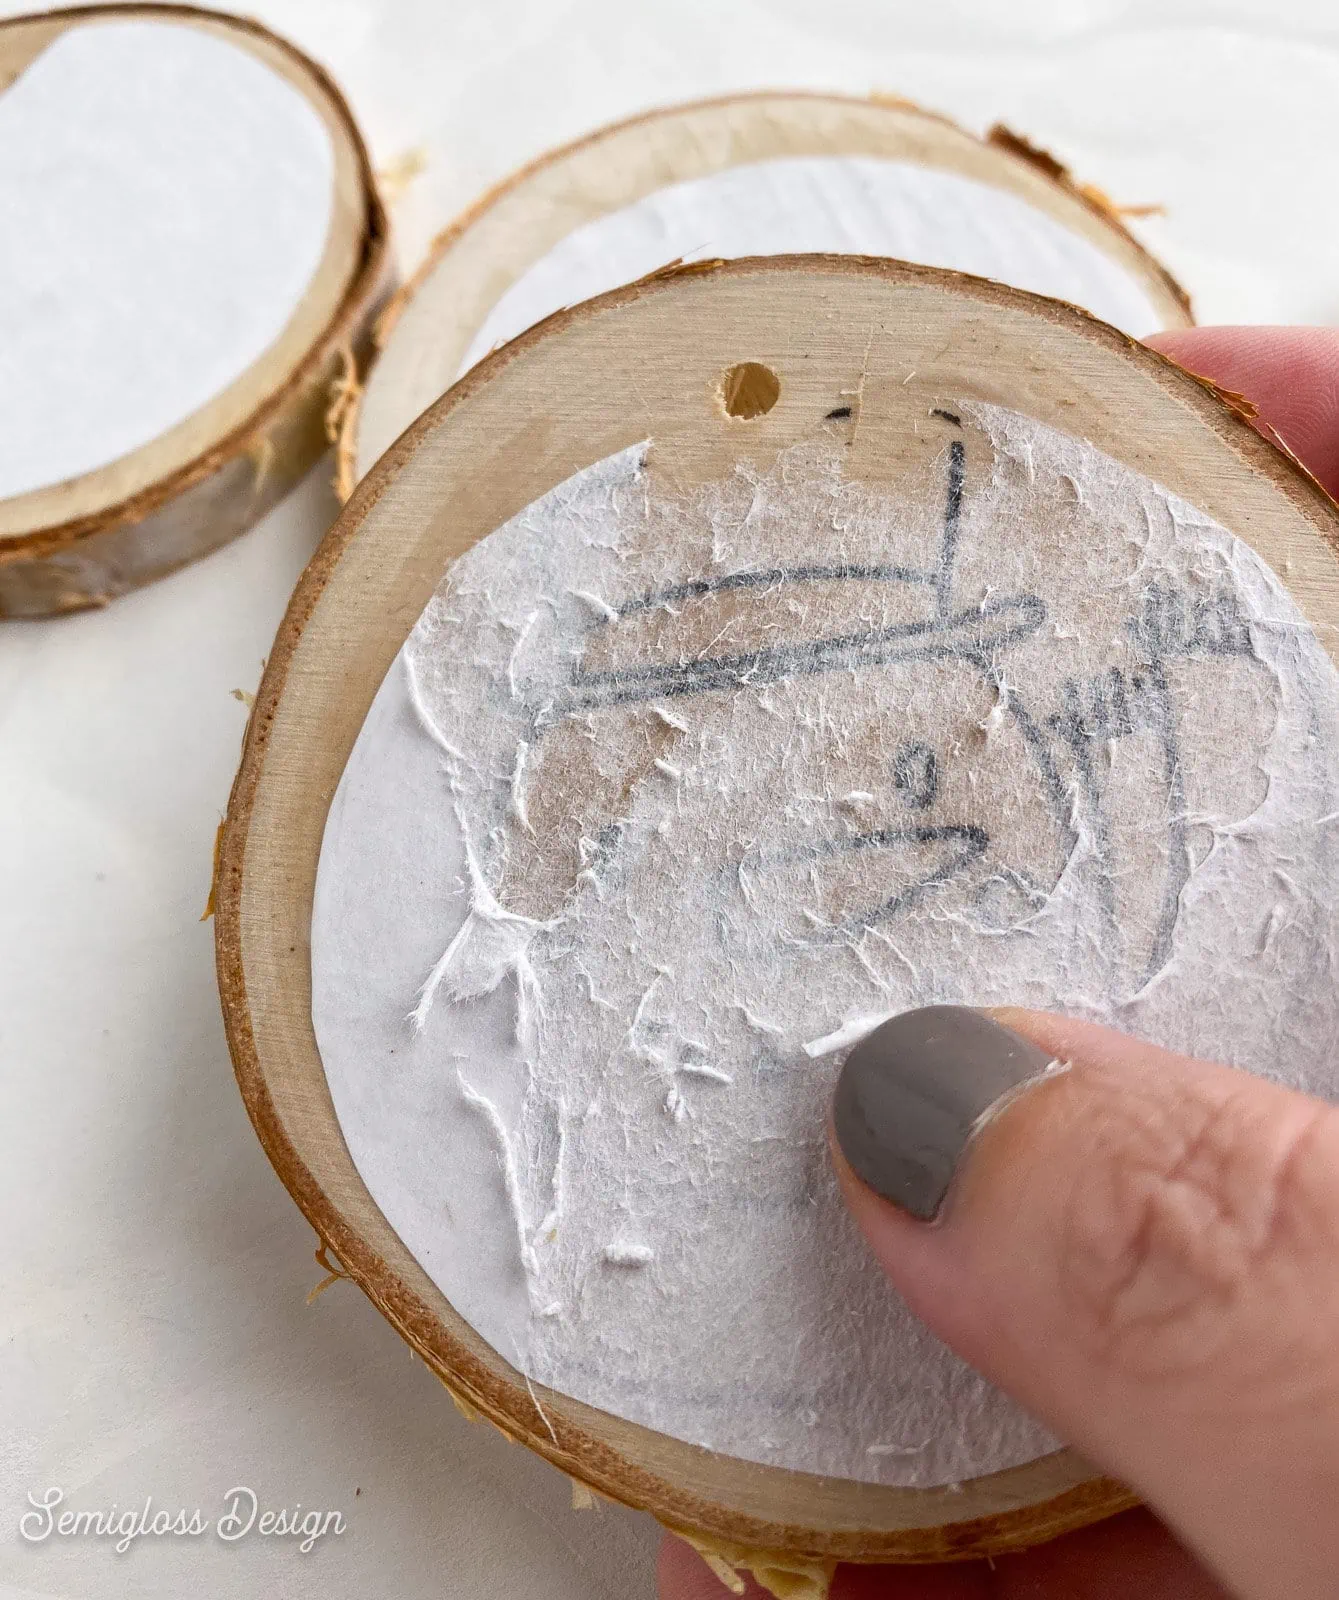
- Apply another layer to the top of the paper and rub it until it soaks in and you can see through the paper a bit.
- Let it dry. It takes about 20-30 minutes.
- Gently rub the paper away from the design. It’s a bit tedious but worth it.
- Spray a little bit of water to remove any stubborn bits.
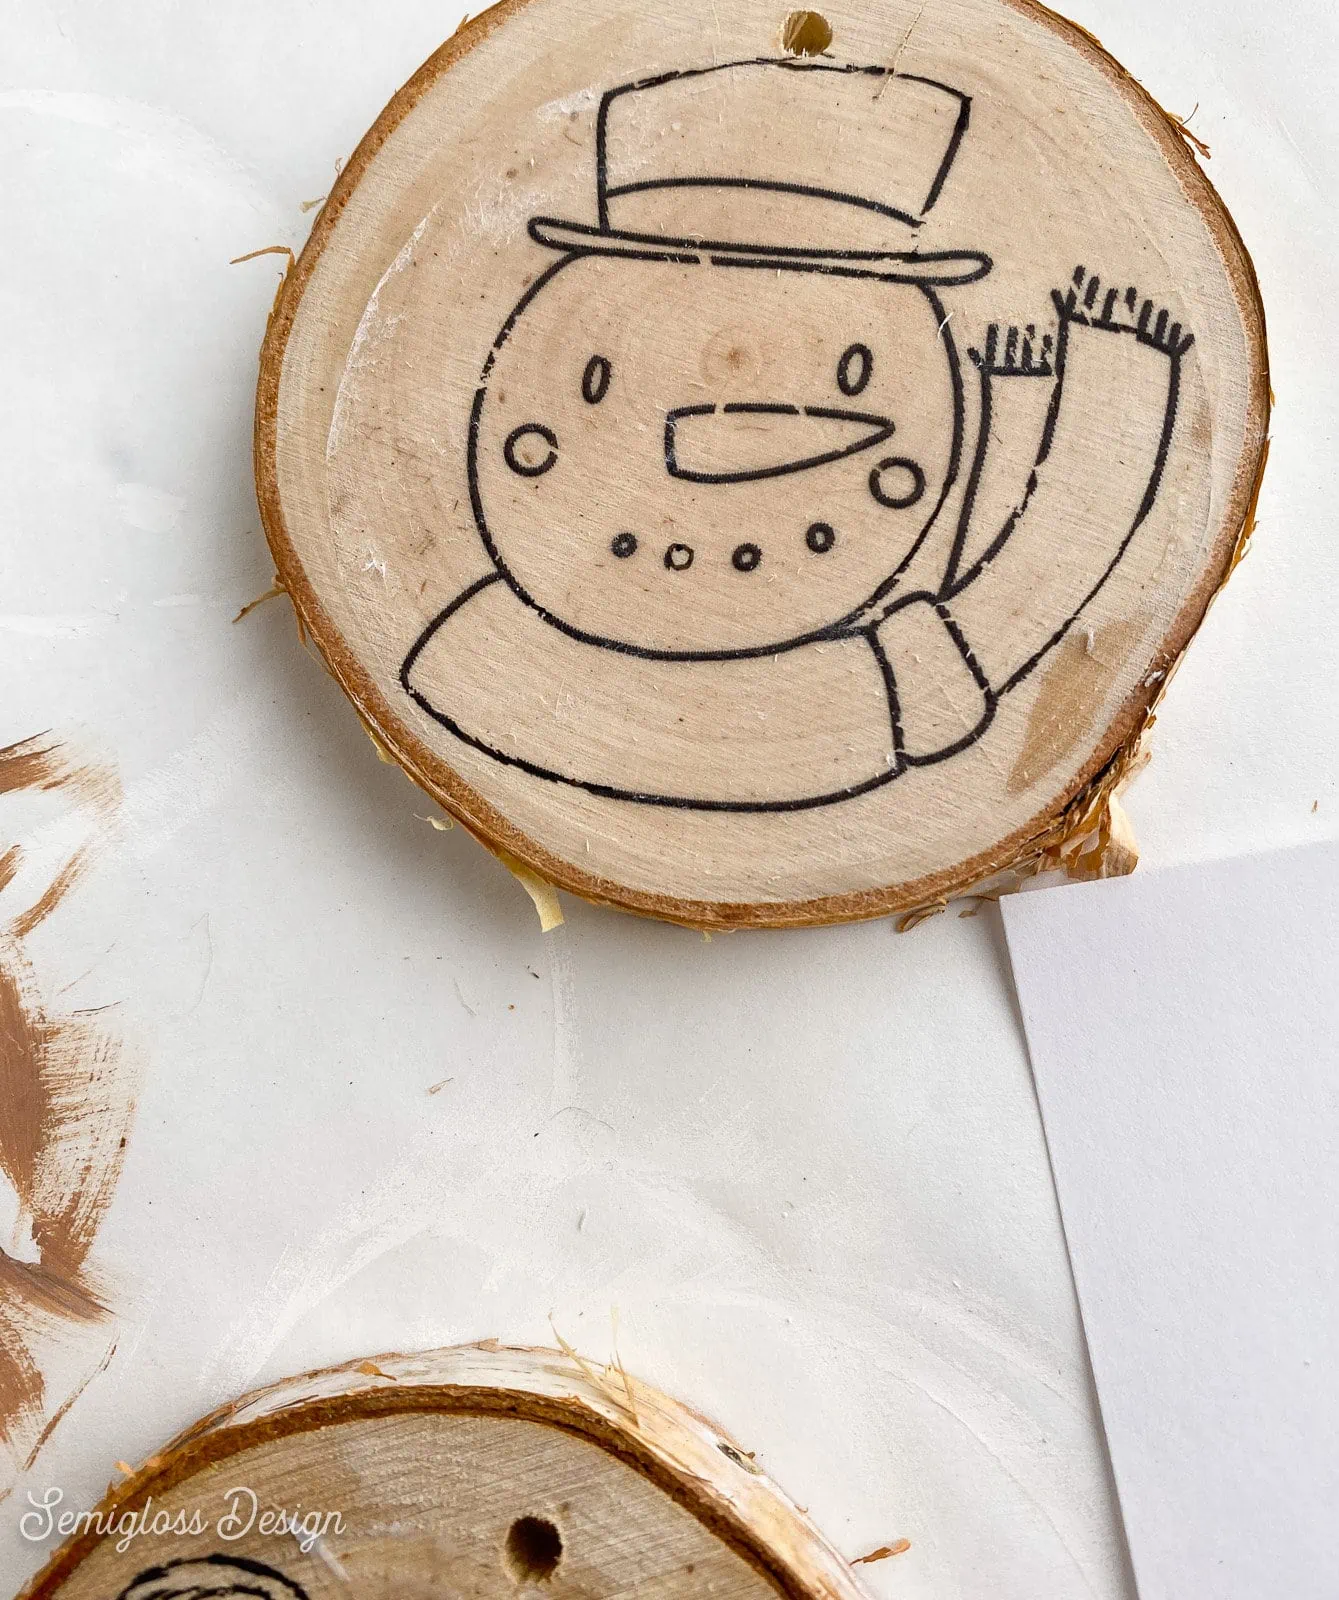
- The results weren’t perfect, but they were good enough to paint over. I suspect it was because the wood was a little too rough, so I recommend sanding it first.

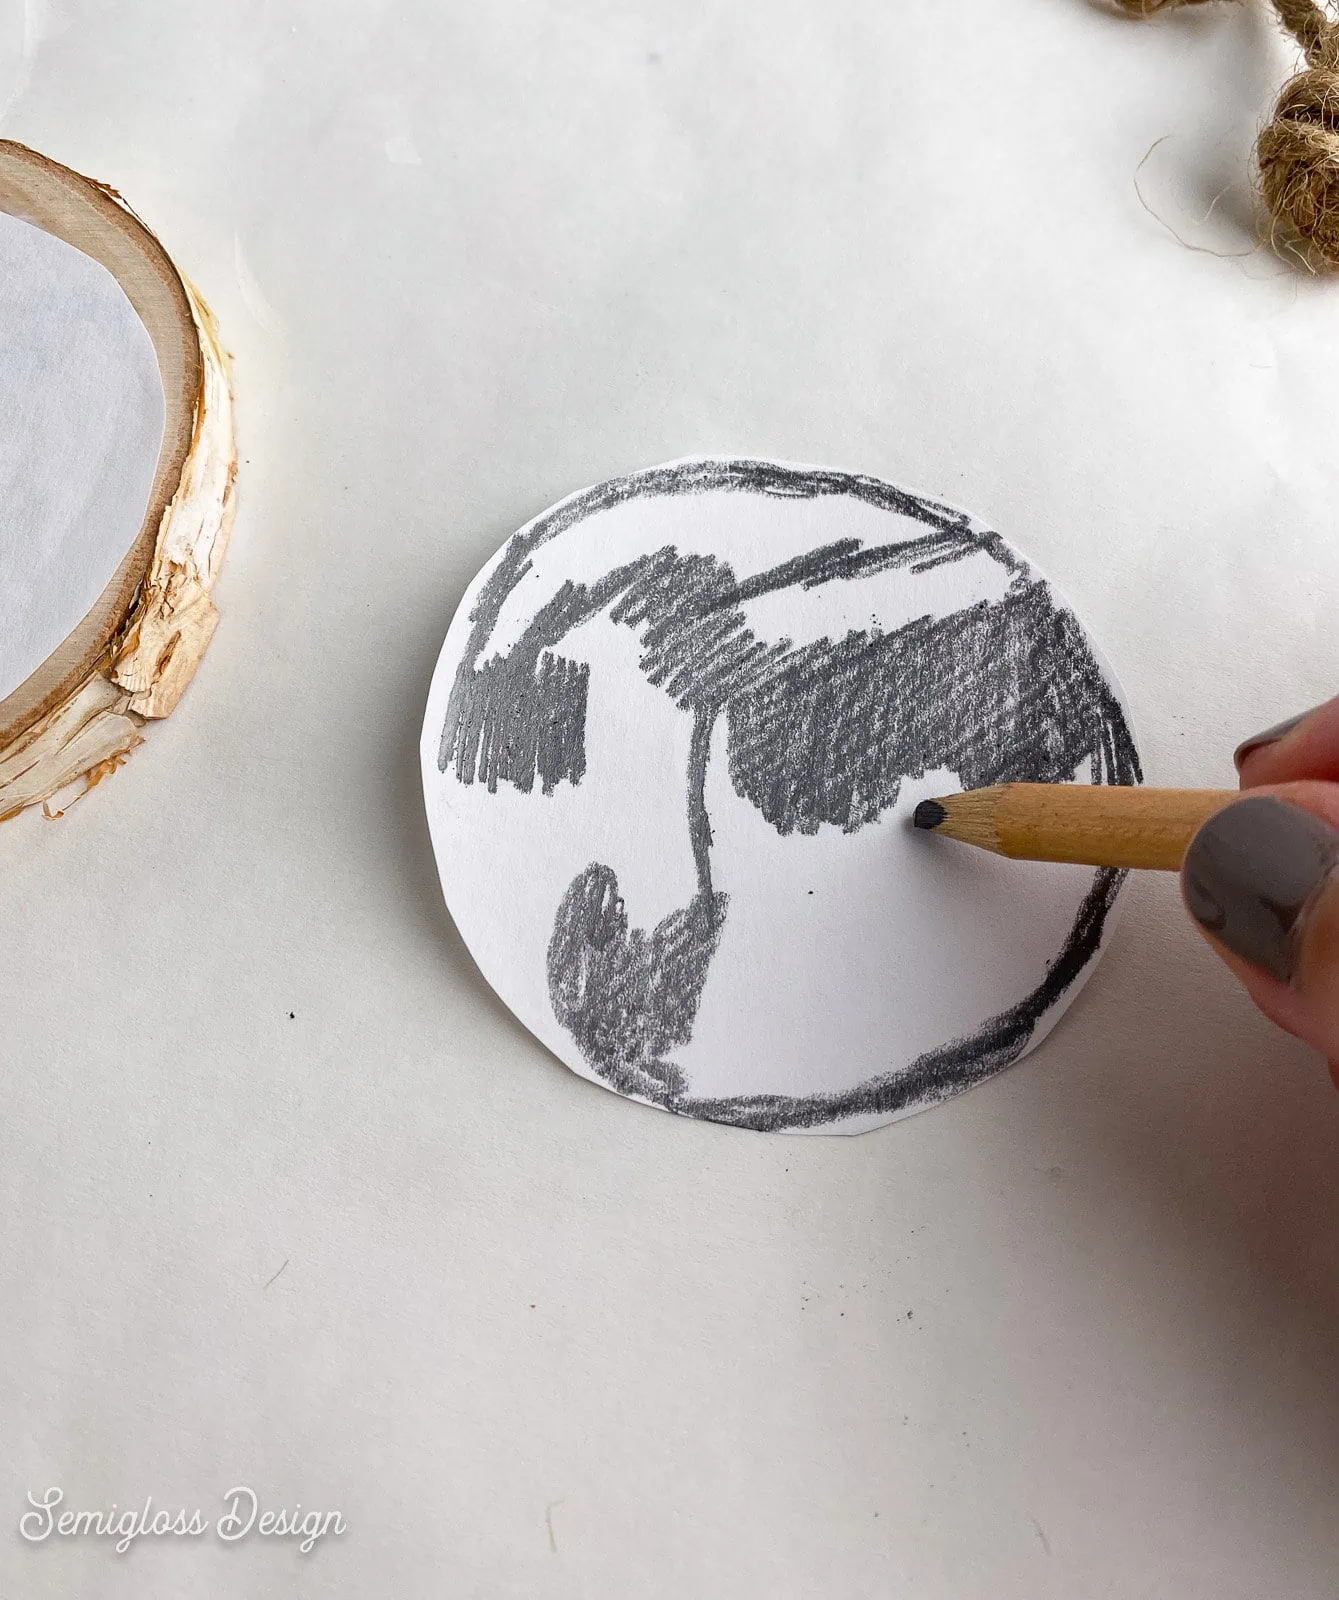
Transfer Method 2: Graphite
This method is easier, but the lines are much lighter.
- Print the template.
- Cut out each design.
- Flip the image over.
- Use a pencil (any normal pencil works) and color over the lines.
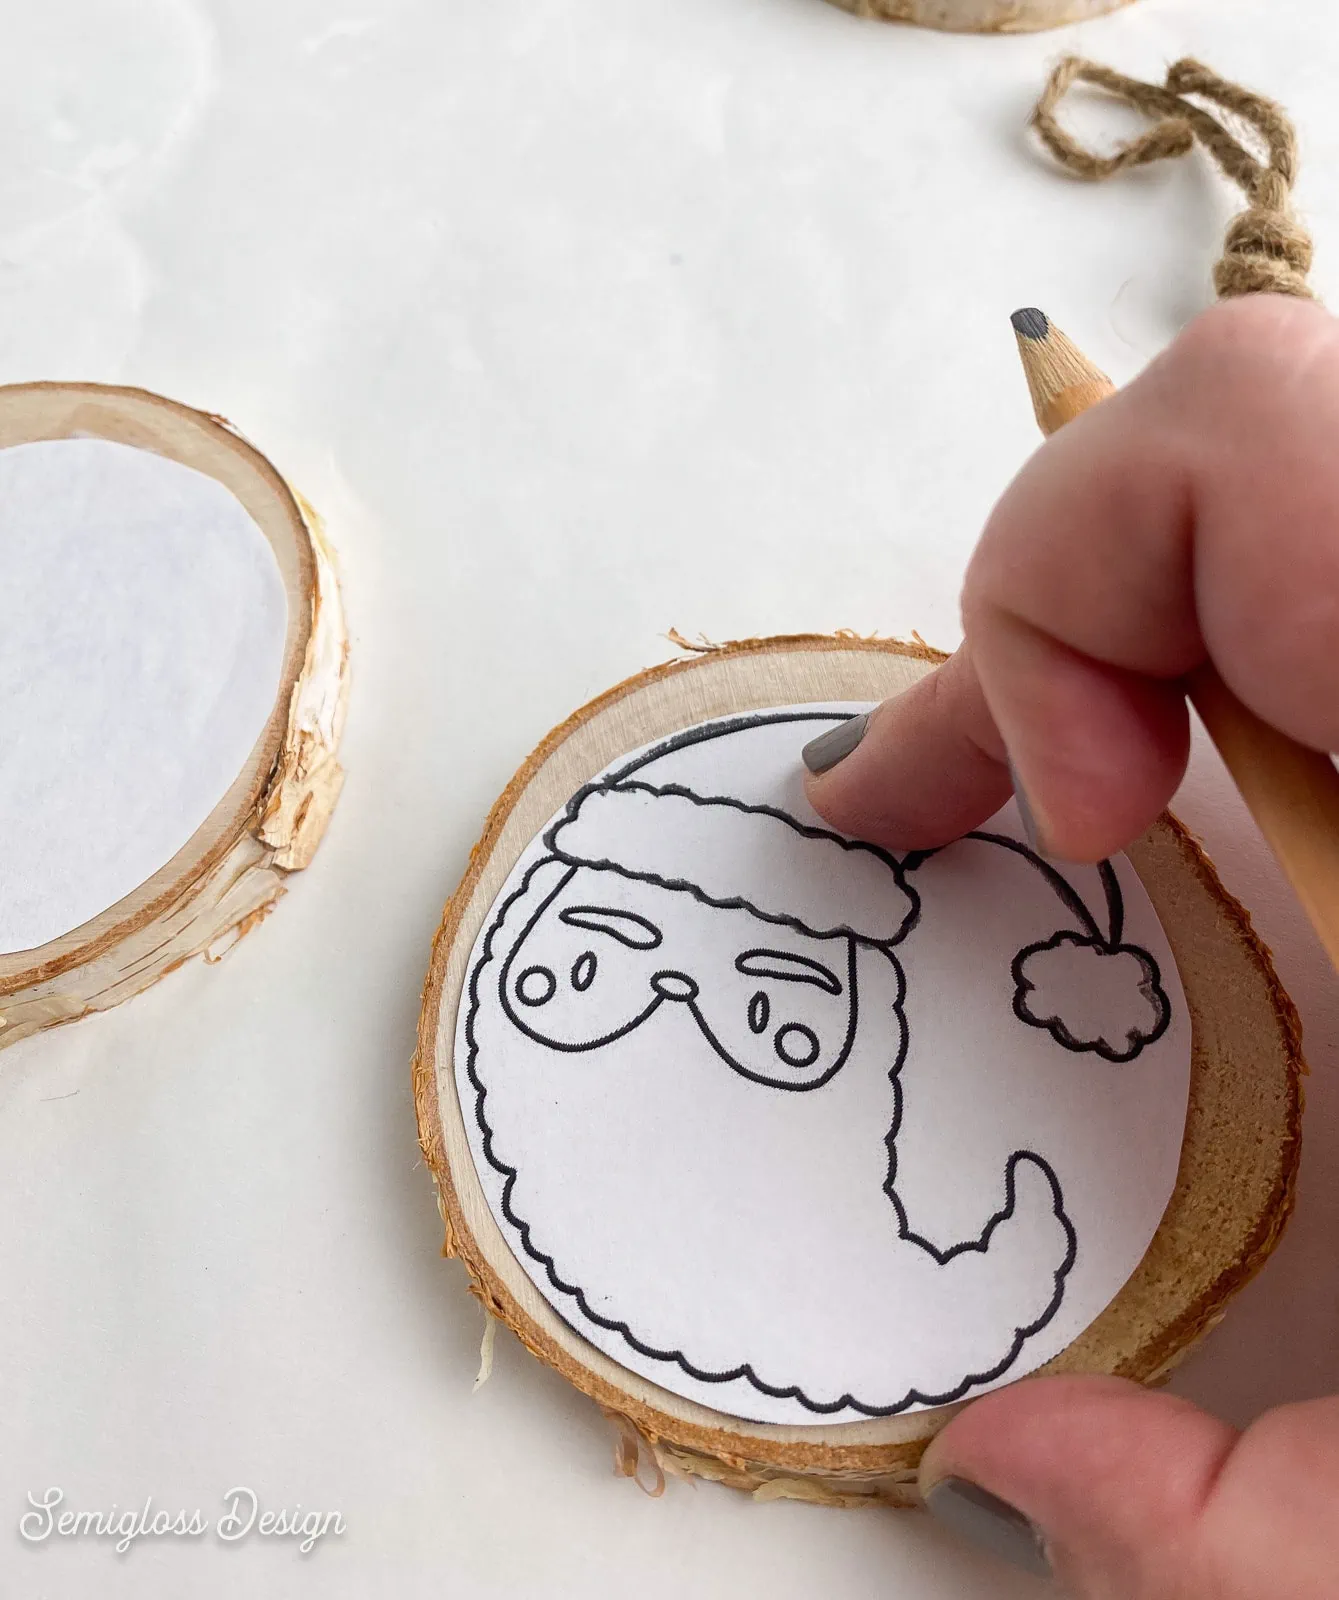
- Flip the design back over and place it on the ornament.
- Trace the design on the paper. (The graphite on the back transfers as you trace.)
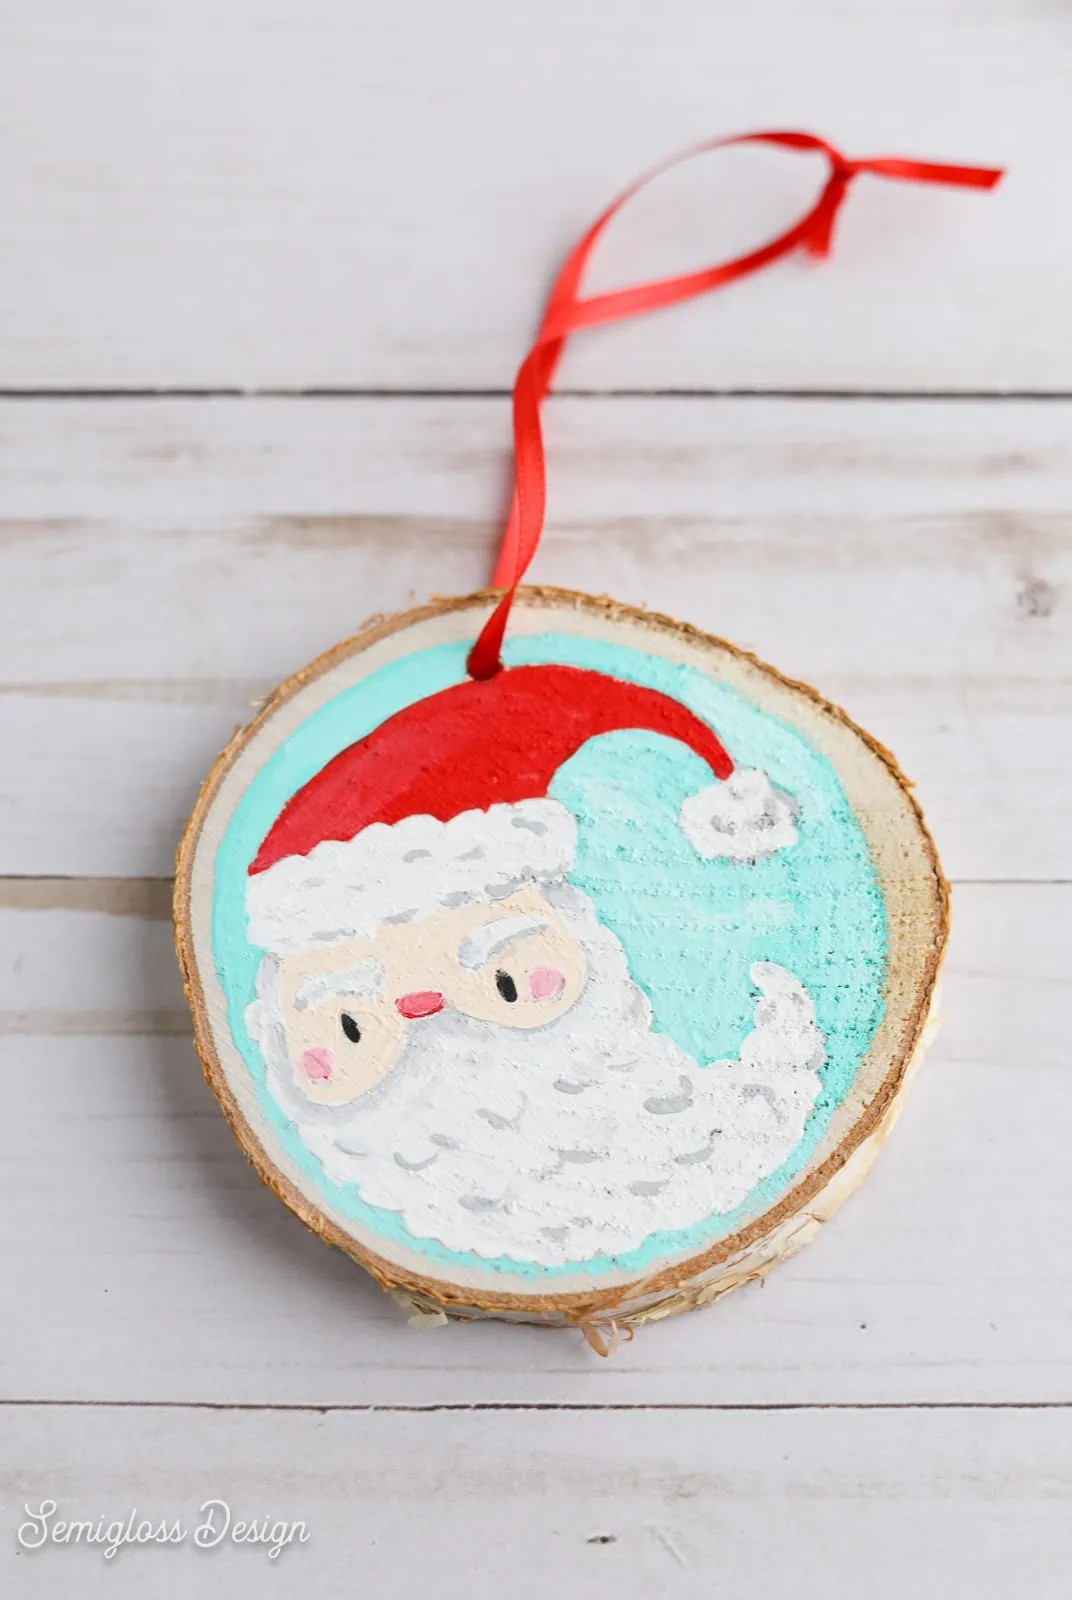
Painting the Wood Log Ornaments
- If desired, you can print another copy of the template to figure out your paint colors first.
- Protect your workspace. Paint is messy.
- Use a small paintbrush to paint the ornaments. I love a small round paintbrush for details.

- Paint the light colors first and then paint the darker colors.
- Some colors will need more than one coat to get full coverage.
- I also added a colored background to make the paintings pop more.
- Feel free to add details to the background or characters.
- Small details can be added with Posca markers. Posca markers are filled with acrylic paint.
- Let the paint dry.
- Add ribbons to the holes.


You might also like:
Painted Christmas Ornament Template
All downloads are for personal use only. Please do not redistribute or sell files.

Pin for Later!

Emy is a vintage obsessed mama of 2 DIYer who loves sharing affordable solutions for common home problems. You don’t need a giant budget to create a lovely home. Read more…