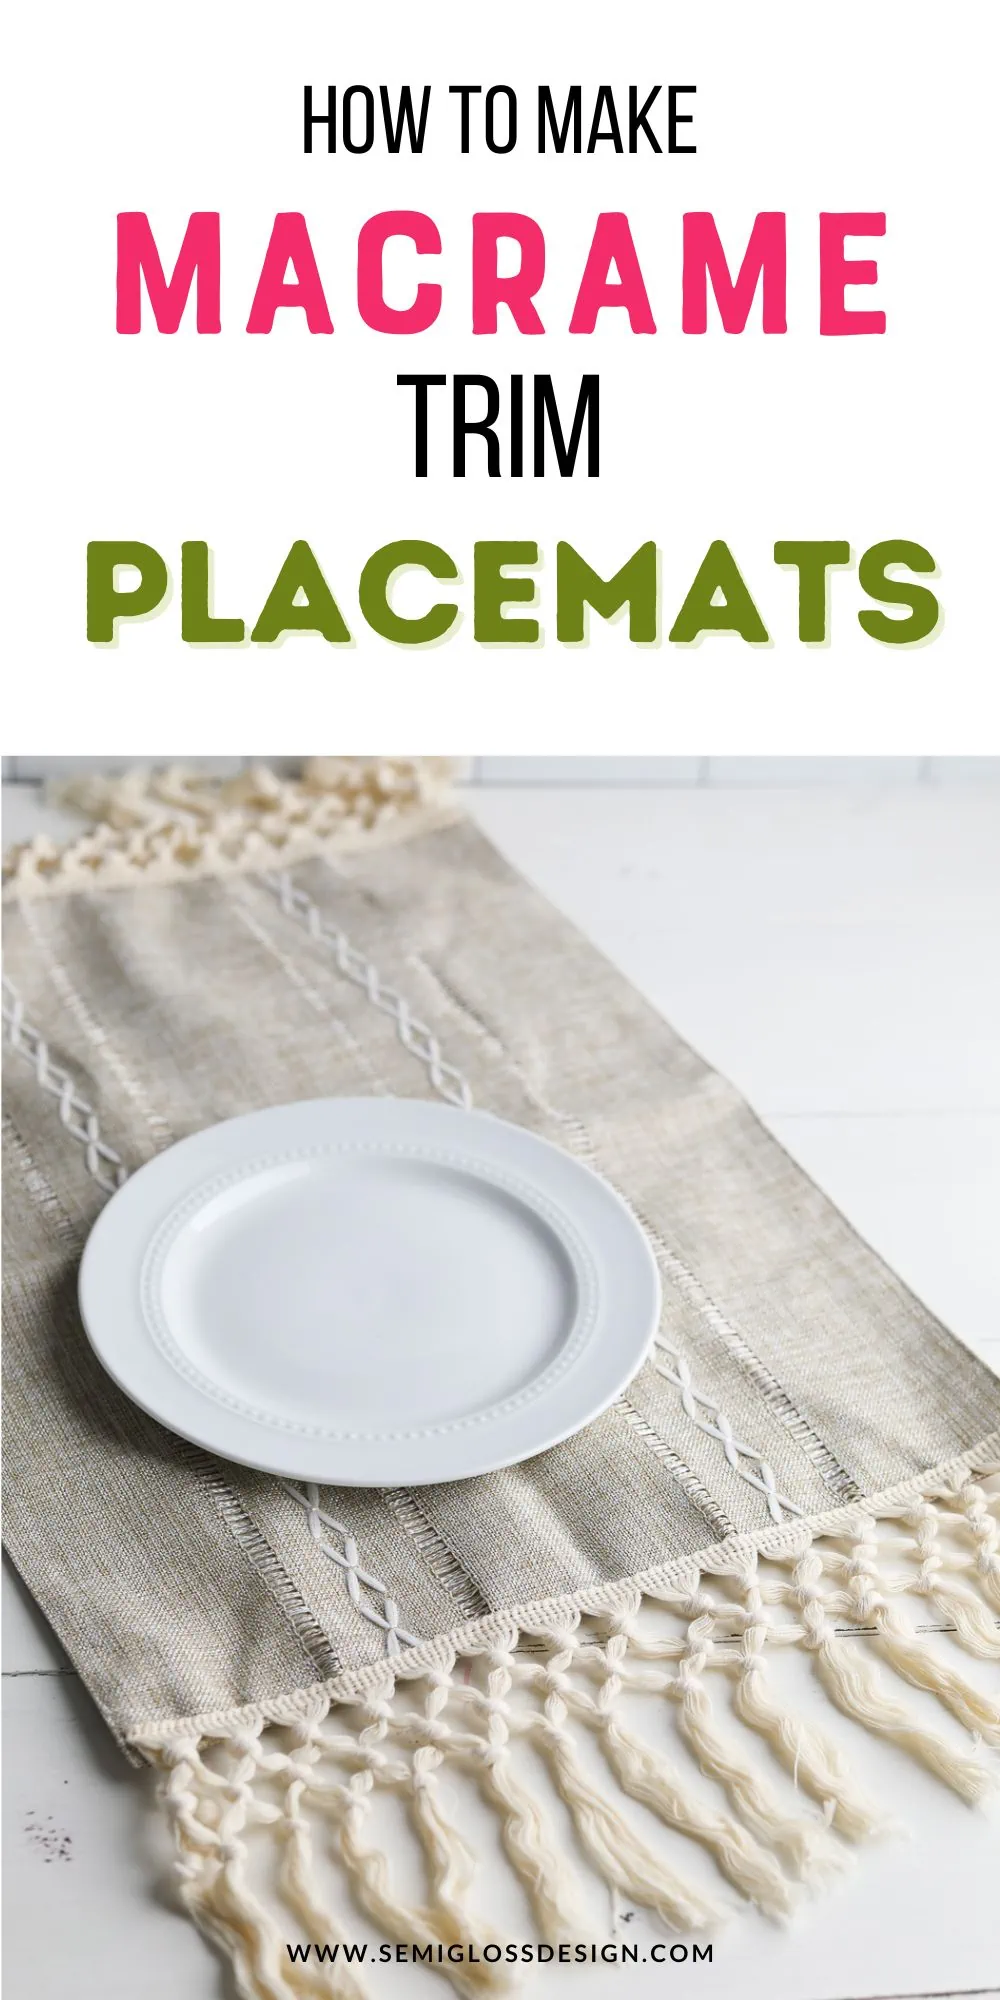
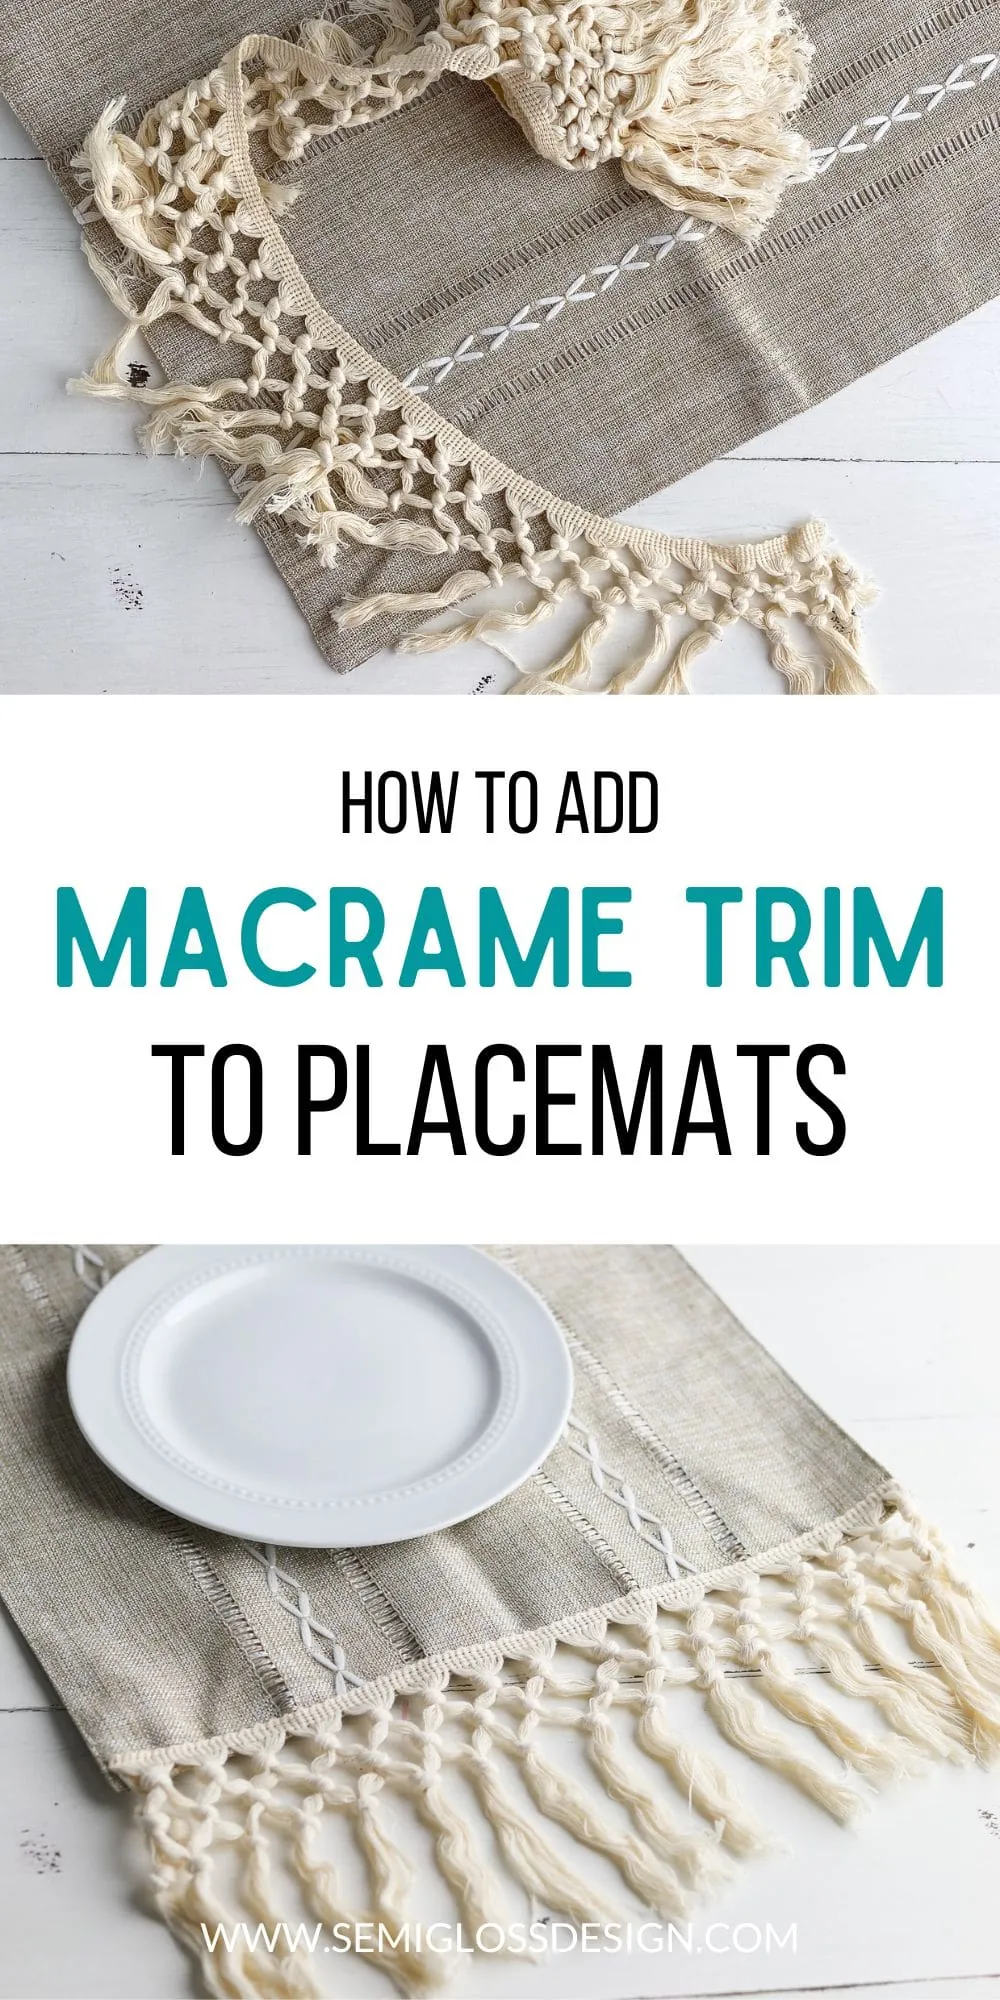
DIY Macrame Placemats
Learn how to make DIY macrame placemats to decorate your table. This simple DIY features premade macrame trim that is sewn onto placemats. If you love easy DIY projects, you will love this one!
You might also like this DIY table runner.
This post contains affiliate links. By purchasing an item through an affiliate link, I earn a small commission at no extra cost to you. As an Amazon Associate I earn from qualifying purchases.
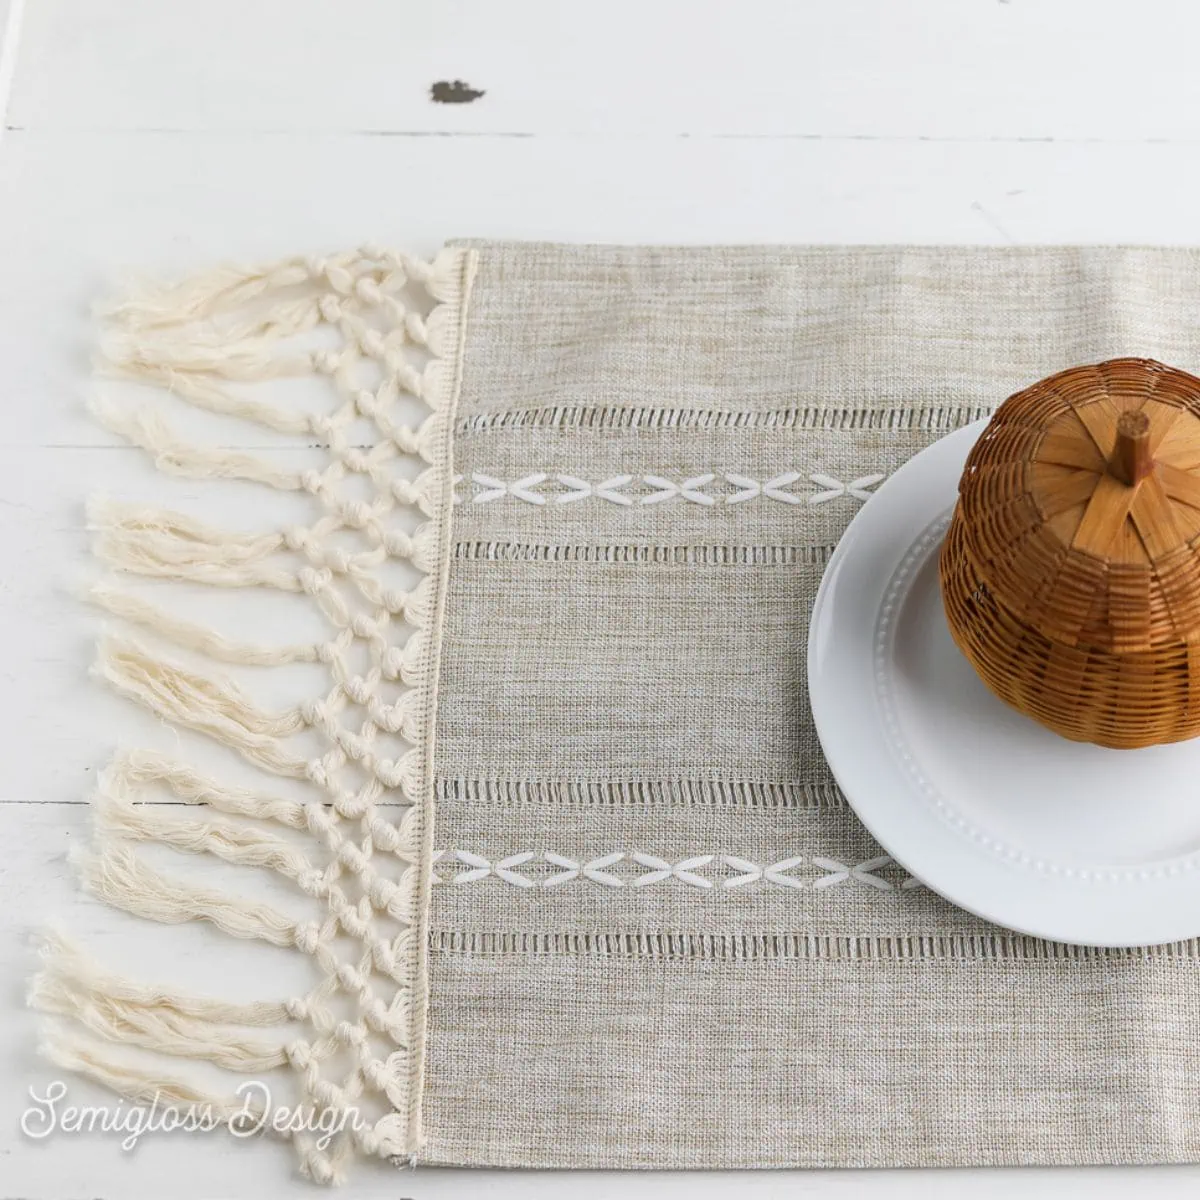
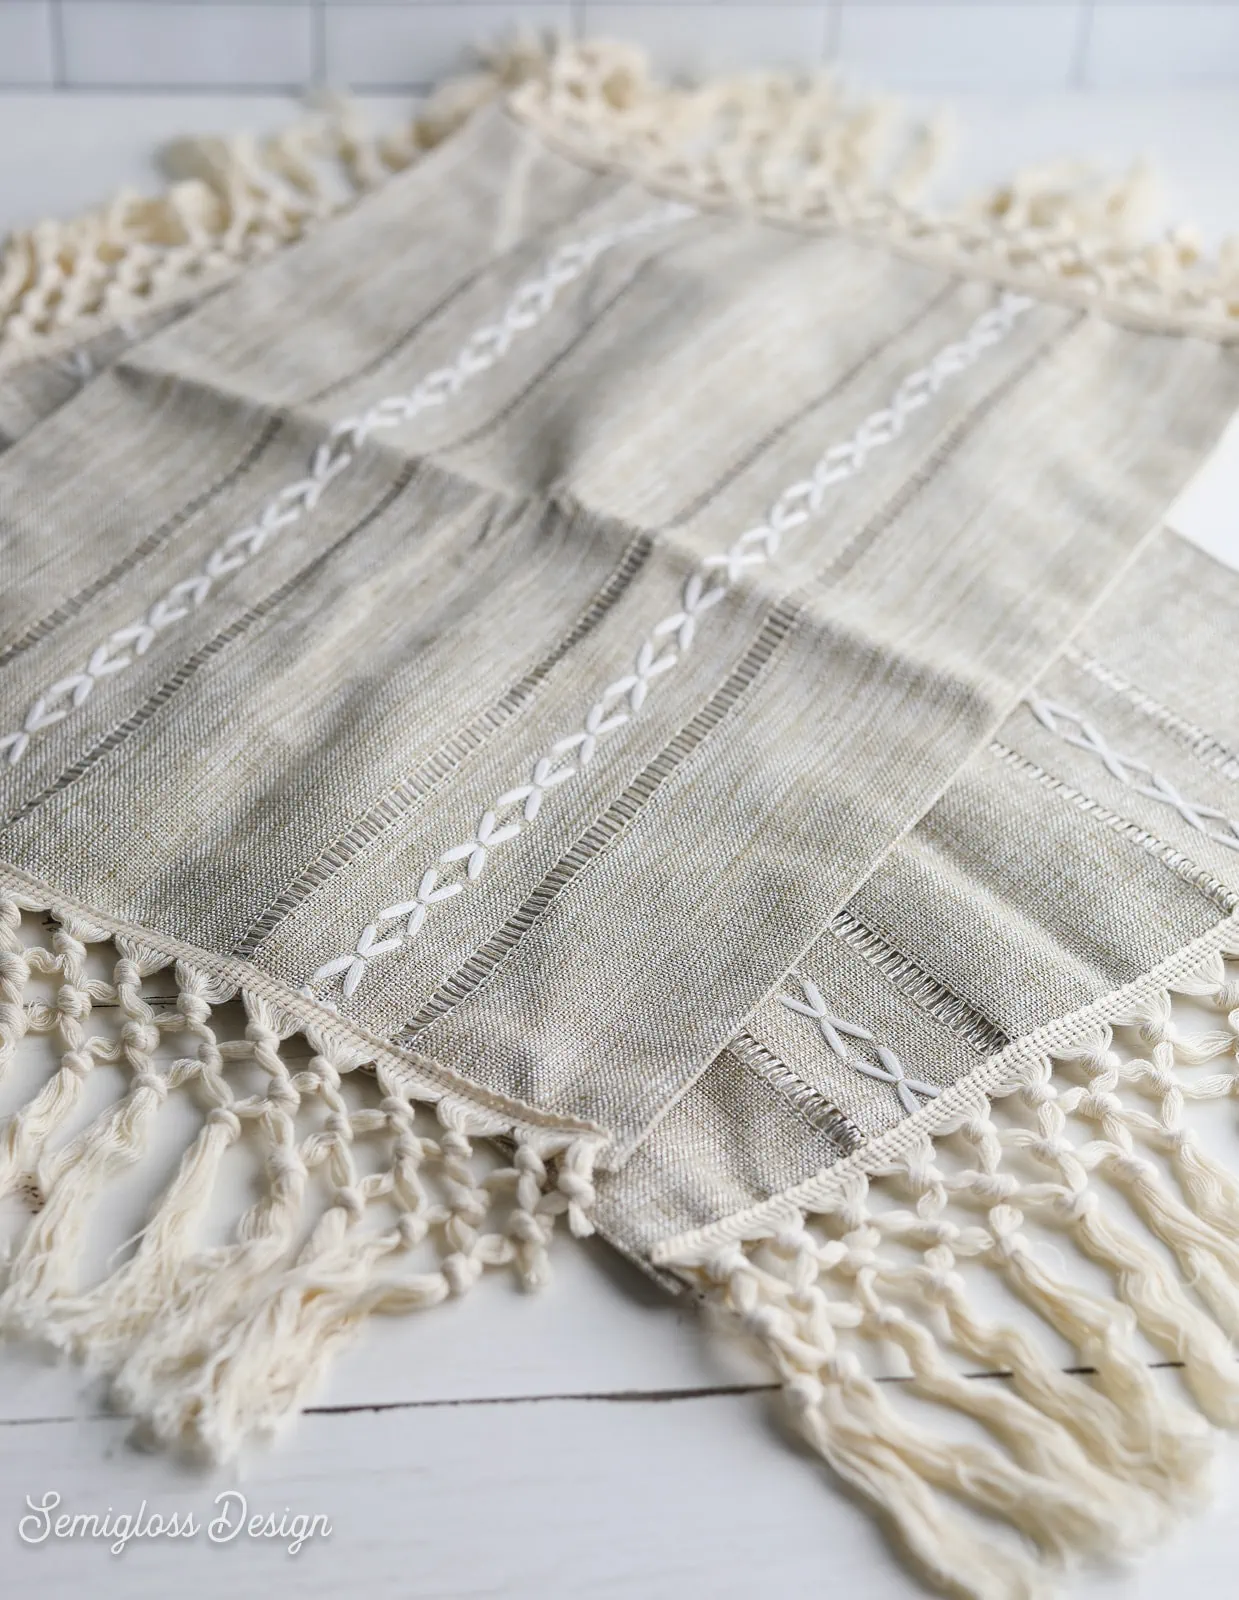
I made these macrame placemats to decorate for fall. Instead of adding pumpkins and leaves everywhere, I’m trying to add cozy textures to my home decor.
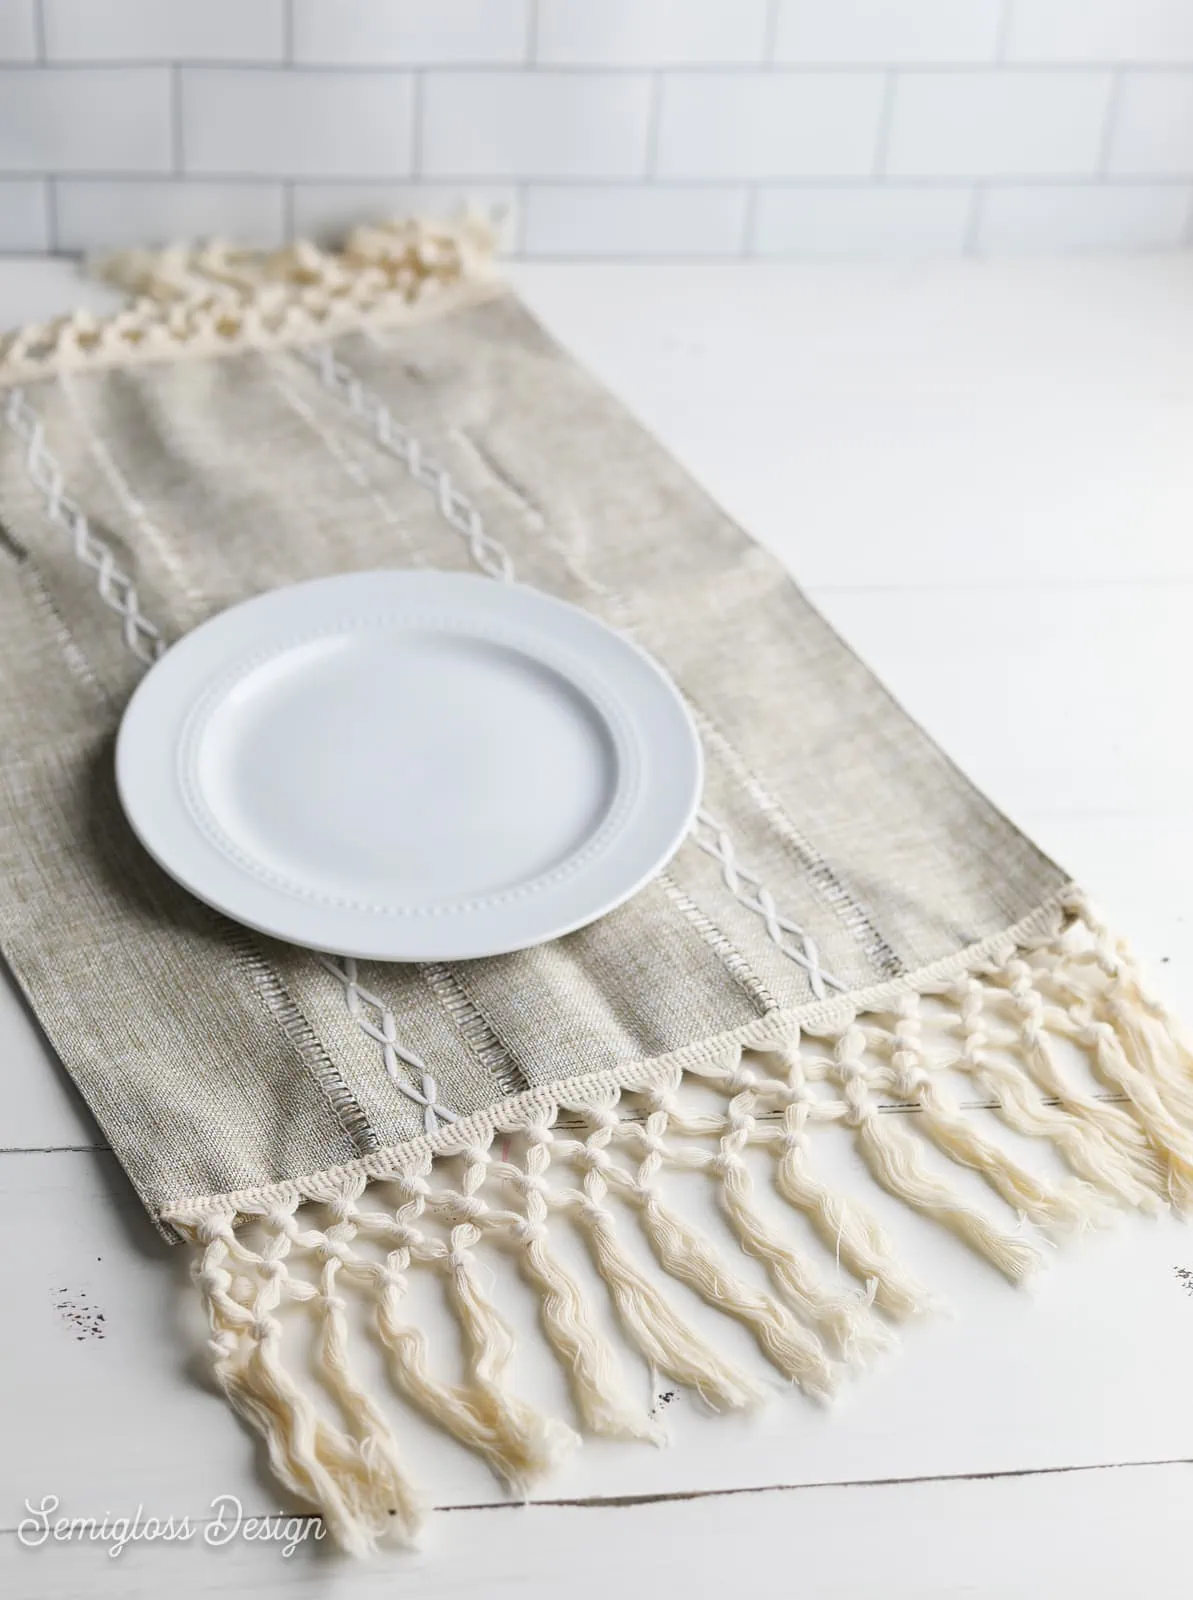
The texture of macrame is beautiful and it’s perfect in my home. I can’t wait to use them on my dining table.
I used existing placemats for this tutorial, but you can make your own if you want. If you don’t like macrame trim, try different types of trim. Leather fringe would look cool. Or even a pom pom. I do love a pom pom.
This is the kind of easy craft that I almost didn’t post. It only takes a few minutes to make, but it looks amazing.
Small easy, fast crafts are my thing lately. I love making something in just a few minutes.
DIY Macrame Placemats
Supplies Needed:
- Placemats
- Macrame trim*
- Sewing machine**
- Pins
*I used pre-made macrame trim, but you can make it yourself if you know how. I don’t and I don’t have the capacity to learn it right now.
**If you don’t have a sewing machine, you can use something like fabric adhesive or even iron-on stitch tape.
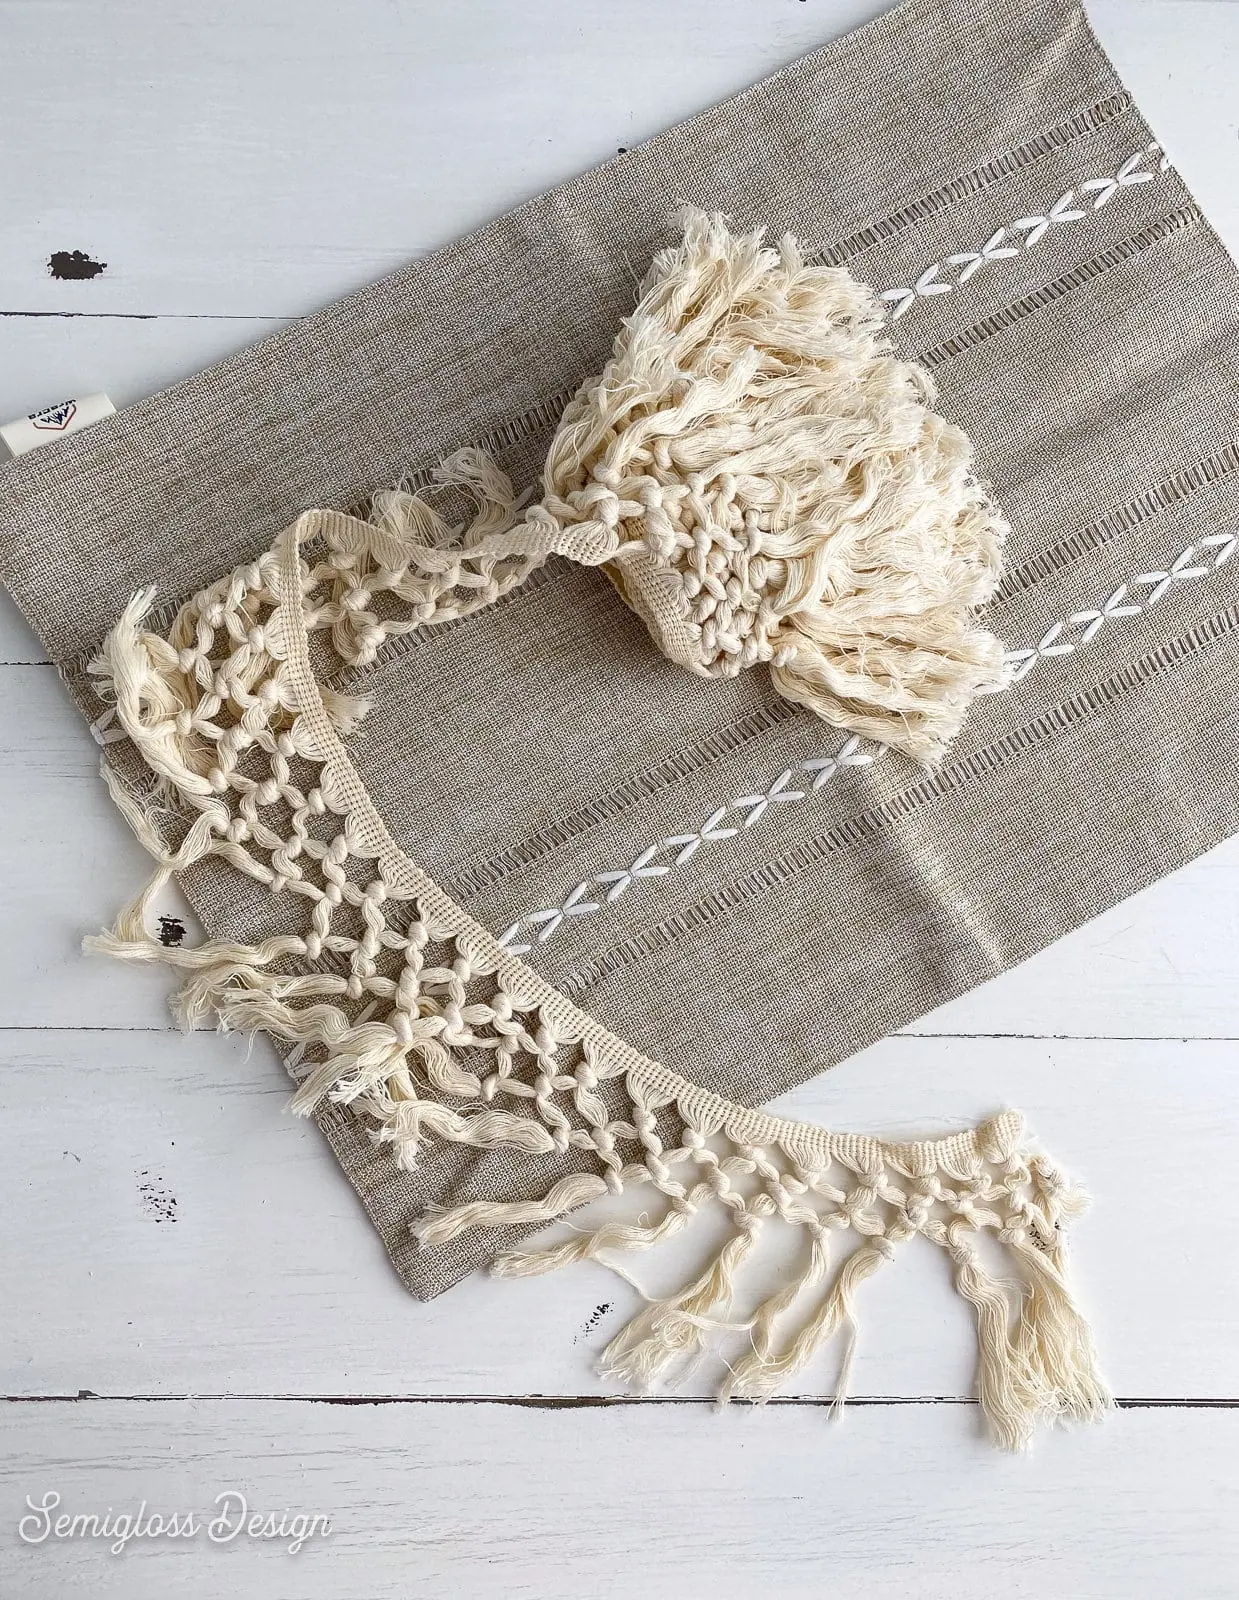
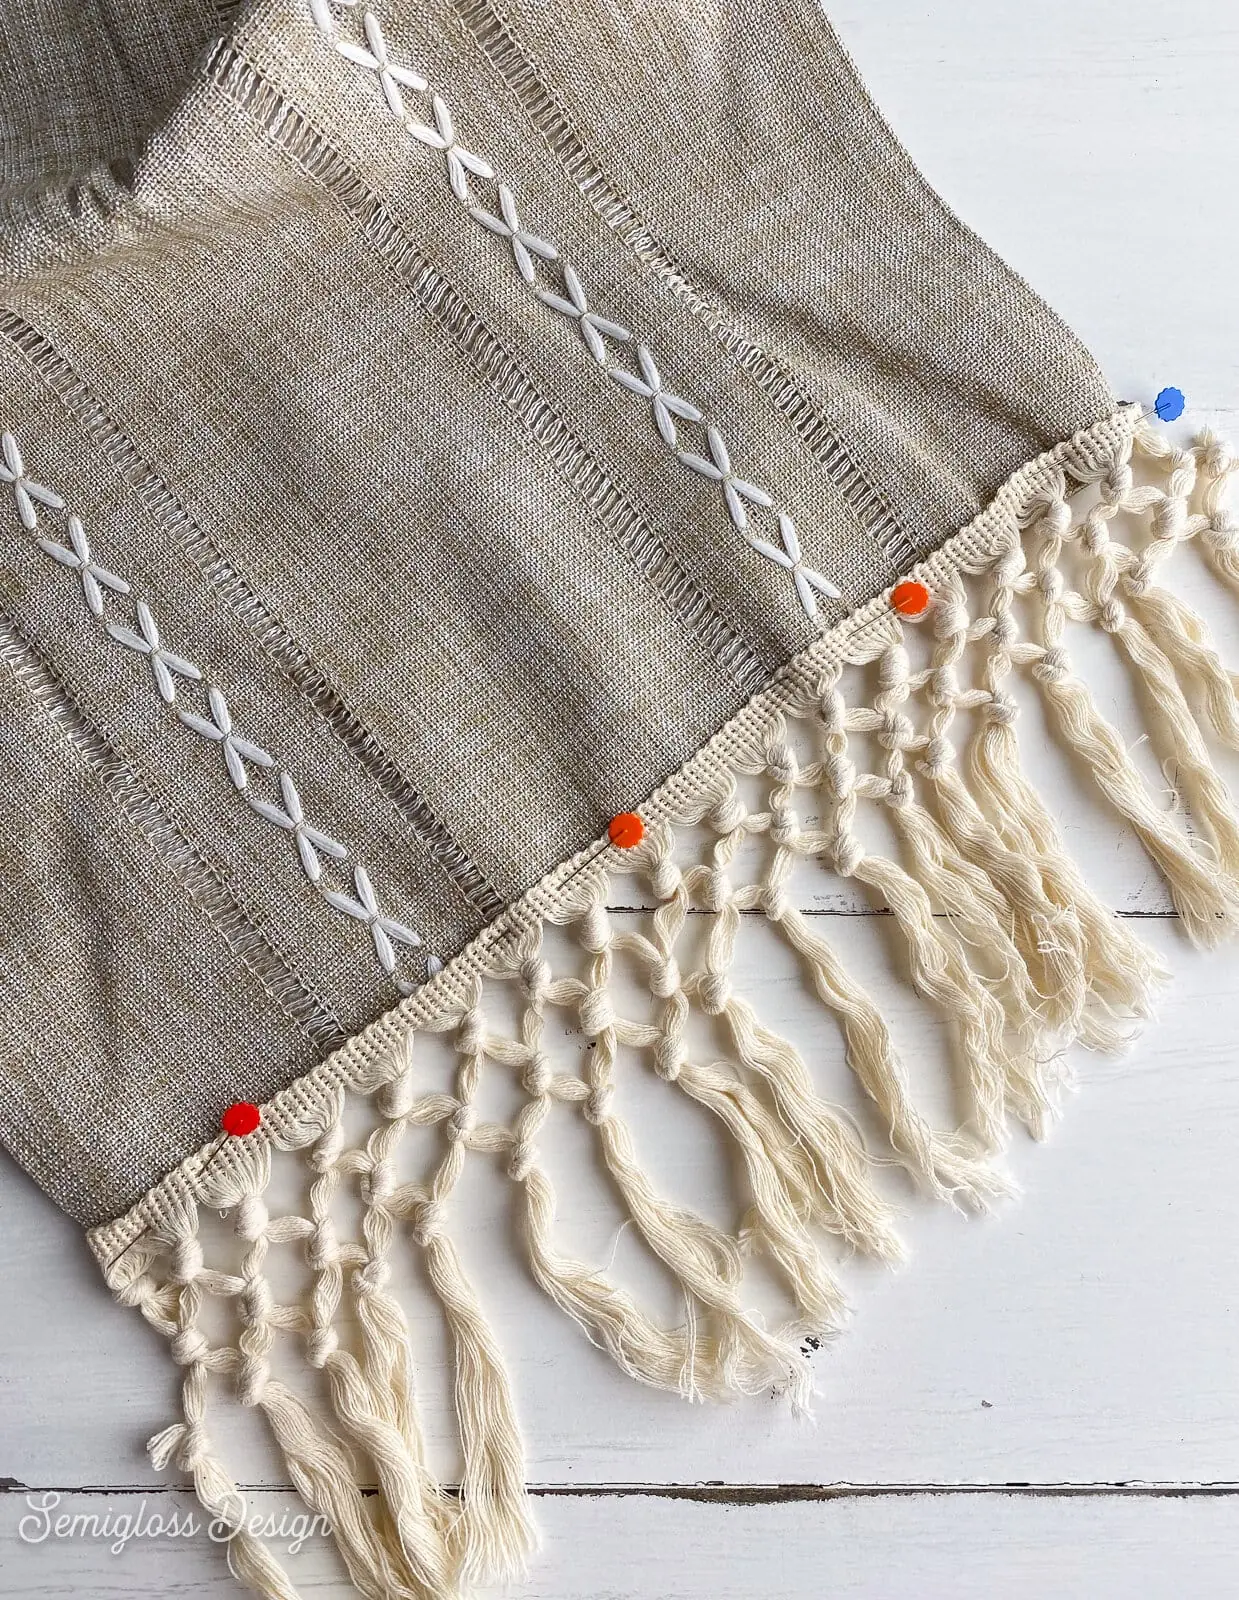
- Cut a length of trim a little longer than the placemat edge.
- Pin the trim to the edges of the placemats.

- Sew the trim onto the placemats.
- Be sure to trim the excess thread away.
- Iron the placemats to remove the wrinkles.
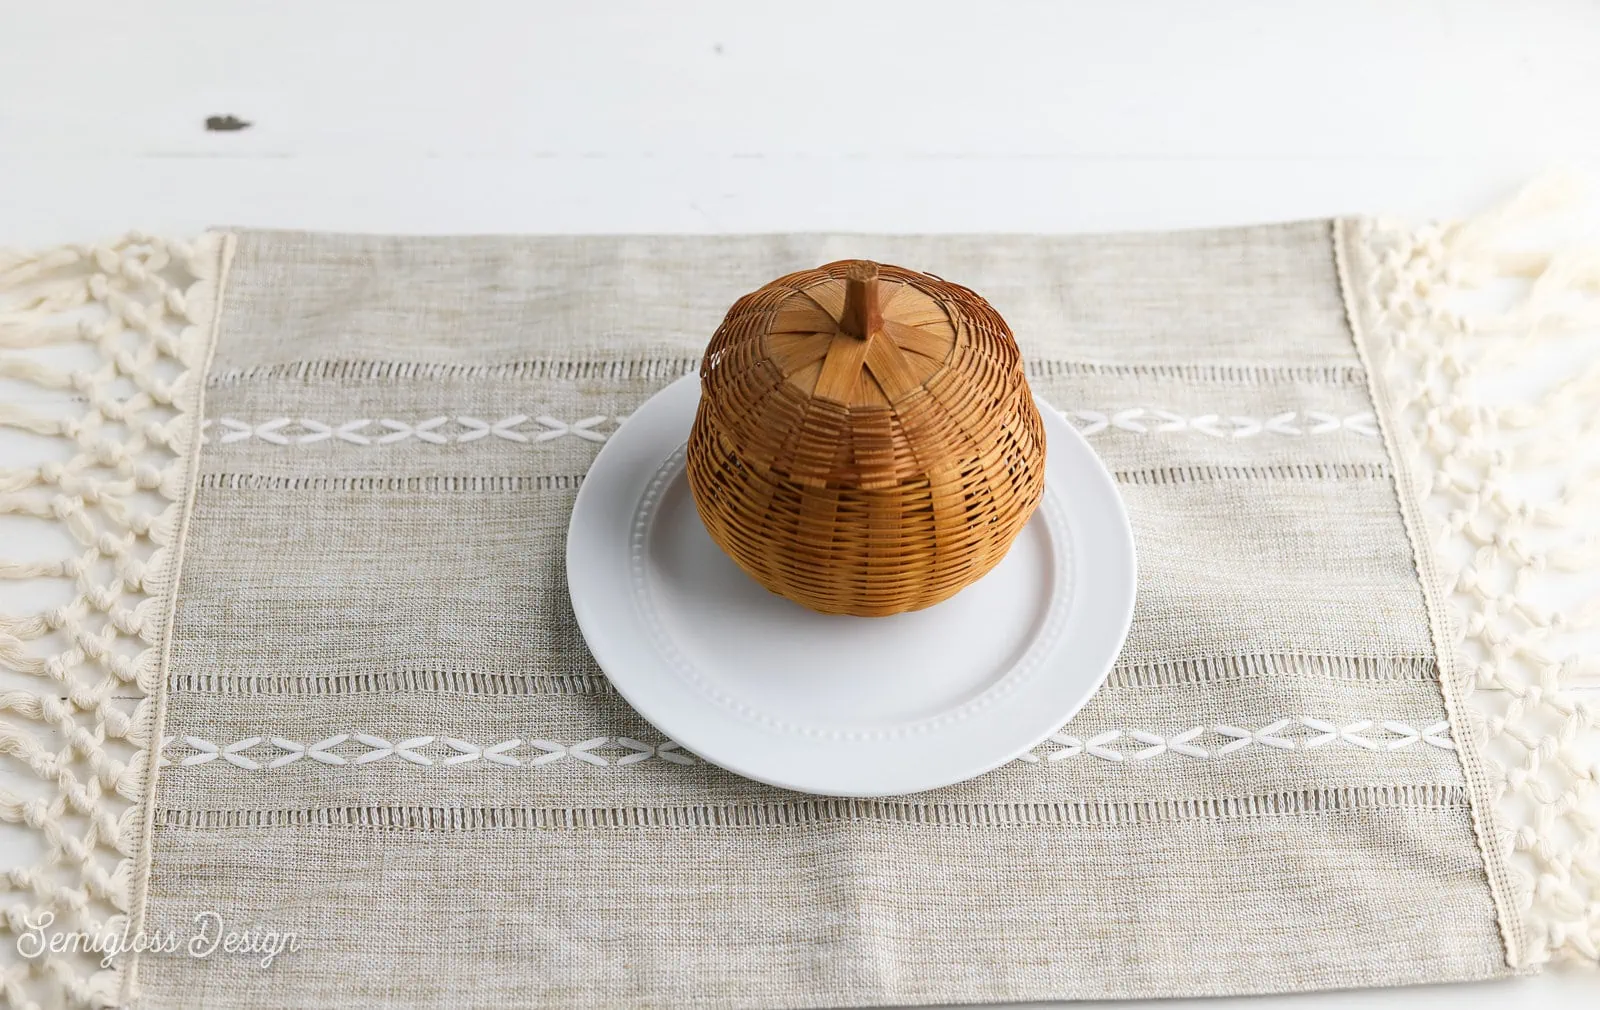
- Enjoy your placemats.

Gotta love an easy craft!
Care Instructions: Spot-clean any stains.
You might also like:
Pin for Later!

Emy is a vintage obsessed mama of 2 DIYer who loves sharing affordable solutions for common home problems. You don’t need a giant budget to create a lovely home. Read more…