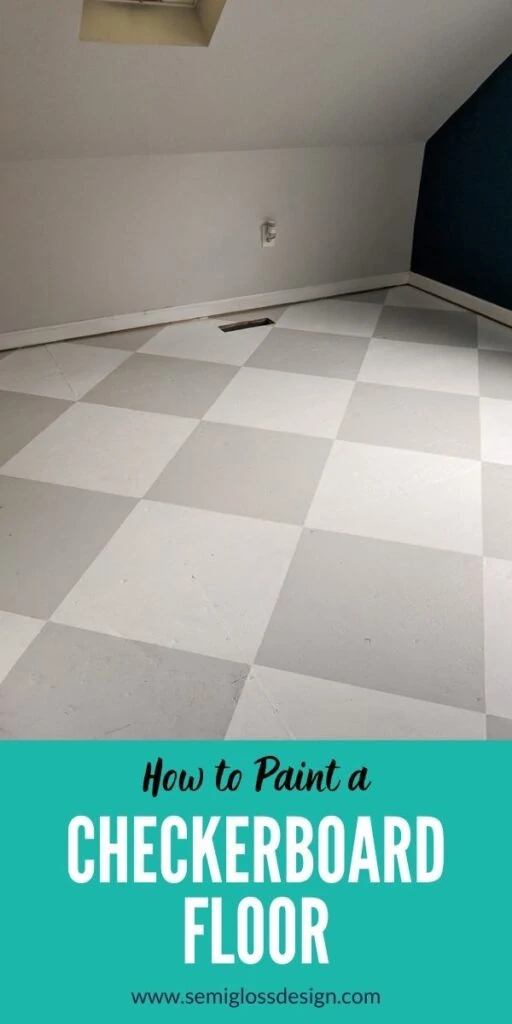
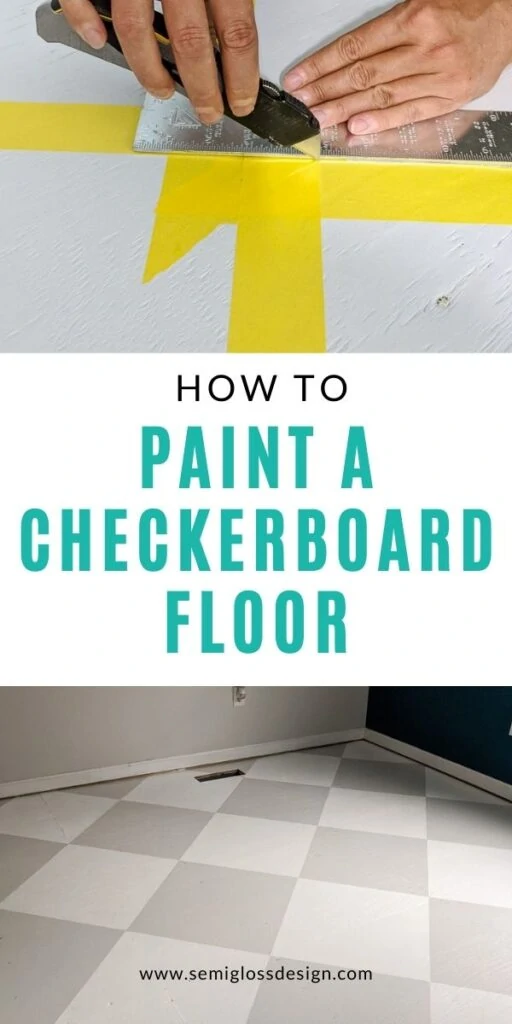
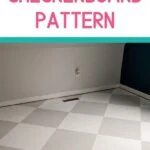
How to Paint a Checkerboard Floor
Learn how to paint a checkerboard floor. This easy technique is an affordable way to add interest to the floor.
You might be interested in the first part of this post: painting a plywood floor.
This post contains affiliate links. By purchasing an item through an affiliate link, I earn a small commission at no extra cost to you. As an Amazon Associate I earn from qualifying purchases.
After removing the carpet from my bedroom, I had to find a cheap way to make my plywood floors look good.
At first, I considered staining them and using a stencil on top. I even went and bought several cans of stain to make it happen. However, I got home and realized that the water-based stain shouldn’t be used for flooring.
We tested the stain anyways and decided that the floors just looked dirty, so it was on to plan b.
After consulting my BFF, Pinterest, I decided to paint the plywood floors with a checkerboard pattern.
This look is majorly inspired by Miss Mustard Seed. She painted her wood floors and it was gorgeous, but would it look as good on my plywood floors?
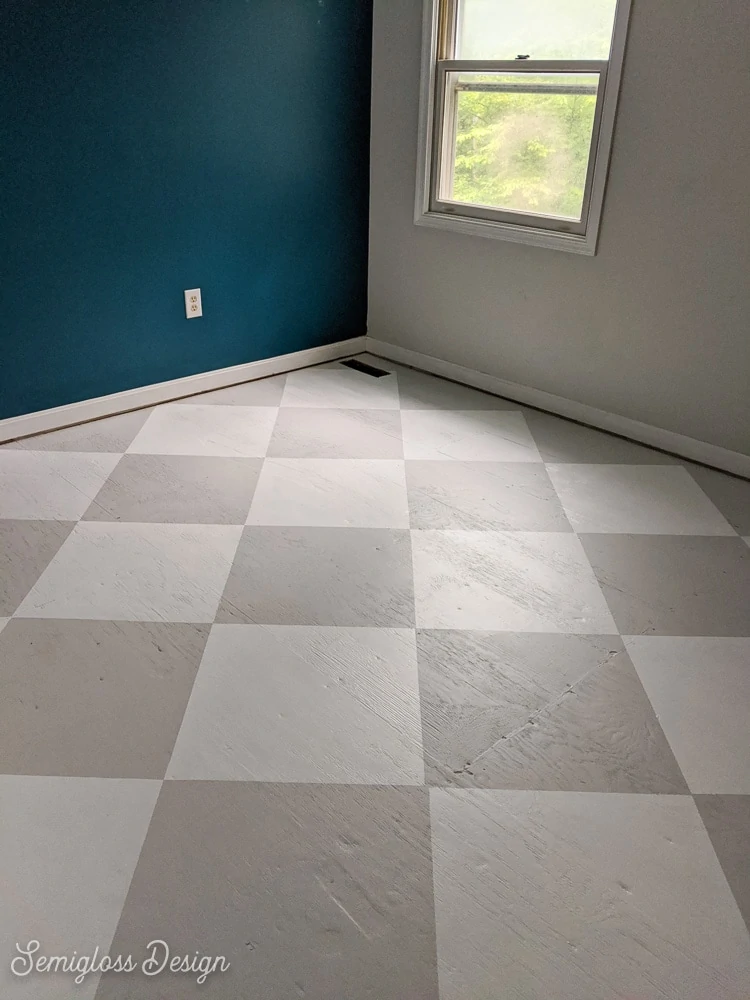
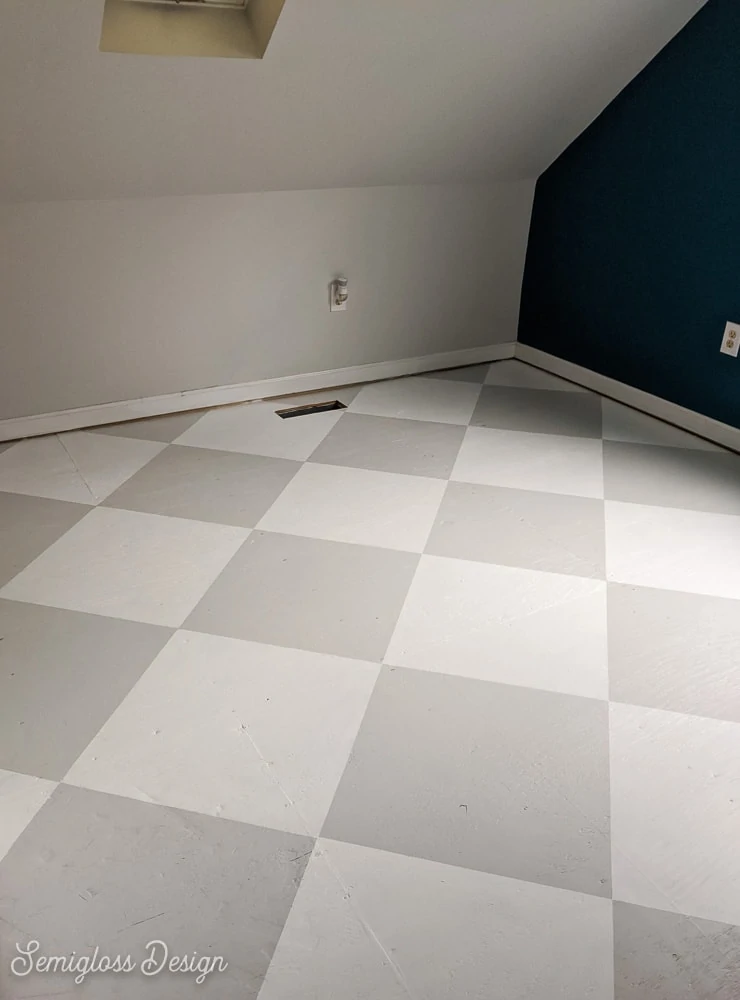
It was worth trying out. And guys, I’m so in love. I’m in no hurry for “real” flooring.
Checkerboard Floor FAQ’s
What kind of paint should I use for a painted floor?
To ensure that your painted floor lasts, use primer first and then paint the floors with a Floor and Porch paint. I’ve used Valspar’s paint several times and it works great.
If you use regular latex paint, the paint will eventually peel up. (I found this out the hard way.)
Which painter’s tape is best?
There are definitely people who are Team Blue or Team Green, but I’ve found them to be equally good.
For this floor, I started with Frog Tape Delicate Surface and ran out so we used regular blue painter’s tape. I saw no difference between the two.
Since I used the delicate version, it isn’t the best comparison, I’ll admit. However, the delicate tape typically sticks less and should be more prone to paint bleeding.
The only places that bled through were in areas where the tape did not adhere 100%. This was typically due to a bumpy spot on the plywood floor.
Thicker widths are harder to cut, but thinner widths are more likely to cause mistakes when painting.
Remove the tape while the paint is wet on the last coat.
Should I paint the light color or dark color first?
If the colors are similar like mine are, you can paint either one first. I painted the dark color first because I knew that it would cover better. White paint takes at least coats of paint no matter what.
If your colors are high contrast, like black and white, paint white first (prime first!)
How long before you can walk on a painted floor?
Typically 4-6 hours, but wait about 12 hours if possible. Wait even longer before moving furniture back in the room.
If you decide to walk in the room before 12 hours, wear clean socks (versus shoes or barefoot). This will prevent the paint from sticking to oils from the skin or leaving marks from dirty shoes.
Once the paint is completely dry, the paint is nice and durable. No need to be so fussy anymore.
How to Paint a Checkerboard Floor
Supplies Needed:
- Painter’s Tape
- Poster board for a template
- Utility Knife
- Floor and Porch Paint
- Paintbrush
- Carpenter Square
- Polycrylic (optional)
I used Sherwin Williams Passive (light gray) and Extra White. I also considered using Repose Gray and Alabaster for a warm gray look.
Be sure to check out the post on painting plywood floors. Even if your floor isn’t plywood, it’s a good idea to know how to paint the base coat.
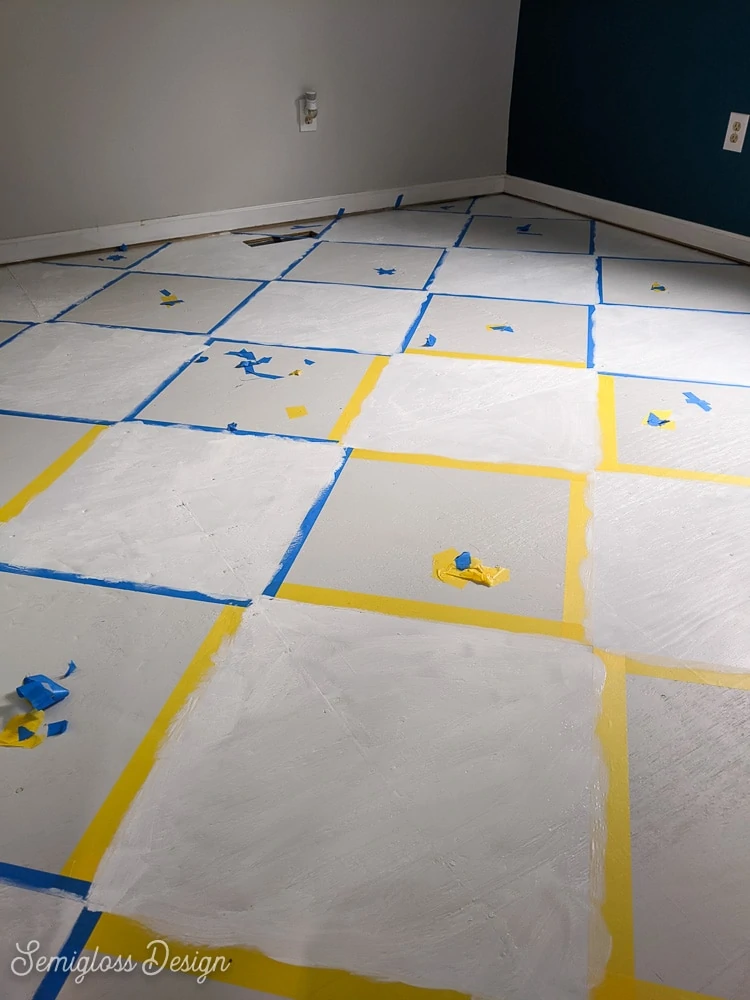
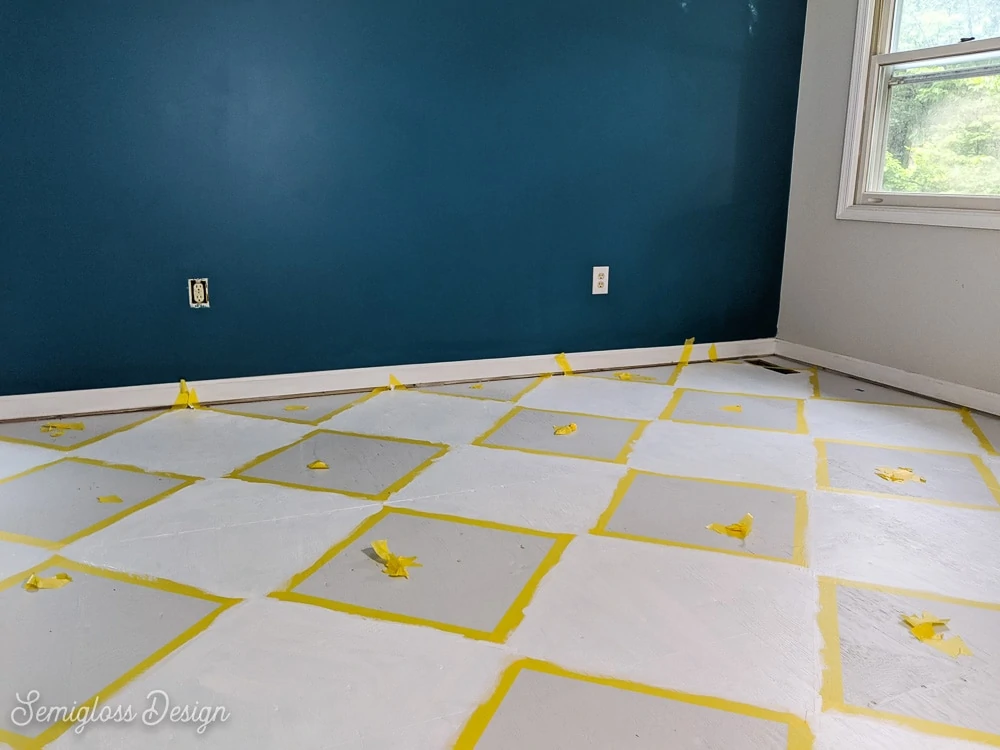
How to Tape Off a Checkerboard Pattern
Illustrated Overview of Tape Pattern
Just to clarify things, I made illustrations to demonstrate how the tape should look.

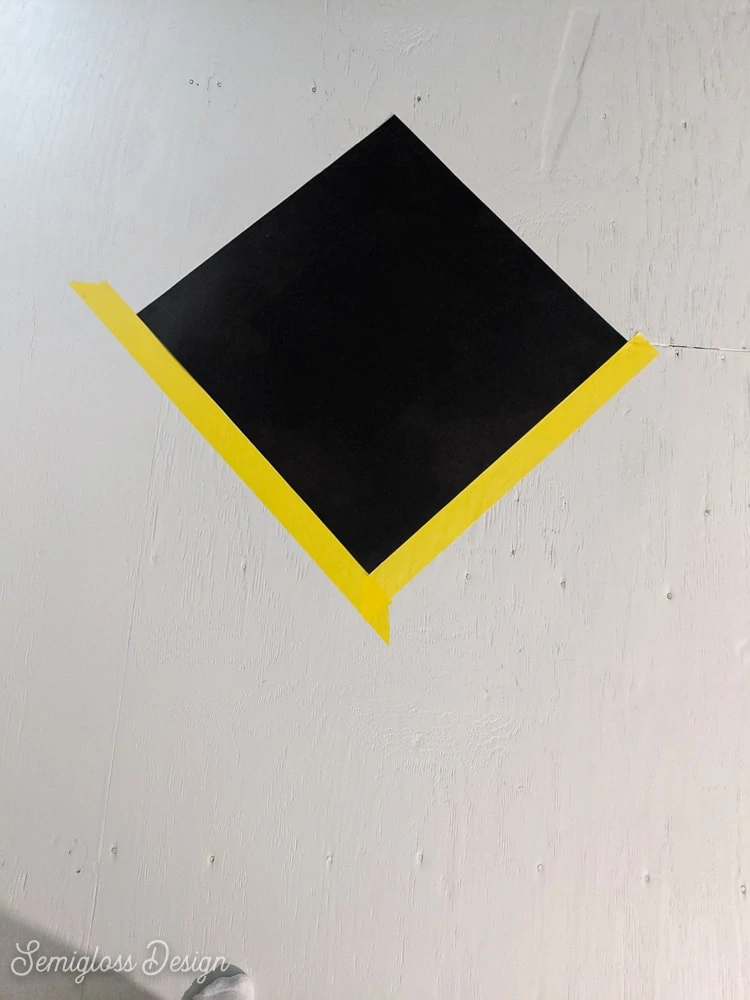
This is the pattern that you want to create. You want to tape off the squares that you’re leaving white, so that you can paint the other squares black (or the other color.)

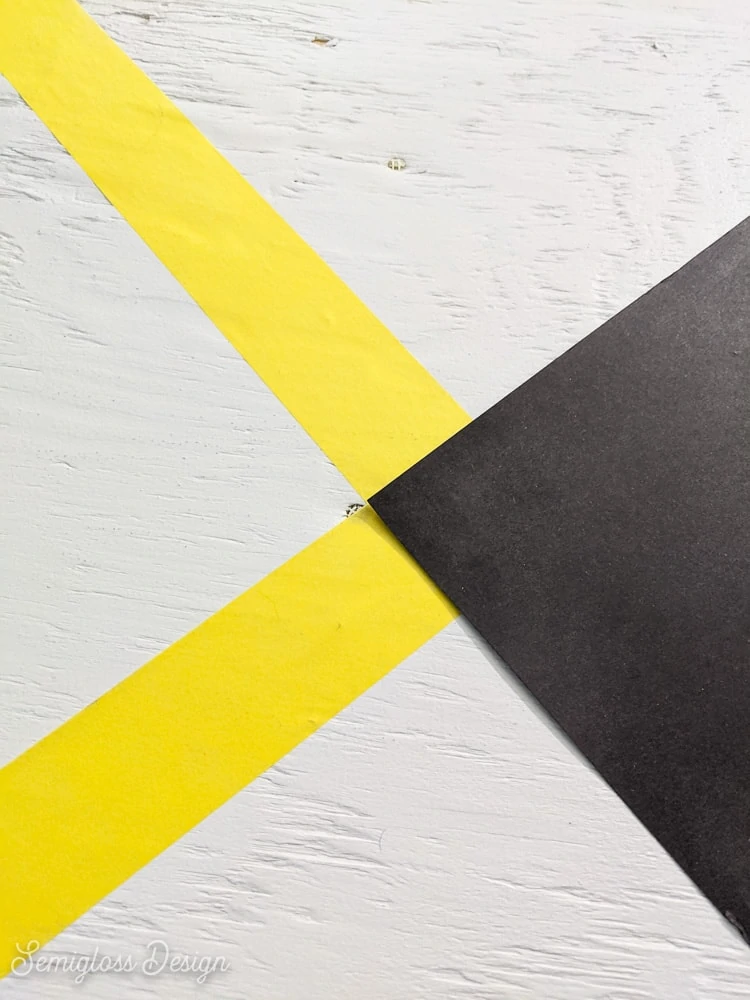
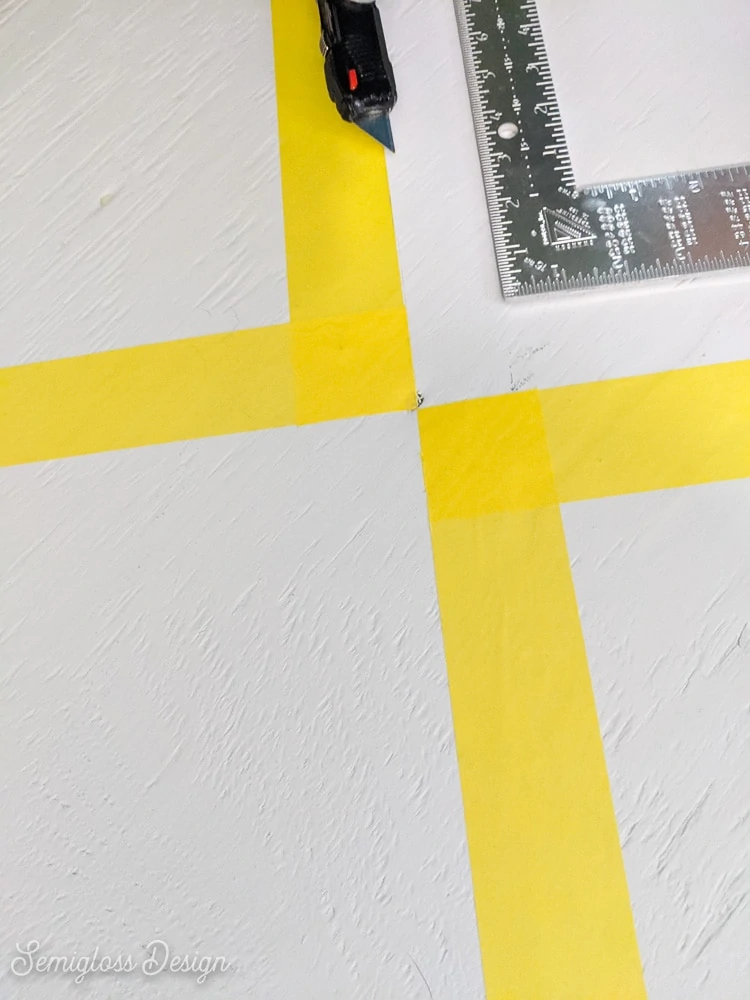
Here’s how to tape will look. Notice how the tape overlaps in the corner.

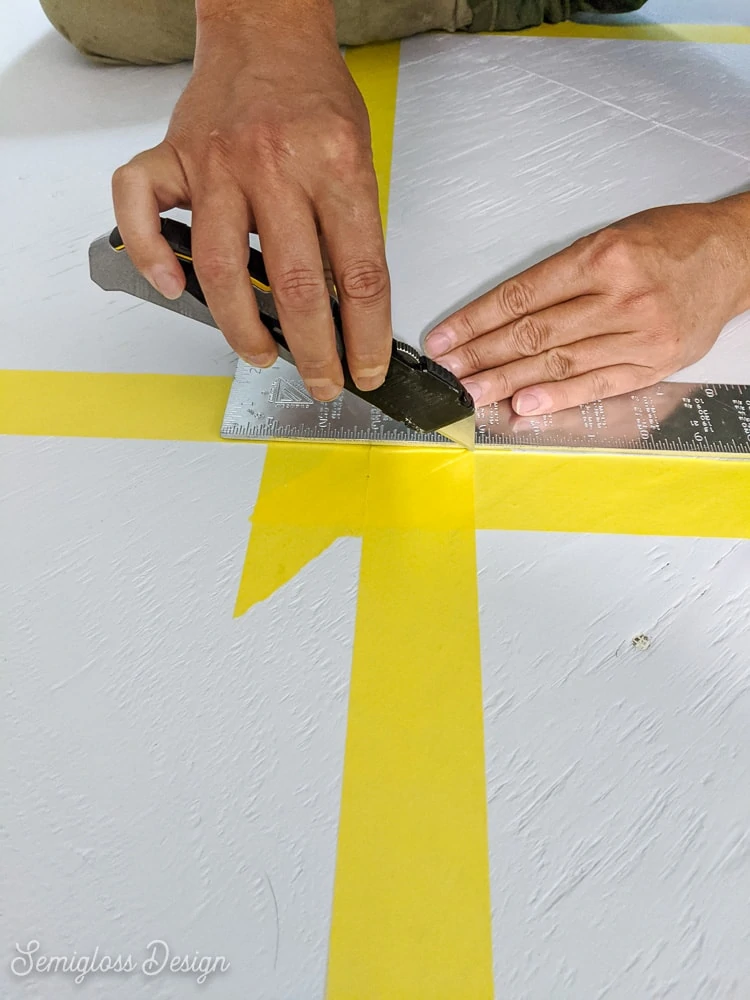
Here’s a close up of those corners. The piece on each side need to be removed with an utility knife.
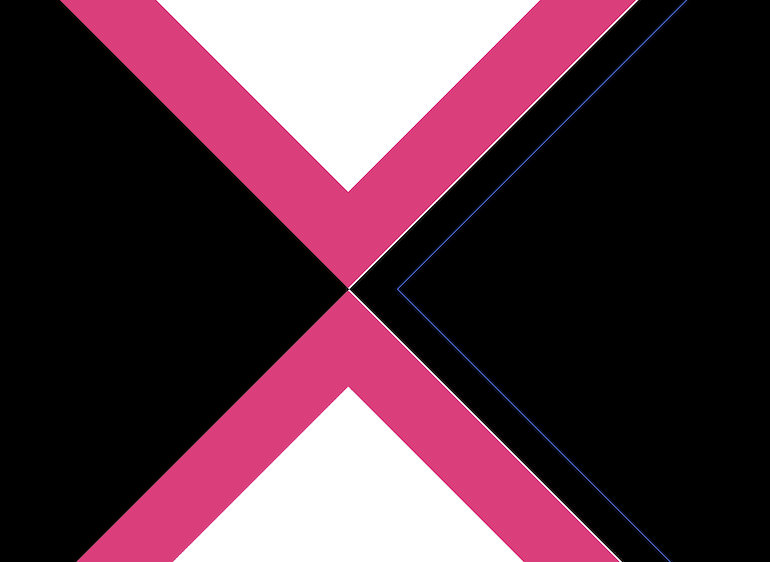
This leaves you with perfect squares.
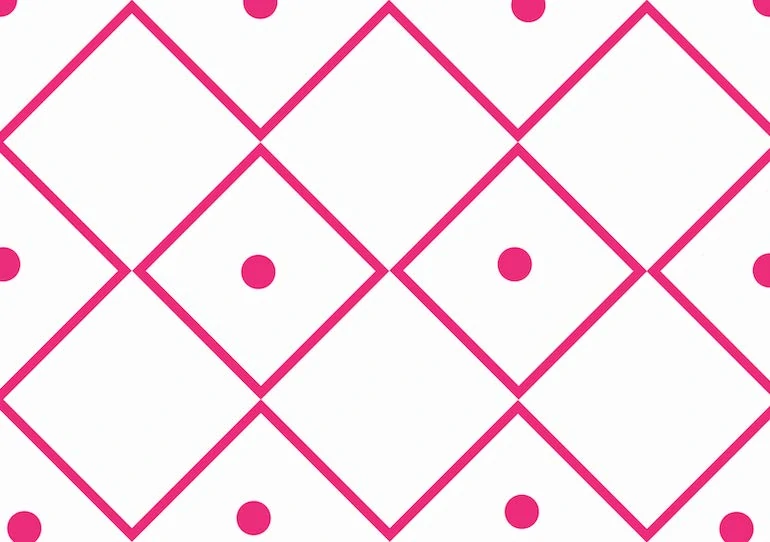
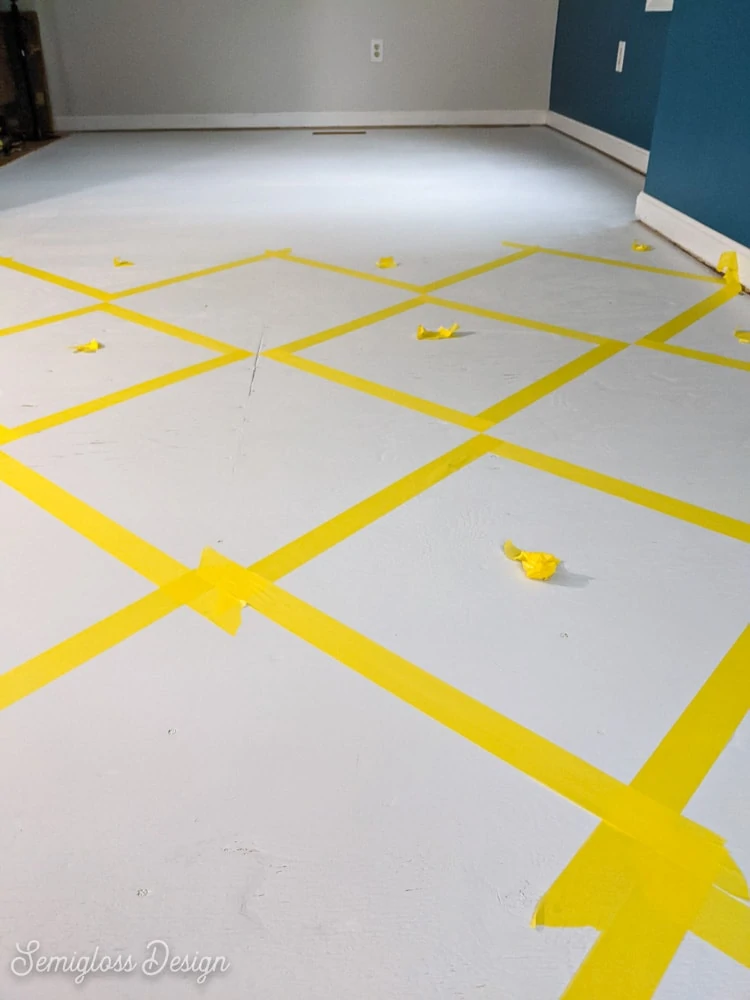
Your tape pattern will look something like this. The dots represent small pieces of tape to tell you not to paint that square. Only paint the large squares.
Directions
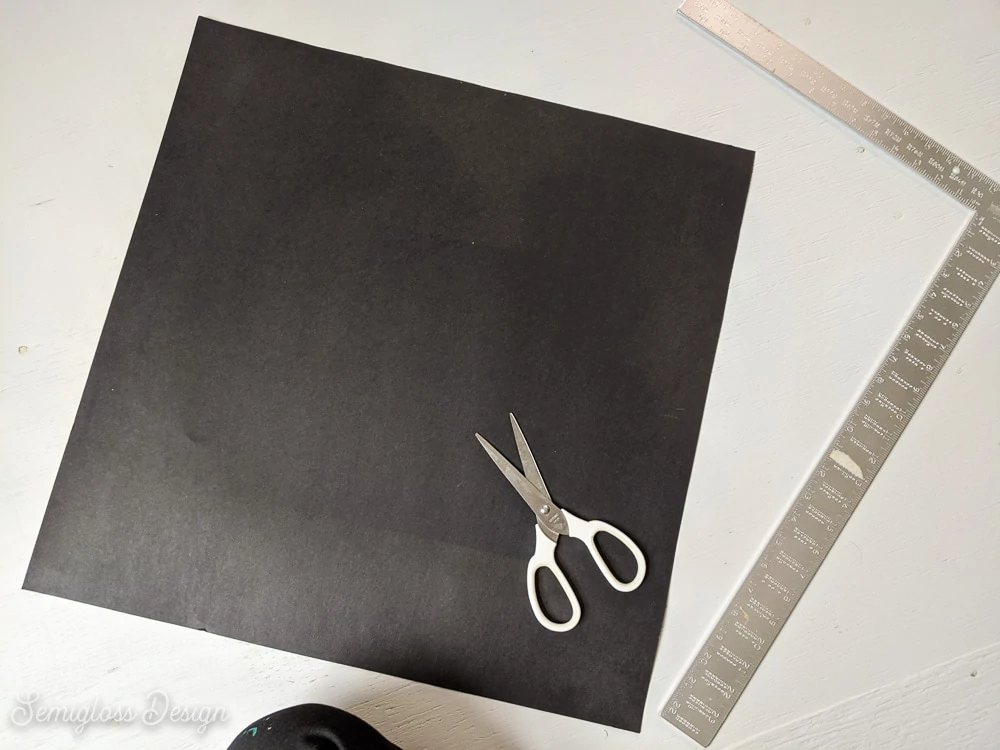
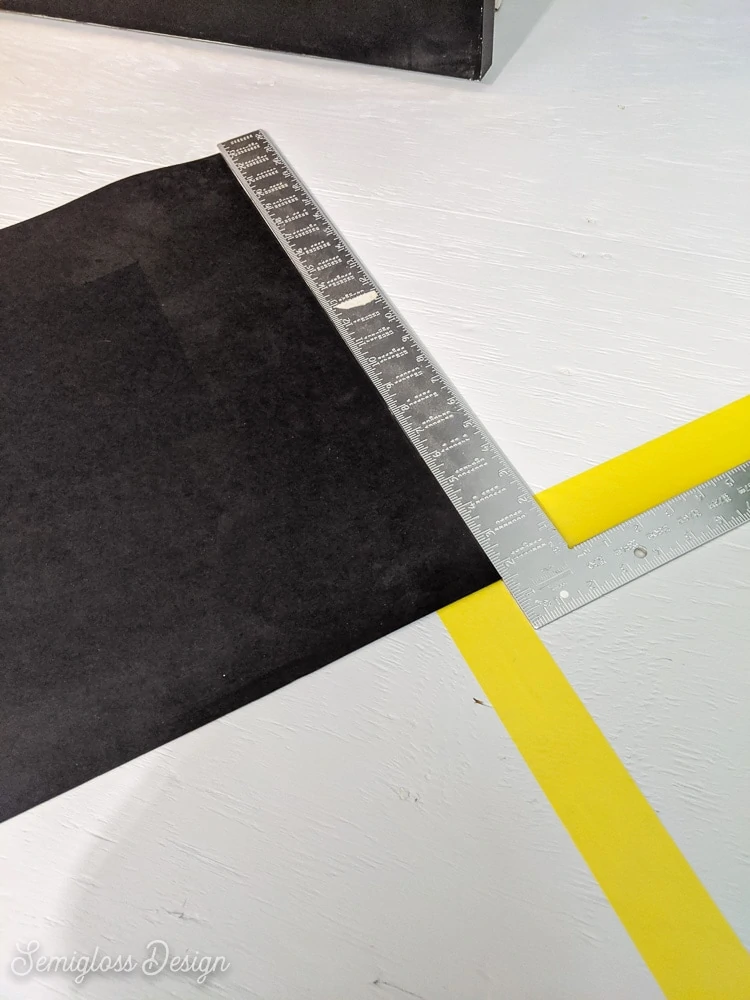
- Make a template using a piece of poster board. Cut the poster board into a square.
- Find the center of the room and lay out the poster board template. I lined mine up with the plywood panels to make sure that it was straight.

- Apply tape around the edge of the template to form a square.

- Remove the template and lay it on the space next to the first square. The corner should overlap in the first corner. You can use a carpenter square to make sure that it’s perfectly aligned.
- Apply tape to the outside of the square.
- Keep working in this manner, leaving the partial squares along the edges until the end.
- Go back and use a utility knife to remove the tape from the corners.
- Place pieces of tape in the smaller spaces so that you know not to paint in them.
- Go back and get around the edges, using the template to make sure the tape is in the right place.
Tips for Taping a Checkerboard Pattern
It’s really easy to get confused while working on the taping. The whole thing starts to feel like an MC Escher painting. It’s easy to get too confident and stop using the template eventually.
- If you get confused about where the tape goes, use the template to figure out where the tape goes. It always helps.
- If your lines start getting wonky, try to make sure that the tape lines up. Err on the side of leaving gaps, rather than using too much paint.
- Using a carpenter square will help keep the checkerboard pattern aligned.
- It’s normal for walls to not be straight.
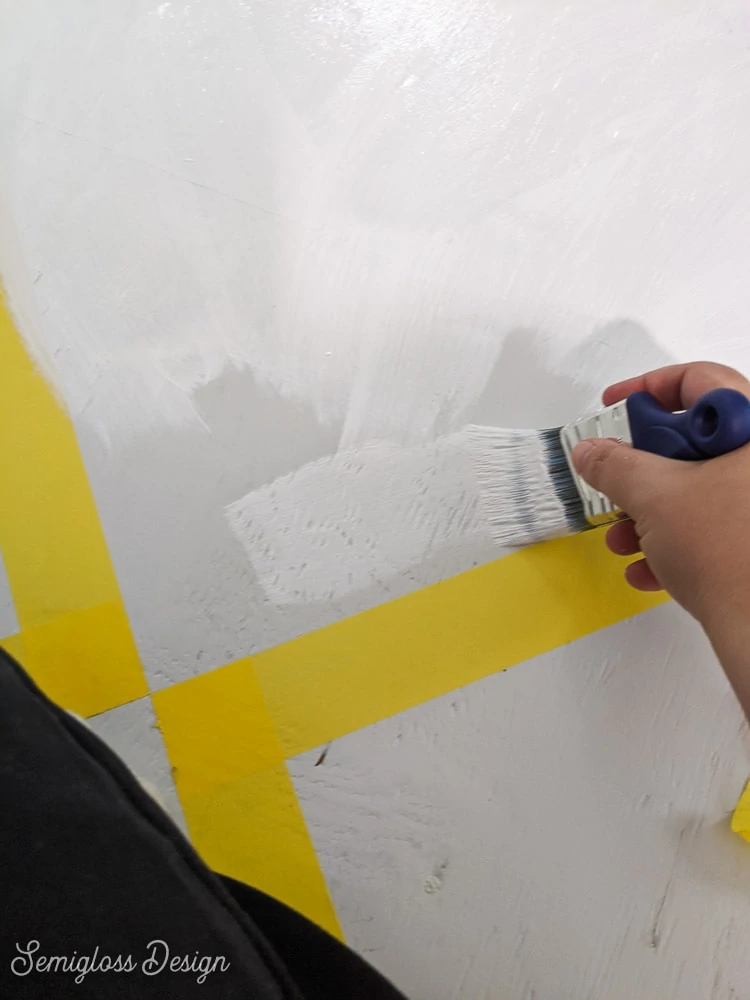
Painting the Checkerboard Floor
Once the checkerboard pattern is taped, it’s time to start painting.
- Start in a corner away from the door.
- Apply a coat of paint with a paintbrush.
- Work your way around the room, skipping the squares with tape in them.
- The last squares you paint should be in front of the doorway.
- Let the paint dry.
- Add another coat of paint. You might need 3 coats of paint.
- On the last coat of paint, remove the tape as you paint. You will always be one row behind what you just painted. Luckily you can step on the unpainted areas.
- Let the paint dry.
- Apply a coat of polycrylic if desired. This will help keep your paint looking nice for longer.
You might also like:
- How to Paint a Vinyl Floor
- Flooring Considerations
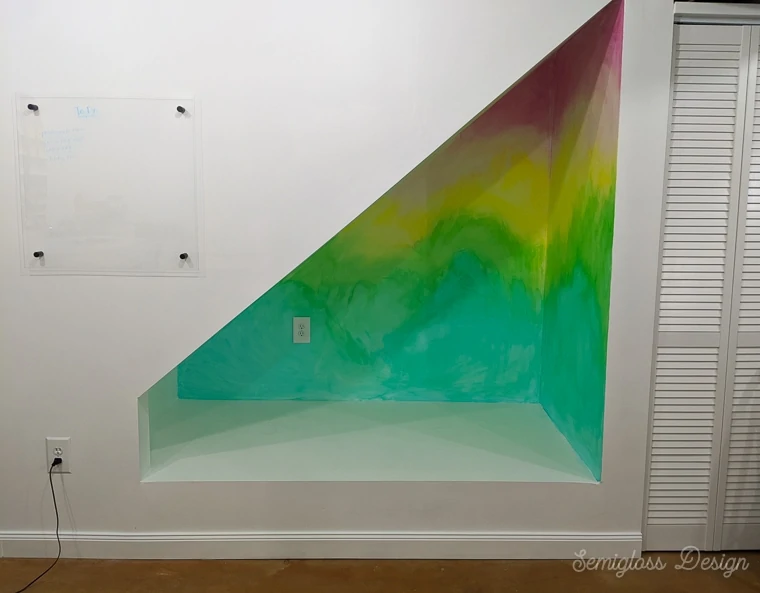
- Lazure Wall Mural
- How to Paint a Galaxy Mural
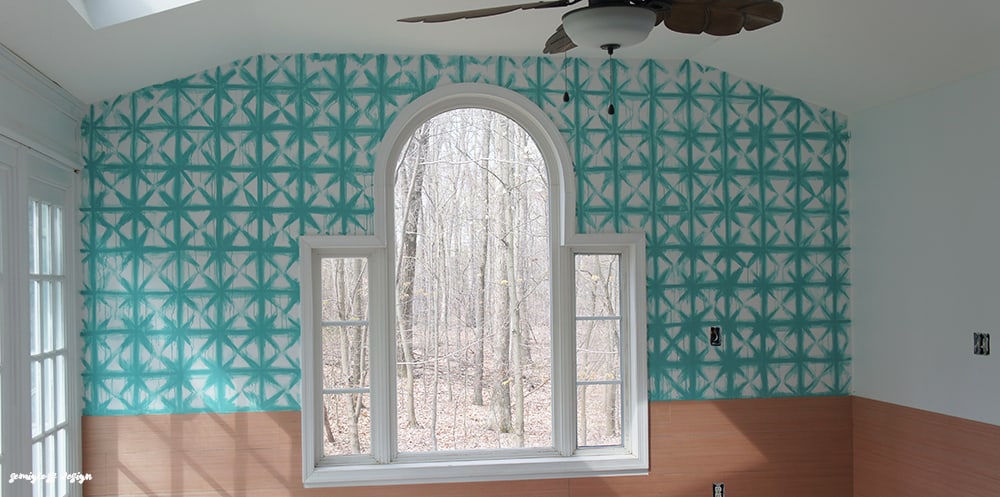
- DIY Geometric Accent Wall
Pin for Later!

Emy is a vintage obsessed mama of 2 DIYer who loves sharing affordable solutions for common home problems. You don’t need a giant budget to create a lovely home. Read more…

Thank you!