How to Make a DIY Felt Wall Hanging with a Rainbow
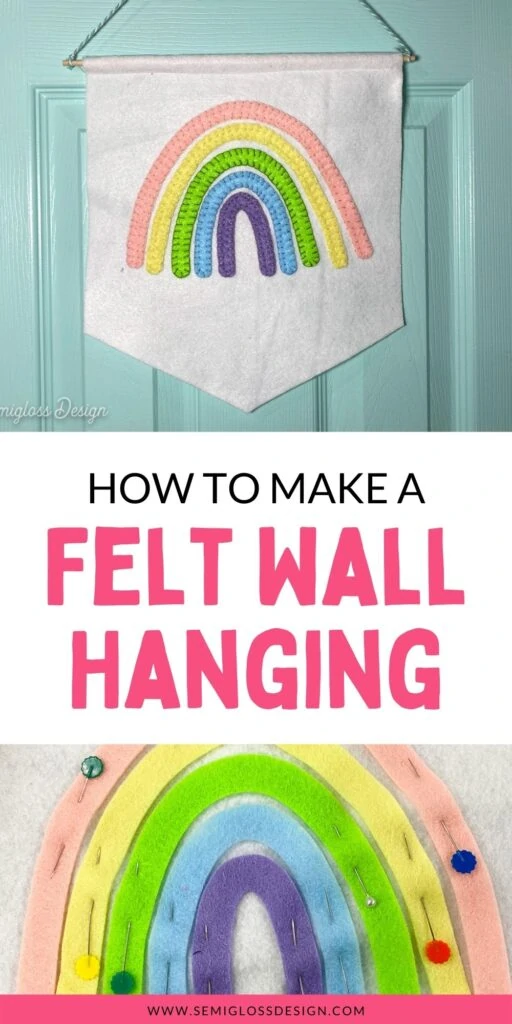
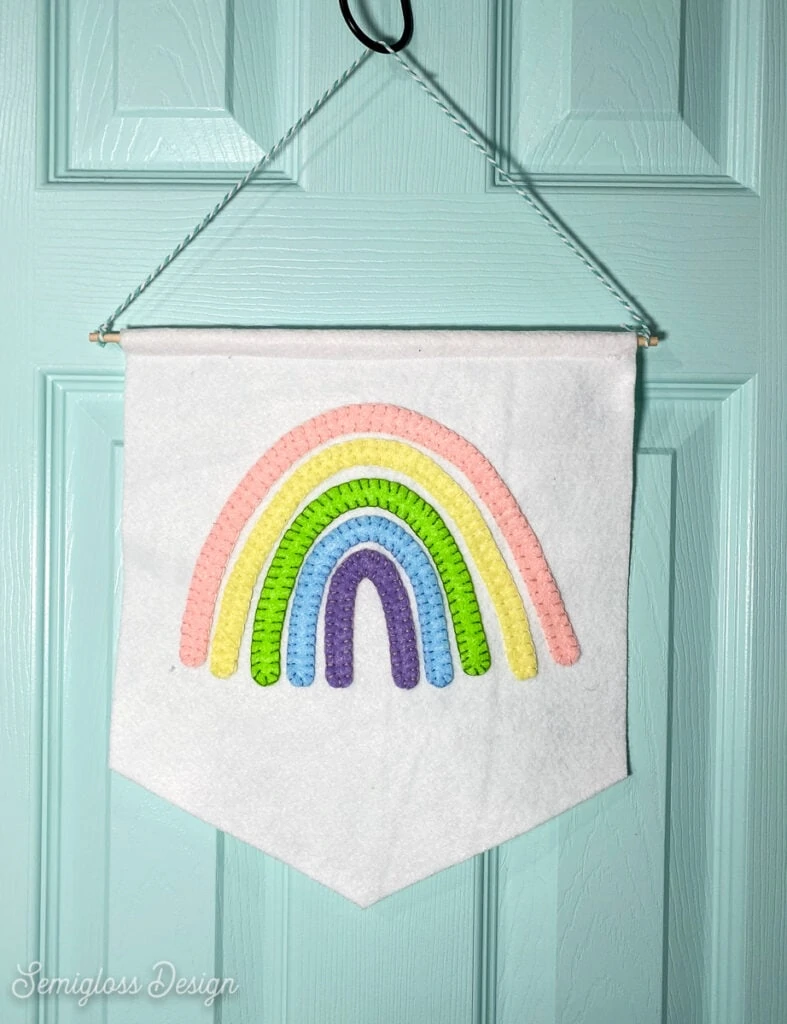
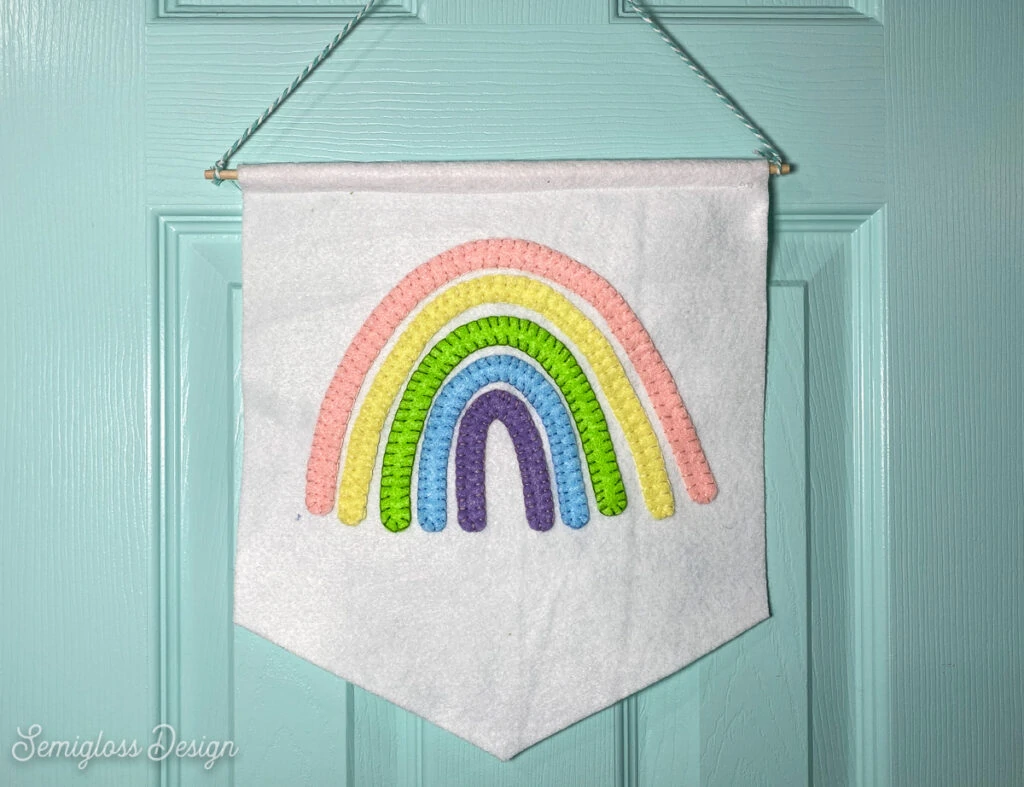
This DIY felt wall hanging with a rainbow is so much fun to make. It’s perfect for a kid’s room or for anyone who loves rainbows (me!)
I made this wall hanging for my craft room, but my daughter has been eyeing it, so it might end up in her room.
If you like working with felt, you might also like this felt heart garland.
This post contains affiliate links. By purchasing an item through an affiliate link, I earn a small commission at no extra cost to you. As an Amazon Associate I earn from qualifying purchases.
DIY Felt Wall Hanging
Supplies Needed:
- Felt
- Cricut Maker
- Cricut Rotary Blade
- Rainbow cut file (A download is available at the end of this post)
- 12″ Dowel
- Sewing Machine
- Embroidery floss
- Embroidery needle
- Baker’s Twine
- Scissors
Notes About Supplies
Felt
I used a 12″ x 18″ sheet of acrylic felt for the main part of this wall hanging. The rainbow is made from both acrylic and wool felt sheets. I love crafting with felt, so I’ve collected a large assortment of colors and types.
You can use whatever felt type you want. Wool felt is much nicer to sew, though. Just make sure that you buy SOFT felt versus the stiff felt. It’s much easier to work with, especially if you’re sewing it.
Sewing Machine/ Embroidery
I used my sewing machine to sew the channel for the dowel in the wall hanging, but you can sew it by hand or even glue it. Use fabric glue for the best results.
The same goes for embroidery. I happen to love it, so I add it to every project possible, but you’re welcome to glue your design.
Cricut
I used my Cricut to cut the design, but you’re welcome to cut it by hand. The cut file also includes a printable PDF for use as a template.
If you have a Cricut but aren’t sure how to use it, be sure to check out my guide to using a Cricut for beginners.
Cutting the Main Part for the Wall Hanging
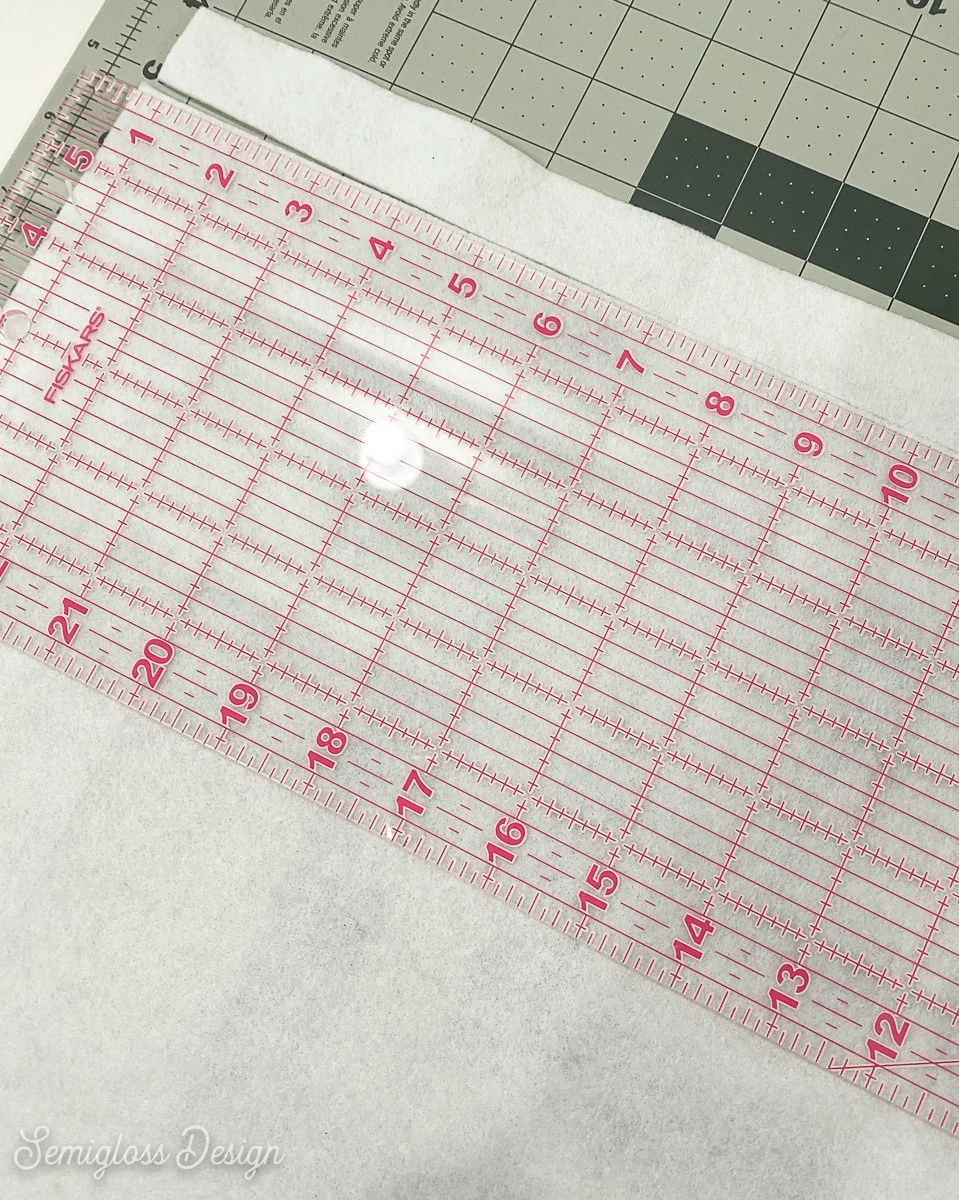
- Cut the felt length to 13″
- Cut off 1″ from the width of the felt.
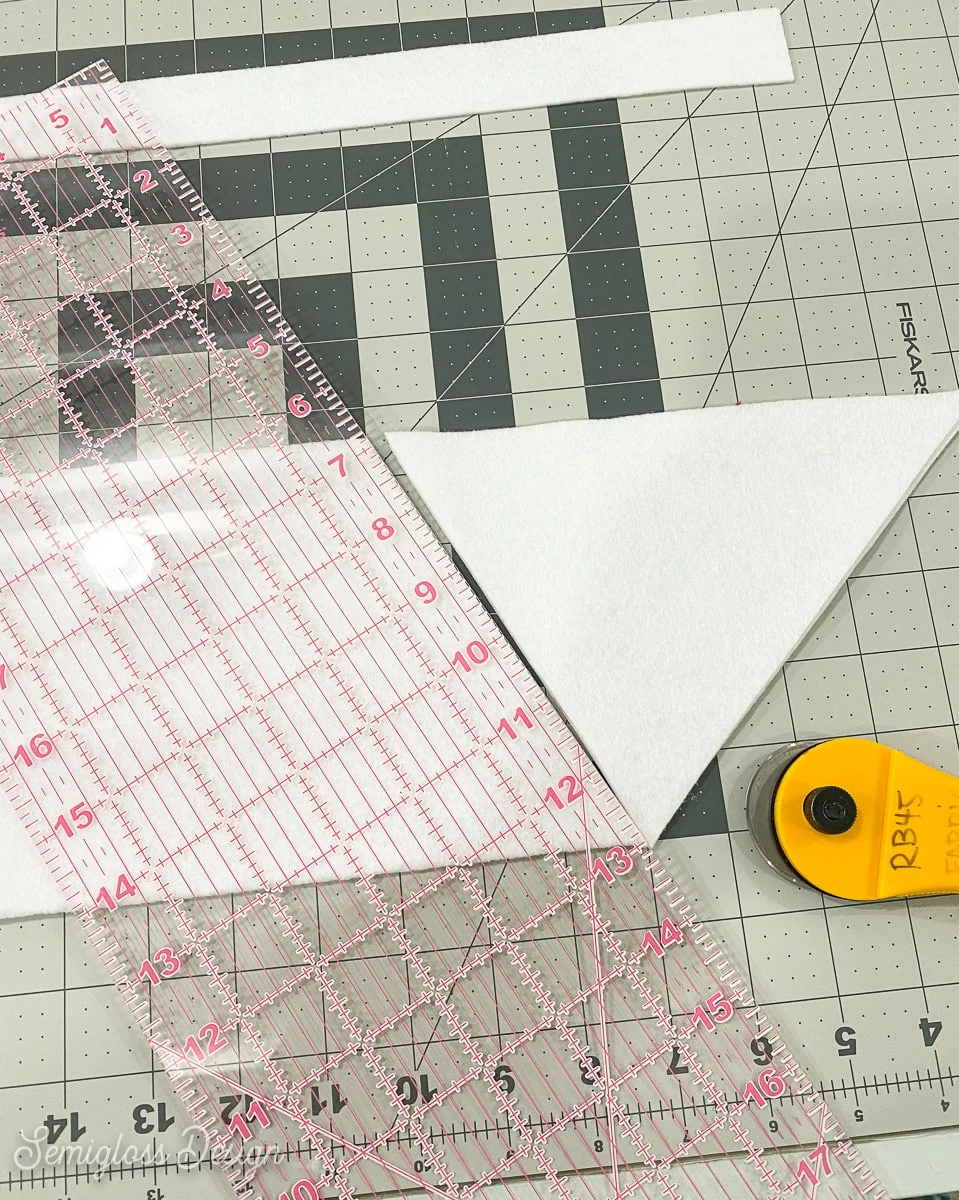
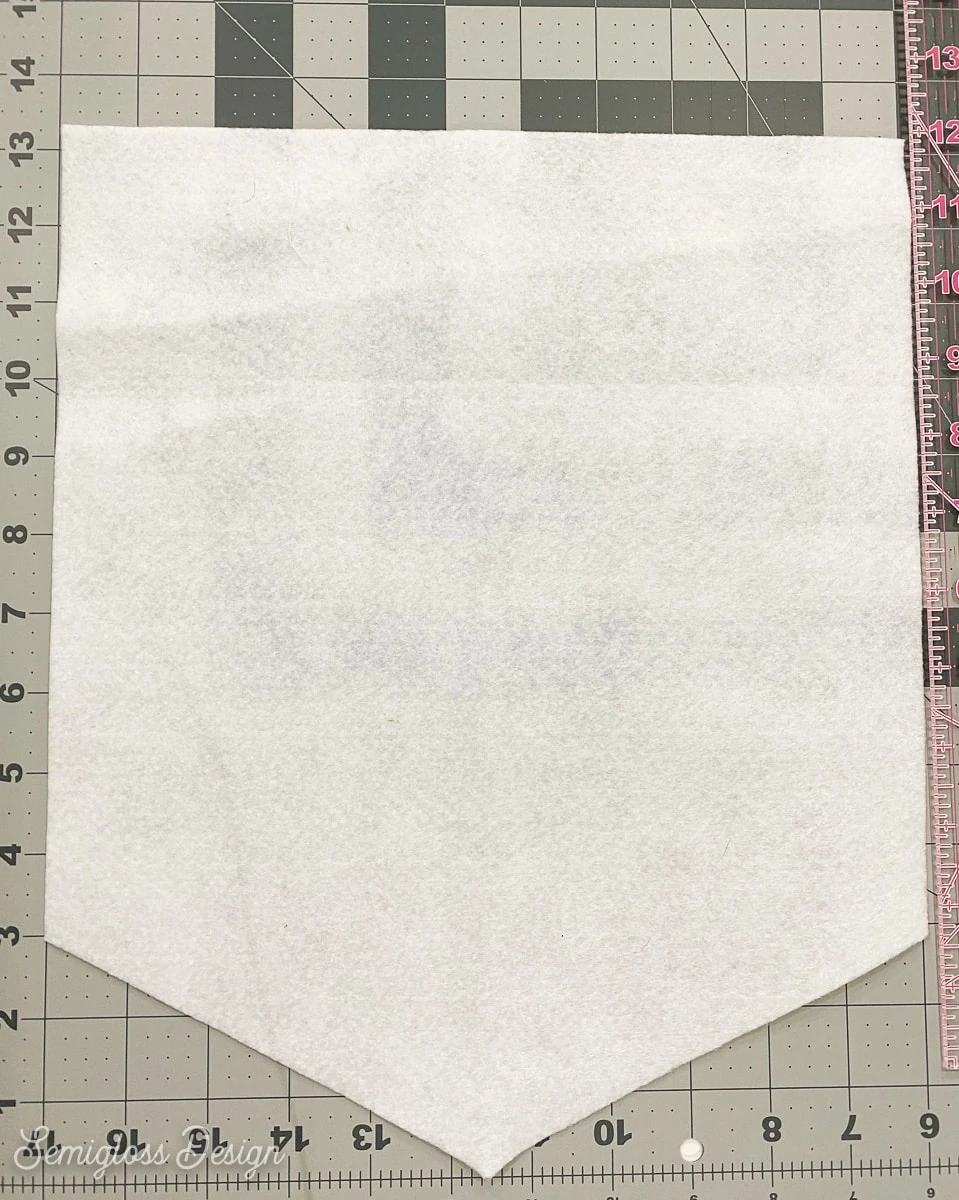
- Fold the felt in half lengthwise.
- Make a mark 3″ up from the side and cut from that point to the center of the fold.
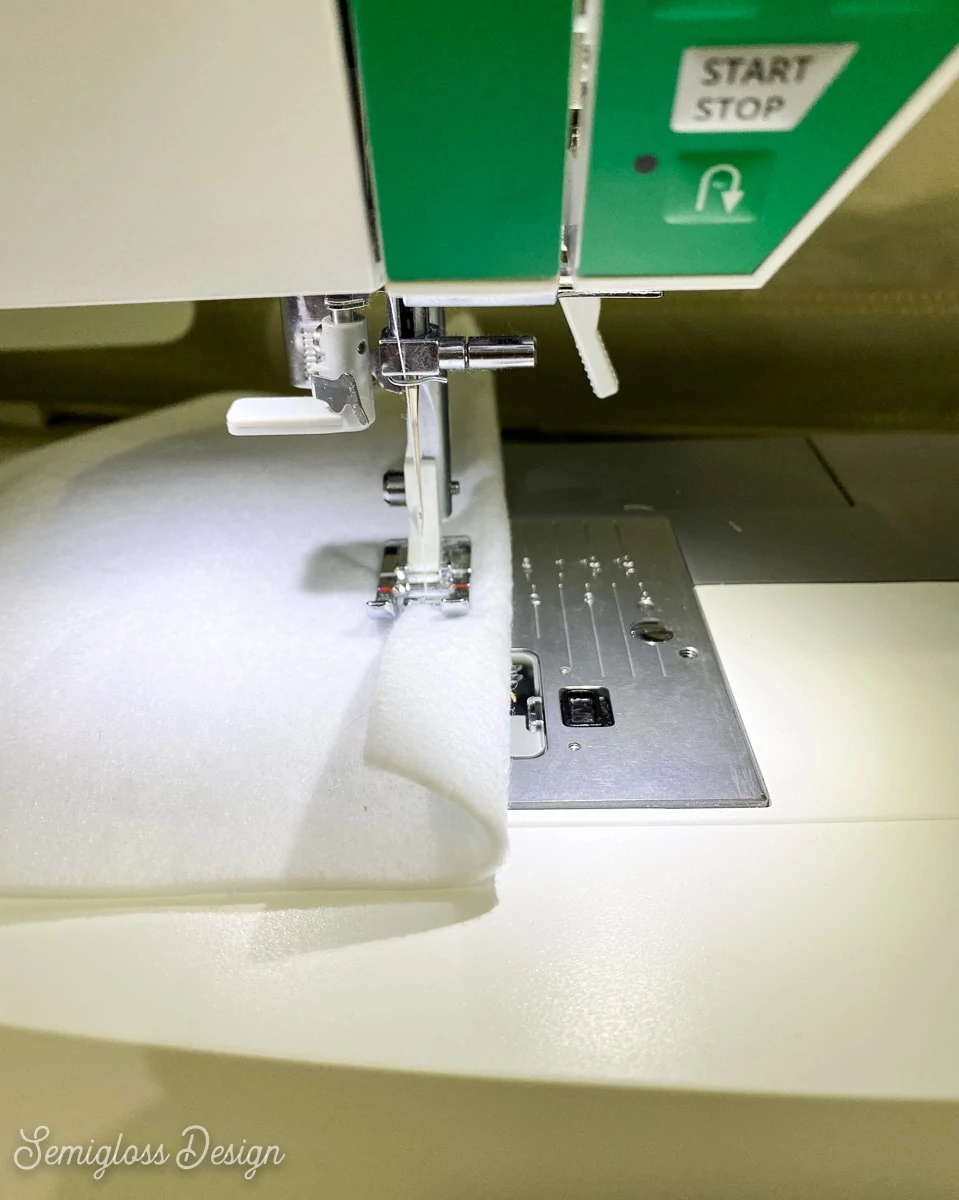
- Sew the channel for the dowel. Make sure that it’s big enough for your dowel.
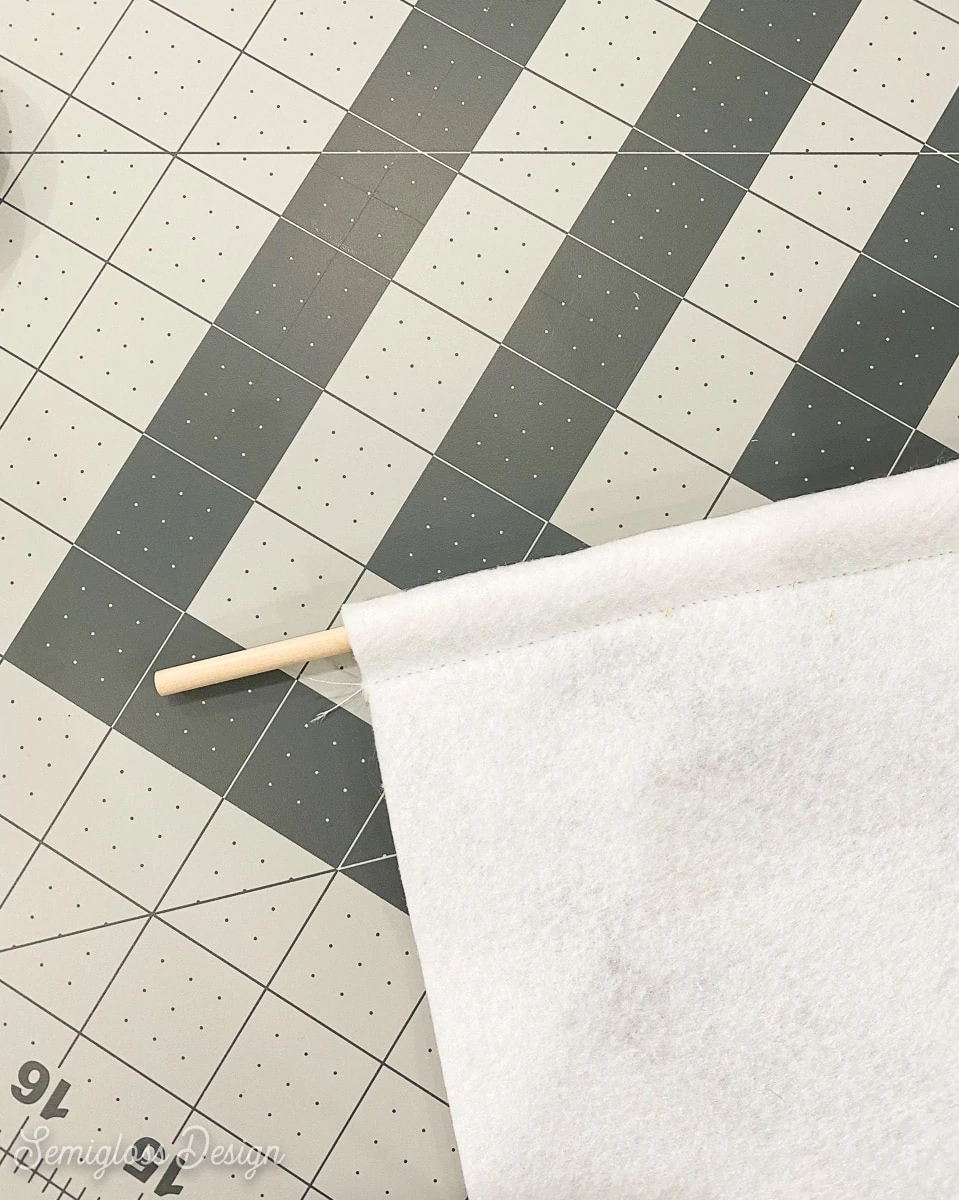
- Place the dowel in the channel.
Cutting the Rainbow Part
As I said earlier, you can cut the design with scissors if you want. Print the template and use it to cut the felt.
- Load the design into your cutting machine software.
- Resize the design to fit the wall hanging. I resized it to roughly 9″ wide.
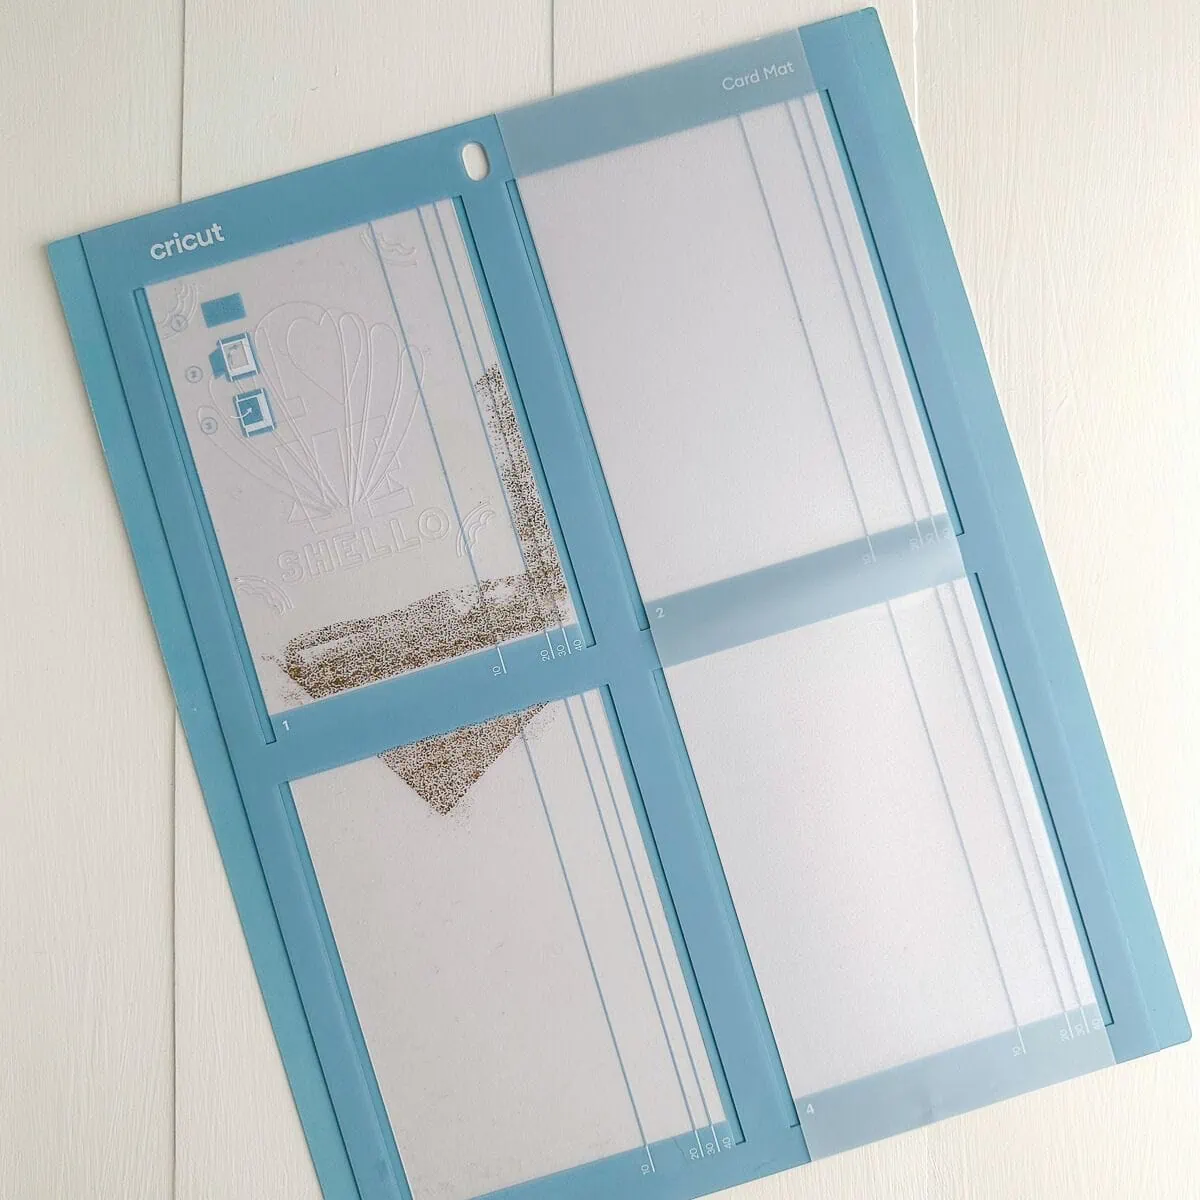
- For Cricut, it separates the colors into different mats.
- Use the setting for acrylic felt.
- Change your blade to a rotary blade if needed.
- Cut each color as indicated, placing a new color of felt onto the mat for each cut.
Sewing the Rainbow onto the Wall Hanging
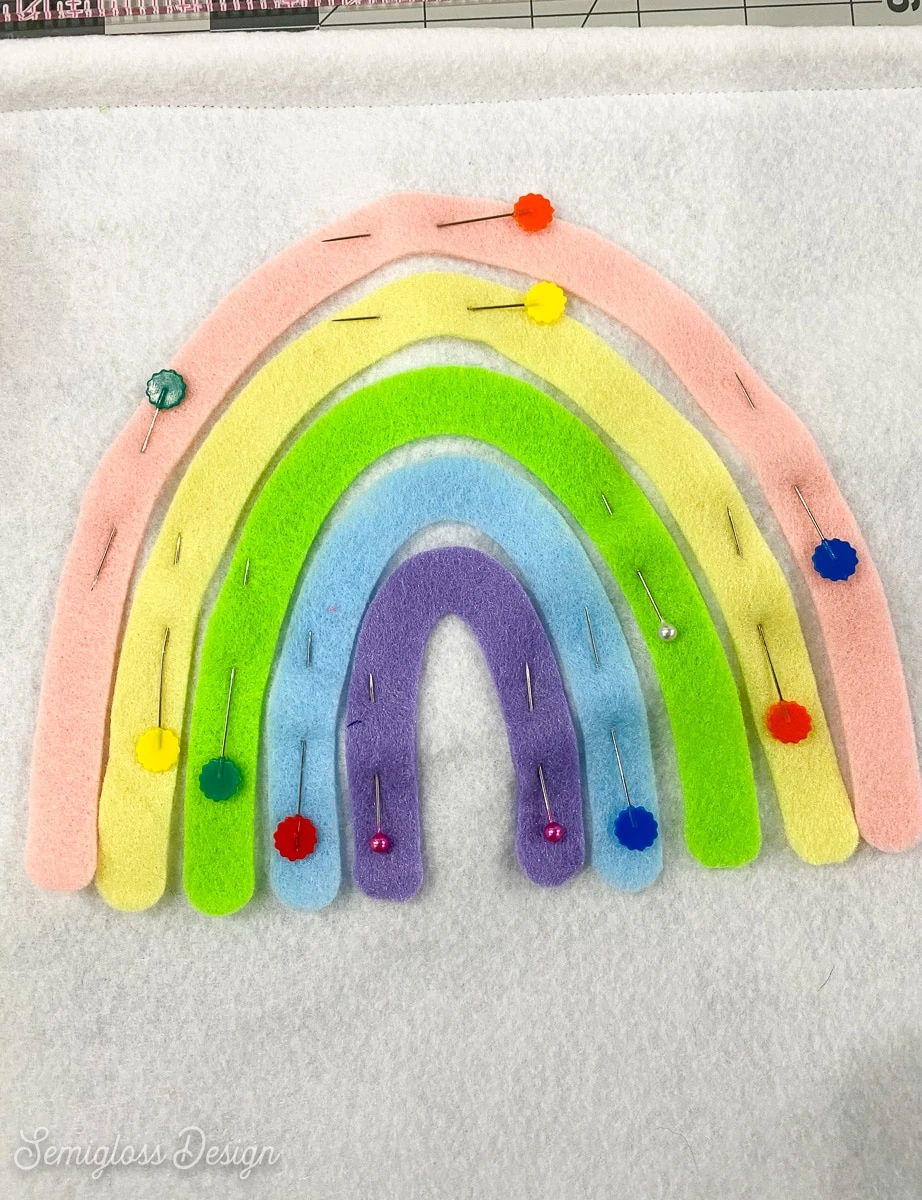
- Place the felt design onto the main part of the wall hanging and pin it in place.
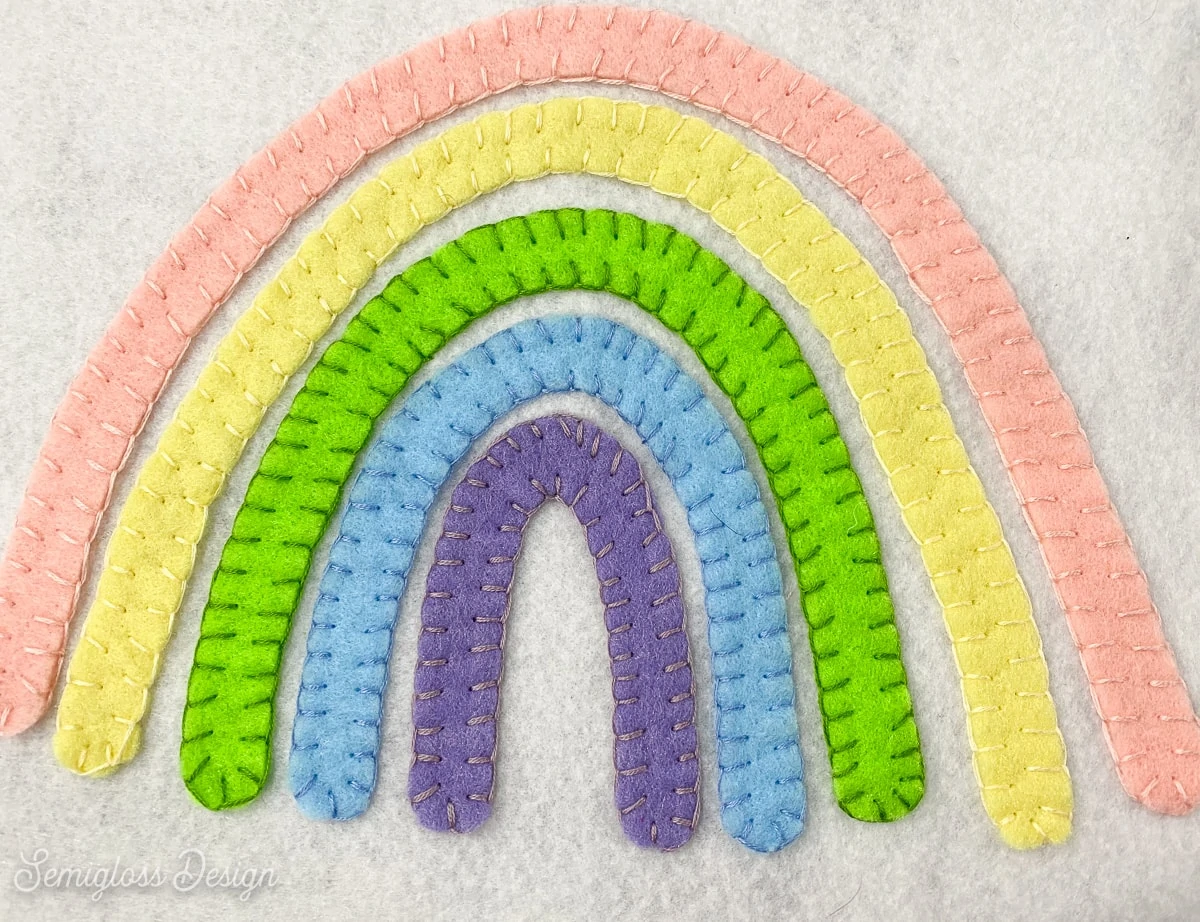
- Use matching embroidery floss to sew the rainbow onto the wall hanging.
- I started with the inner purple arch using a blanket stitch.
- Start your stitching on the inside of the arch and work your way around.
- As you sew, you might need to adjust the other colors to get the right spacing.
- Continue sewing until you’re finished with all of the colors.
Finishing the Wall Hanging
Cut a length of baker’s twine and tie it to each end of the dowel.
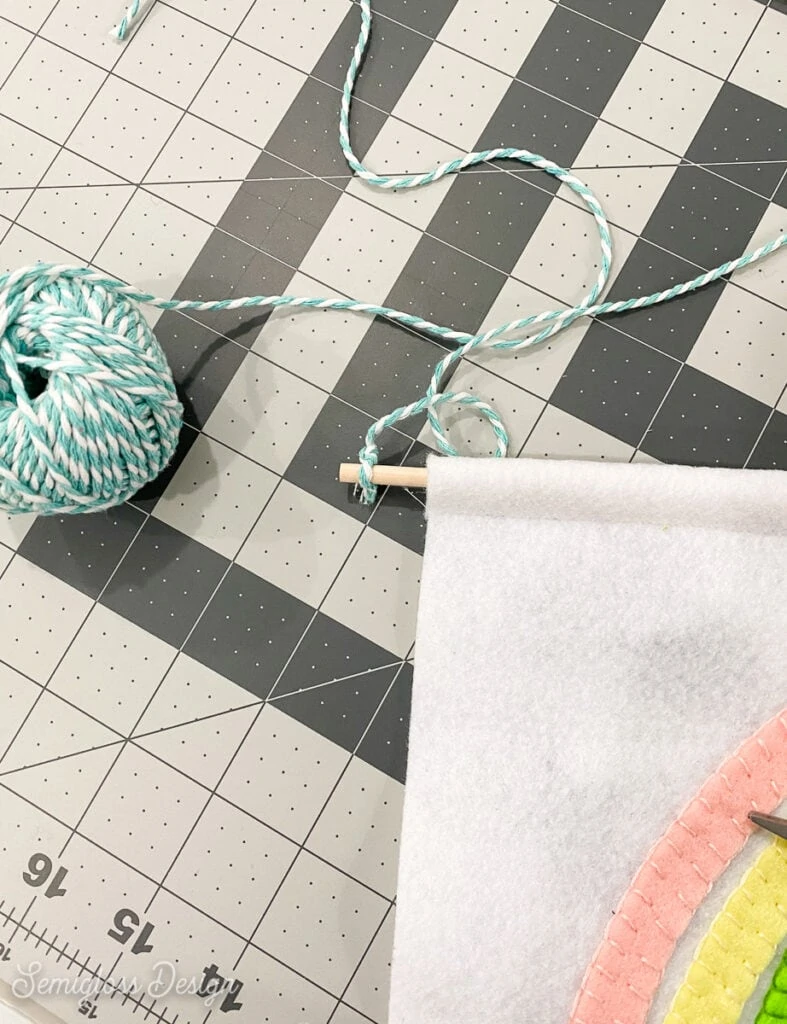
Hang and enjoy.
Download a Rainbow SVG and Template
This download includes a zip file that contains a multi-colored SVG file, DXF (use this for Cricut), PNG, and EPS files. It also contains a 1-page PDF for use as a template.
All downloads are for personal use only. Please do not redistribute or sell files.
Click here to download the rainbow zip file.
Other Felt Projects
- Felt Heart Banner
- Felt Pumpkins for Fall
- DIY Pennant
- Reversible Felt Banner
- Mittens for a Pom Pom Wreath
Pin for Later!

Emy is a vintage obsessed mama of 2 DIYer who loves sharing affordable solutions for common home problems. You don’t need a giant budget to create a lovely home. Read more…


