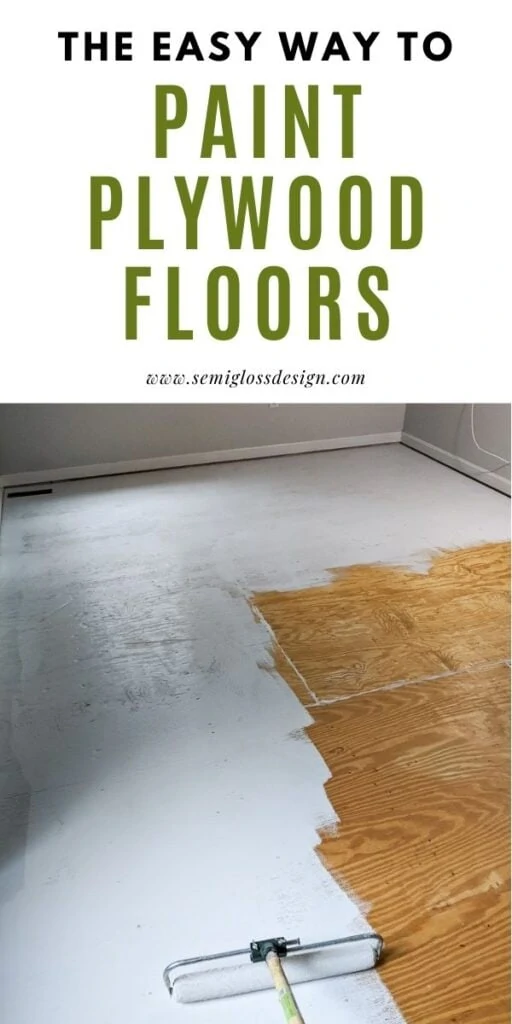
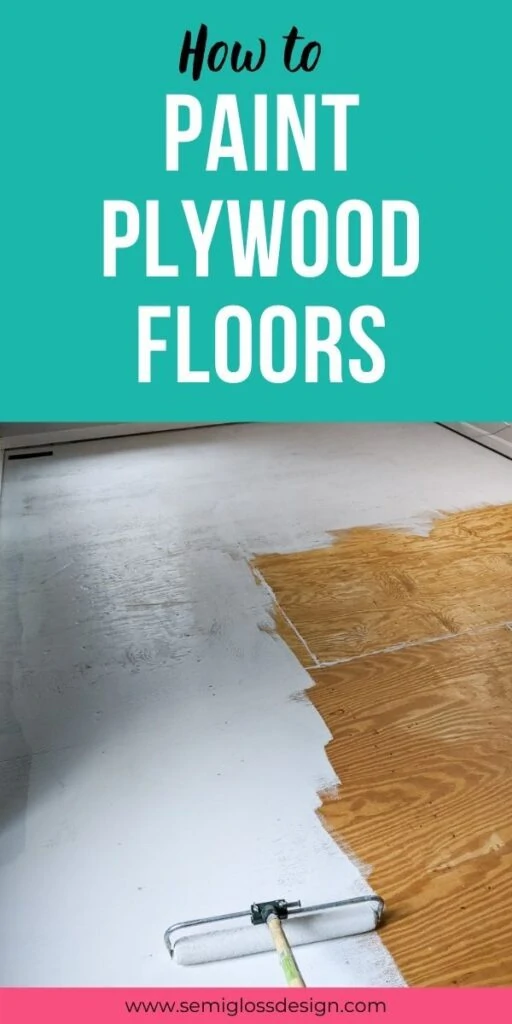
How to Paint a Plywood Floor: The Easy Way
Learn how to paint a plywood floor. Painting a plywood floor is a budget-friendly way to update your flooring.
If your flooring currently has carpet, you might be interested in learning how to remove the carpet.
This post contains affiliate links. By purchasing an item through an affiliate link, I earn a small commission at no extra cost to you. As an Amazon Associate I earn from qualifying purchases.
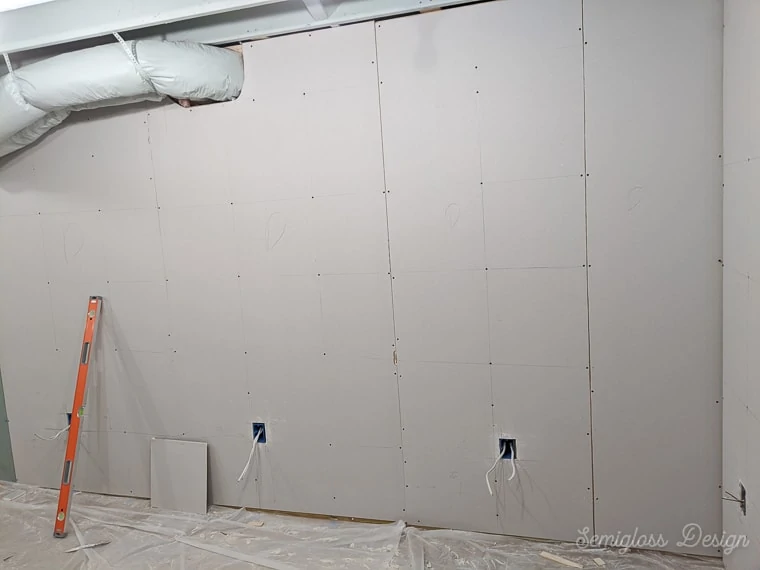
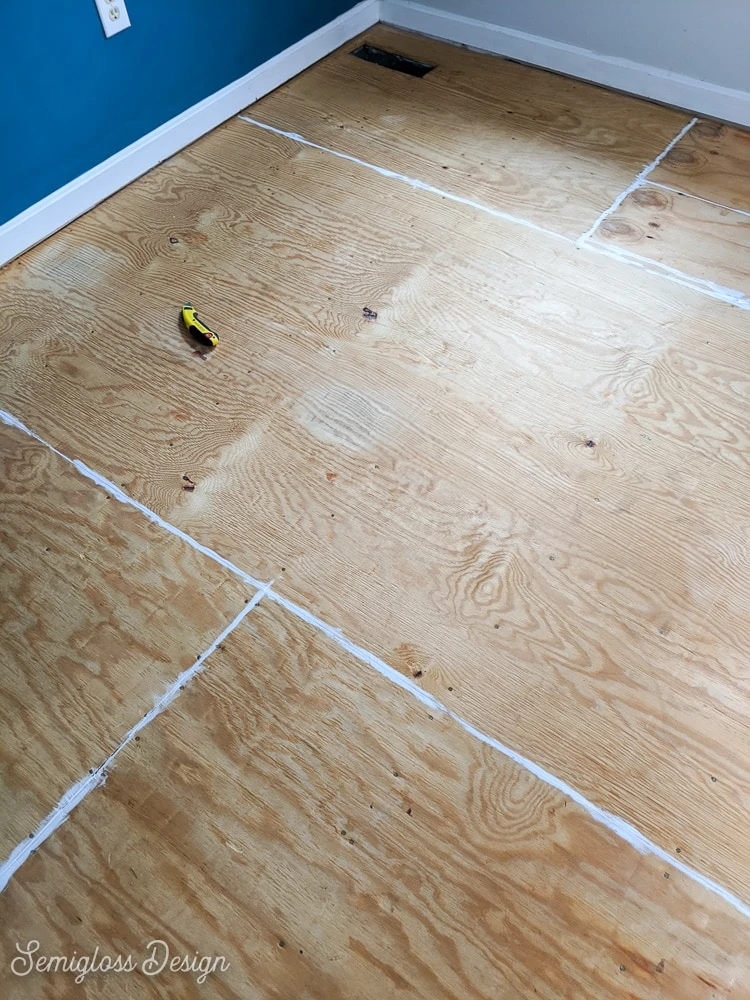
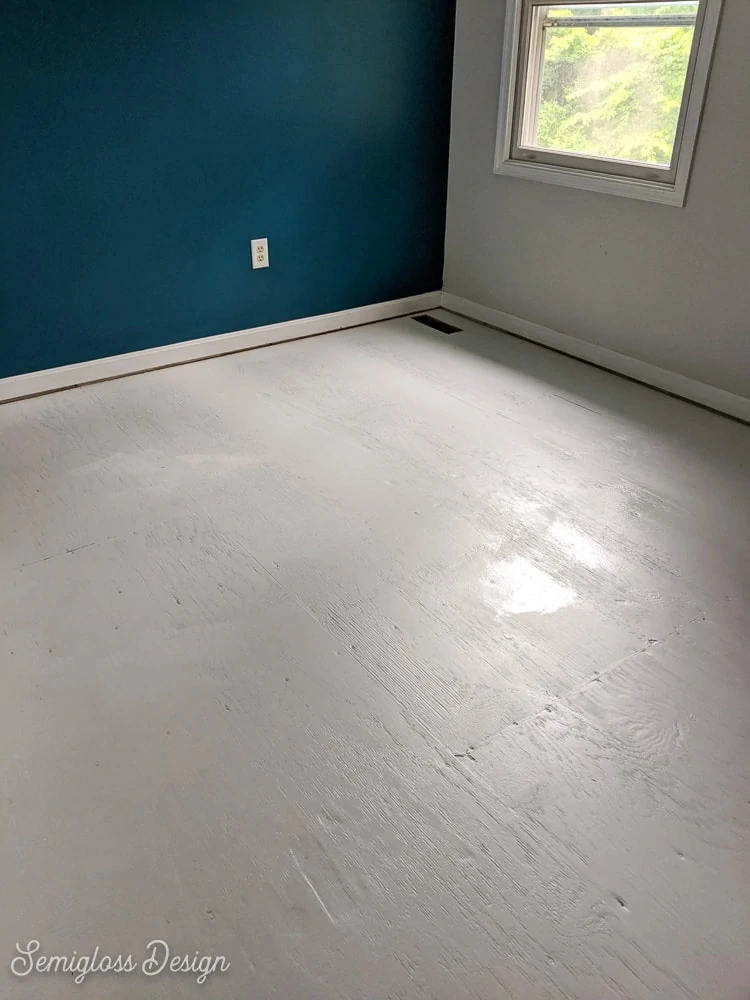
After ripping out the carpet, we were left with a plywood subfloor. Luckily, our plywood was in decent shape and not OSB.

OSB is the stuff that looks like chips of plywood have been glued together to form a sheet. You can paint OSB, but you will still see the chipped wood texture beneath it.
If you’re wondering why on earth we are painting our plywood floor, I got carried away with a room makeover and decided that I couldn’t stand to have carpet for one second longer.
We painted the plywood floor because I was convinced that I could make it look good. And I did! I can’t wait to show you how it turned out.
Be sure to check out how we painted a checkerboard pattern on the floor!
How to Paint a Plywood Floor
Supplies Needed:
- Paintable Caulk
- Primer
- Floor and porch paint
- Paintbrush
- Roller (we used an 18″ roller to get the job done faster)
- Roller frame
- Paint bucket (if you get an 18″ roller, you will need one that is large enough)
- Polycrylic in satin
Notes About Supplies
Primer. Although we skipped the primer, I highly recommend using one. Not only does it help the paint stick to the floor better, but it also prevents nailheads from discoloring the paint finish.
It also helps you use less paint since the raw plywood soaks paint up. Since primer is cheaper than paint, I like using it instead for that initial coat.
Floor and porch paint. Don’t try to use regular latex paint for painting floors. The paint will peel up eventually. We used Valspar paint matched to Sherwin-Williams colors.
Since I skipped the primer, this room took about 1 1/2 gallons of paint. (This room is 12′ x 25′.)
18″ Roller. We used a giant roller to speed up painting the floor. I highly recommend doing this. We used this when we painted our deck as well, and loved how fast it went.
If you use the roller frame I recommend, be sure to turn the roller upright when tightening the bolts.
This lets gravity push it down so it is nice and secure. It’s a pain when it pops out because it’s not secure, but this method makes it work correctly.
Top Coat. I always recommend using polycrylic as a top coat to protect the floor from wear and tear.
Polycrylic is my favorite because it’s water-based, which makes it easy to clean up; it doesn’t smell horrible; and it won’t yellow over time with proper prep work (priming).
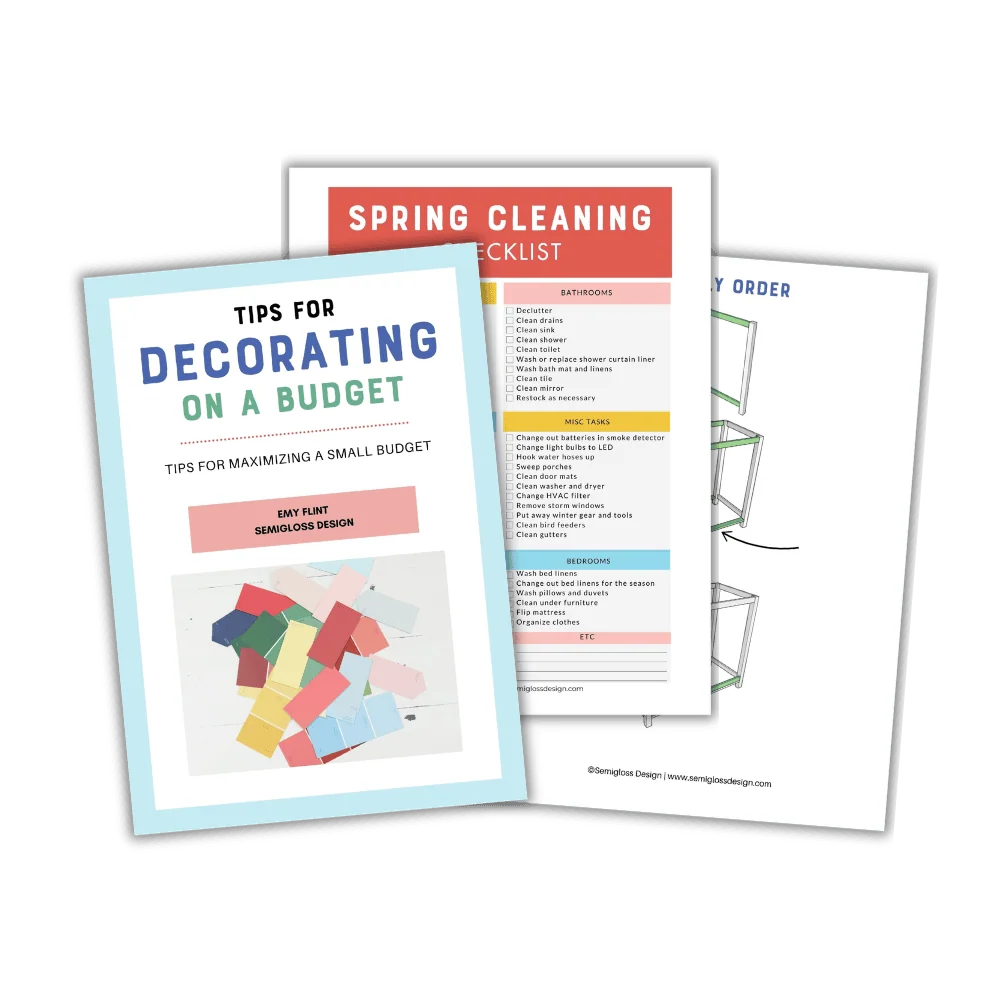
Get my DIY freebies
All of My DIY Printables in One Place
Sign up for my newsletter and get access to my library of free printable resources and building plans.
Prep Work for Painting a Plywood SubFloor
Proper prep work will ensure your painted floor lasts longer.
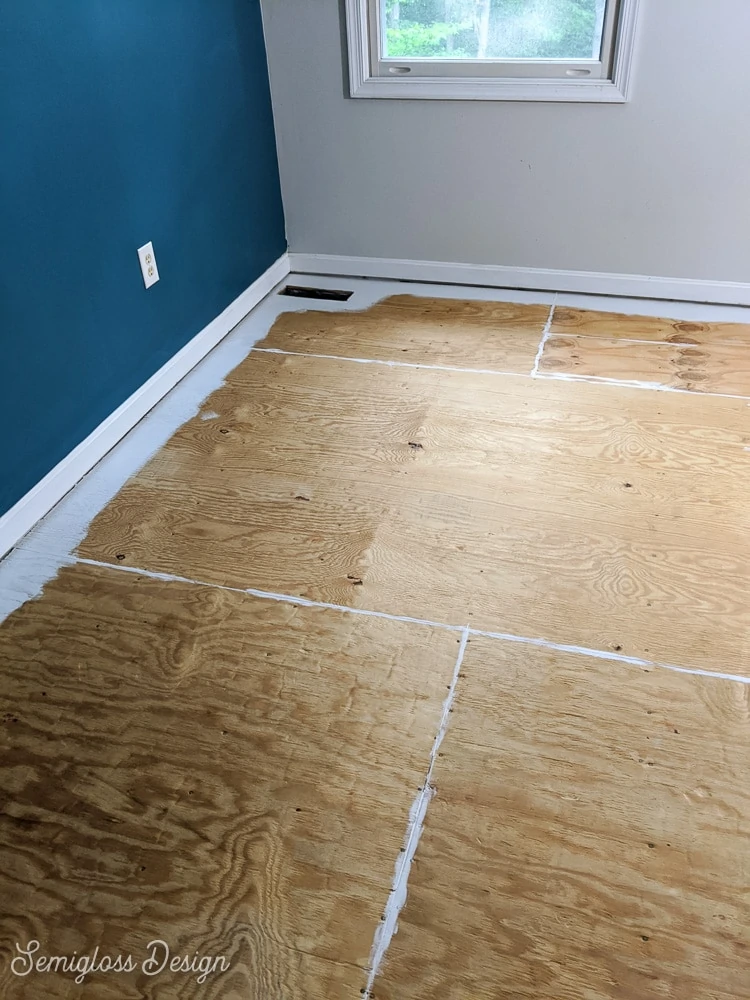
- If your floor has any splintered parts, it will need to be sanded. I didn’t sand the whole floor, just the rough spots. Pay close attention to the edges of the wood.
- Clean your floor well. I vacuumed the dust, then mopped the plywood. It was just as hard as it sounds.
- Let the wood dry.
- Use paintable caulk to fill any seams of large gouges. (These areas will show up if you use light-colored paint.)

- Let the caulk dry.
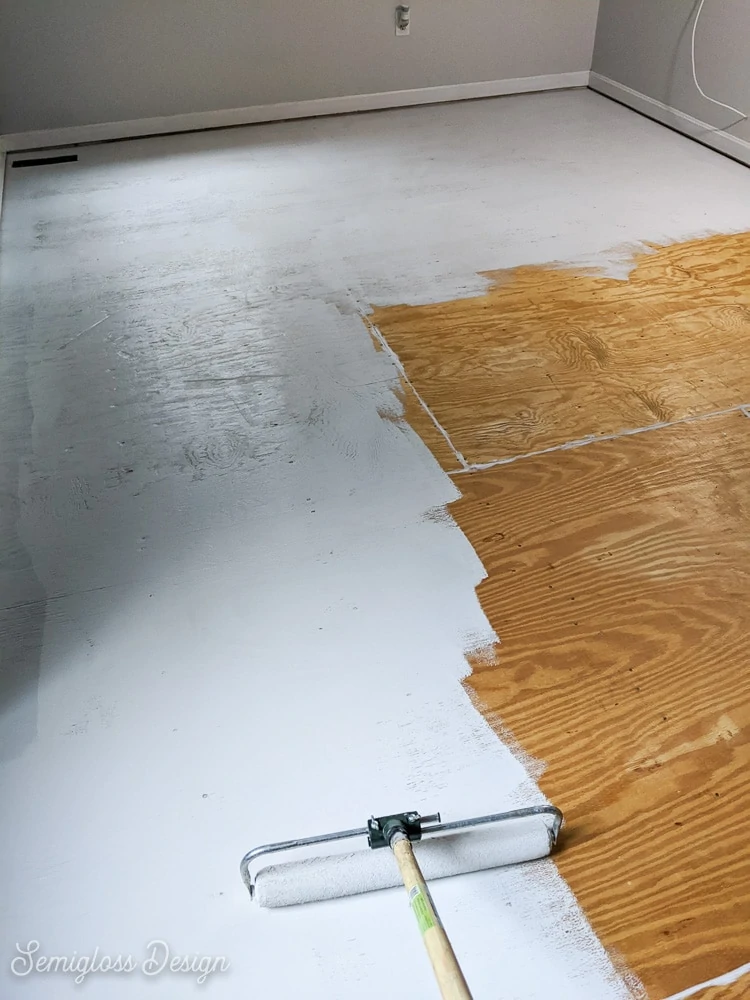
- Apply primer to the wood.
- Paint around the edges of the room with a paintbrush.
- Use a roller to get to the center areas, making sure you back yourself out of the room as you go.
- Let the primer dry.
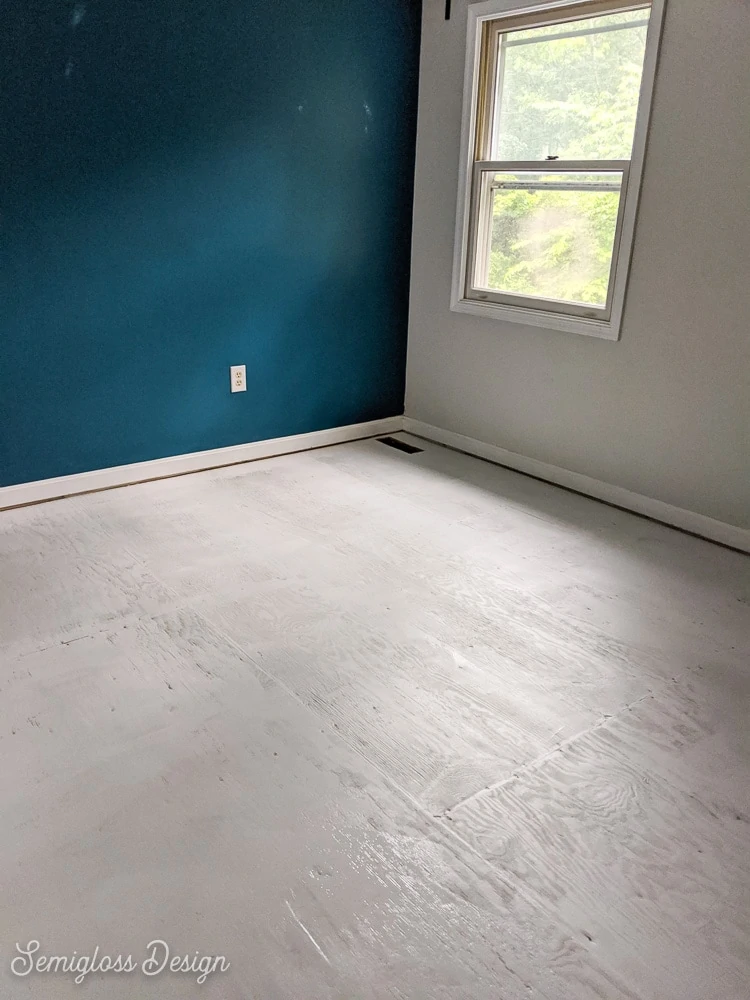
- At this point, only enter the room wearing clean socks. Bare feet and shoes will mess up the paint. (Don’t worry, it will dry and be strong!)
Painting the Floor
You will be shocked at how fast painting a floor goes!
- Use a paintbrush to paint around the edges using floor and porch paint.
- Use the roller to paint the center of the room, walking your way out as you go.
- Let the paint dry.
- You will need 2-3 coats of paint, depending on the color. We used Sherwin-Williams Passive (a light gray).
- Apply 2-3 coats of polycrylic to protect your floor.
- Let the paint dry for about 12-24 hours before replacing furniture.
We still had to paint the walls, so they had plenty of time to dry.
We sold our house about 9 months after painting this floor. It still looked great with absolutely no chipping or peeling paint.
We did end up replacing the carpet before selling the house, though.
You might also like:
Pin for Later!

Emy is a vintage obsessed mama of 2 DIYer who loves sharing affordable solutions for common home problems. You don’t need a giant budget to create a lovely home. Read more…