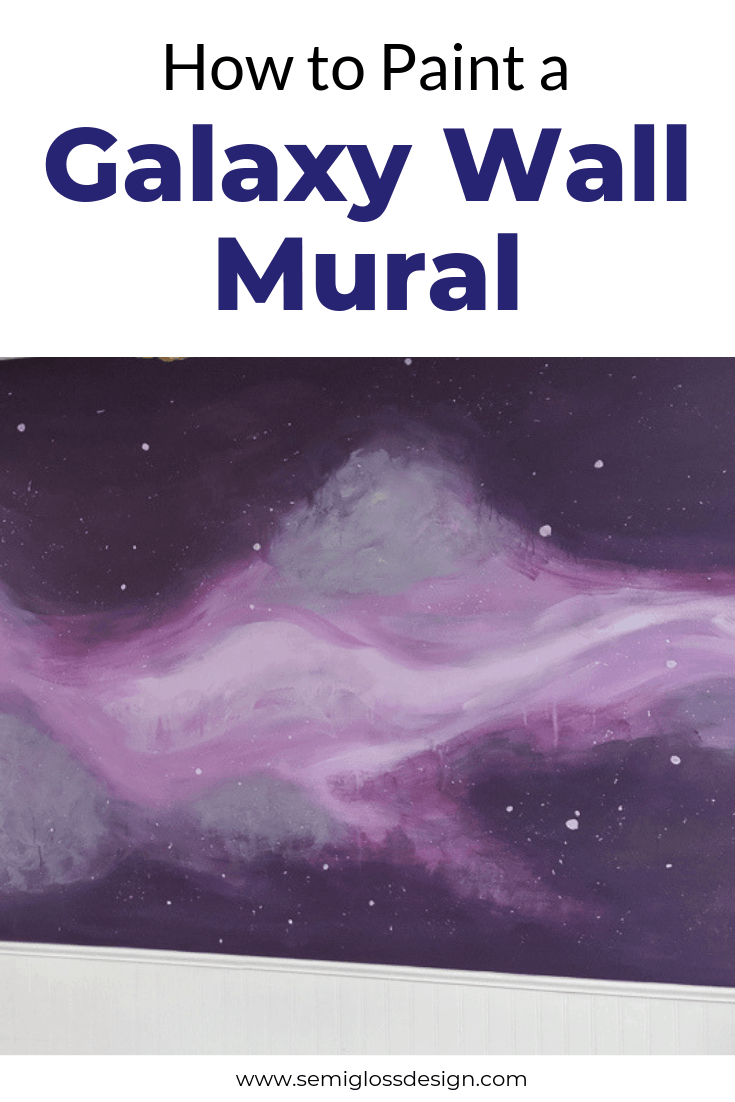
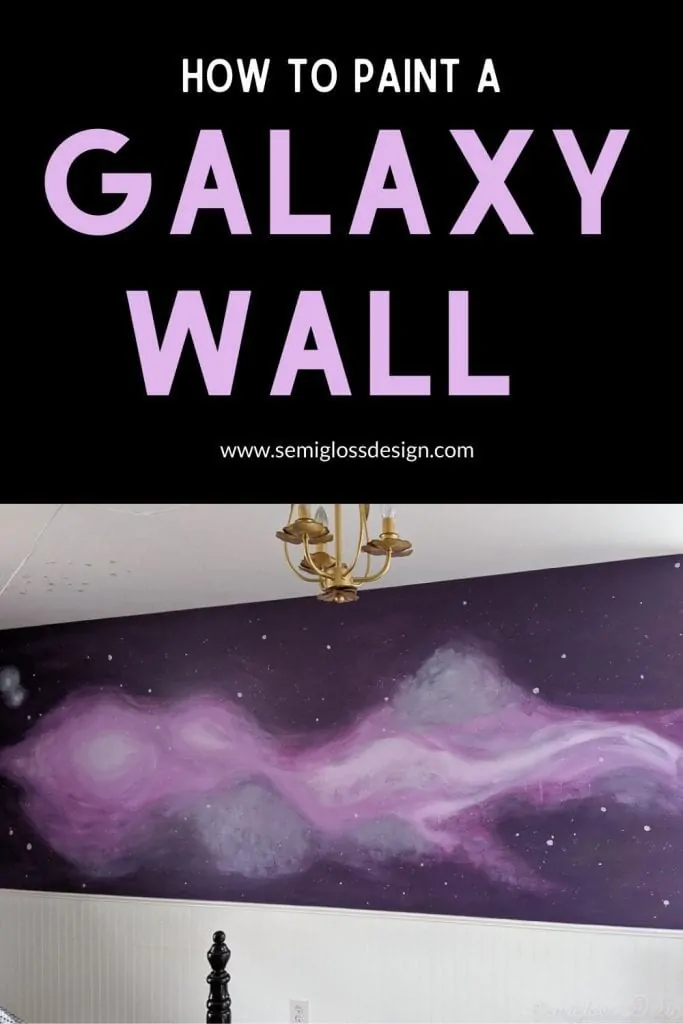
How to Paint a DIY Galaxy Wall Mural
Learn how to paint a DIY galaxy wall mural. This hand-painted mural is a variation of my painted ombre dresser, but on a wall!
Last weekend, while my daughter was at a sleepover, I started her room makeover with the DIY galaxy wall mural.
We had discussed it beforehand and I knew that she preferred the mostly purple galaxy images versus the more colorful ones.
What Kind of Paint Do You Use for a Mural?
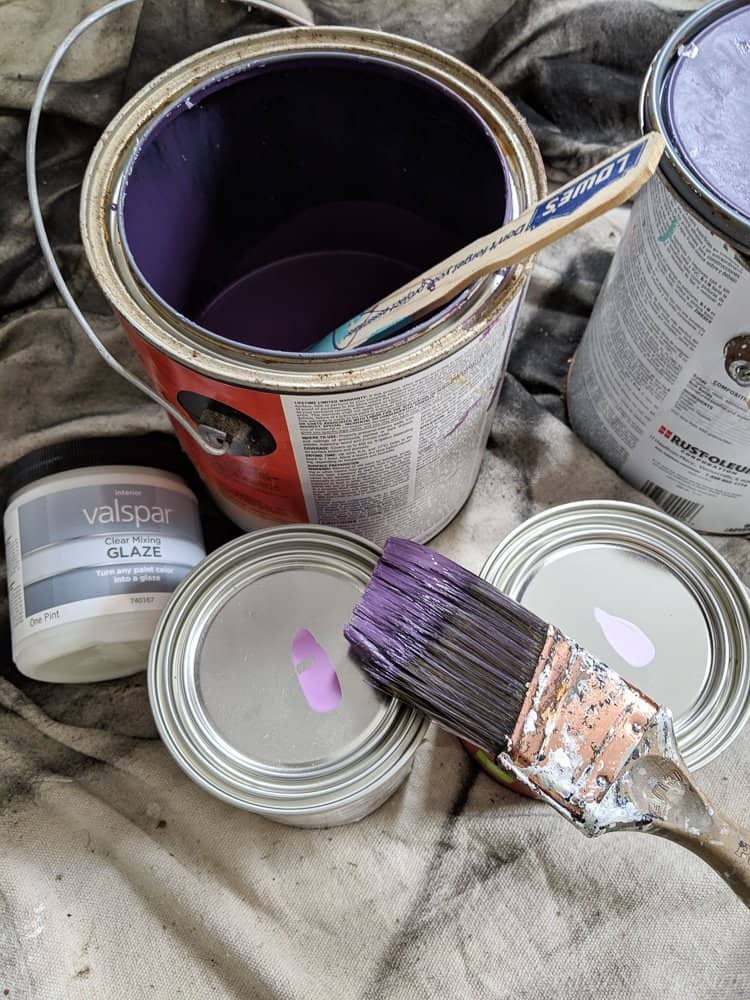
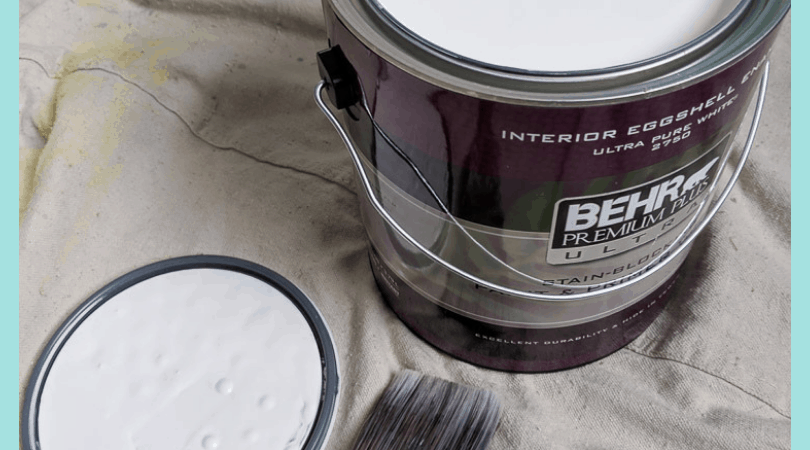
I used regular latex paint for most of the mural. Flatter finishes blend more easily. However, the base color was eggshell, so I used what I had.
I ended up using chalk paint as well because I decided that I needed some light blue paint, and that’s what I had on hand.
For small details, acrylic paint would work okay.
How Long Does it Take to Paint a Mural?
I finished this galaxy mural in about four hours. The technique relies on blending wet paint, so I didn’t have to wait for the paint to dry.
How to Paint a DIY Galaxy Wall Mural
Supplies Needed
This post contains affiliate links. By purchasing an item through an affiliate link, I earn a small commission at no extra cost to you.
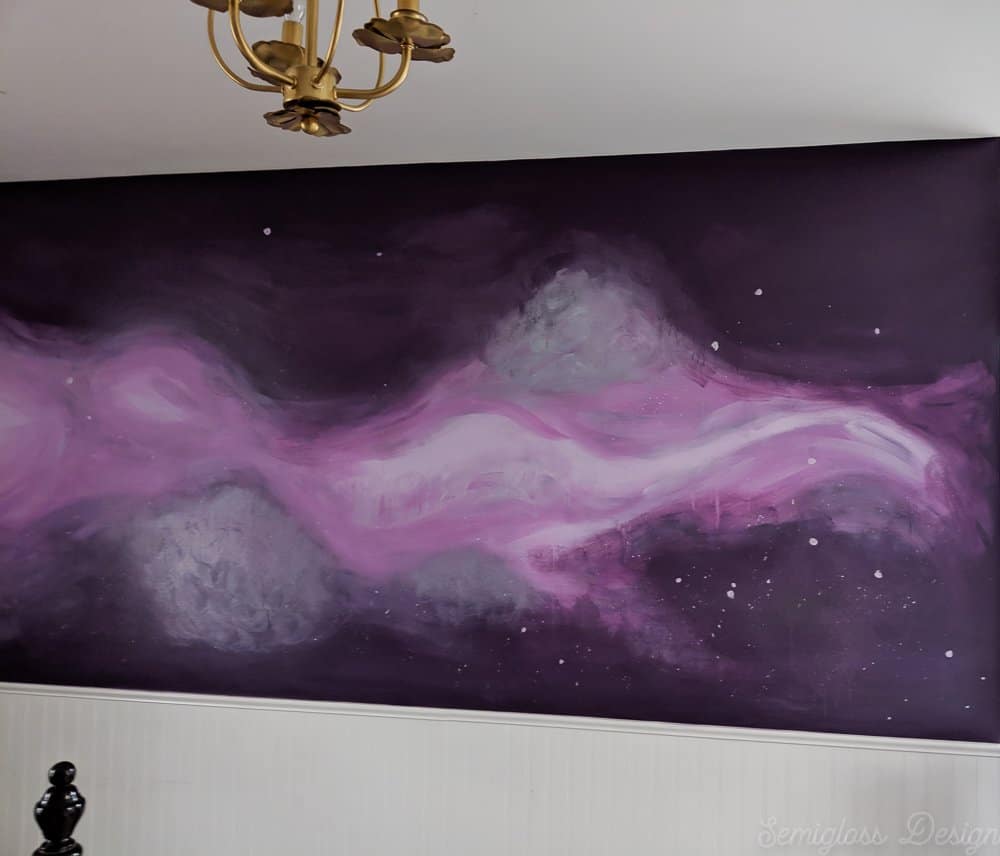
- Dark purple paint for background (Olympic Pansy Petal)
- Medium purple paint (Valspar Berries Galore)
- Light purple paint (Valspar Purple Whisper)
- Light blue paint (Valspar Chalky Trousseau Blue)*
- Paint brushes (one for each color of paint)
- Art brushes
- Spray bottle
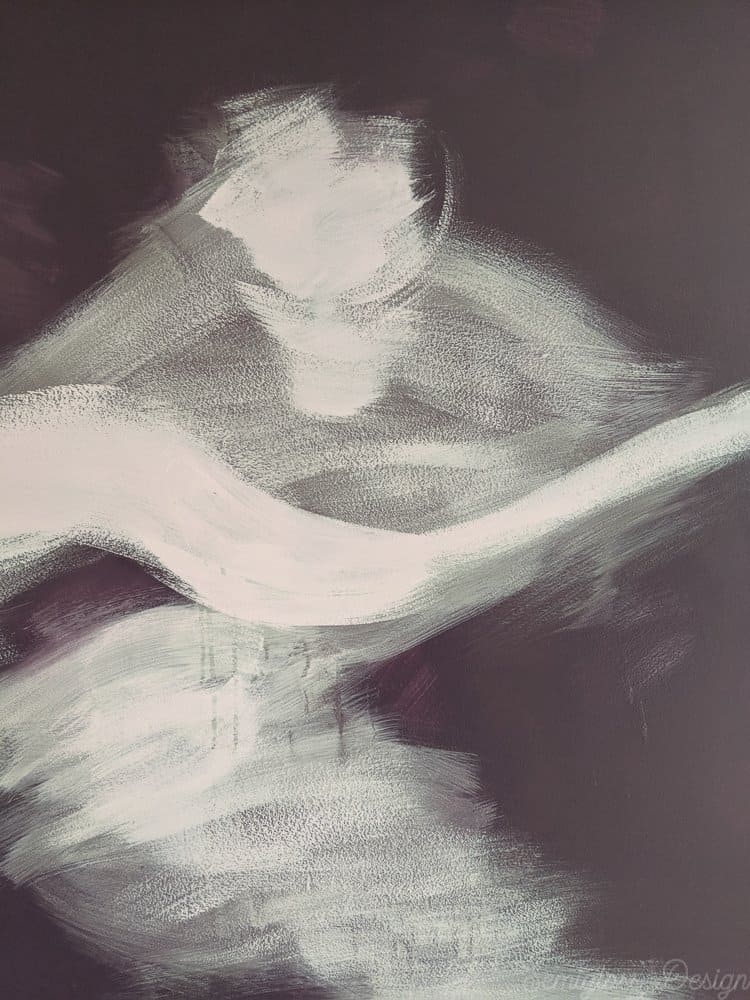
- Photo of galaxy
*Chalk paint isn’t necessary. I had it on hand and used it to add the blue.
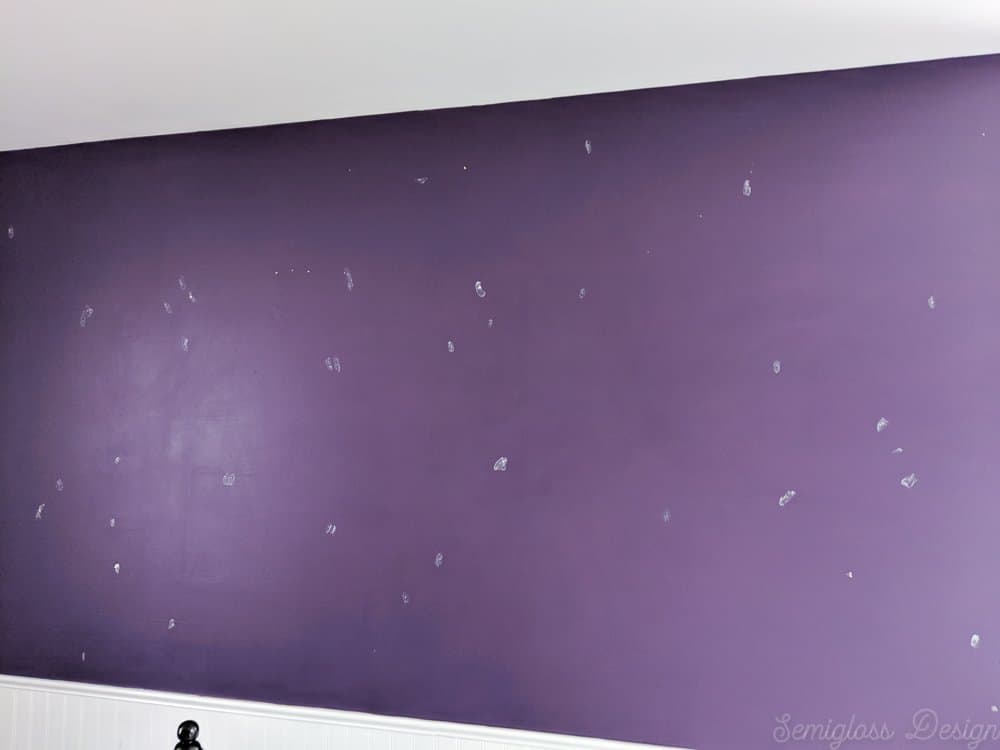
- Prepare your walls as necessary. I had to remove vinyl decals, clean the walls and fill nail holes. Be sure to prime your nail holes after they’re sanded and dry.

- Protect your floor with drop cloths. This has the potential to be messy.
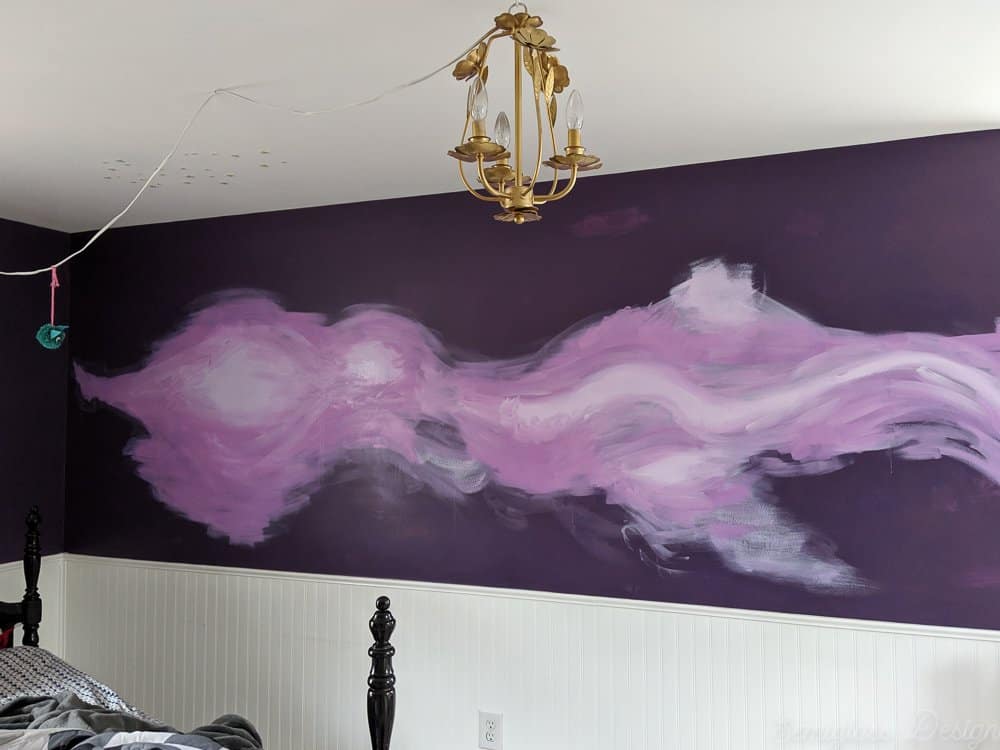
- Paint your walls the darker background color. Her walls were already this color, so I just did touch up over the primed nail holes. The areas around the edges received 2 coats of paint.
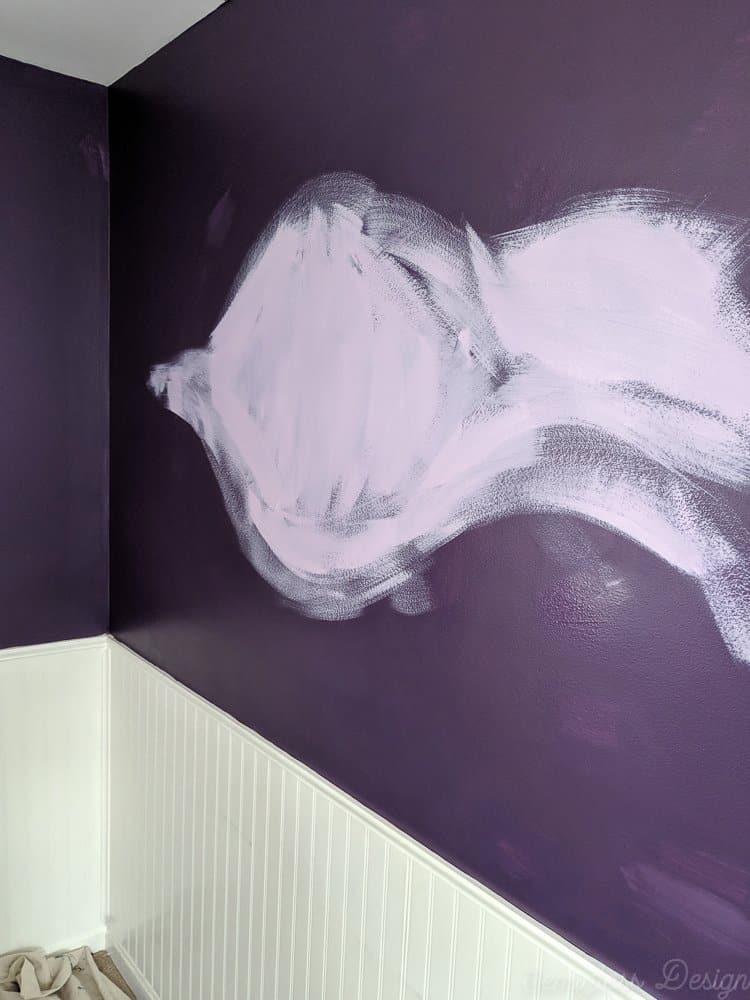
- Paint a blobby shape using the lightest color first.

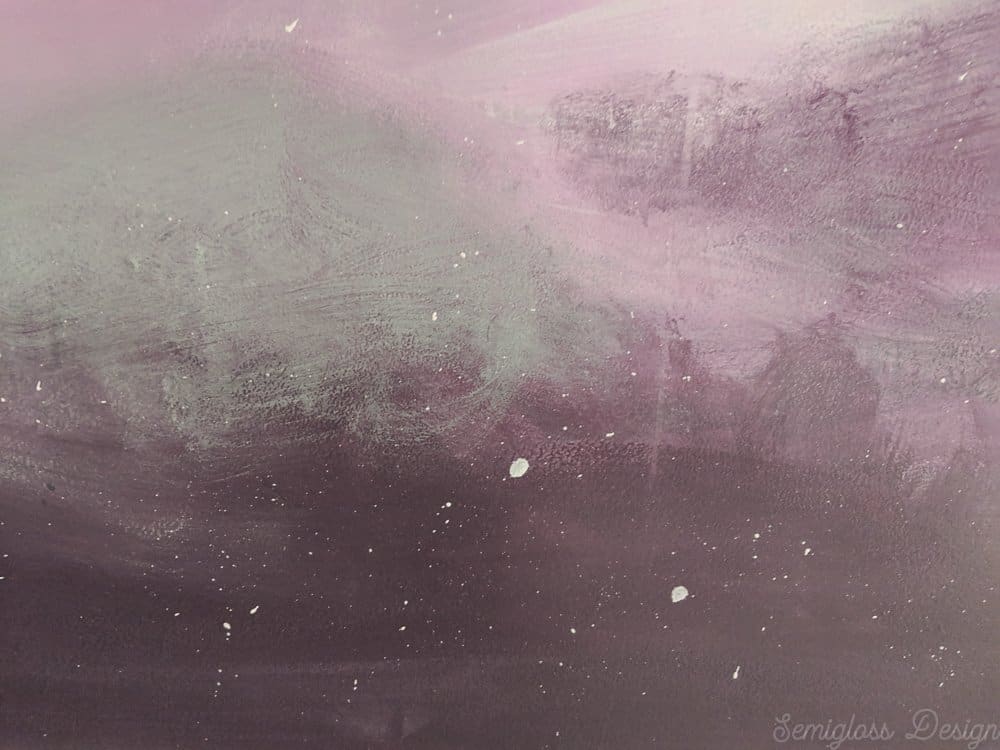
- Spray it water as you go and blend it to soften the paint.
- Add the medium color around the edges and blend as you go. Spray water and watch for drips. Some drips are okay, but too many look weird.

- Blend and blend some more.
- Add the dark color and blend it with the edges of the other colors and paint over the dark color with your brush. This creates a hazy look in the dark areas instead of a solid color.

- The light blue was used to create the cloudy looking parts. The addition of blue helped the purples from feeling too flat.


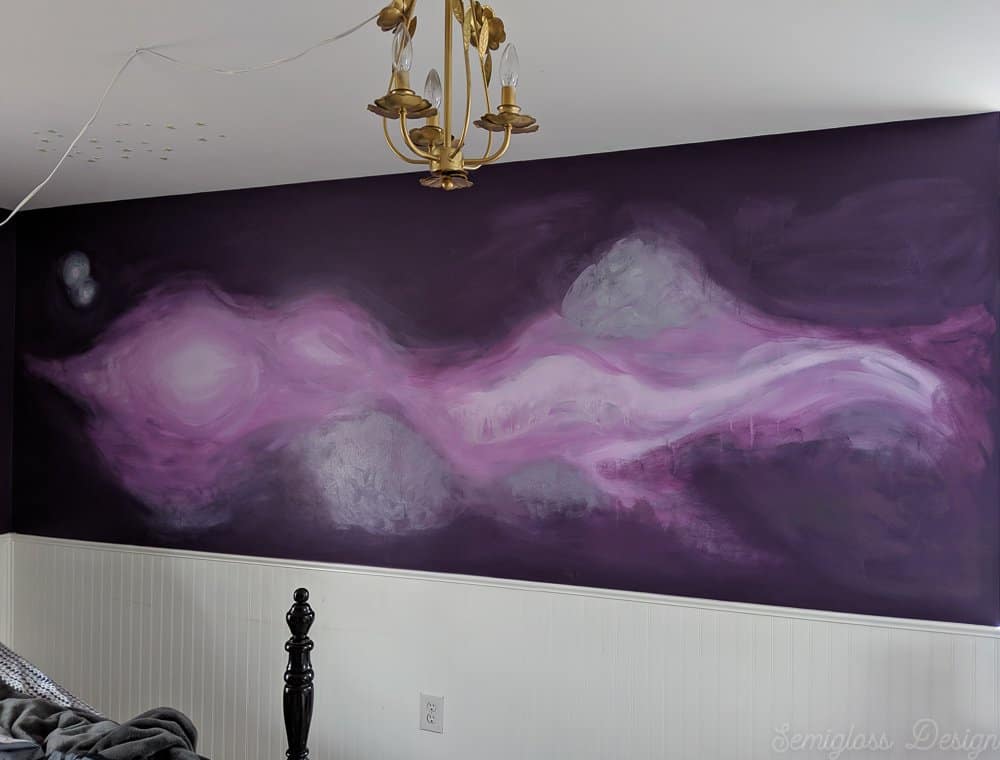
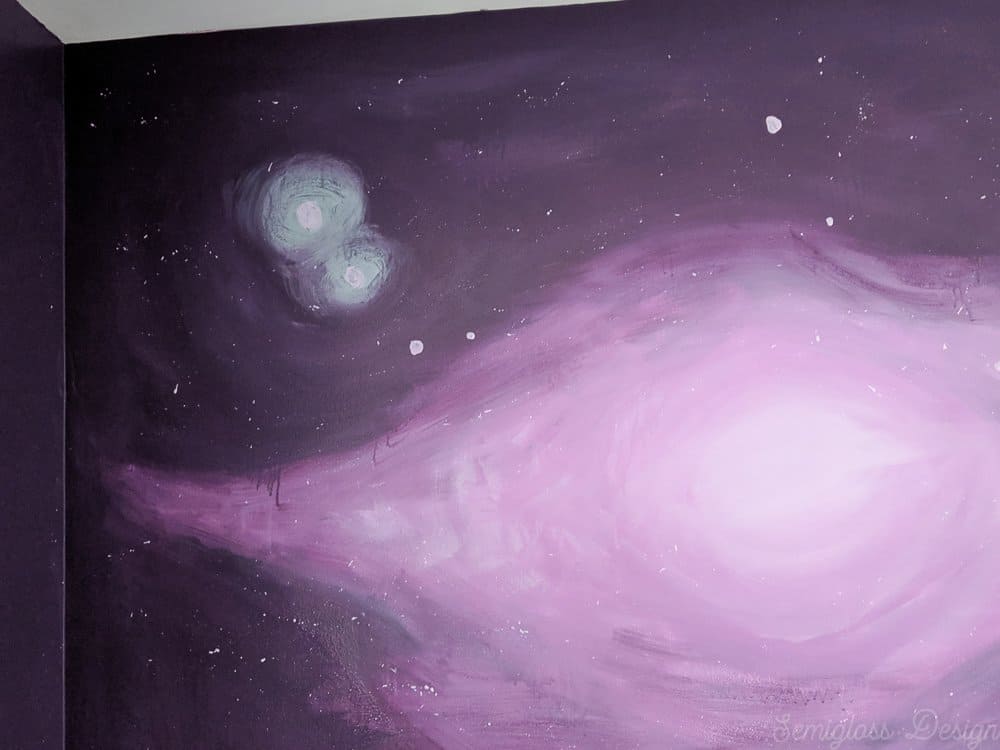
Adding the Stars
- Use light blue to paint a few halos for the stars and blend them with the background.
- Paint dots in varying sizes on the wall using the lightest color of purple.

- Use an art brush to flick paint paint on the walls. Just rub your thumb across a wet brush flick the paint onto the walls. Stiff flat edge brushes worked the best. If you get splatters that are too big, make them into larger stars.
Tips for Painting a Galaxy Mural
- It’s going to look bad at first. Keep going and blending.
- Step back every now and then to make sure it looks good from far away. It always looks better from far away.
- Keep blending the paint until you’re happy.
- Avoid hard edges and defined shapes.

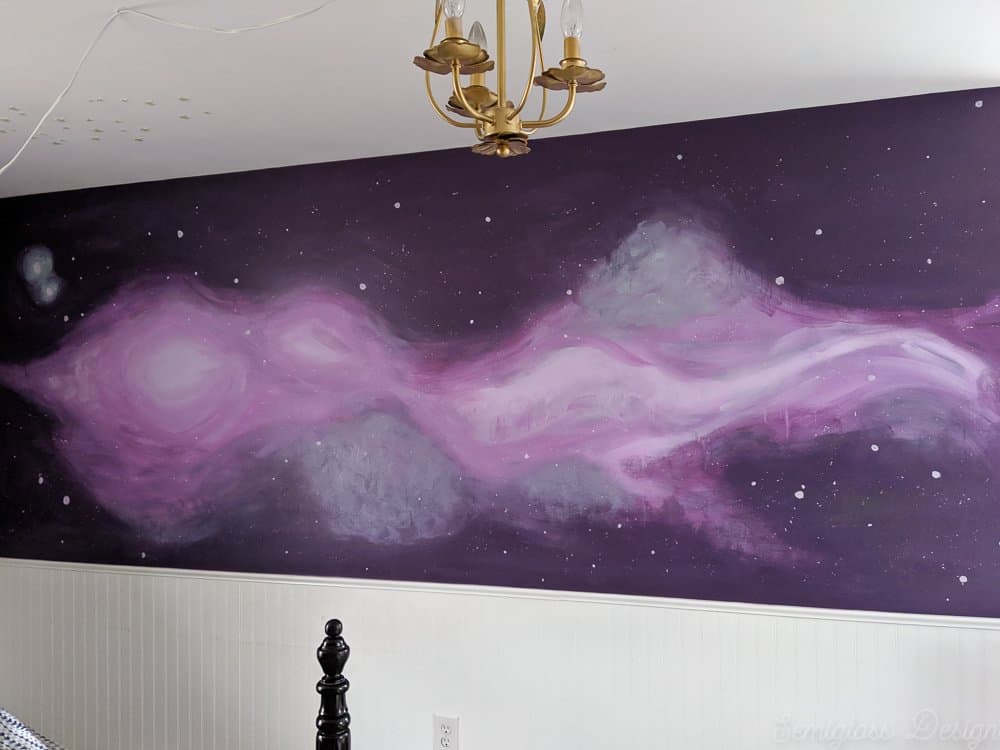
Wait until you see the whole room come together!
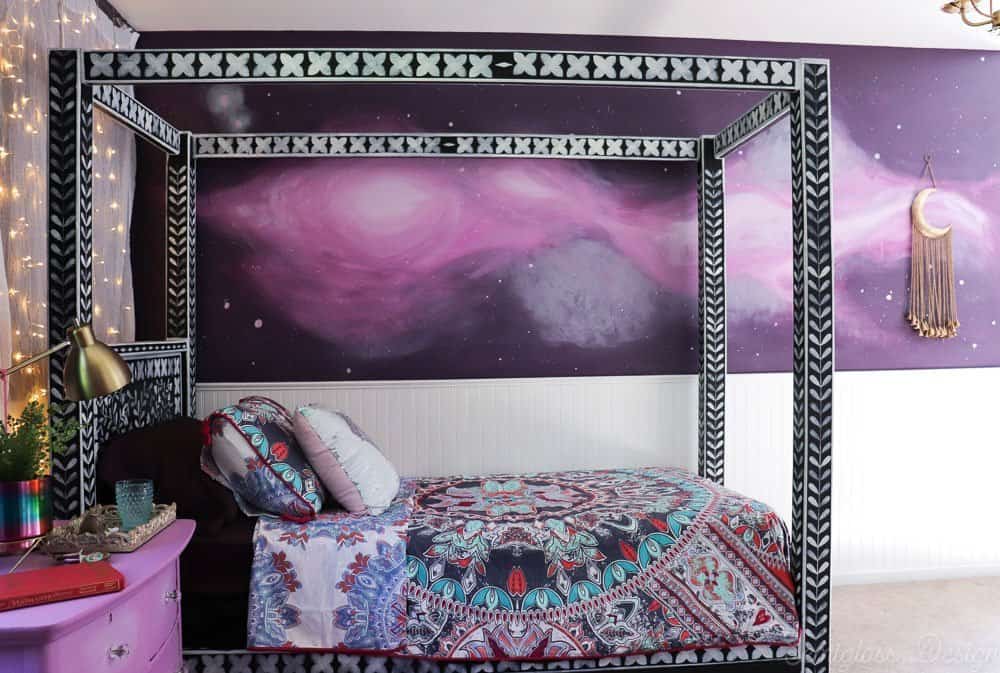
Be sure to check out the final room reveal!
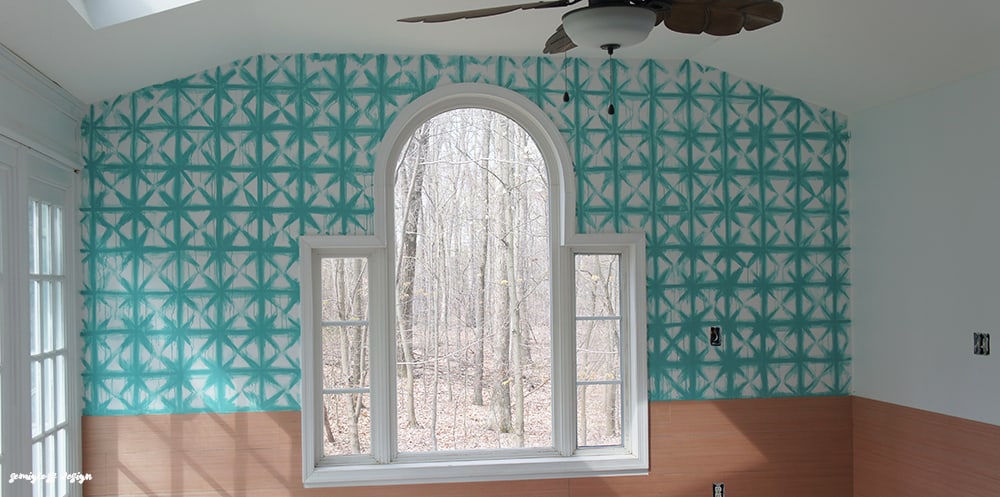
Don’t want to paint your own? Try a wallpaper mural instead!
You might also like:
Pin for Later!

Emy is a vintage obsessed mama of 2 DIYer who loves sharing affordable solutions for common home problems. You don’t need a giant budget to create a lovely home. Read more…
What a great project! I really like the purples and the tutorial. Made me laugh a little that you reminded us that it will look bad at first. Such a great reminder for any project- it always looks the worse in the beginning. I am really looking forward to seeing this room come together
Emy,
What a BEAUTIFUL mural! I am so very impressed with your mad painting skills!
🙂
Wow, that is incredible! I can’t believe you freehanded that. You are so talented. I like the flick the brush technique for creating the stars.
WOW! This is just beautiful! Great tutorial too…you make it look so easy!
Way to go Emy!!! Amazing mural. Love that purple!
emy, this turned out SOOOO well! love love love!
Wow Emy, you are so talented! This looks great. Looove how the mural came out!
Emy this is so cool your creativity is always so inspiring! Love that deep purple color that you chose too, I had a bedroom that color when we first got married about 22 years ago and this color made me miss it the serenity of it. Can not wait to see more of this room!!!