Easy to Make Infusible Ink Ornaments
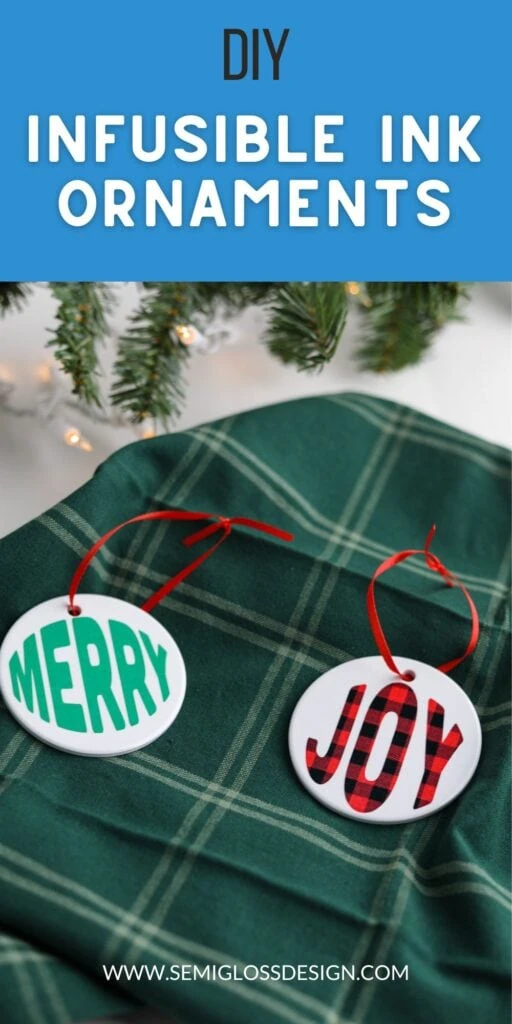
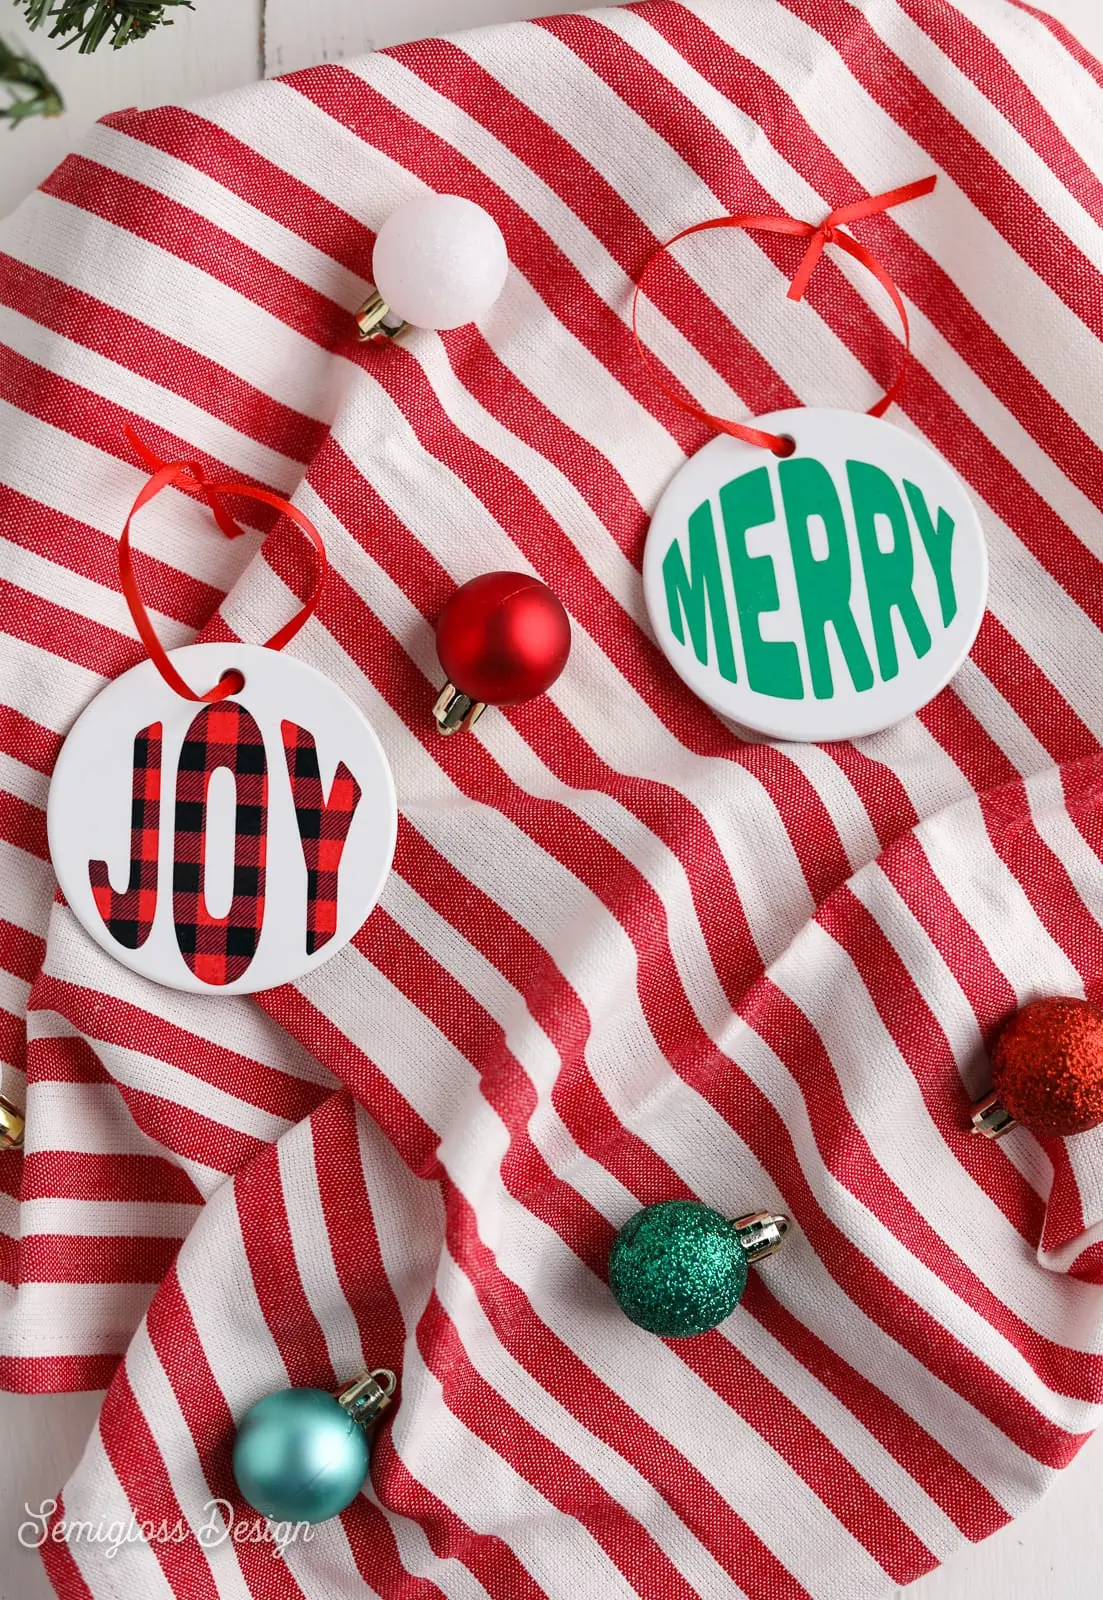
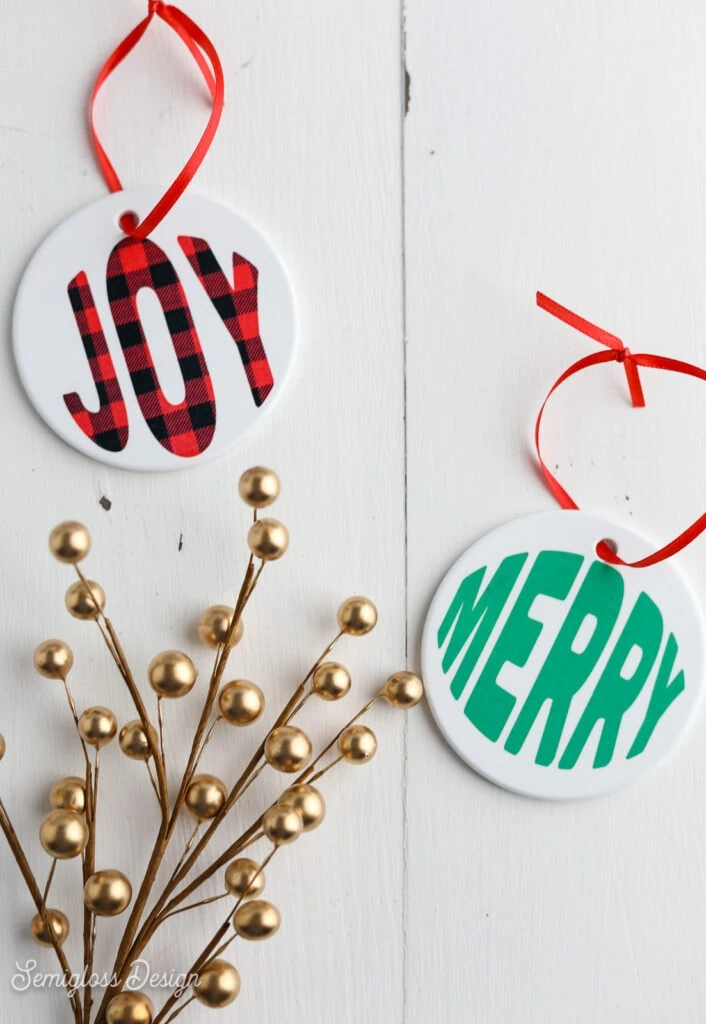
Did you know that you can use infusible ink to make ornaments? These infusible ink ornaments are so easy to make. The designs are permanent, unlike vinyl, which can peel off. And the colors are so vibrant and beautiful.
You might also like these fun DIY ornament ideas.
This post contains affiliate links. By purchasing an item through an affiliate link, I earn a small commission at no extra cost to you. As an Amazon Associate I earn from qualifying purchases.
Every time I use infusible ink, I love it a little more. With the Christmas season approaching, I knew I had to figure out how to use it on ornaments, and I’m thrilled to say that I did it!
You can use sublimation ornament blanks with infusible ink, which works beautifully!
I don’t have a sublimation printer (yet), so I’m always a bit nervous about buying non-Cricut branded blanks, but I’m glad I took the chance.
These were so easy to make, and they look so good!
It can be a little scary if you haven’t used infusible ink before. Don’t be afraid! It’s super easy to work with.
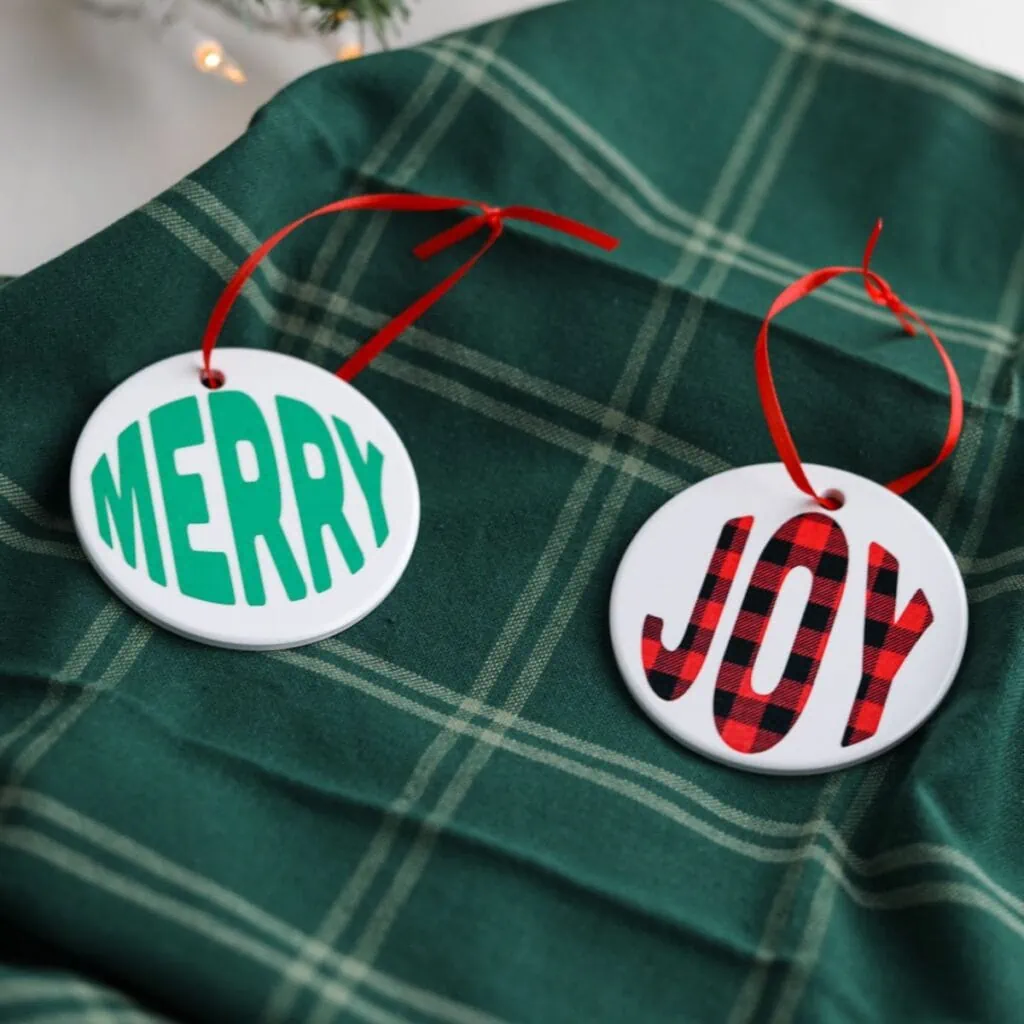
DIY Infusible Ink Ornaments
Supplies Needed:
- Sublimation ornament blanks
- Infusible ink sheets (buffalo check and green)
- Butcher paper (it comes with infusible ink)
- Cricut (I used a Cricut Maker 3)
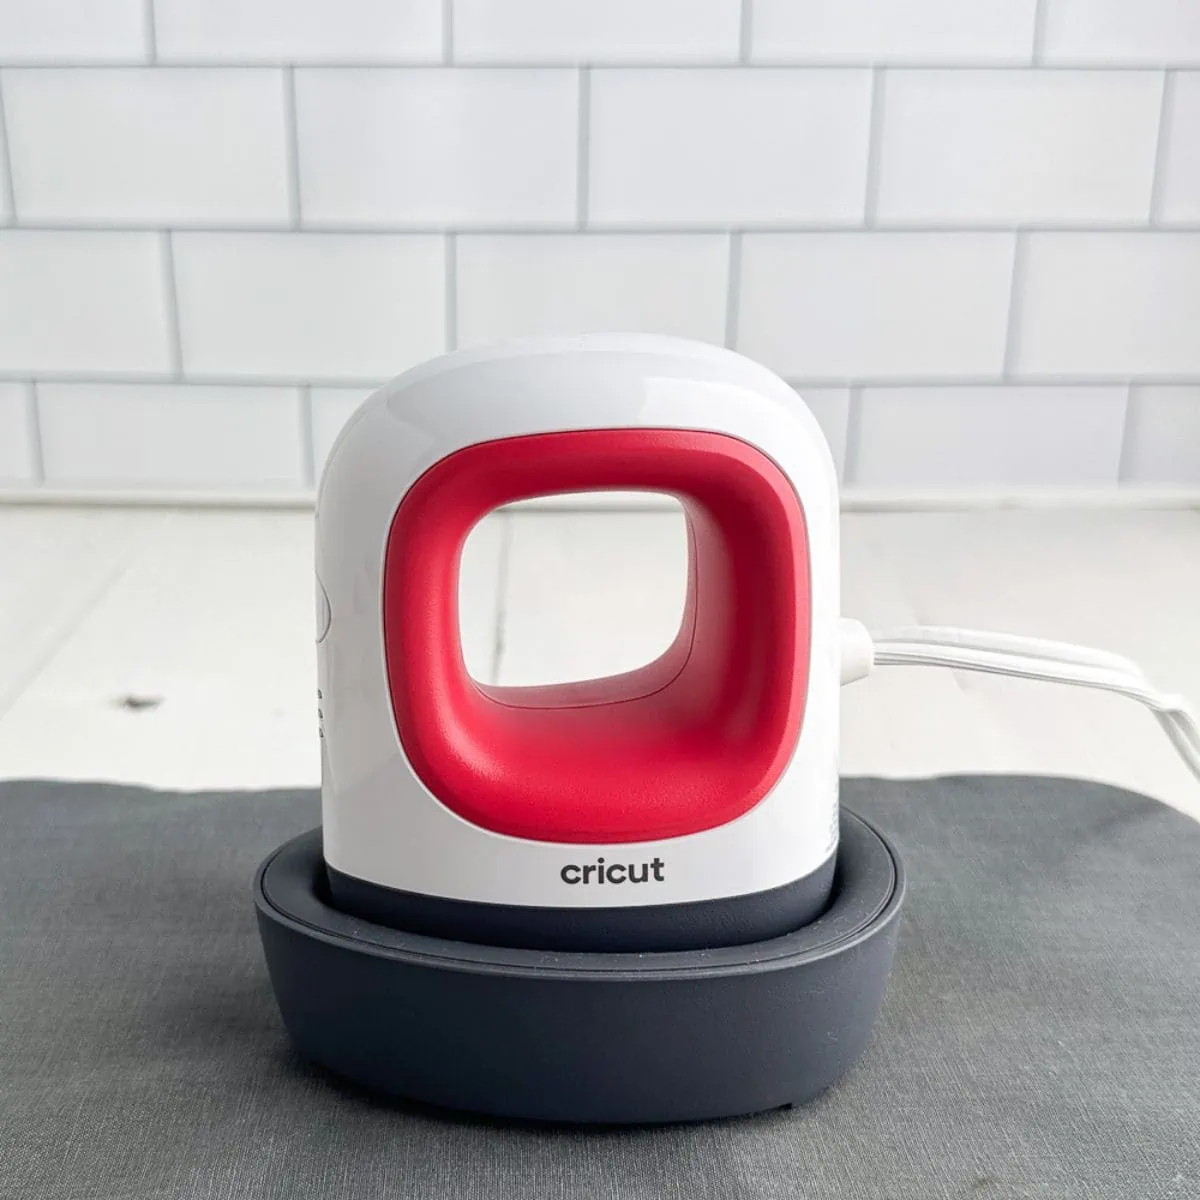
- Easy Press (or heat press machine)
- Easy Press mat
- Ribbon (to hang ornaments)
- SVG (able to download at the bottom of the post)
Notes about supplies:
All sublimation ornament blanks have different heat settings. Be sure to check the listing to make sure that you’re using the correct temperature and timing.
Infusible ink can not be used with a normal iron because it doesn’t get hot enough. Use a heat press or Easy Press instead.
Infusible ink sheets appear much lighter before they are heated.
Cutting Infusible Ink Sheets
- Upload the design as usual to Cricut Design Space.
- If you’re using different colors, ungroup the designs and recolor them so they’re cut at different times.
- Attach the design and click Make.
- Be sure to mirror the design.
- Choose “infusible ink sheet” in materials.
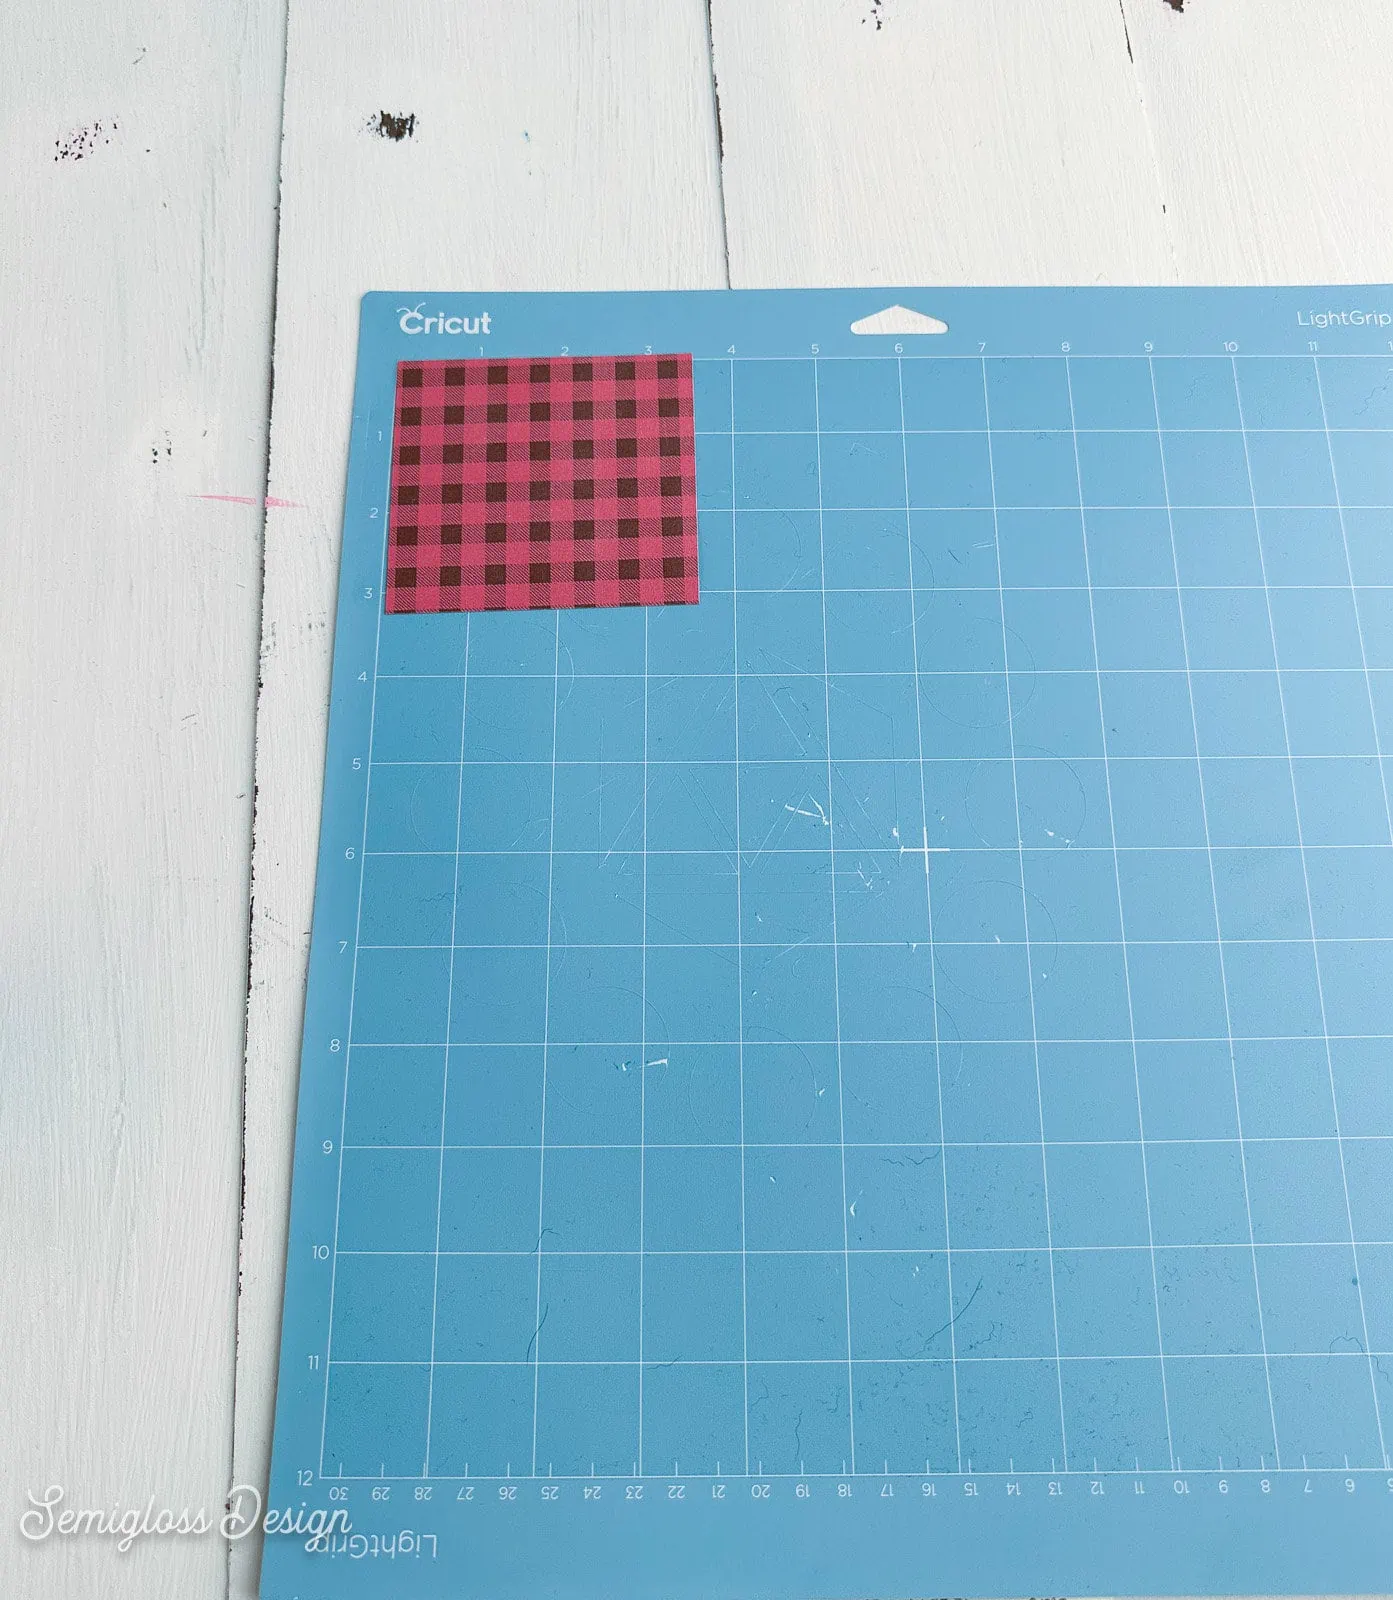
- Cut a small piece of infusible ink and place it on a mat. (You can use a standard grip or a light grip mat.) Place it ink-side-up for cutting.
- Load it into the machine and cut it as normal.
- If you’re doing multiple colors, reload the mat as needed with the correct infusible ink color.
Using the Infusible Ink Sheets
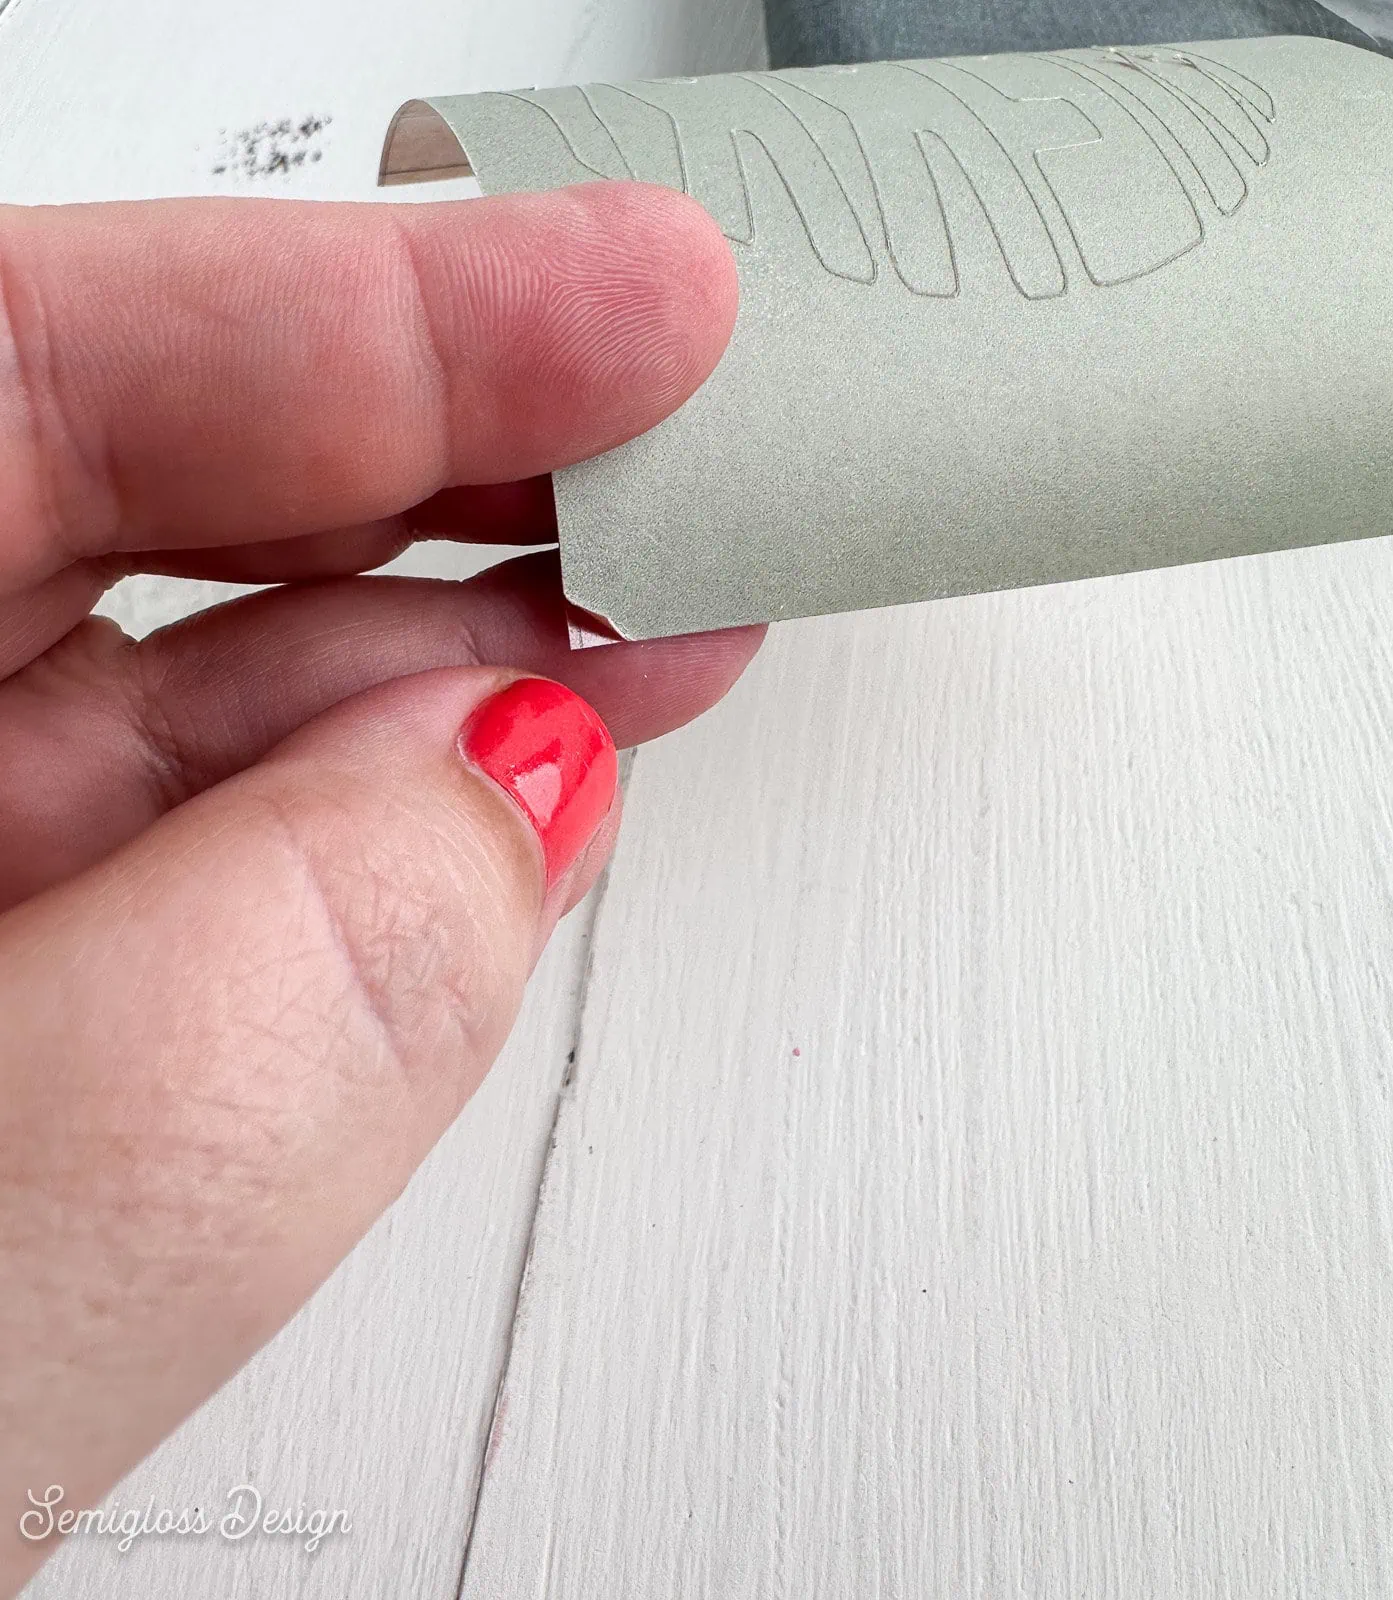
- Weed the design. Use your fingers instead of the tools to avoid damaging the ink sheet.
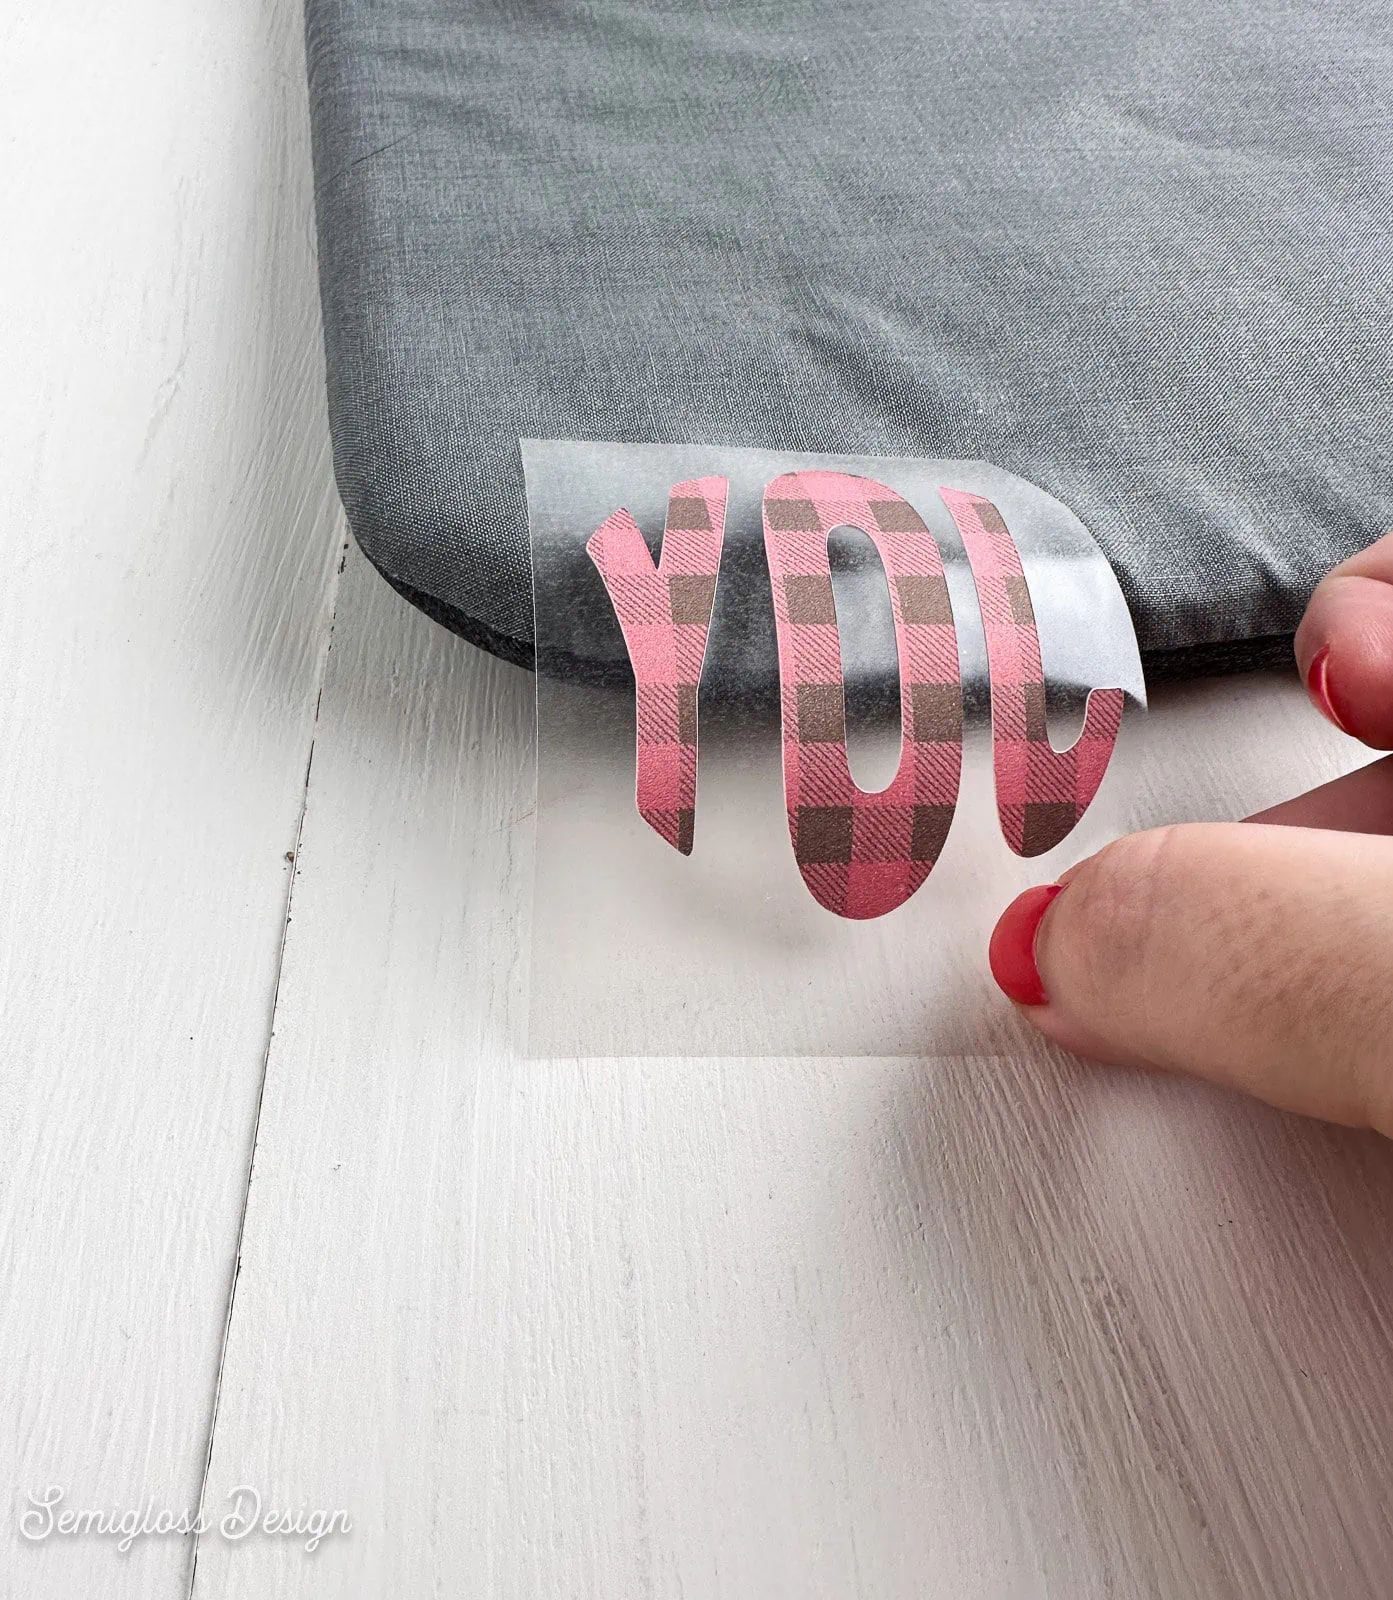
- Leave the design on the plastic transfer sheet.
- Place the ornament onto the easy press mat.
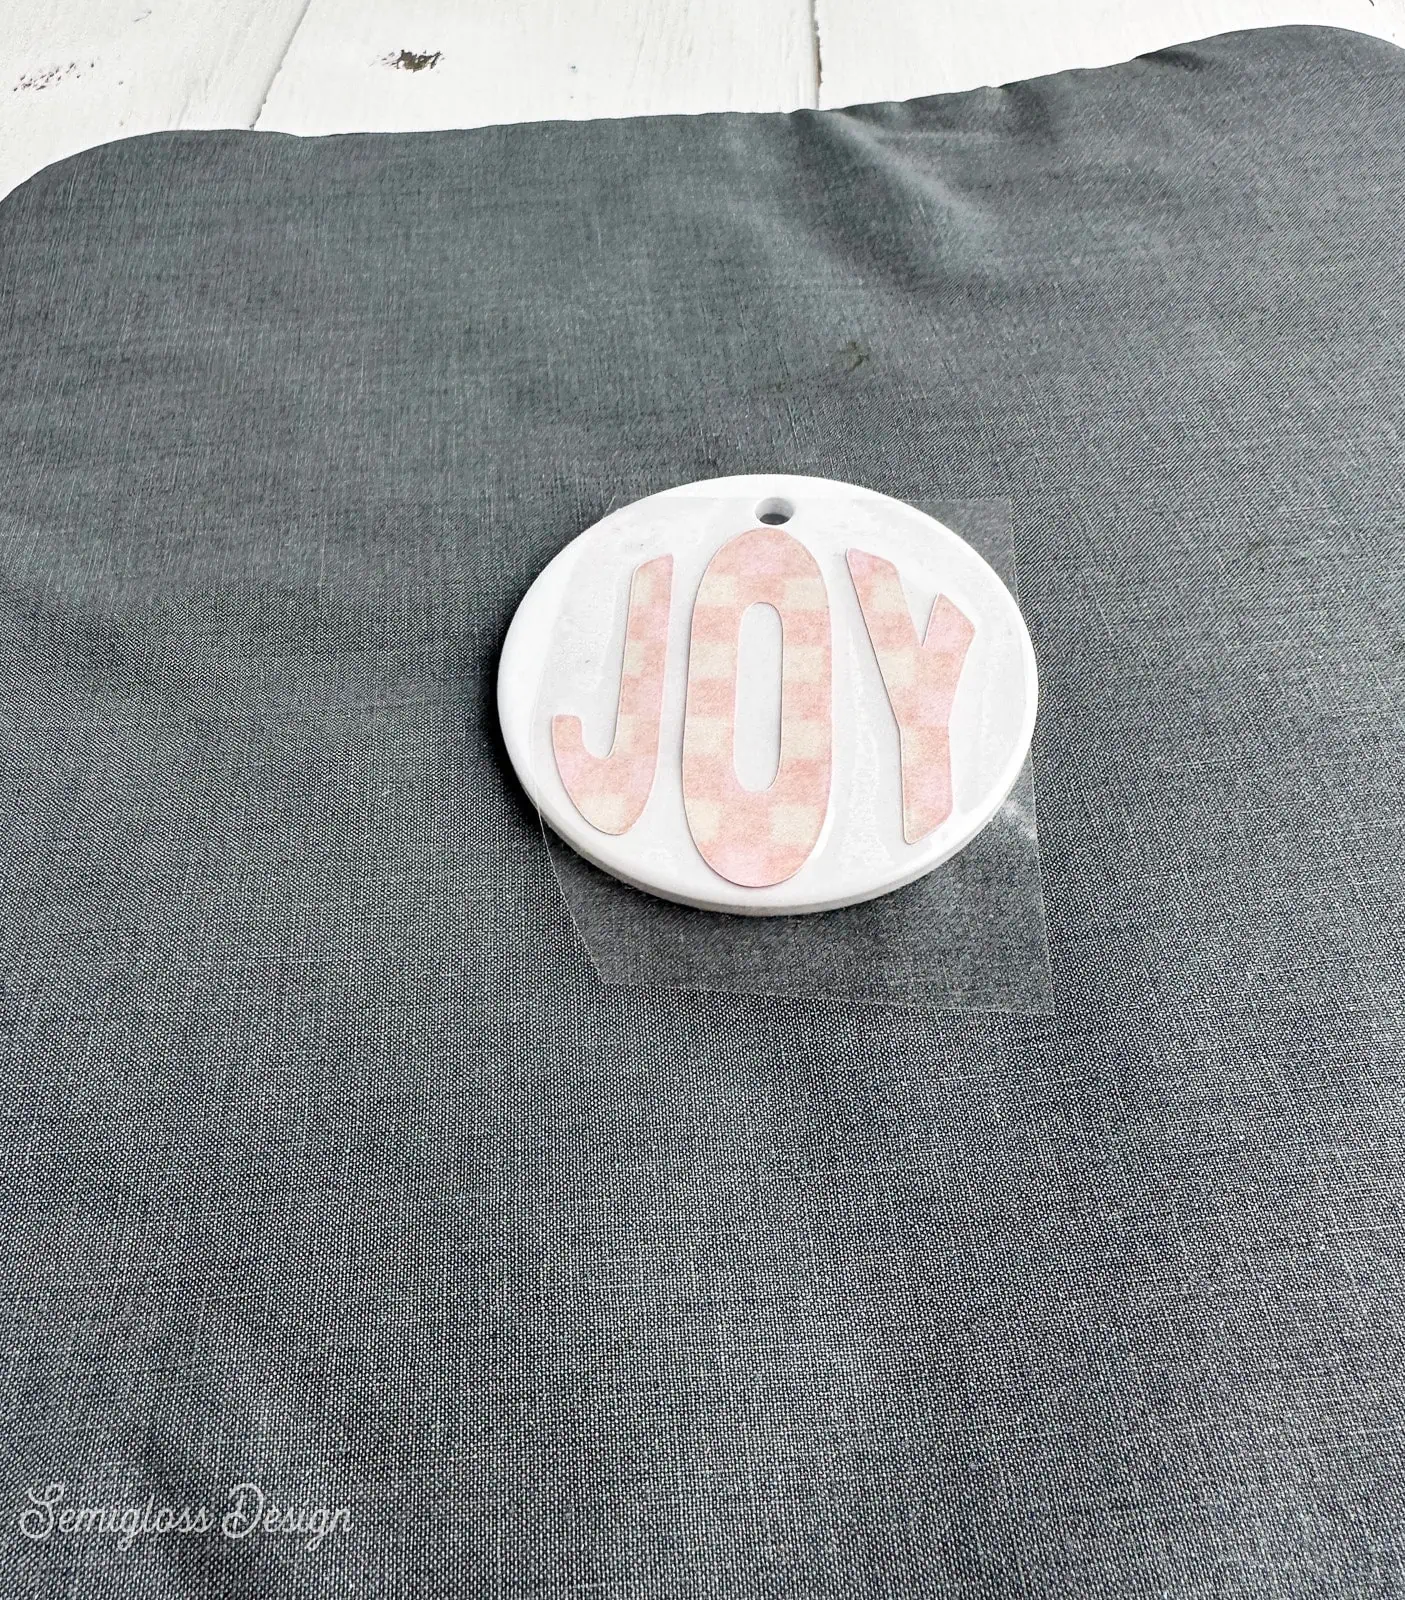
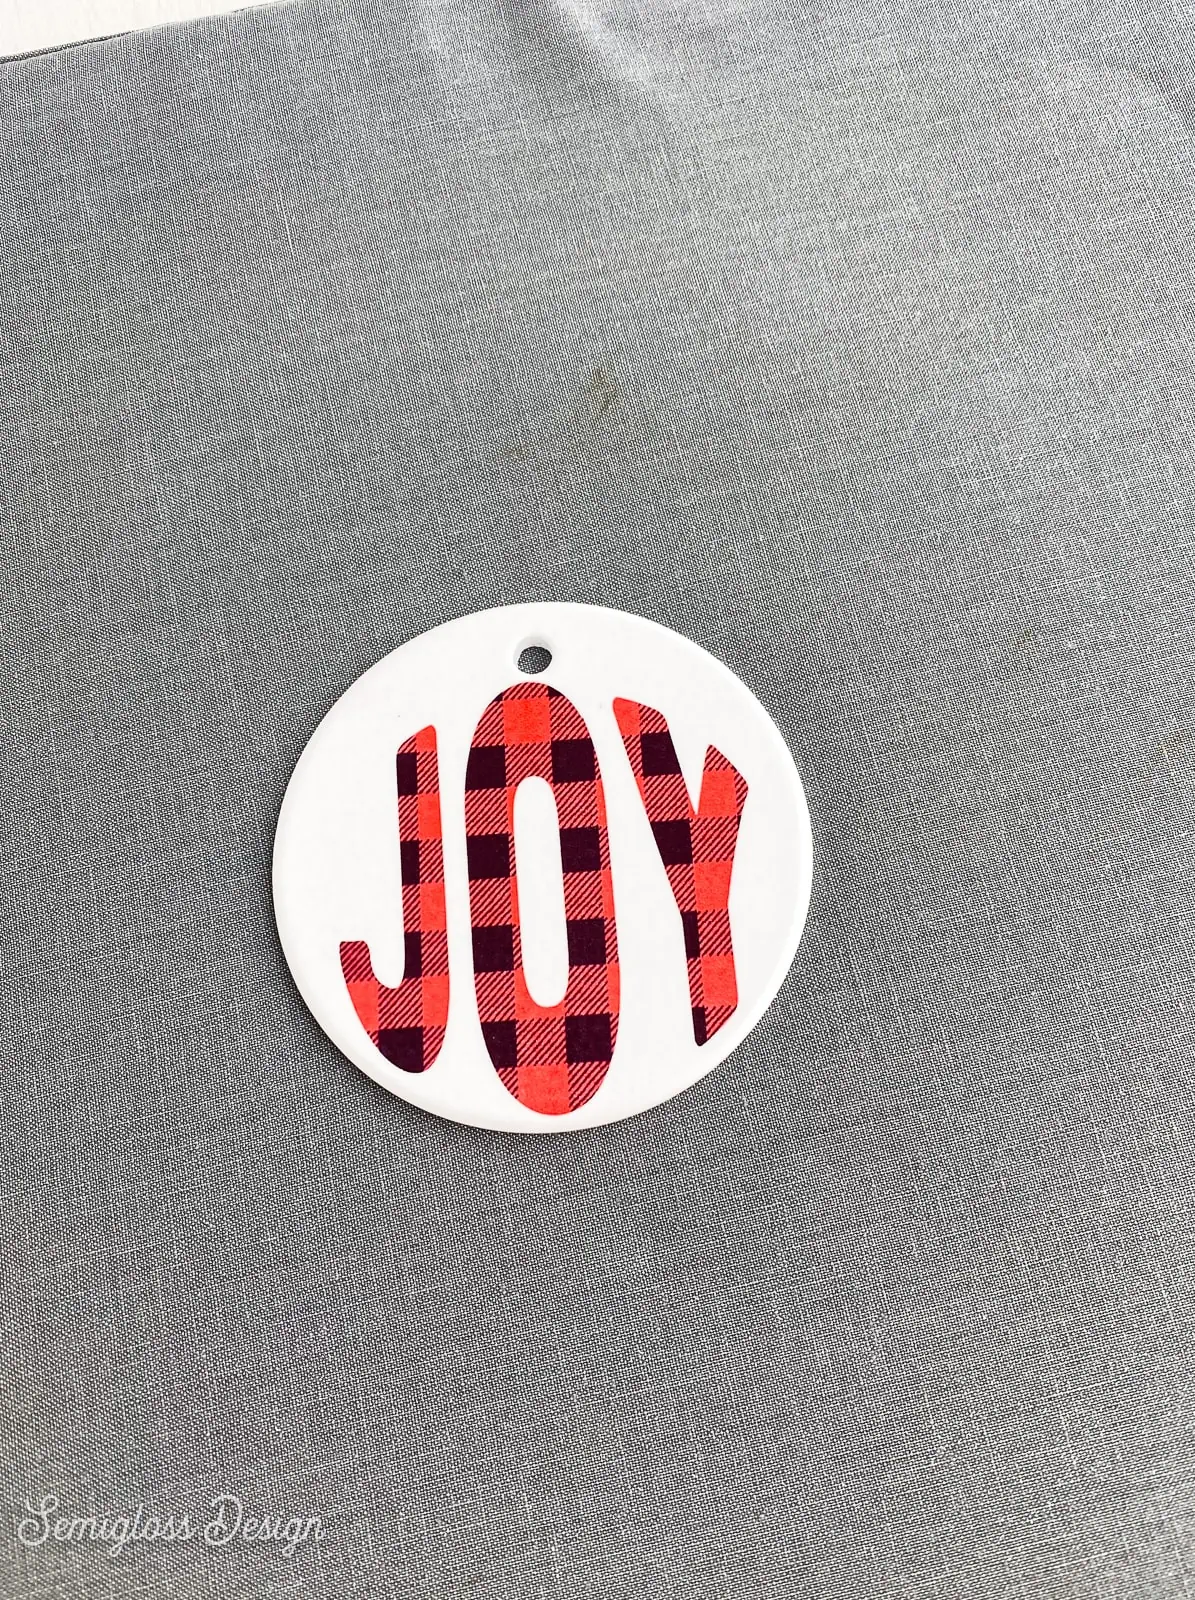
- Place the design ink side down onto the sublimation ornament blank. Use heat transfer tape to keep the design in place if necessary.
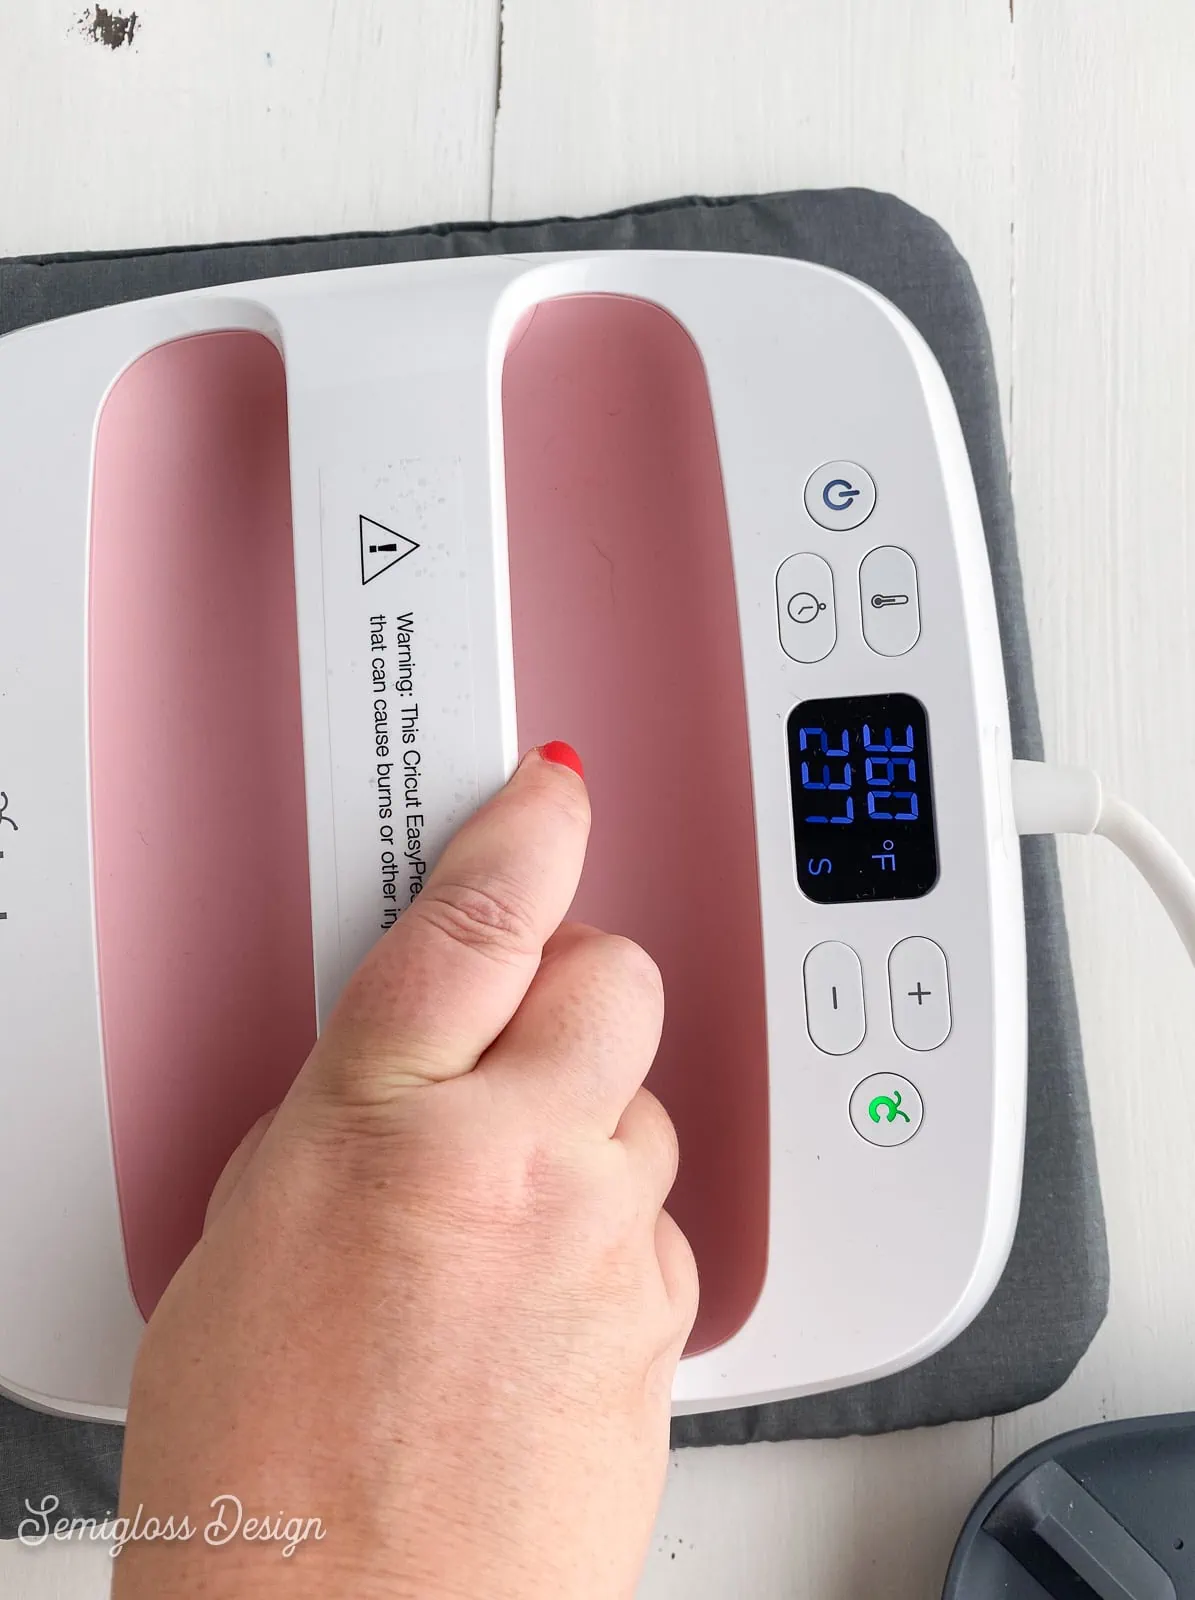
- Heat the Easy Press to the correct temperature. As noted above, the correct temperature can be found in the listing where you bought the blanks. The blanks I used needed to be set to 360º for 240 seconds.
- When the easy press beeps, it’s ready to be used.
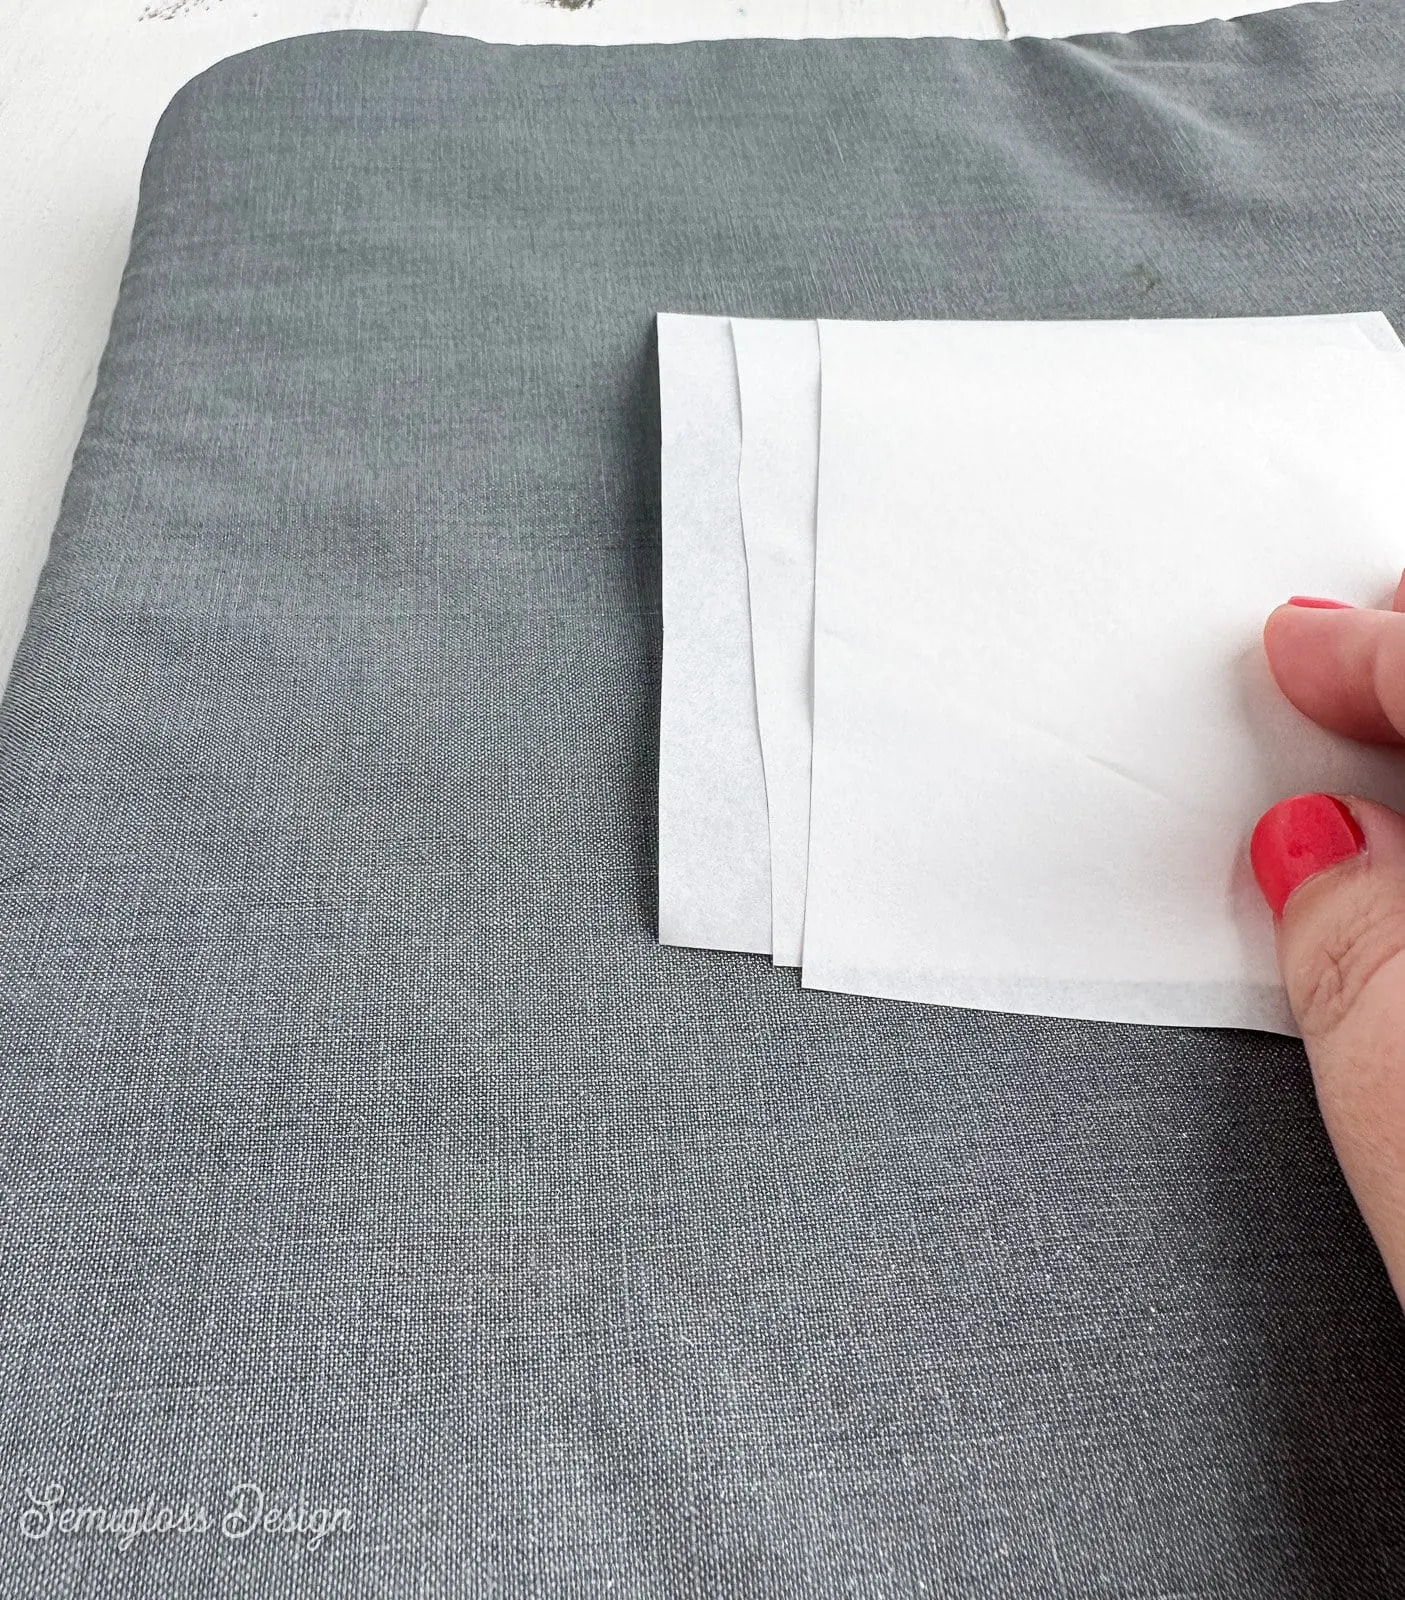
- Cover the design with 3-4 pieces of butcher paper. (The ink can leak through, so using this many pieces keeps your Easy Press clean.)
- Set the timer, apply the heat press, and click go to start the timer.
- Hold the Easy Press firmly on the ornament until the timer beeps.
- Remove the easy Press and place it in the cradle when it’s done.
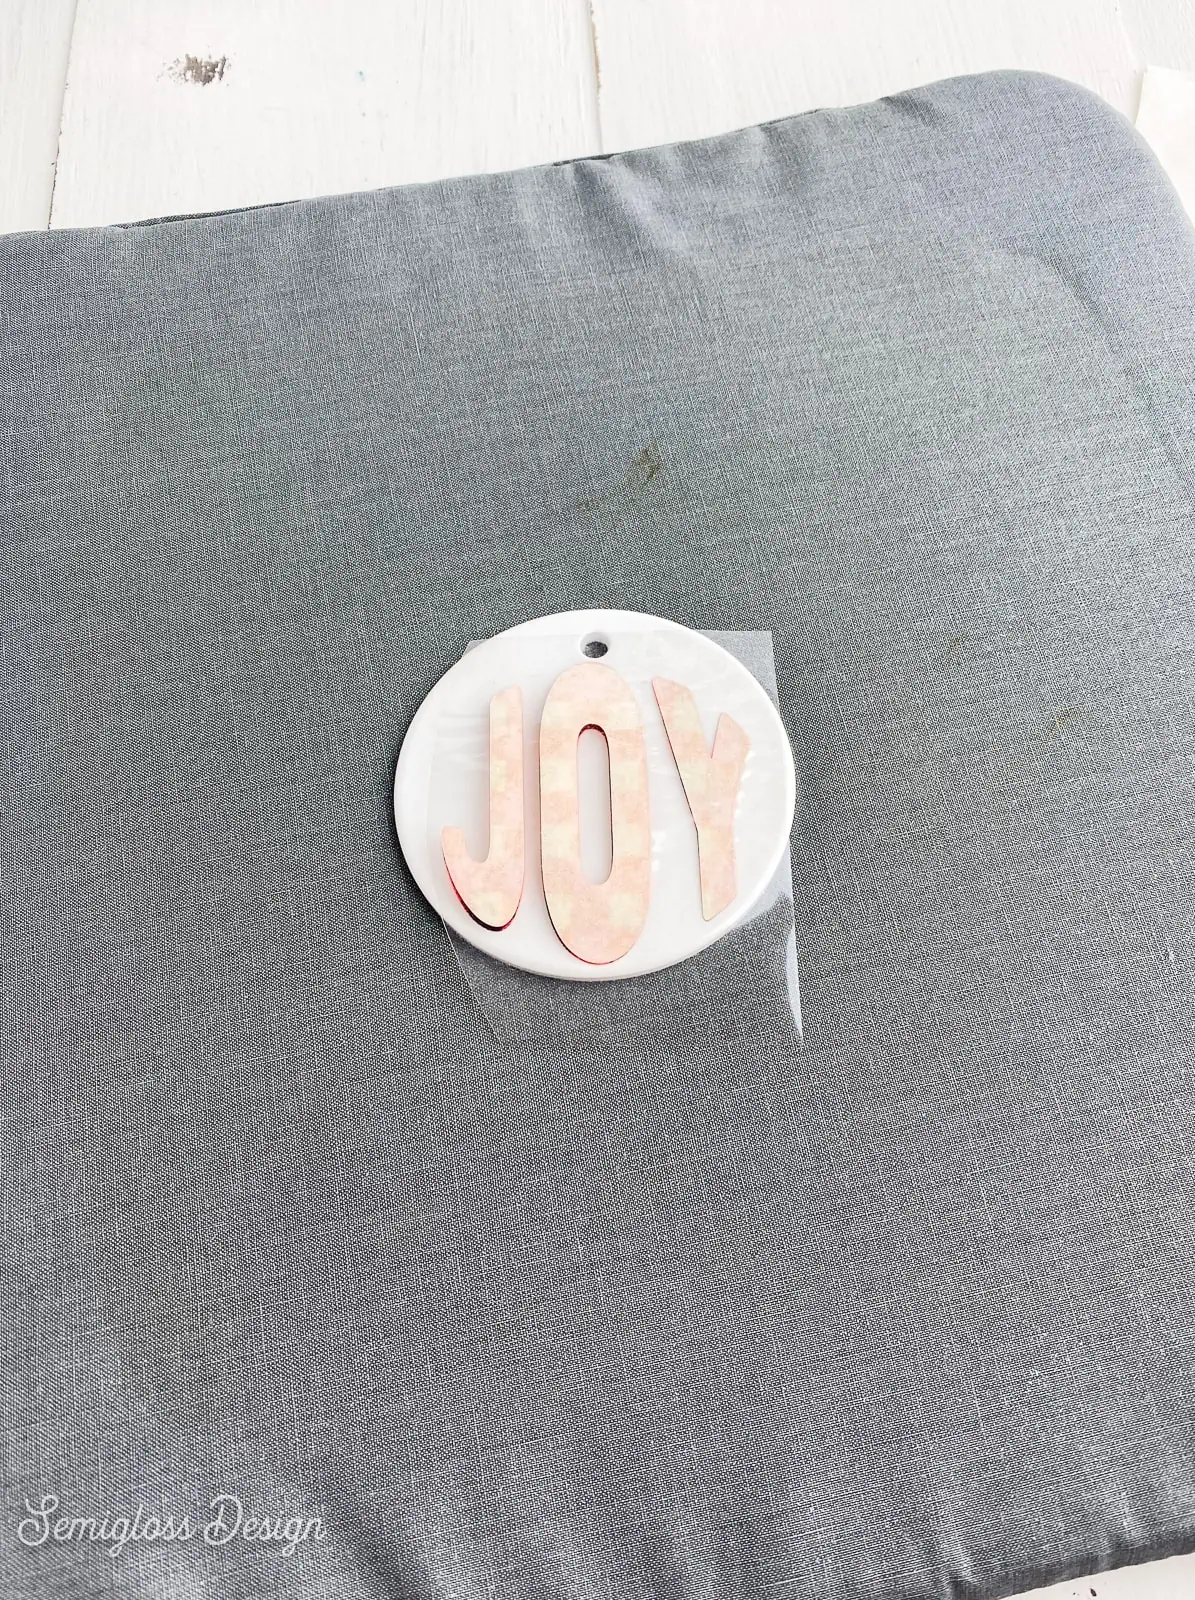
- CAUTION: The ornament will be extremely hot after being heated for 4 minutes. Let it cool off before handling it. Leave it on the mat until it cools.
- After it cools down, remove the infusible ink sheet.
- Add a ribbon for hanging.
You might also like:
- DIY Glitter Ornament
- Infusible Marker Ornaments
- Vinyl Gingerbread Ornaments
- Ornaments Made with Cricut
Infusible Ink Ornament SVG
All downloads are for personal use only. Please do not redistribute or sell files.
These are sized for the ornament blanks listed above. If you’re using a different size, the design will need to be resized to fit.
Pin for Later!

Emy is a vintage obsessed mama of 2 DIYer who loves sharing affordable solutions for common home problems. You don’t need a giant budget to create a lovely home. Read more…


