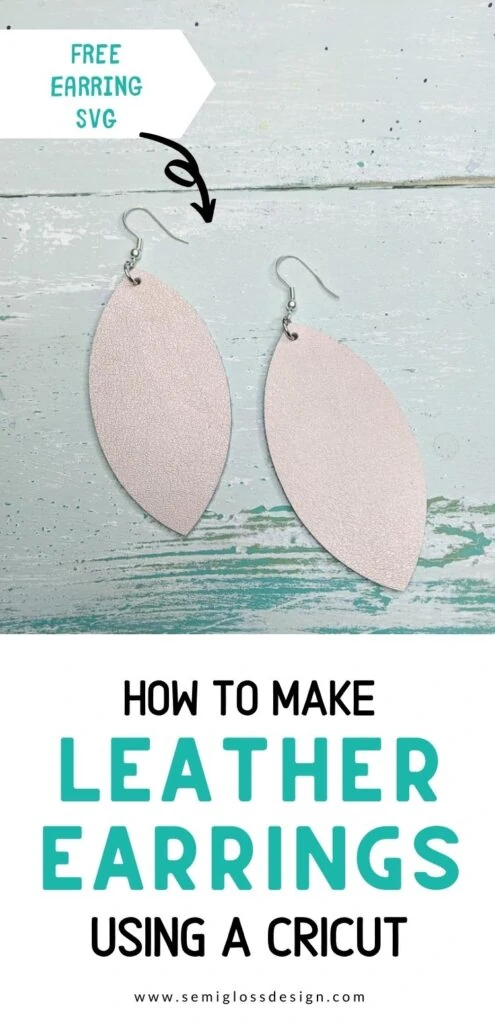
DIY Leather Earrings with a Cricut Maker
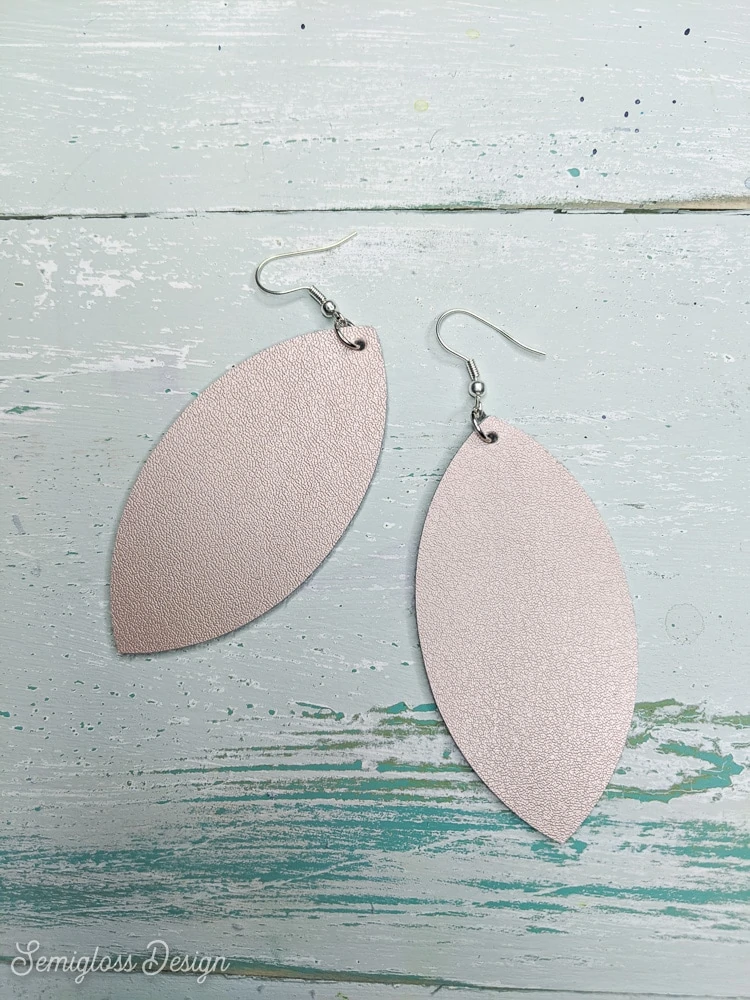
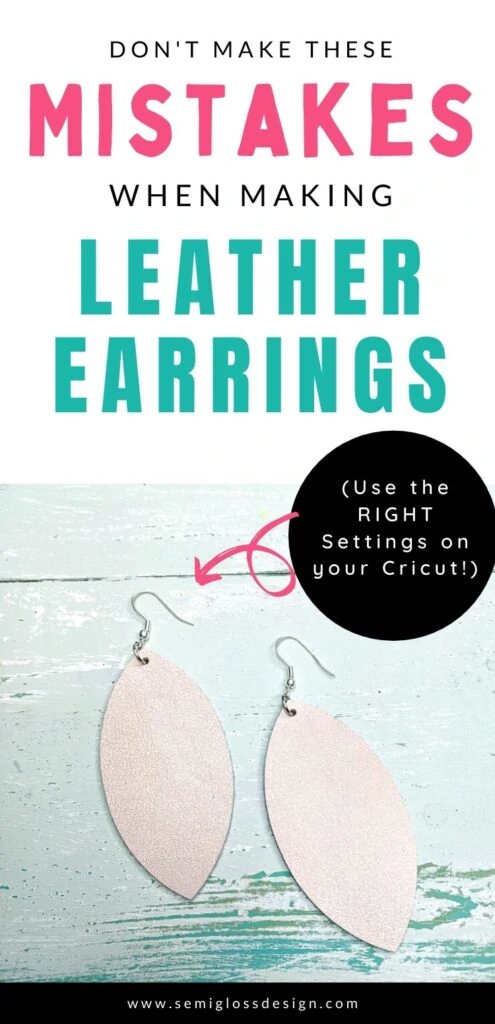
Did you know that you can use your Cricut to cut leather for DIY leather earrings? These gorgeous earrings are so easy to make with the right settings. Learn more about making earrings with a Cricut Maker and the mistakes to avoid to get the perfect cut.
You might like this post on DIY koozies.
This post contains affiliate links. By purchasing an item through an affiliate link, I earn a small commission at no extra cost to you. As an Amazon Associate I earn from qualifying purchases.
DIY Leather Earrings FAQ
Can you cut leather with a Cricut Maker?
Yes, you can cut leather with a Cricut Maker. Choose the correct leather in the materials setting menu when cutting.
If using real leather, I recommend choosing one of the tooling leather options.
What do you put on the back of leather earrings?
You have 2 choices for finishing the back of leather earrings.
You can either do nothing and keep the earrings lightweight, or you can cut 2 of the earrings and glue them together with to create a more finished look. This will add to the weight of the earring.
How do you keep your leather earrings from twisting?
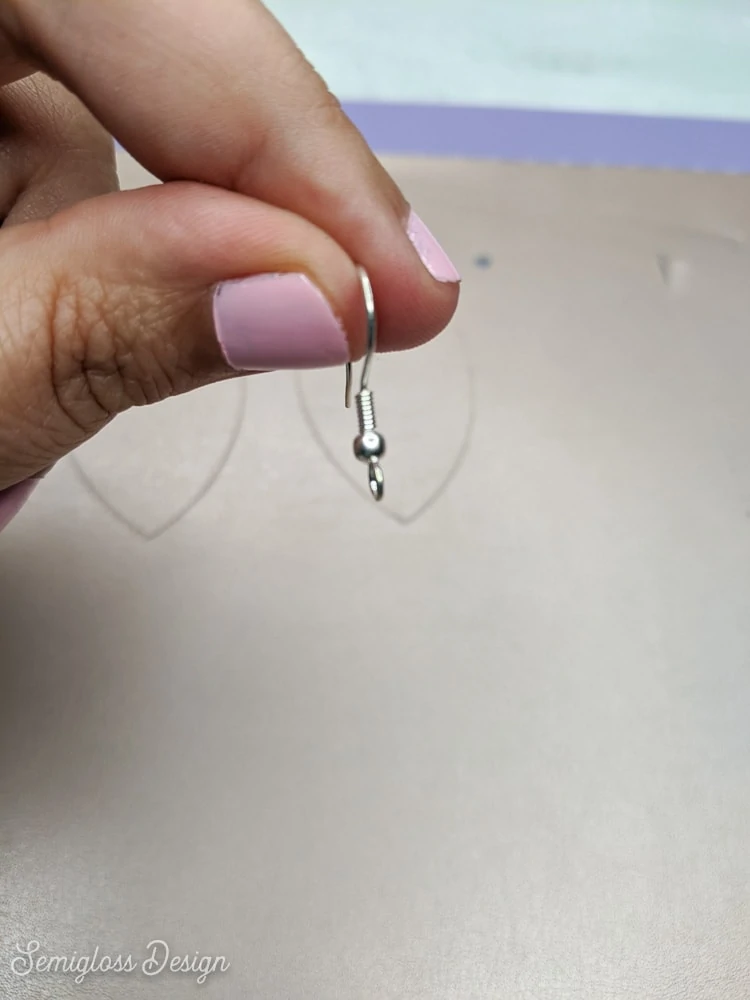
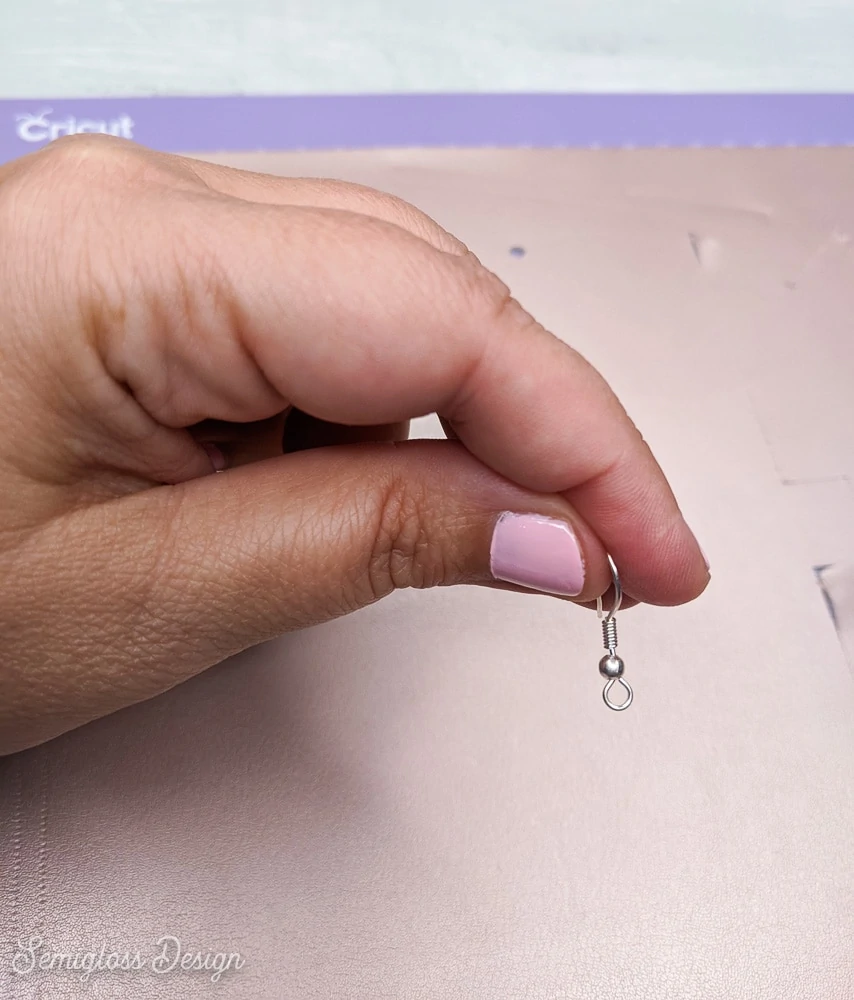
Make sure the loop at the bottom of the earring faces to the front. If not, use jewelry pliers to twist it to face forward.
What Cricut blade cuts leather?
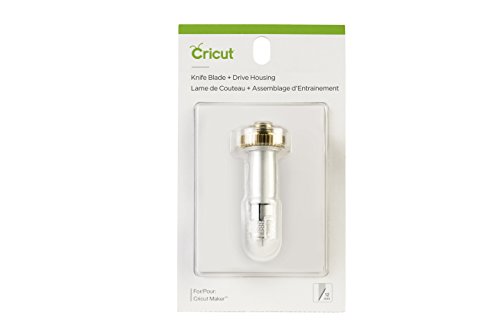
You will need the knife blade to cut genuine leather. Some material settings say to use the deep point blade, but I’m gonna save you the $20. Don’t waste your time. That blade is garbage.
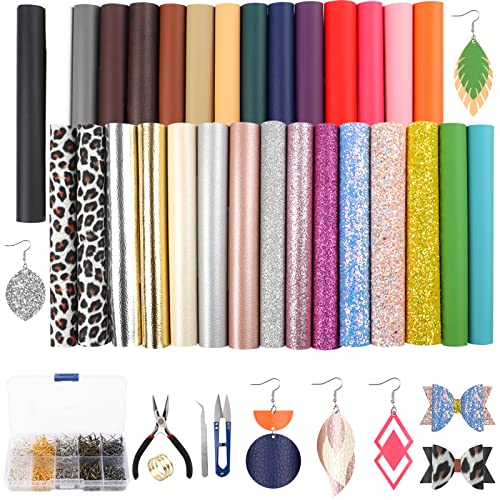
If you have a Cricut machine that is not the maker or if you have a Silhouette, use the faux leather instead. It can be cut with your regular blade.
What Cricut mat should you use with leather?
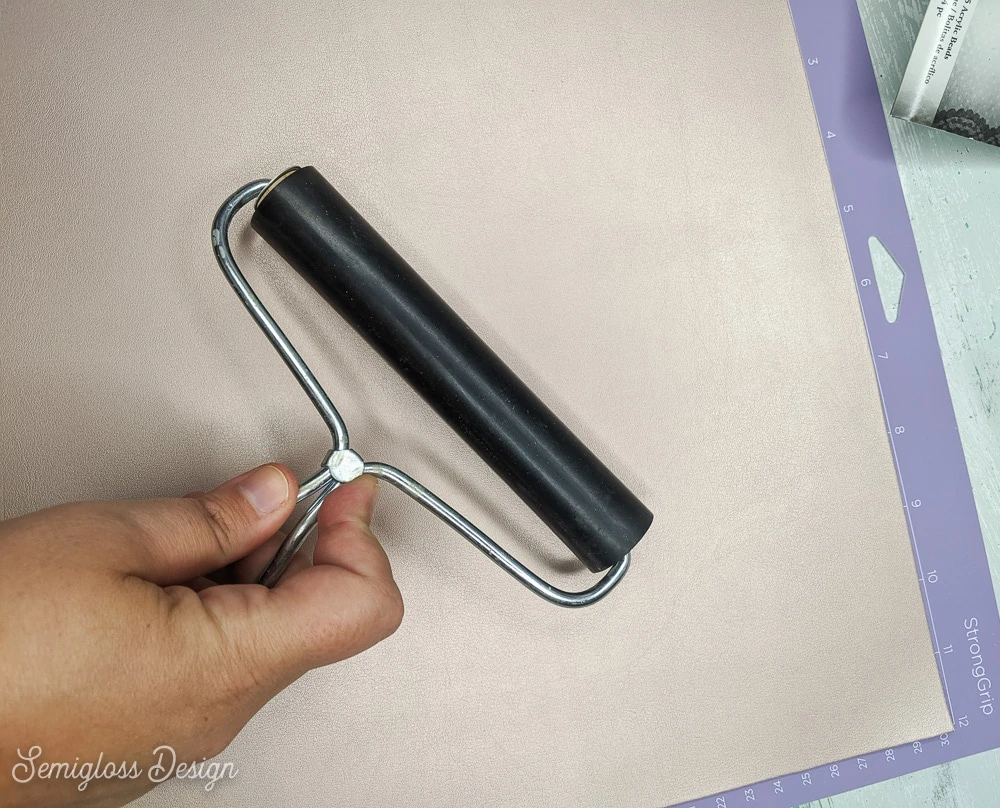
Use the strong grip mat with leather. Use a brayer to ensure that it sticks. If it still has problems sticking to the mat, you may need to tape the leather down with masking tape.
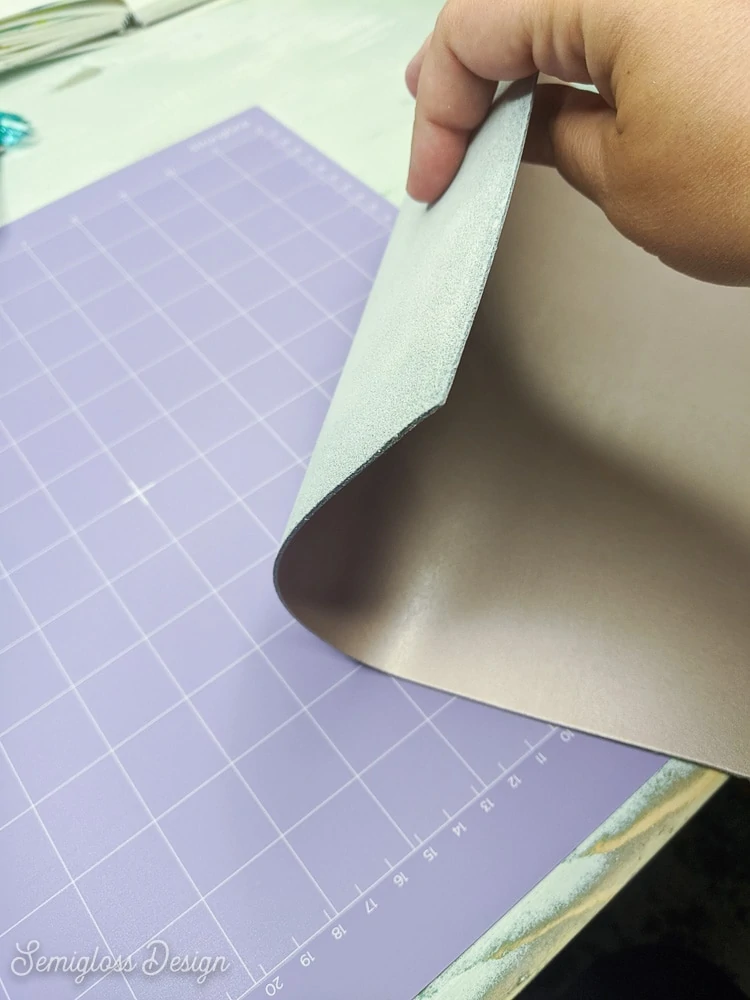
The most important part is to lay the leather fuzzy side up on the mat.
Can you make leather earrings with a Silhouette?
I’ve made leather earrings before using my Silhouette and I must say that the Cricut Maker was much easier. If you’re looking to make leather earrings with a Silhouette Cameo, it can be done, but you will need to do a bit more work.
For better results, use faux leather instead.
When cutting leather with a Silhouette, the settings you want are Blade 10, Speed 1, Force 22, and 2 Passes.
Let the machine cut the leather, but don’t unload them. Send it through for a 2nd cut if needed.
Your leather may still not be cut all the way. Use an Exacto knife to cut the leather the rest of the way.
Fuzzy bits can be trimmed with scissors to make a smoother edge.
You might be interested in learning more about using a Cricut Maker for the first time.
How to Make Leather Earrings with a Cricut Maker
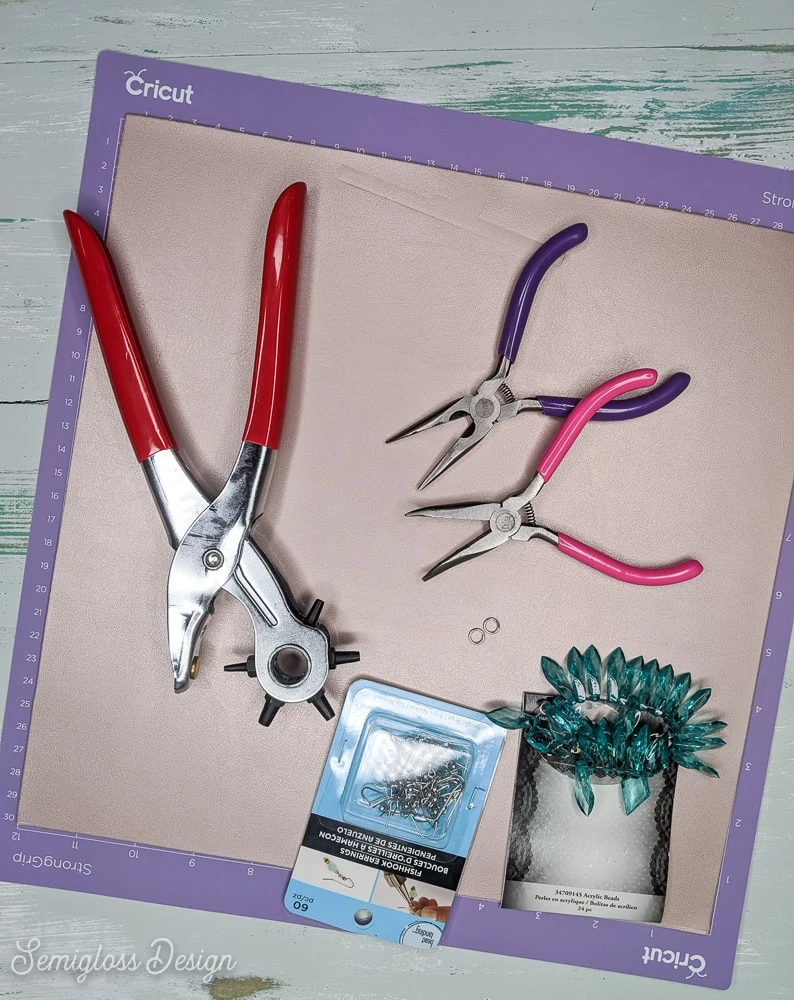
Supplies Needed
- Cricut Leather – (I used metallic in rose gold)
- Cricut Maker
- Knife Blade
- Strong Grip Mat
- Brayer
- Earrings
- Jump Rings
- Jewelry Pliers
- Leather Punch Tool
Or you can buy an earring kit that includes almost everything (besides the Cricut stuff.)
Scroll down for the free leather earring SVG file.
Notes about Supplies
- Leather – You can use almost any leather that you want to use. Make sure that it’s fairly thin. I have used the leather that you can find in the craft store and it’s much fuzzier on the back. If you use this type, it may ruin your mat. You can place it on the mat fuzzy side up and use tape to secure it instead.
- Knife Blade – Don’t bother with the deep-cut blade. If your material suggests it, choose a different material. That blade gets stuck and then finally snaps in half. Ask me how I know…
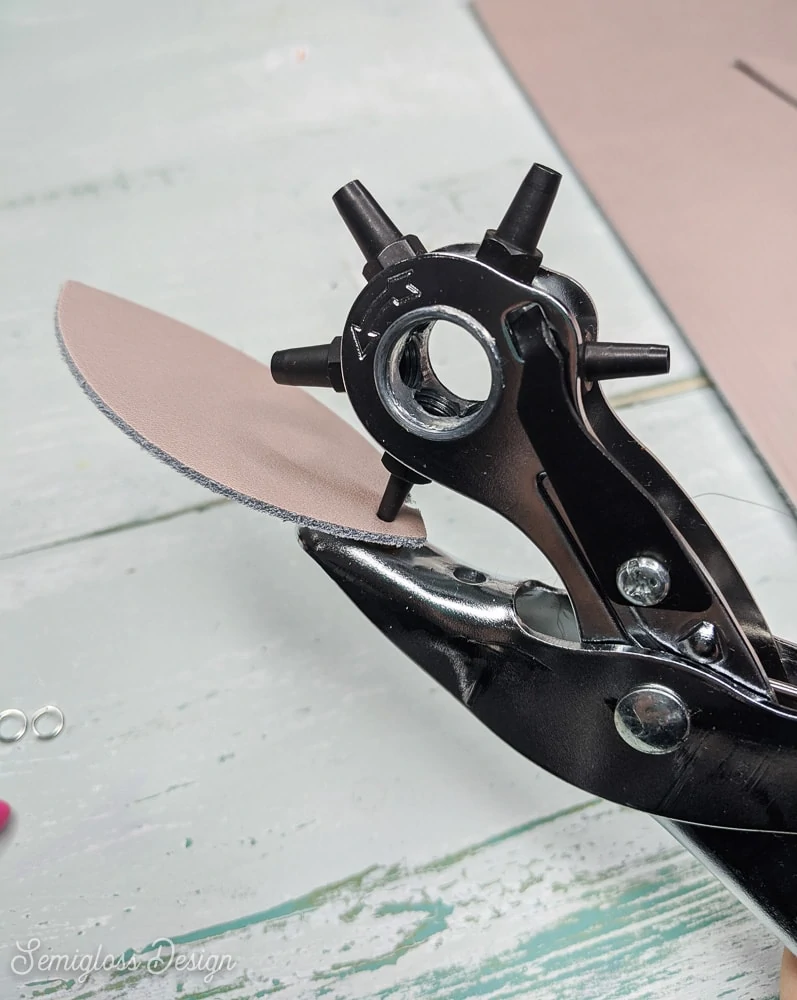
- Leather Punch Tool – The knife blade can not cut a hole small enough for the earring hole. You will need a tool to punch through the leather without damaging it. You can also use an awl.
Mistakes to Avoid When Cutting Leather with a Cricut Maker
I had a pretty hard time figuring out the right way to cut leather, so I’m going to save you the frustration and money with these troubleshooting tips.
- Lay the leather fuzzy side up on the mat. The Cricut seems to have an easier time cutting the leather in this manner. Plus, it doesn’t kill your mat.
- Don’t rely on Cricut settings to choose the right blade. Instead of choosing “metallic leather”, I chose “tooling leather 6-7oz.” This allowed me to use the knife blade which worked perfectly. The difference between the tooling leather options seems to be the number of times it cuts the leather. The 6-7oz option cut the leather 16 times.
- Choose a simple design to start with. Make sure the machine can cut your leather before you waste an entire sheet due to complicated designs.
- Don’t include tiny details. Use a leather hole punch tool to make the holes instead of relying on the machine to cut them for you.
- If you don’t have a machine that uses the knife blade, choose a thinner leather. I’ve heard good things about the Cricut Faux Leather.
If you like working with leather, you might like this leather keychain!
Directions
DIY Leather Earrings with a Cricut
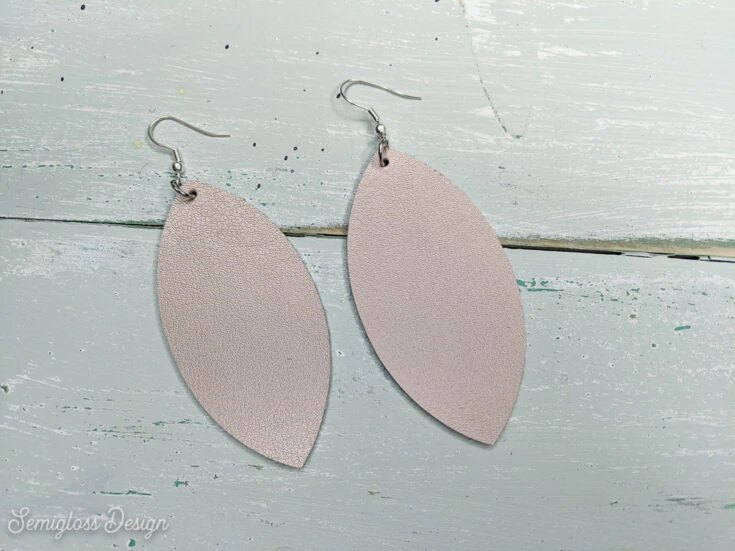
Learn how to use your Cricut to make DIY leather earrings. These earrings are trendy and lightweight, plus they're so easy to make. Perfect for gifts!
Materials
- Cricut Leather
- Earring Hooks
- Jump Rings
- Earring SVG (Scroll down for free download)
Tools
- Cricut Maker
- Deep Cut Blade
- Cricut Strong Grip Mat
- Leather Punch
- Jewelry Pliers
- Brayer
Instructions
- Place the leather on the strong grip mat, fuzzy side up. Smooth it with a brayer if needed to make it stick to the mat better.
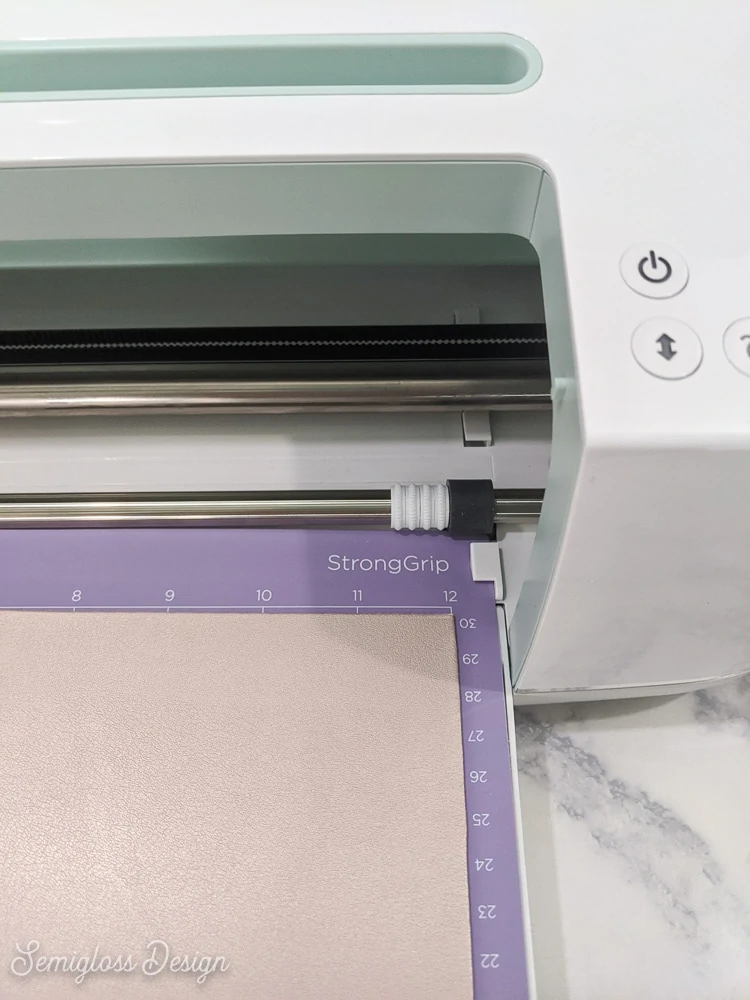
- Before loading the mat into the machine, move the white star wheels to the right side of the machine. (This will prevent the wheels from making marks on the soft leather.)
- Make sure the knife blade is installed. (If you've never used it before, it will need to be calibrated with a piece of paper.)
- Load the mat.
- In the design software, add the SVG file.
- Click Make Design.
- Move the design down a little. This will help to ensure that the blade doesn't get caught in the leather if the area is too small.
- Choose your material. Although I used Cricut Metallic Leather, I chose the option for Tooling Leather 6-7oz, so that I could use the knife blade.
- The machine will make sure that the correct blade is loaded. (If it isn't, the machine will not cut the leather.)
- Click the Cricut button on the machine to make the design.
- Let the machine cut the leather.
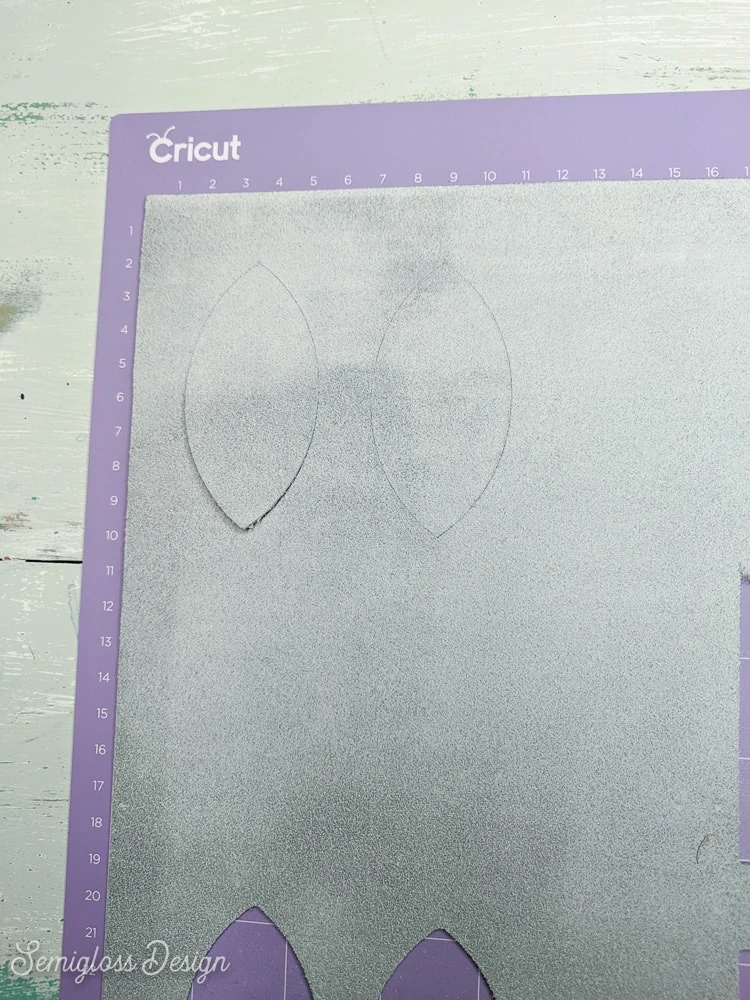
- Before unloading the mat, make sure that the design is cut all the way through. If not, it may need a few more passes.
- Weed the leather.
- Use the leather hole punch to make the holes for the earrings. Make sure not to place the hole too far down. The jump ring needs to fit so that the earrings lay properly.
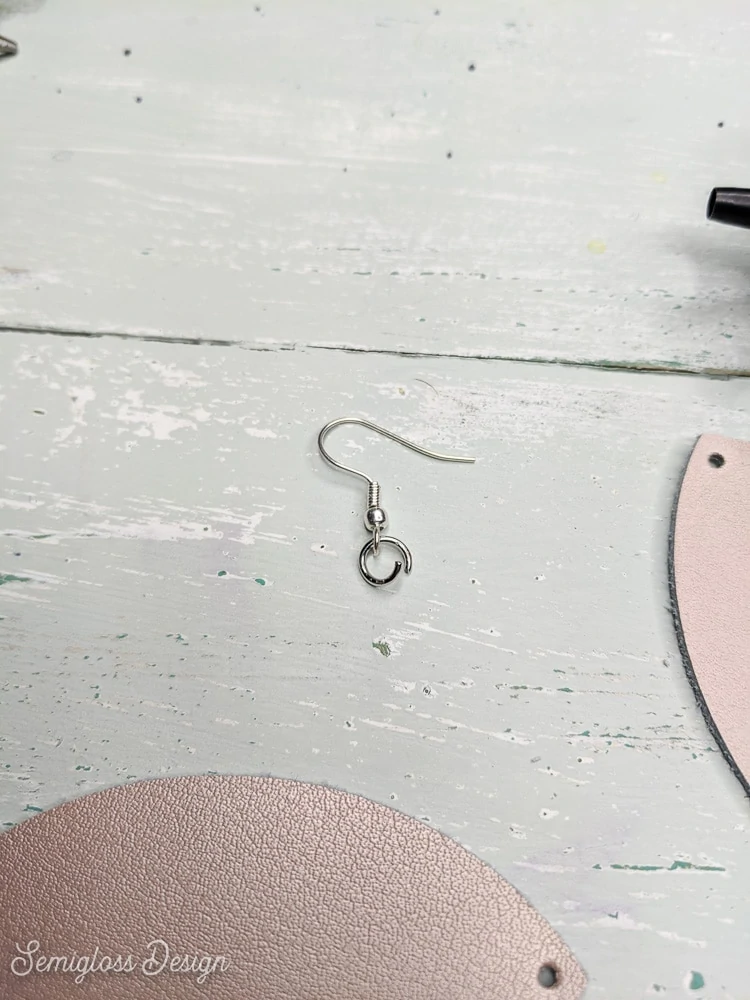
- Place a jump ring through the hole and through the loop on an earring hook.
- Use jewelry pliers to close the jump ring.
- Repeat for the other earring.
Notes
The knife blade cannot cut the hole for the earring because the smallest it cuts is the size of a pencil eraser. You will need an awl or a leather hole punch.
Recommended Products
As an Amazon Associate and member of other affiliate programs, I earn from qualifying purchases.
Download Free SVGs for Earrings
All downloads are for personal use only. Please do not redistribute or sell files.
You will receive a zip file containing:
SVG, PNG, JPG, and DXF. Cricut users can use the SVG file. Silhouette users need to use the DXF file unless they have an upgraded version.
Download a free leaf shape for leather earrings.
You might also like:
Pin for Later!

Emy is a vintage obsessed mama of 2 DIYer who loves sharing affordable solutions for common home problems. You don’t need a giant budget to create a lovely home. Read more…


