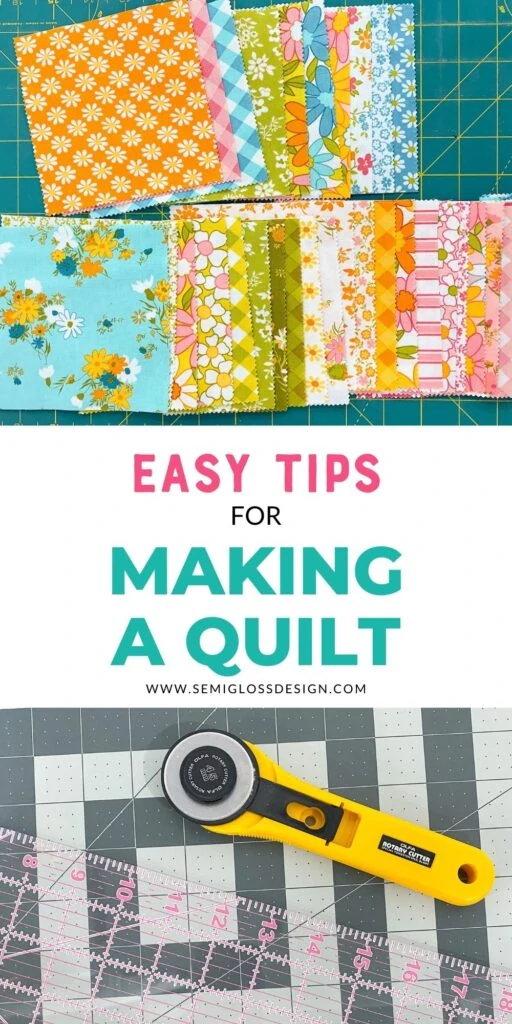
Easy Quilting Tips for Beginners
Looking to make your first quilt? These easy quilting tips for beginners will help you get started.
If you like easy sewing projects, you might like this post on how to sew a table runner.
This post contains affiliate links. By purchasing an item through an affiliate link, I earn a small commission at no extra cost to you. As an Amazon Associate I earn from qualifying purchases.
After the stress of the past year, I’ve been really wanting to sew again. I used to sew all the time when my kids were little, but somewhere along the way, I stopped.
Never one to start with a small project, I decided to make a quilt. At first, I had no intentions of writing about it. It was meant to be just for me.
But as I researched information, I realized that it was too good not to share. I’m sure there are other people who are also itching to make a quilt.
This is not my first quilt; I’ve made about 6 of them by now. However, this quilt is my first in about 12 years.
If you’re hoping to get started quilting, these easy tips can save you time and frustration.
Easy Quilting Tips for Beginners
The biggest tip that I can give you is to embrace imperfections. The beauty of a handmade quilt is not in its perfection.
You will see a million flaws when you look at it up close. Your cuts and seams will feel crooked. And it will be tempting to feel bad about them.
But your overall quilt will be beautiful. The flaws will disappear and it will be perfect.
Planning the Quilt
Keep it simple. Your first quilt isn’t the time to go for fussy cuts. Stick with squares and rectangles. Simple quilt blocks will be the easiest to construct.
If possible, find patterns that utilize pre-cut fabric sizes. (See below for more information.)
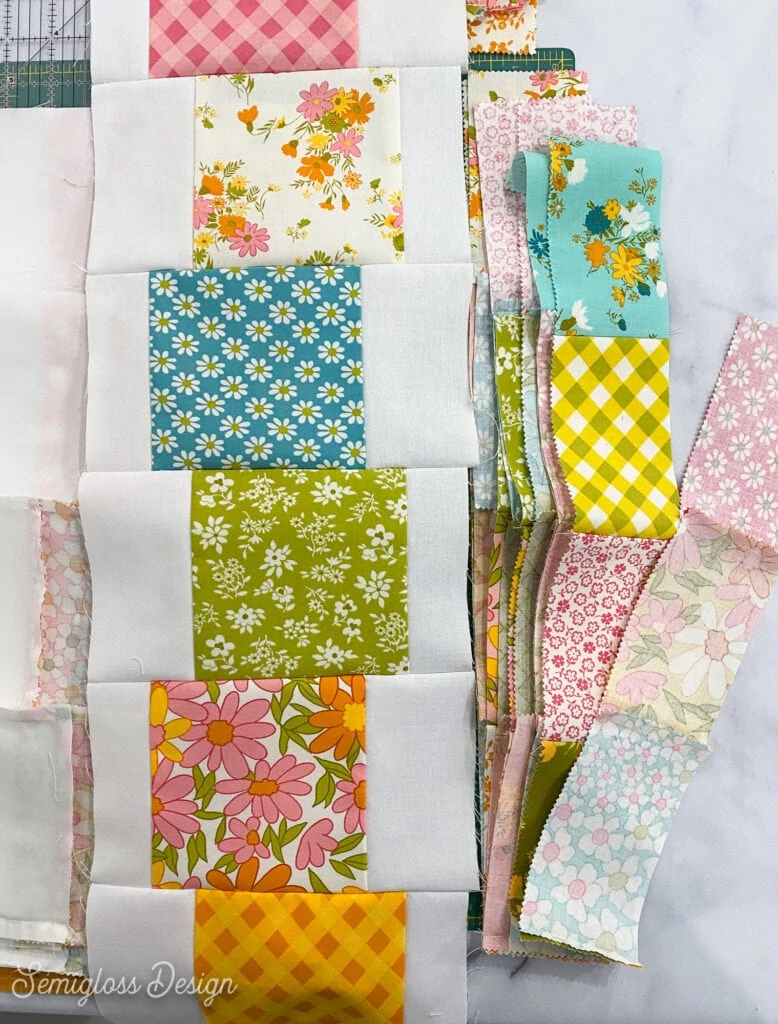
My current project consists of rectangles and squares. Each quilt block contains 3 pieces of fabric.
Start with a small quilt. My first quilt was a simple patchwork quilt, but it was for a full-size bed. It’s much easier to work on a baby quilt or even a throw blanket.
My current project is throw blanket sized and it’s coming together so fast.
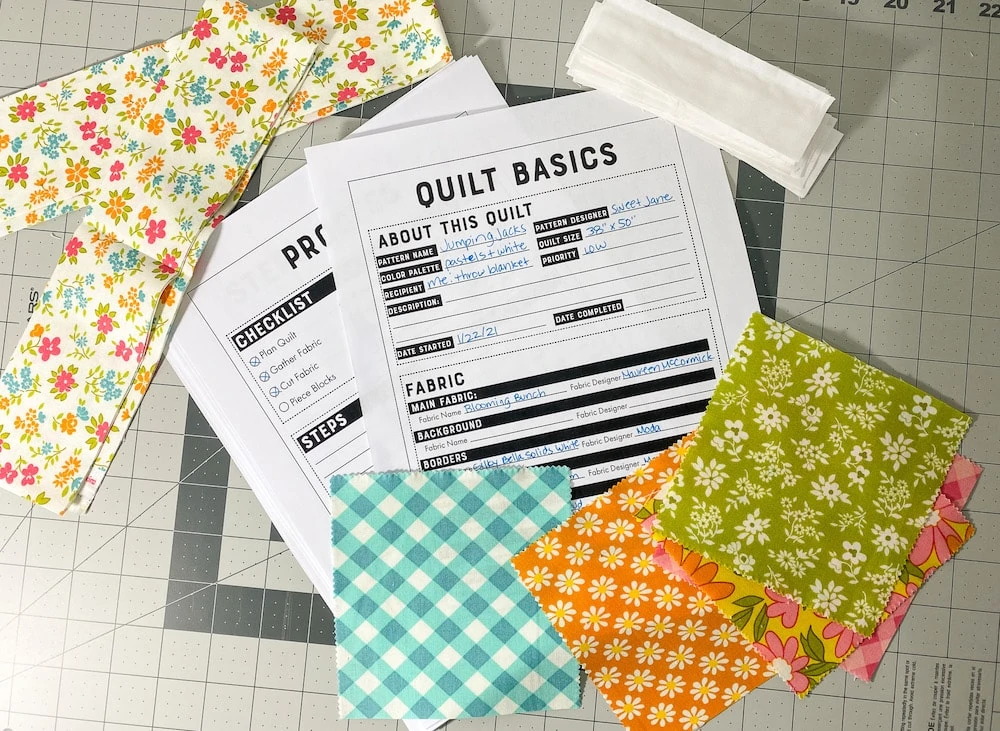
Need help planning your quilt? My printable quilt planner has everything you need to get started, from checklists to cheat sheets!
Fabric Choices
Quality. The most important thing to know when choosing fabric is to stick with good-quality quilting fabric. Don’t use apparel fabric and don’t choose fabric from the bargain bin.
I love Moda and Kona for solid fabrics. The Fat Quarter Shop is a great place to shop for fabric. Everything they sell is of good quality. Plus, they have a lovely selection. My only complaint is that you can’t search by color unless you put it in the search bar.
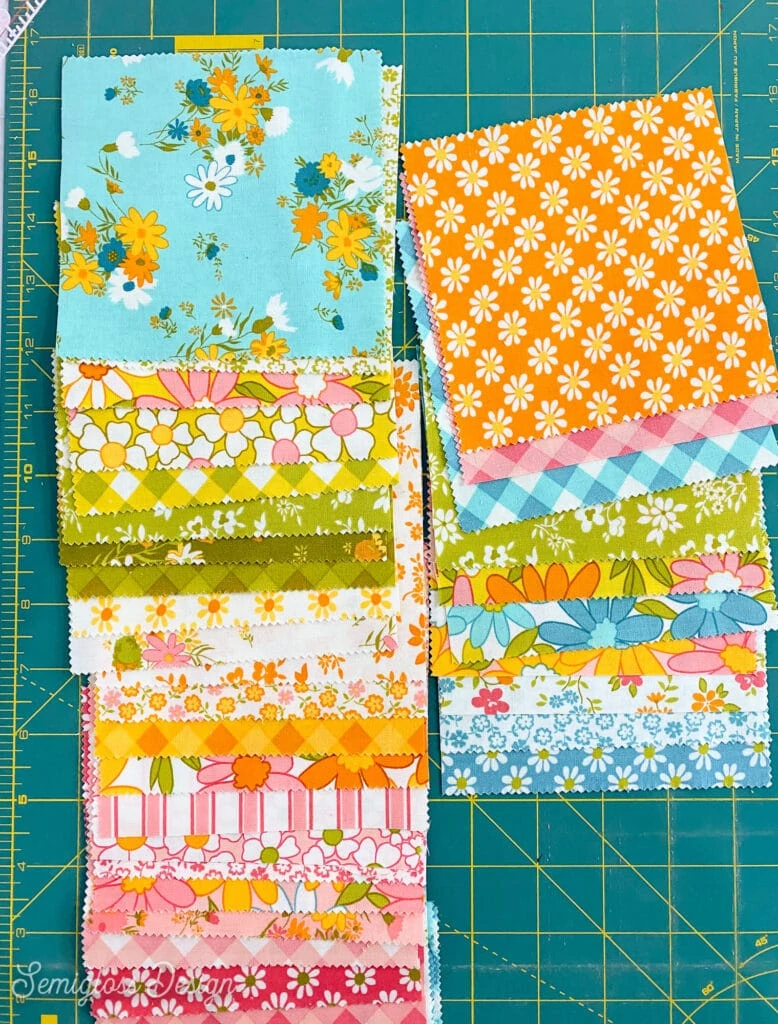
Pre-Cut Fabric. Pre-cut fabric can save you so much time! Plus, they come in coordinated selections that work together beautifully.
Pro tip: If you’re shopping at the Fat Quarter Shop and you find a set that you want that is out of stock, you can sign up for a notification when it’s available. (I think this tells them someone is interested in that particular size, so they cut it for you.)
I bought the A Blooming Bunch Jolly Bar set by Maureen McCormick. Yes. You heard that right.
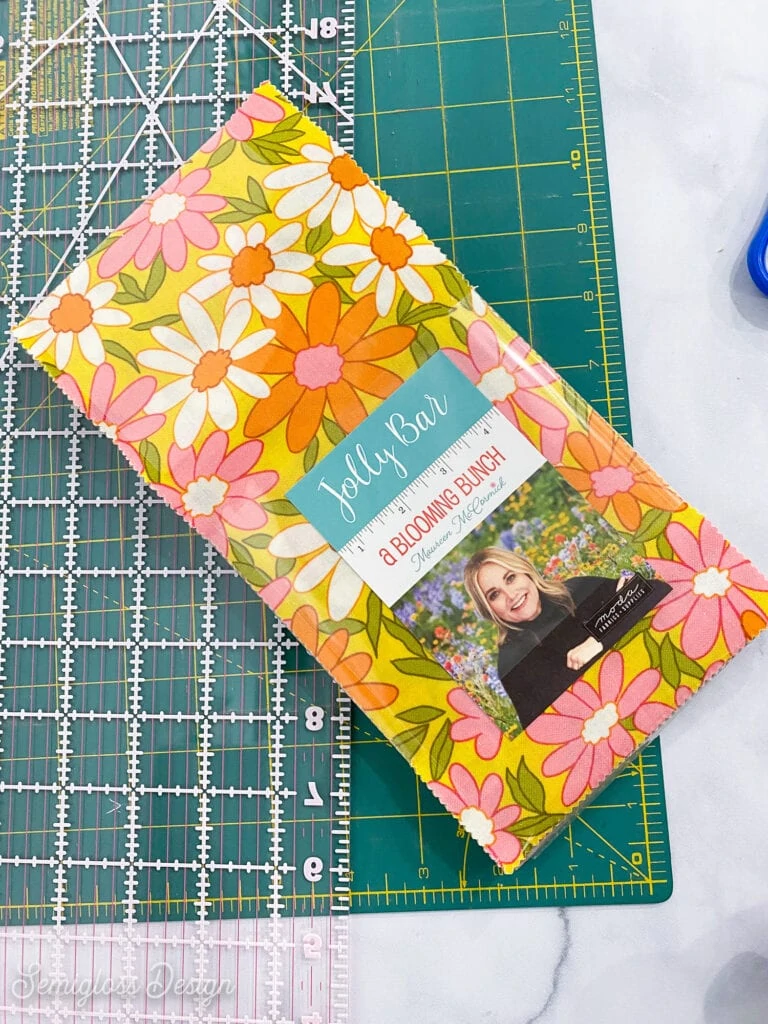
If you’re an 80s kid like me, you might have just geeked out that Marcia from the Brady Bunch has a line of Brady Bunch-inspired fabric.
And yes, it really is wonderful. Or maybe I should say groovy.
Pre-cut fabric often comes with a quilt pattern. The pattern was more complicated than I wanted, so I chose a different one.
My quilt planner has a cheat sheet that explains pre-cut fabric sizes.
Vary Pattern Sizes. If you choose your own fabric, ensure you vary the pattern sizes. Don’t choose all tiny prints. Or all large prints. Mix it up. It’s way more pleasing to the eye.
To pre-wash or not to pre-wash fabric? This is a very debated issue. You typically pre-wash fabric to pre-shrink it. It also let’s you know if any of the dye colors bleed. (If you buy quality fabric, this is NOT an issue though.)
When I buy yardage, I always pre-wash the fabric. However, with pre-cut fabric, I chose not to pre-wash any of it. I read that the finished quilt will be more wrinkly, and I love that.
There is a lot of good information out there, but I’m not an expert. So we’re going to leave it as a personal choice.
Other Supply Choices
Quality matters. Once again, quality matters. If you choose cheap thread, it will break all the time and frustrate you.
If you choose polyester batting, sewing will feel like the equivalent of nails on a chalkboard.
Thread. Coats and Clark thread is fine and can be found in most craft stores. The Gutermann or Aurefil thread is even better.
Batting. I love making quilts with 100% cotton batting. This gives the quilt a nice weight and warmth. It’s also very pleasant to quilt.
Cutting the Fabric
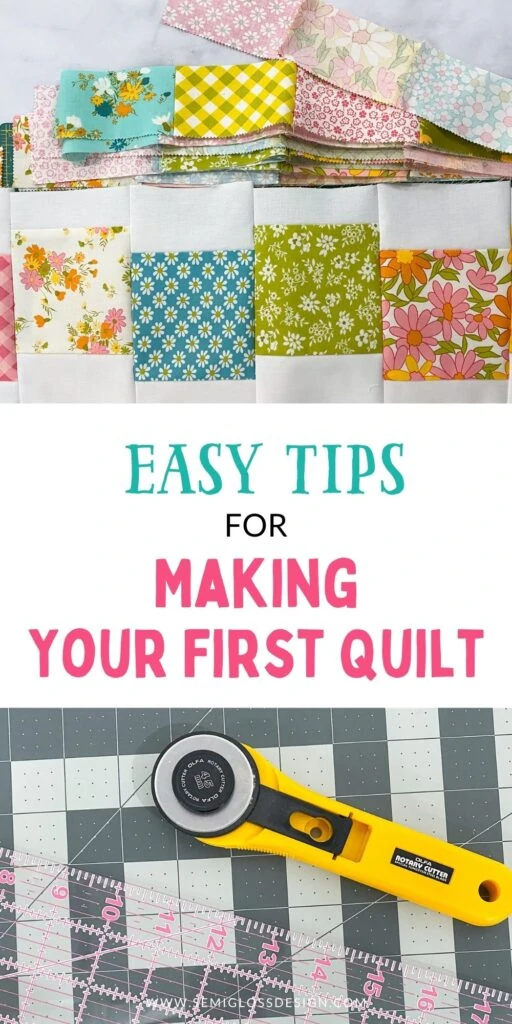
Even if you buy pre-cut fabric, you will still need to cut fabric. I love my rotary cutter and mat. It would be best if you also had a ruler. I used a metal yardstick for years, but I just upgraded to a clear quilting ruler, and I love it.
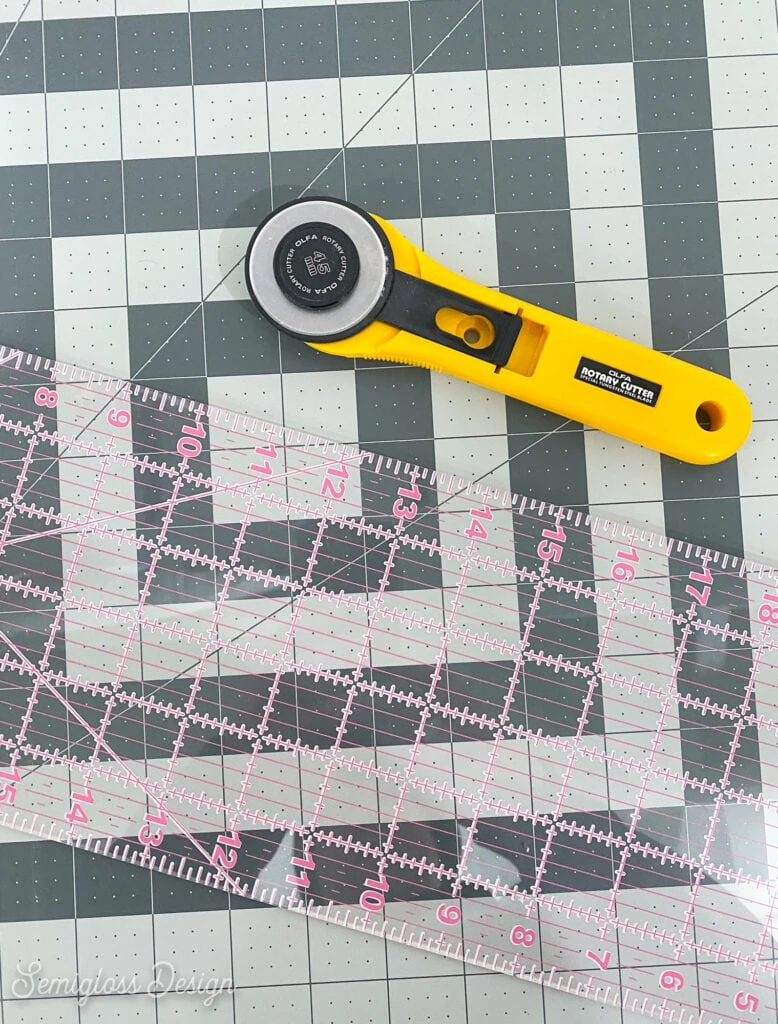
Your mat should be at least 18″ x 24″. This is a good size and fits on most desks easily. If you have space to go bigger, great.
Fold the fabric as straight as you can get it. The cut edges aren’t necessarily straight when you get the fabric. Line it up with the lines on the mat and use the rotary cutter to make cuts. A sharp blade makes the best cuts.
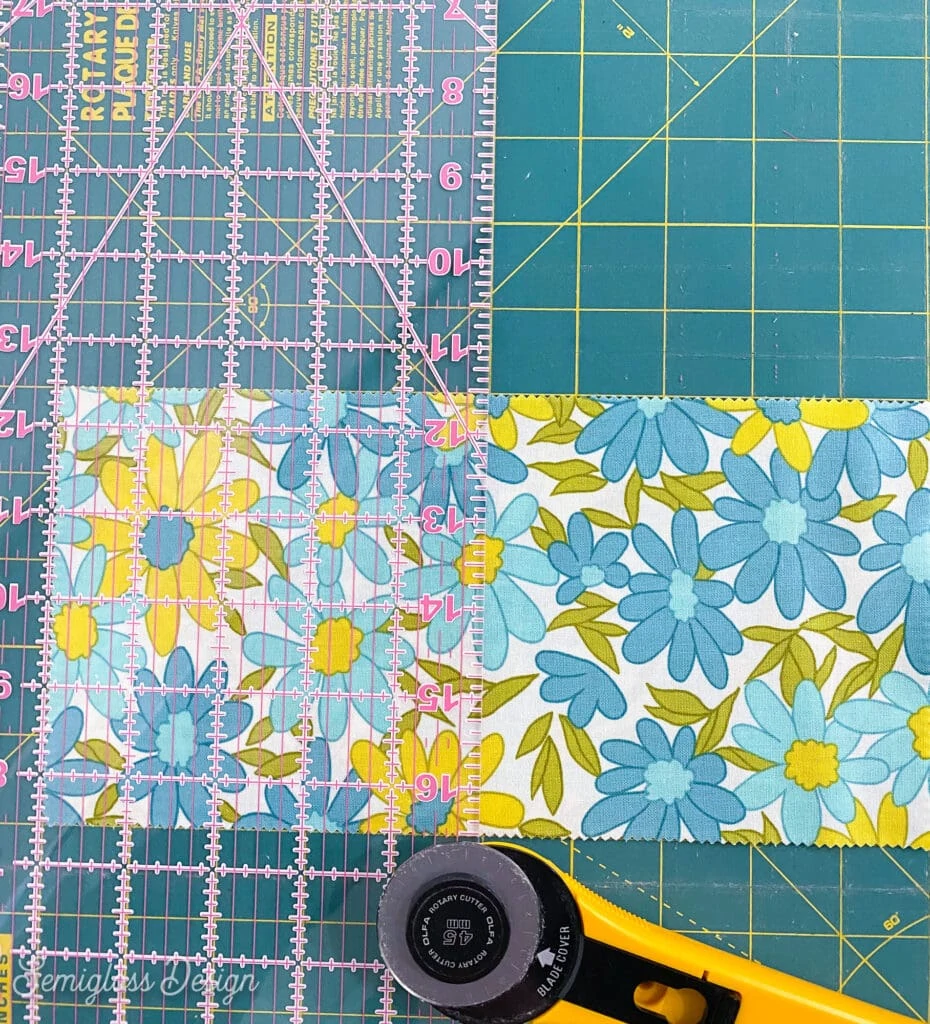
If you need to, iron the fabric first. Smooth fabric is so much easier to cut than wrinkled fabric.
I typically make a small cut at the edge and rip it for long cuts. This only works with quality fabric though. Cheap fabric will end up very crooked.
Sewing the Quilt Front
Break it into small tasks. An entire quilt can feel so daunting. It’s so much easier to break it into smaller steps. One day, I’ll get the fabric cut. The next day, I will sew blocks. (It might take more than one day if it’s a larger or more complicated quilt.)
In my quilting planner, I’ve included a checklist to mark as you complete each step of making a quilt.
Iron as much as you sew. Ironing the blocks as you go is so satisfying. Most quilt patterns will specify the direction in which the seams are ironed.
Trim the thread as you go. This will save you time in the long run.
Piecing the Quilt Together
I love the part where you make the quilt sandwich. You’ve completed the hardest part, and it’s starting to look good.
Lay it on a flat surface. For most people, this means the floor. If you’re like me and have a pet that sheds like crazy, this part can be tricky.
Vacuum as best as possible, and remember that washing the quilt is the final step. So if it gets a little furry, it’s okay.
Basting. I like to use safety pins to “baste” my quilt together. It saves so much time.
Quilting Tips
You have two options for the actual quilting. Well, there is the 3rd of sending it out to be quilted by a pro, but if you’re reading this, I assume you’re into DIY.
Quilting by Hand. This is usually the method I choose. I love quilting by hand because I find it very soothing.
To make it easy, I typically quilt in straight lines. This also gives it a more modern look, which I appreciate. Lines can be marked with fabric pens and pencils. I like the chalk ones. (The lines will disappear in the washing machine.)
Real quilters would probably cringe, but I use a larger-than-normal needle, and my stitches are longer than most. I’m okay with this, but it’s not the “right” way.
So, I want to give you permission to do things the way that feels good to you. Isn’t that what creating is about?
Machine Quilting. I’ve only used machine quilting for smaller projects like oven mitts and pot holders. My new sewing machine has a free-motion quilting foot that I plan on buying and experimenting with in the future.
If you use machine quilting, practice first on scrap fabric pieces. Work from the middle to the outside edges.
A normal sewing machine can usually hand small quilts if you roll them up. A lot of newer machines have a larger opening to accommodate larger projects.
Adding the Binding
Although you can buy pre-made binding, I usually make my own. (Most quilt patterns will tell you how to make it.)
Making your own binding allows you to match your quilt perfectly. I like a solid binding for patterned quilts and a patterned binding for solid quilts.
I usually sew the first part of the binding onto the backing with my sewing machine.
After folding it to the front, I use a slip stitch to sew it to the front. This helps keep the stitching invisible.
Washing the Quilt
When it’s all done, it’s time to wash the quilt. This can feel scary, but it’s also when the magic happens.
Wash it in cold water and gently dry it.
Signing Your Quilt
Just like any piece of art, it’s fun to sign your quilt. If you know how to embroider, you can use that skill to sign your quilt. There are also labels that you can sew on the quilt. If you sew a lot, you can even get customized labels.
My signature usually says something like “Made by…” and the date. If it’s a gift, I’ll address it to them.
Quilting FAQs
What does a beginner quilter need?
A quilter needs a sewing machine, iron and ironing board, pins, good quality thread, needles if hand quilting, fabric, batting, a rotary cutter, a cutting mat, a quilting ruler, and scissors.
Chalk pencils are also helpful for marking quilting lines. You might also want embroidery thread or labels to sign your quilt.
What is the easiest quilt pattern for a beginner?
The absolute most straightforward quilt pattern is a simple patchwork quilt. Want to make it even easier? Make a smaller quilt.
Stick with modern patterns that are made with squares and rectangles. Triangles and other shapes can be harder to get right.
How do you cut fabric for a quilt accurately?
You can buy pre-cut fabric for most of the quilt to make it more accurate. Alternatively, you can use a rotary cutter and cutting mat.
How do you cut fabric squares straight?
Align the fabric to the lines on the cutting mat. Cut edges are rarely perfectly straight, so use the selvage (edge of fabric) where possible.
You might also like:
Pin for Later!

Emy is a vintage obsessed mama of 2 DIYer who loves sharing affordable solutions for common home problems. You don’t need a giant budget to create a lovely home. Read more…