DIY Leather Keychain with a Cricut
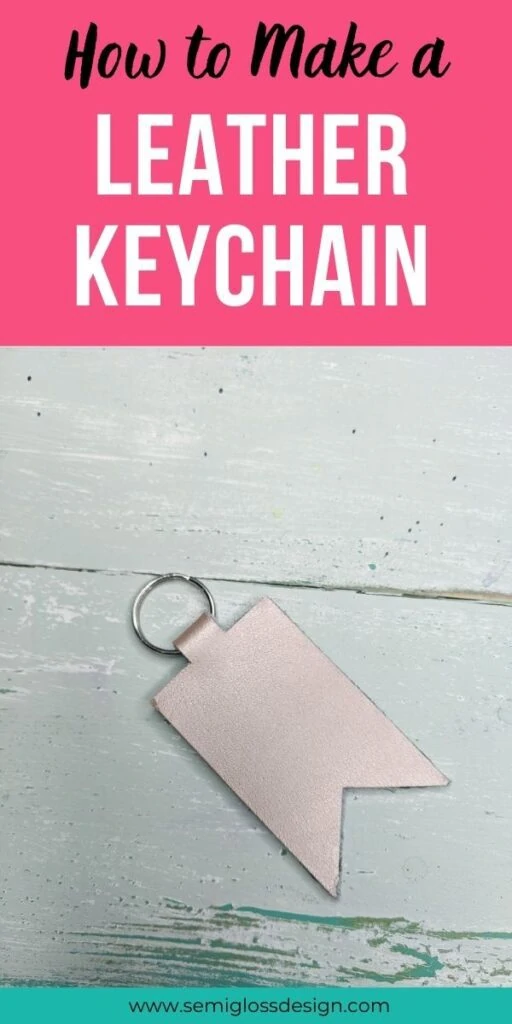
Learn how to make a DIY leather keychain with a Cricut. This easy to make keychain makes a great gift for friends and family!
You might also like this post on how to make leather earrings with a Cricut. That post has a ton of useful information about cutting leather with a Cricut.
This post contains affiliate links. By purchasing an item through an affiliate link, I earn a small commission at no extra cost to you. As an Amazon Associate I earn from qualifying purchases.
Leather Keychain FAQs
Can a Cricut cut leather?
Yes, Cricut machines can cut leather. I used a Cricut Maker, but as long as your machine can use the knife blade, it should work.
Which blade do I need to cut leather with a Cricut?
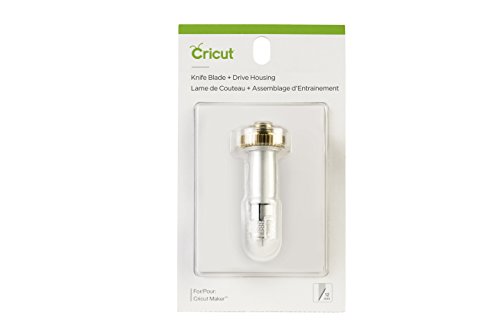
For best results, use the knife blade. Your leather type might ask for a different knife, but change the leather type until you get one with the knife blade. I used the option for tooling leather, 6-7oz.
You really don’t want to use the deep-cut blade. It will break when trying to cut leather.
What kind of glue should I use for leather?
I used my favorite glue, E-6000. Apply the glue to the fuzzy side of the leather, being careful not to let it go outside of the leather. Press the other piece of leather against it and set something heavy on it for a few hours.
DIY Leather Keychain with a Cricut
Supplies Needed:
- Keychain Ring
- Leather (I used metallic rose gold leather.)
- Cutting Machine (I used a Cricut Maker)
- Strong Grip Mat
- Brayer
- Knife Blade
- E-6000 Glue
You can also use faux leather, but the material settings will be different.
If you do use Cricut leather, don’t use the recommended settings. Instead, use the “tooling leather, 6-7oz” setting with the knife blade.
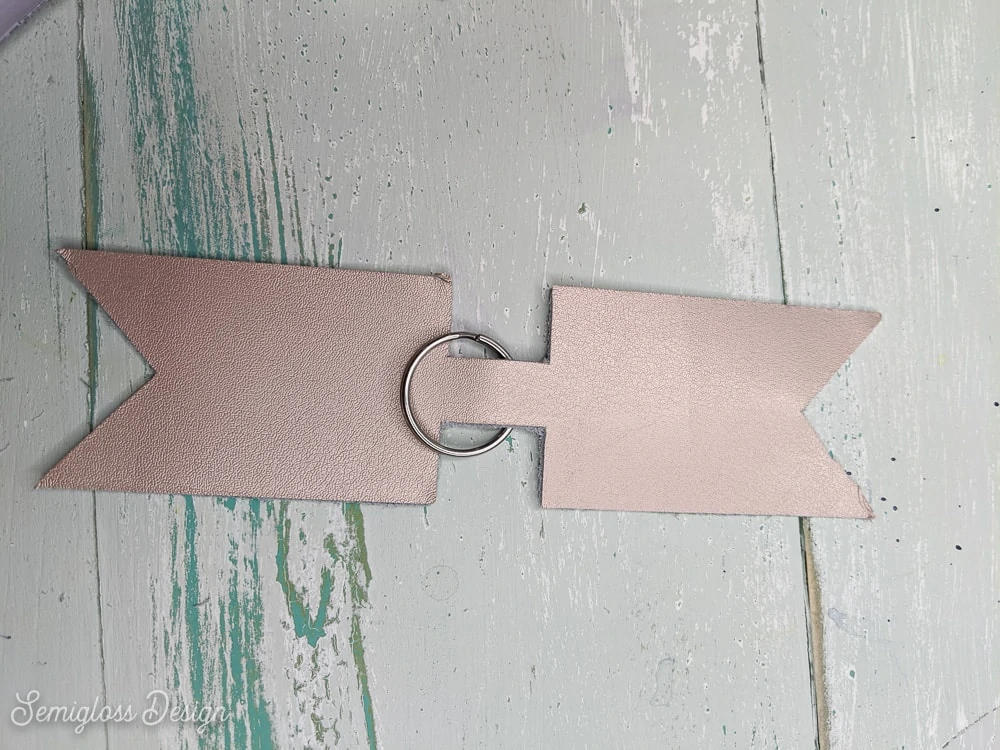
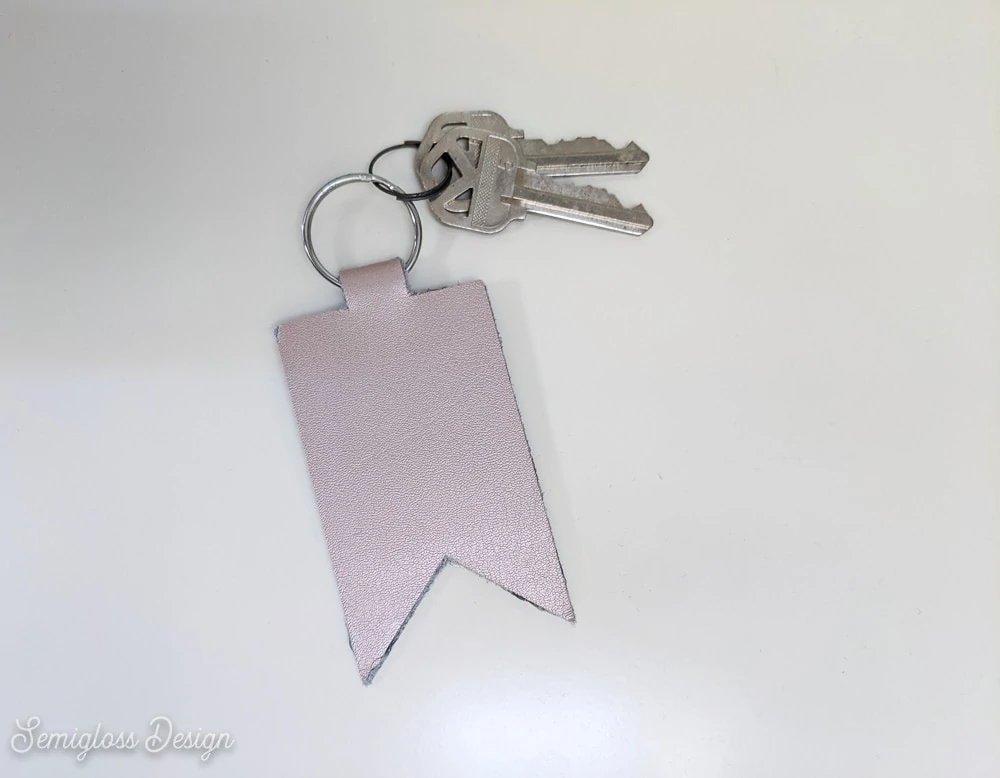
If you design your own leather keychain SVG, be sure that the middle connecting part is long enough. Mine was too short. (I’ve corrected it in the free SVG below.)
Download a Free Leather Keychain SVG
You will receive a zip file containing the following file formats: SVG, PNG, JPG, and DXF. Use SVGs with Cricut and DXF with Silhouette.
All downloads are for personal use only. Please do not redistribute or sell files.
How to Make a DIY Leather Keychain
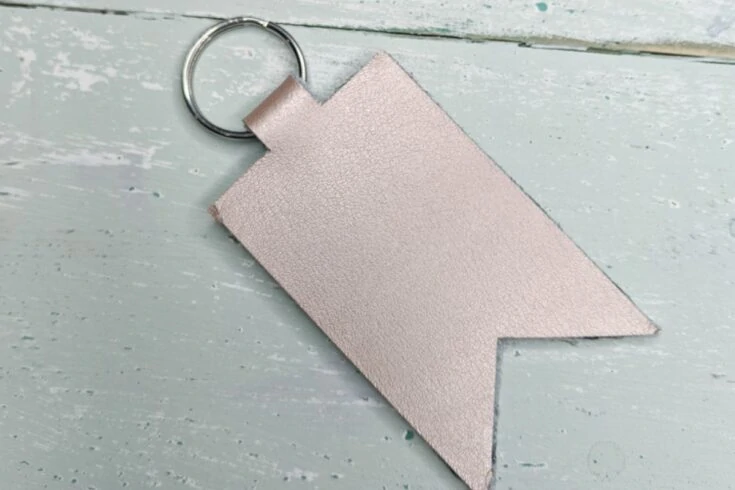
Learn how to make this easy DIY leather keychain using a Cricut. These leather keychains make perfect gifts for friends and family!
Materials
- Leather
- Keyring
- E-6000 glue
Tools
- Cricut Maker
- Strong Grip Mat
- Knife Blade
- Brayer
Instructions
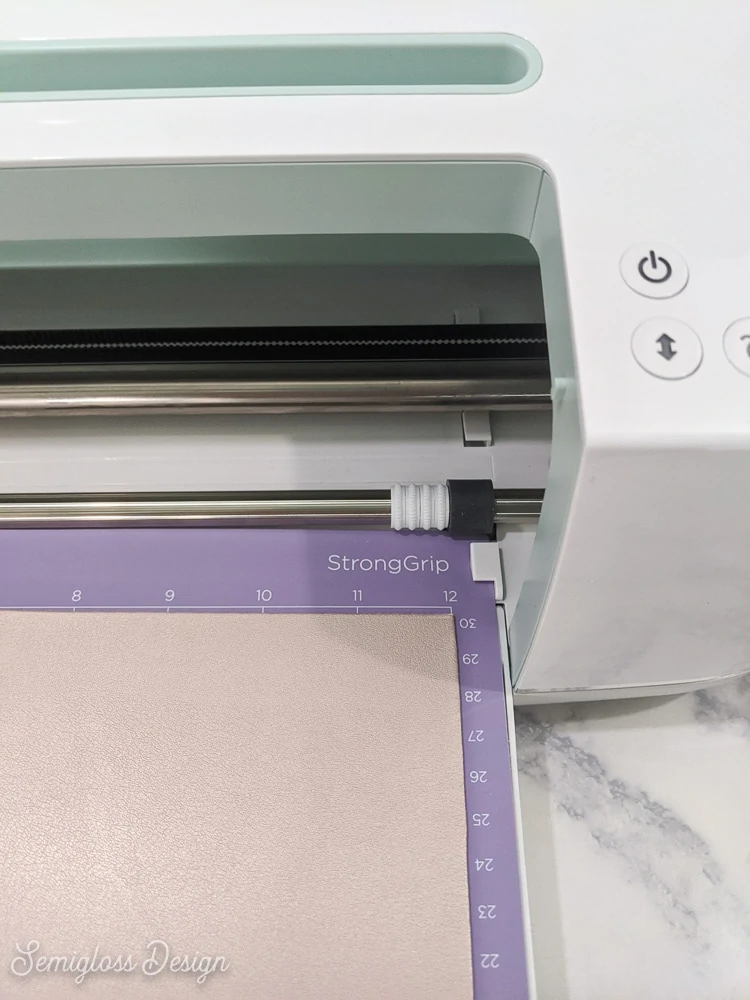
- Place the leather on the strong grip mat with the fuzzy side facing up. Use a brayer if you need to make it lay flat.
- Move the white star wheels to the right side of the machine before loading the mat. (This prevents the wheels from making marks on the leather.)
- Change the blade to the knife blade if necessary. (If you've never used it, it will need to be calibrated with paper first.)
- Load the mat into the machine.
- In the Cricut Design Space, add the SVG. Resize if necessary.
- Choose Make Design.
- Move the design down a bit on the page to help the machine cut the leather easier.
- Choose your material. If you're using leather, the best setting is the "Tooling Leather, 6-7oz."
- Push the Cricut button on the machine and let it cut the leather.
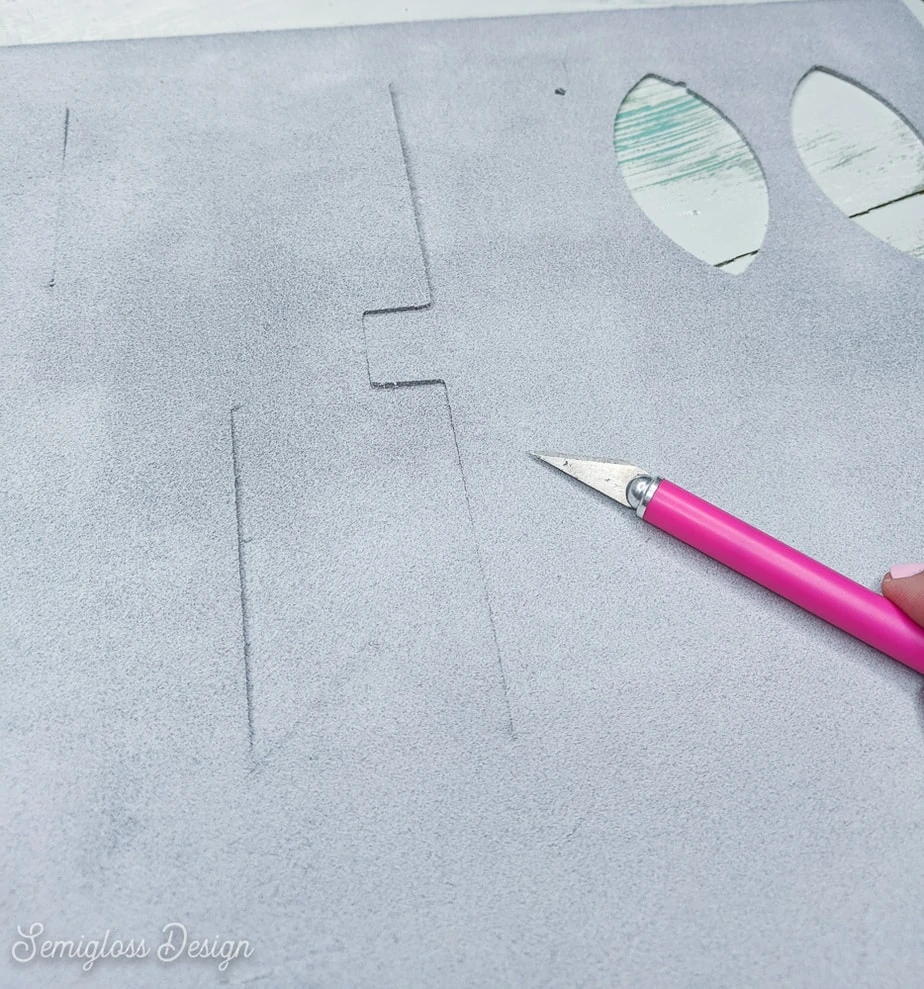
- Make sure that the leather is completely cut before removing the mat. (If not, it might need a few more passes.)
- Weed the leather.
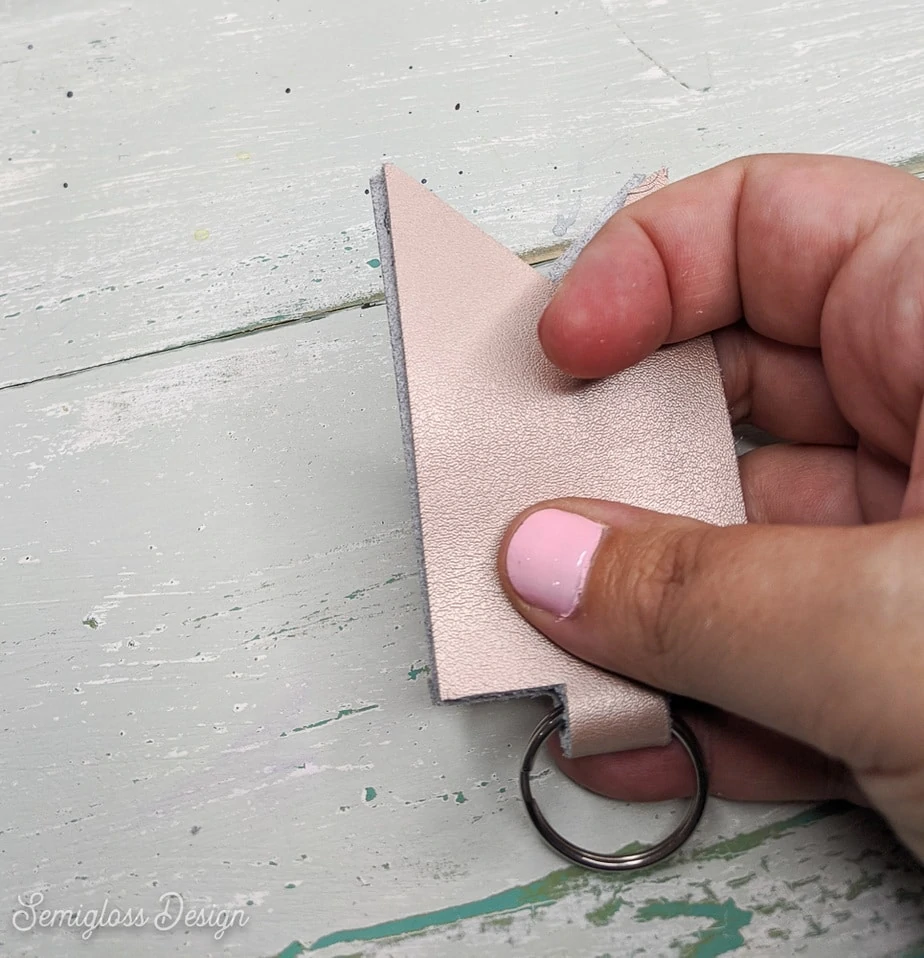
- Insert the keyring in the middle of the leather.
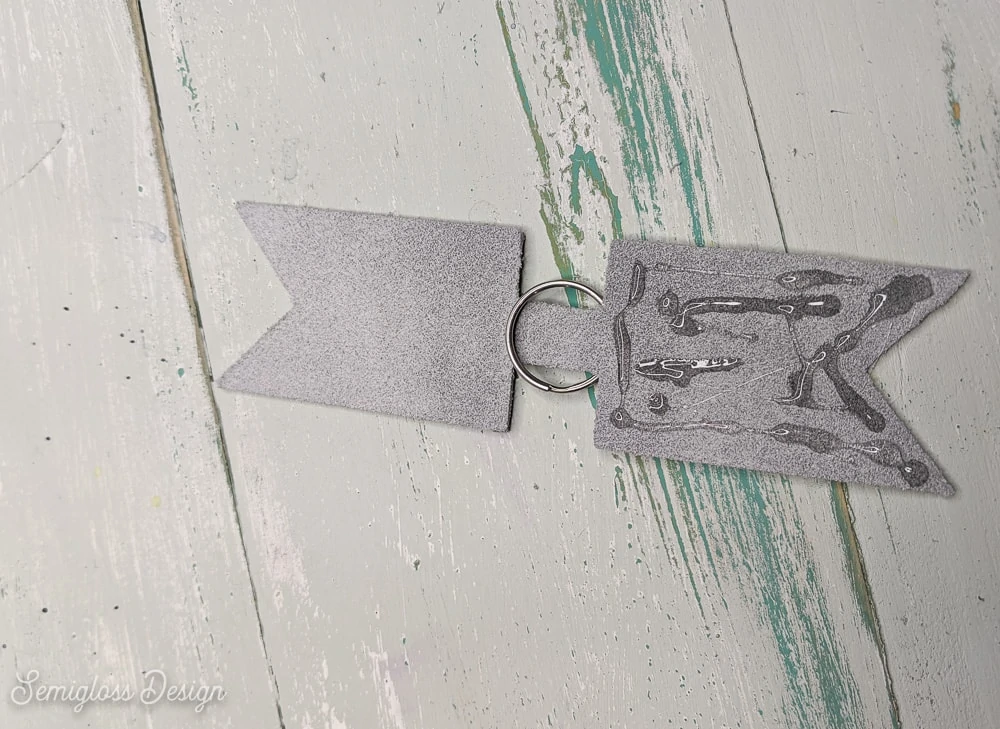
- Use E-6000 and apply glue to one side of the leather (fuzzy side.)
- Press the other side against the glue.
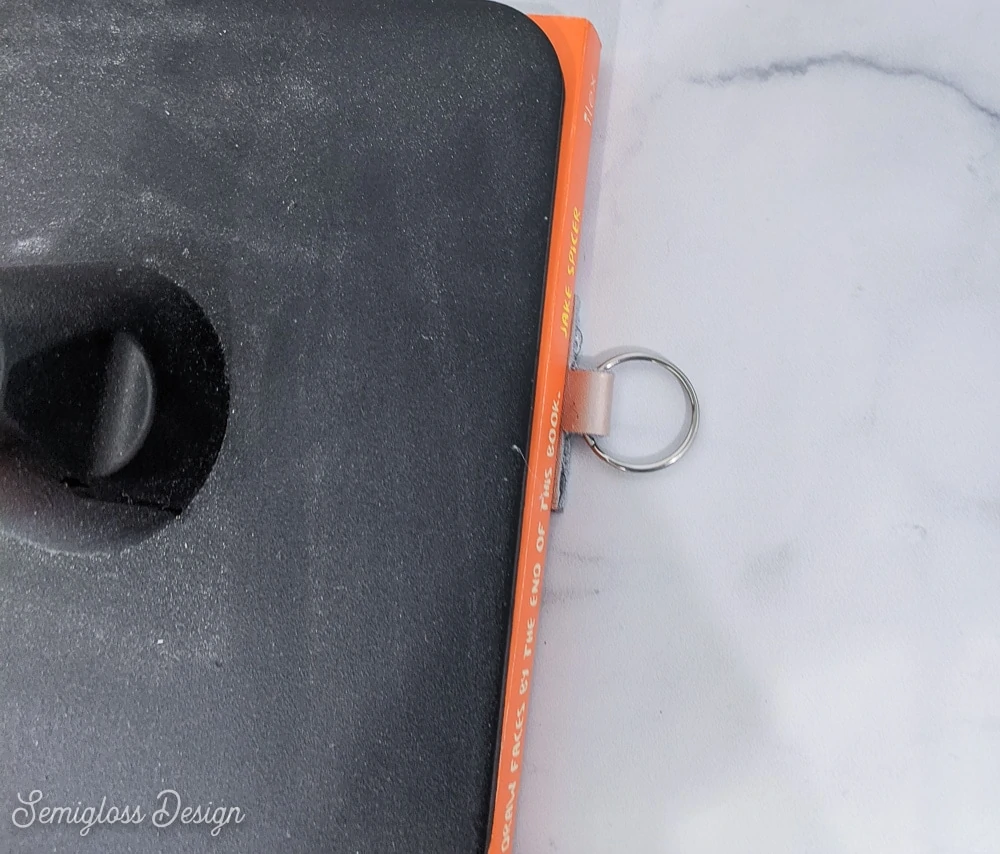
- Place something heavy on top of the keychain and let the glue dry for a few hours.
- Enjoy your leather keychain!
Notes
If the edges of the leather are too fuzzy, you can use scissors to cut the fuzz away.
Recommended Products
As an Amazon Associate and member of other affiliate programs, I earn from qualifying purchases.
You might also like:
Pin for Later!

Emy is a vintage obsessed mama of 2 DIYer who loves sharing affordable solutions for common home problems. You don’t need a giant budget to create a lovely home. Read more…


