How to Use the Cricut Card Mat (Plus What Not to Do!)
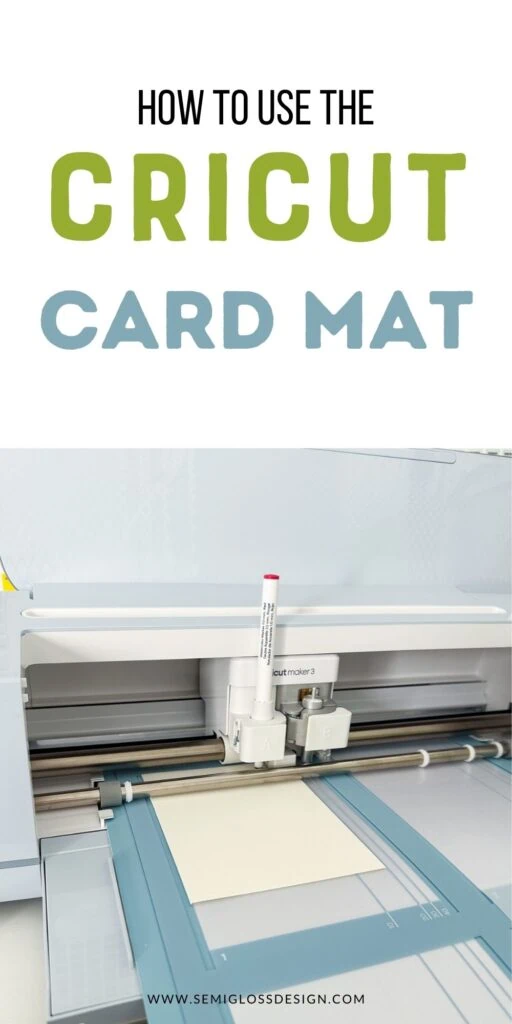
Learn how to use the Cricut card mat, plus get tips for how to make it last longer.
If you love crafting with Cricut, be sure to check out these other Cricut ideas.
This post contains affiliate links. By purchasing an item through an affiliate link, I earn a small commission at no extra cost to you. As an Amazon Associate I earn from qualifying purchases.
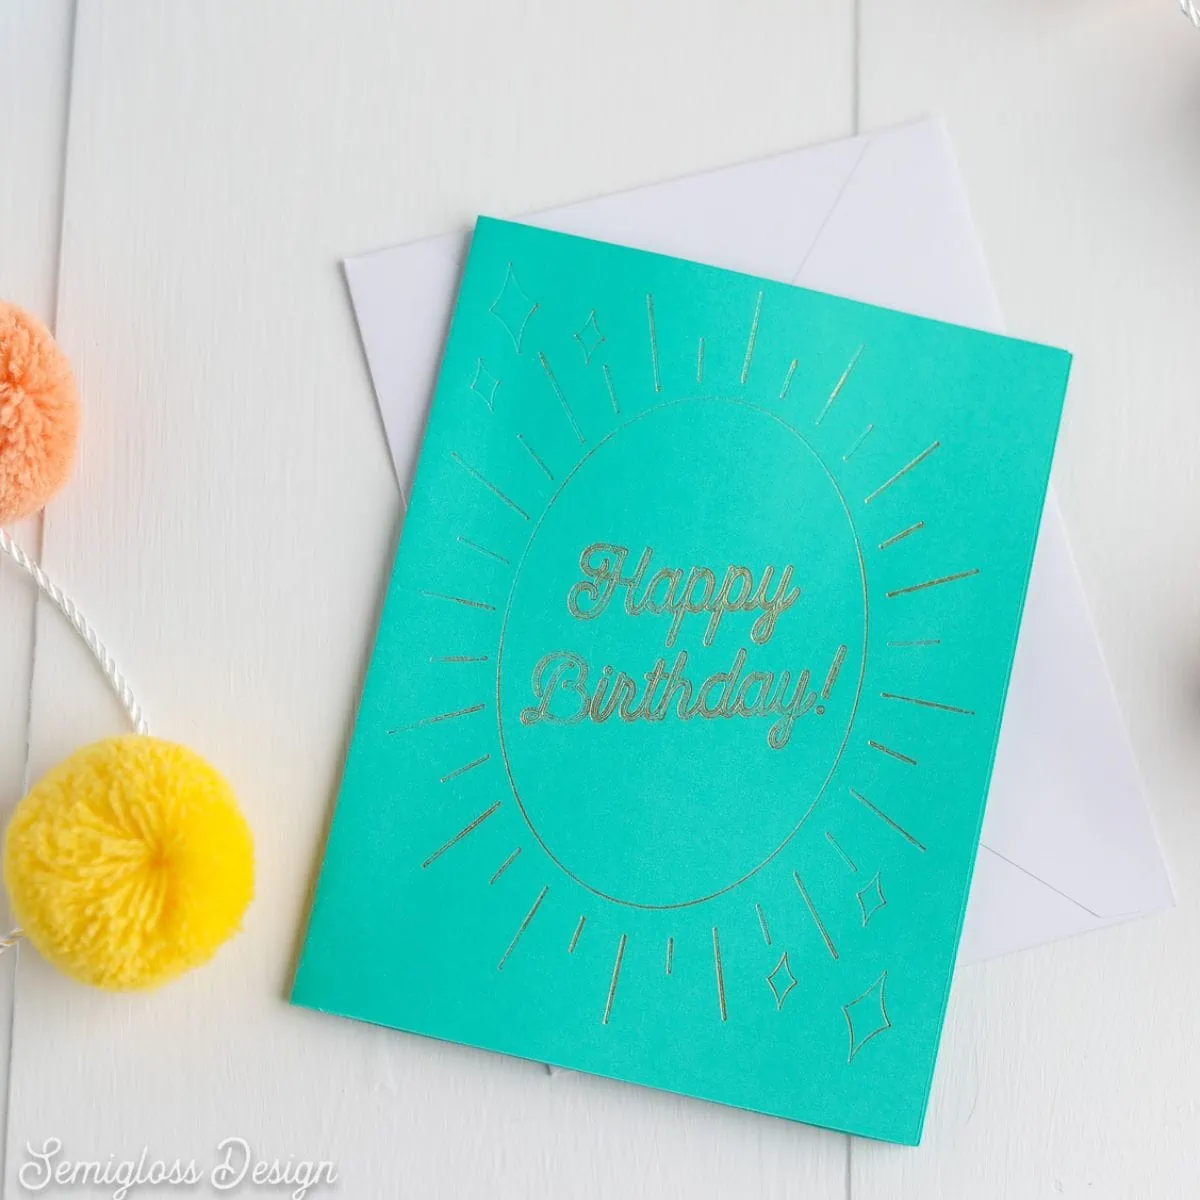
I love making Cricut cards with my Cricut card mat. It makes the process so much easier. I used to struggle with aligning the design perfectly, but the card mat takes away all of the guesswork. Best of all, it’s really affordable!
All About the Cricut Card Mat
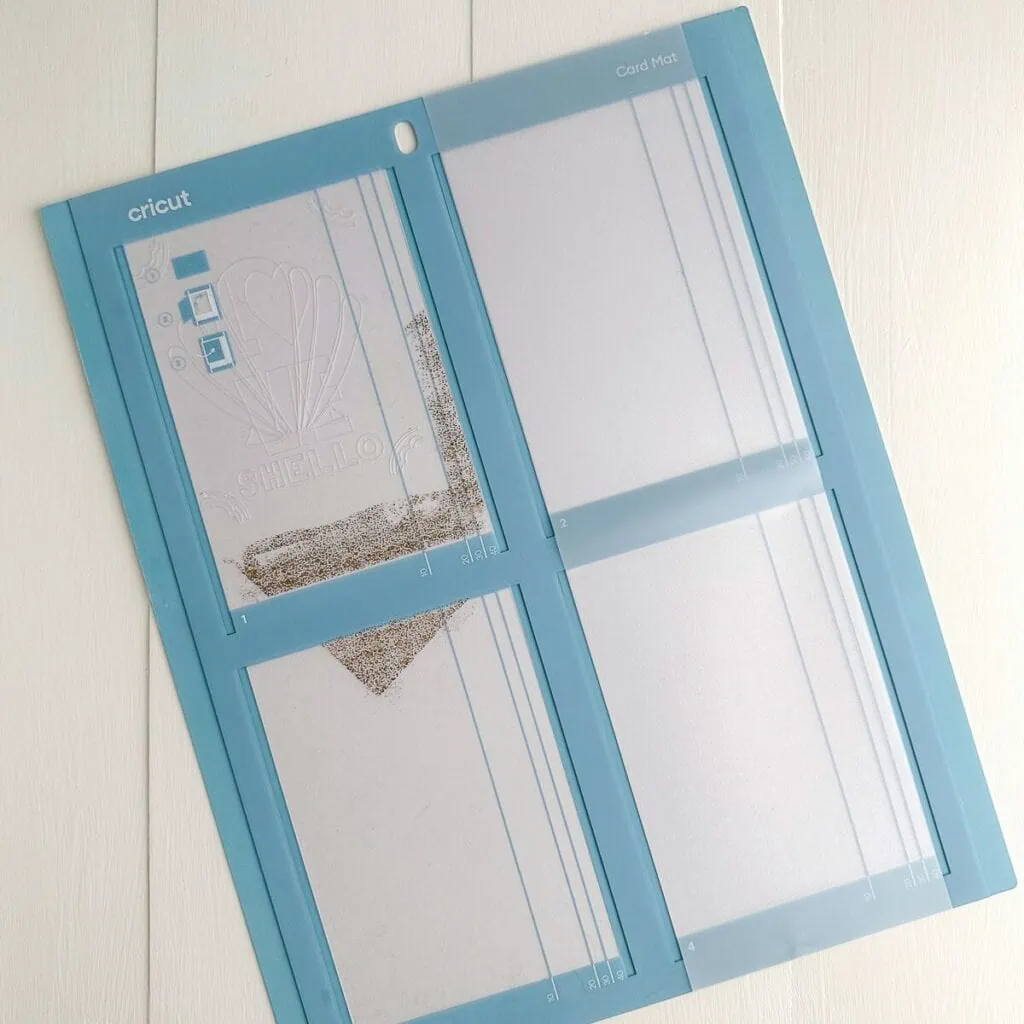
The Cricut card mat is a mat that allows you to make cards with your Cricut easily. It was designed to allow easy cutting for insert cards and cutaway cards, but it can be used for all your card needs.
Mat Sizes
There are two sizes of Cricut card mats. The 2×2 card mat works with Cricut Explore and Cricut Maker machines. It can cut up to 4 cards at once.
The smaller card mat works with Cricut Joy and only cuts one card at a time.
Card Sizes
The card mats work with all pre-made Cricut card sizes. Even though the opening is larger, the largest size you can cut is 4.75″ x 6.6″ because the software will not recognize larger sizes once you choose the card mat.
The premade card sizes are:
- R10 – 3.5″ x 4.9″
- R20 – 4.25″ x 5.5″ (A2)
- R30 – 4.5″ x 6.25″ (A6)
- R40 – 4.75″ x 6.6″
- S40 – 4.75″ x 4.75″
Some packages are labeled with the codes, and some are not.
How to Use the Cricut Card Mat
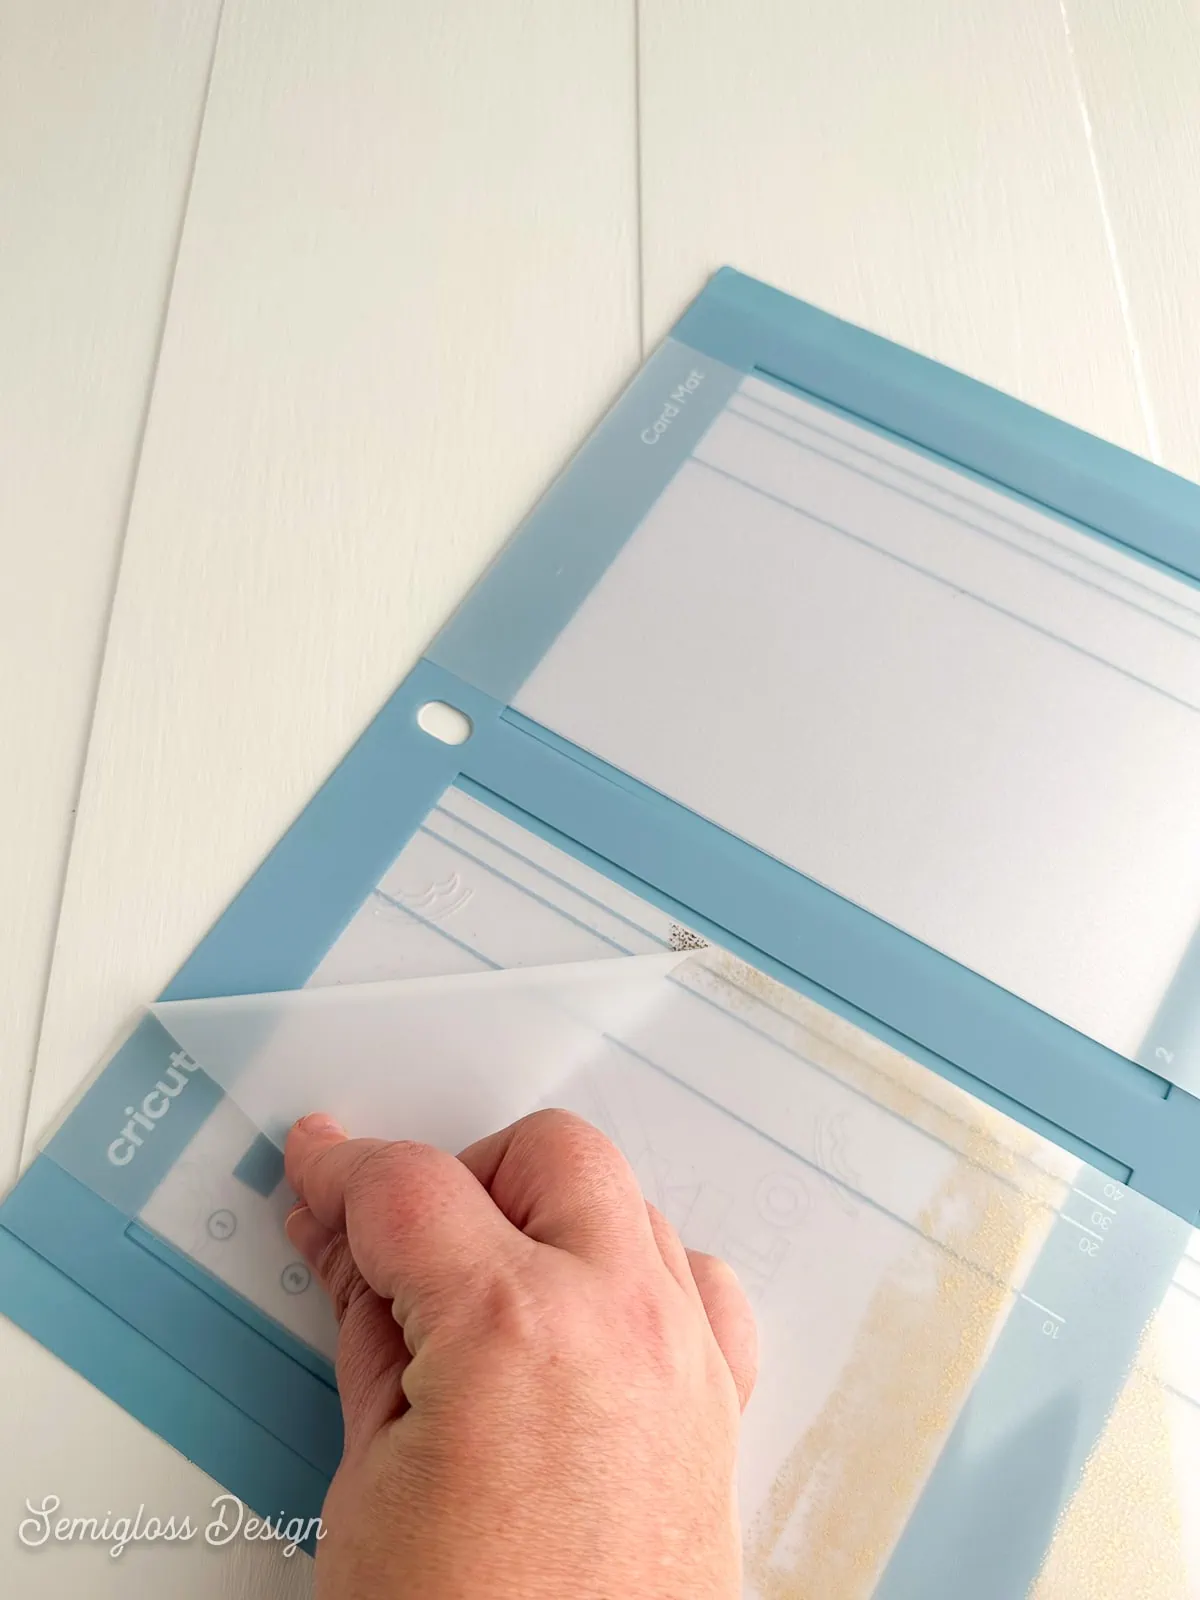
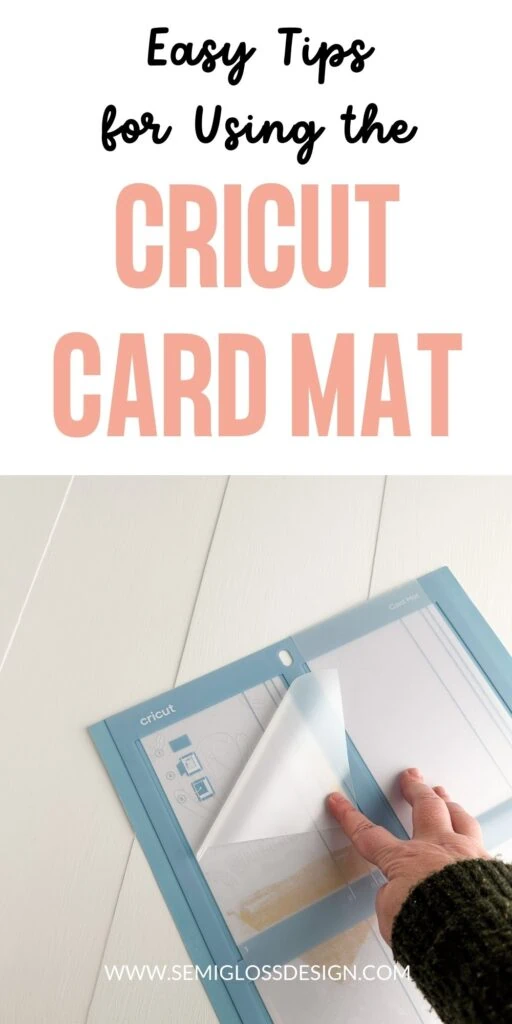
- Remove the plastic protective sheet.
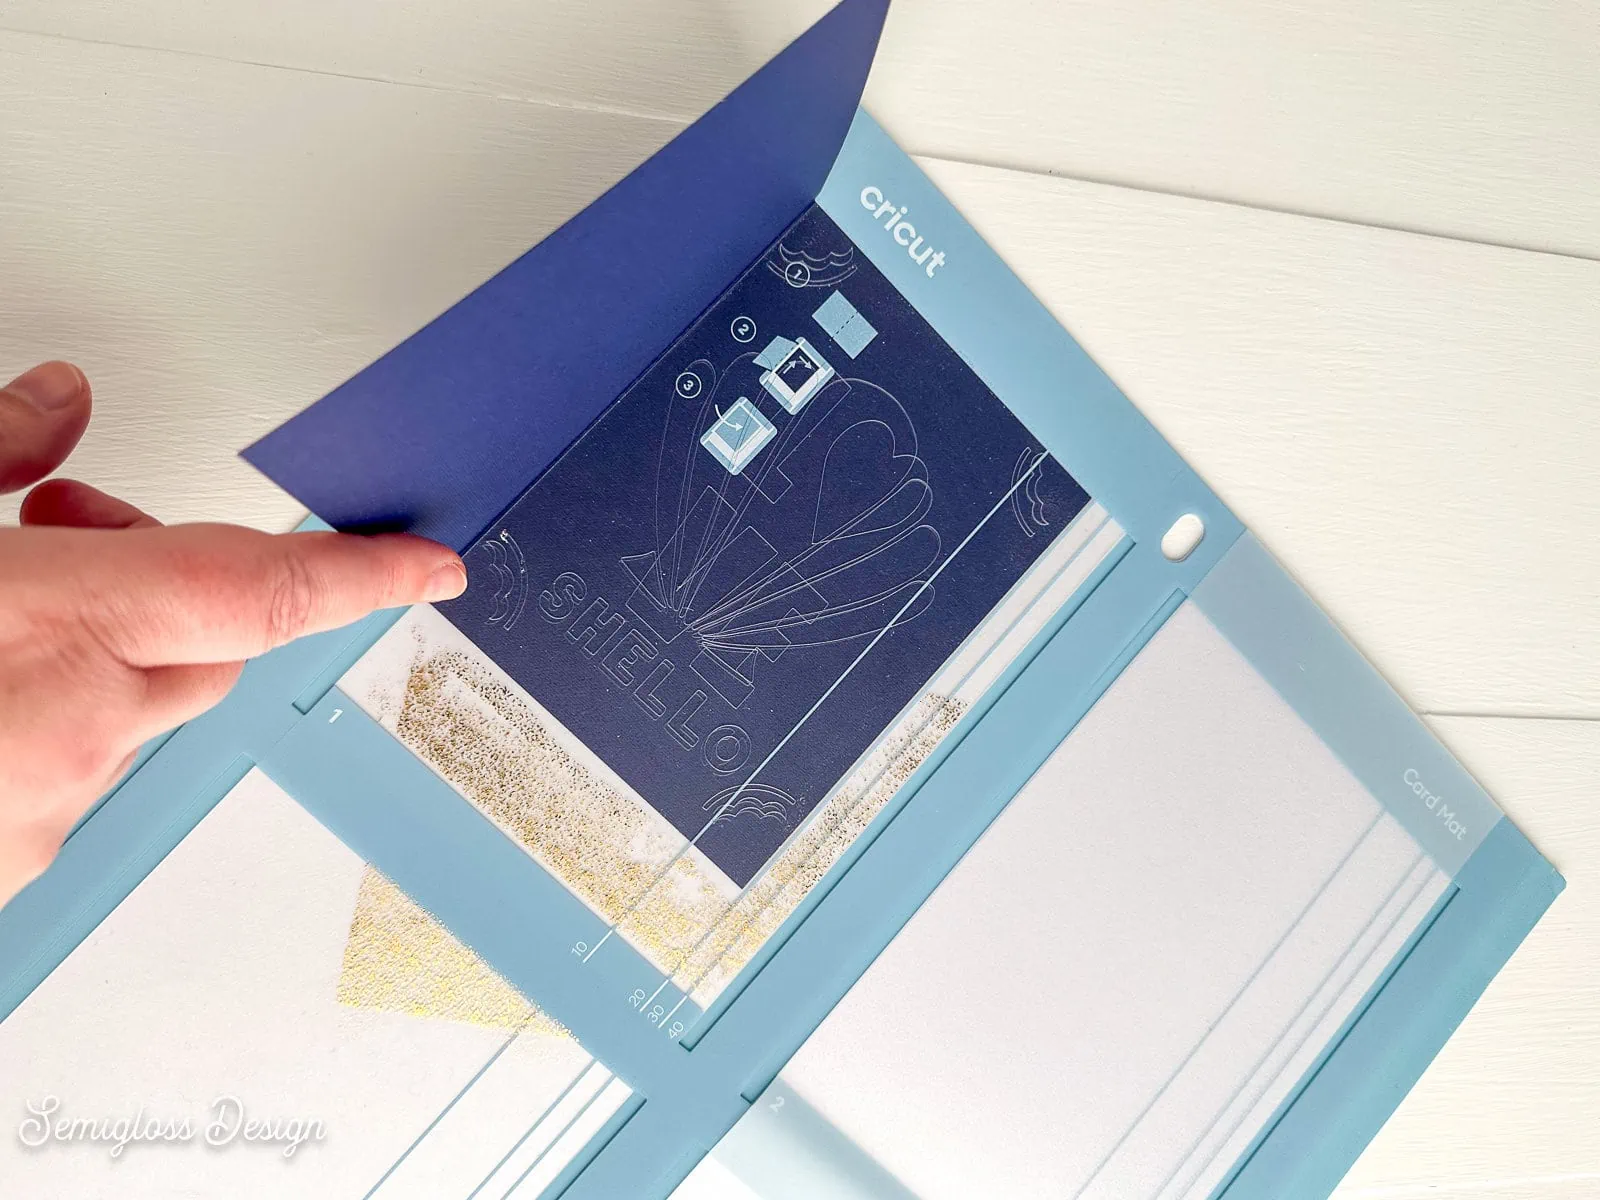
- Insert the card into the top left slot.
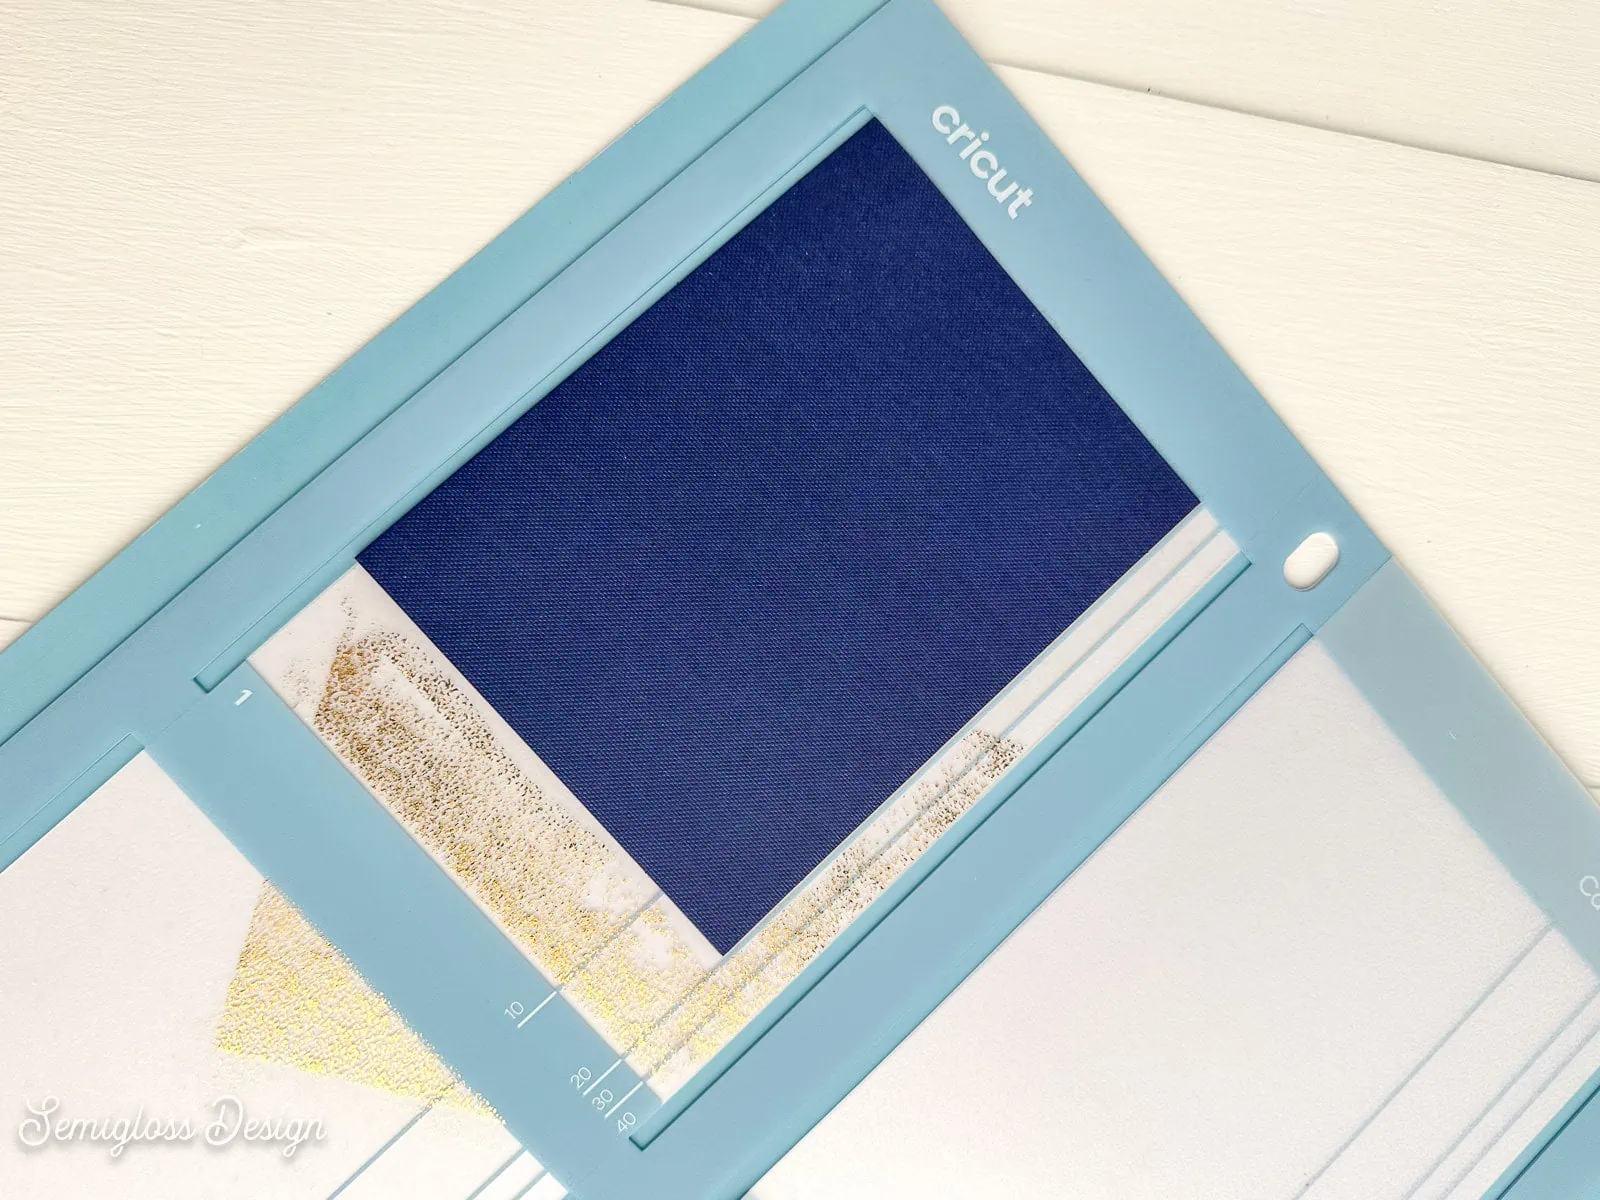
- Slide it to the top and over as far as it can go. Make sure that it aligns with the corresponding size.
- Close the card. (If your mat is losing stickiness, use a piece of washi tape to hold it shut.
- Move the star wheels over to the side to avoid making marks on your card.
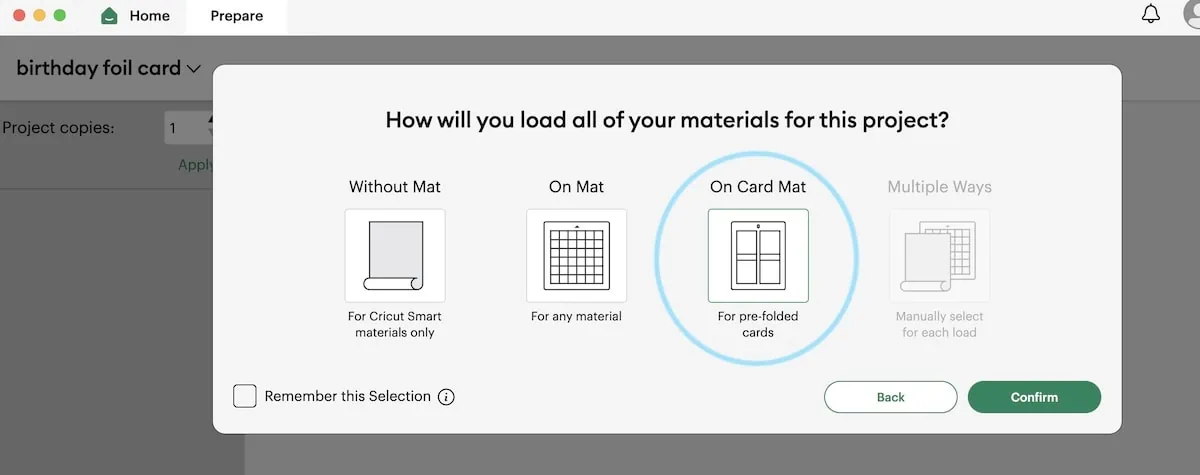
- Choose the card mat from the dialog when your design is ready to cut.
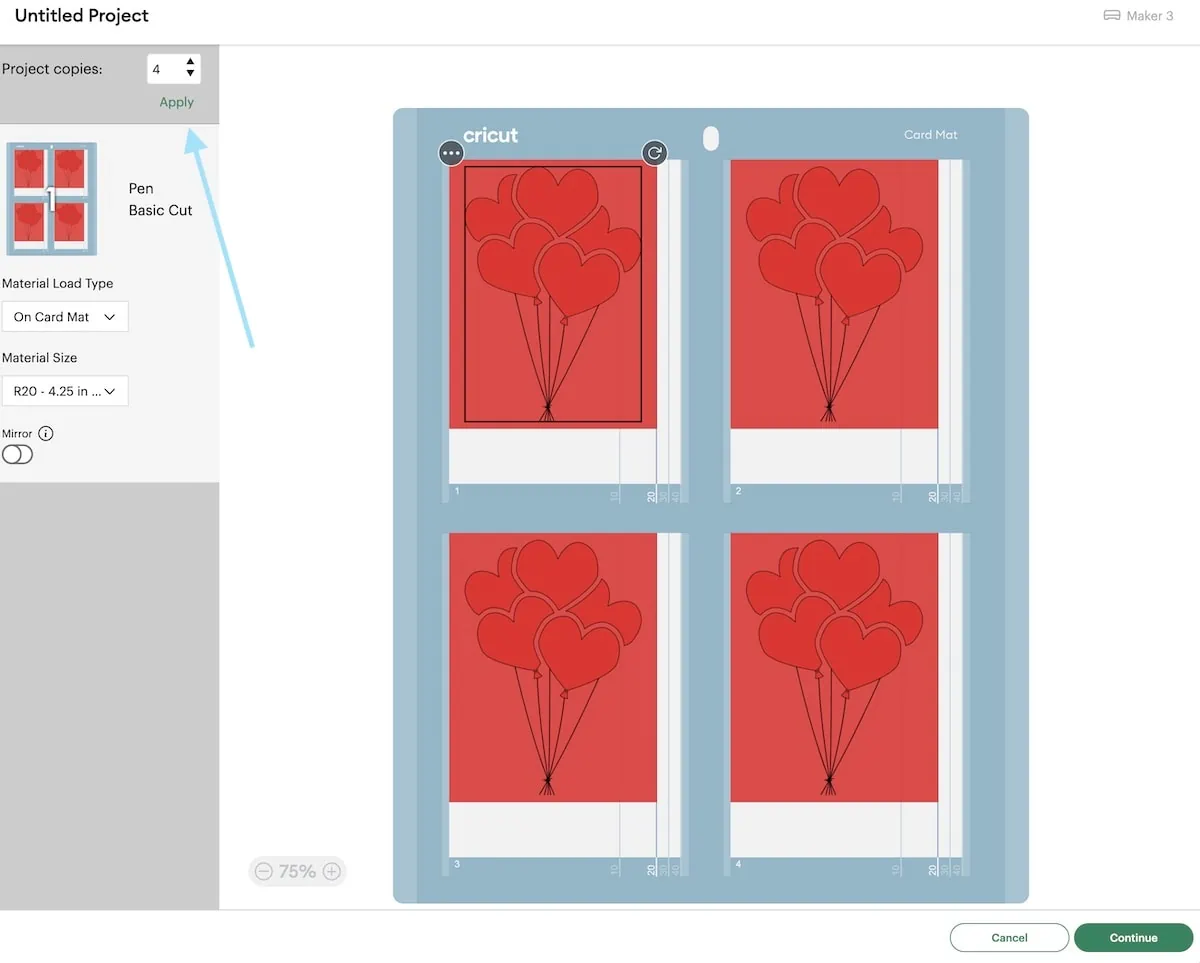
- Select the number of cards you make on the mat settings page and click Apply.
- On the materials page, select the card type you are using. If you made your own card, choose cardstock.
- Load the mat and cut as usual.
- When the cut is finished, unload the mat.
- Carefully remove the card from the mat.
- If the card curls, gently curl it in the opposite direction. You can also place it under something heavy to make it flat again.
- Weed any excess paper away with the scraper.
- Create your card as usual.
What Not to Do (How to Make Your Mat Last Longer
My card mat is looking a little worse for wear, so here’s how to keep yours looking nice.
- If you’re using foil, cut it to size to fit the card. If it touches the sticky part of the mat, you will have a gold foil mat – Fancy! (Which also makes it not sticky.) Ask me how I know…
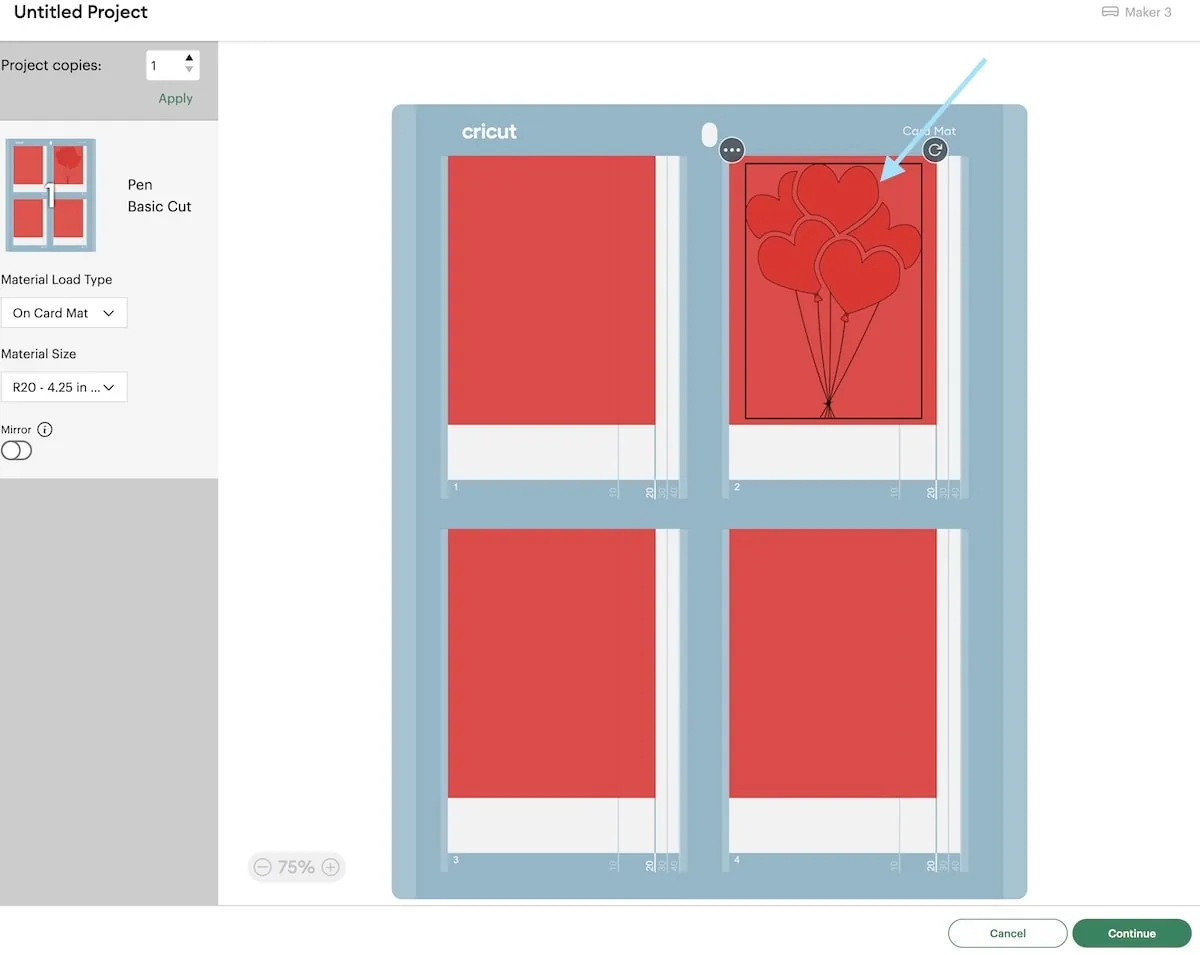
- If the first card slot gets worn out, move the design to a different card slot on the mat settings page. (Most people make one design at a time, so the first one gets worn out the fastest.)
- Use washi tape or painter’s tape to keep your card in place if the mat loses stickiness. These tapes are gentle and won’t rip up the paper.
- Always replace the protector sheet to keep it clean and dust-free.
- If your card mat gets dirty, try cleaning it with a baby wipe.
- If you make a lot of cards, keep an eye out for deals. Cricut Access often has deals on multiples. I recently had to buy another standard grip mat and was shocked that they sold them for cheap in packs of 30. Sometimes, the card mat is also listed.
- Don’t touch the sticky part too much. Oils from the skin can make the adhesive break down.
- Other people say that the card lasts for about 20 cards. I’m closing in on that, and my mat is still sticky, so mileage may vary.
Other Cricut Card Posts
- Everything to Know About Cricut Cards
- Watercolor Marker Birthday Card
- Cricut Insert Cards
- Cricut Foil Transfer Cards
Pin for Later!

Emy is a vintage obsessed mama of 2 DIYer who loves sharing affordable solutions for common home problems. You don’t need a giant budget to create a lovely home. Read more…


