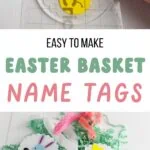
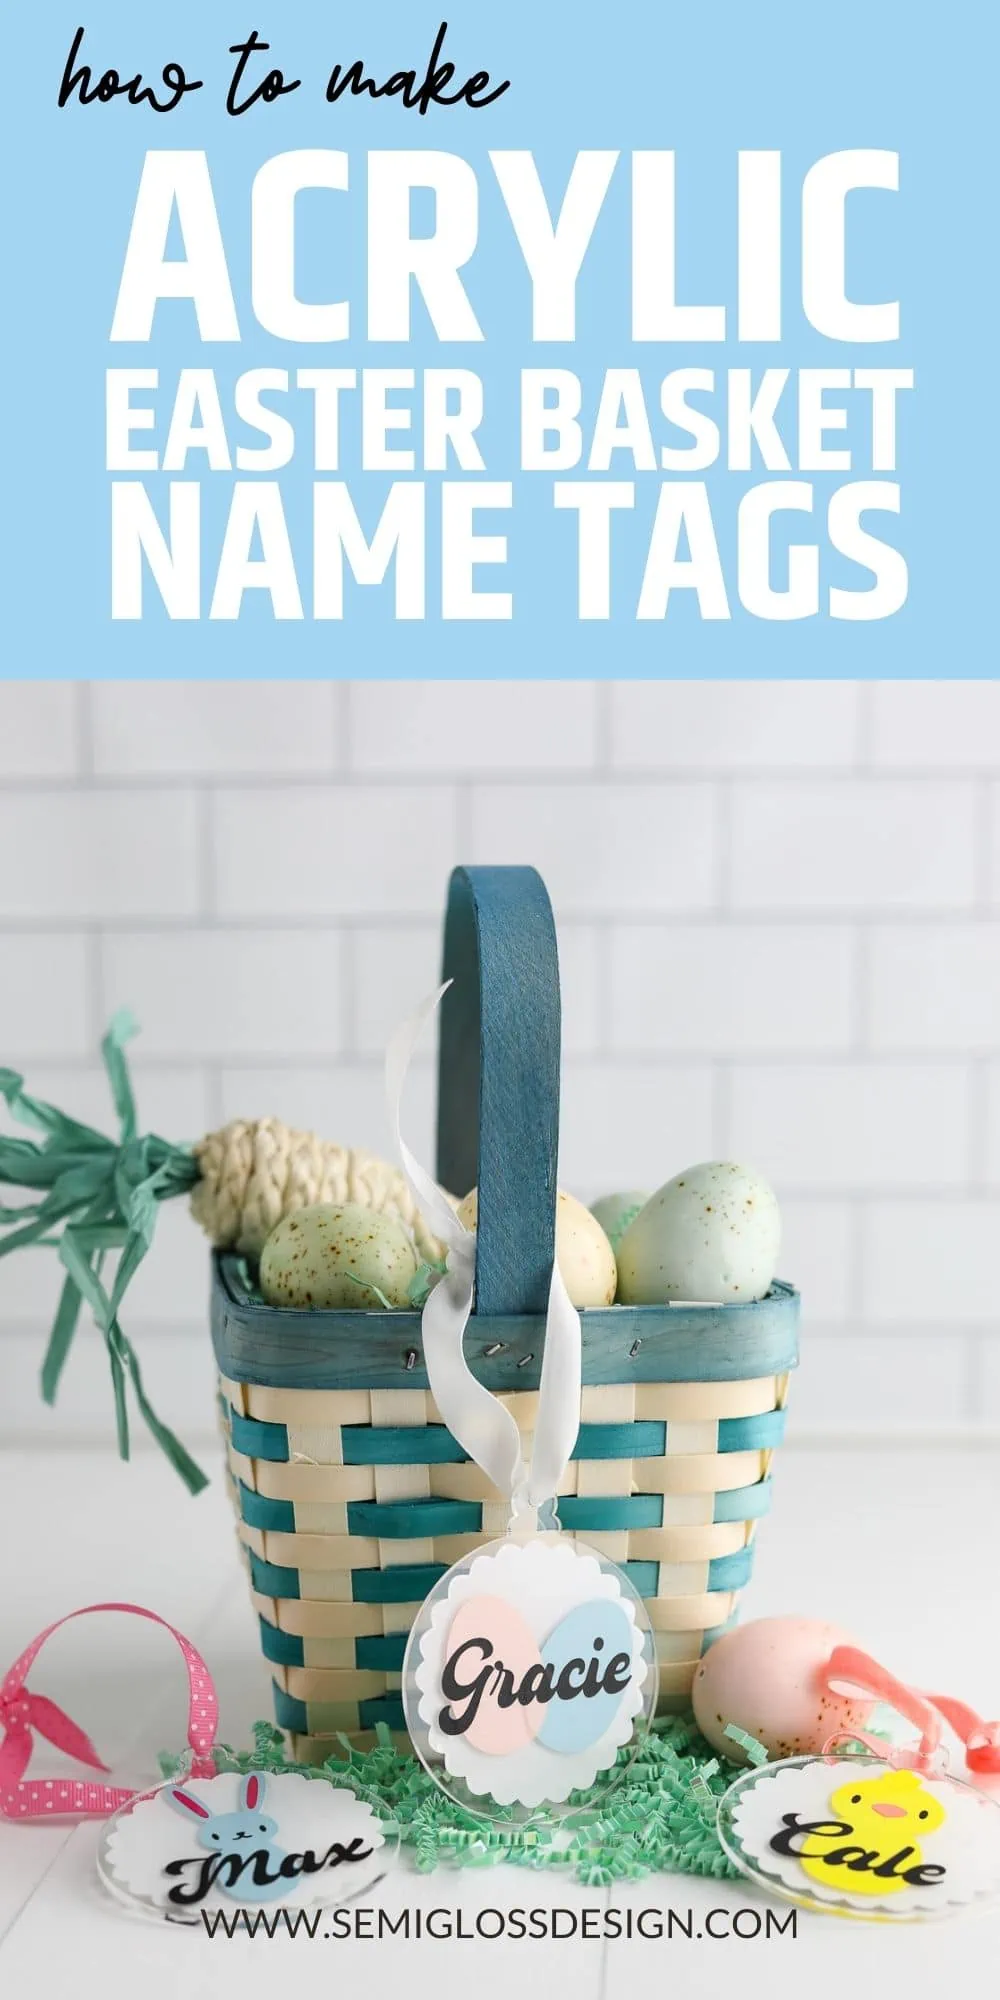
Make Your Own DIY Easter Basket Name Tags
Use your Cricut to make DIY Easter basket name tags. These cute name tags are easy to make with acrylic blanks and vinyl.
Be sure to check out all of my other Cricut projects and tutorials.
This post contains affiliate links. By purchasing an item through an affiliate link, I earn a small commission at no extra cost to you. As an Amazon Associate I earn from qualifying purchases.
Easter baskets are so much fun to put together. If you have more than one kid, though, Easter morning can get confusing.
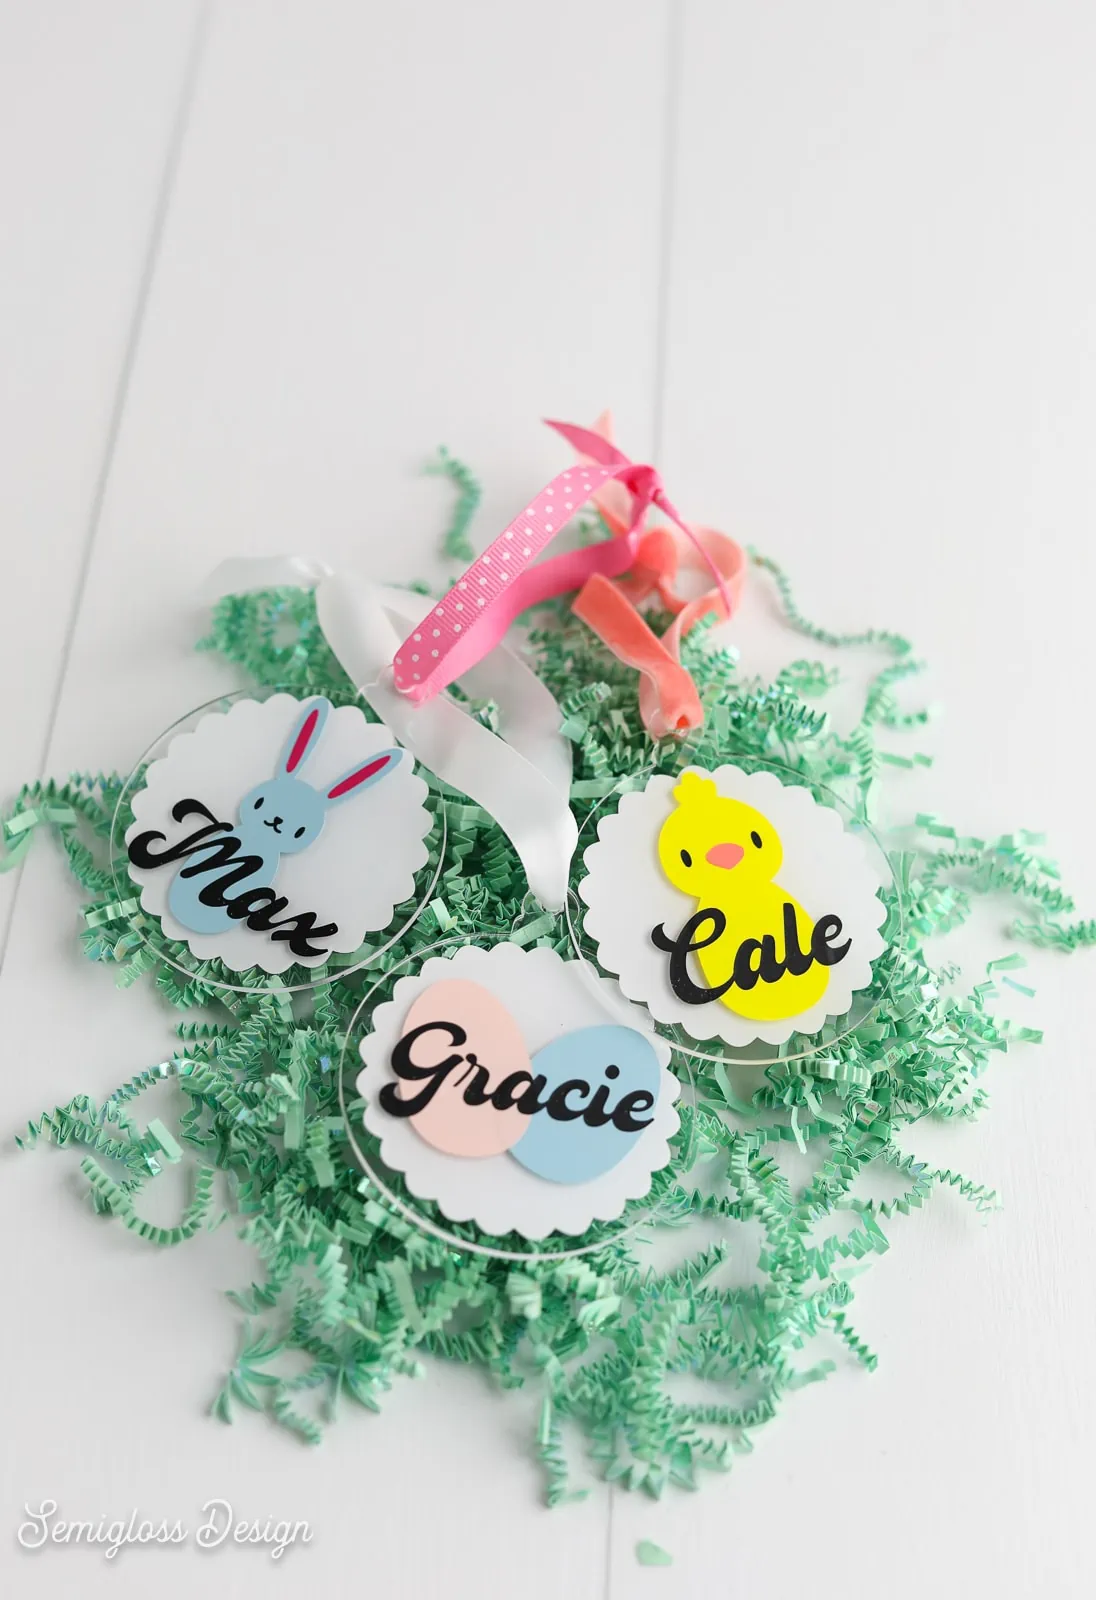
Why not label the baskets with DIY name tags? No more guessing whose Easter basket is with these cute Easter basket name tags.
It’s really easy to make several name tags at once. Choose different colors of vinyl and ribbon to customize the look.
DIY Easter Basket Name Tags
Supplies Needed:
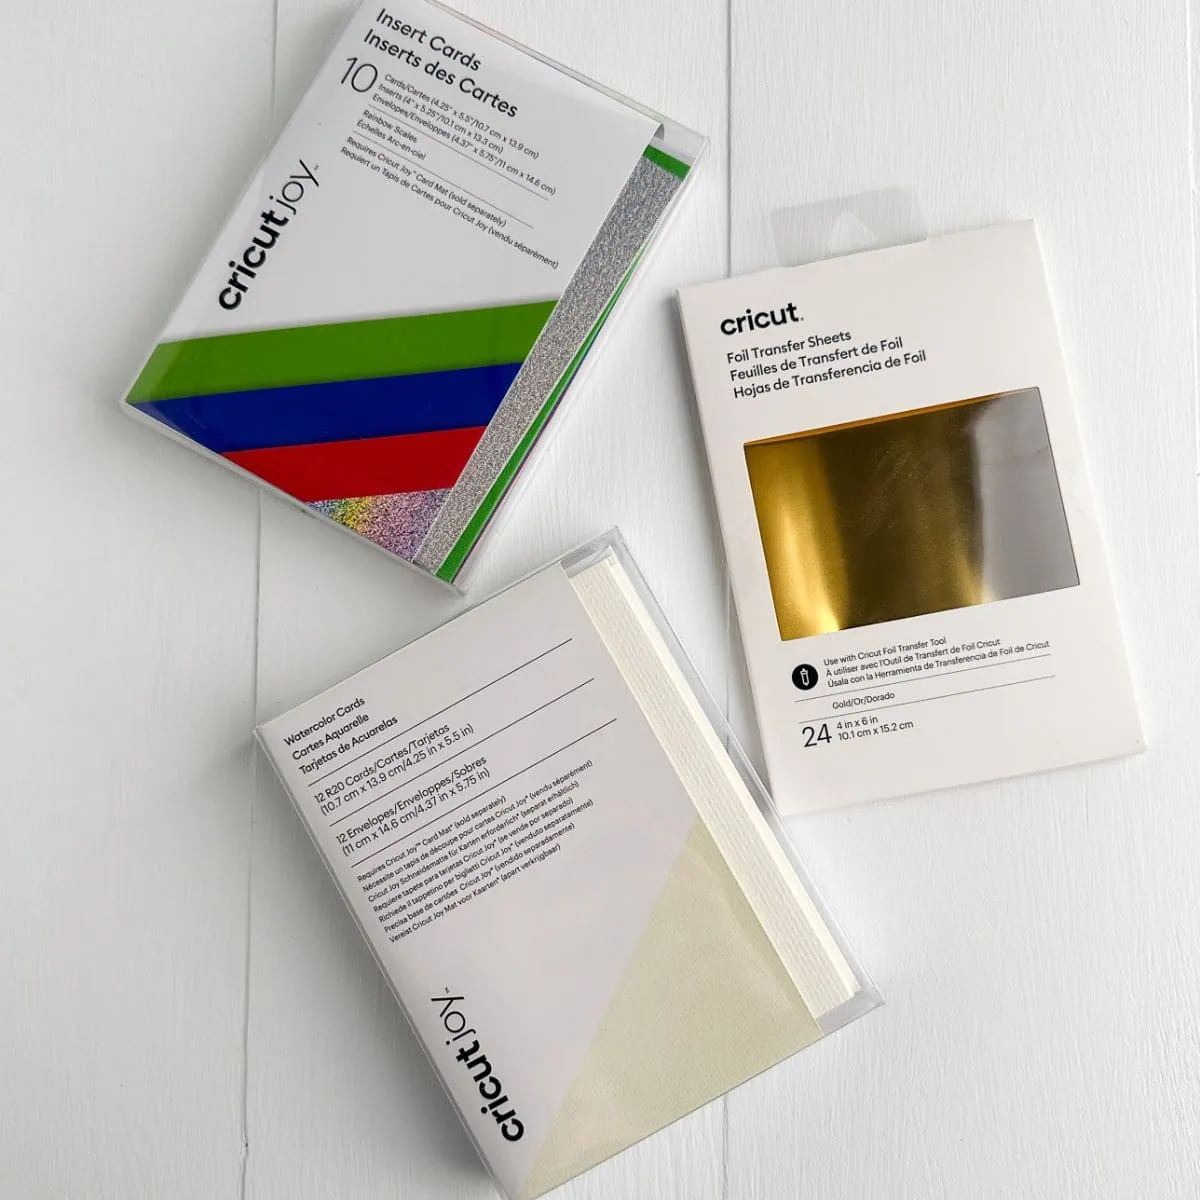
- Cricut (I used my Cricut Maker 3)
- Vinyl
- Transfer Tape
- Weeding Tools
- Acrylic Ornament Blanks
- Ribbon
- SVGs (Download the cut files at the end of this post)
I used ornament blanks because I already had them from when I made acrylic ornaments for Christmas, but you can use plain circles or other shapes as well. Just make sure that you resize the SVG as needed.
Working in Cricut Design Space
- Upload the design as usual.
- Change the colors or resize them if needed.
- Add text for the names. I created these name tags using Analog Script from Cricut. If you don’t have a Cricut Access subscription, you can use whatever fonts are installed on your computer.
- Resize the names to fit.
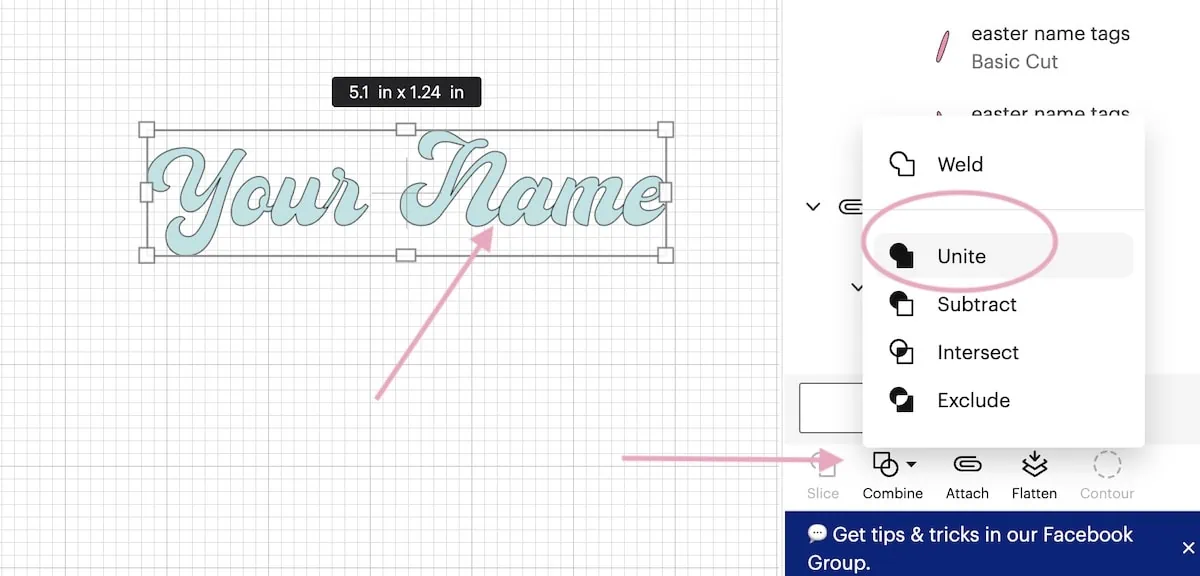
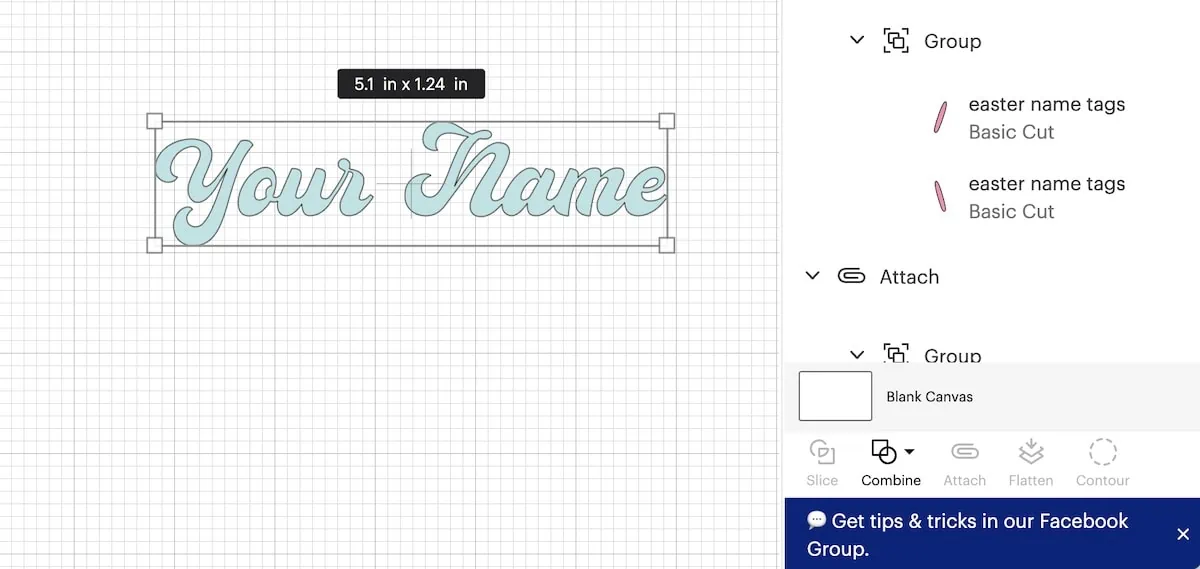
- Use “Combine > unite” on the letters to create a solid shape. Without this, each letter is an individual cut.


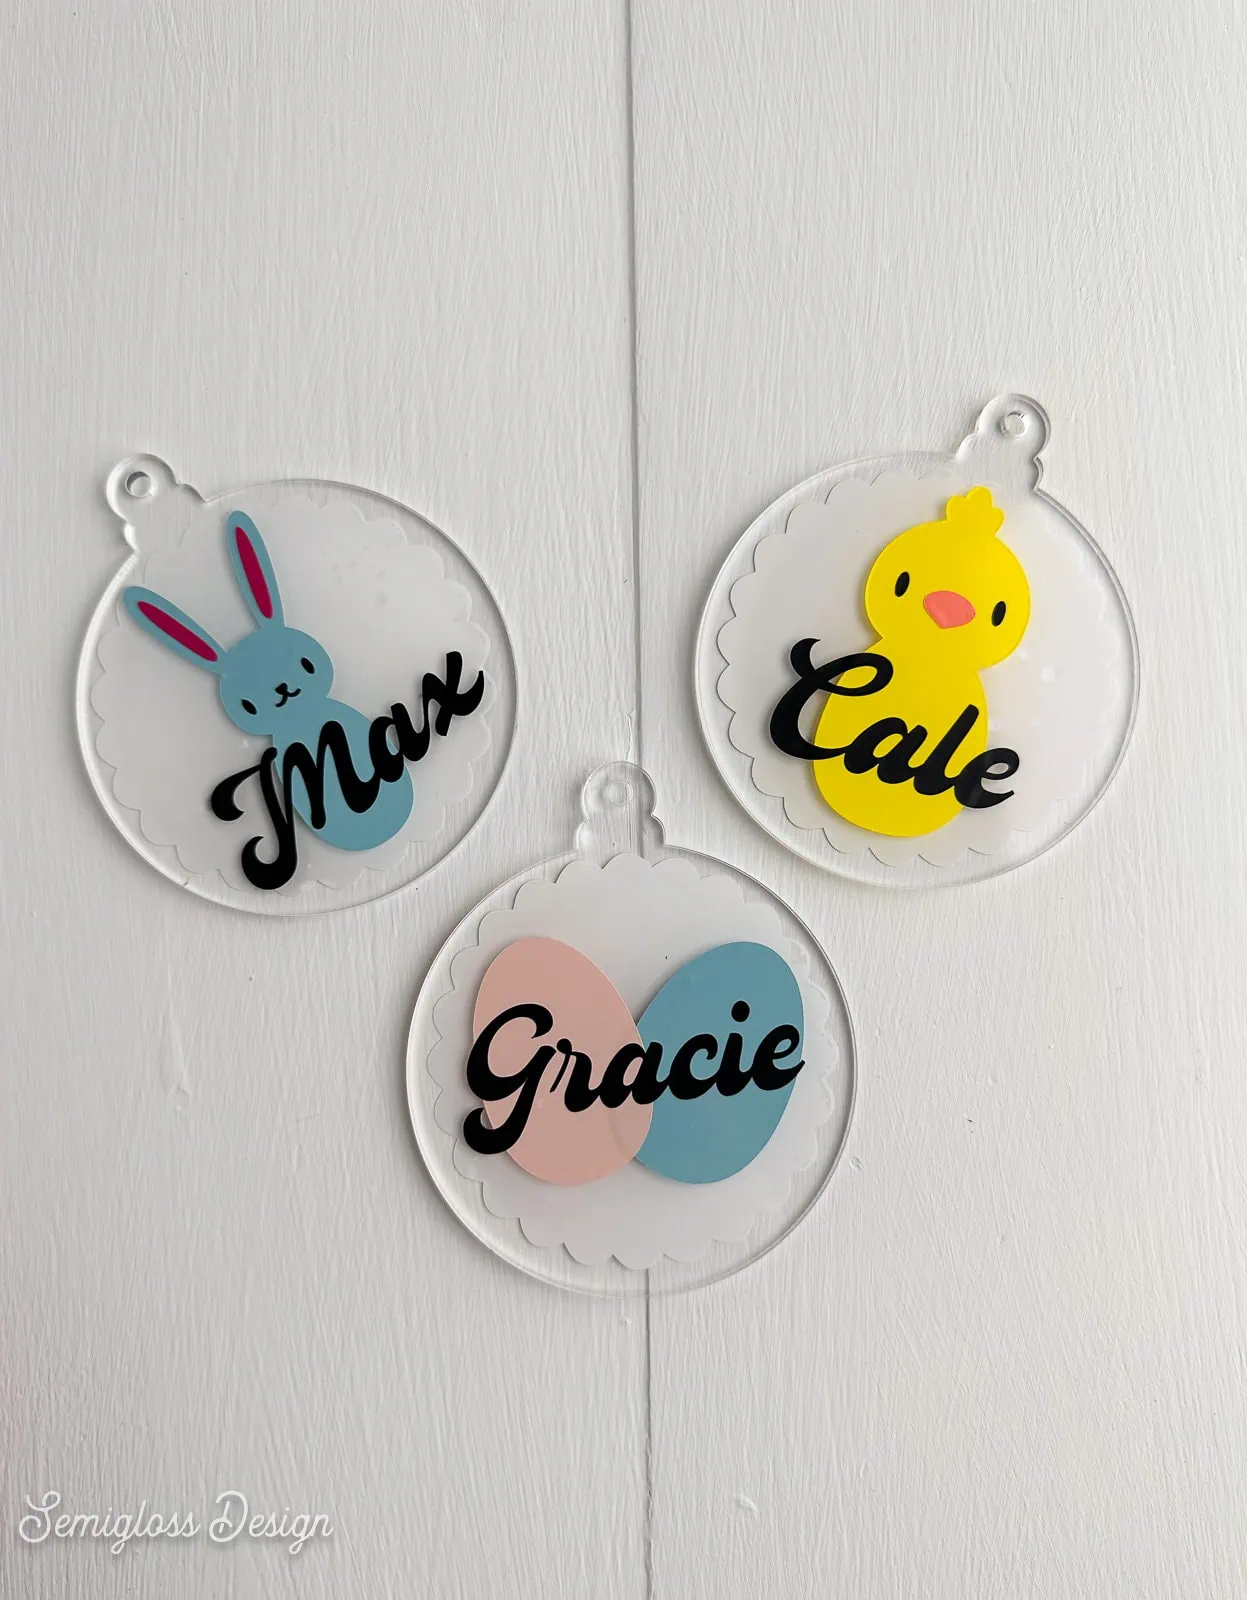
- If needed, attach the letters. The animal face elements will also need to be attached. Attach each color separately (the pink bunny ears are separate from the black eyes and nose.) You may need to ungroup for this to work.
- Click Make it when you’re ready.
- Every color must be loaded onto the mat separately. Cricut Design Space will walk you through which color to load next.
Assembling the Name Tags
- Weed the vinyl as usual.
- Remove the protective plastic from both sides of the ornament blanks.
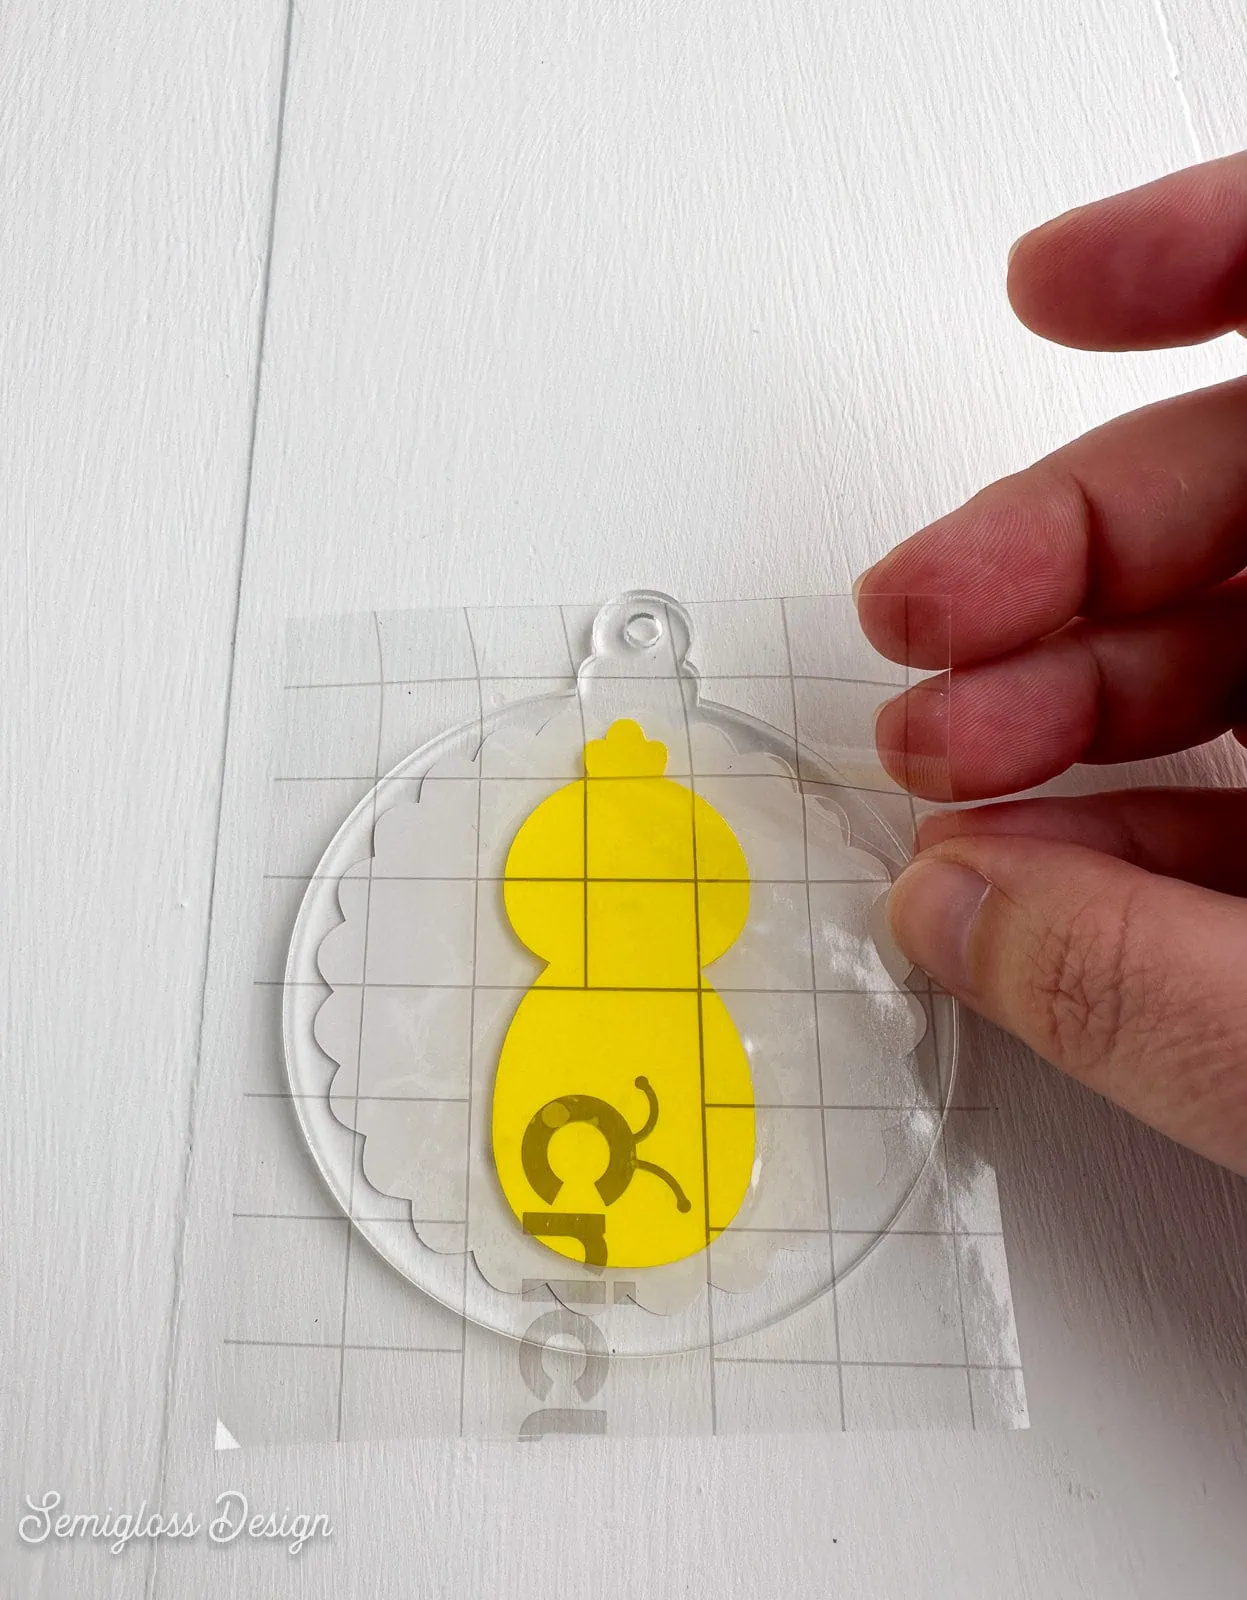
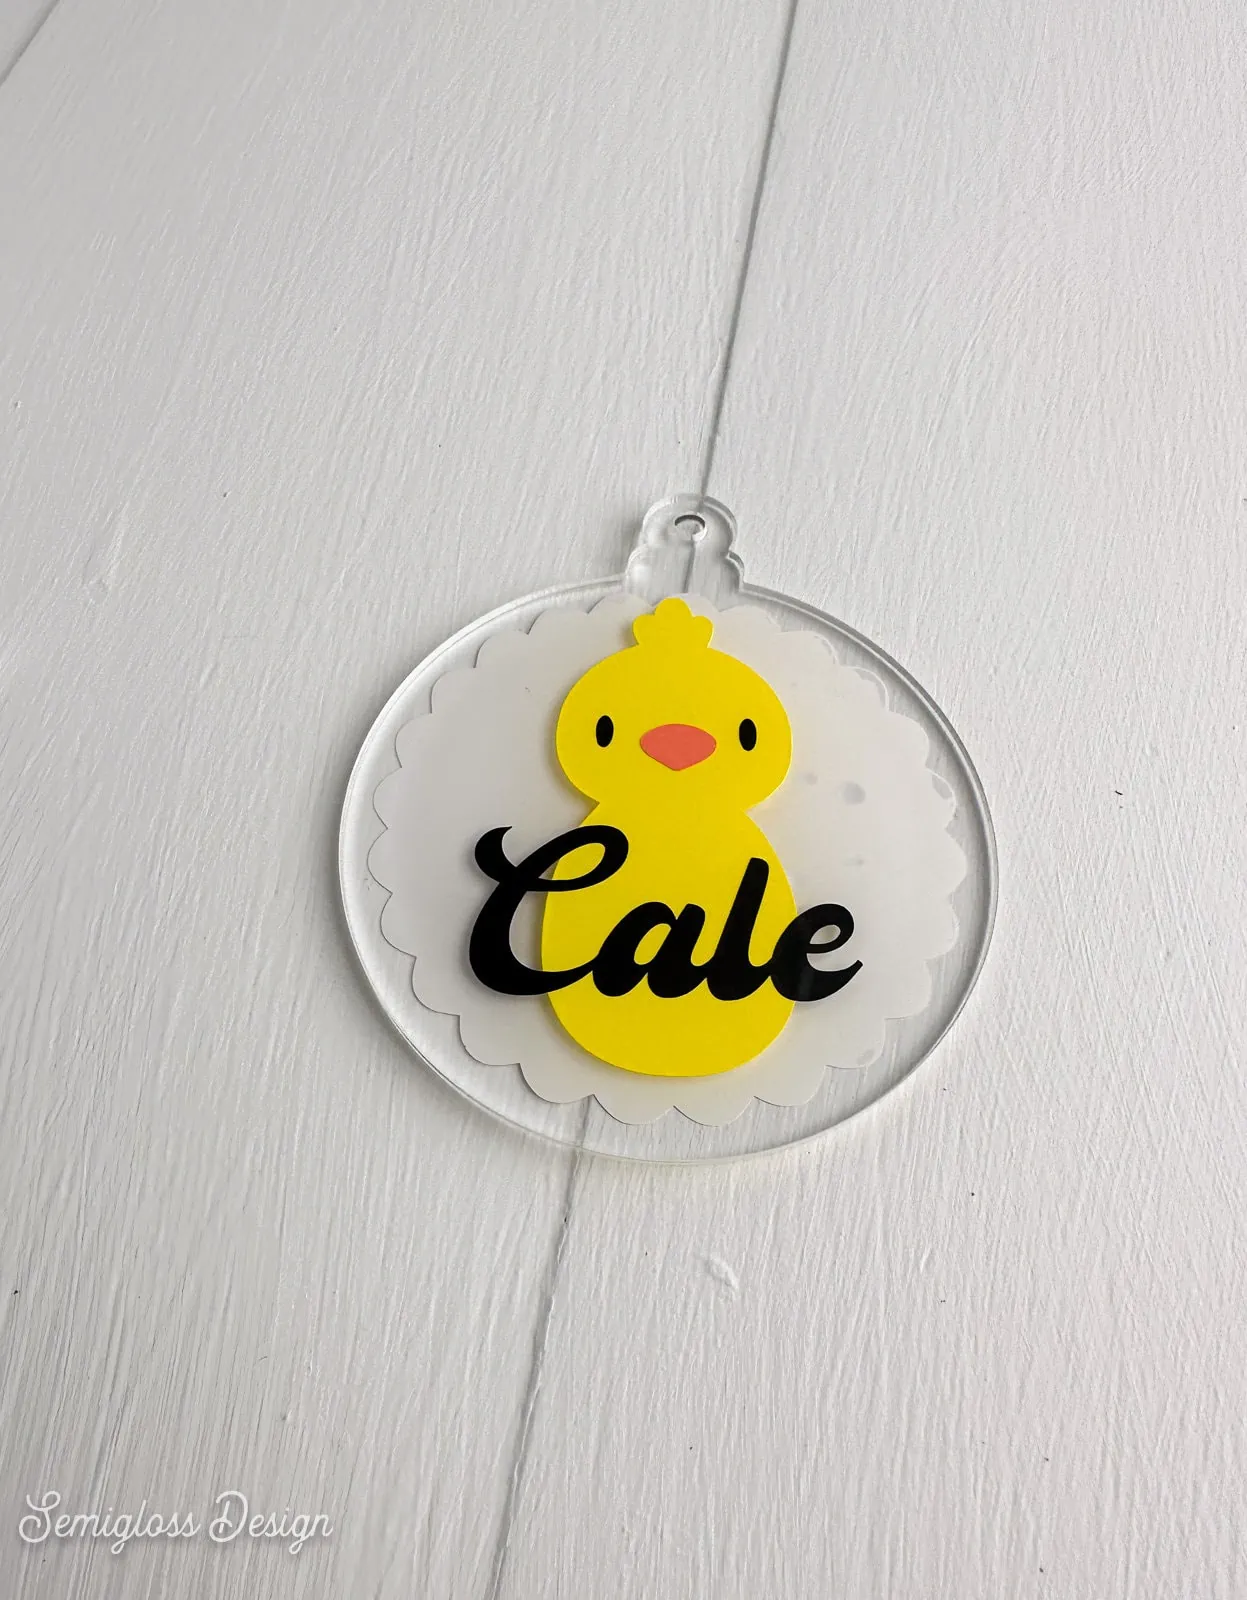
- Transfer tape is used to apply the weeded designs. The scalloped circle goes on the back, and the white backing shows through. This piece is optional, but I love the extra detail it provides.

- On the other side, layer each shape, centering the main shapes in the circle. The animal shapes go on first, followed by the facial features, and the names go on last.
- When the name tag is assembled, add a ribbon for hanging on the easter basket.

- Enjoy your Easter basket name tags.


Other Spring Craft Projects
Get access to my SVG Library.
Get access to over 50 SVG sets and Cricut cheat sheets. Join my SVG library.
Download Easter Basket Name Tag SVGs
All downloads are for personal use only. Please do not redistribute or sell files.
Pin for Later!

Emy is a vintage obsessed mama of 2 DIYer who loves sharing affordable solutions for common home problems. You don’t need a giant budget to create a lovely home. Read more…