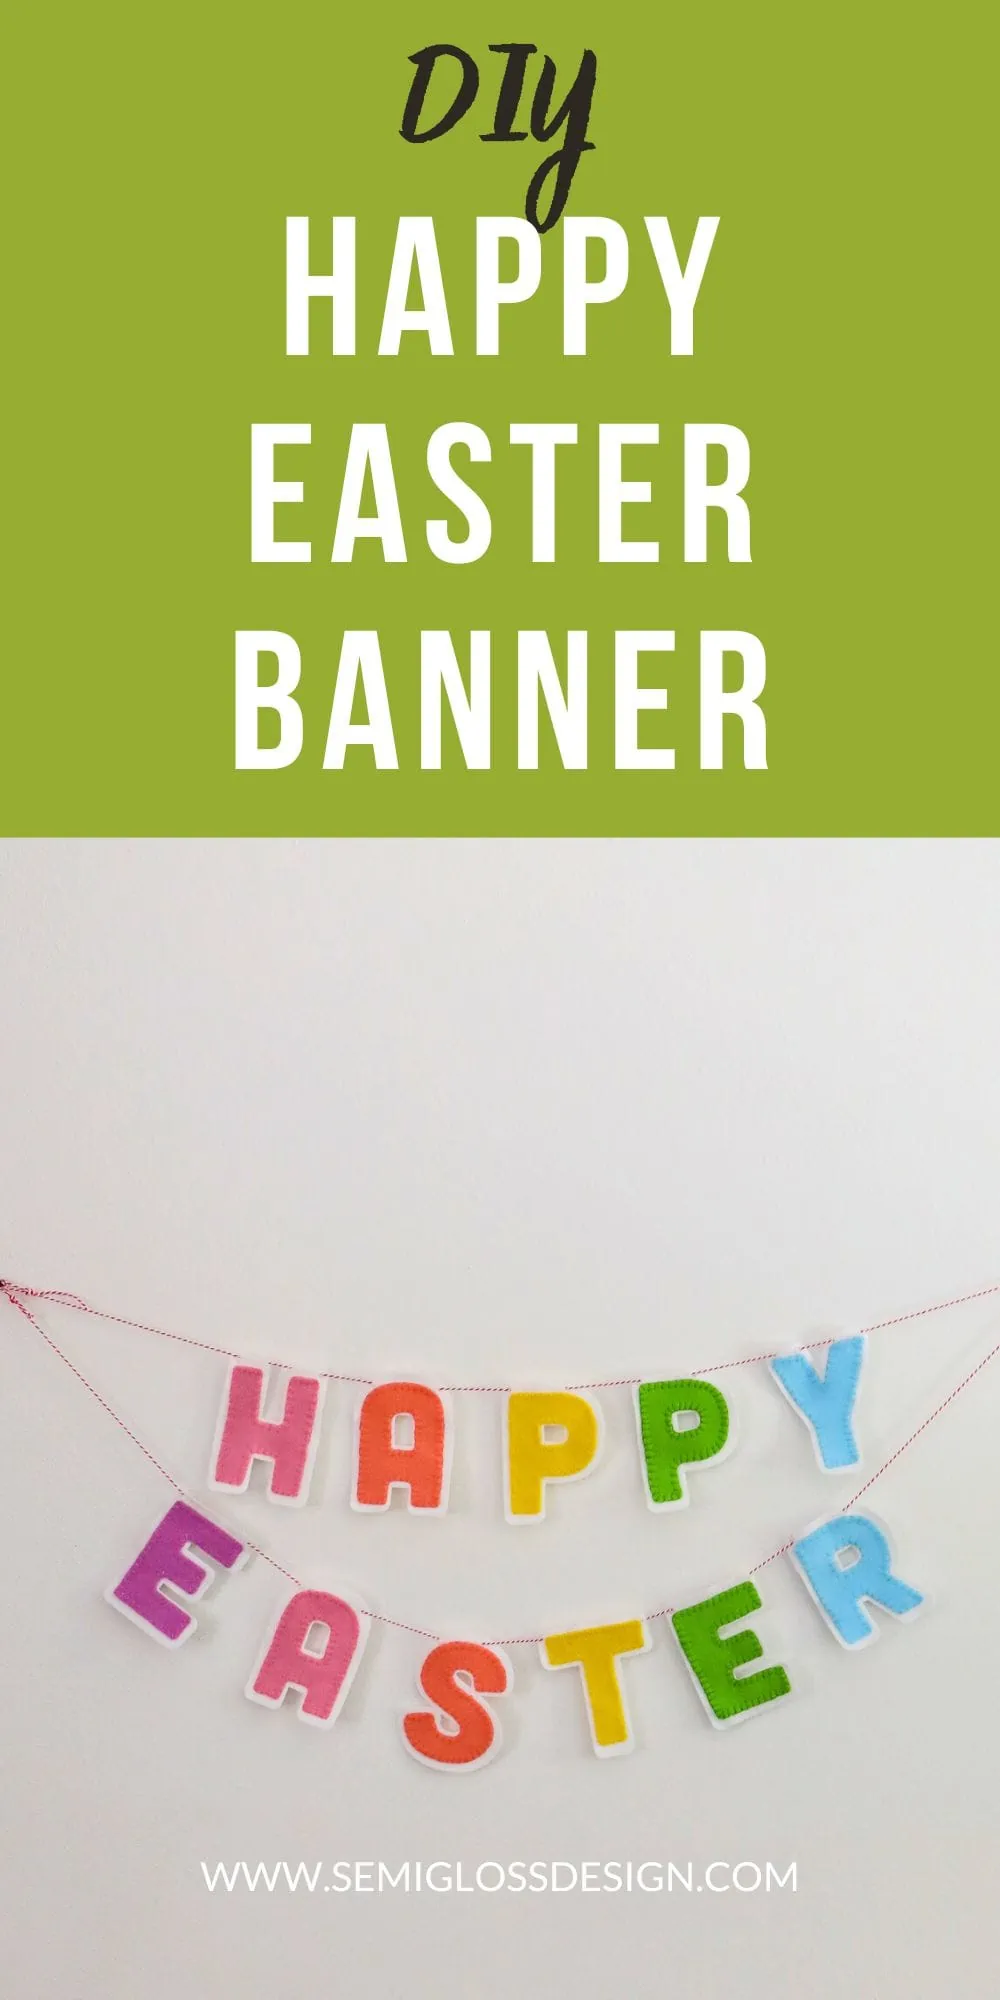
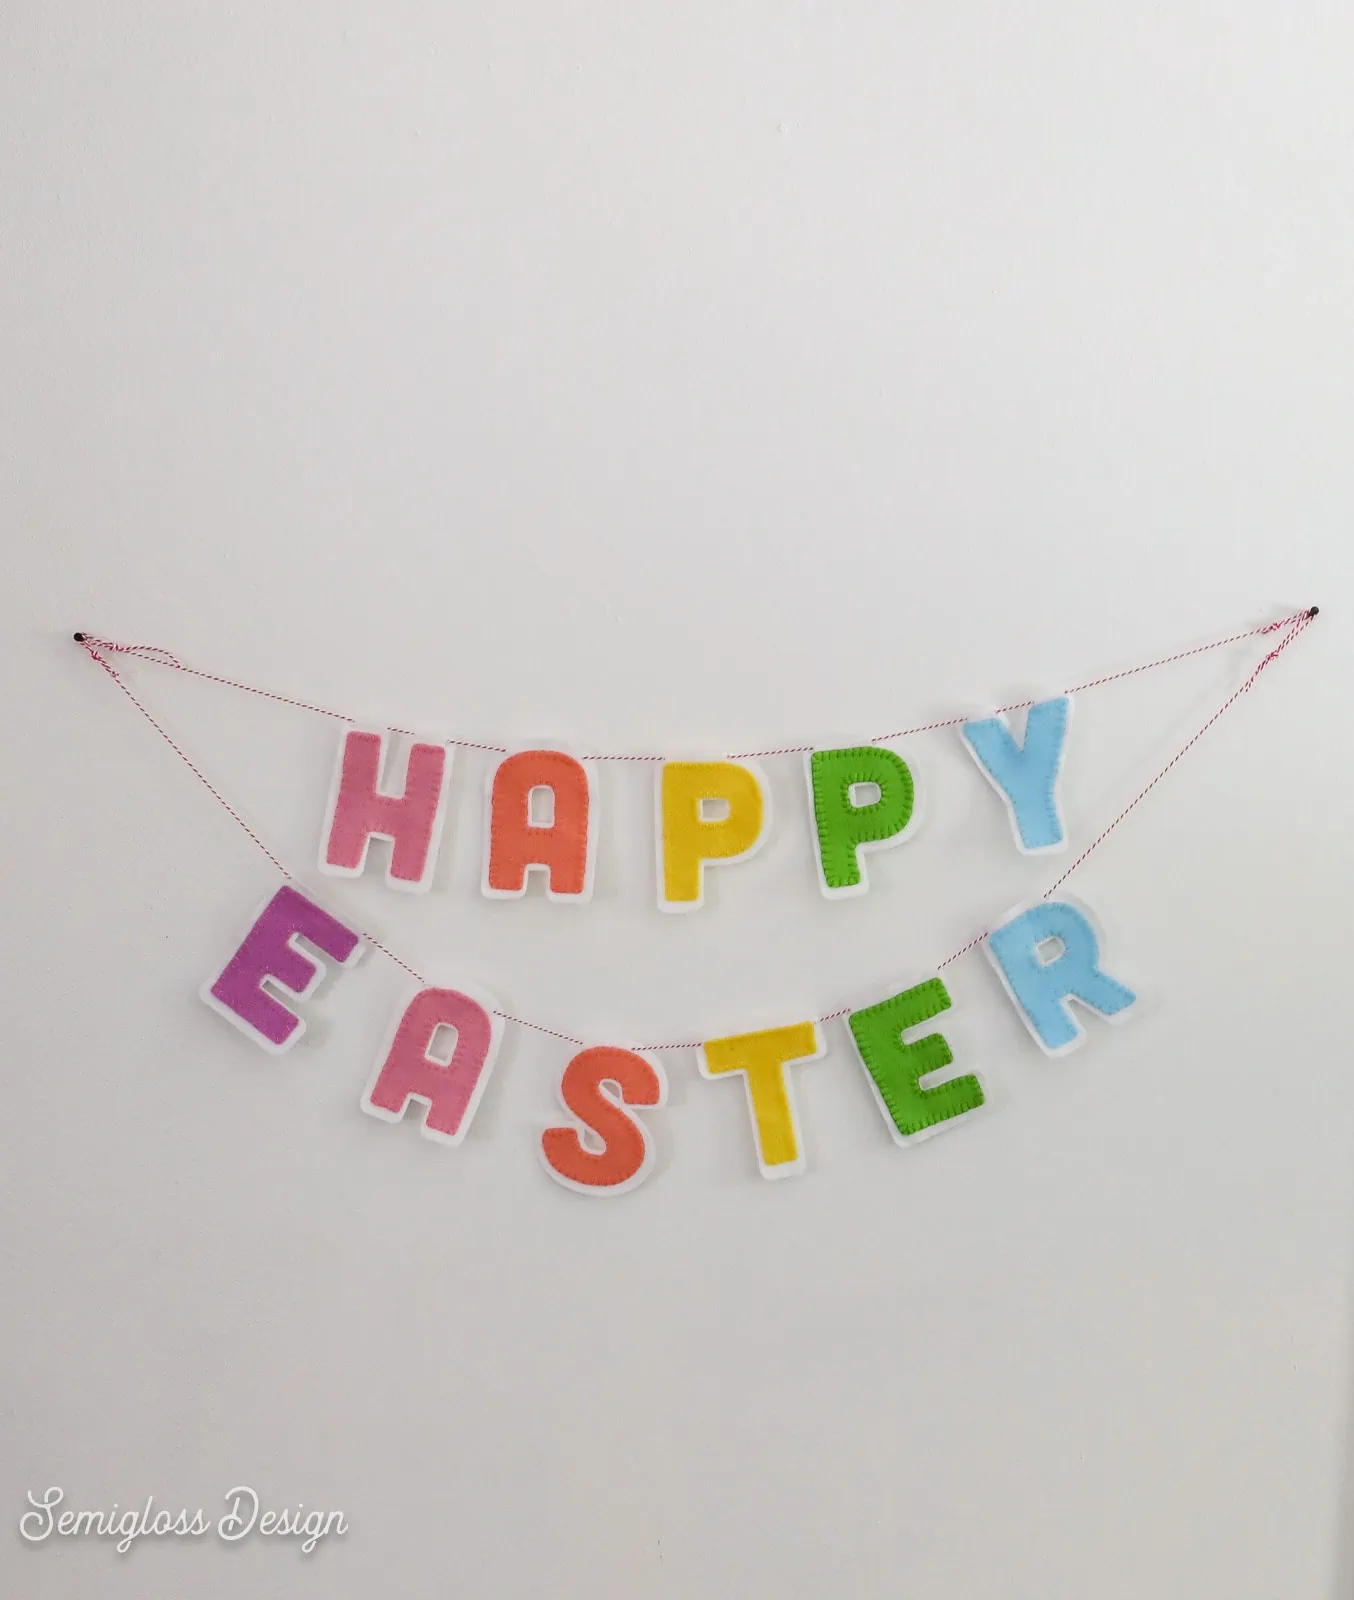
DIY Happy Easter Banner with Cricut
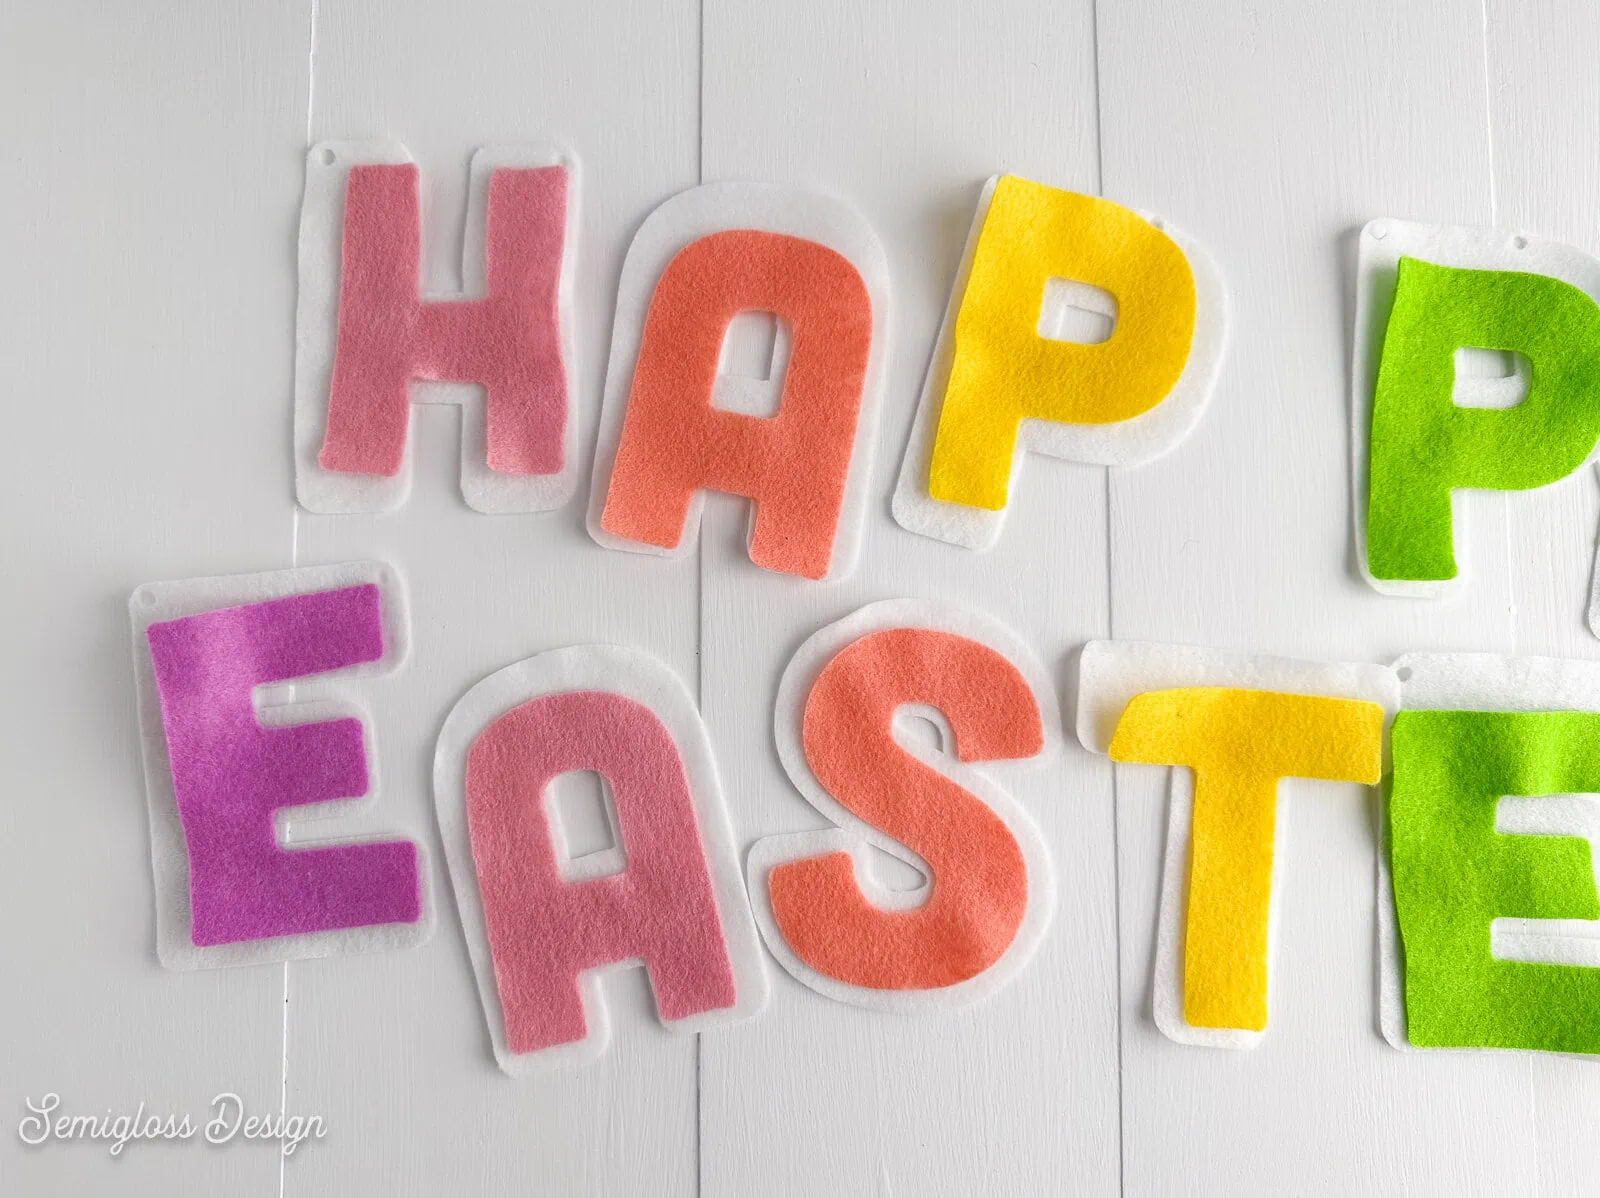
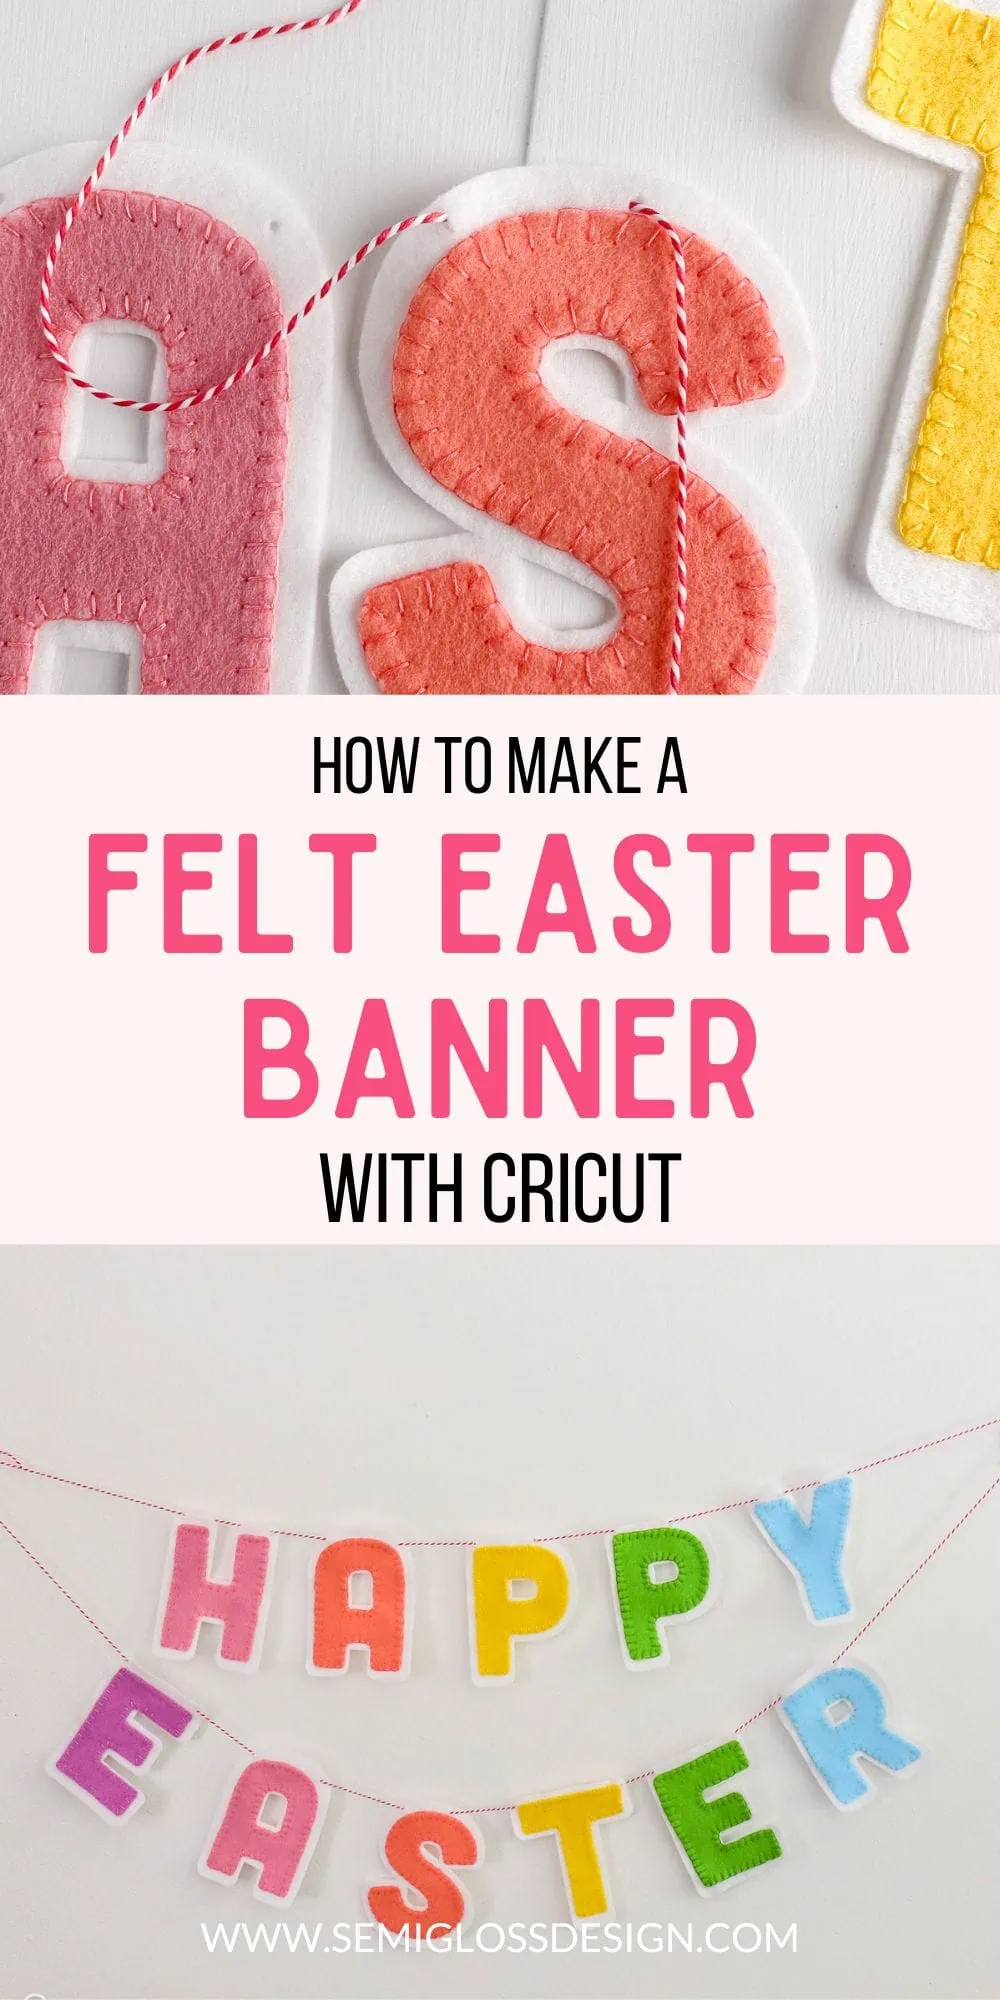
Learn how to make a DIY Happy Easter Banner using your Cricut Maker. This cute banner features pastel felt letters spelling Happy Easter. It’s the perfect addition to a spring mantle or Easter celebration decor.
Be sure to check out these other Cricut projects and tutorials.
This post contains affiliate links. By purchasing an item through an affiliate link, I earn a small commission at no extra cost to you. As an Amazon Associate I earn from qualifying purchases.
Felt banners are one of my favorite things to make. So, I made a Happy Easter banner to decorate for spring.
I used felt in pretty pastel colors, but you can use any colors you want. A monochromatic banner would also be cute.

Get my free SVG files
Get Crafting Today
Get access to my SVG library with over 50 cut files and cheat sheets.
Make a Custom Banner!
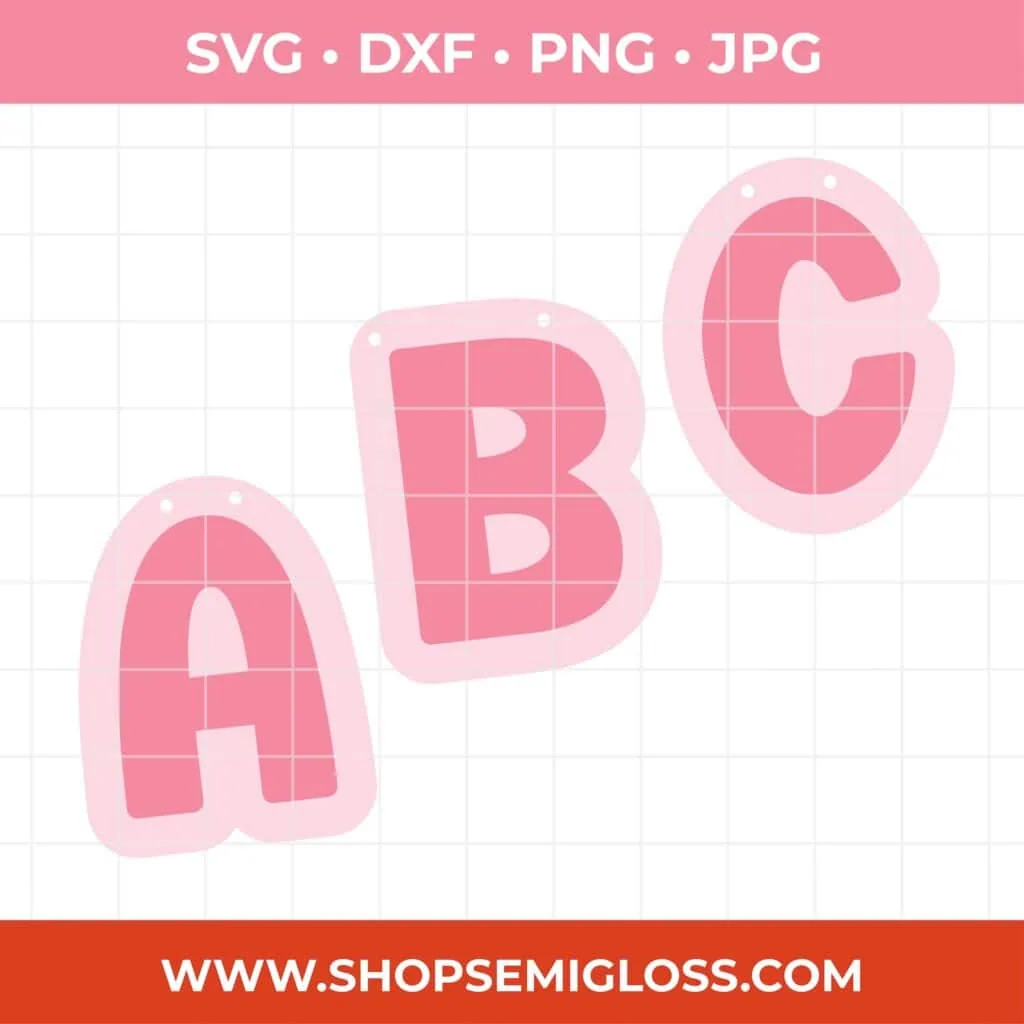
Want to make your own banner? I just created an alphabet banner SVG set with 44 files for creating custom banners. This set features a hand-lettered alphabet. It’s very similar to this Easter banner.
See the full tutorial for using it to make a birthday banner here.
The backgrounds have holes, but they can be removed with the Contour option.
How to Make a Happy Easter Banner with Cricut
Supplies Needed:
- Cricut Maker*
- Rotary Blade
- Felt
- Fabric Grip Mat**
- Baker’s Twine
- Embroidery Floss*** in matching colors
- Embroidery Needle
- Hole Punch
- SVG (Download at the bottom of the post)
Notes About Supplies
*Cricut Maker
Unfortunately, felt can only be cut with a Cricut Maker because it needs a rotary blade. I’ve included a PDF version to use for hand-cutting. Just print, trace, and cut.
**Fabric Grip Mat
Felt makes the fabric mat fuzzy, so it’s best to have a mat designated for felt only.
***Embroidery Floss and Needle
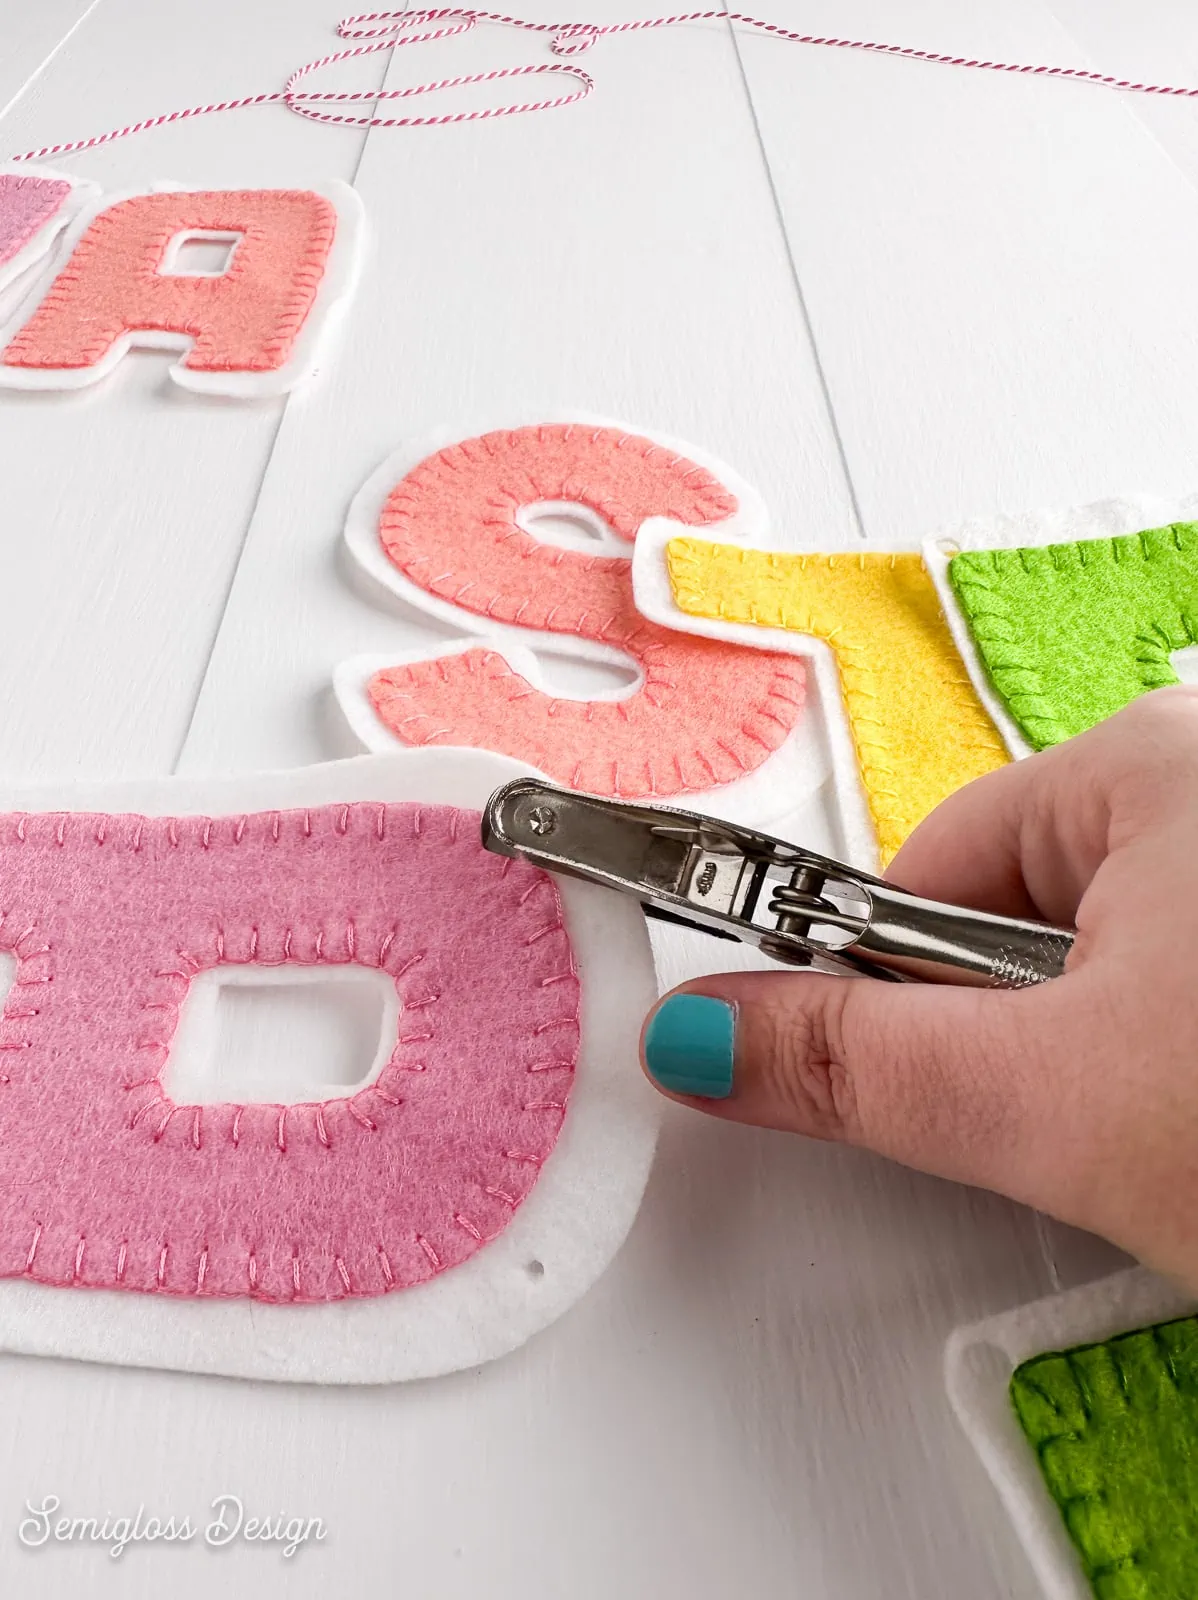
You can use fabric glue instead of embroidery floss if you want. I love the look of embroidered felt, so I used a blanket stitch to attach the felt letters.
It’s not necessary to match the colors exactly. The colors will blend as long as the embroidery floss is close enough.
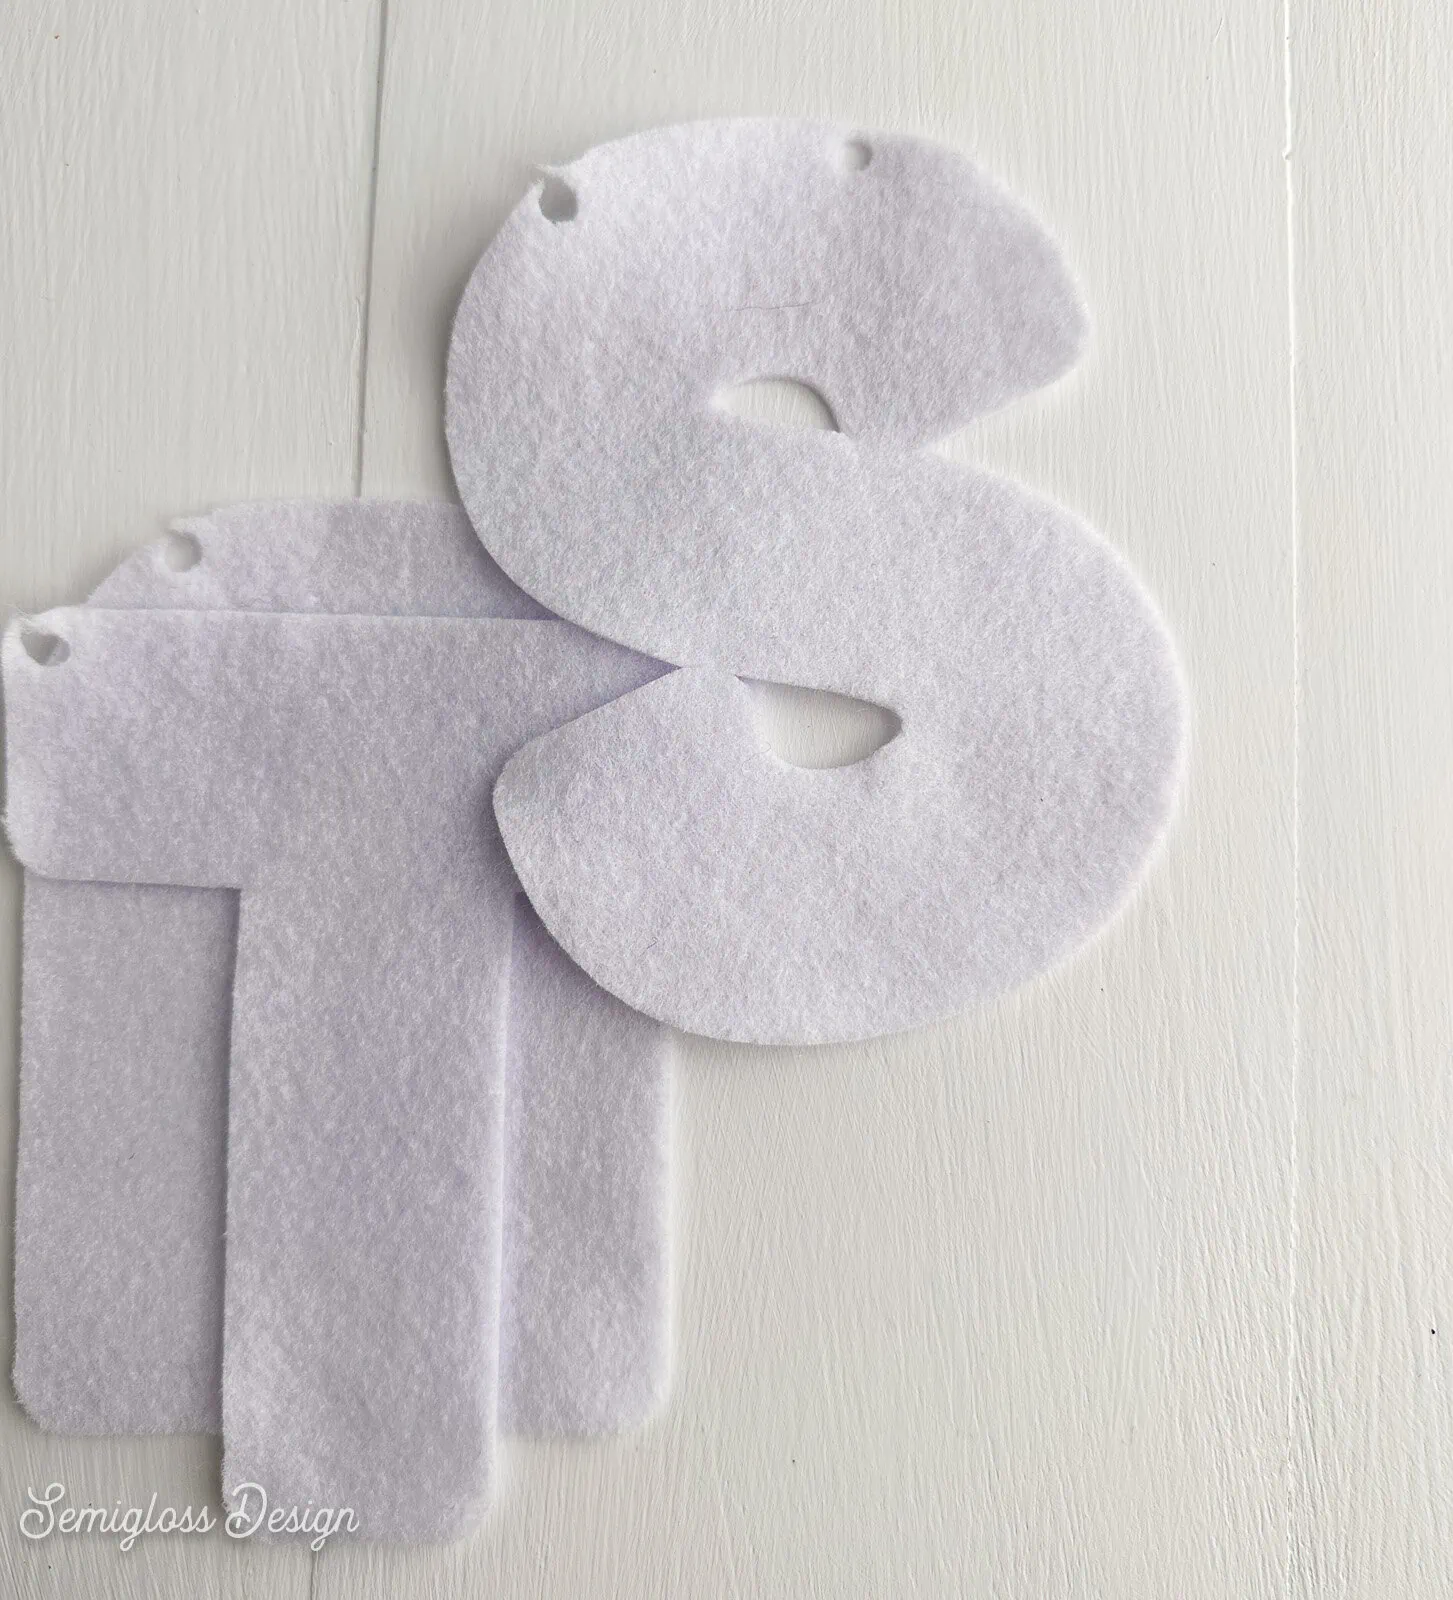
How to Cut the Felt Letters
I originally made the cut files with holes in each letter, but it ripped the felt. The version below doesn’t have holes. Use a hole punch to make holes instead.
- Upload the design as usual.
- Resize if needed. Make a rectangle in the preferred size, send it to the back, and place a letter over it. Then, resize the entire file so that each letter is the size of the rectangle.
- Click Make it when you’re happy with the changes.
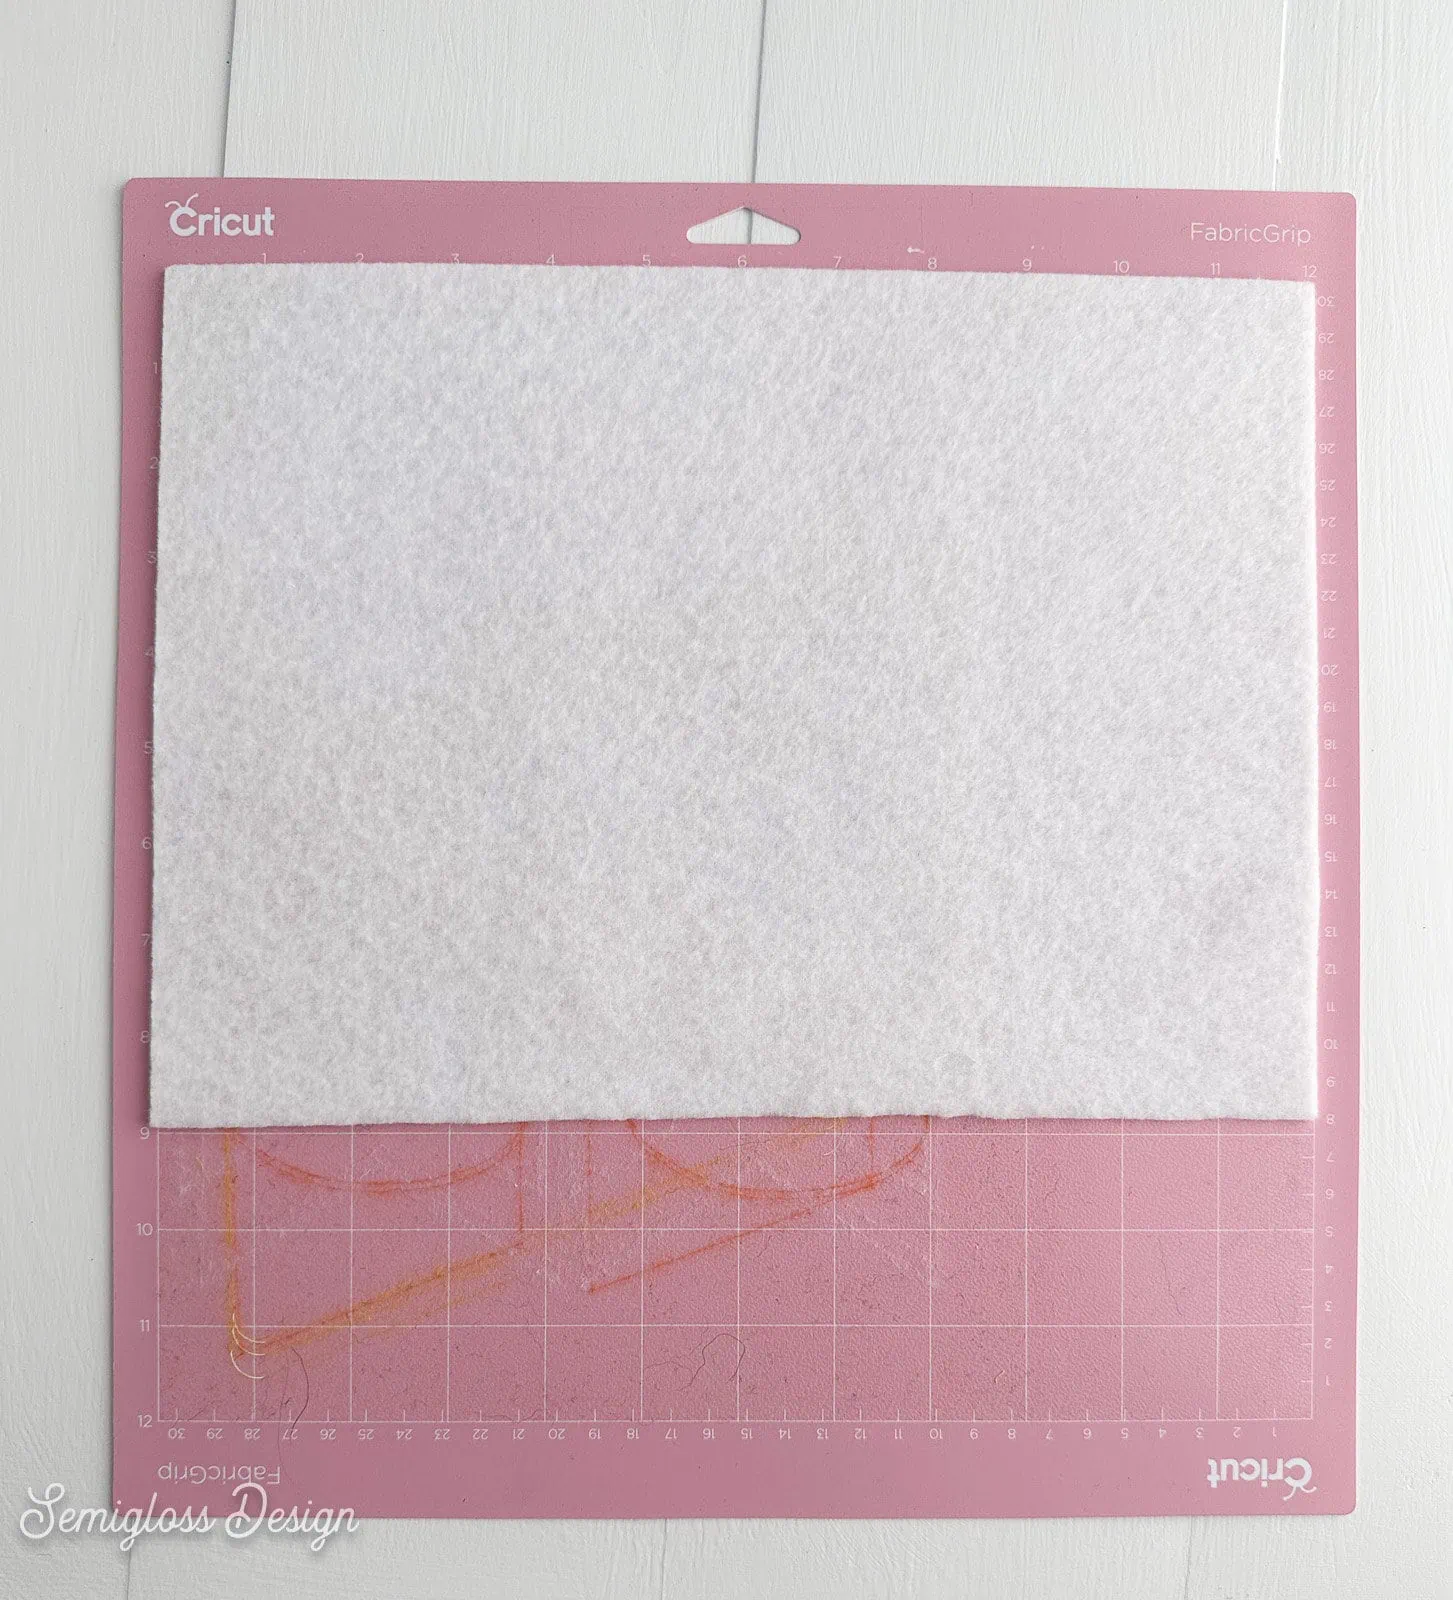
- Install the rotary blade.
- Place felt on the fabric mat and cut as usual.

- Change out the felt color when indicated.
- Continue until all of the felt is cut.
Assembling the Felt Banner
- Center each colored letter on top of the white background letter.

- Attach each letter using a blanket stitch and matching embroidery floss.
- Continue for each letter until it’s finished.

- Use a hole punch to add holes at the top of each letter.
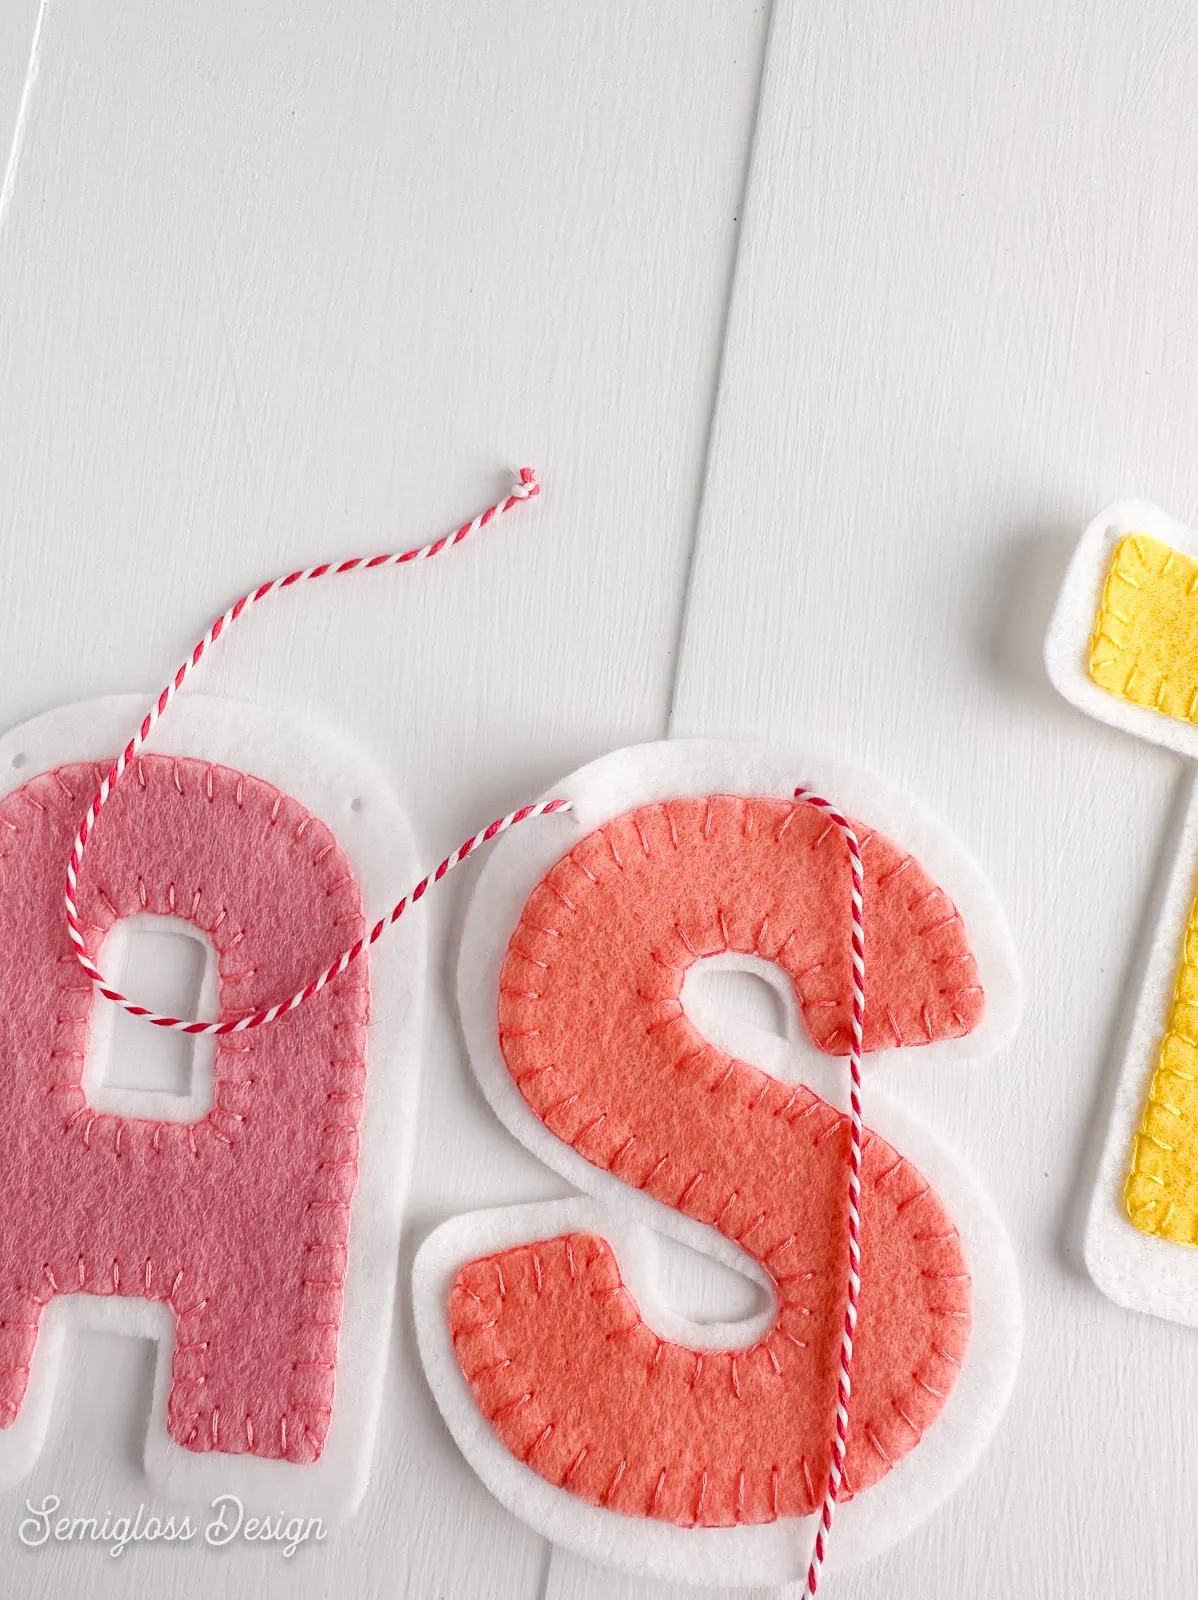
- Cut two lengths of baker’s twine.
- Thread the baker’s twine through the letters. Start with the center letters and work your way out. The string looks best when it’s behind the letters.
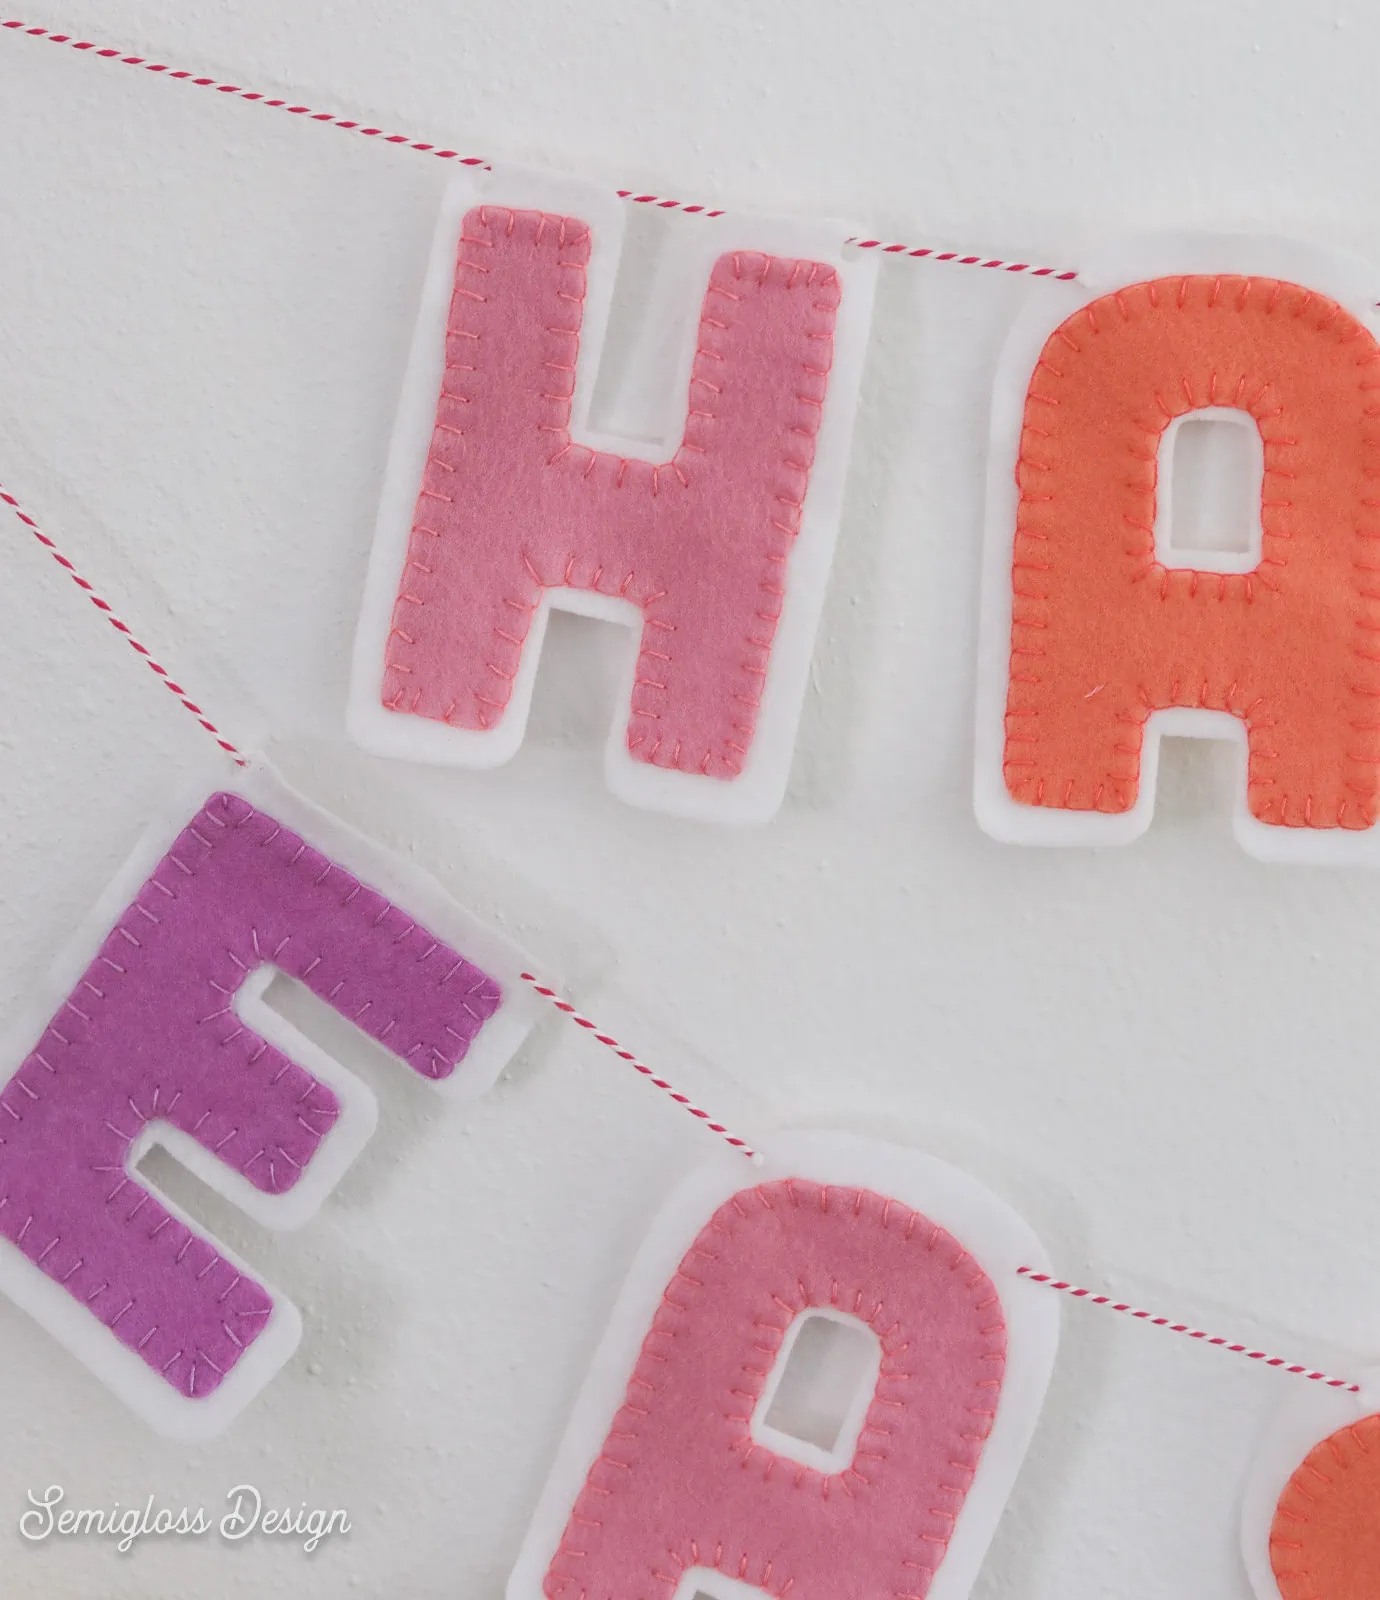
- “Happy” and “Easter” are on separate strings to shorten the banner.

- Tie loops at each end and hang.


Shop My SVG Designs
Other Easter Posts:

Get access to my SVG Library.
Get access to over 50 SVG sets and Cricut cheat sheets. Join my SVG library.
Download the Happy Easter Banner SVG
All downloads are for personal use only. Please do not redistribute or sell files.
Pin for Later!

Emy is a vintage obsessed mama of 2 DIYer who loves sharing affordable solutions for common home problems. You don’t need a giant budget to create a lovely home. Read more…


What font is this?
Sorry, I don’t remember.