Make a Paper Flower Banner for Spring (plus flower cut files)
We had 2 amazing warm days here in Maryland and now it’s cold again. It’s officially that time of year where I’m over winter. Come on spring!
It might be cold outside again, but there’s no reason that I can’t bring spring to the indoors! Paper crafting is a budget friendly way to make your own decor.
I don’t know about you, but I have tons of leftover scrapbook paper from when I used to scrapbook. It’s time to put that paper to use! Learn how to make your own paper flower banner to add a touch of spring to your own home!
Cut files for flowers can be accessed at the end of the post.
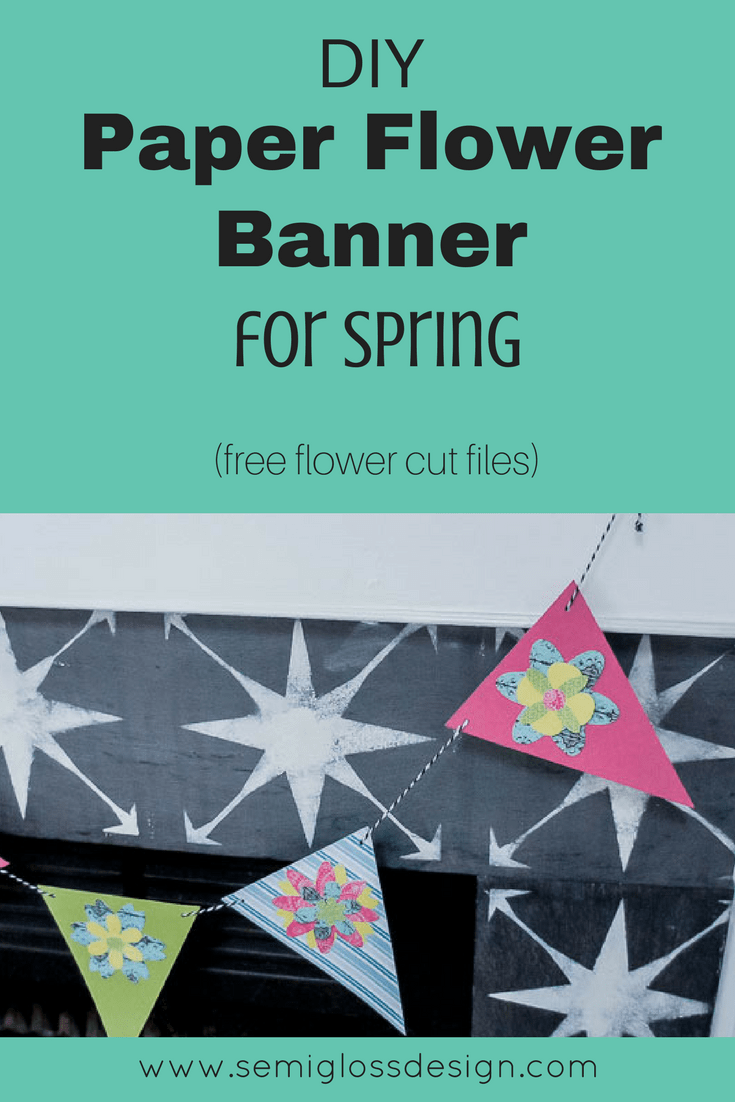
How to Make a Paper Flower Banner
This post contains affiliate links. By purchasing an item through an affiliate link, I earn a small commission at no extra cost to you.
Supplies Needed
- Scrapbook paper
- Cardstock
- Silhouette
- Flower cut files (scroll down)
- Alene’s tacky glue pen
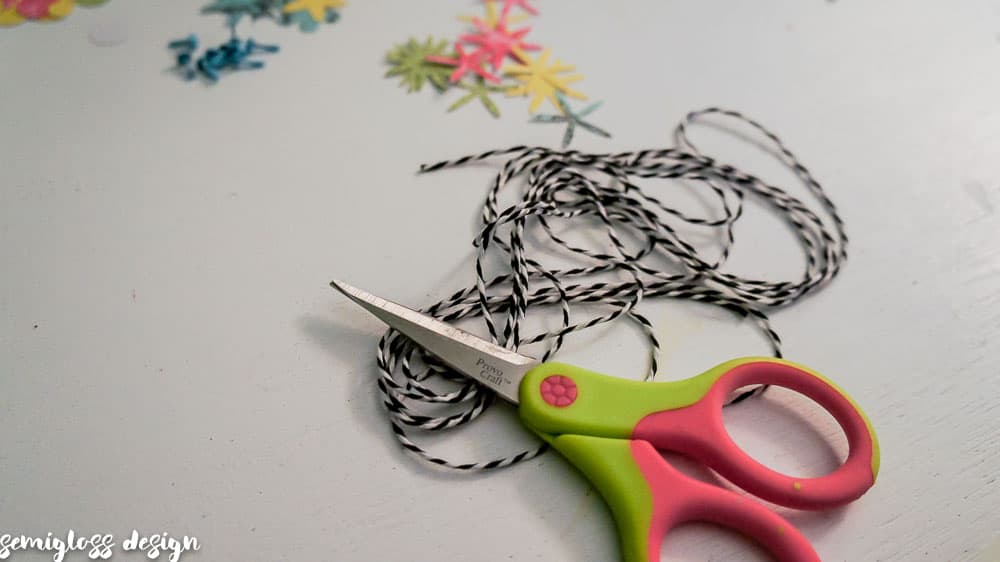
- Baker’s twine
- Paper cutter
- Hole punch
Tutorial
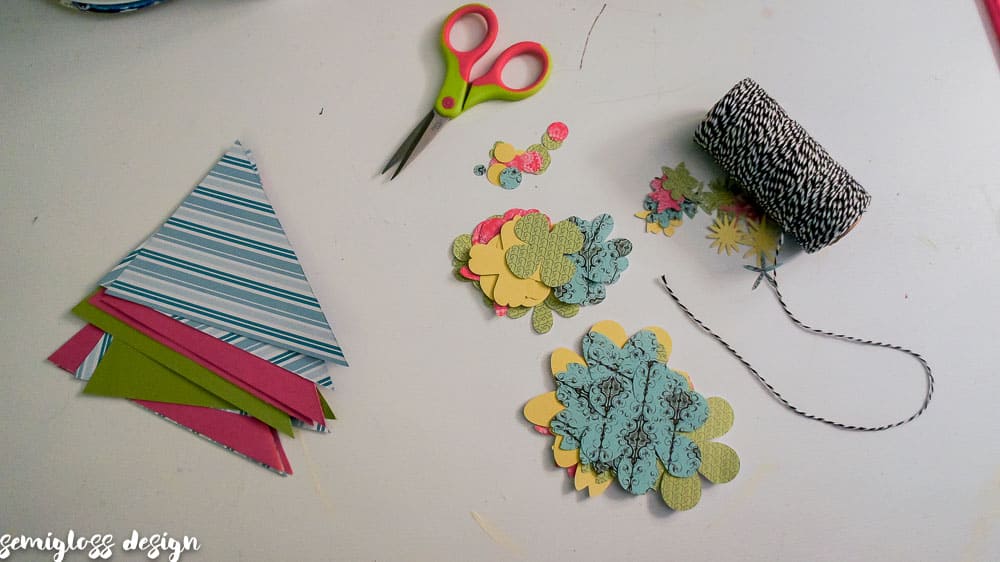
- Gather your supplies. When choosing paper, pick a variety of colors and patterns to add interest.
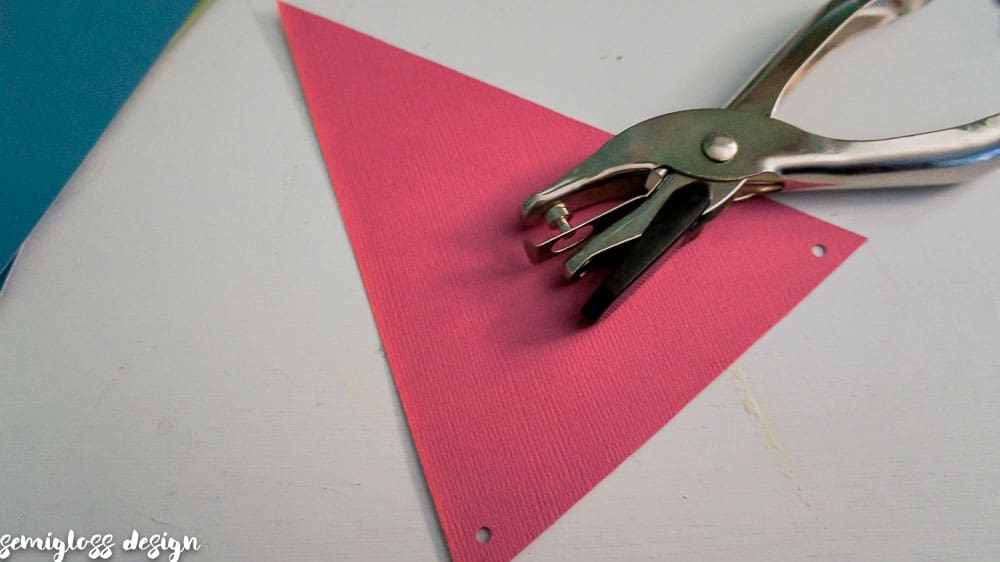
- Cut your banner triangles from cardstock. I love this tutorial for how to easily cut 8 triangles from 1 sheet of cardstock. Then use a hole punch to make holes for stringing. A tiny hole punch keeps the string in place on your finished flower banner.
- Use your silhouette to cut the flowers in several colors. DXF files are easy to use. Just open your silhouette software and open the dxf file. It might need to be resized and regrouped. The rectangle around the flowers should be enlarged to fit a 12″x 12″ sheet. I made my large flowers about 3″x 3″, medium flowers 2″ x 2″. and my small flowers were 1″ x 1″. Need help using your silhouette? I have instructions here. The instructions are for using the cut and print feature, but I also walk you through using the software and how to load the mat.
- Carefully weed the excess paper off and remove the flowers from the mat. I found the spatula tool to be the most valuable.
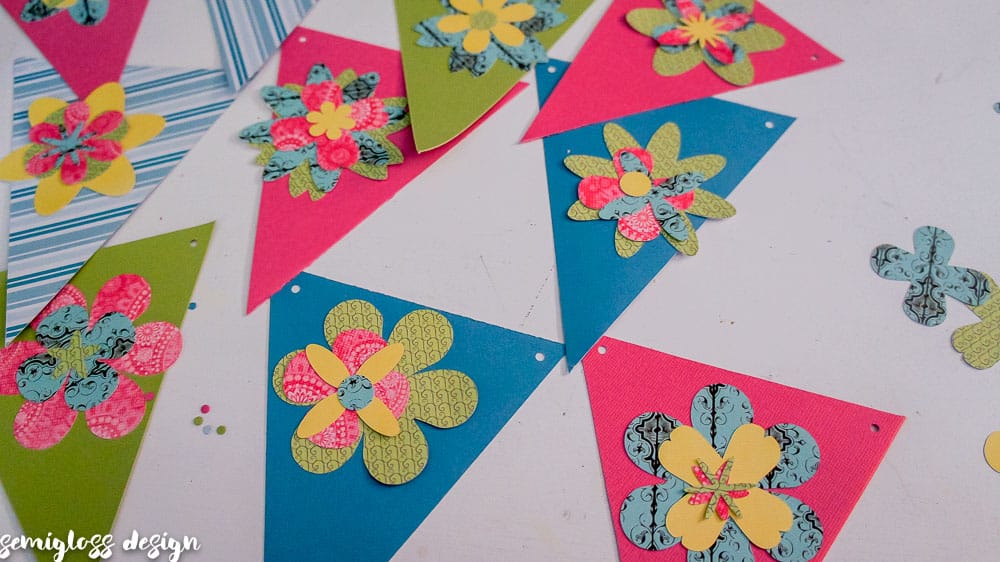
- Layout your banner, varying the colors and styles of flowers.
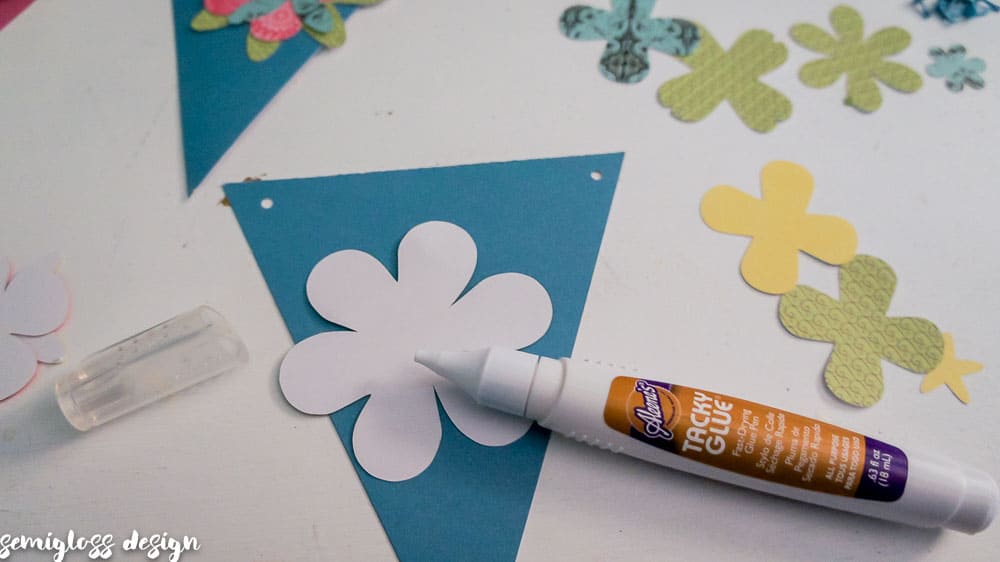
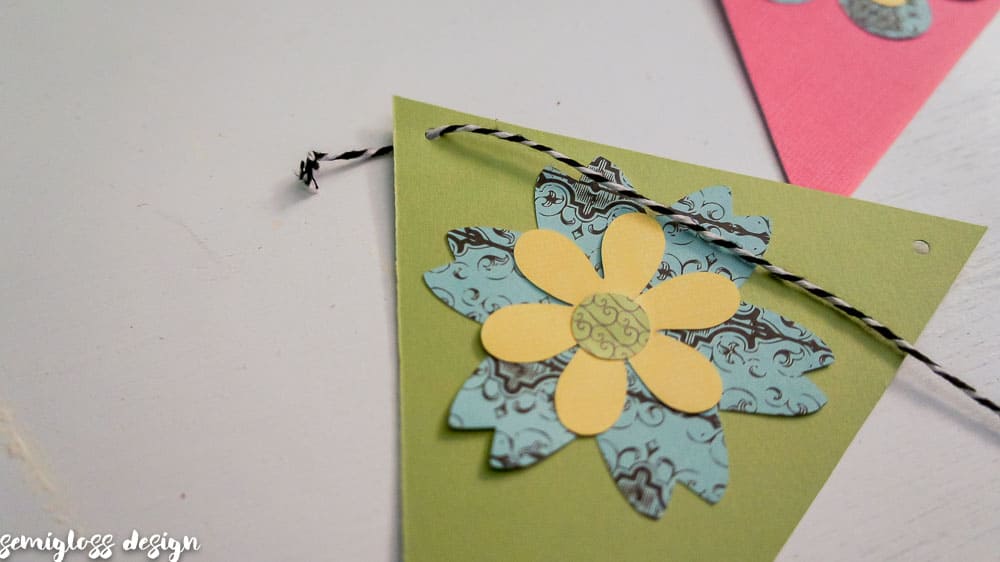
- Start gluing the flowers down. A glue pen allows you to easily glue small pieces. You might need to place something heavy on each banner to hold it in place. Don’t worry, it dries quickly.
- Once your banner is dry, it’s time to add the string. Figure out how long you want your banner and add about 18″ extra string for draping and hanging.
- Make a tiny knot at the end of the string to prevent fraying when stringing the paper banner pieces. I prefer to string mine with the string behind each triangle. Once the banner is strung, don’t worry about getting the placement of each triangle correct. It’s easier to adjust it once it’s hung.
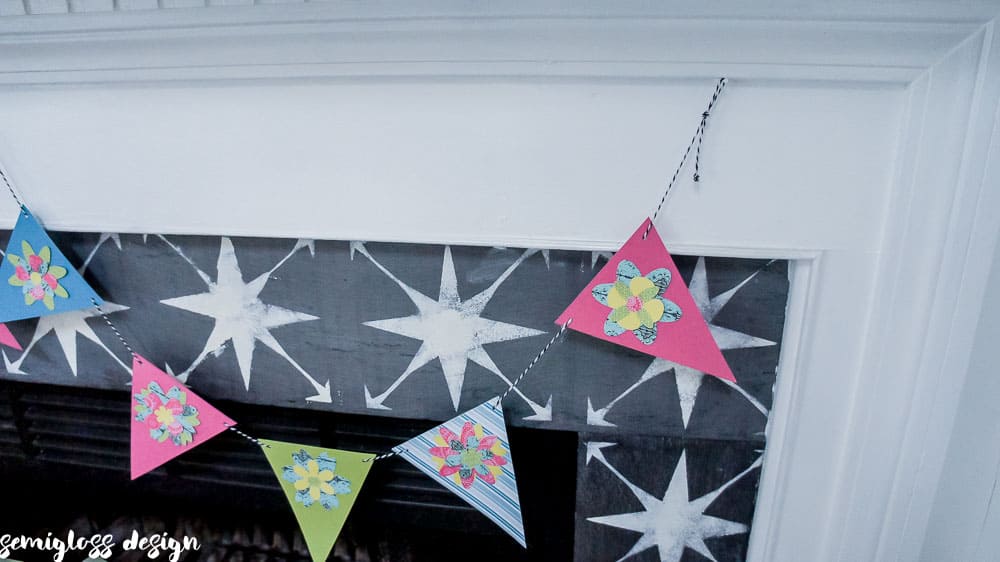
- Make loops at the end of each string for hanging. Now you can evenly adjust your triangles.
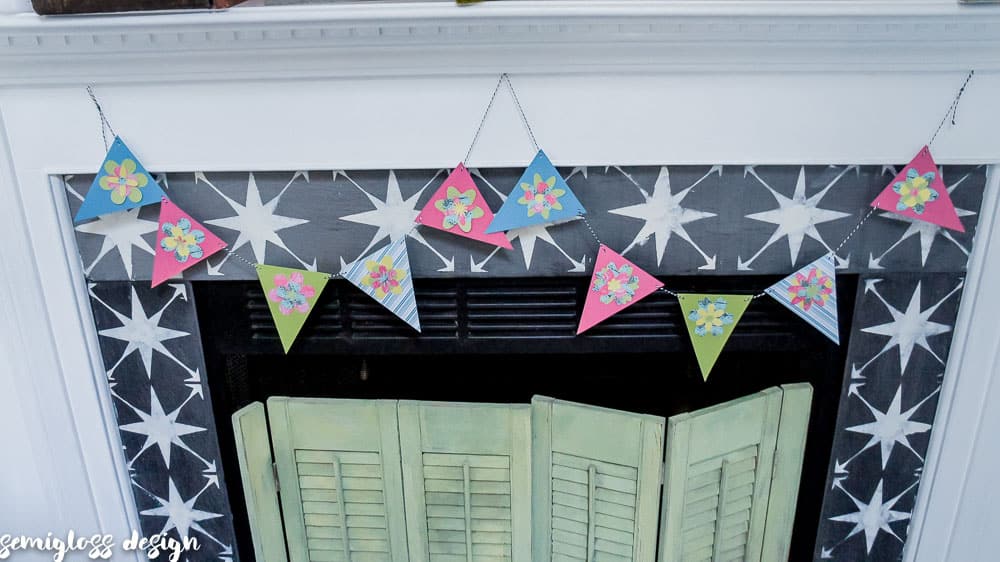
- Voila! Almost instant spring decor!
It’s already feeling a little happier in here!
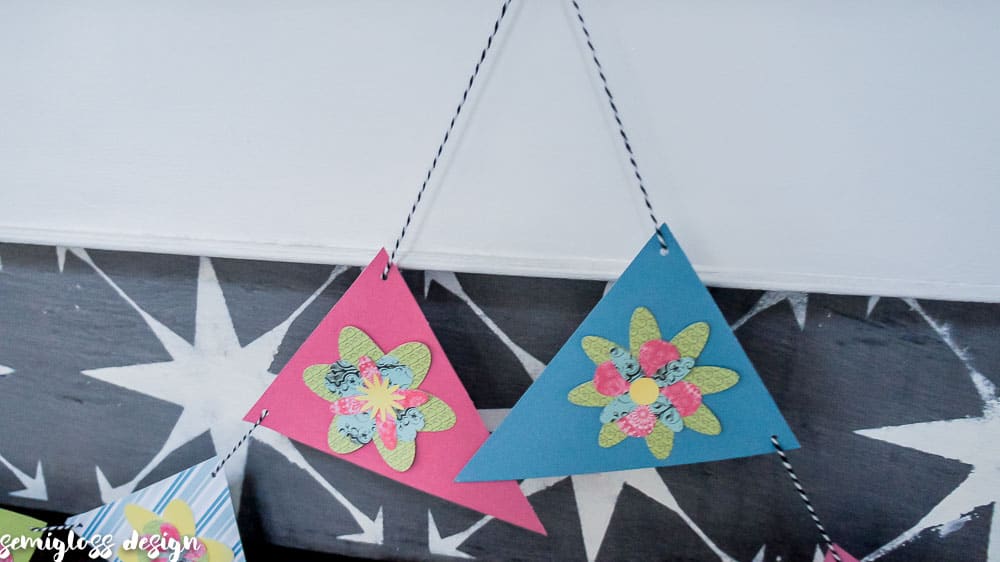
Curious about my fireplace? Check out how I stenciled it here.
Flower Cut Files to Make Your Own Flower Banner
Pin for Later!


Emy is a vintage obsessed mama of 2 DIYer who loves sharing affordable solutions for common home problems. You don’t need a giant budget to create a lovely home. Read more…


